


About the Overlay Effect on Images
The overlay effect adds a semi-transparent layer on top of an image. It is particularly useful for improving contrast between the background image and any text or elements placed on top of it.
Within GemPages, you can add an overlay for your image to achieve a sleek and professional design that draws attention to key content on your page.
Add Overlay on an Image Using the Hero Banner Element
To add an overlay on your image using the Hero Banner element in GemPages, follow these steps:
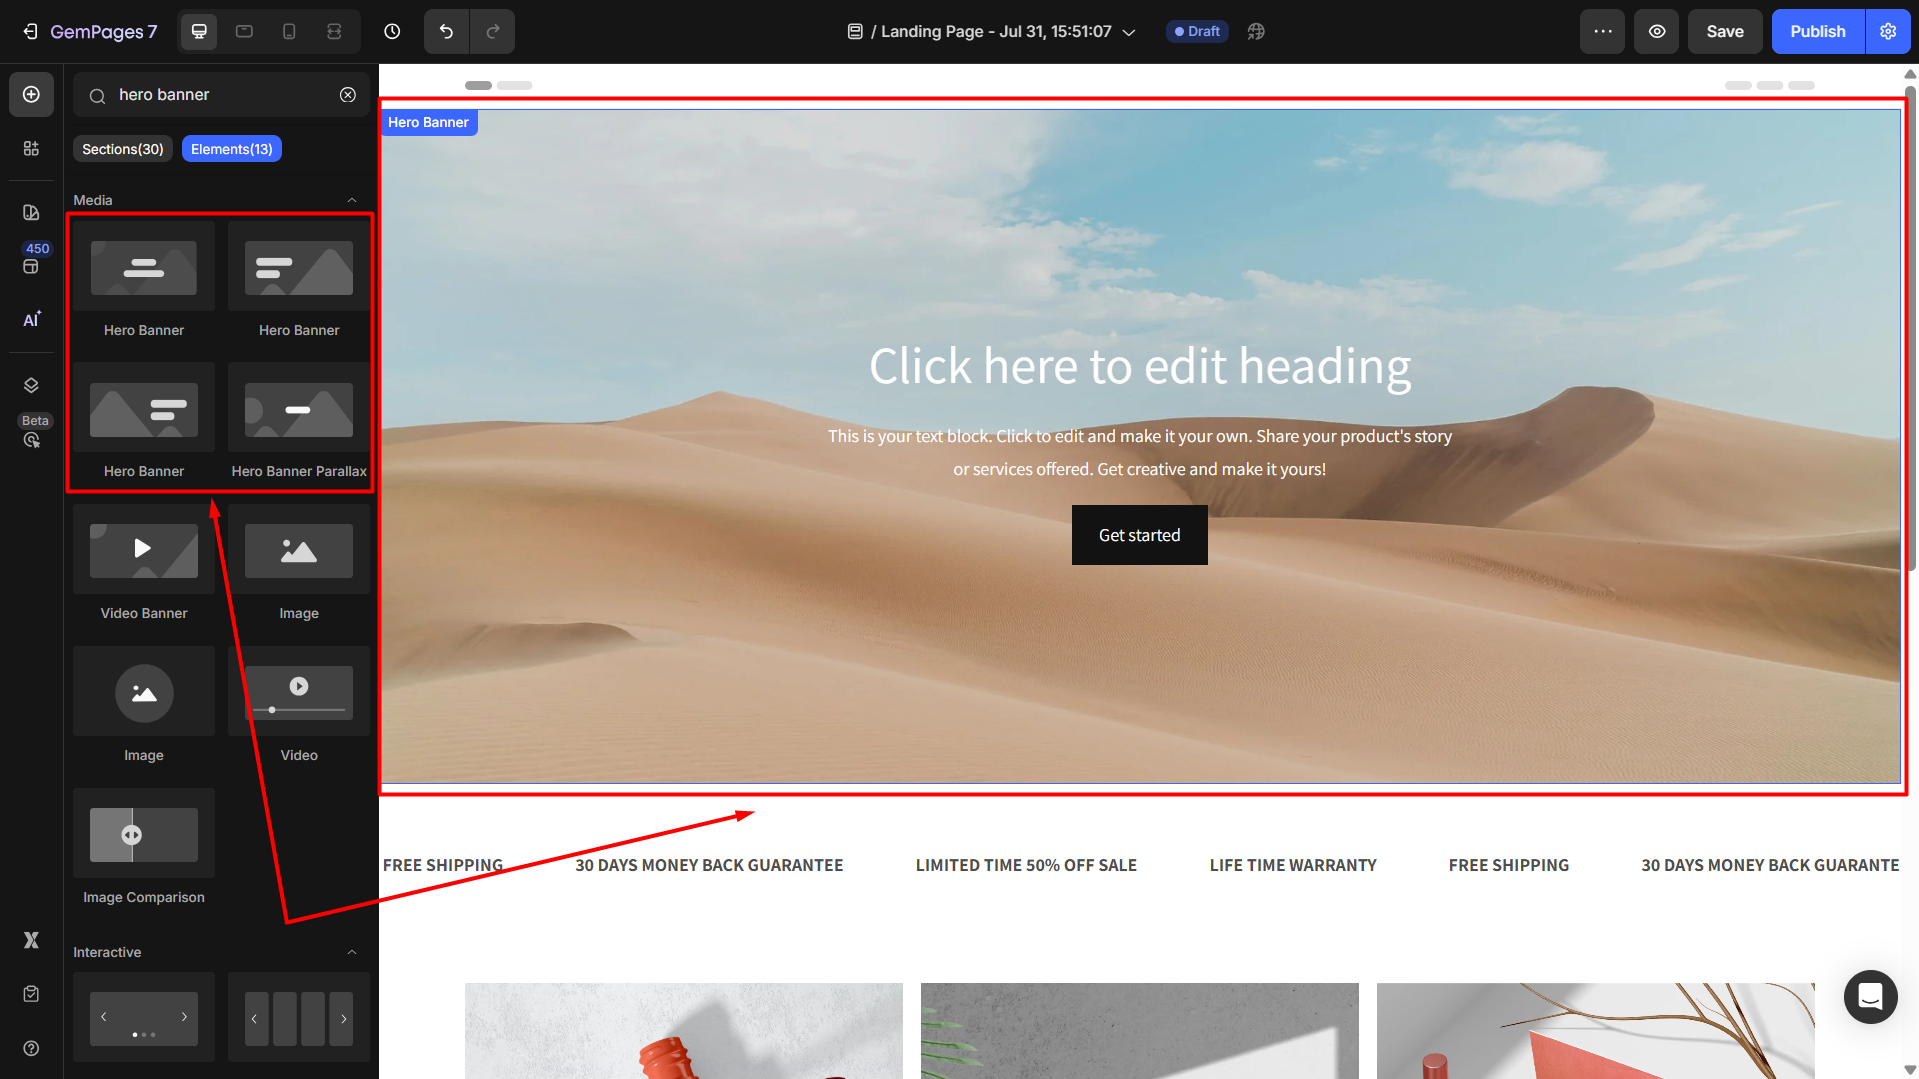
Step 1: Add a Hero Banner to your page
- Access the GemPages Dashboard > Pages, locate your target page to open the editor.
- From the left sidebar, enter Hero Banner in the search bar. Then, drag and drop a Hero Banner element to your preferred position.
Step 2: Add an image to the Hero Banner
- Click on the element to open its settings.
- In the left sidebar, find the Background section under the Settings tab and click the box next to the Image option.
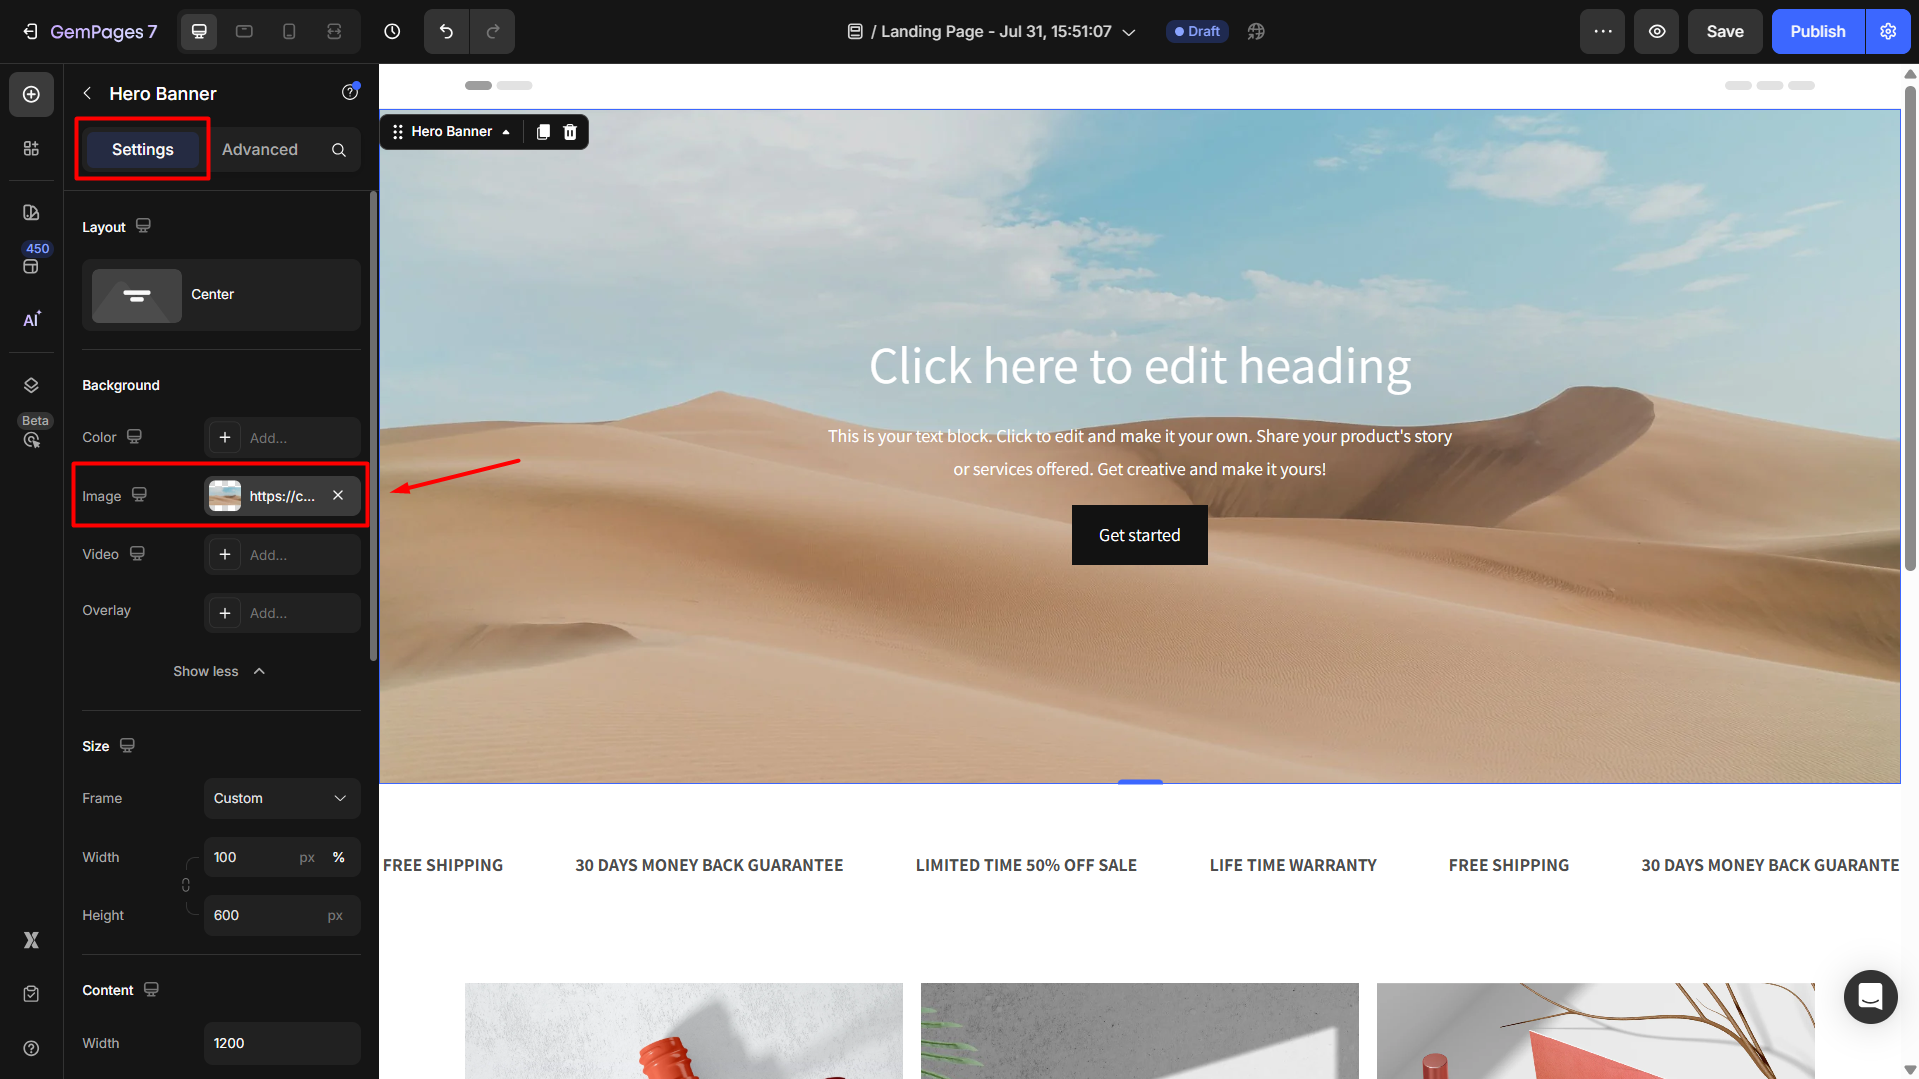
- From here, you can choose an image from your gallery or upload a new one to use as a background for the element.
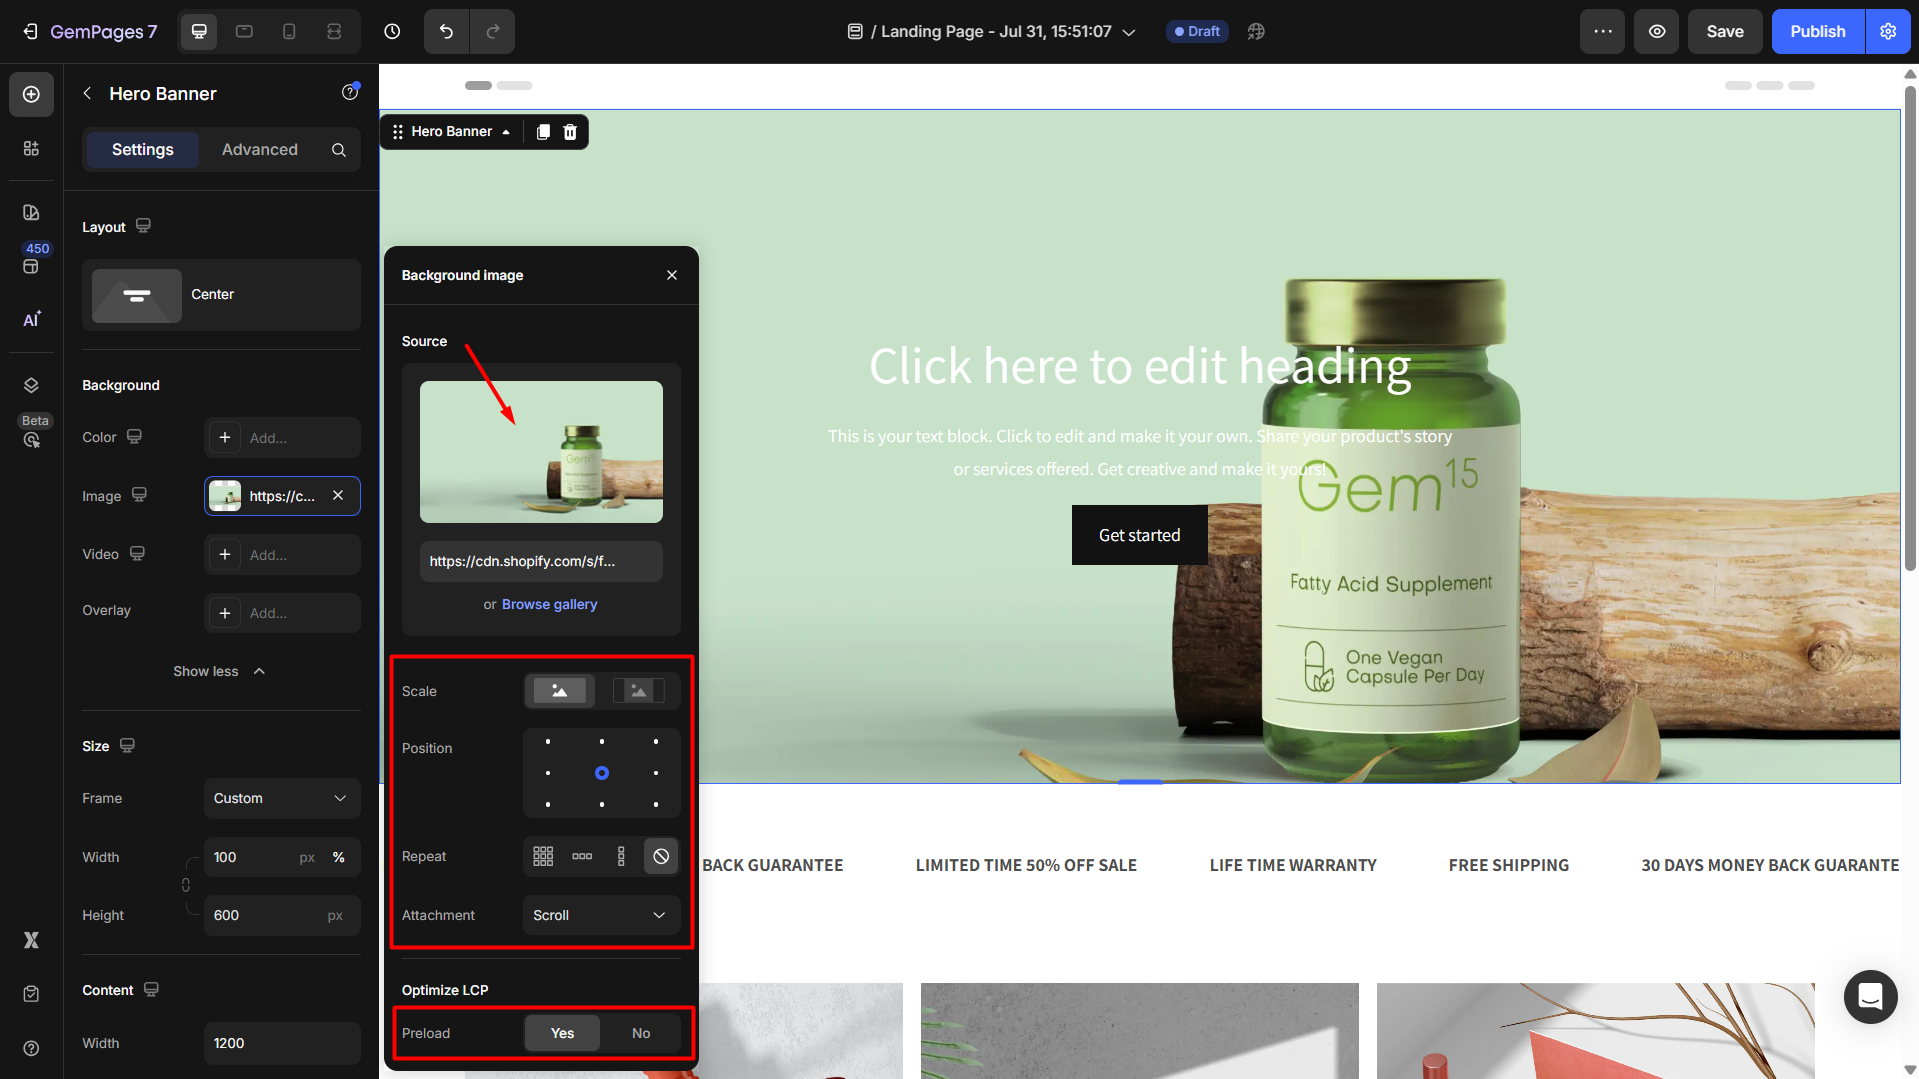
- Adjust the scale, position, repeat, and attachment for the image. Also, you can set the Preload to Yes to optimize LCP.
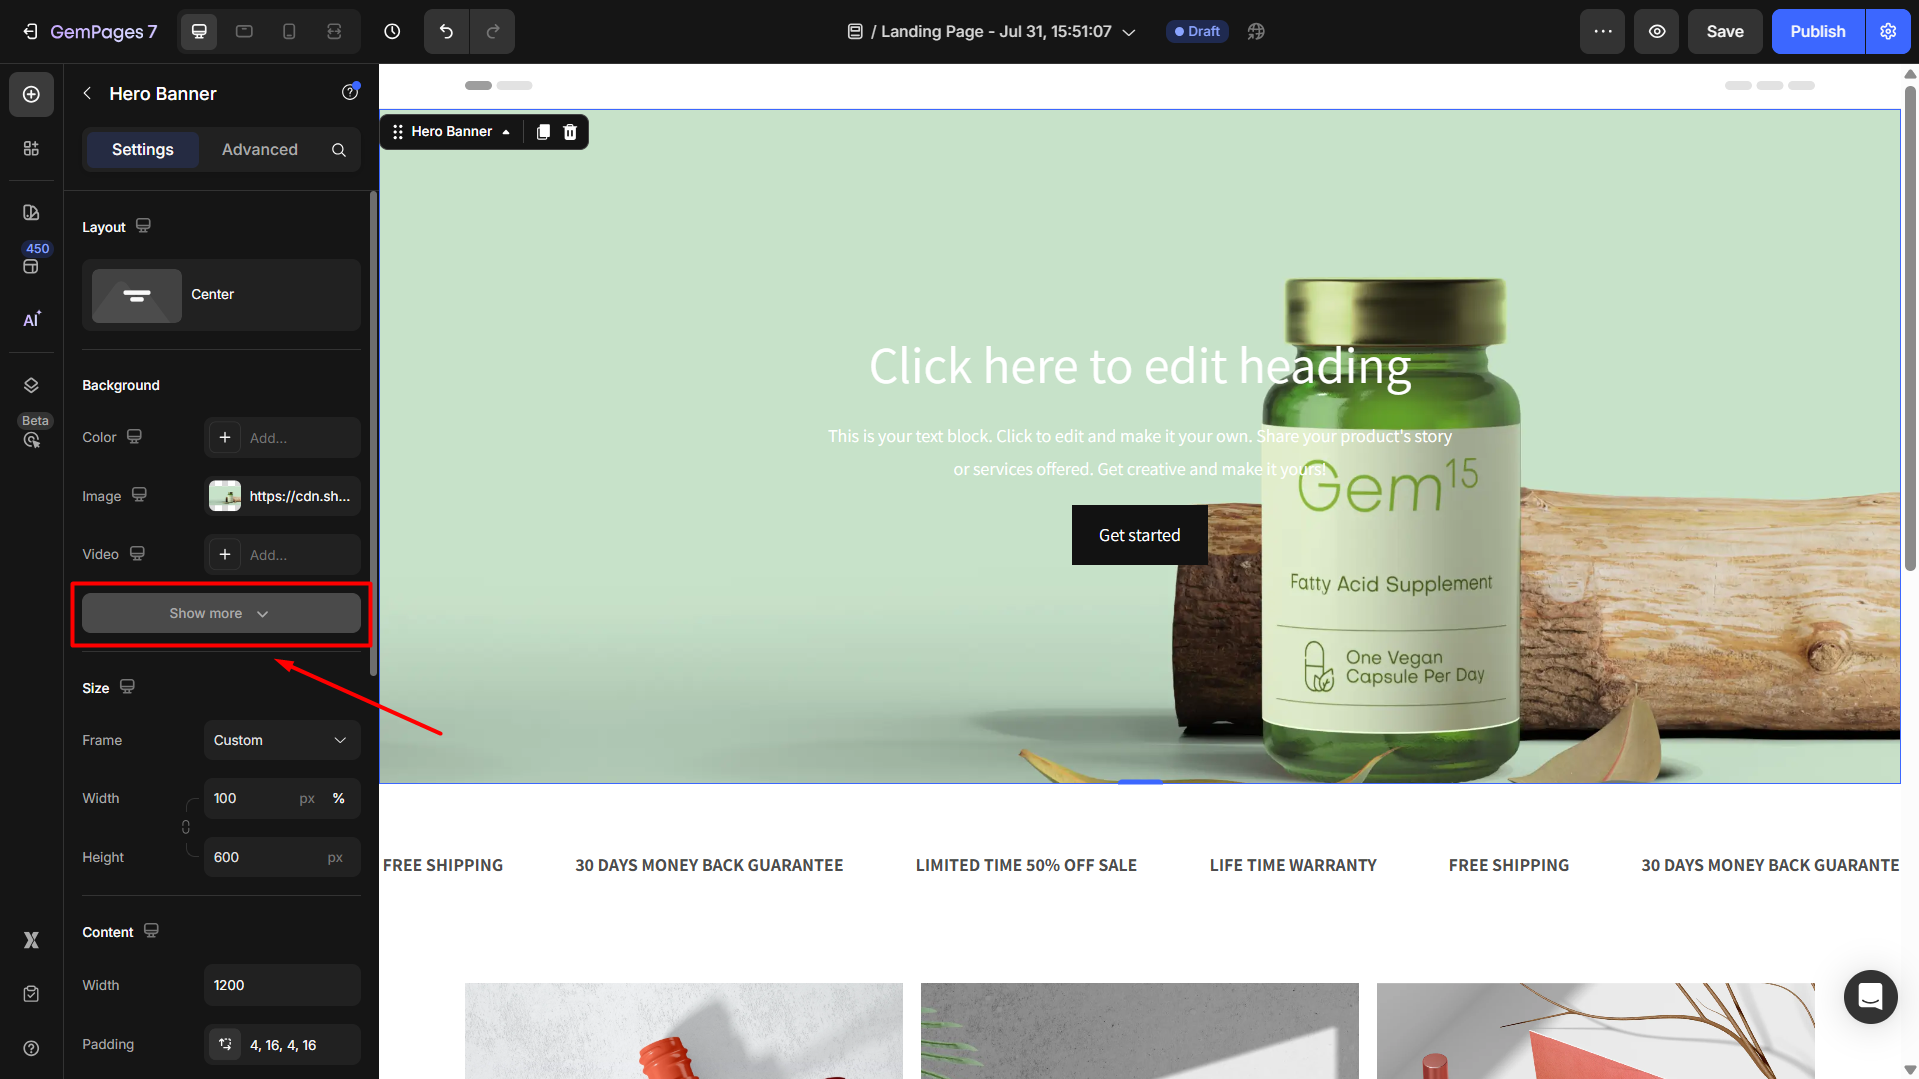
Step 3: Enable the Overlay for the image
Once you have finished configuring your image, click Show more to display all Background settings.
Click on the box next to the Overlay option to open the settings panel.
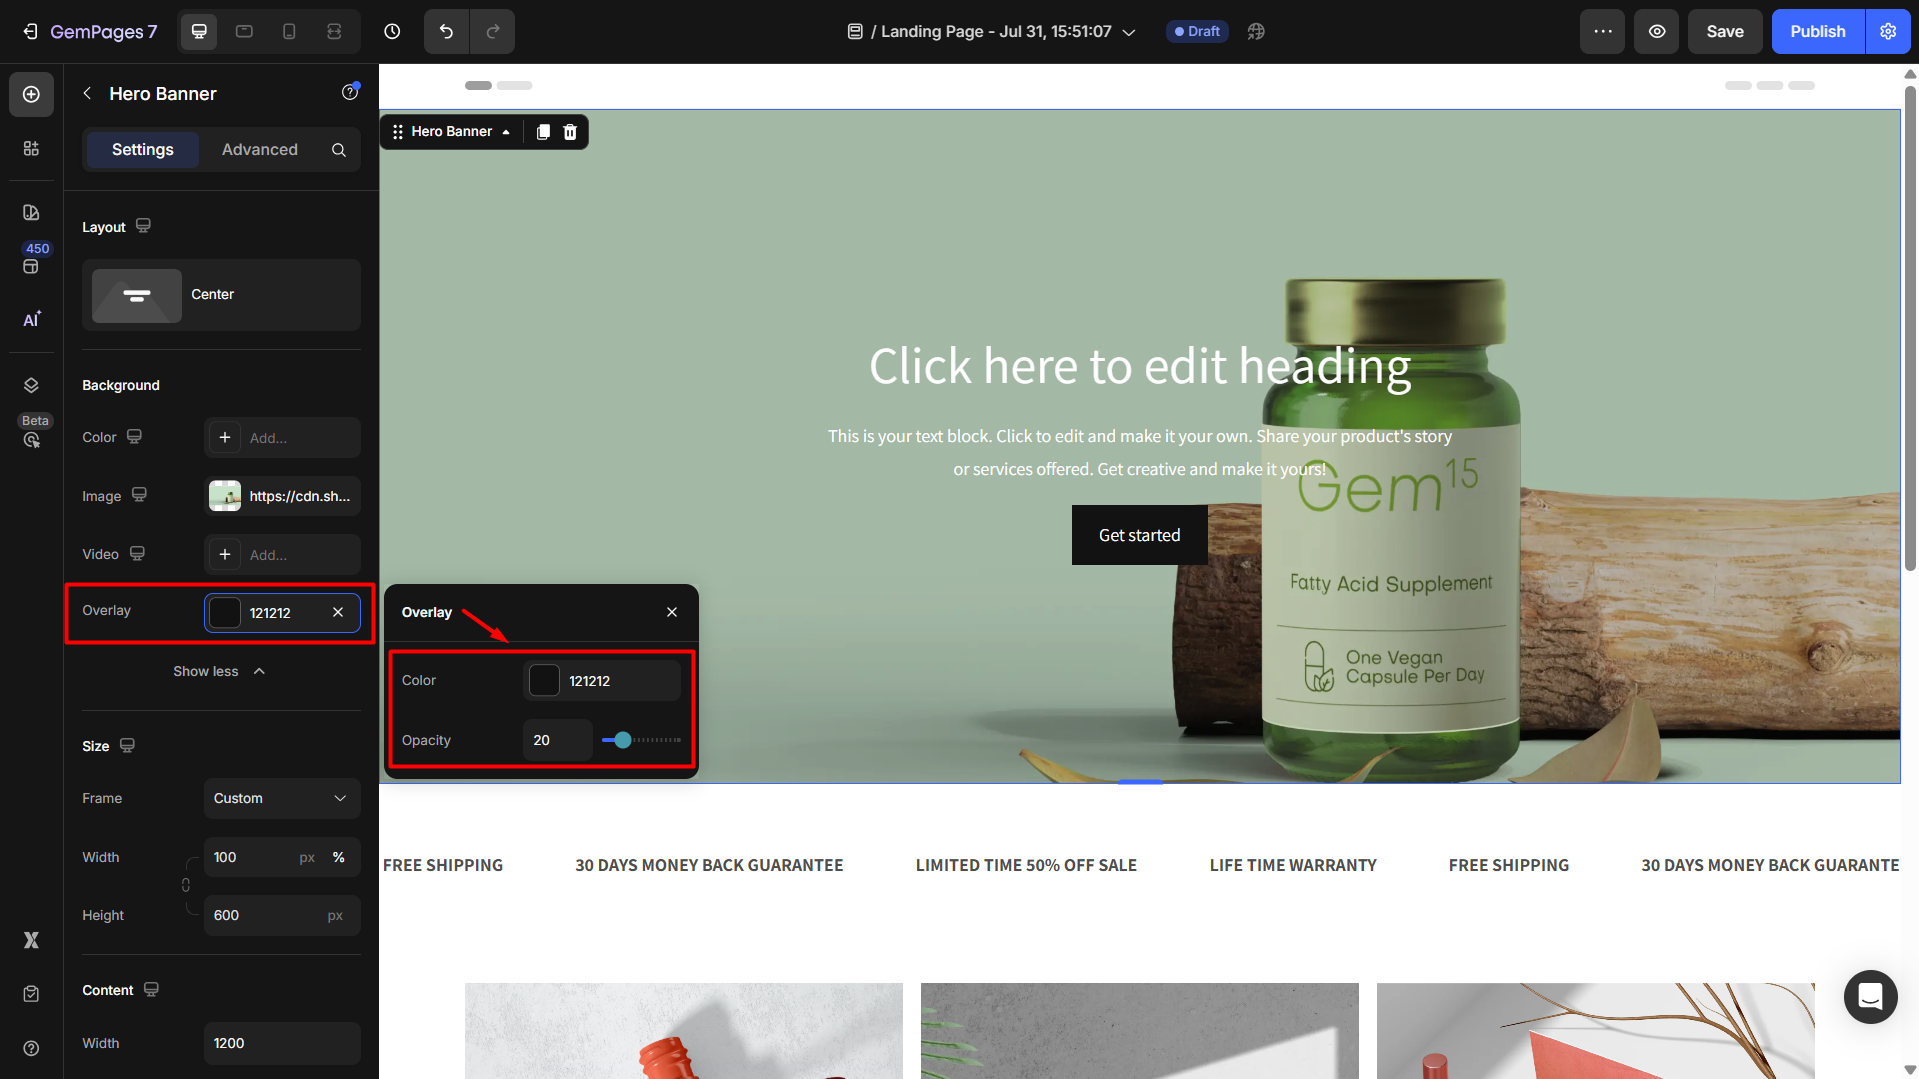
From here, you can select the overlay color and adjust the opacity.
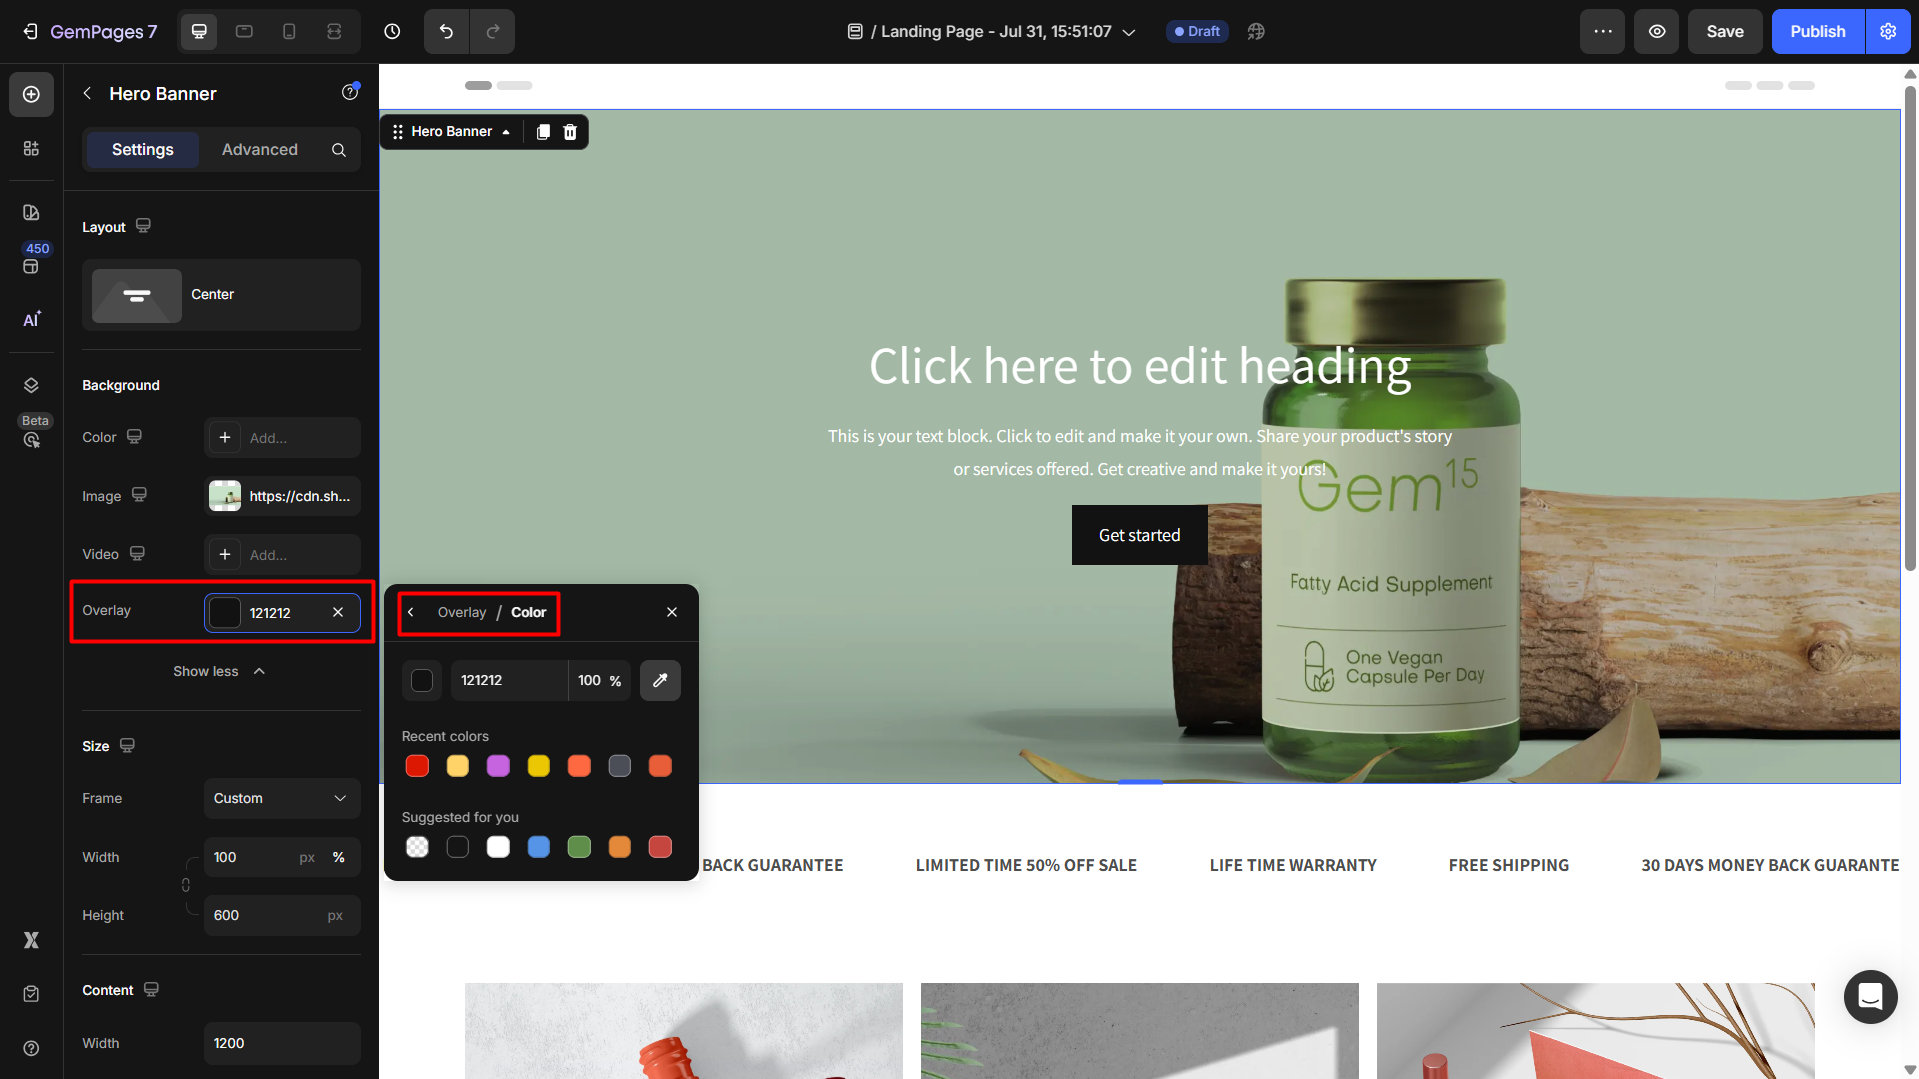
- Color: Choose a solid color to layer over your image. You can input a hex color code (e.g., #121212) or use the color picker to select one visually.
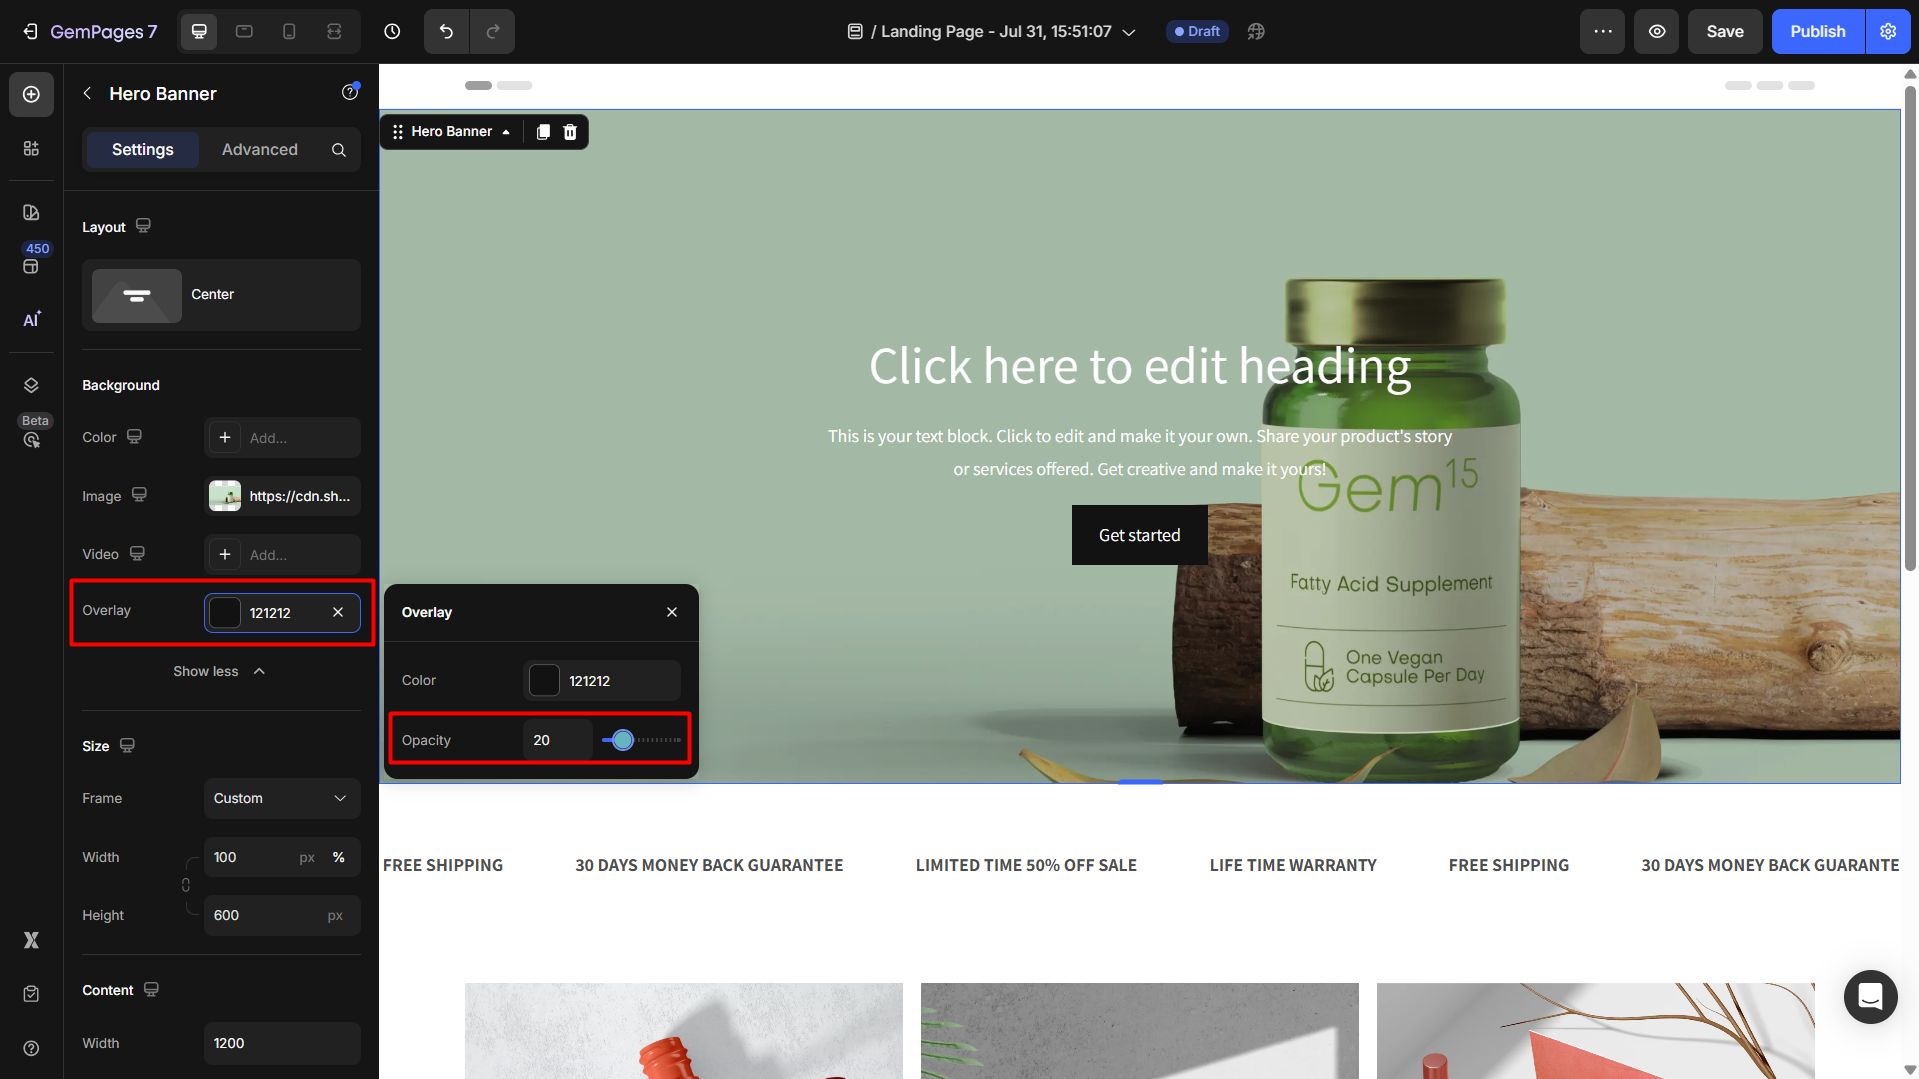
- Opacity: Adjust the opacity slider or enter an exact number to control how visible the overlay is. 0 means the overlay is fully transparent (invisible), while 100 means it completely covers the background image.
For example, Opacity = 20 will apply a subtle, semi-transparent overlay.
FAQs
1. Why should I use an overlay on my background image?
Overlay helps improve text readability by adding contrast between the background image and the text. It also creates a more professional and consistent visual style, especially for hero banners or promotional sections.
2. What is the best overlay color to use?
It depends on your background image and text color:
- Use dark overlays (e.g.,
#000000or#121212) when your text is light (white, cream, etc.). - Use light overlays (e.g.,
#FFFFFFwith low opacity) when your text is dark.
3. What opacity level should I set for best results?
We recommend:
- 15–30% opacity for a subtle effect
- 30–50% opacity if the background image is busy or colorful
Adjust the slider while previewing to see what works best for your content.
4. Can I use gradient overlays?
At the moment, GemPages V7 only supports a solid color overlay on image backgrounds. For gradient effects, consider editing your image in a design tool (e.g., Figma, Canva) before uploading.
5. Why isn’t the overlay showing on my Hero Banner?
If the overlay effect is not shown on your image, check the following:
- Ensure an image has been added under Background > Image.
- Make sure the overlay color and opacity are not set to fully transparent (e.g.,
#000000with 0 opacity).
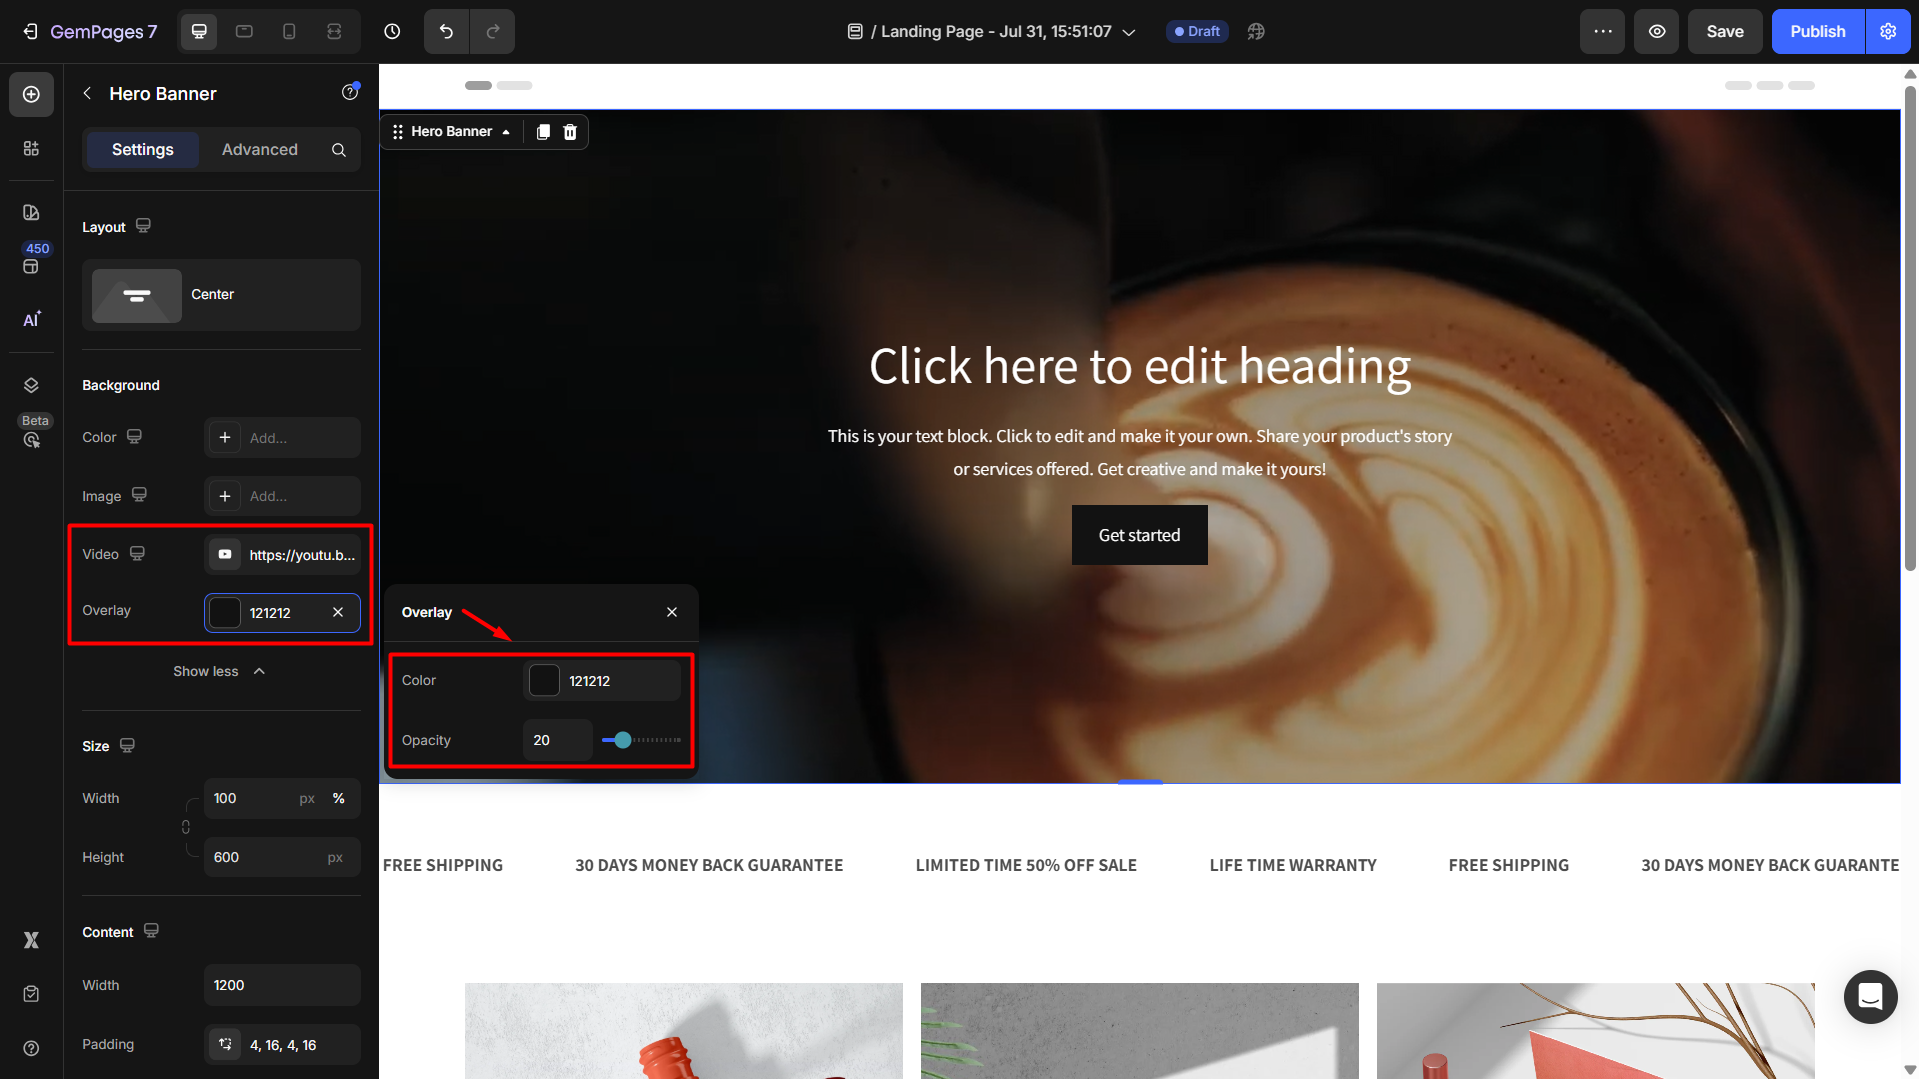
6. Does the overlay apply to video backgrounds?
Yes. In GemPages v7, the overlay effect works for both image and video backgrounds in the Hero Banner element.
The settings are the same:
- You can select an overlay color.
- Adjust the opacity to control how much of the video shows through.


Thank you for your comments