Why Display Payment Icons Below the Add to Cart Button?
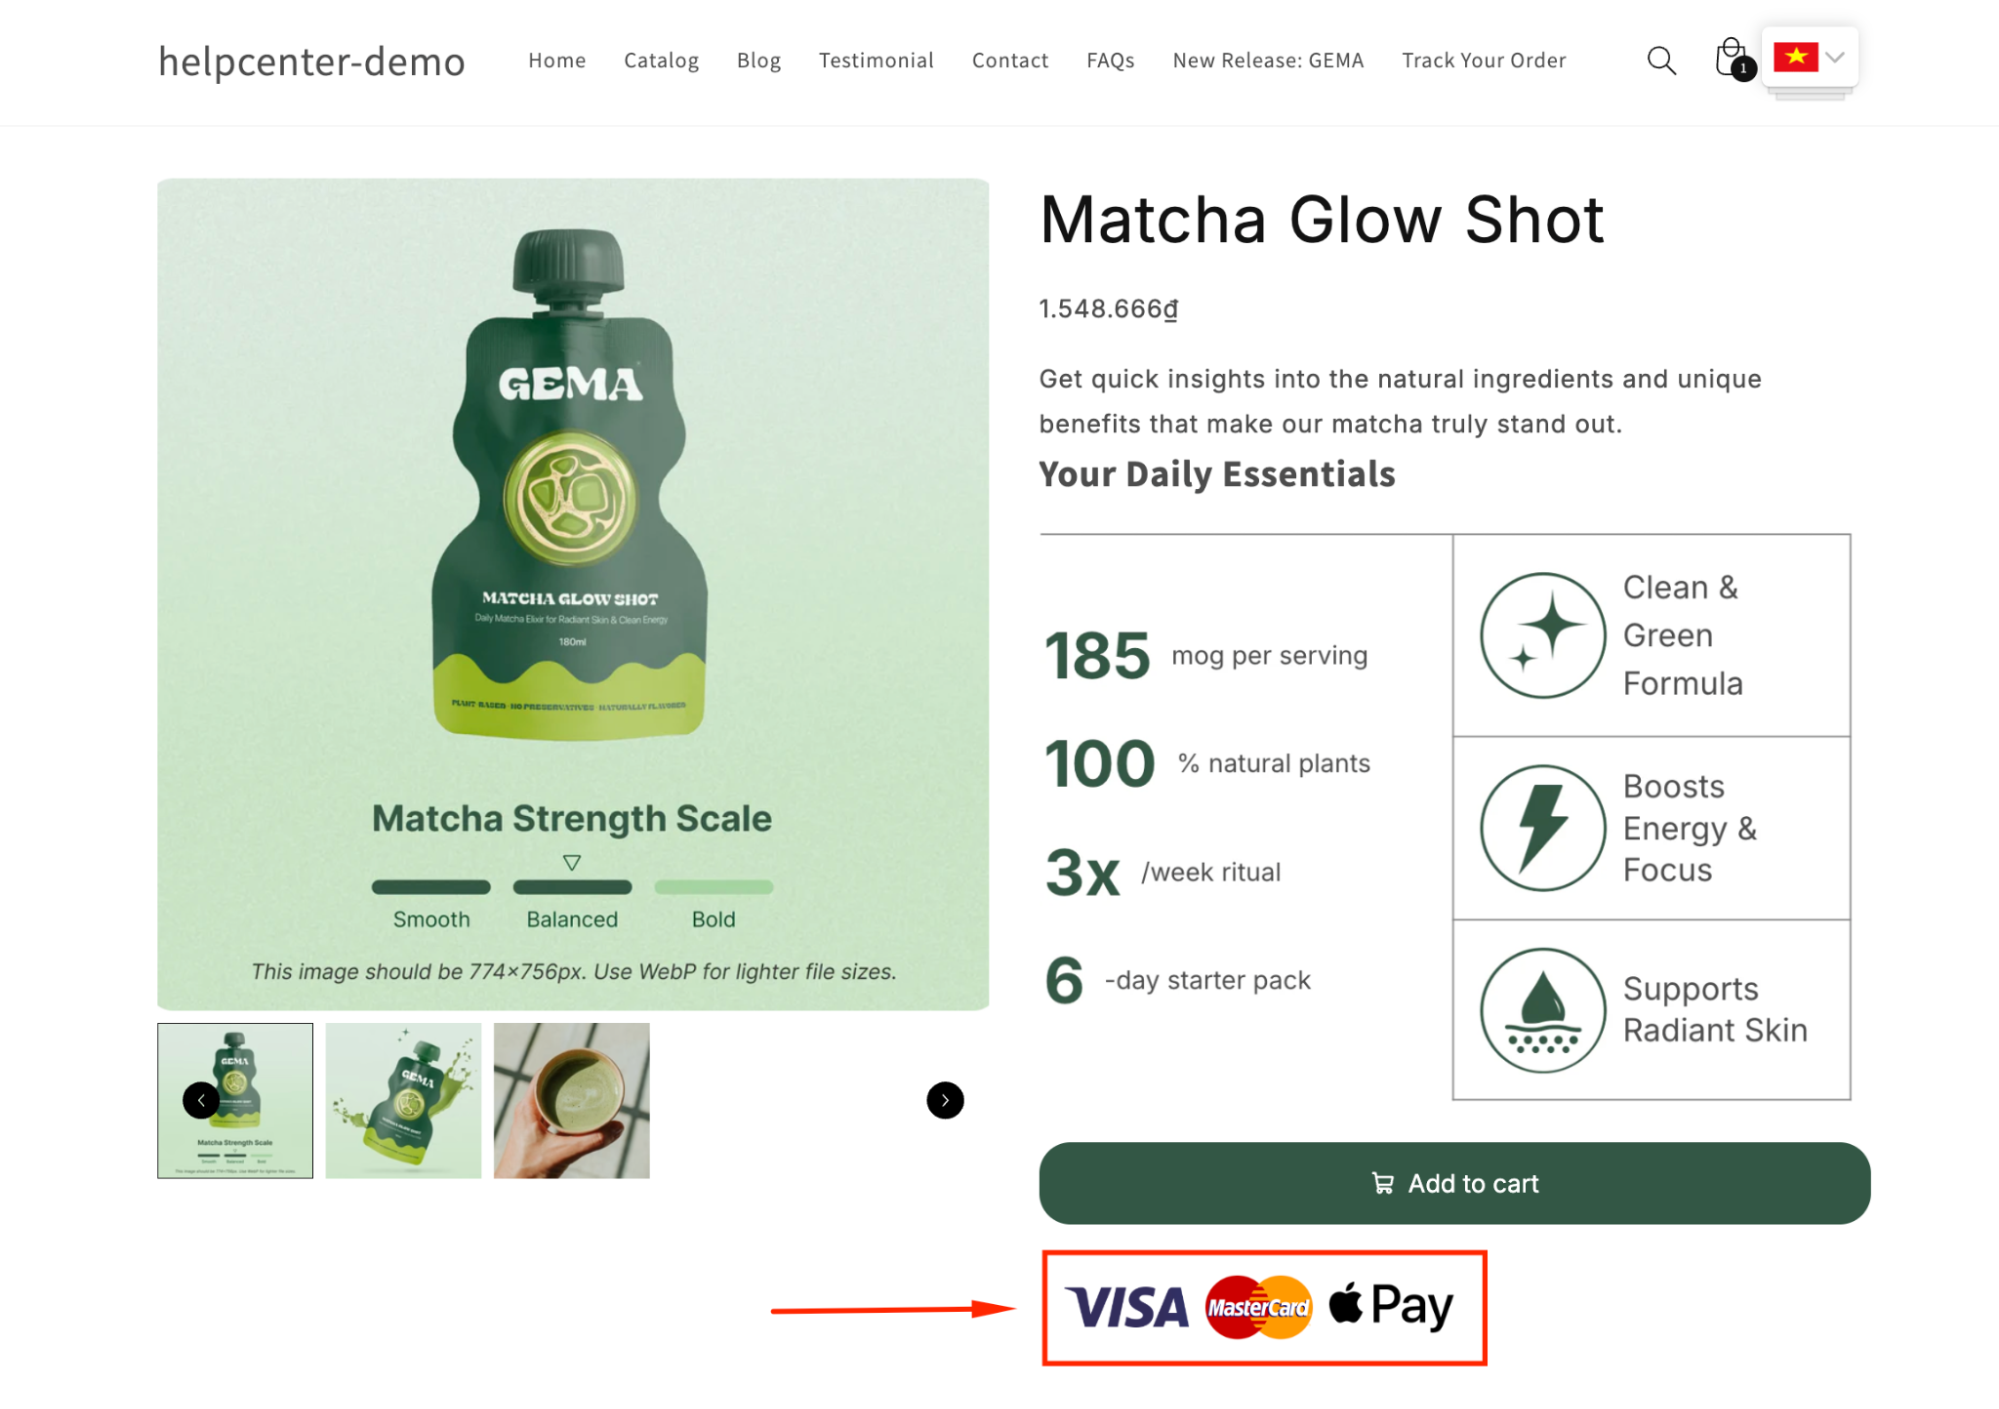
Adding payment method icons right below the Add to Cart button is a simple yet powerful way to increase customer confidence and drive more conversions.
Here’s why it matters:
- Build Trust: Customers feel more secure knowing their preferred payment methods are accepted.
- Boost Conversions: A smooth, transparent checkout process encourages buyers to complete their purchases.
- Improve User Experience: Placing icons near the Add to Cart button ensures customers are informed at a glance.
How to Add Payment Icons Under the Add to Cart Button?
Follow these simple steps to add payment icons to your GemPages layout:
Step 1: Add a Row Element
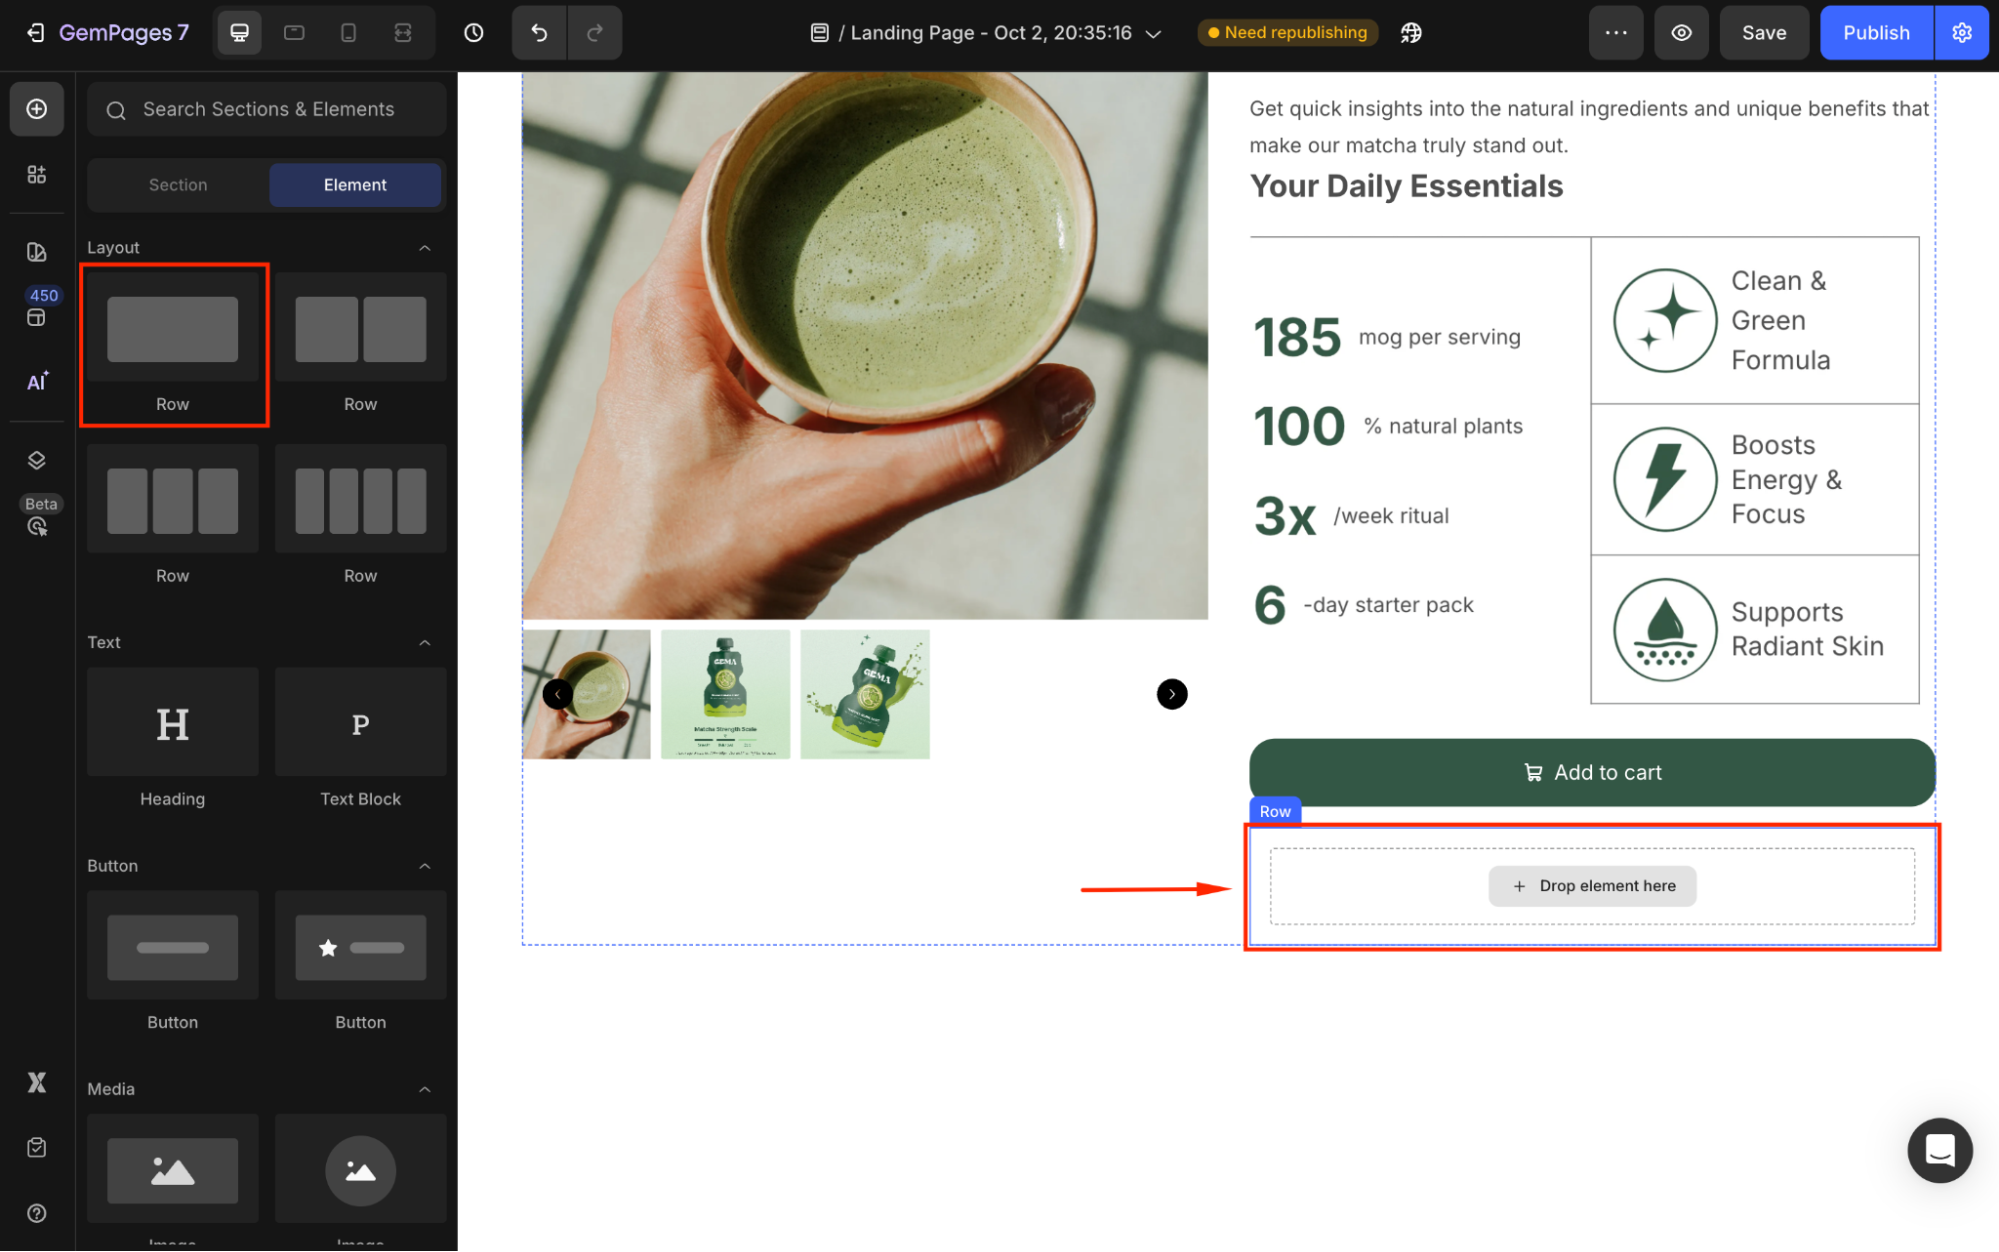
Step 1: Drag and drop a Row Element directly below the Add to Cart button on your GemPages page.
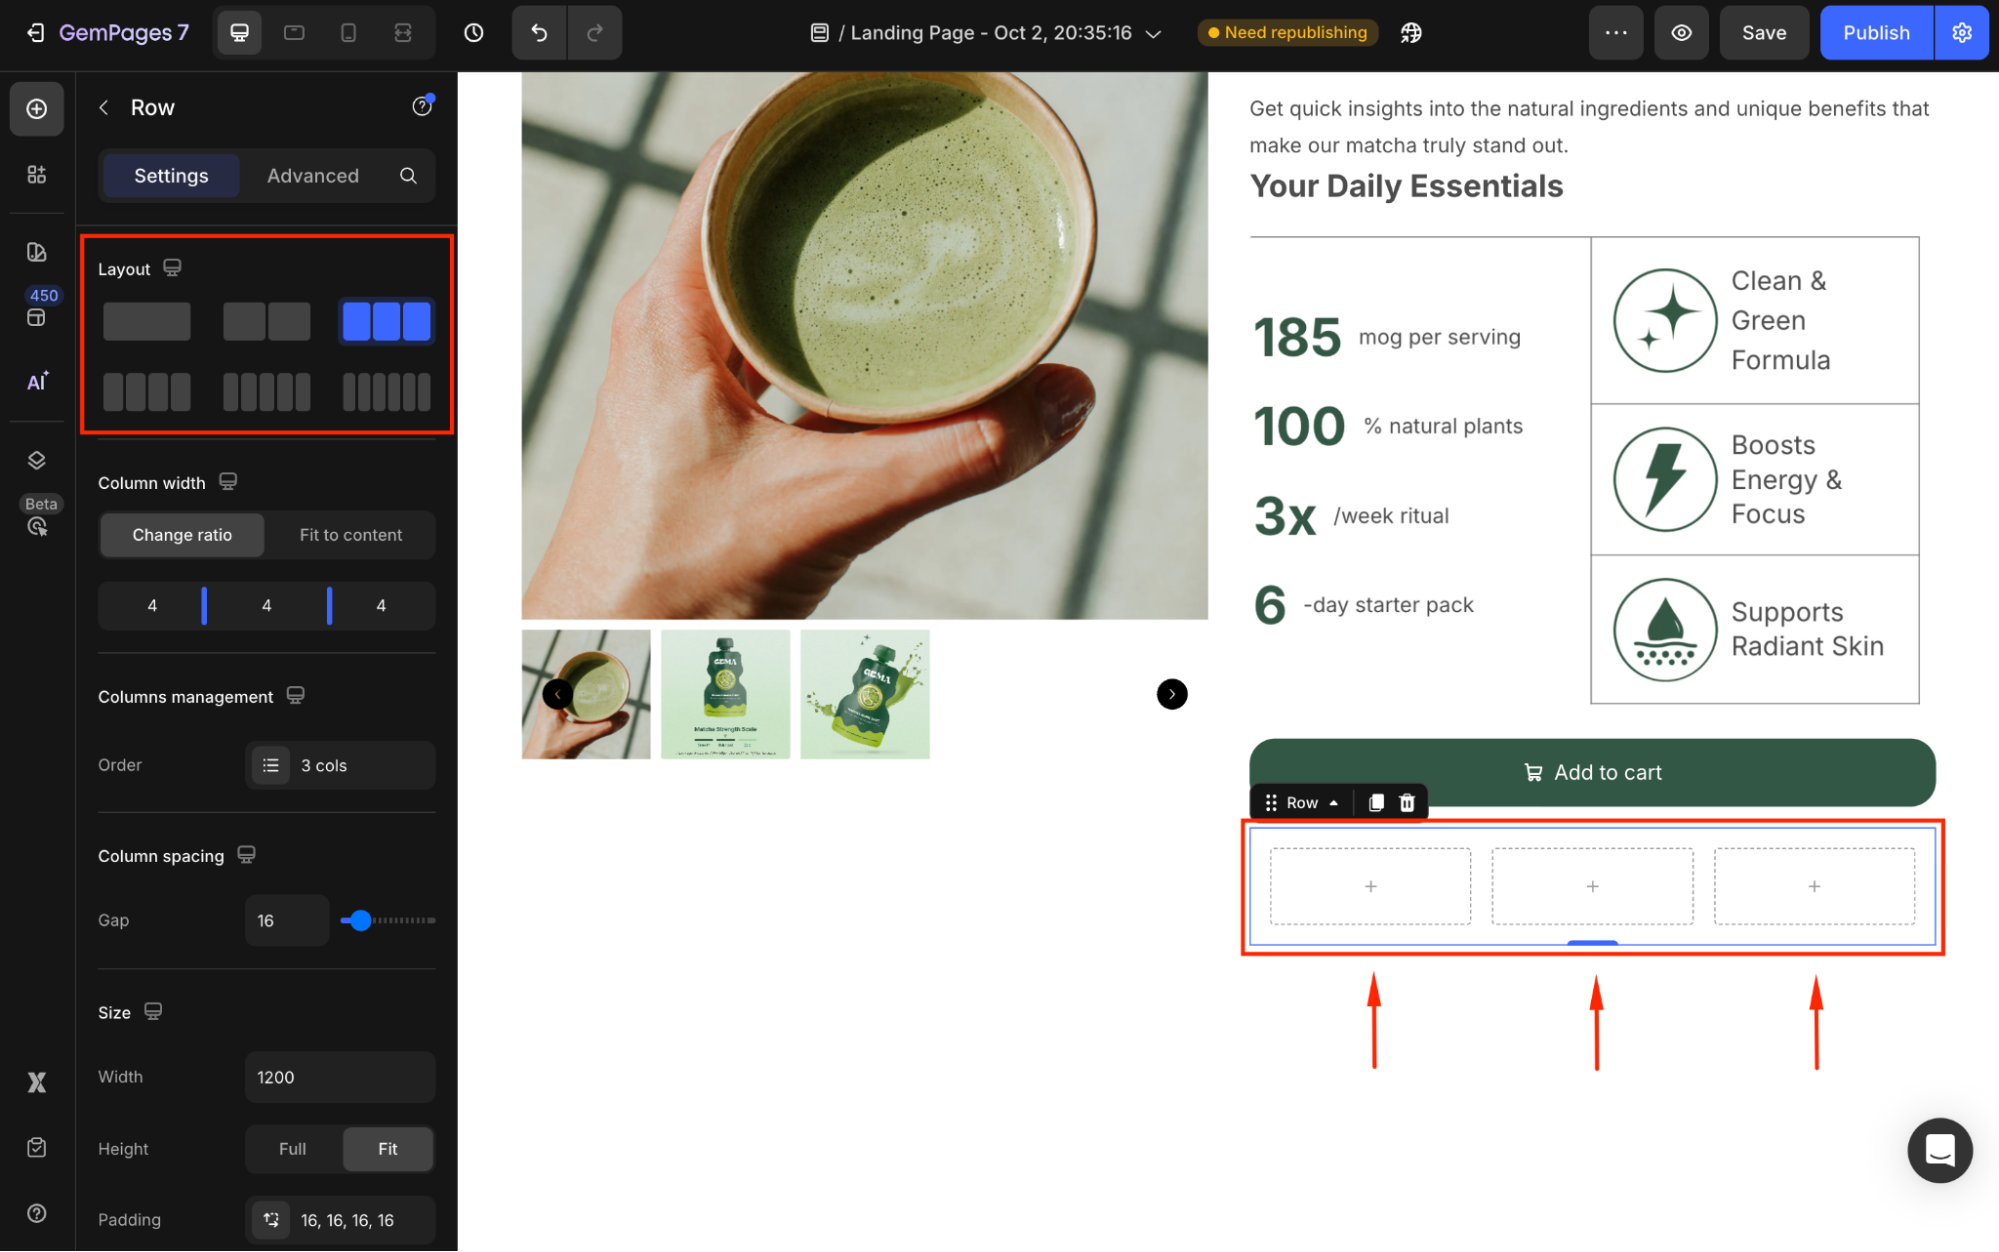
Under the Layout section, select the number of columns in the row based on the number of payment icons you plan to display (e.g., 3 columns for 3 icons).
Step 2: Choose how to add payment icons
You have two options to add payment icons:
Option 1: Use Image Elements
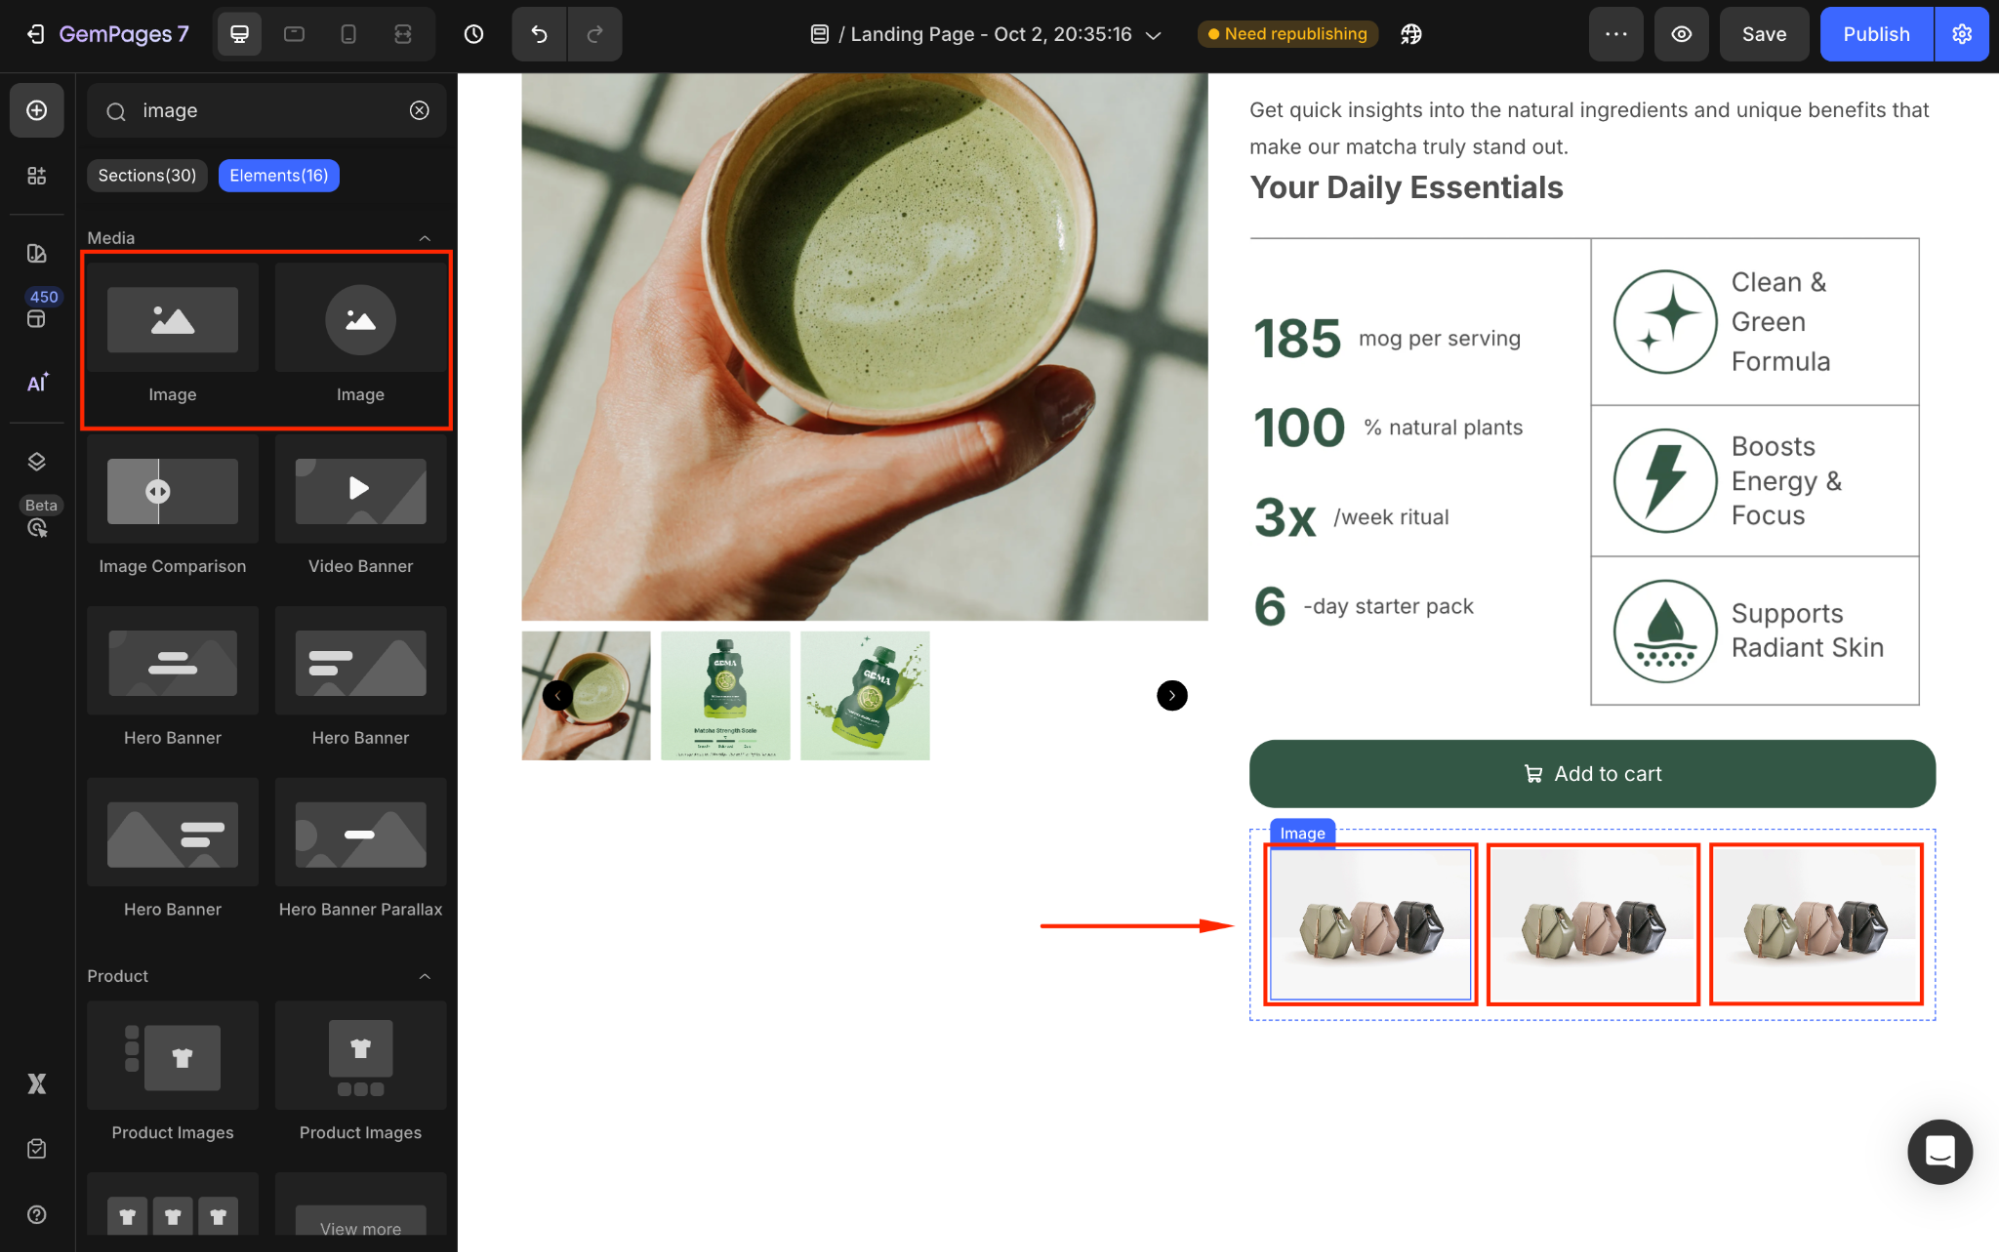
- Use the search bar to locate the Image Element. Then, drag and drop Image Elements into each column of the row.
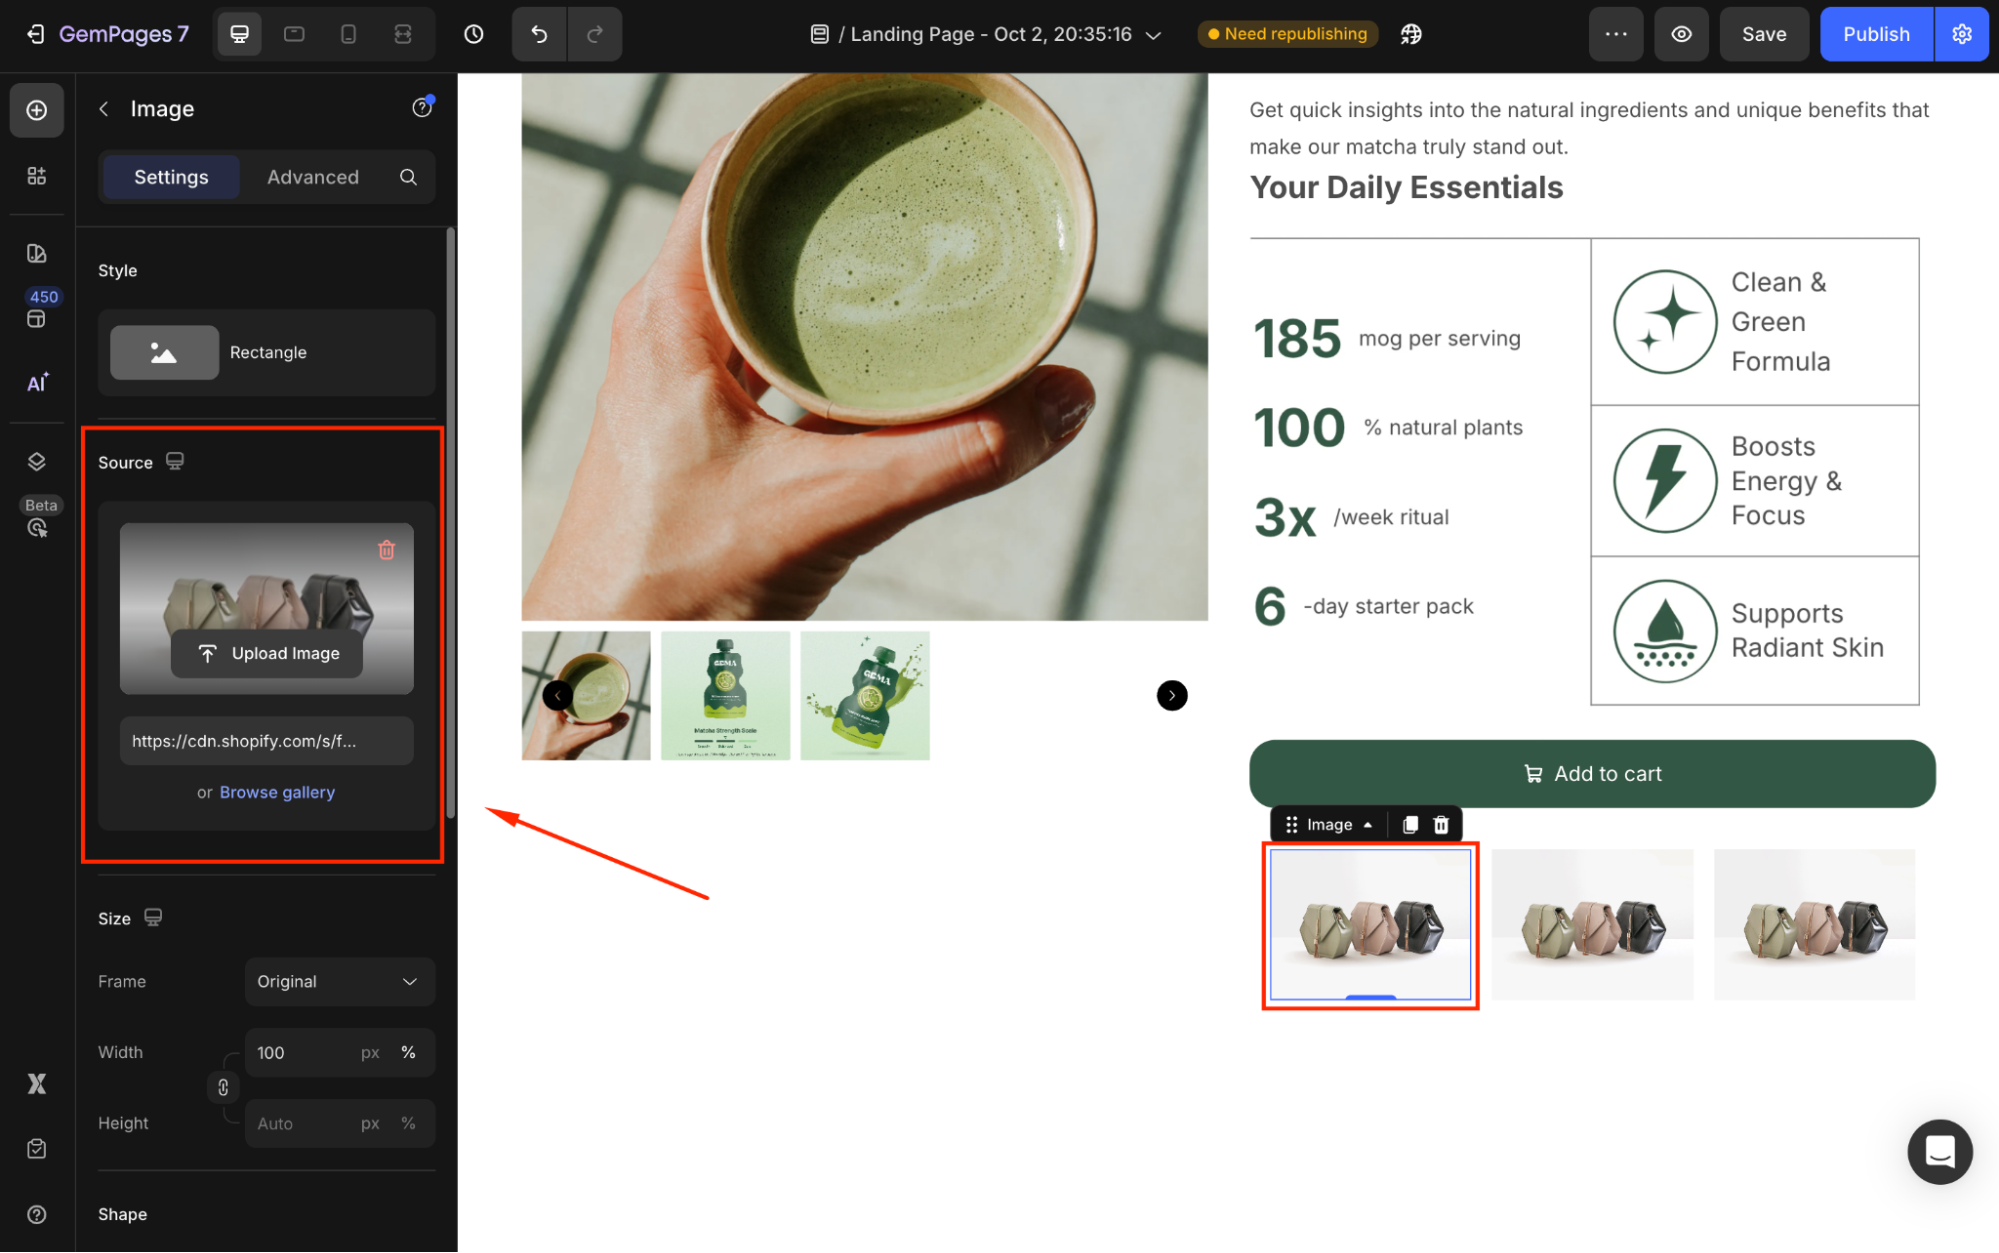
- Under the Source section, upload your preferred payment icon (e.g., Visa, Mastercard, PayPal). If you’ve already uploaded the images to your Shopify, you can hit Browse gallery to select from the library.
- Customize the appearance and layout of the images using the Settings and Advanced tabs.
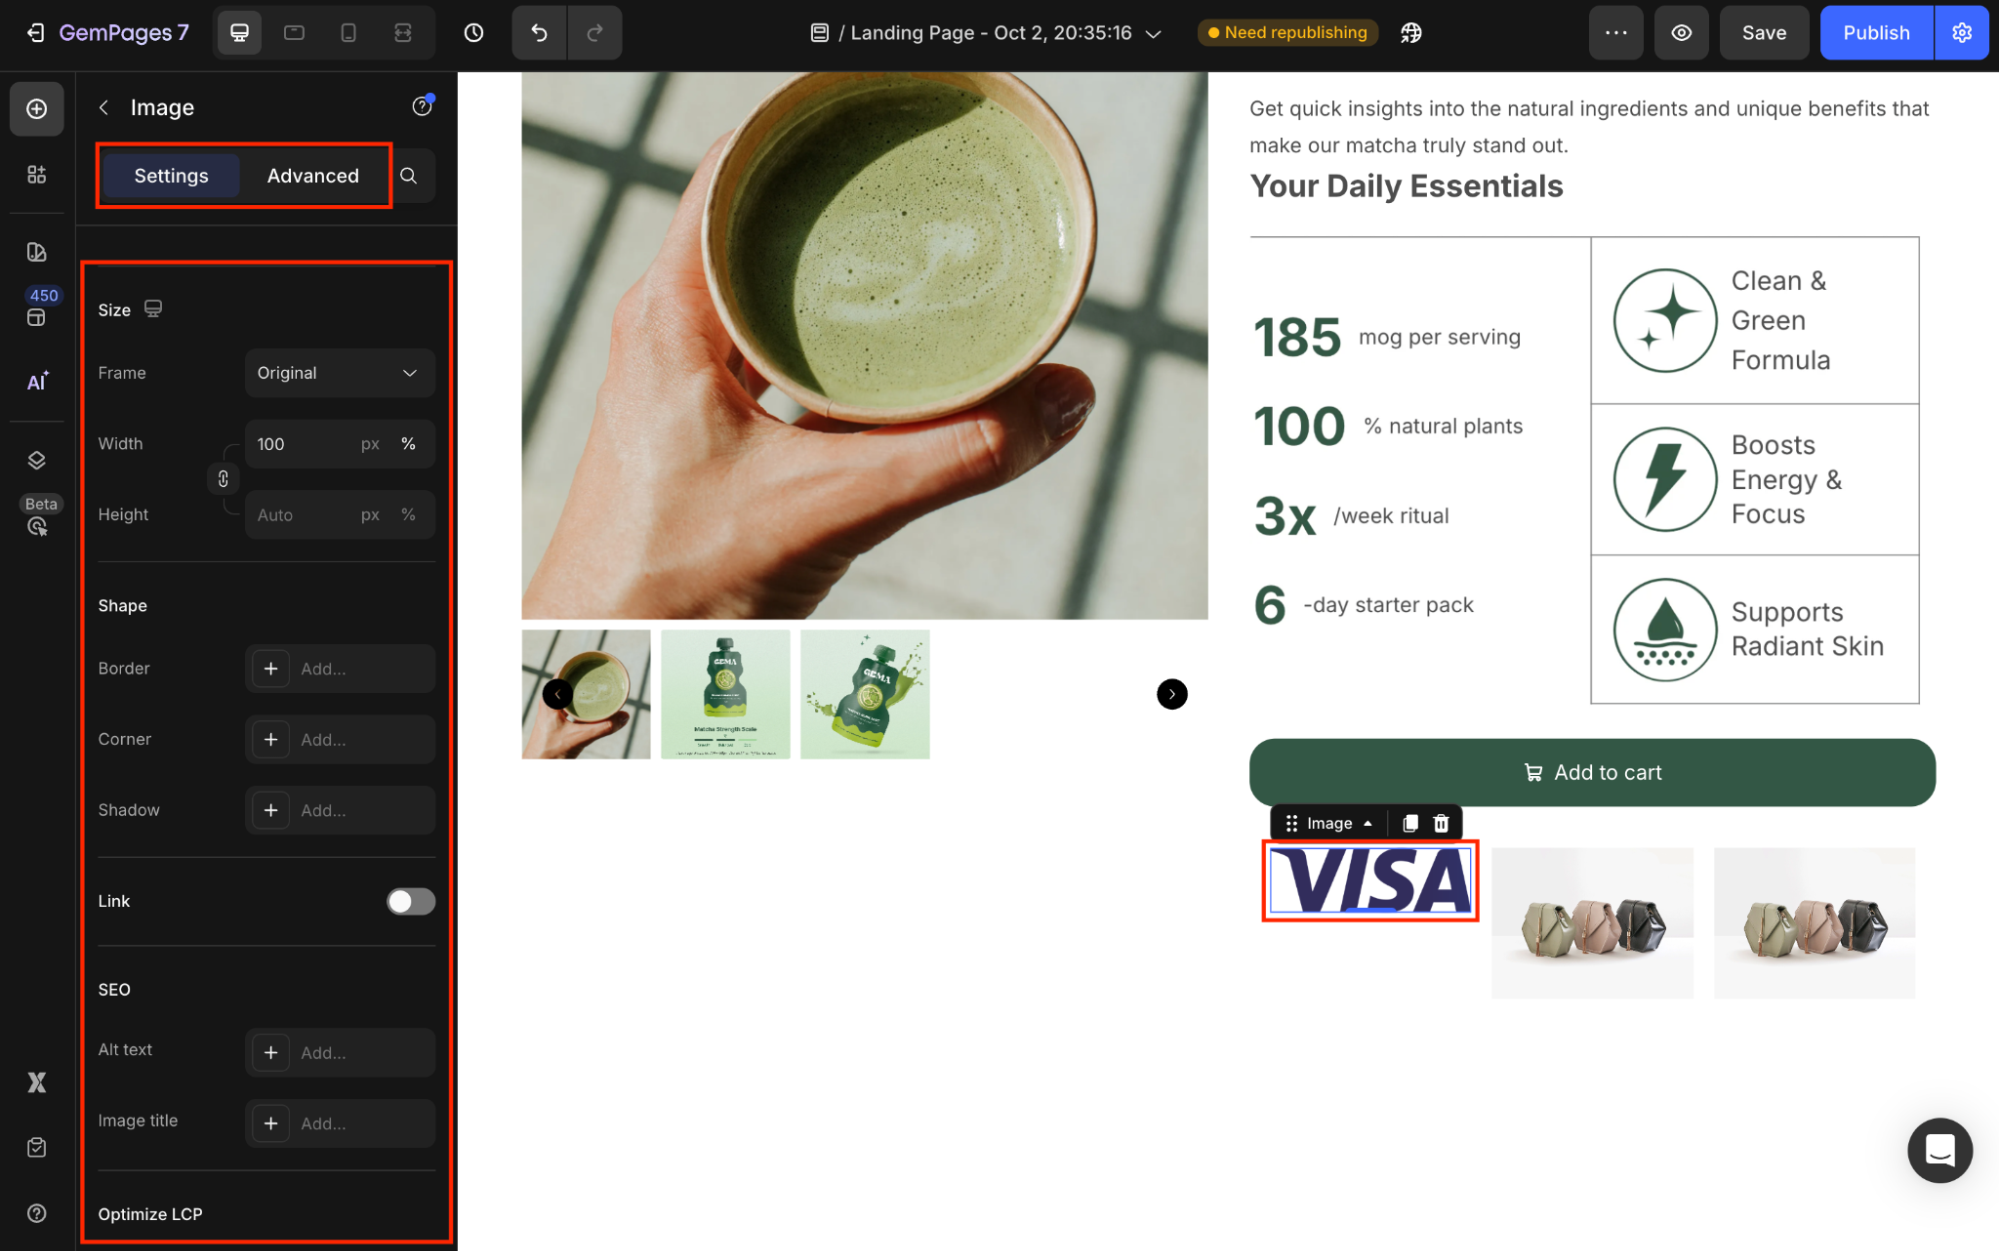
For detailed instructions on image settings, refer to this article.
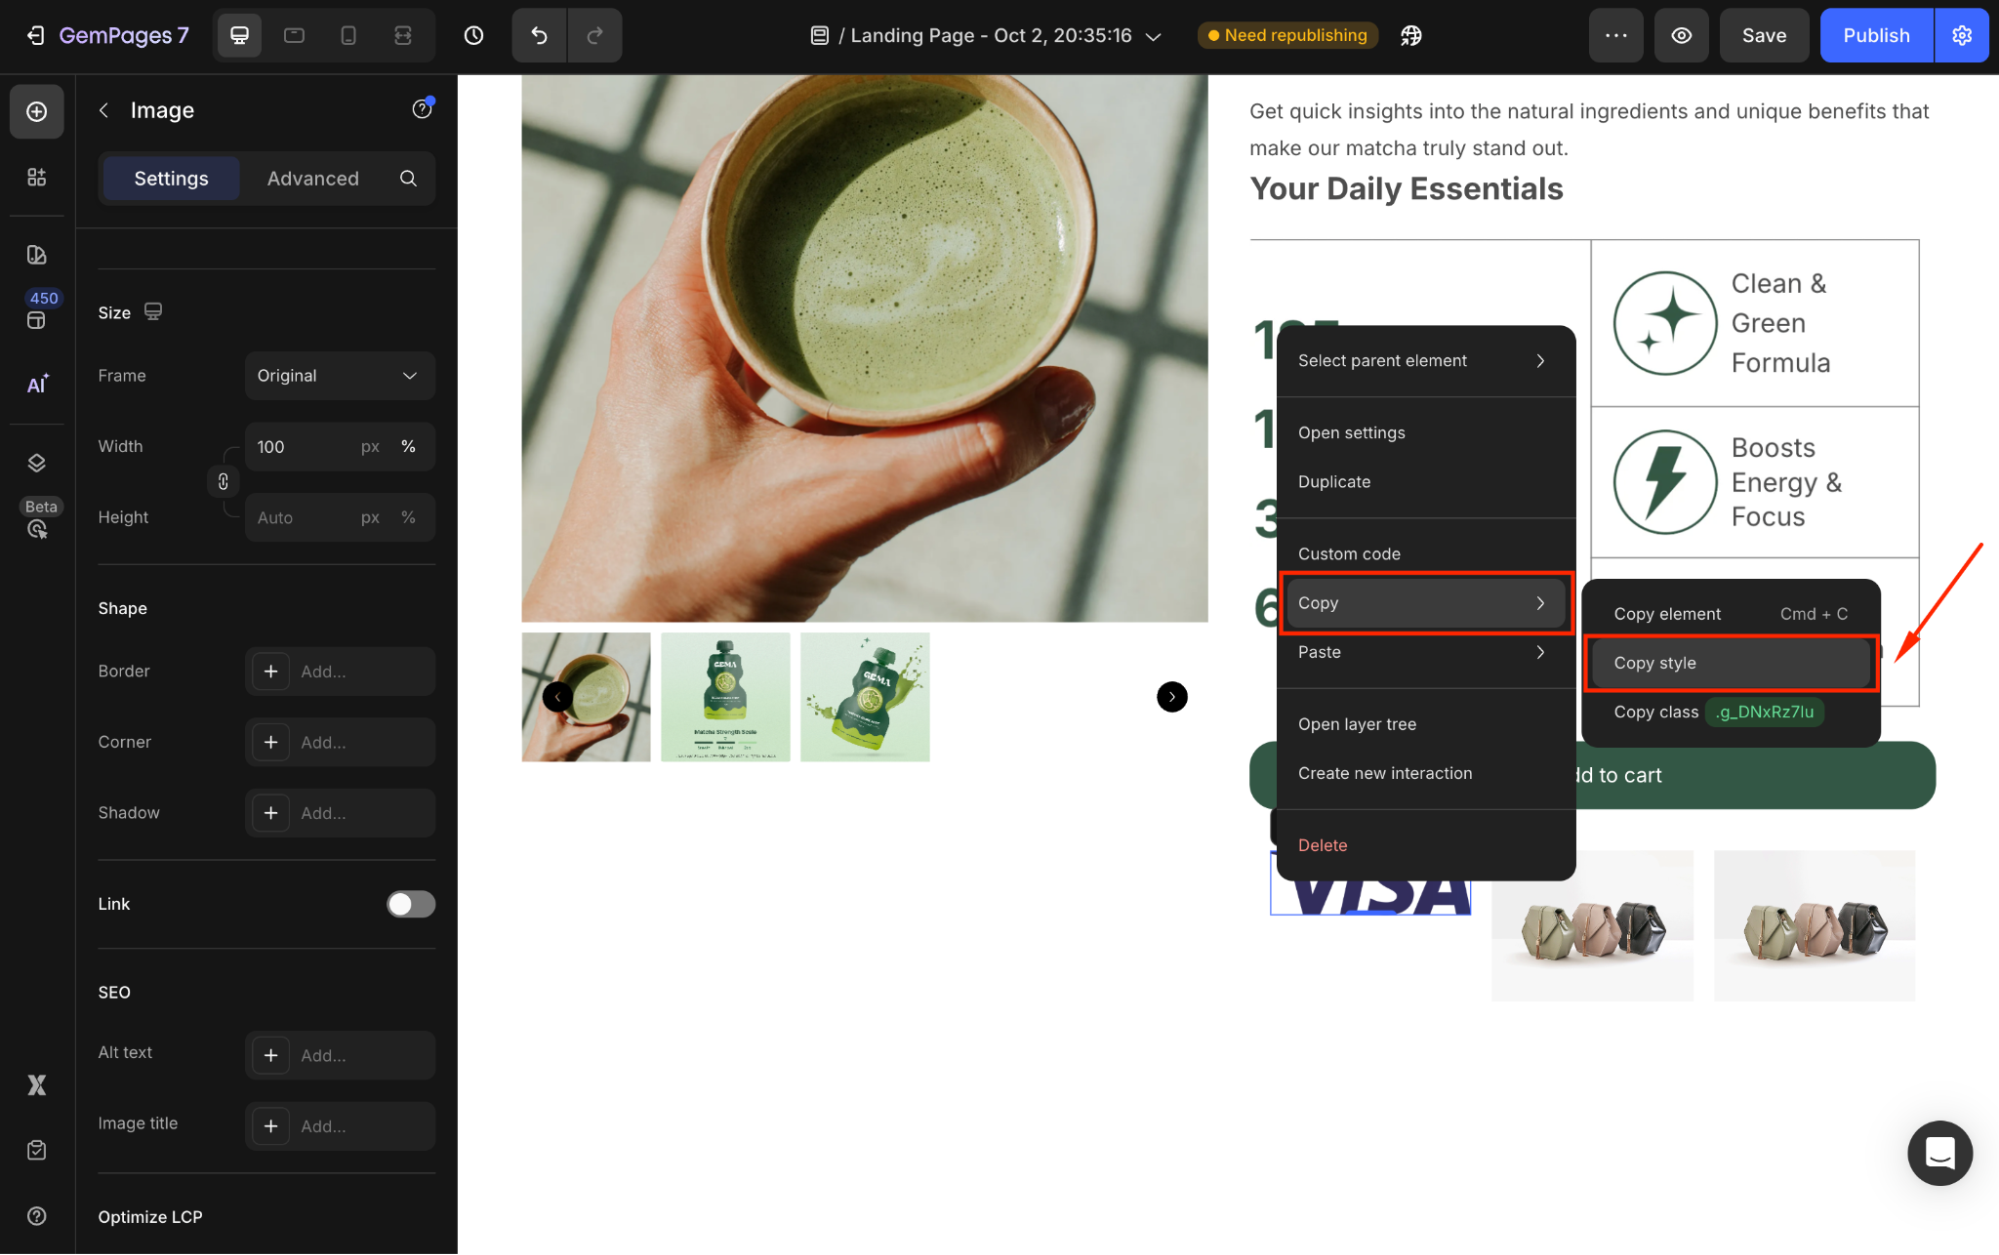
- Repeat the process for all other icons. To save time and effort, you can right-click and select Copy > Copy style to duplicate the image element and replace the images for each column.
Option 2: Use Icon Elements
- Use the search bar to locate the Icon Element. Then, drag and drop Icon Elements into each column of the row.
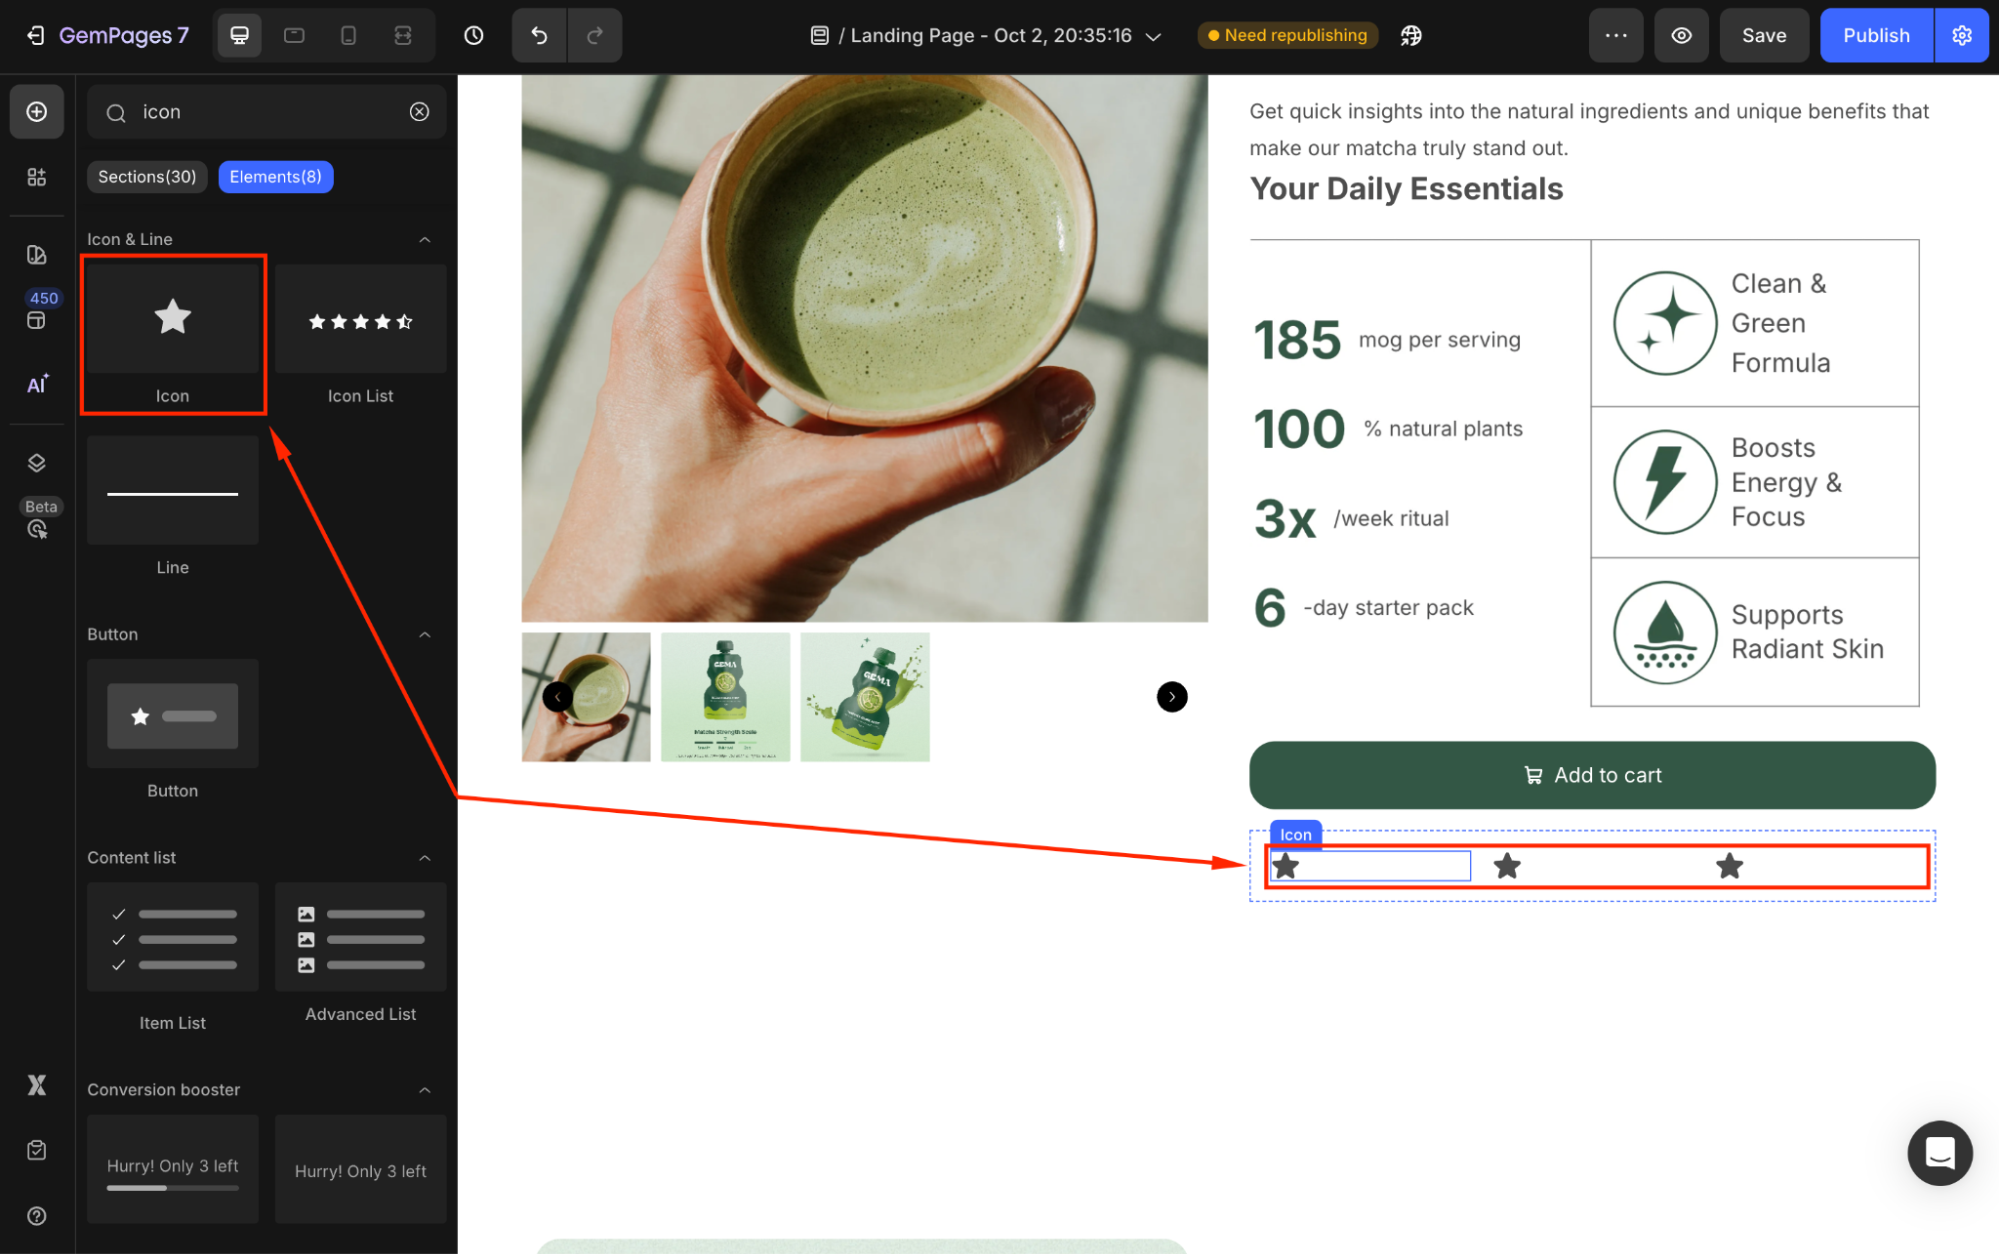
- Choose from the pre-installed icons or upload your payment icons in SVG format.
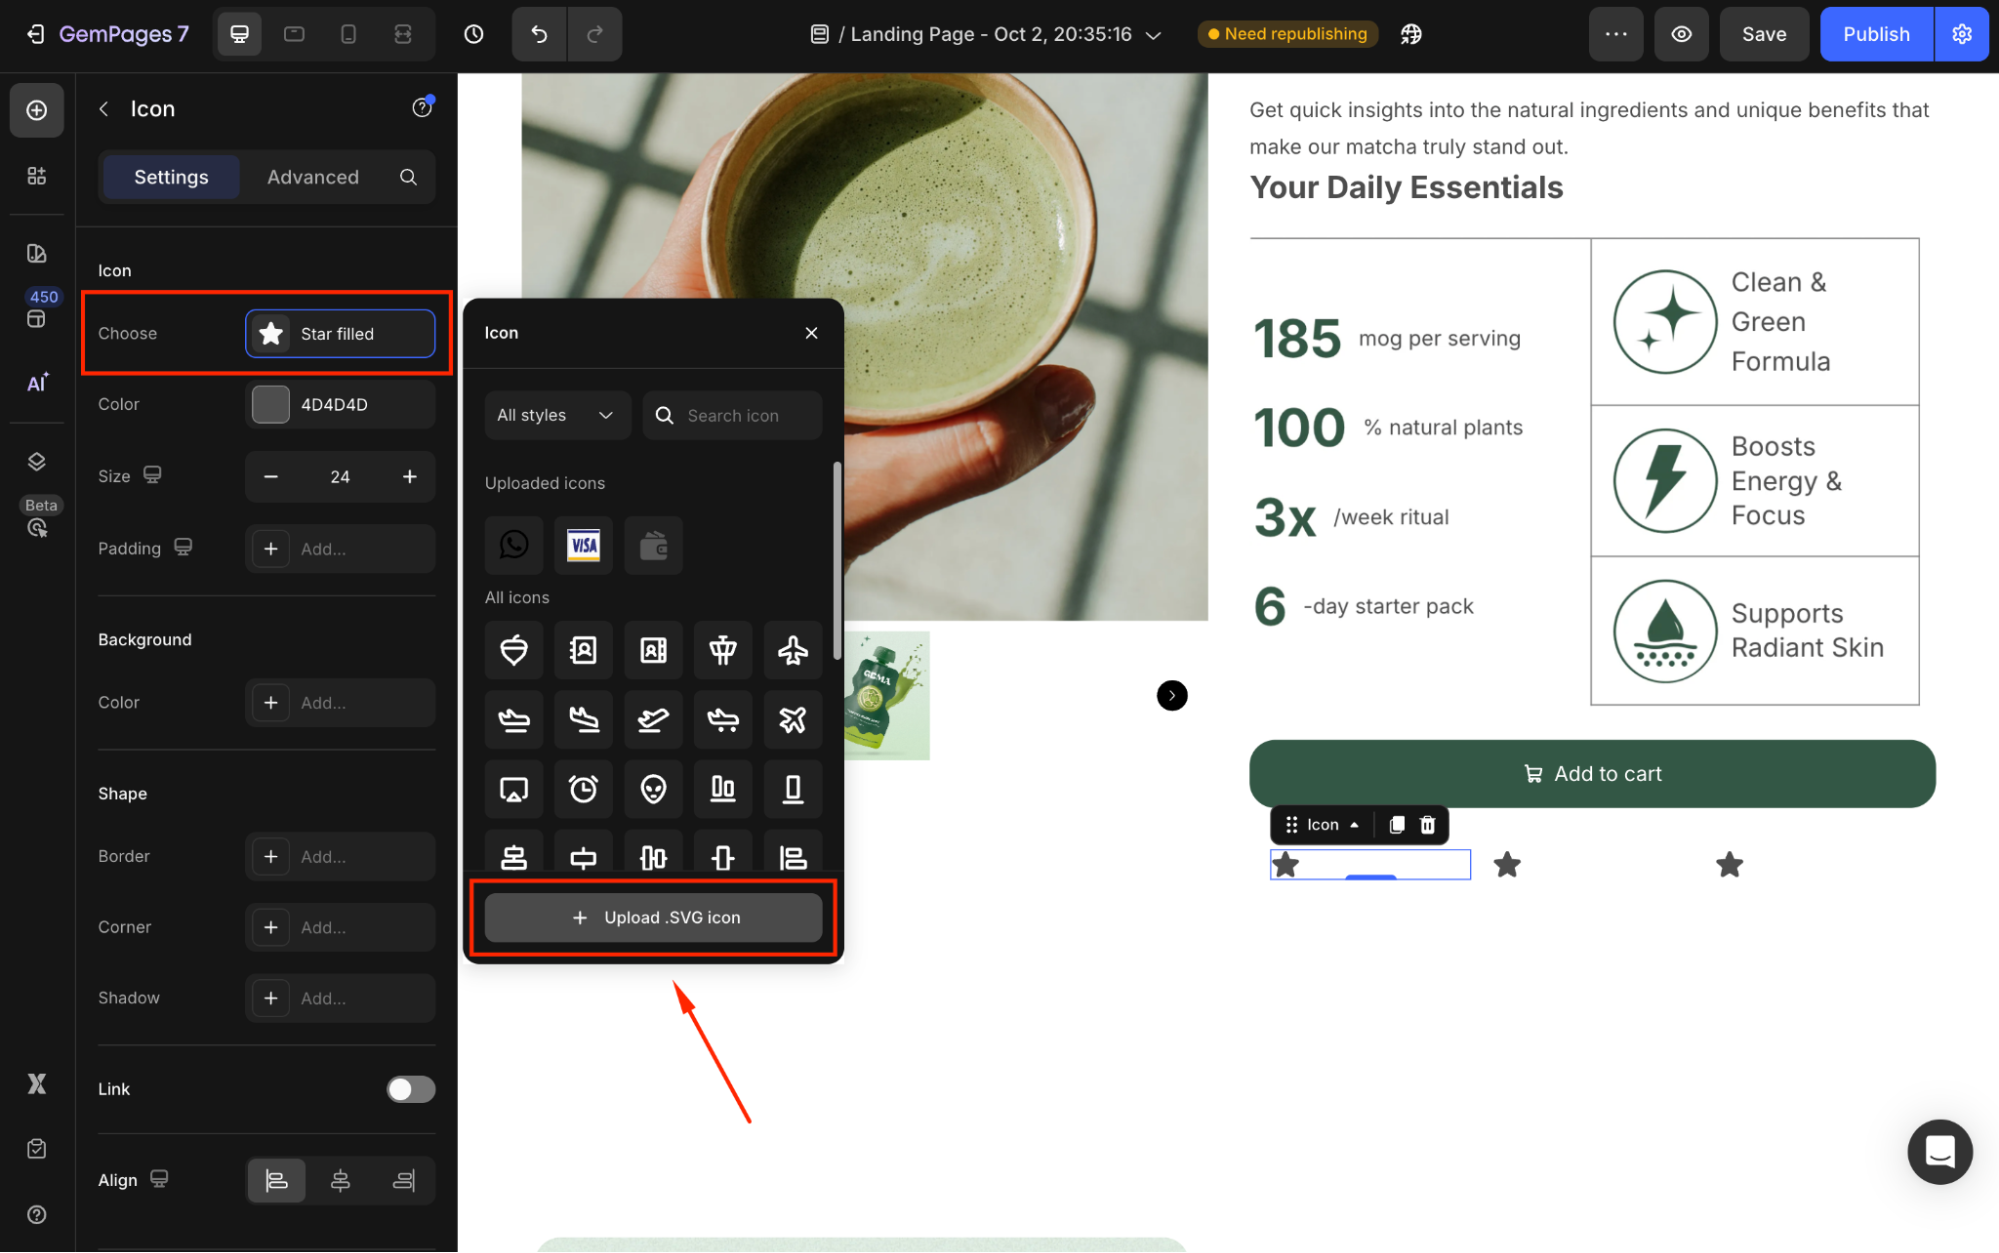
- Adjust the size, alignment, and style of the icons to match your design.
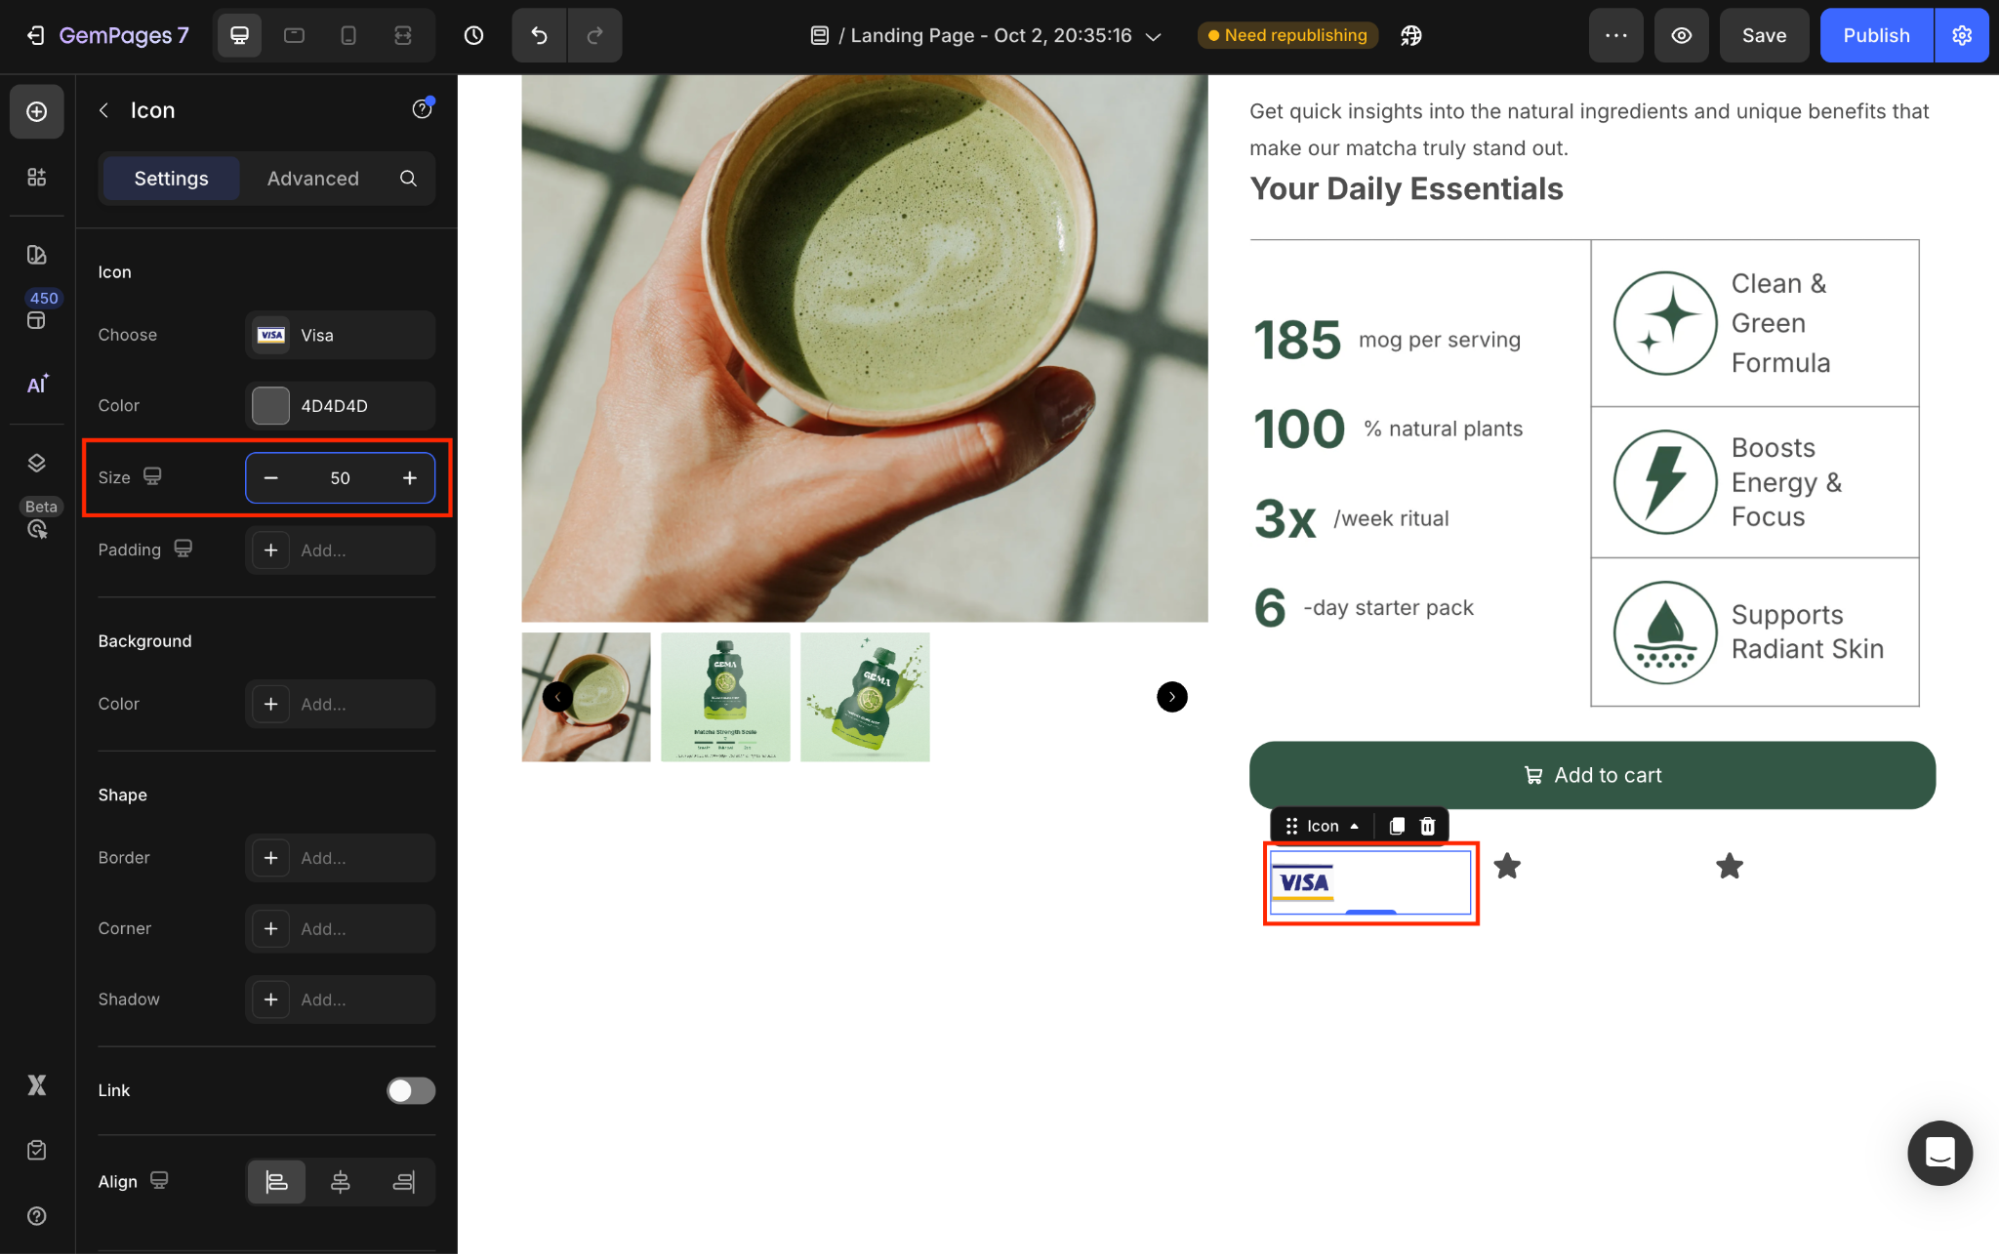
For detailed instructions on icon settings, refer to this article.
- Repeat the process for the remaining columns in the row.
Step 3: Save and publish
Once done, save your updates and preview your page to check the result before publishing. If you’re satisfied with the results, hit Publish to apply these changes to your live page.


Thank you for your comments