


What is the Related Product Element?
The Related Product element allows you to show items that are either similar to or complement the main product a customer is viewing. For example, if a shopper is looking at a shirt, the related product element can recommend pants, jackets, or other shirts in the same collection.
Key benefits:
- Improved customer experience: Makes it easier for shoppers to discover items they might also like.
- Boosted sales and AOV: Encourages add-ons or upgrades, driving higher order values.
- Cross-sell and upsell opportunities: Suggest complementary items (cross-sell) or upgraded versions (upsell).
How to Add Related Products in Shopify with GemPages
The Related Products element in GemPages lets you display dynamic suggestions on your product pages. You can show products from the same collection, vendor, or tags — ensuring that recommendations are always relevant.
Step 1: Prepare related product sources in Shopify
Before adding the element in GemPages, make sure your products are properly organized in Shopify.
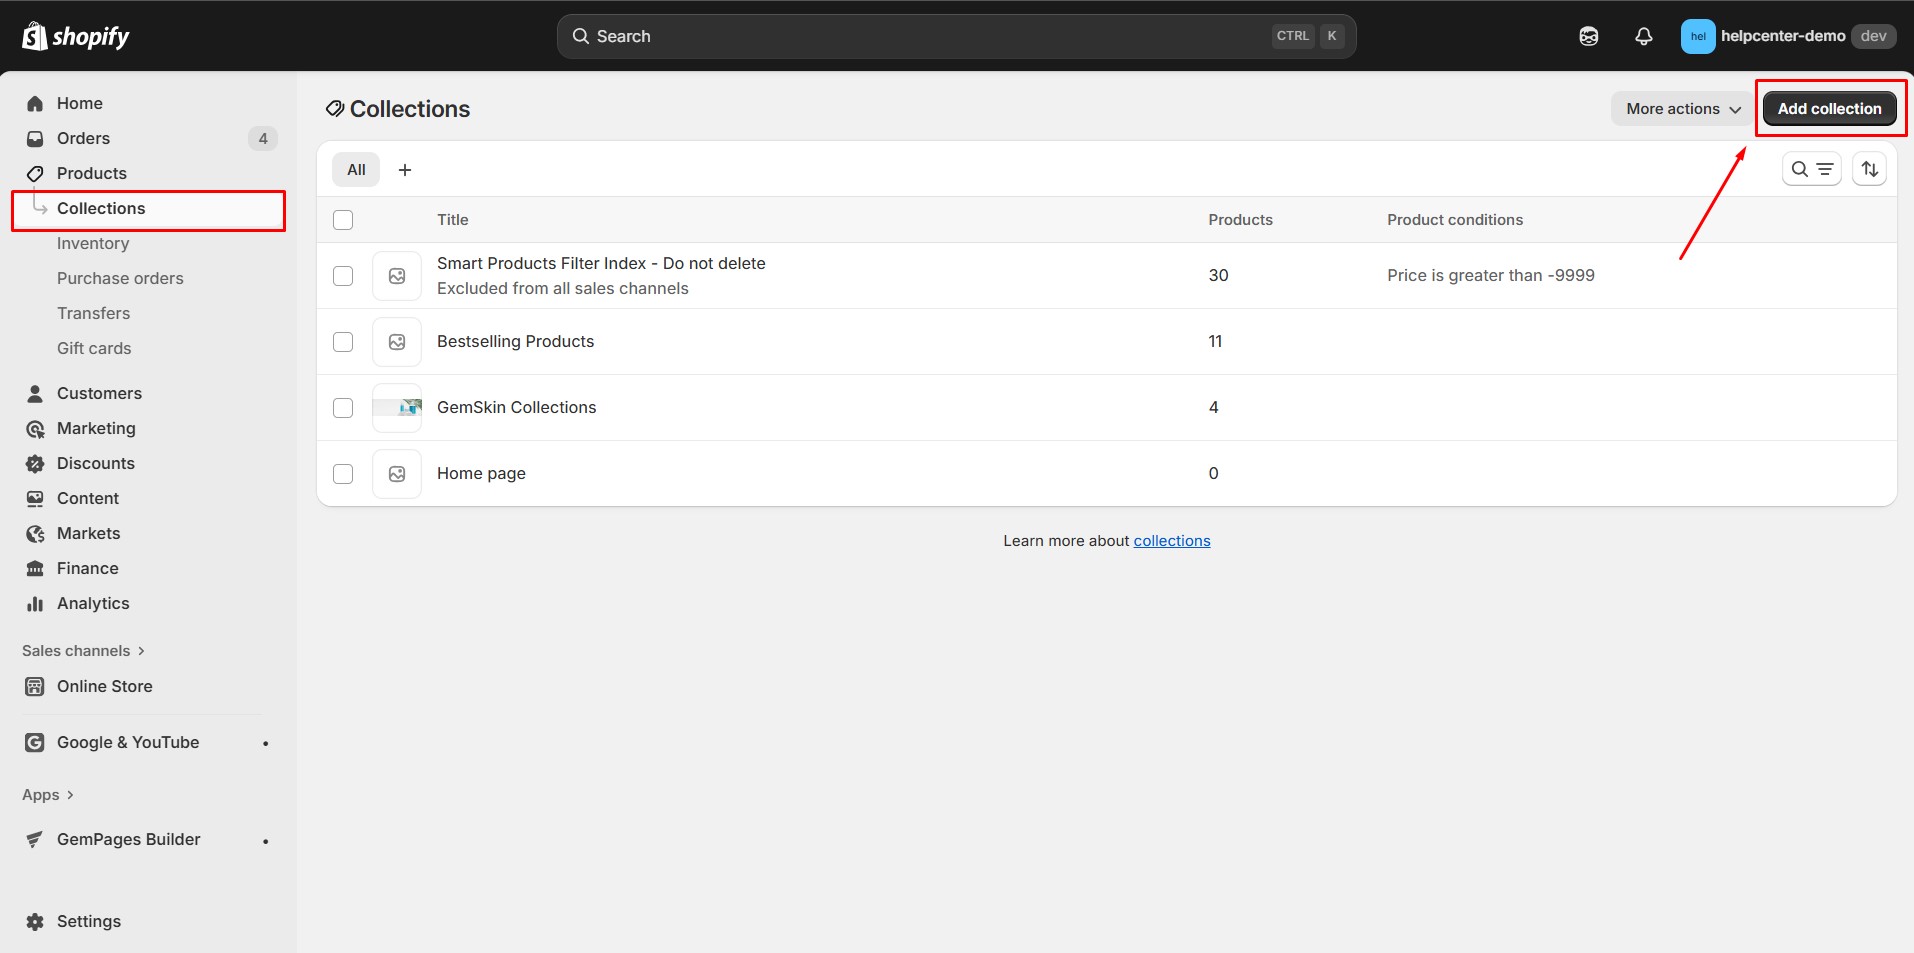
- To create a collection:
Go to Shopify Admin > Products > Collections > Create Collection. Add details and click Save.
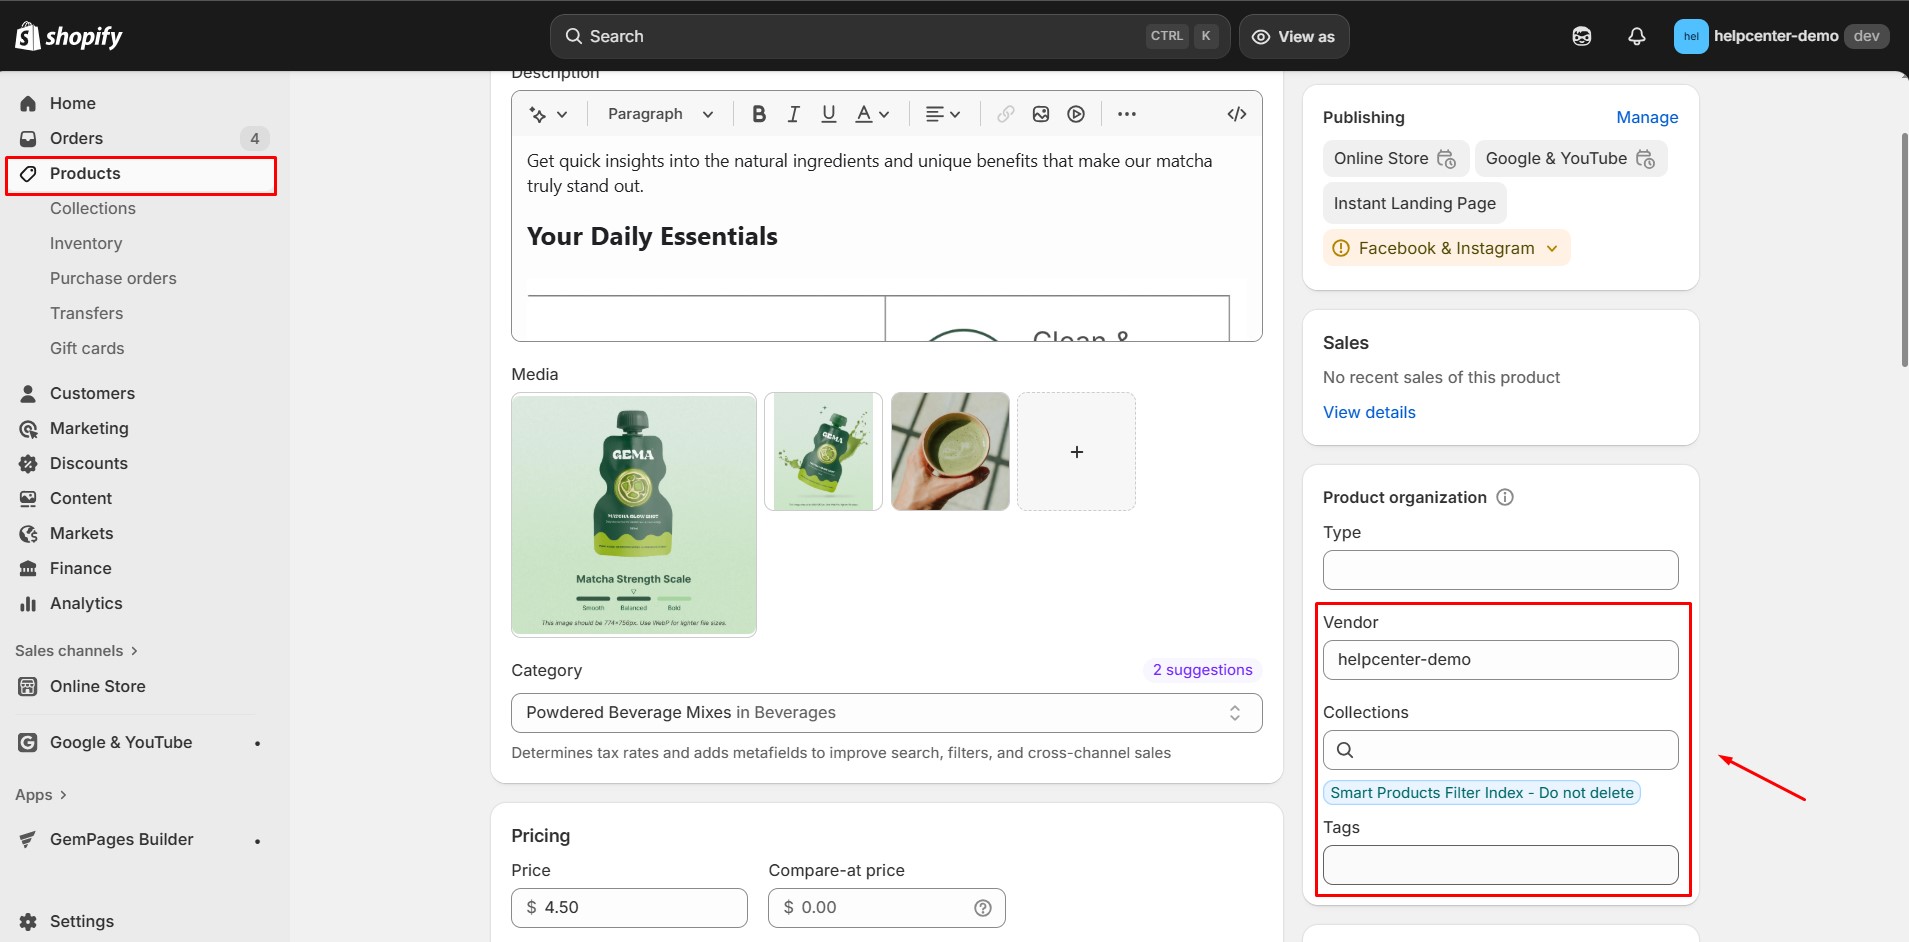
- To add vendors and tags, access Shopify Admin > Products, click on a certain product, and go to the Product Organization section to add the vendor’s name & tag.
Step 2: In the GemPages Editor V7, search for “Related Products” in the search bar.
Step 3: Drag and drop the element into your chosen position on your product page.

When you click on the element, you’ll see the Settings panel on the left-hand side. It contains two main tabs: Settings and Advanced:

Configure the Settings Tab
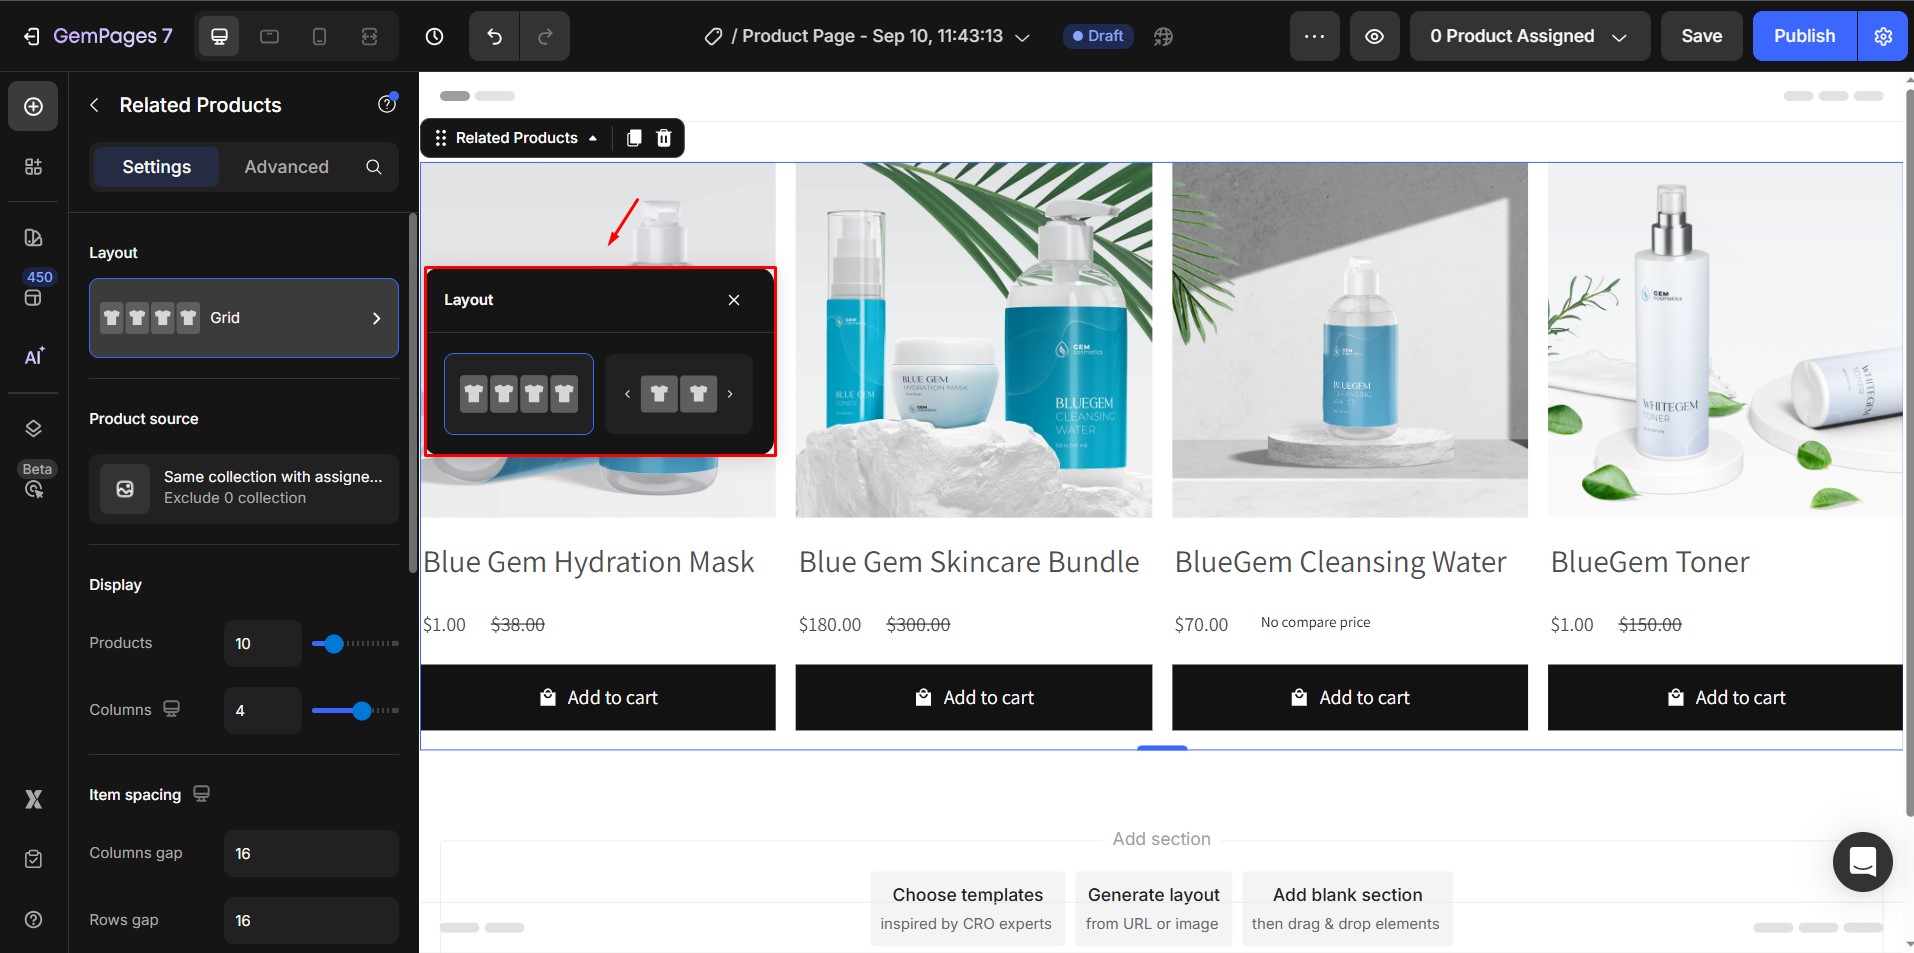
1. Layout
- Grid: The product list will be presented in the default style.
- Slider: The product images will be displayed in a carousel.
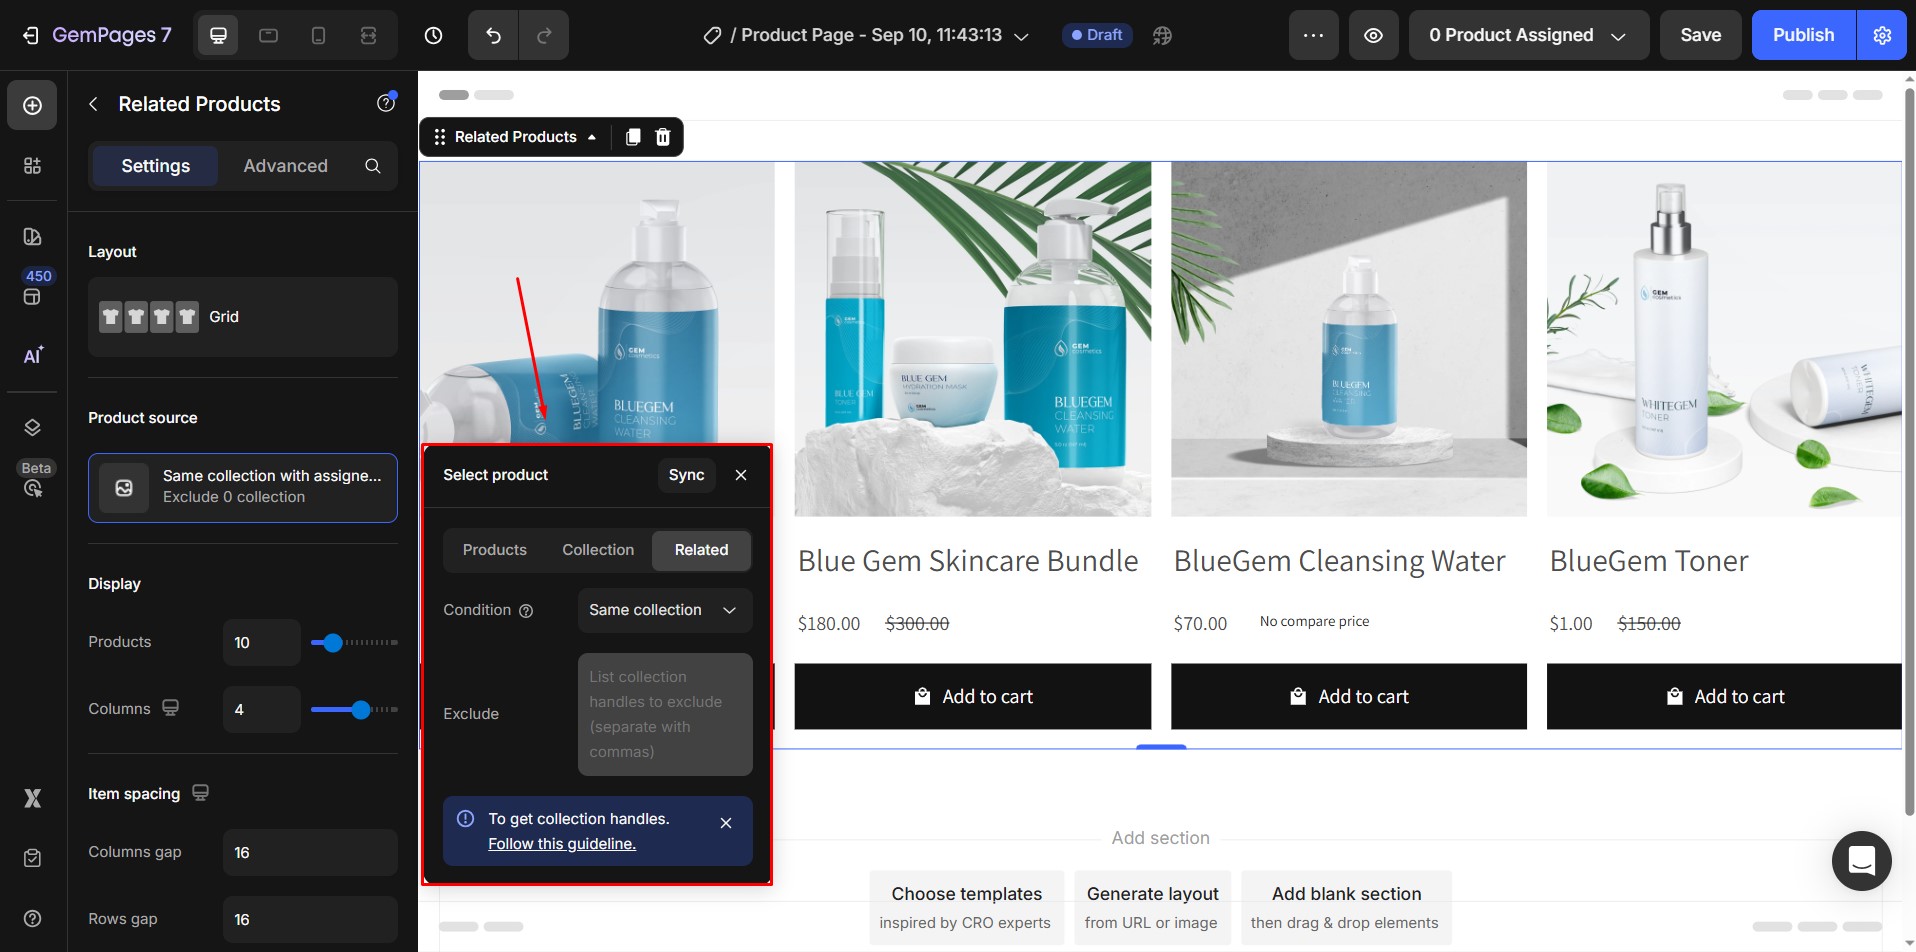
2. Product Source
- Same Collection: Display products from the same collection.
- Same Vendor: Show products by the same vendor.
- Same Tag: Pull products sharing the same tag.
(Optional) Exclude specific collections using their handle.
3. Display
- Products: You can set the total number of related products you want to display using the slider or the input box. The maximum is 50.
- Column: Set how many products appear per row.

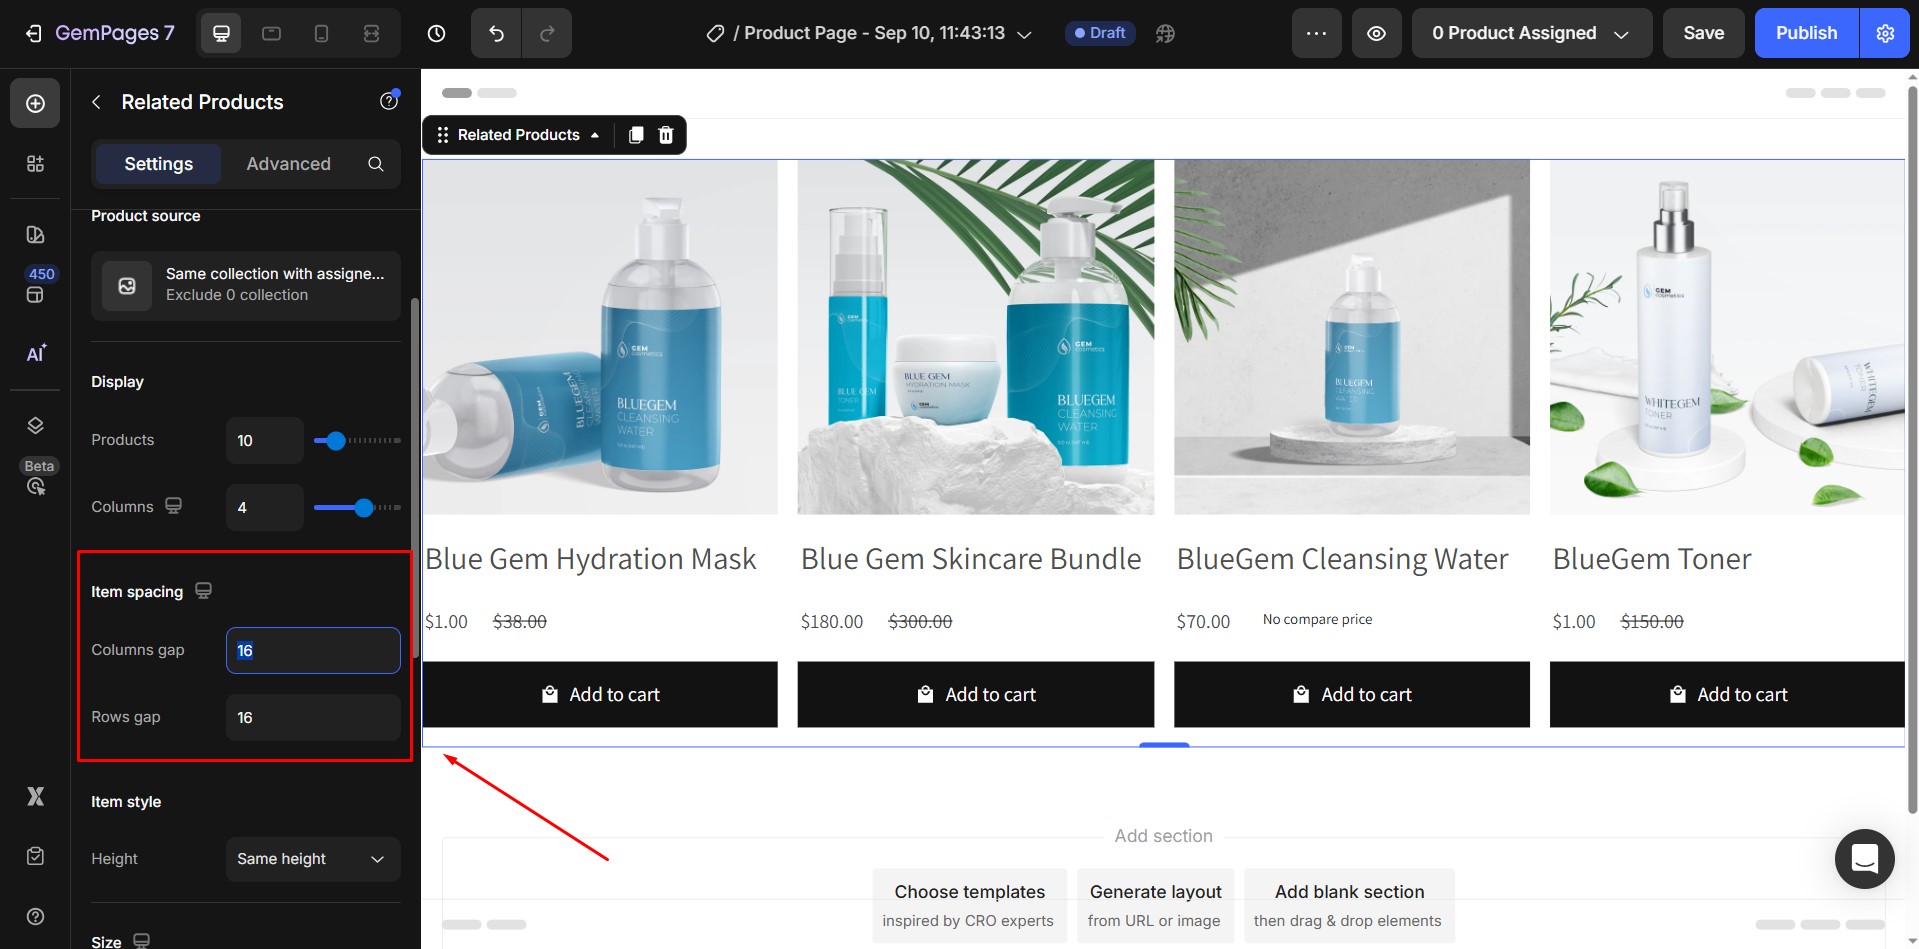
4. Item spacing
Adjust column gap and row gap between items.
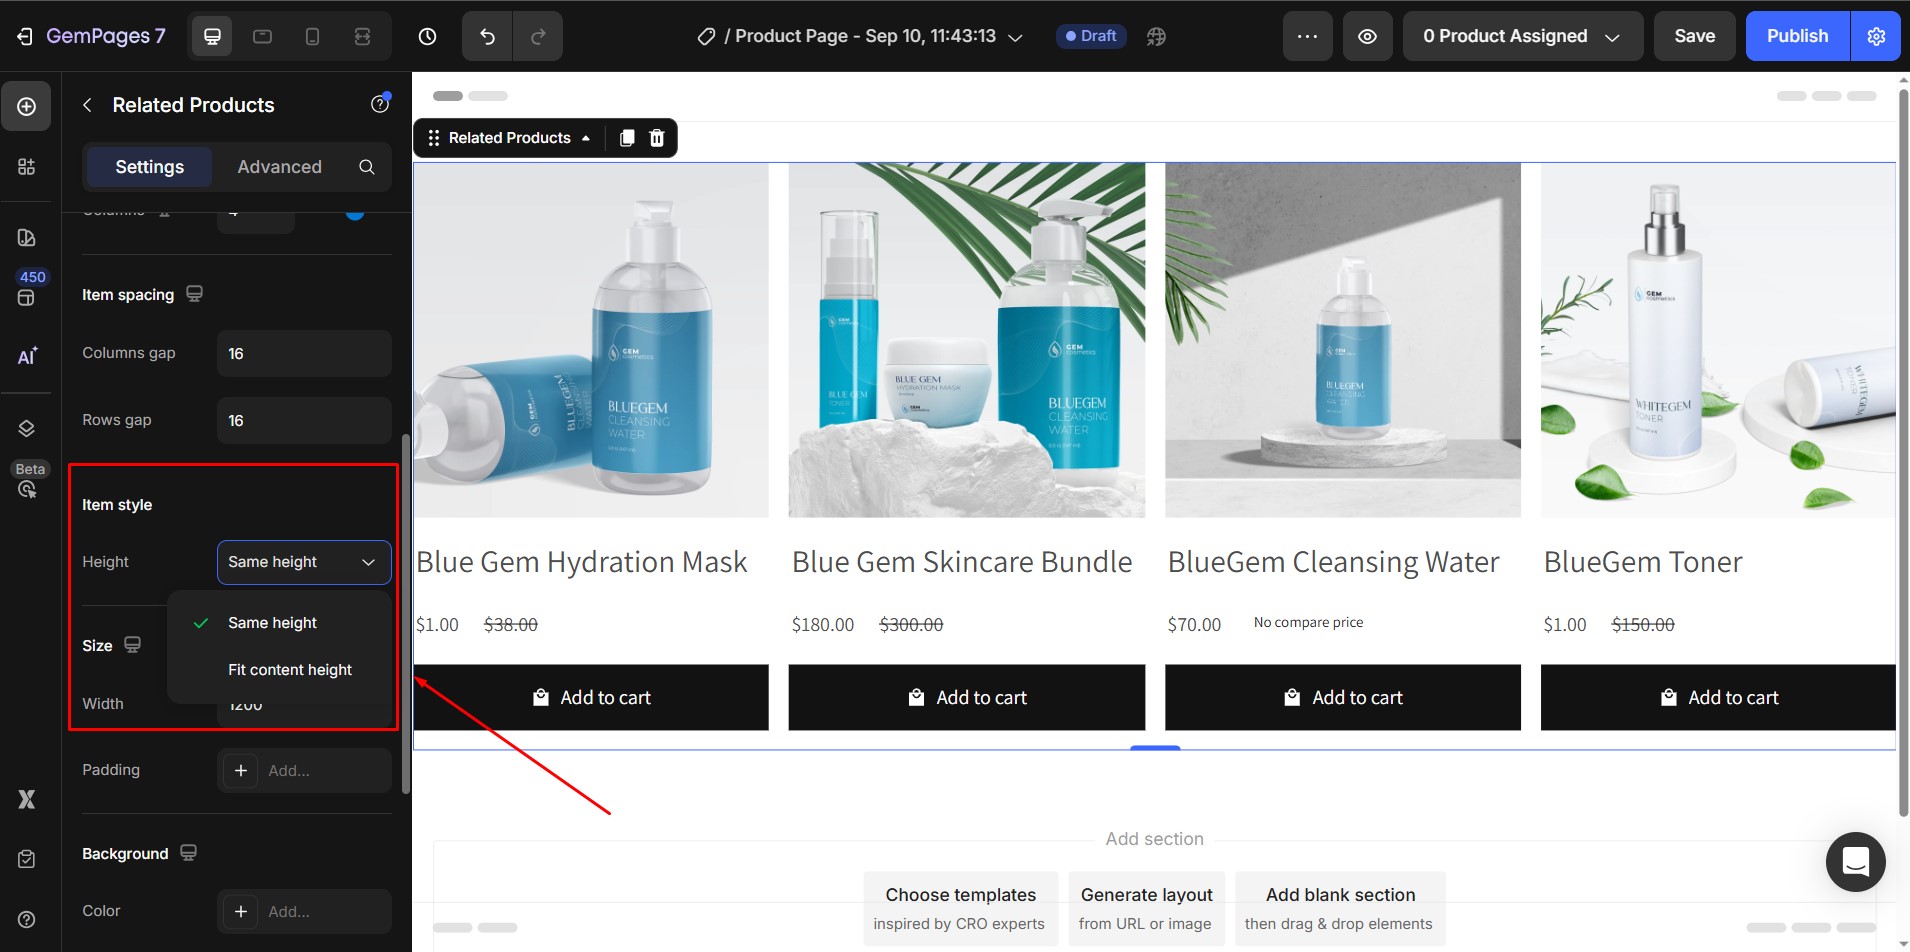
5. Item style
- Height: Choose between “same height” or “fit content height.”
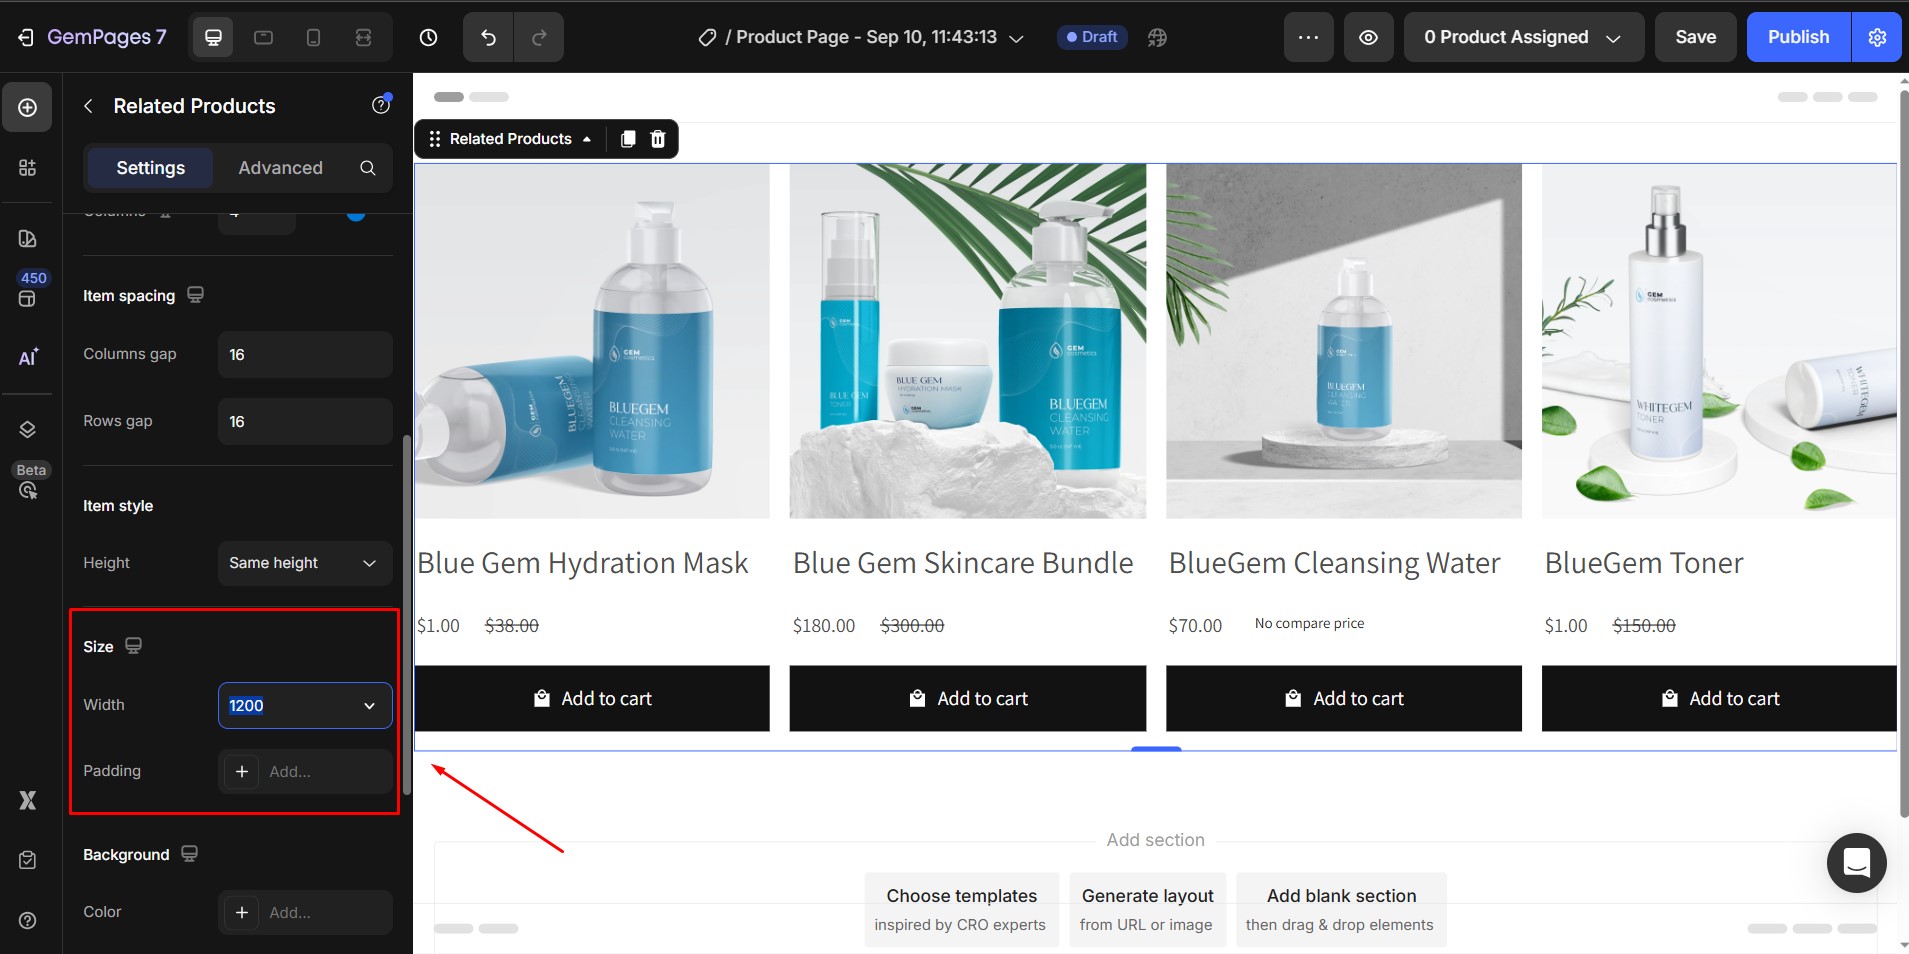
6. Size
- Full-width: Activate this option to expand the product list to cover the entire width of the page. Alternatively, you can enter a specific width value in the provided box to set your preferred width in pixels.
- Padding: Add inner spacing.
7. Background
Choose a color or image.
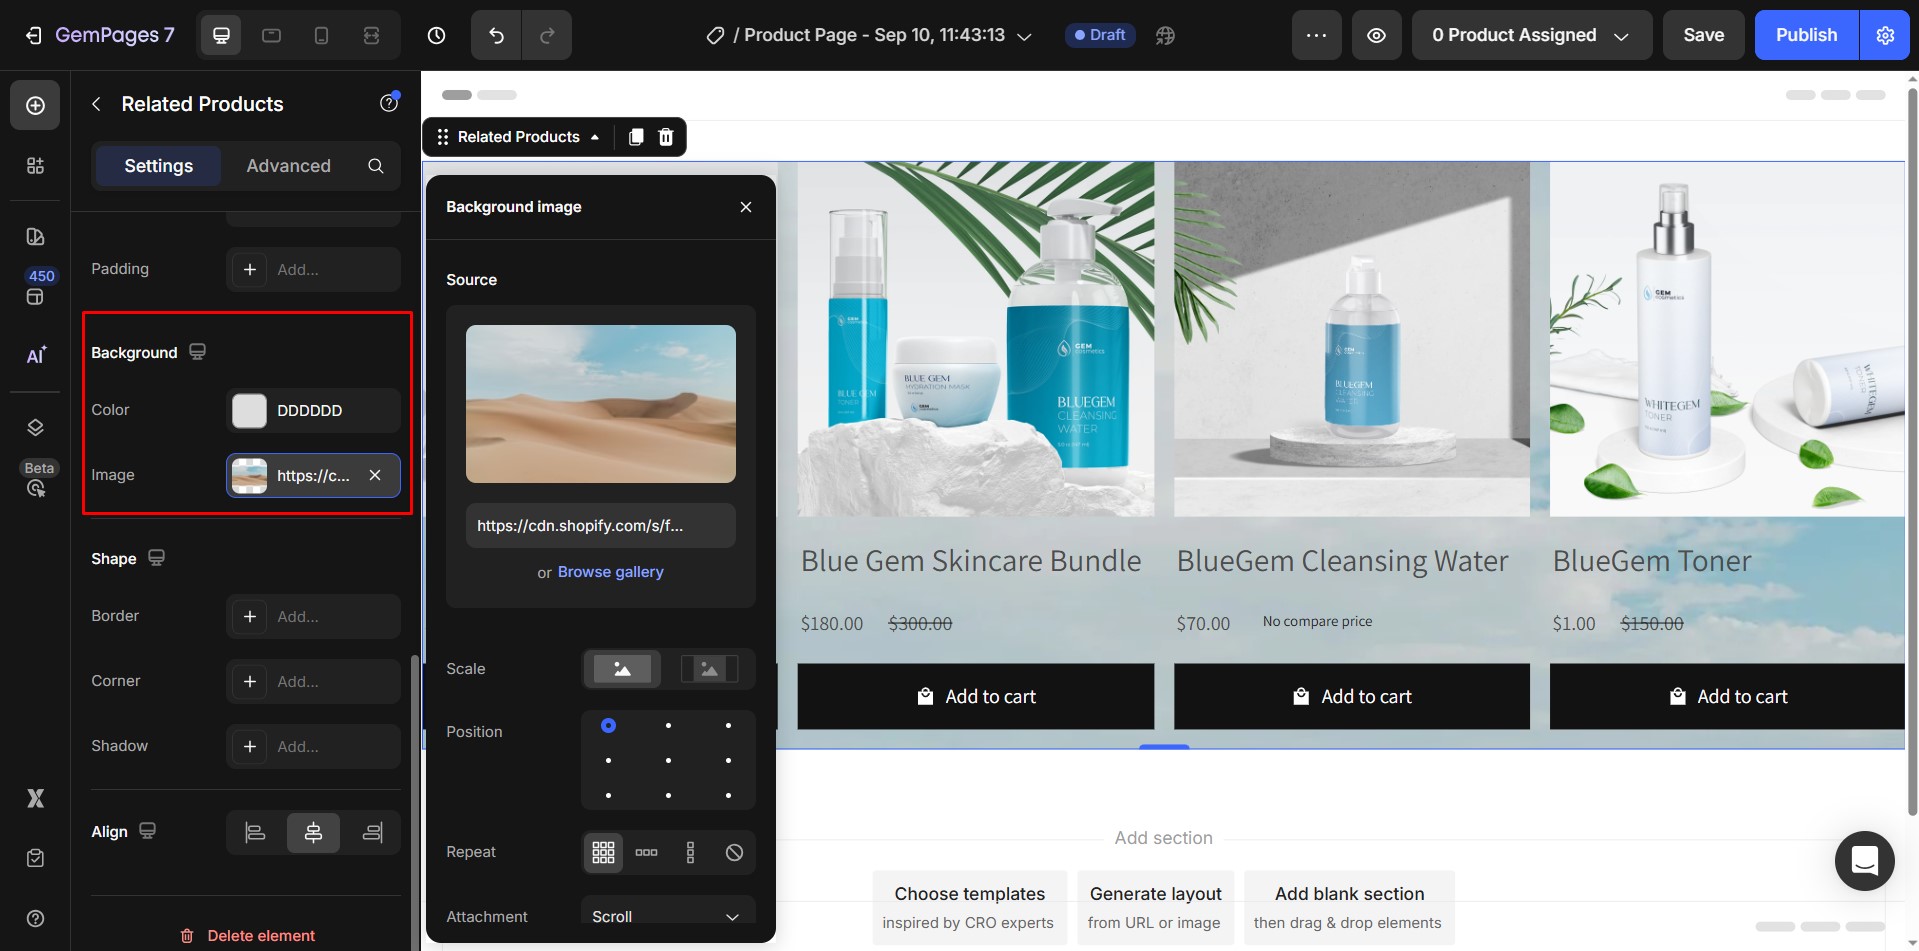
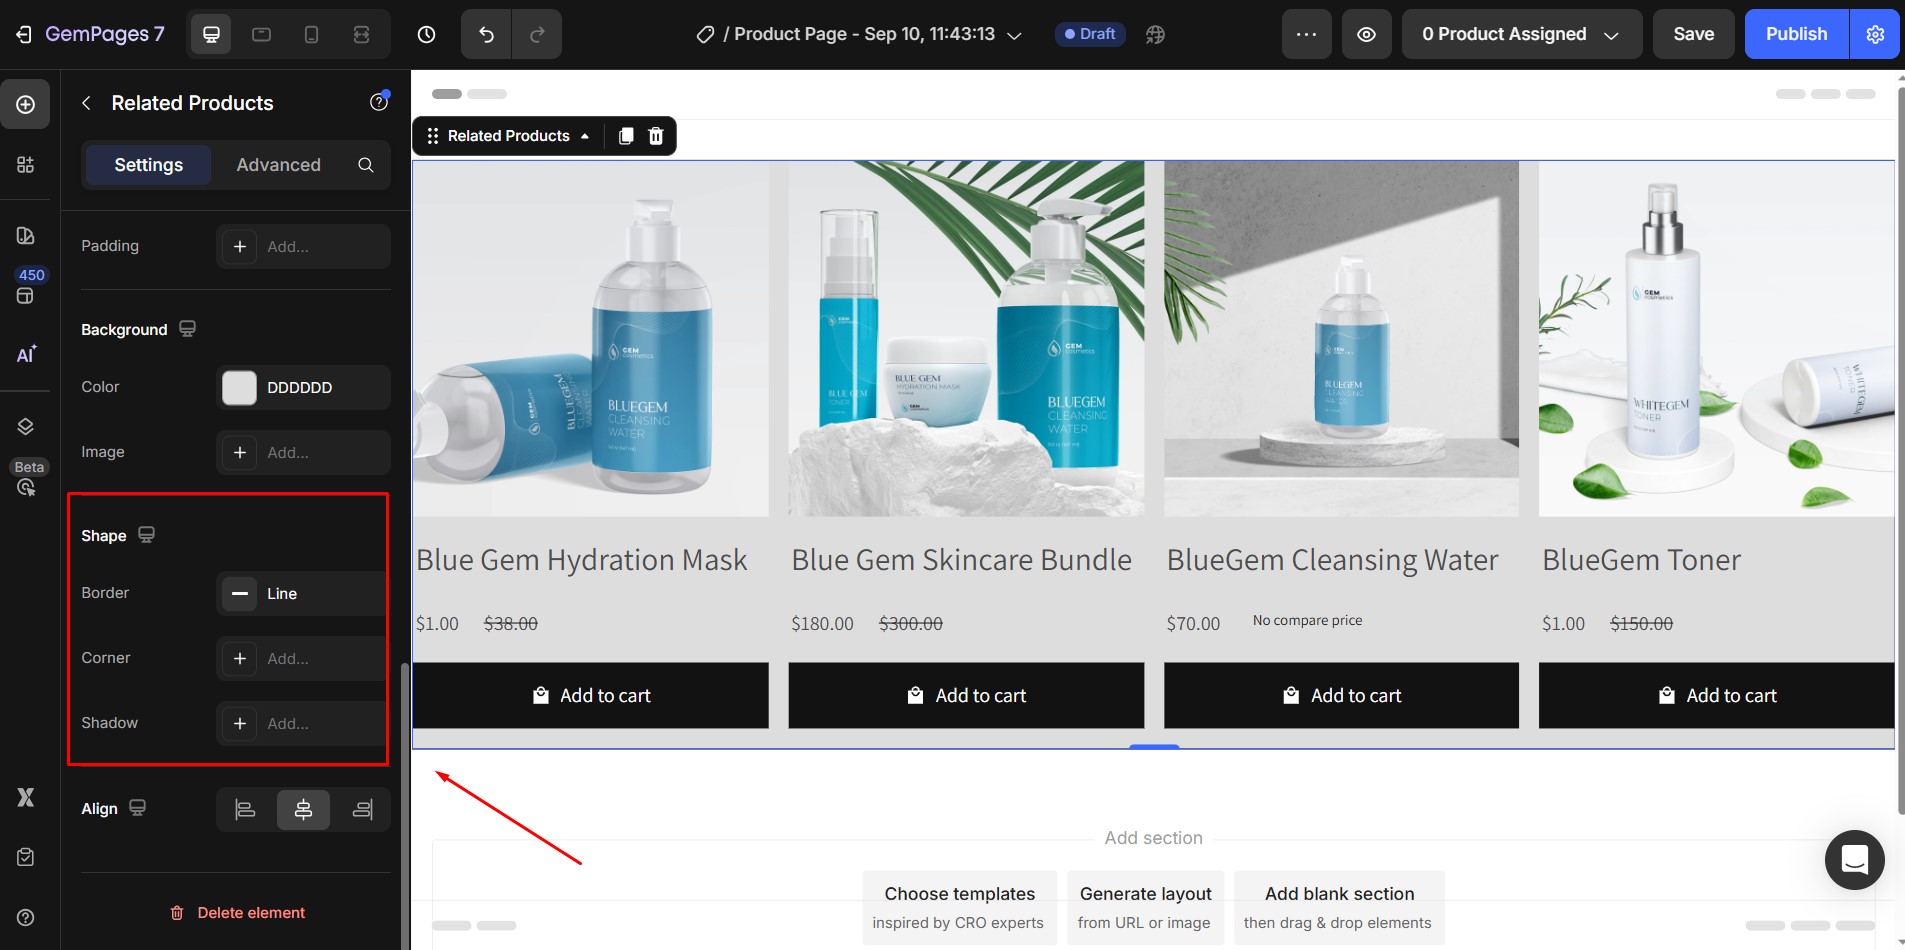
8. Shape
Customize border, corners, and shadow.
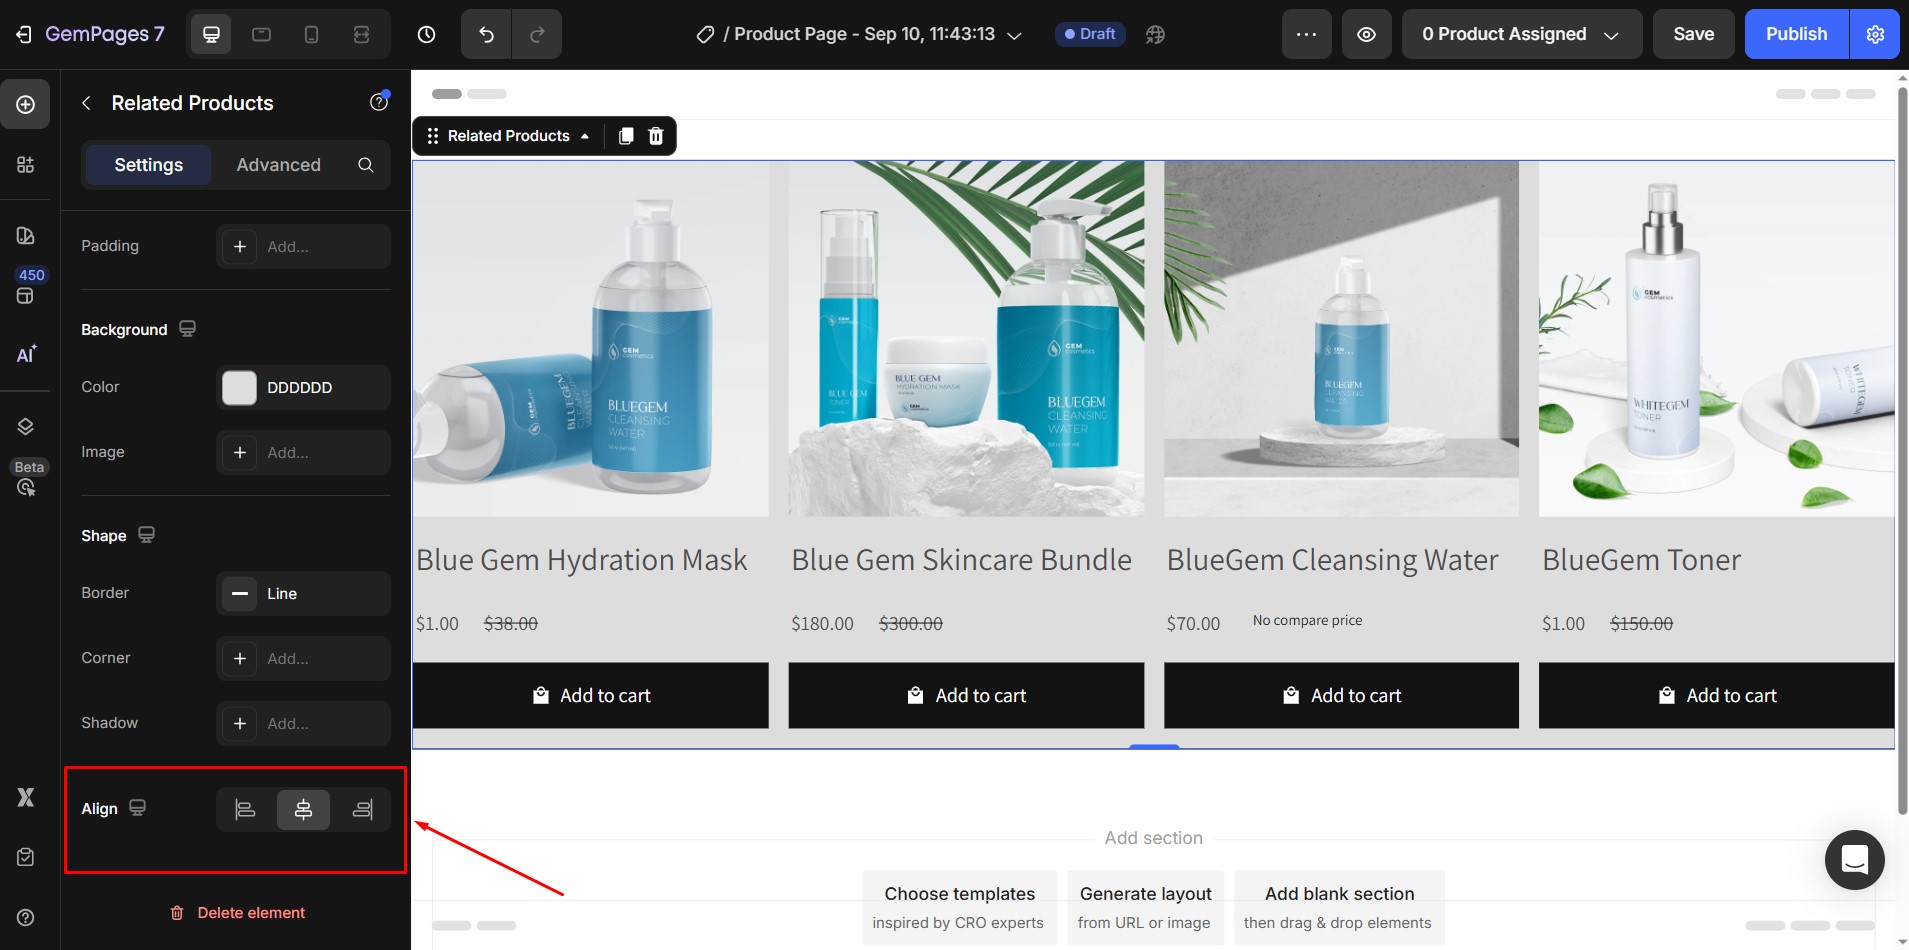
9. Align
Set alignment of your product grid.
Configure the Advanced Tab
For more advanced customization, please navigate to the Advanced tab and follow the instructions in this article.


Thank you for your comments