


About Parcel Panel Order Tracking
Parcel Panel is a powerful Shopify app that helps you improve the post-purchase experience through branded, multilingual order tracking pages and automated shipping updates.
By integrating Parcel Panel with GemPages, you can easily add a tracking widget to any page, providing customers with live delivery information right where they need it.
Here are some key features of this app:
- Real-time tracking: Sync order and shipping updates directly to PayPal and display last-mile delivery info.
- Automated notifications: Keep customers informed when their order status changes.
- Branded tracking page: Customize your tracking page with your brand’s look and feel to reduce “Where is my order?” (WISMO) inquiries.
- Smart tools: Access built-in upsell options, shipping protection, analytics, and 24/7 support.
How to Set Up Parcel Panel Order Tracking?
Before you start, make sure to have the app added to Shopify by following the instructions below.
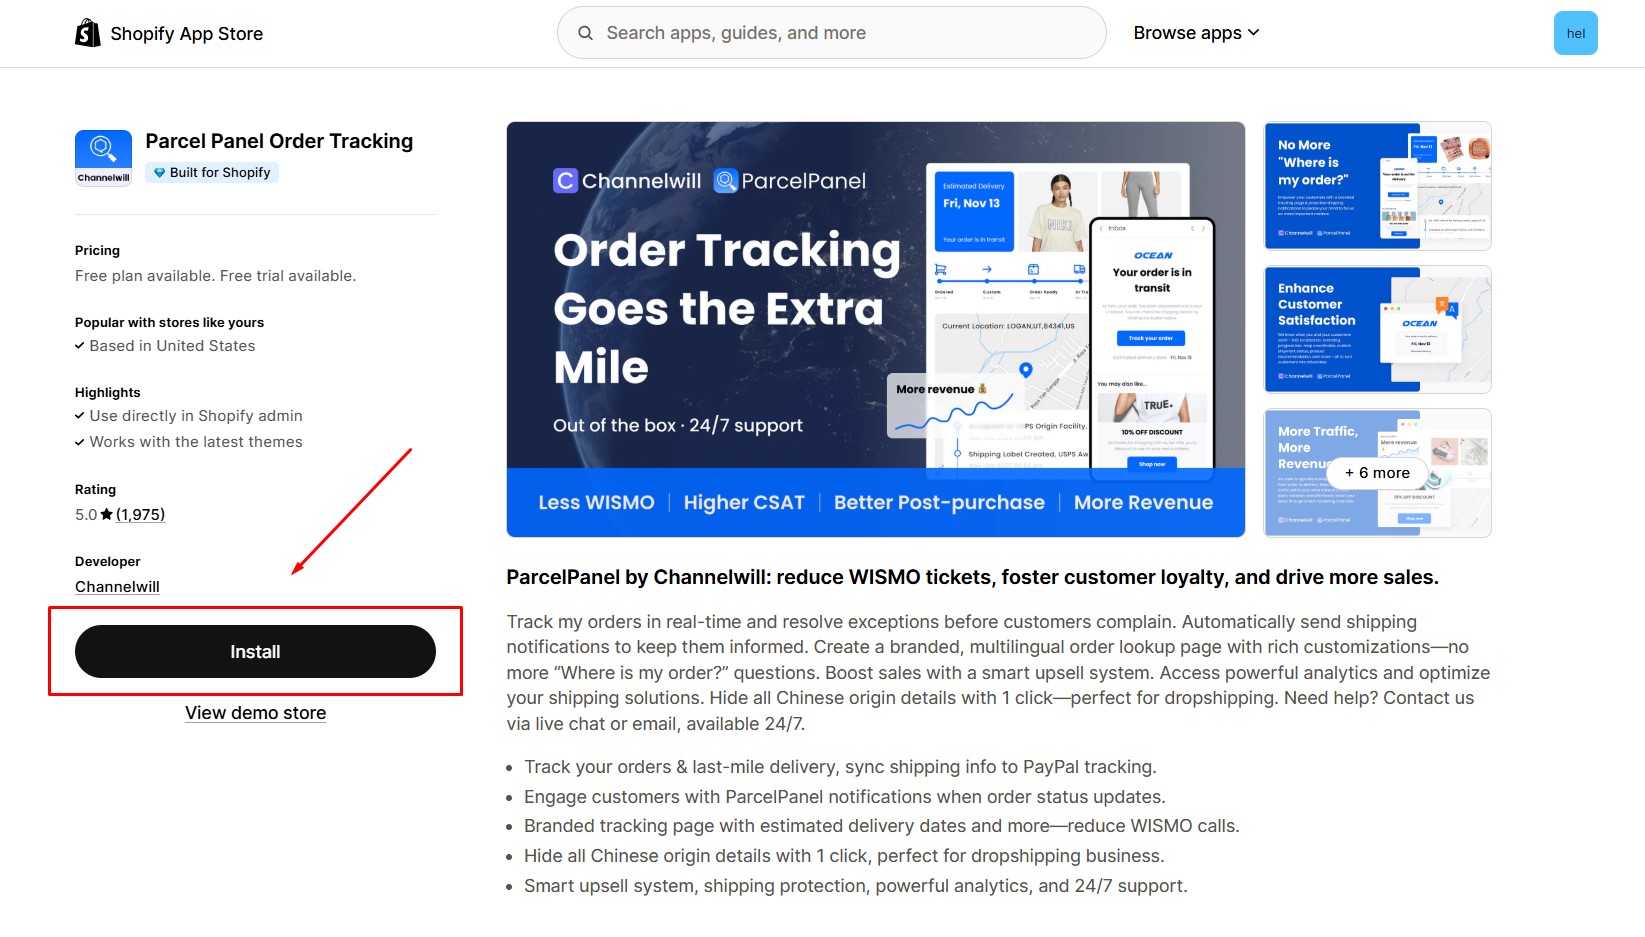
Step 1: Install Parcel Panel Order Tracking by clicking on the Install button.
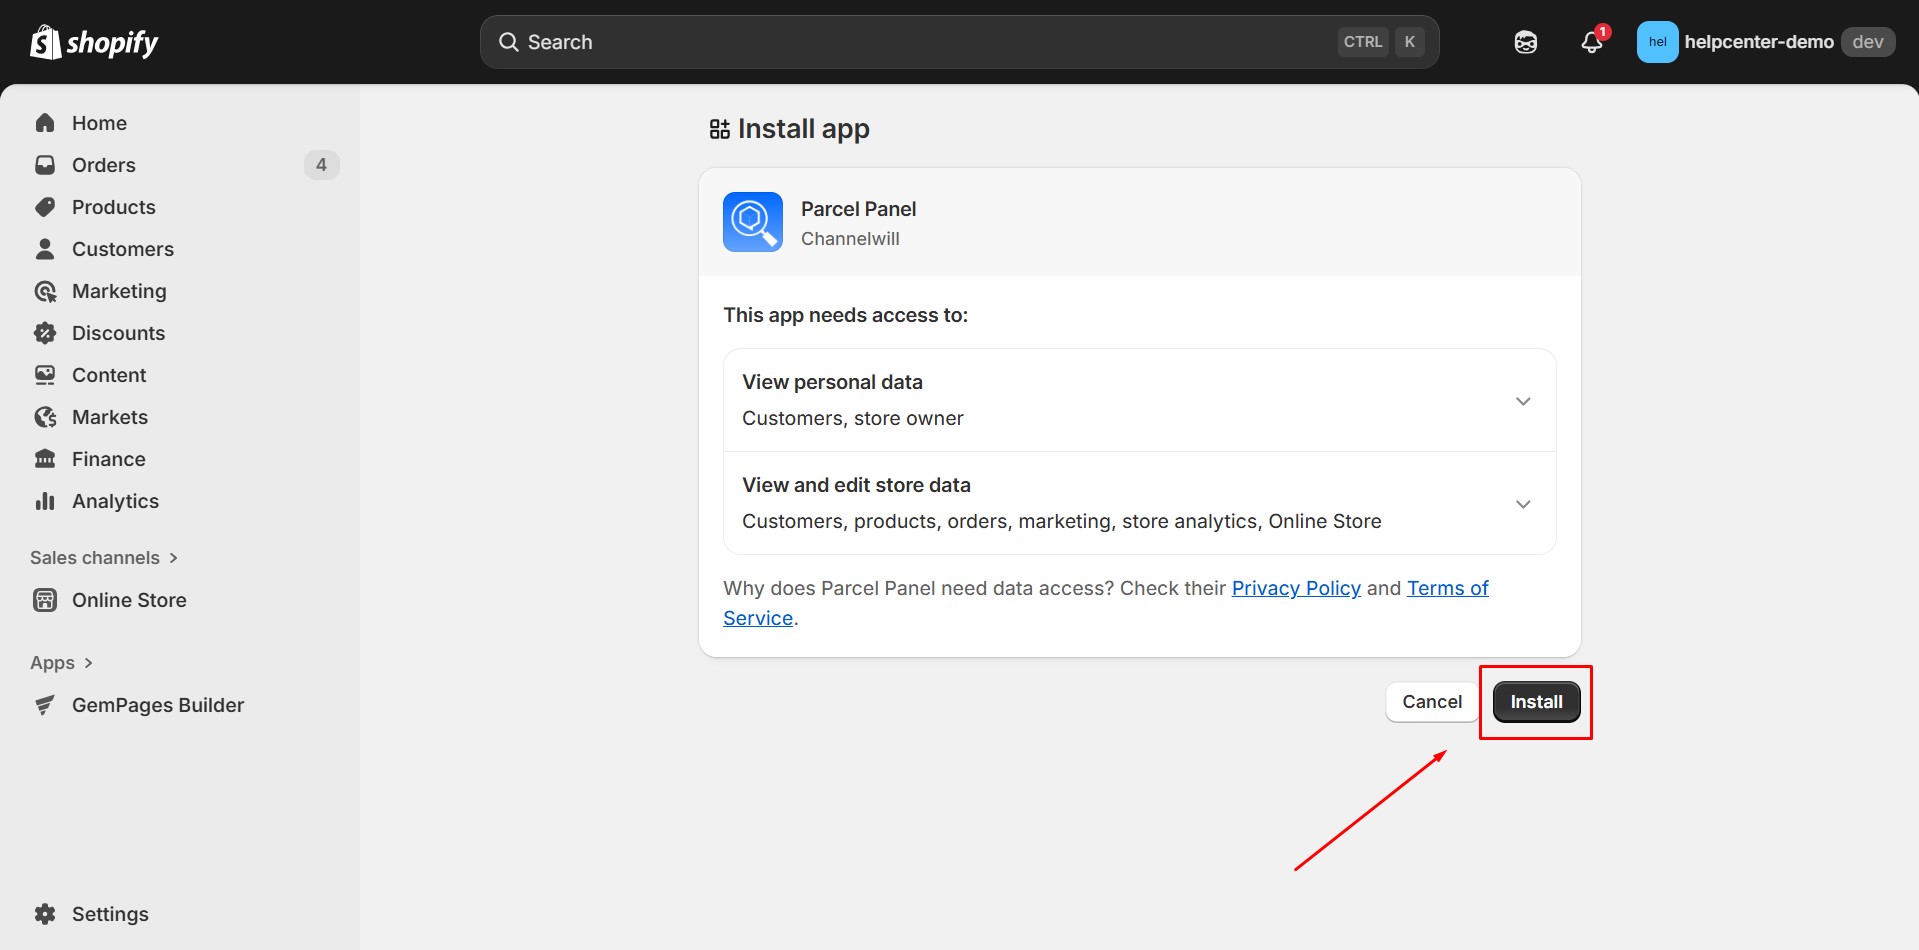
Step 2: Hit Install after reviewing the permissions.
Step 3: After that, you will see the Parcel Panel under the Apps section of your Shopify Admin. Click to access the app Dashboard.
Step 4: Your branded tracking page is automatically created after installation. To make it visible to your customers, add it to your store’s navigation menu (e.g., “Track Your Order”).
![]()
You have a wide range of choices to personalize the tracking page. It’s important to note that all the configurations need to be adjusted within this section, as GemPages solely retrieves data from the app to display on your page. If you have any questions regarding the settings within the app, kindly consult this link or reach out to the app team for assistance.
How to Add Parcel Panel Order Tracking to GemPages?
Step 1: Access a page from the GemPages Dashboard.
Step 2: Locate the app.
- If you are using V6:
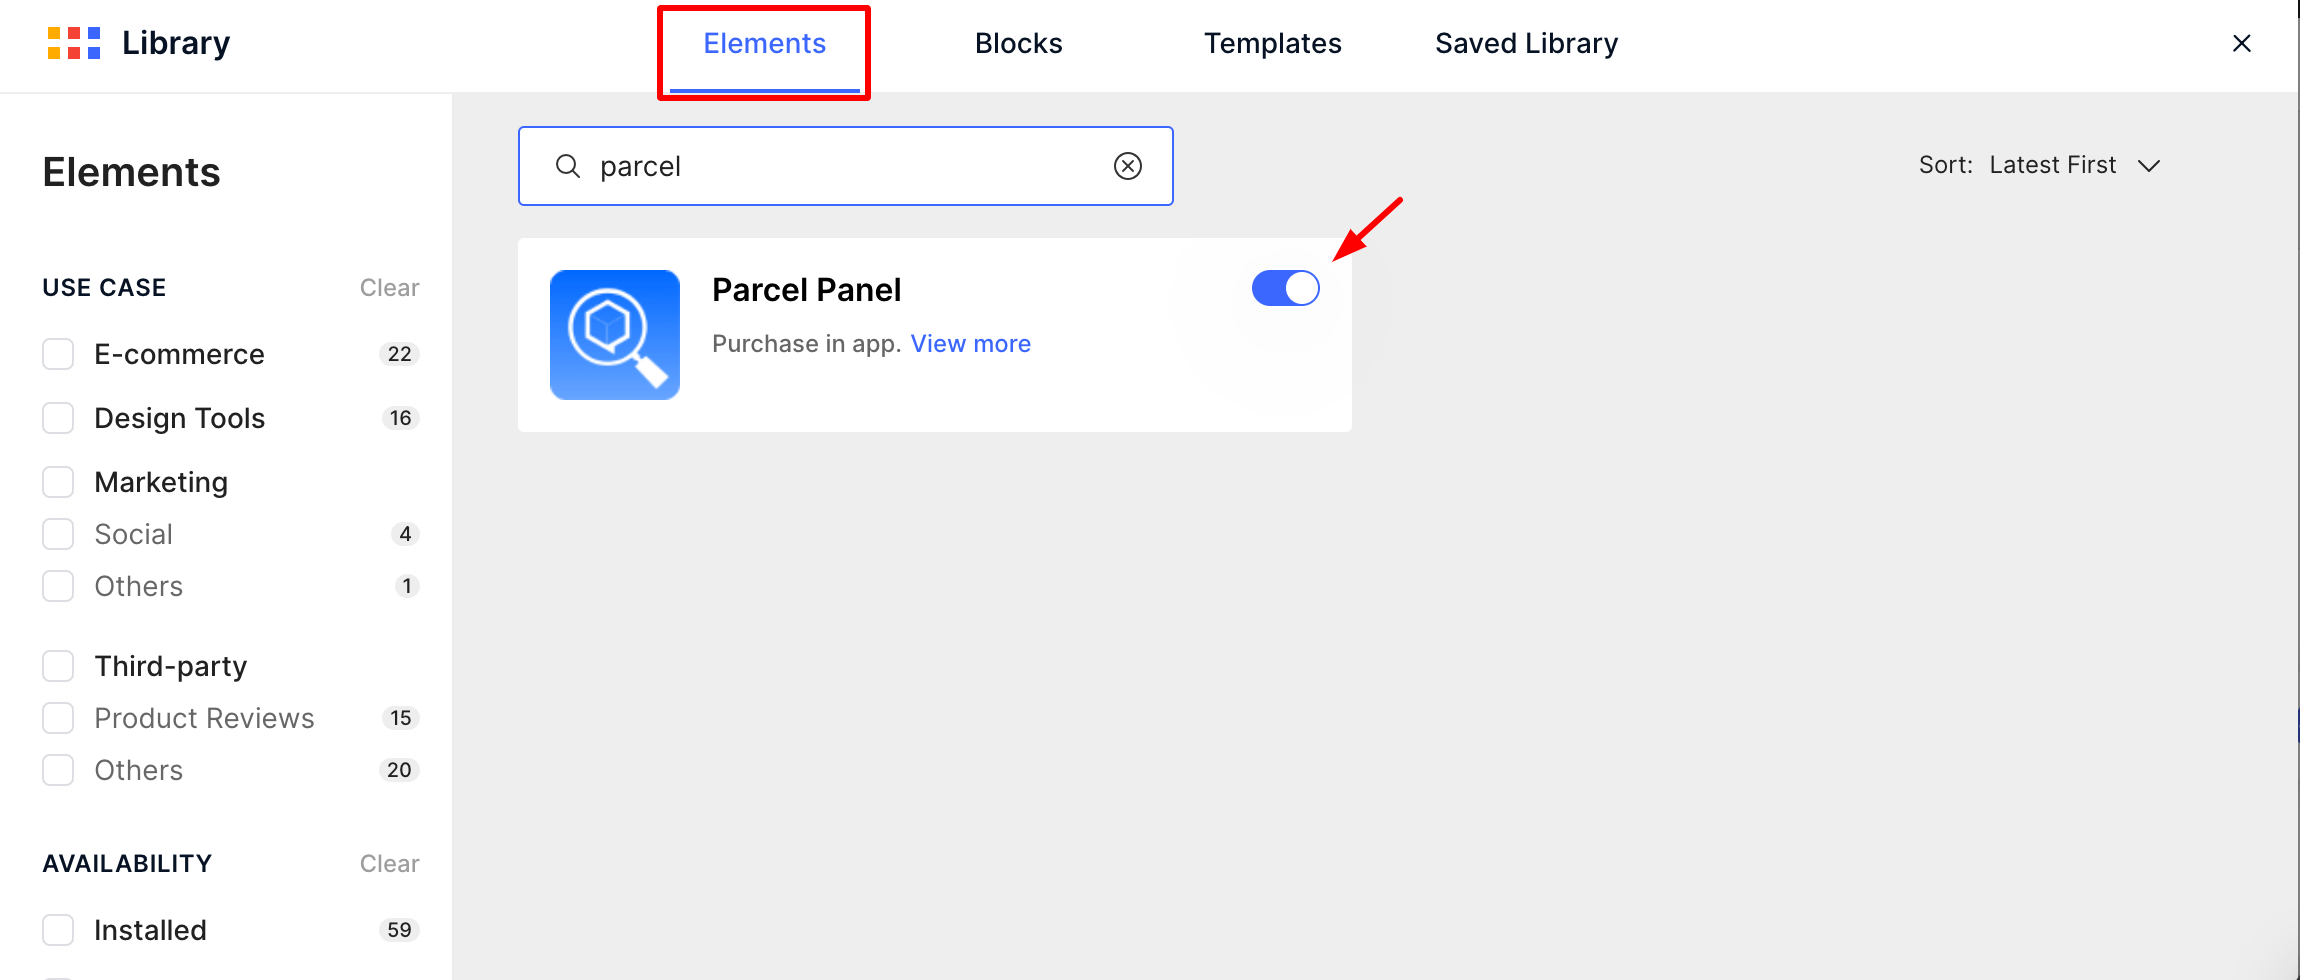
Select the Library button on the Toolbar. Go to the Elements tab and search for “Parcel Panel”. Toggle on the corresponding switch.
- If you are using V7:
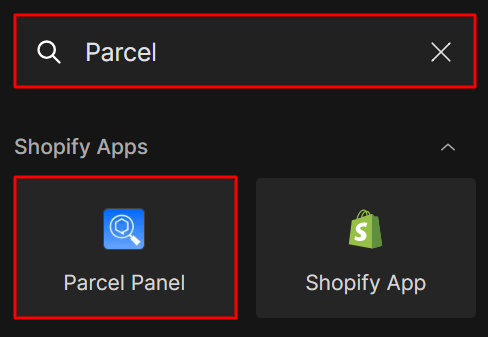
In Editor version 7, you’ll find the element conveniently located within the left sidebar of your editor, under the Shopify Apps category. To quickly find the app, you can utilize the search bar and locate it in minutes.
Step 3: Drag & drop the Parcel Panel element from the left sidebar to the desired area.
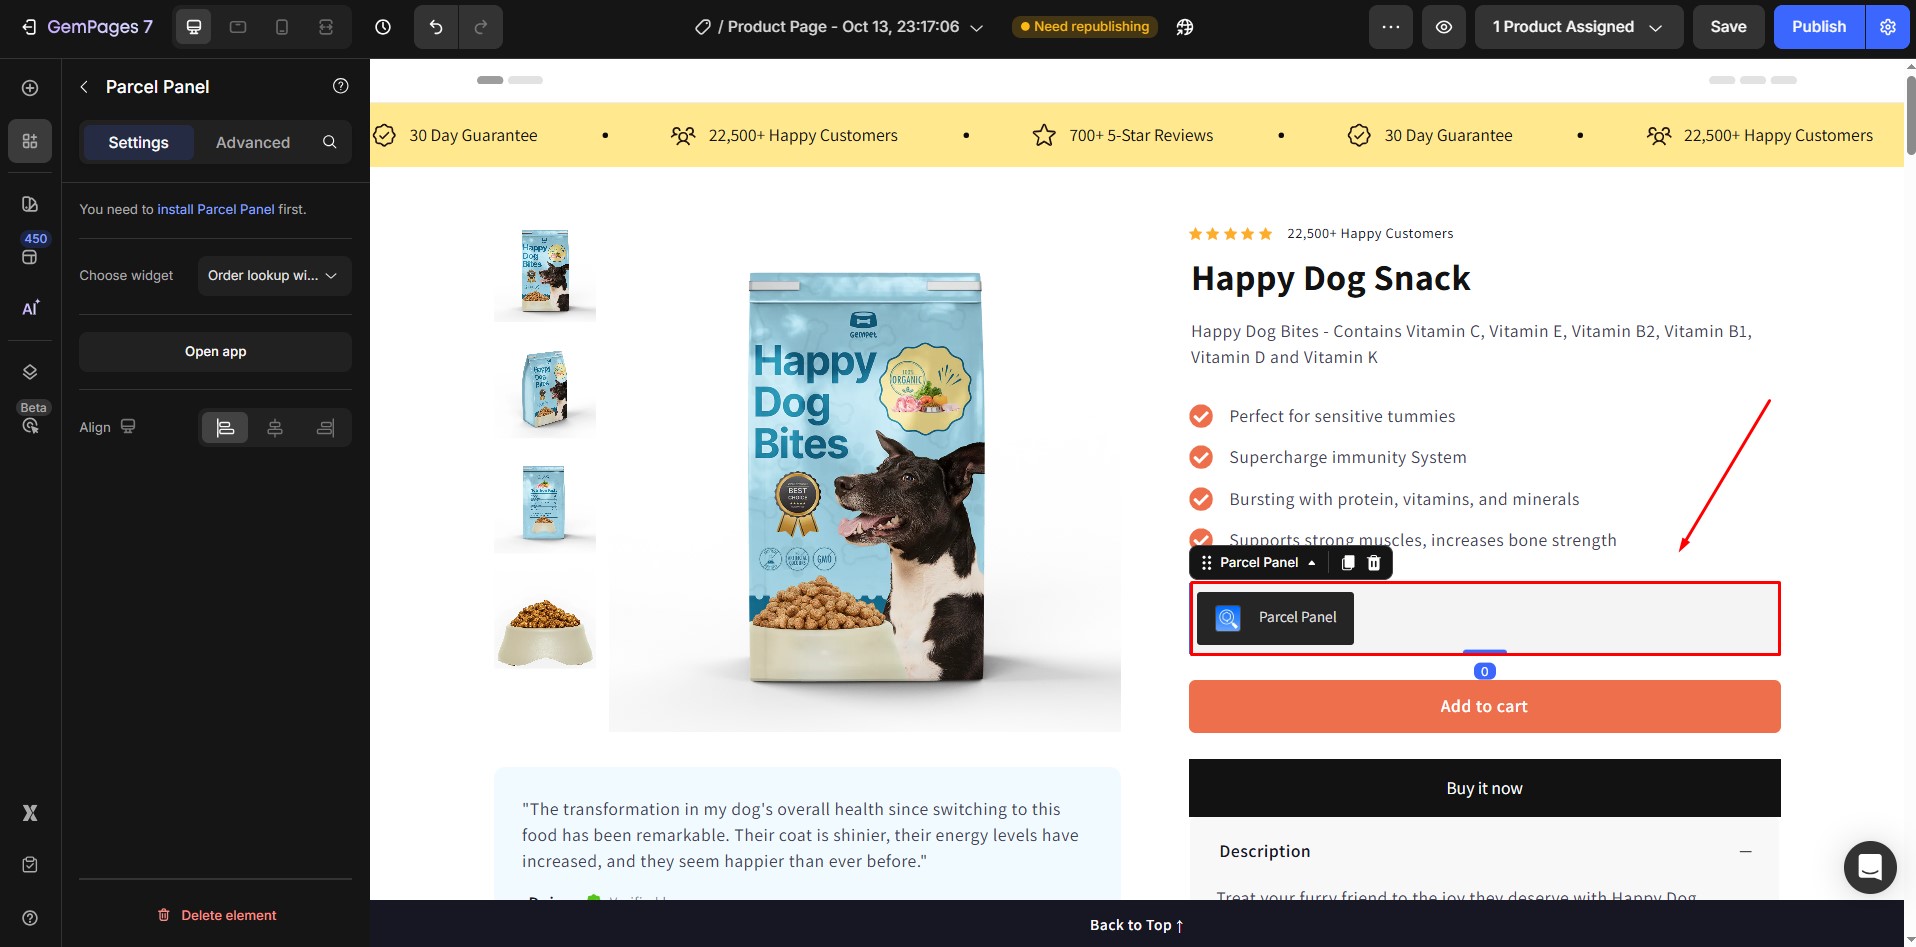
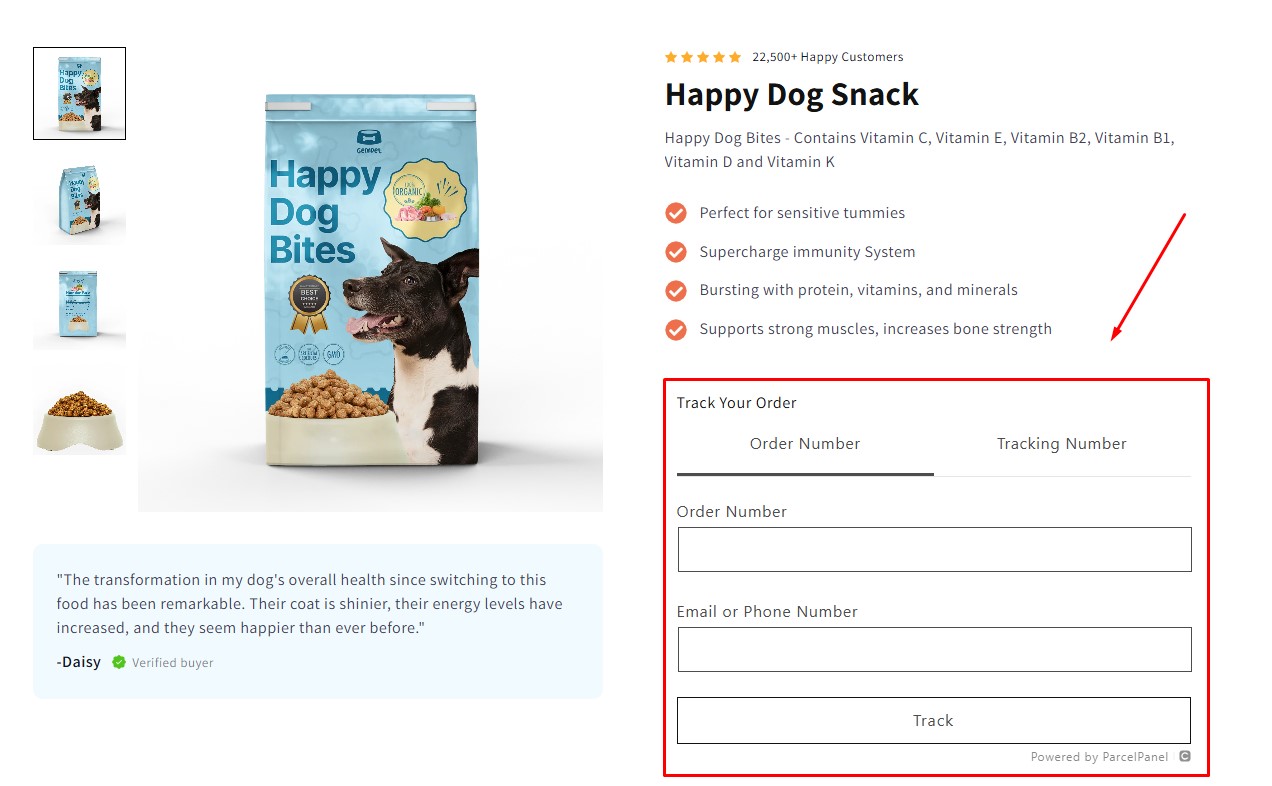
Step 4: Don’t forget to “Save” and “Publish” and check the result on the live page.
If you’re interested in exploring more third-party apps that directly integrate with GemPages, you can check out our integration list.


Thank you for your comments