


In this quick guide, you’ll learn how to create a sticky element in GemPages, ensuring important content like call-to-action buttons or promo banners stays accessible at all times.
Why Make an Element Sticky?
Sticky elements can enhance the user experience by keeping important content visible as users scroll through the page.
For example, when designing an advertorial, you may want a CTA box or a key message to stay visible as the user scrolls, ensuring it’s always accessible.
Look at the sticky CTA box design on the right side of the page, which remains fixed while the main content scrolls on the left:
This approach ensures that readers can engage with important CTAs without interruption, improving conversion rates and overall user interaction.
In GemPages, adding a sticky element is straightforward and requires no coding knowledge.
How to Make an Element Sticky in GemPages
Step 1: Select Your Element
Choose the element you want to keep visible during scrolling. This could be a button, banner, etc.
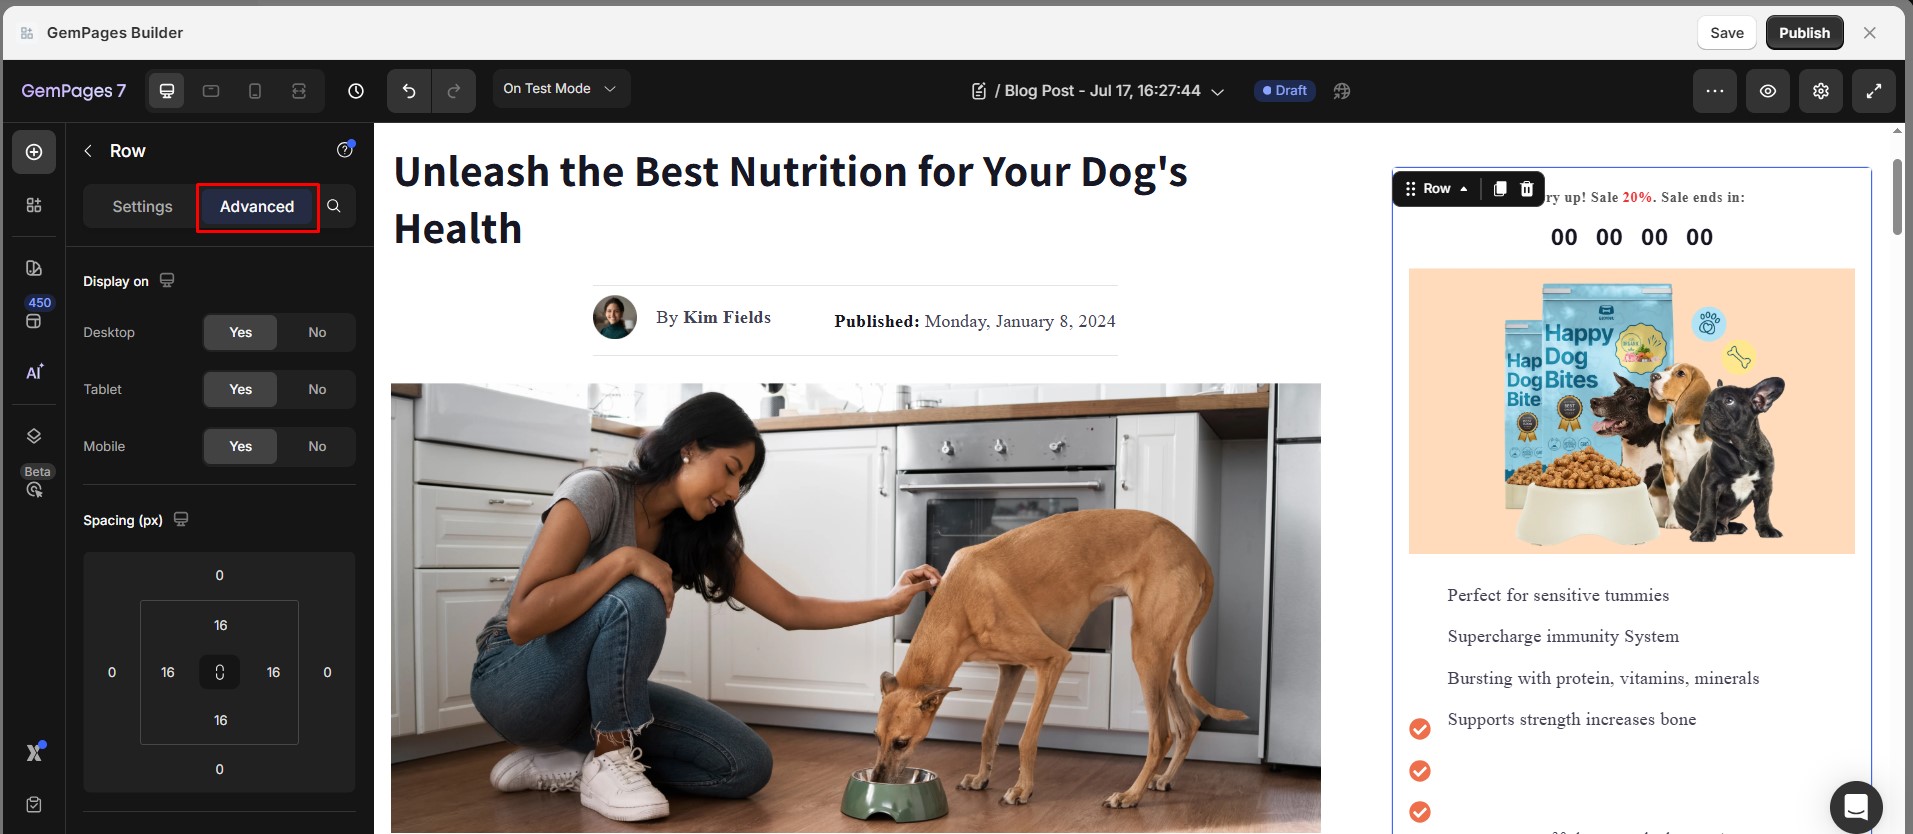
Step 2: Access Advanced Position Settings
- On the left sidebar in GemPages Editor, click Settings.
- Navigate to the Advanced tab.
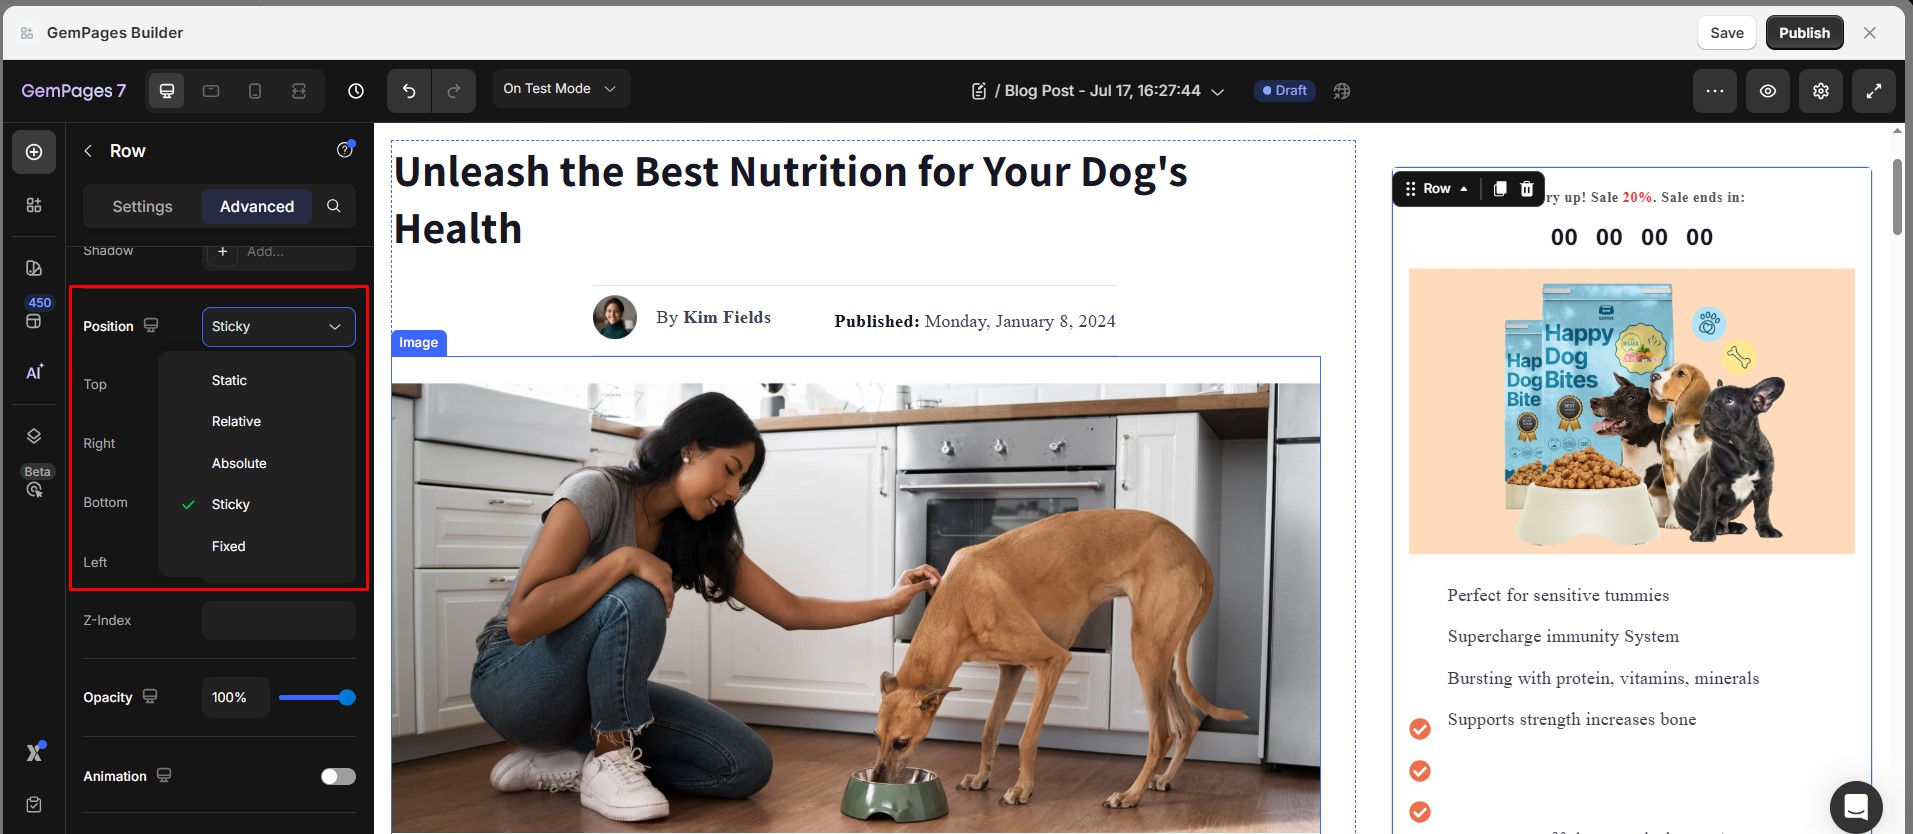
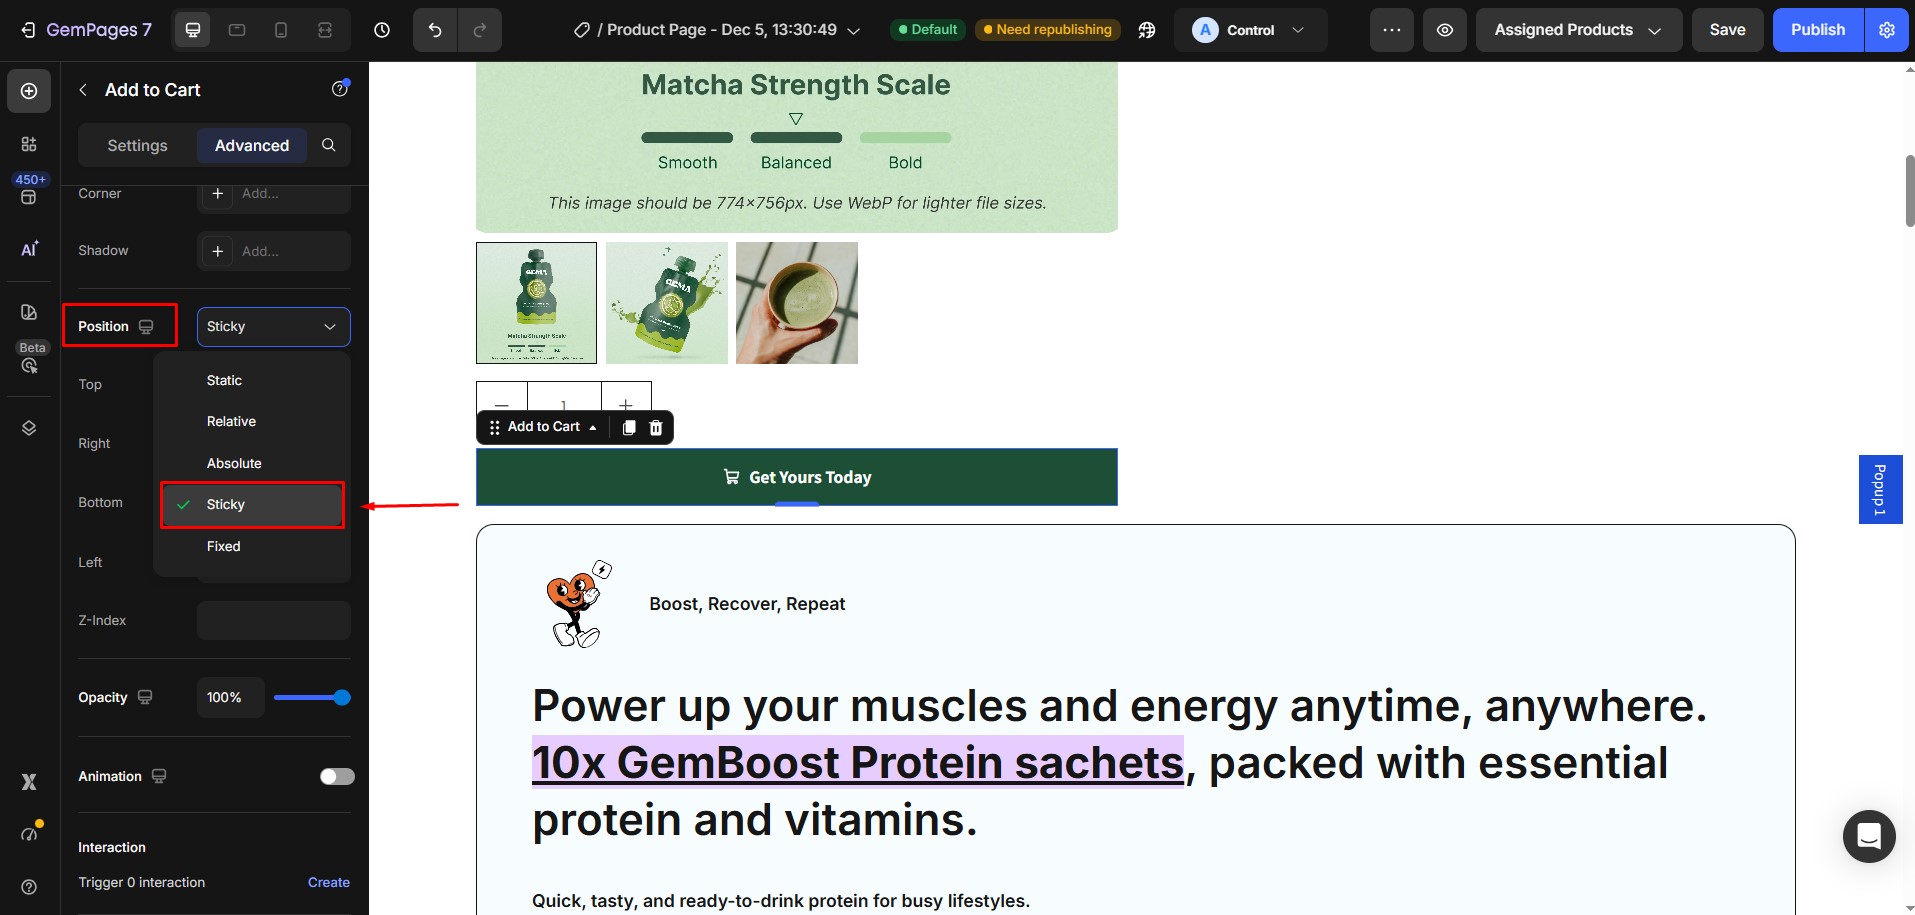
Step 3: Set Position to Sticky
- Find the Position option under Advanced Settings
- Change the position from default to Sticky. This change makes the element “stick” to its position relative to the viewport as the user scrolls past it.
Common Sticky Element Use Cases
Sticky positioning can be applied to different elements depending on your page layout and conversion goals. Below are some common ways merchants use sticky elements in GemPages to keep important content visible while visitors scroll.
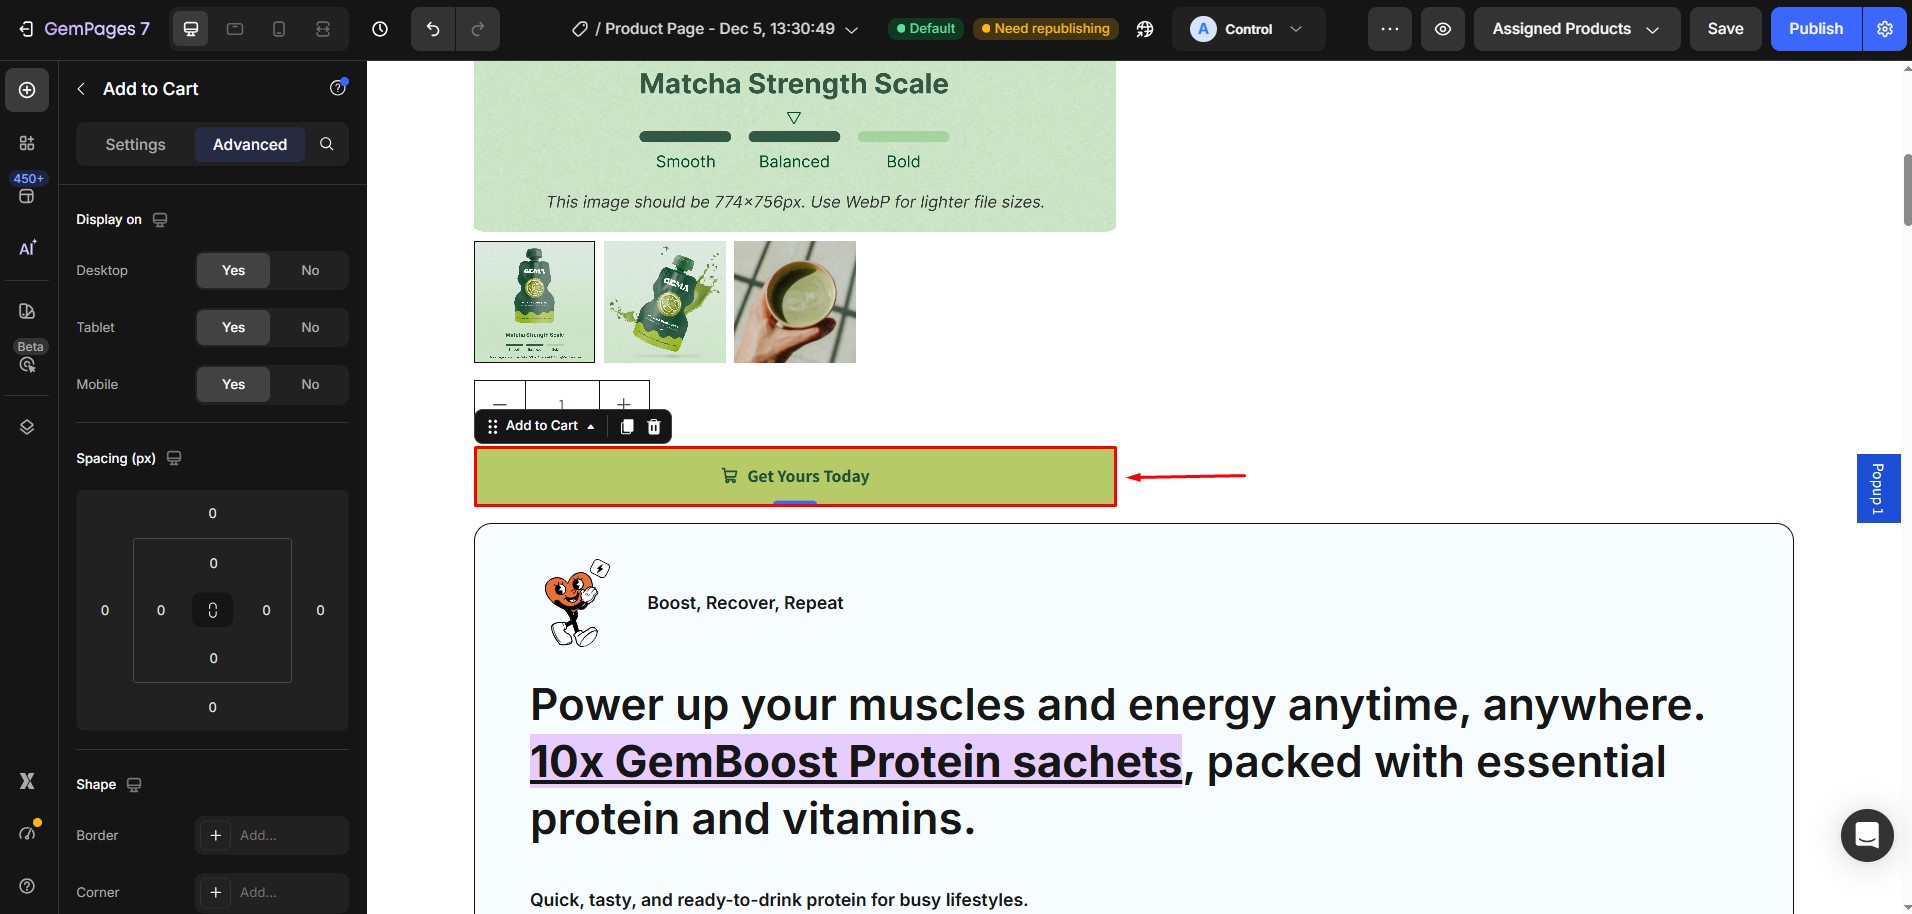
How to Create a Sticky CTA Button
If you want your call-to-action button to stay visible while users scroll, you can make the button element sticky using the Position setting.
Follow these steps:
Step 1: Select the Button element you want to make sticky.
Step 2: Go to the Advanced tab in the left sidebar.
Step 3: Scroll down to the Position section.
Step 4: Set the Position option to Sticky.
Once enabled, the CTA button will remain visible as visitors scroll through the page, making it easier for them to take action at any time.
How to Add a Sticky CTA on Mobile Only
In GemPages, when you set a button to Sticky on desktop, it will remain sticky on mobile as well. This happens because GemPages uses responsive design, meaning position settings apply across devices by default.
However, if you want the CTA button to be sticky only on mobile, you can create a separate mobile version of the button and apply sticky positioning to that version only.
Follow these steps:
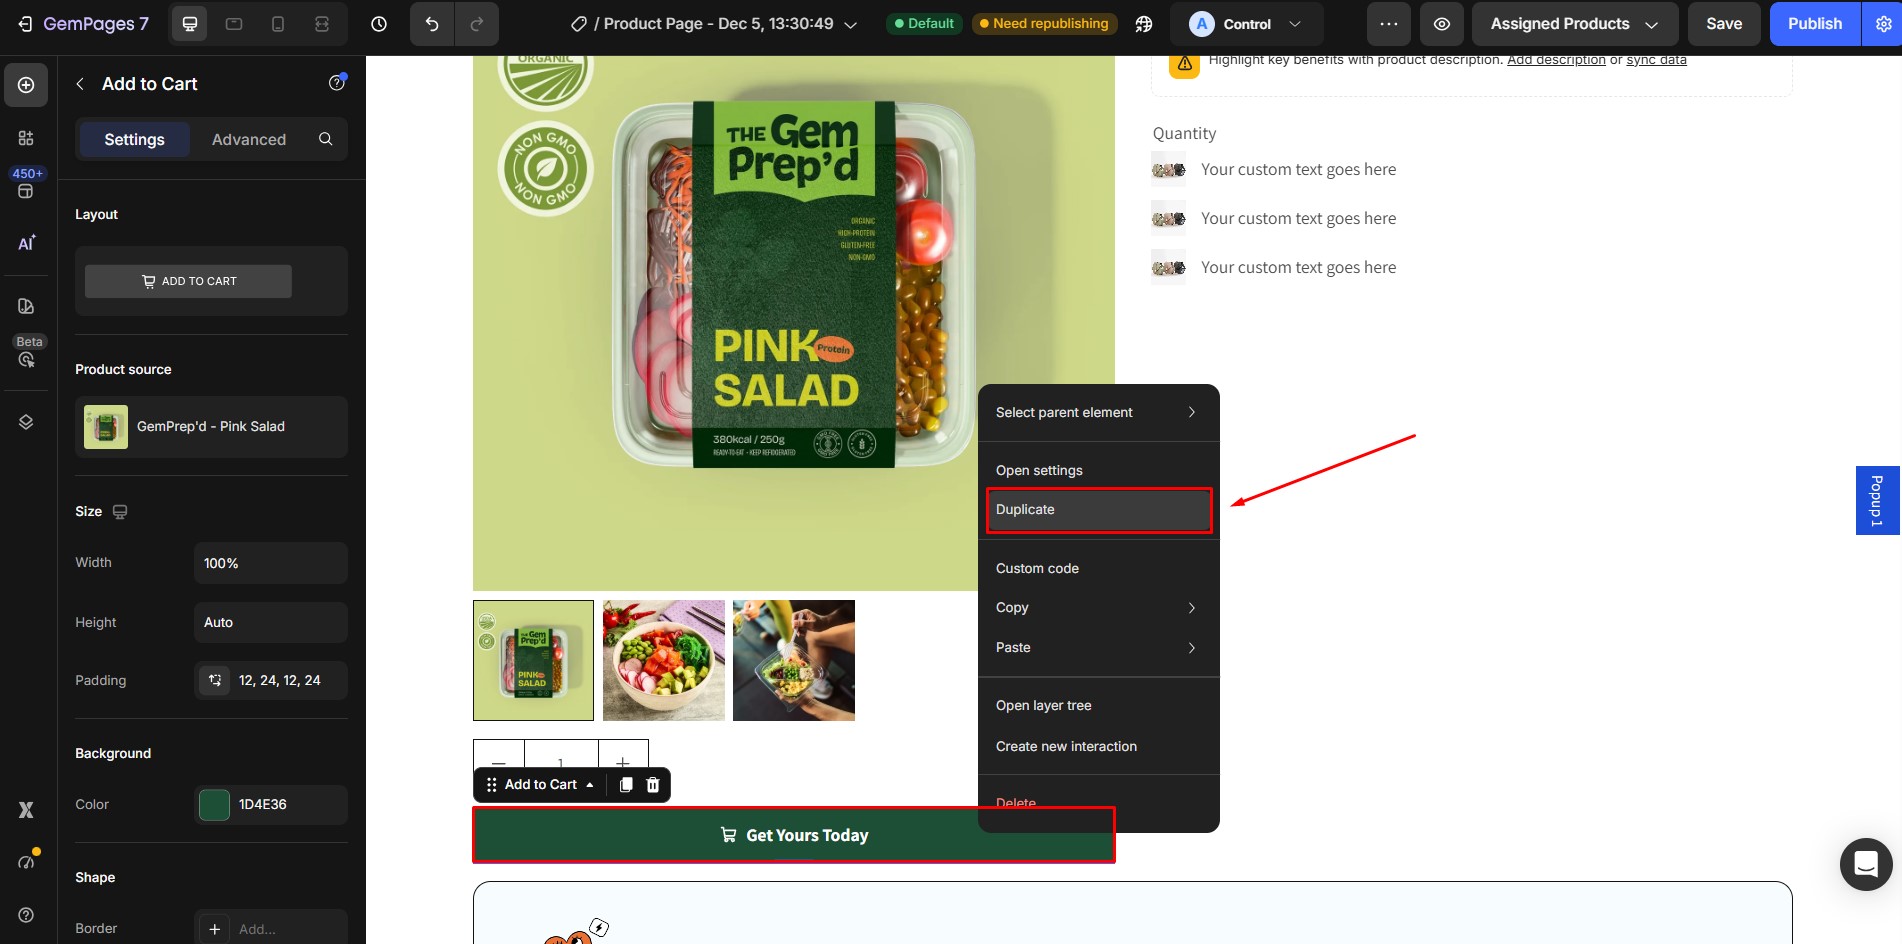
Step 1: Duplicate the button that you want to make sticky on mobile only.
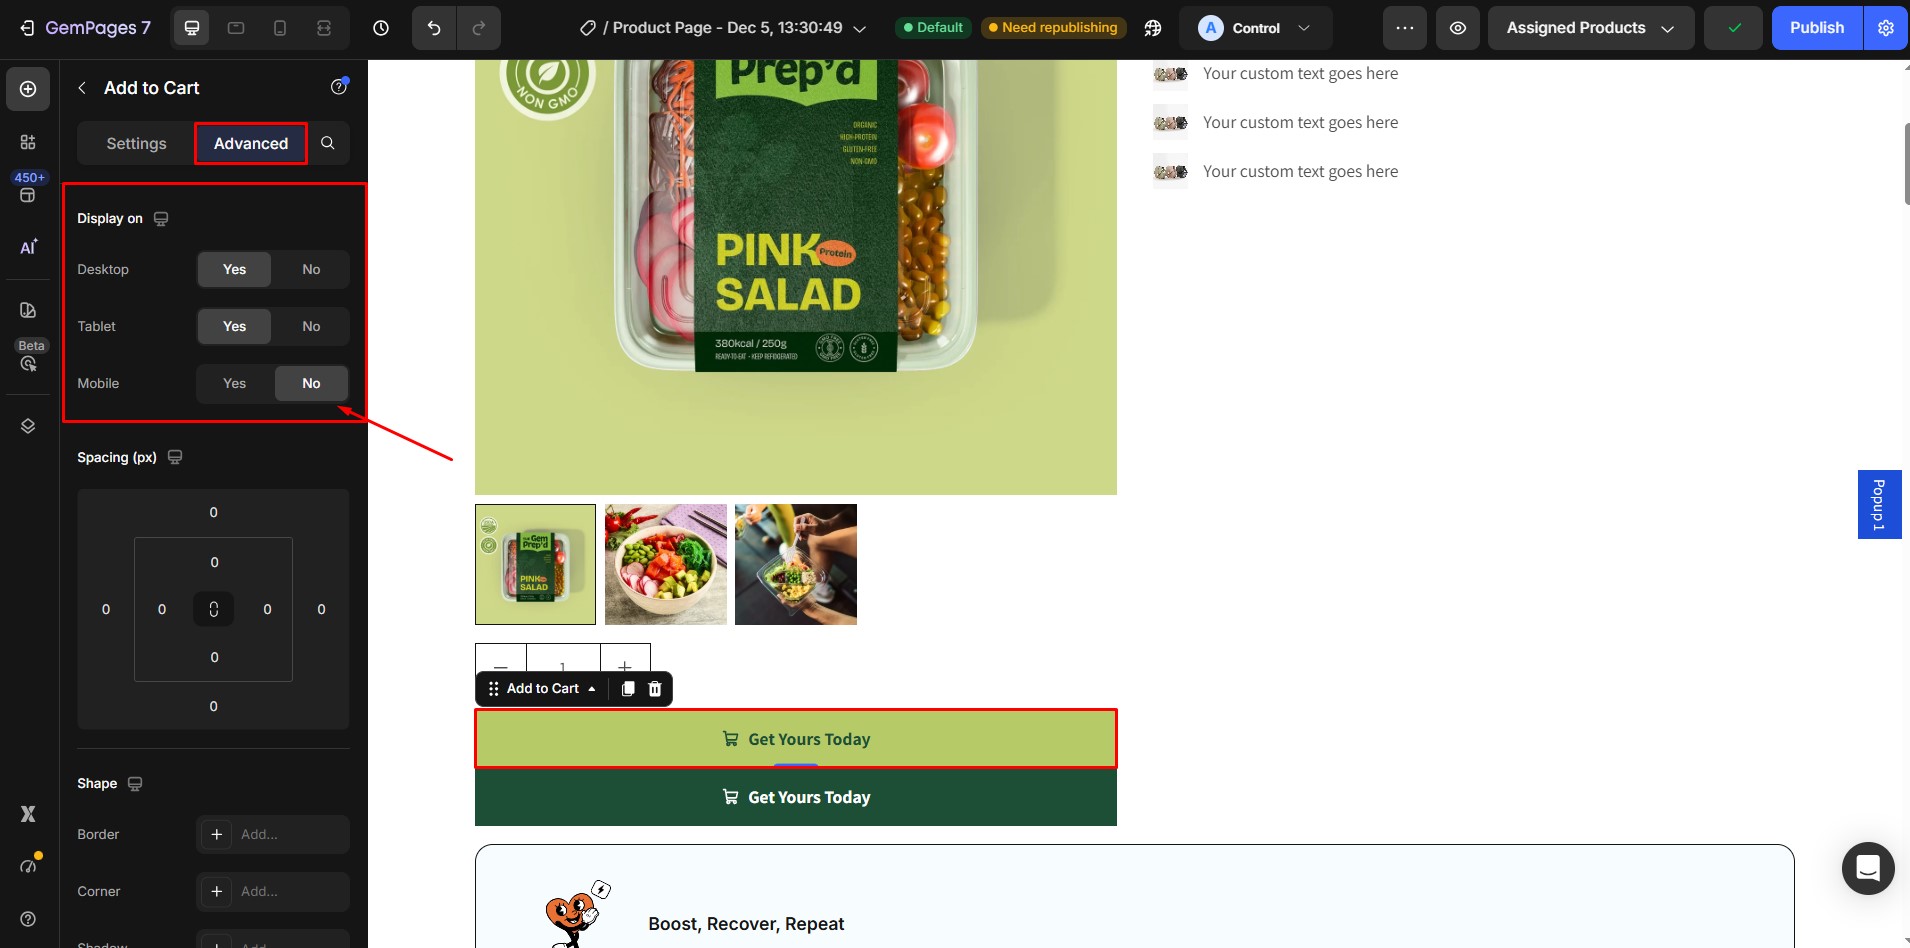
Step 2: Select the original button, then update its Display settings to show on Desktop only and hide it on Mobile.
Step 3: Select the duplicated button, then update its Display settings to show on Mobile (and hide it on Desktop if needed).
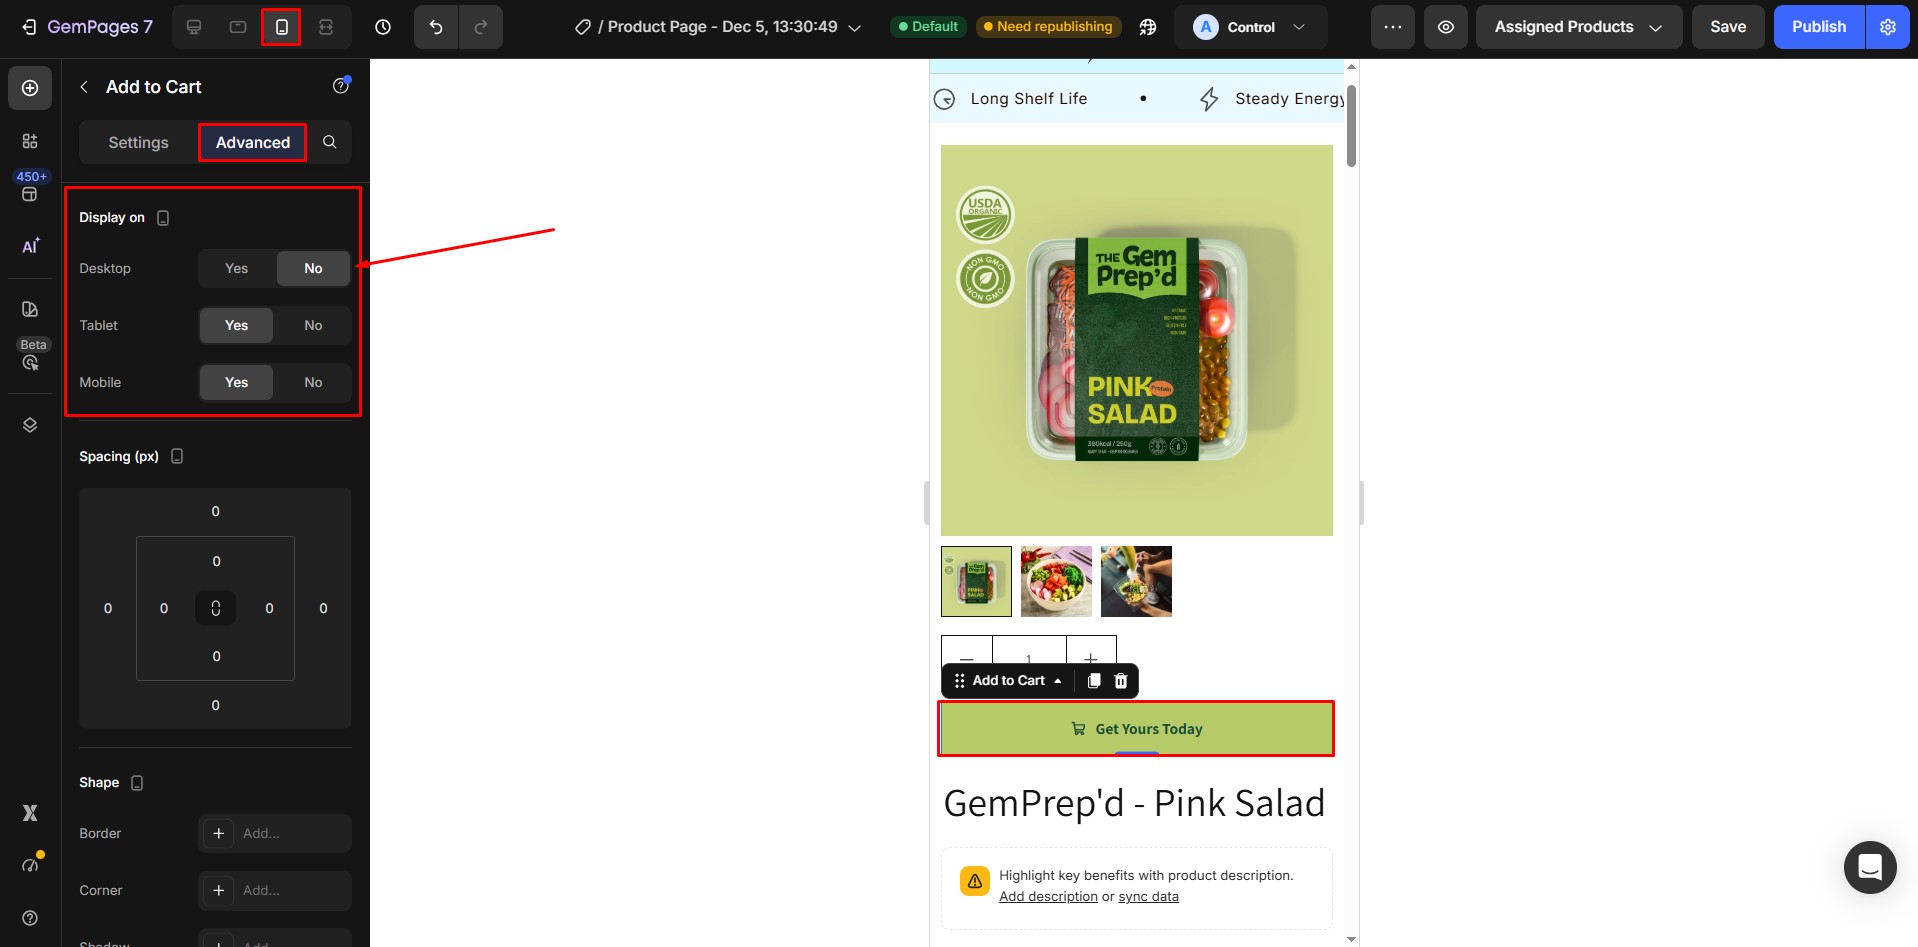
Step 4: With the duplicated button selected, go to the Advanced tab. Scroll to the Position section. Set the Position option to Sticky.

Once completed, the sticky behavior will apply only to the mobile version of the button, while the desktop version remains unchanged.
How to Create a Sticky Product Description
Sticky product descriptions are commonly used on product pages to keep important information (such as product details, price, or add-to-cart buttons) visible while customers scroll through product images or long descriptions.
Follow these steps:
Step 1: Select the product description elements.
Step 2: Go to the Advanced tab in the left sidebar.
Step 3: Scroll down to the Position section.
Step 4: Set the Position option to Sticky.


Thank you for your comments