


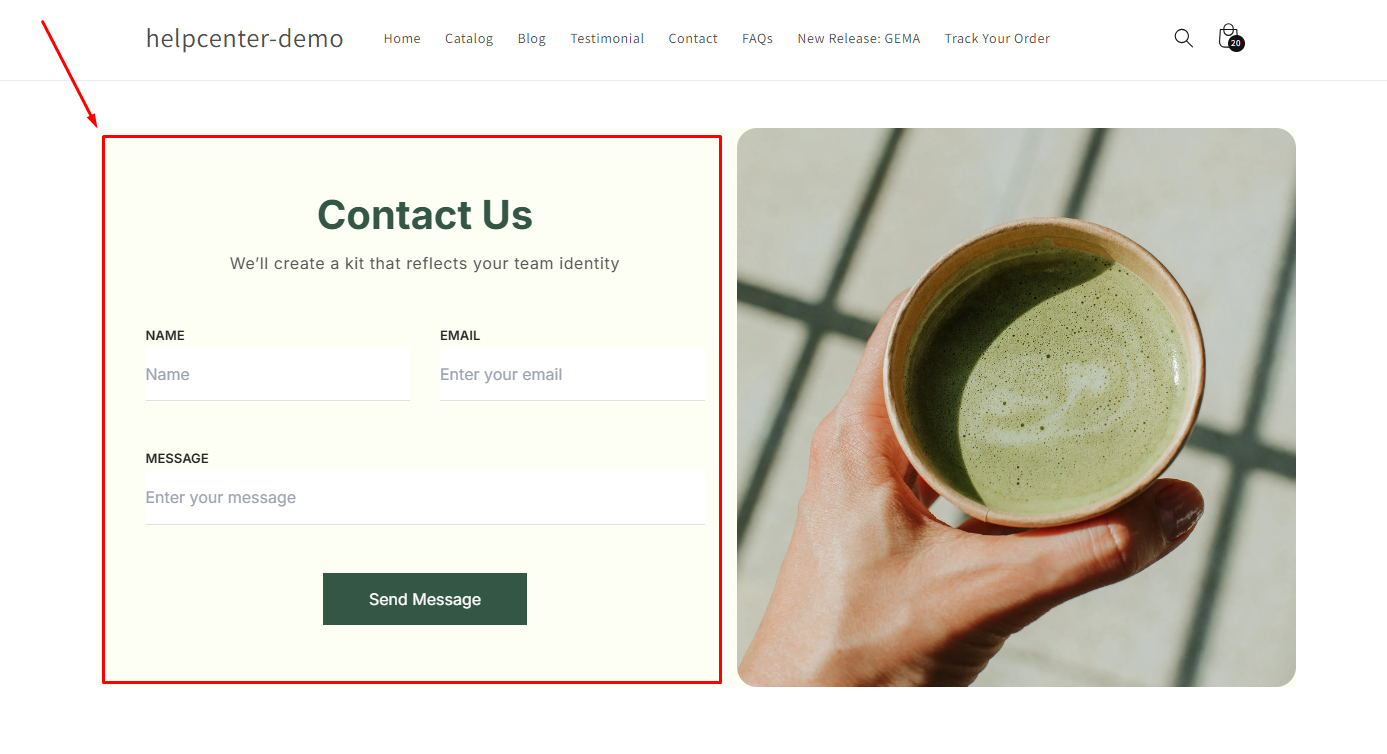
About Contact Form Element
The Contact Form element is a pre-made feature in GemPages that can be easily dragged and dropped from the left sidebar into your design area.
You can further customize the form by dragging and dropping additional Form Field elements from the sidebar to include the specific information fields you need.
The contact form element will send data to the Shopify Admin. For more detailed information about the Contact Form Element, click here.
Designing a Contact Form Section with Contact Form Element
First, you need to access the GemPages Dashboard and click on the target page to open it in the editor.
Once located in the editor, follow these steps to design a contact form section with GemPages’ Contact Form Element.
Step 1: Drag and Drop the Contact Form Element
- From the left sidebar, use the search bar to find the Contact Form Element. Then, add it to the desired position on your page.
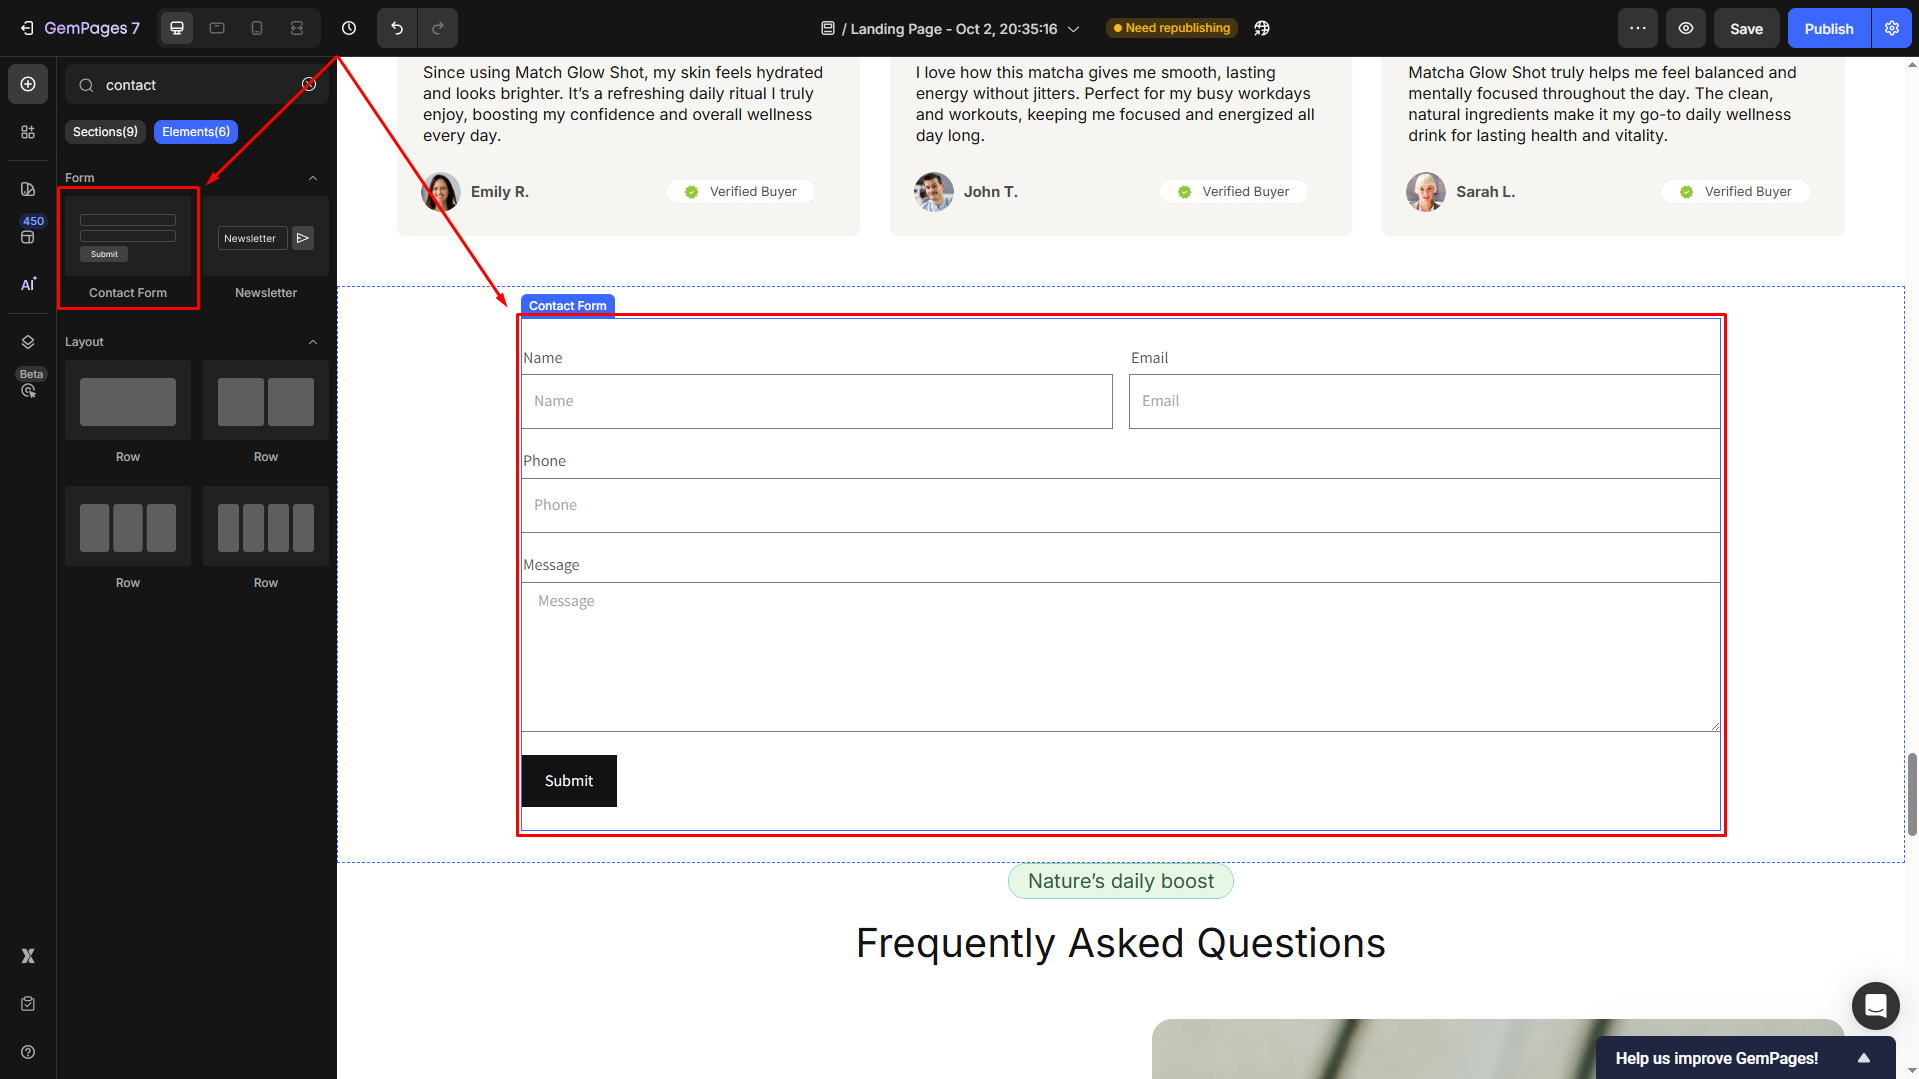
This default contact form includes basic components, but you can customize it by adding, changing, or deleting any elements.
- To remove an element, click on it and select the trash icon, and build your form from scratch.
- Delete all pre-made elements to create an empty contact form:
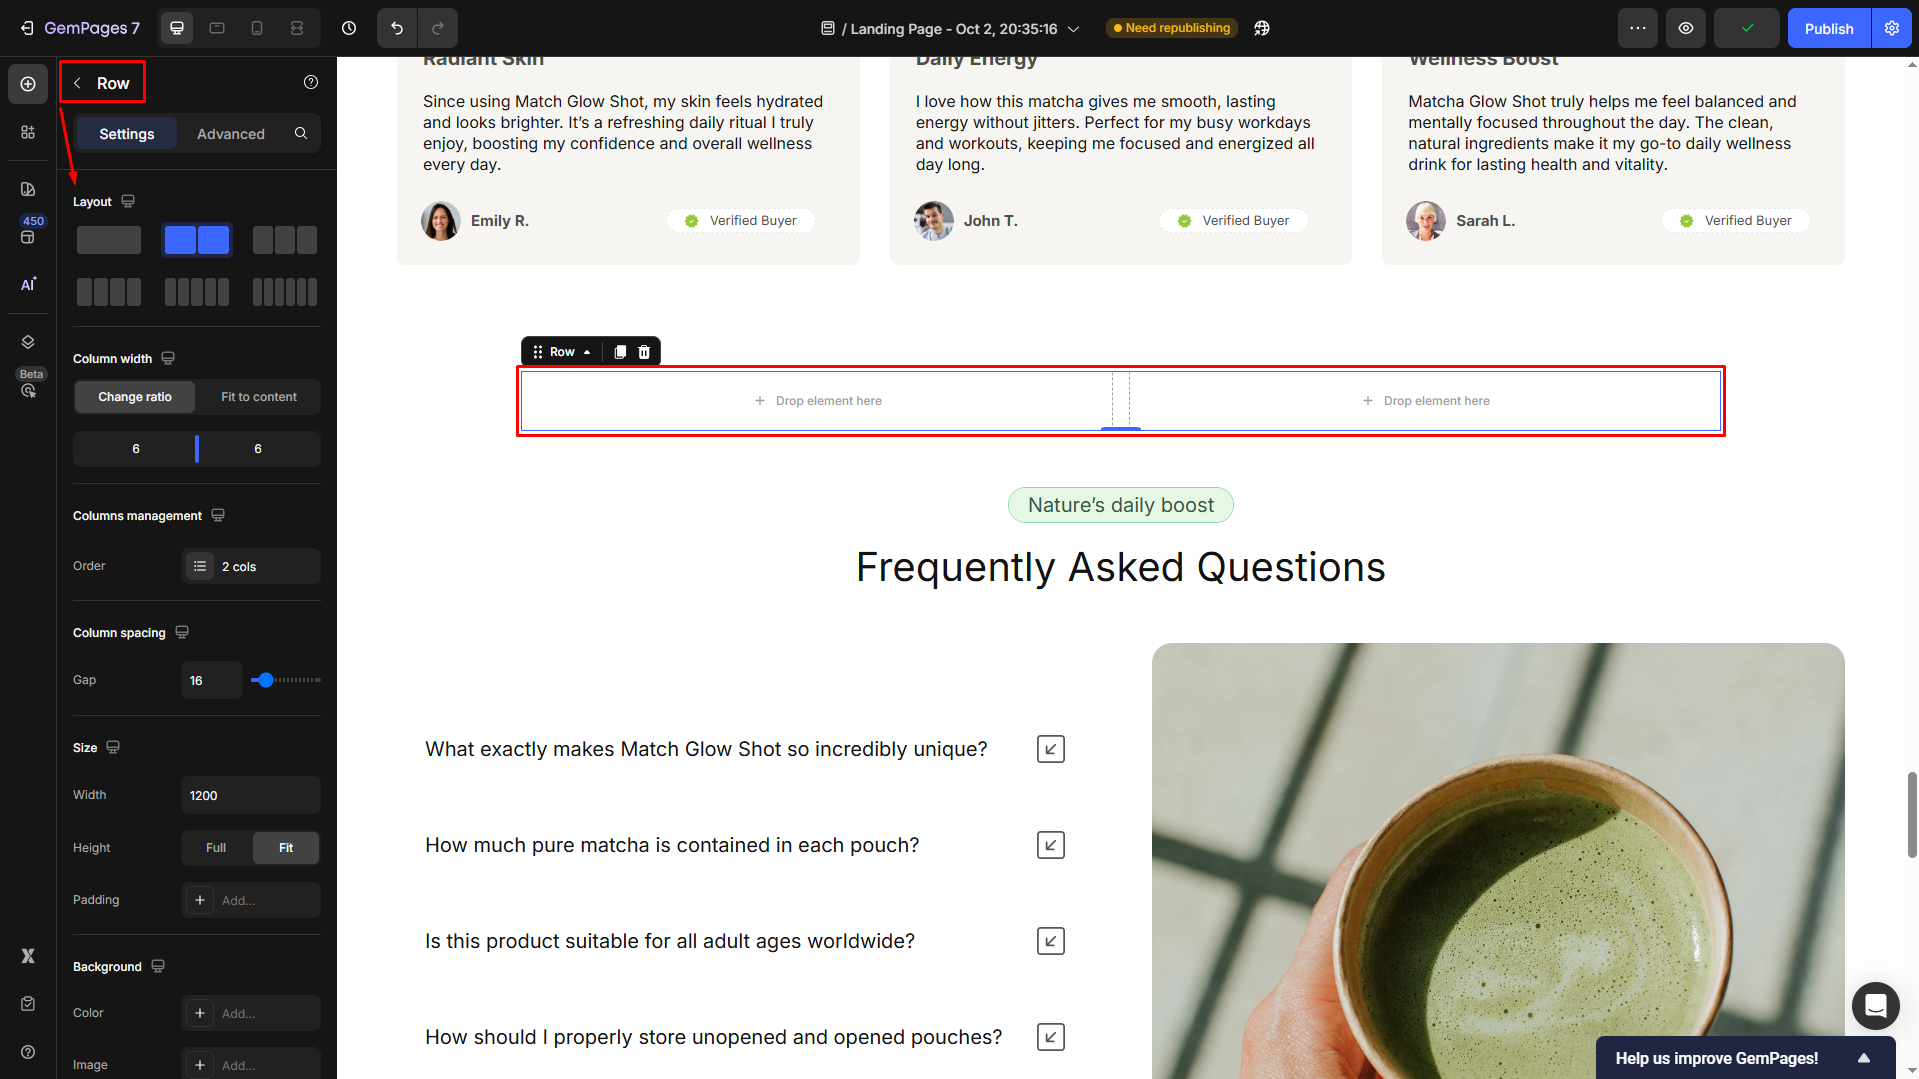
Step 2: Create the Contact Form Layout
- Drag and drop a Row element into the Contact Form.
- Under the Layout section in the settings panel, you can configure the row to be either a 1-column or 2-column layout, depending on your preferences.
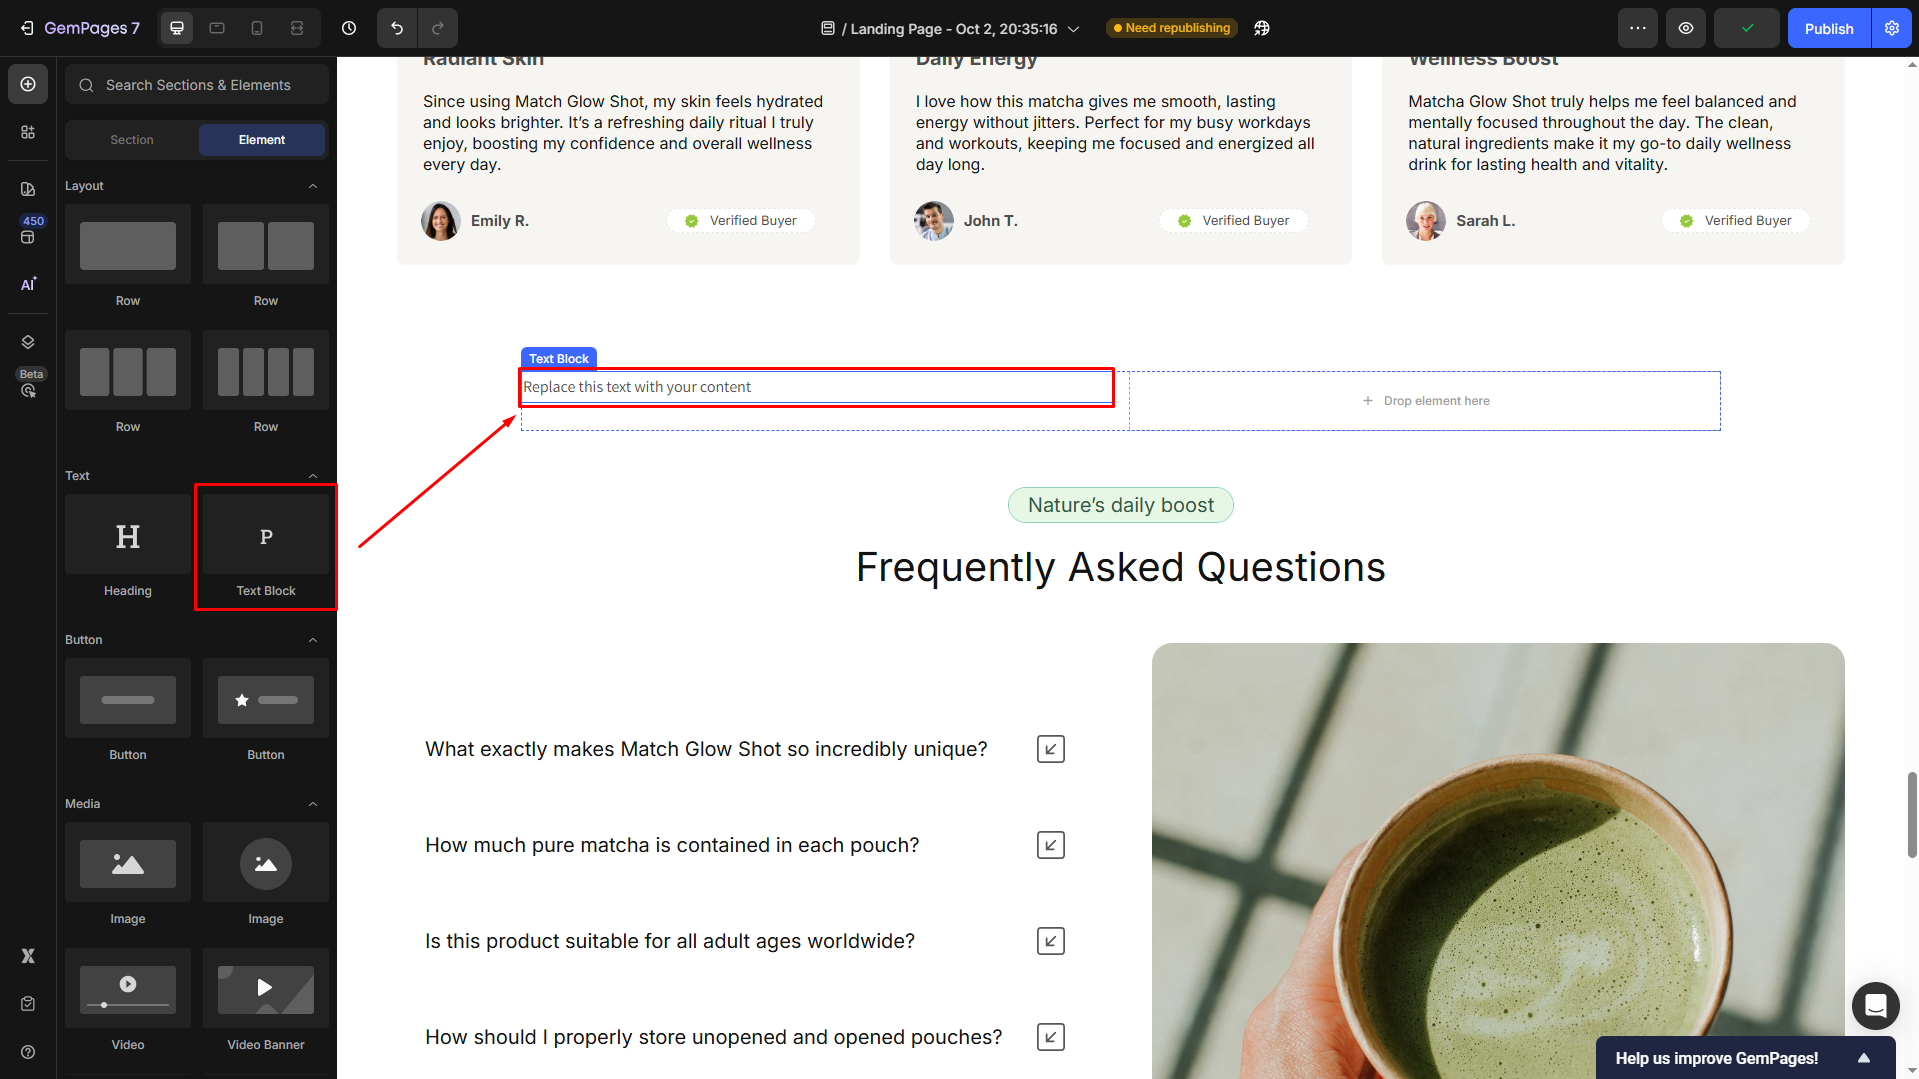
Step 3: Add Form Input Elements
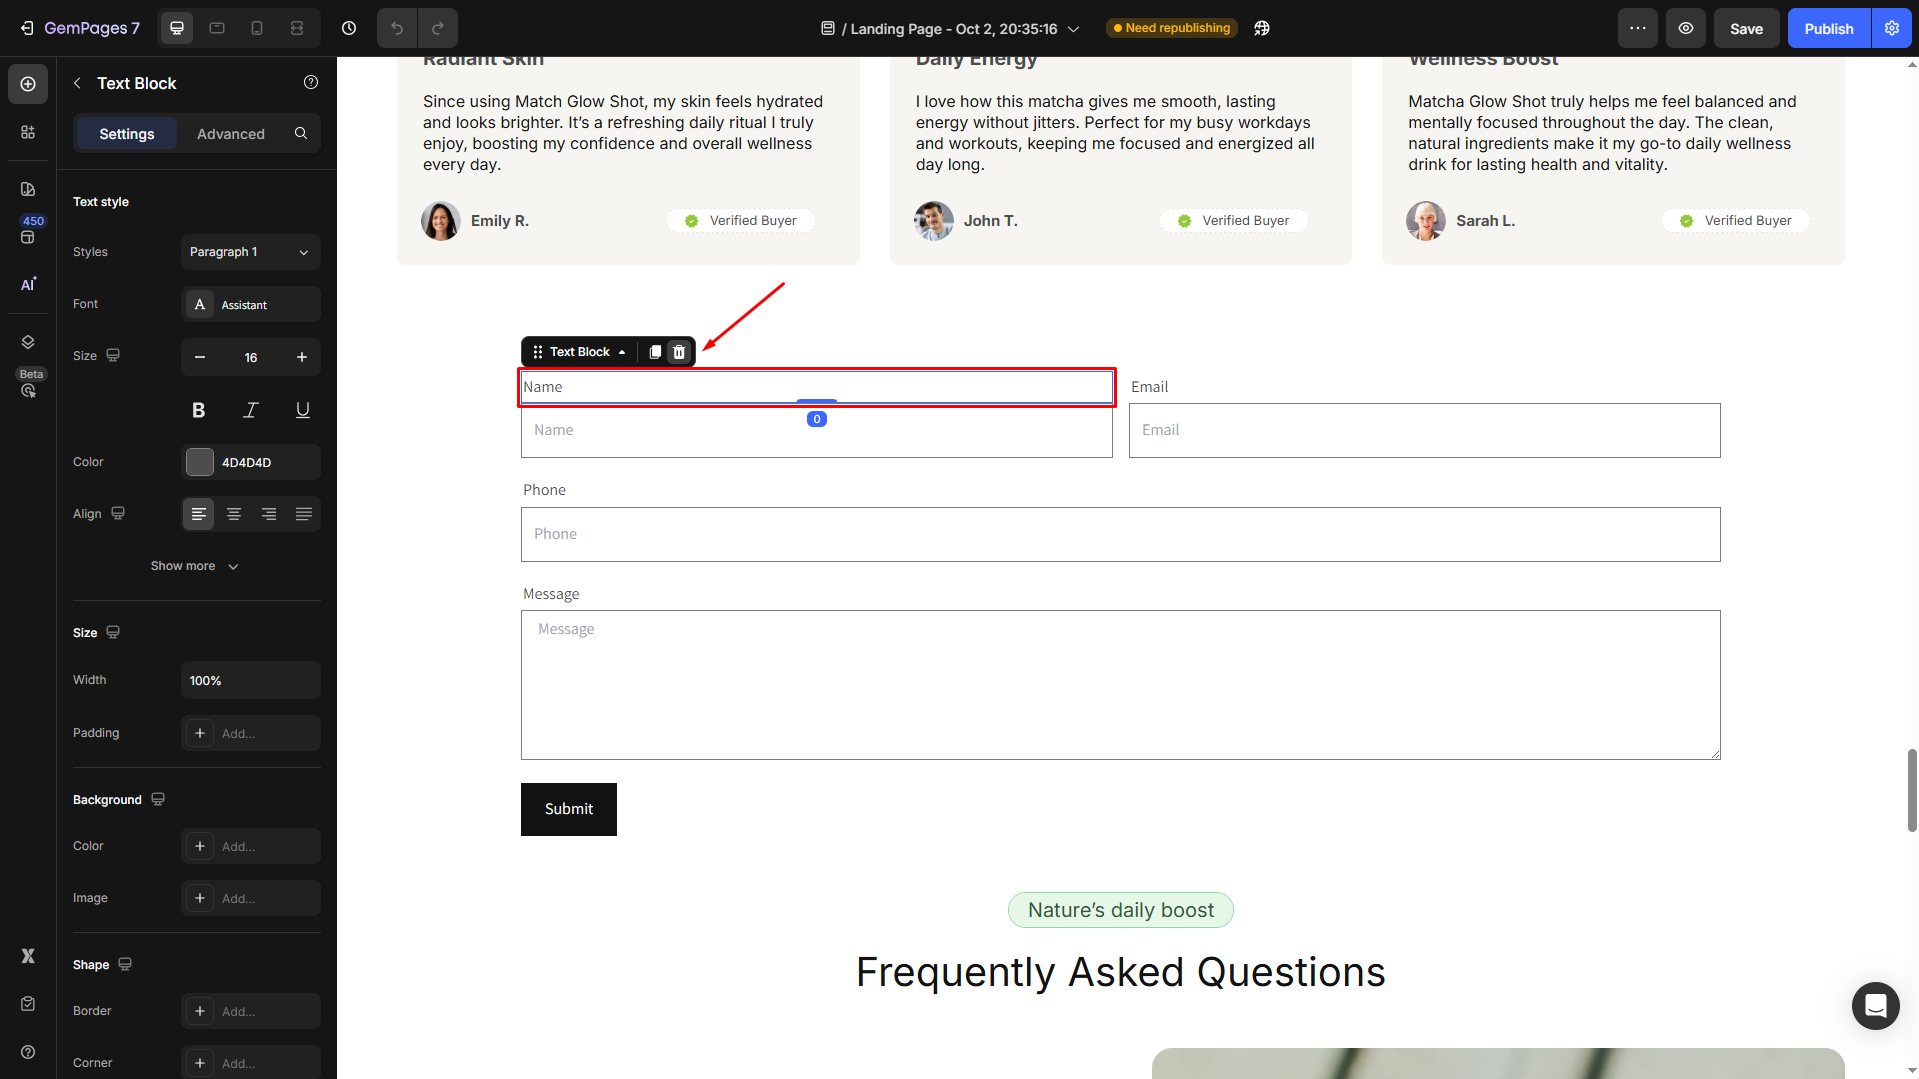
- Next, drag and drop the necessary form input components. For a 2-column layout, place the first Text Field element in the left column.
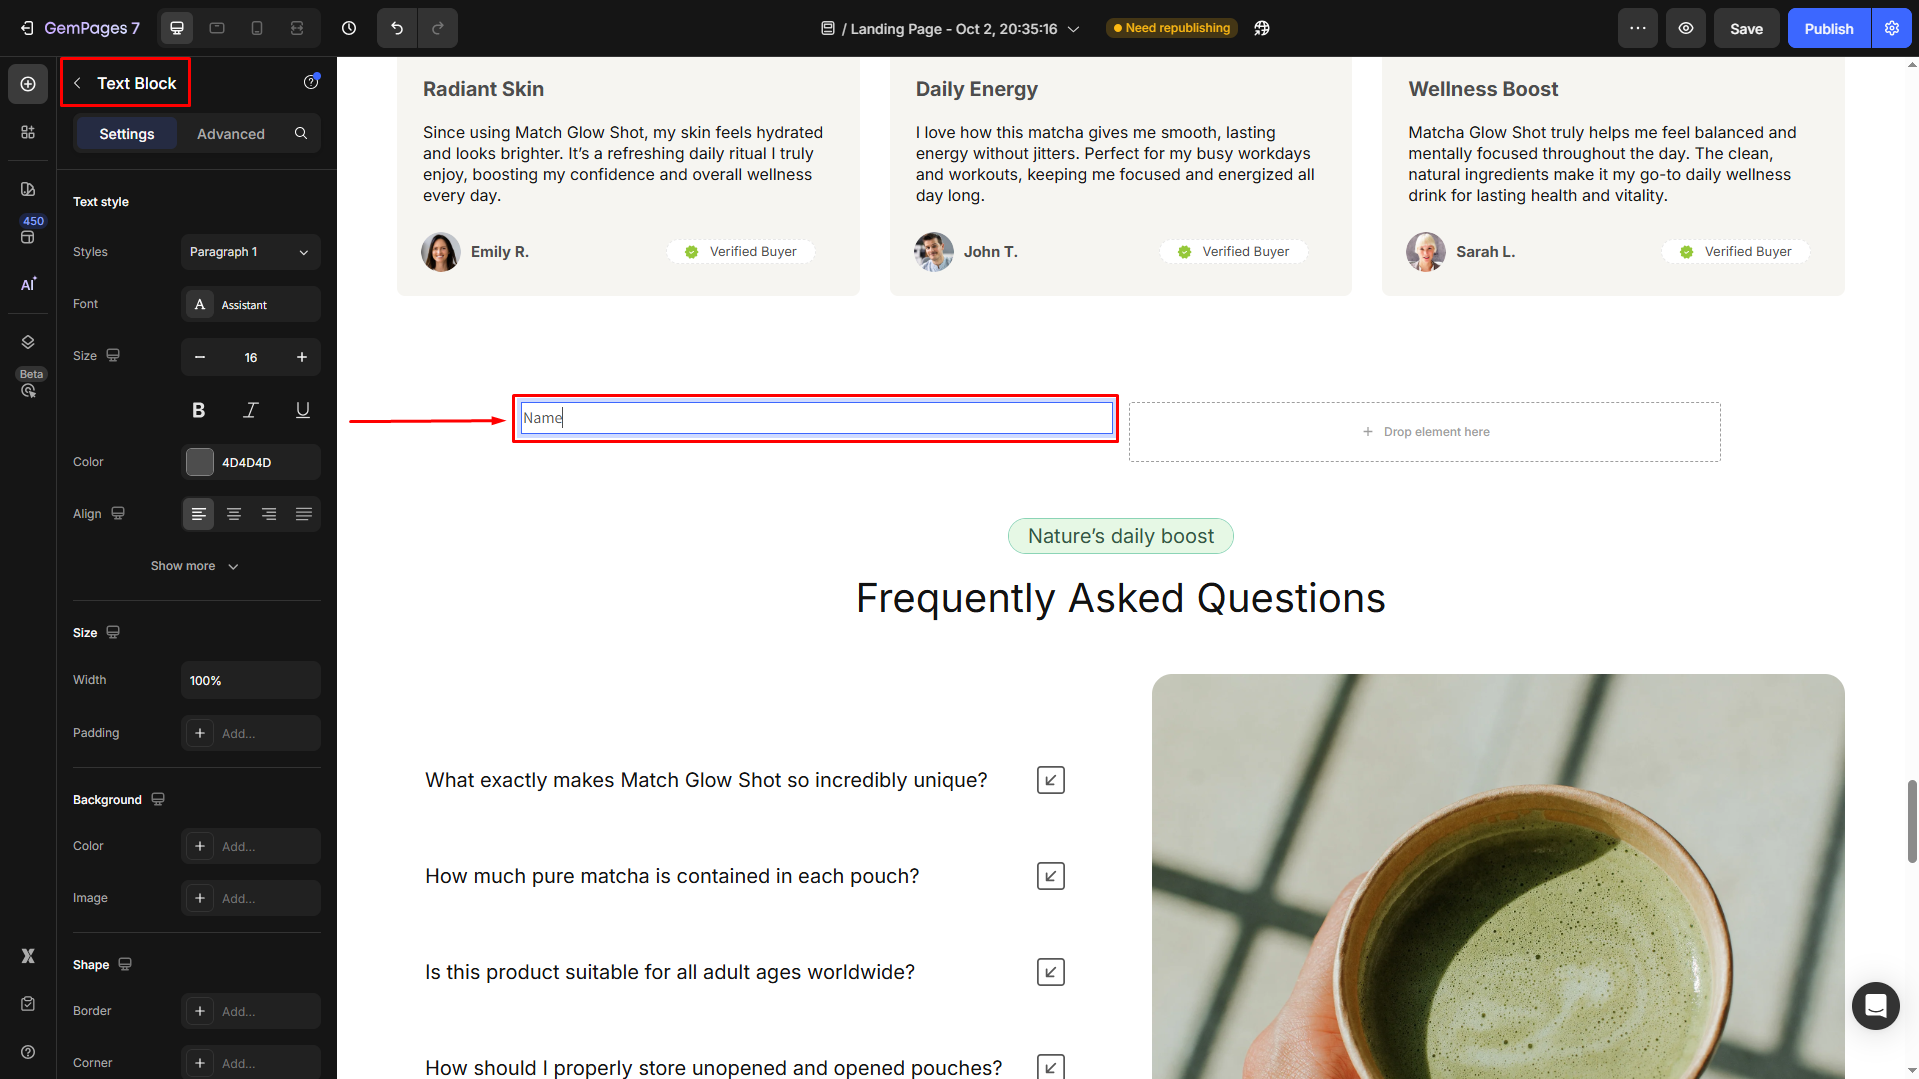
- Double-click on this Text Block Element to edit the text. For example, we change it to “Name“.
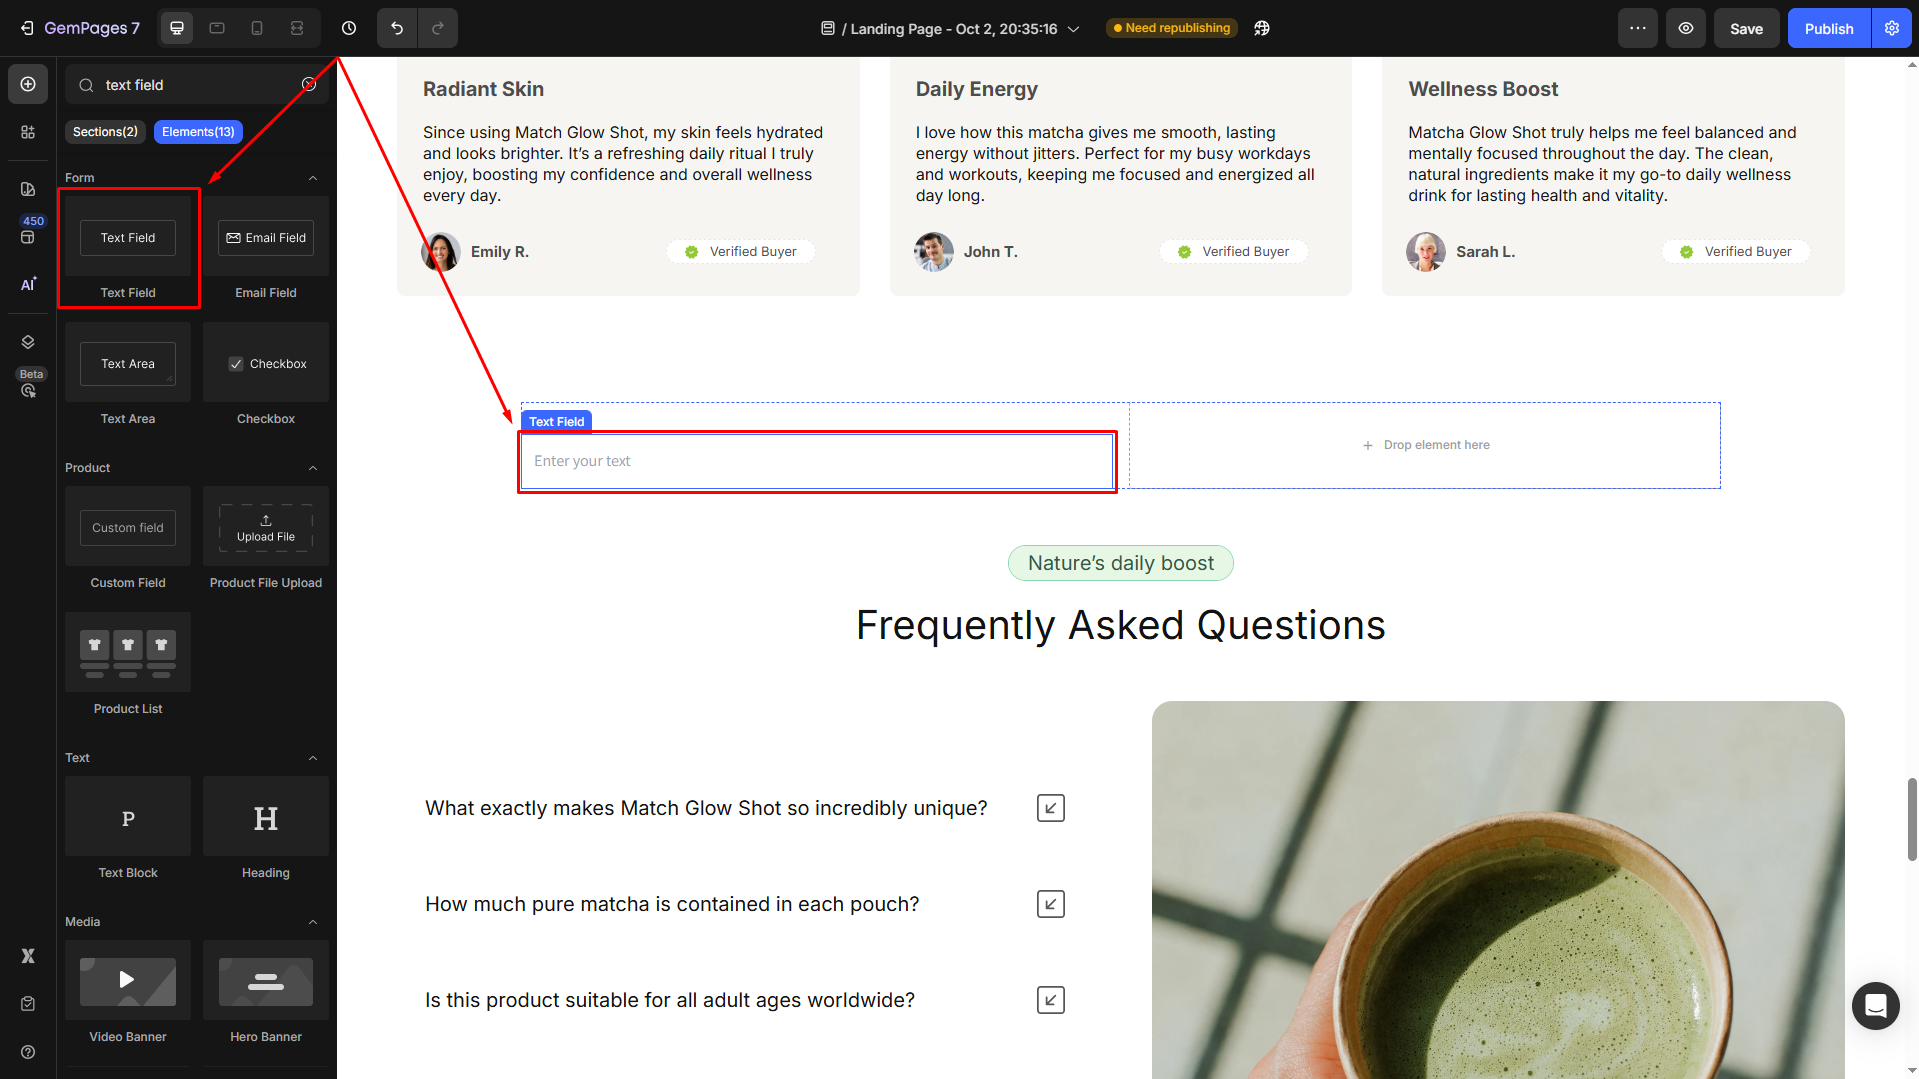
- Drag and drop a Text Field Element under the Text Block one to put them in the same column.
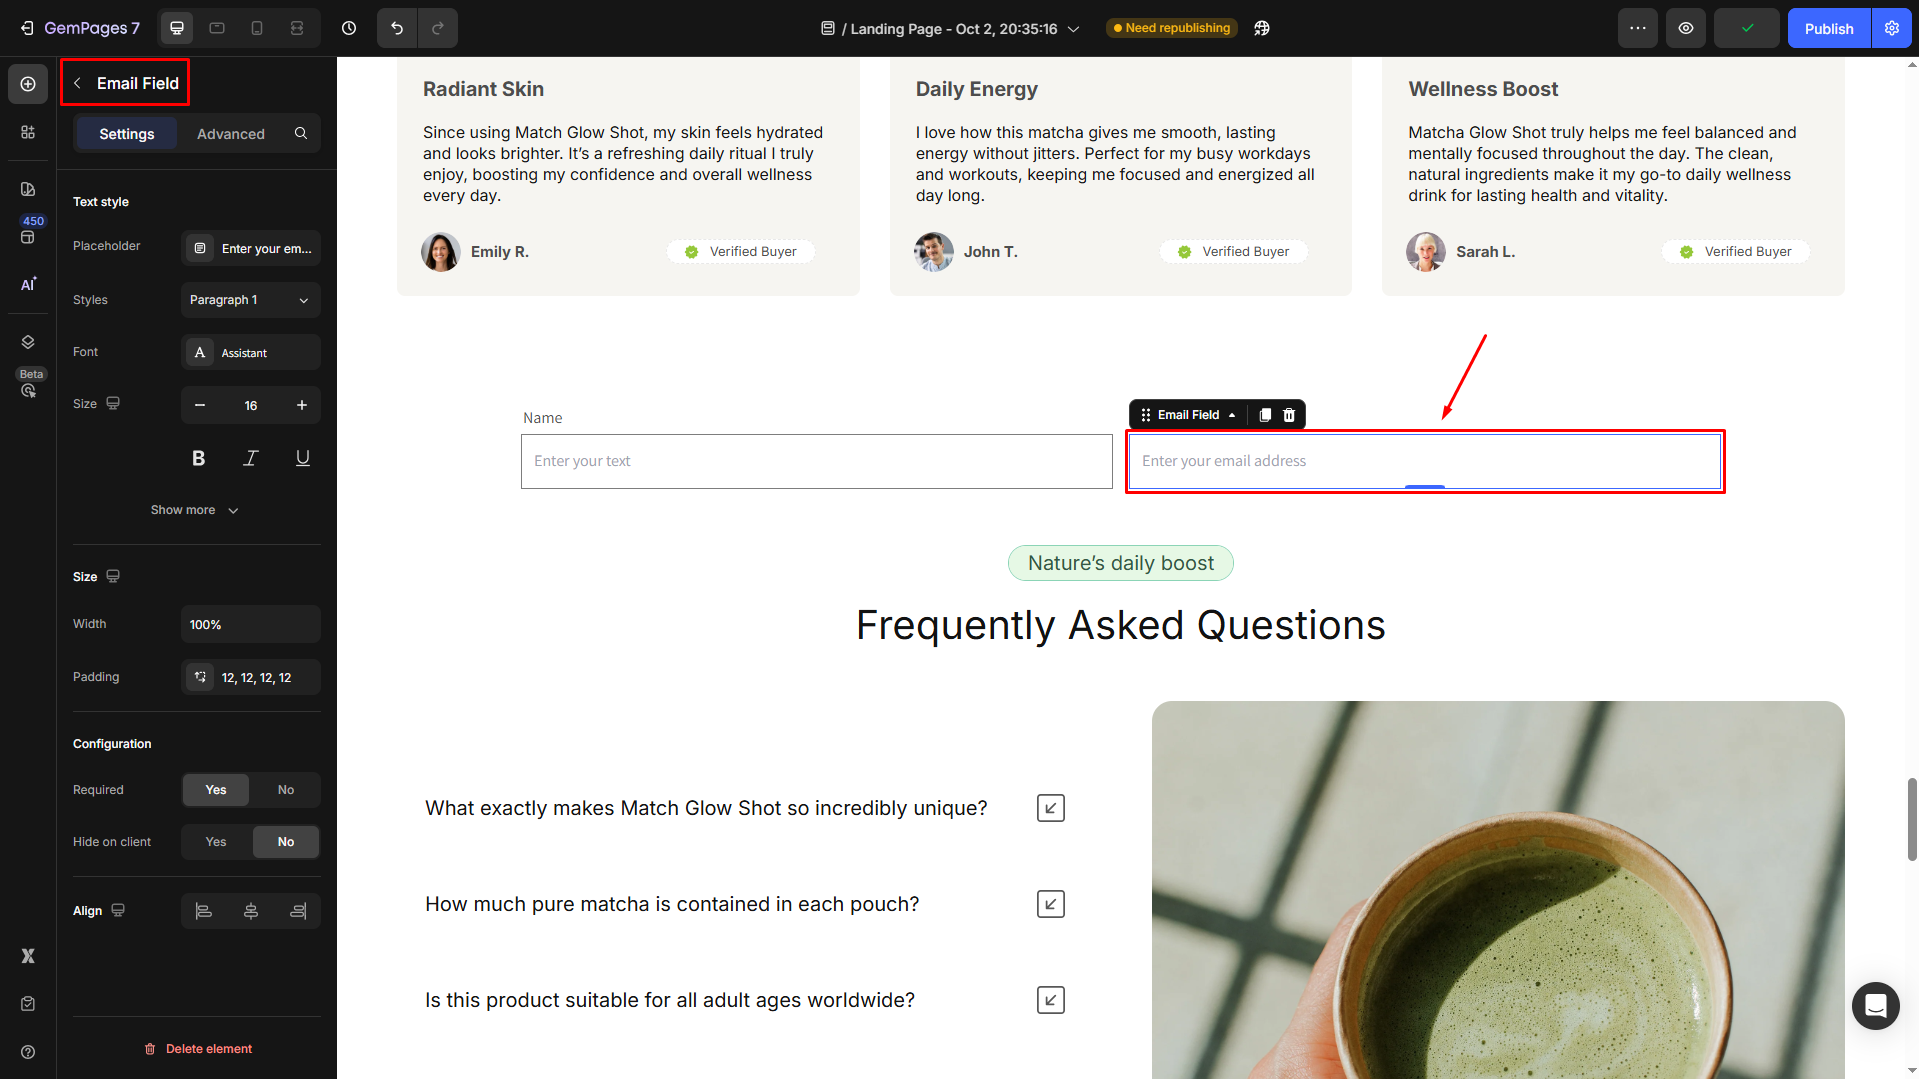
- In the right column, continue adding a new Text Block and changing the text to “Email“. Then, put an Email Field Element under this element.
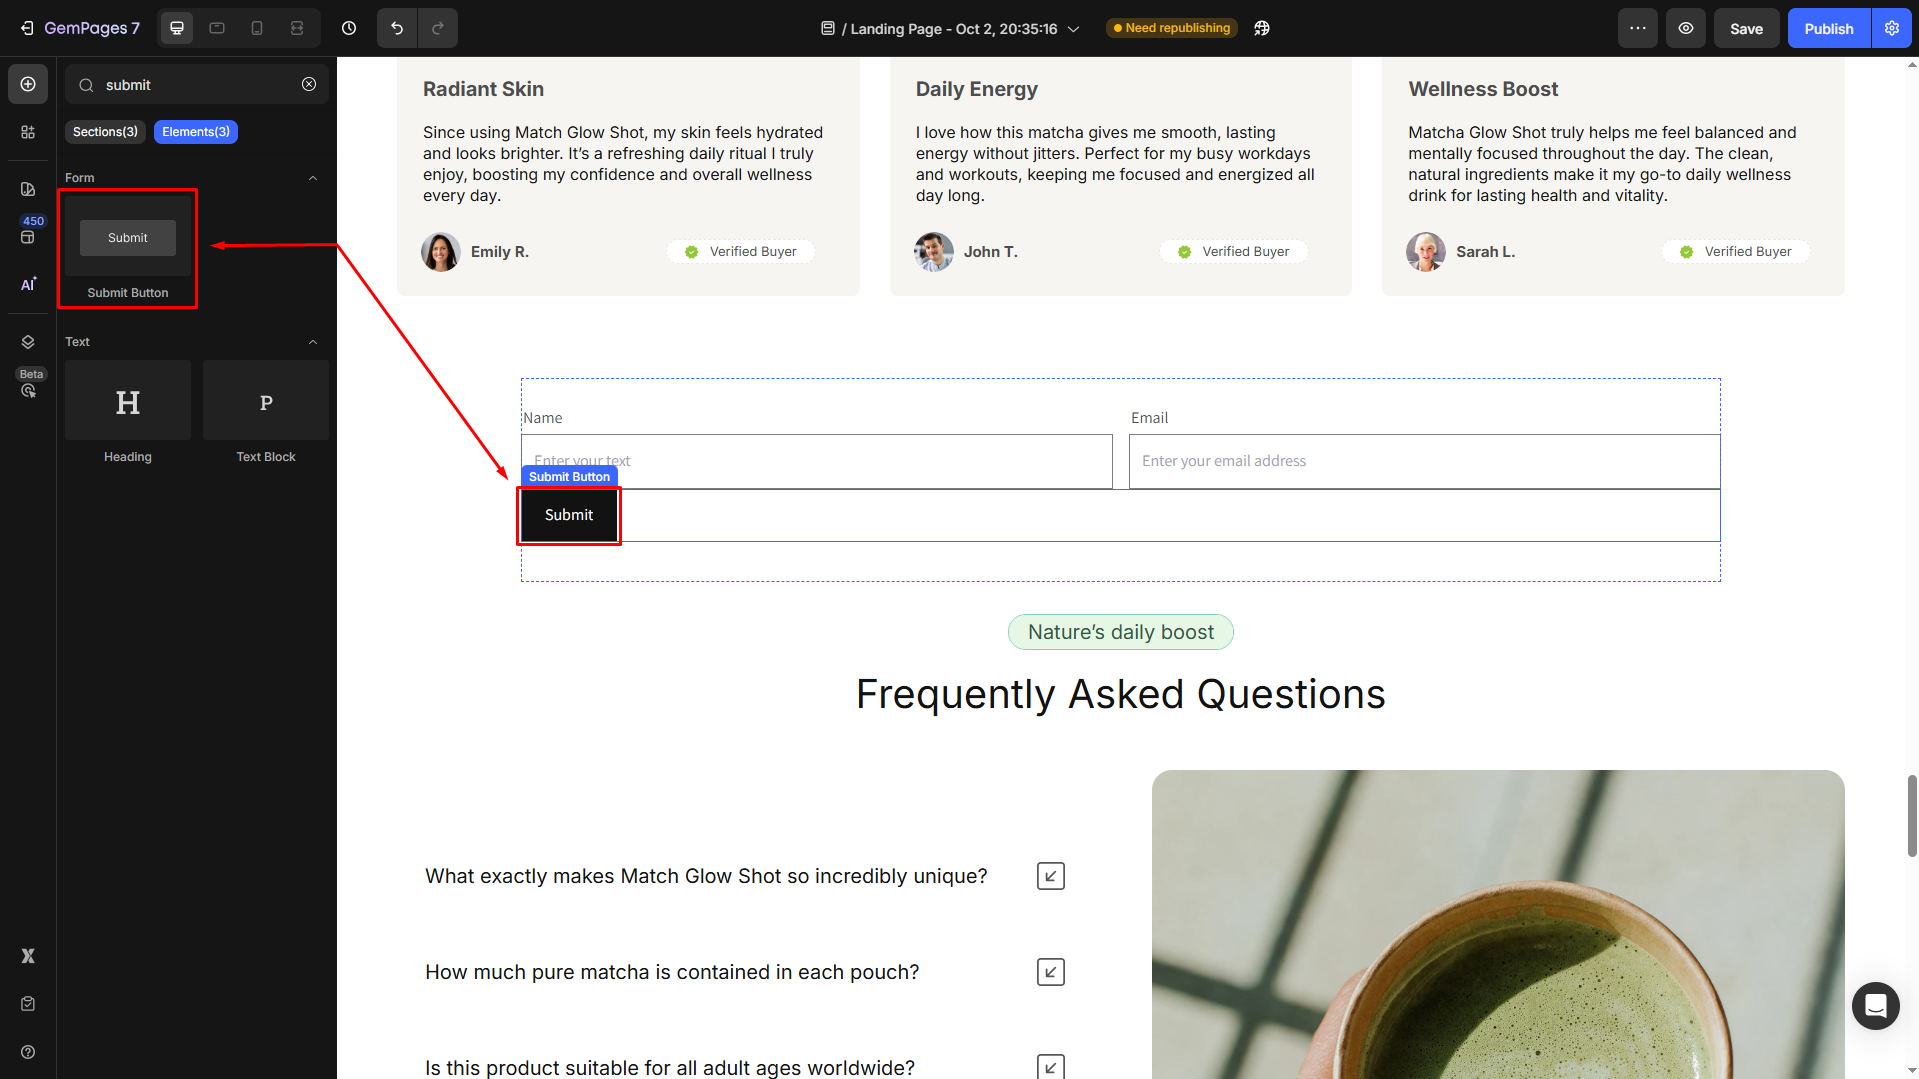
Step 4: Add the Submit Button
- Drag and drop the Submit Form Button, which is essential for customers to submit the form and send their information to your Shopify Admin.
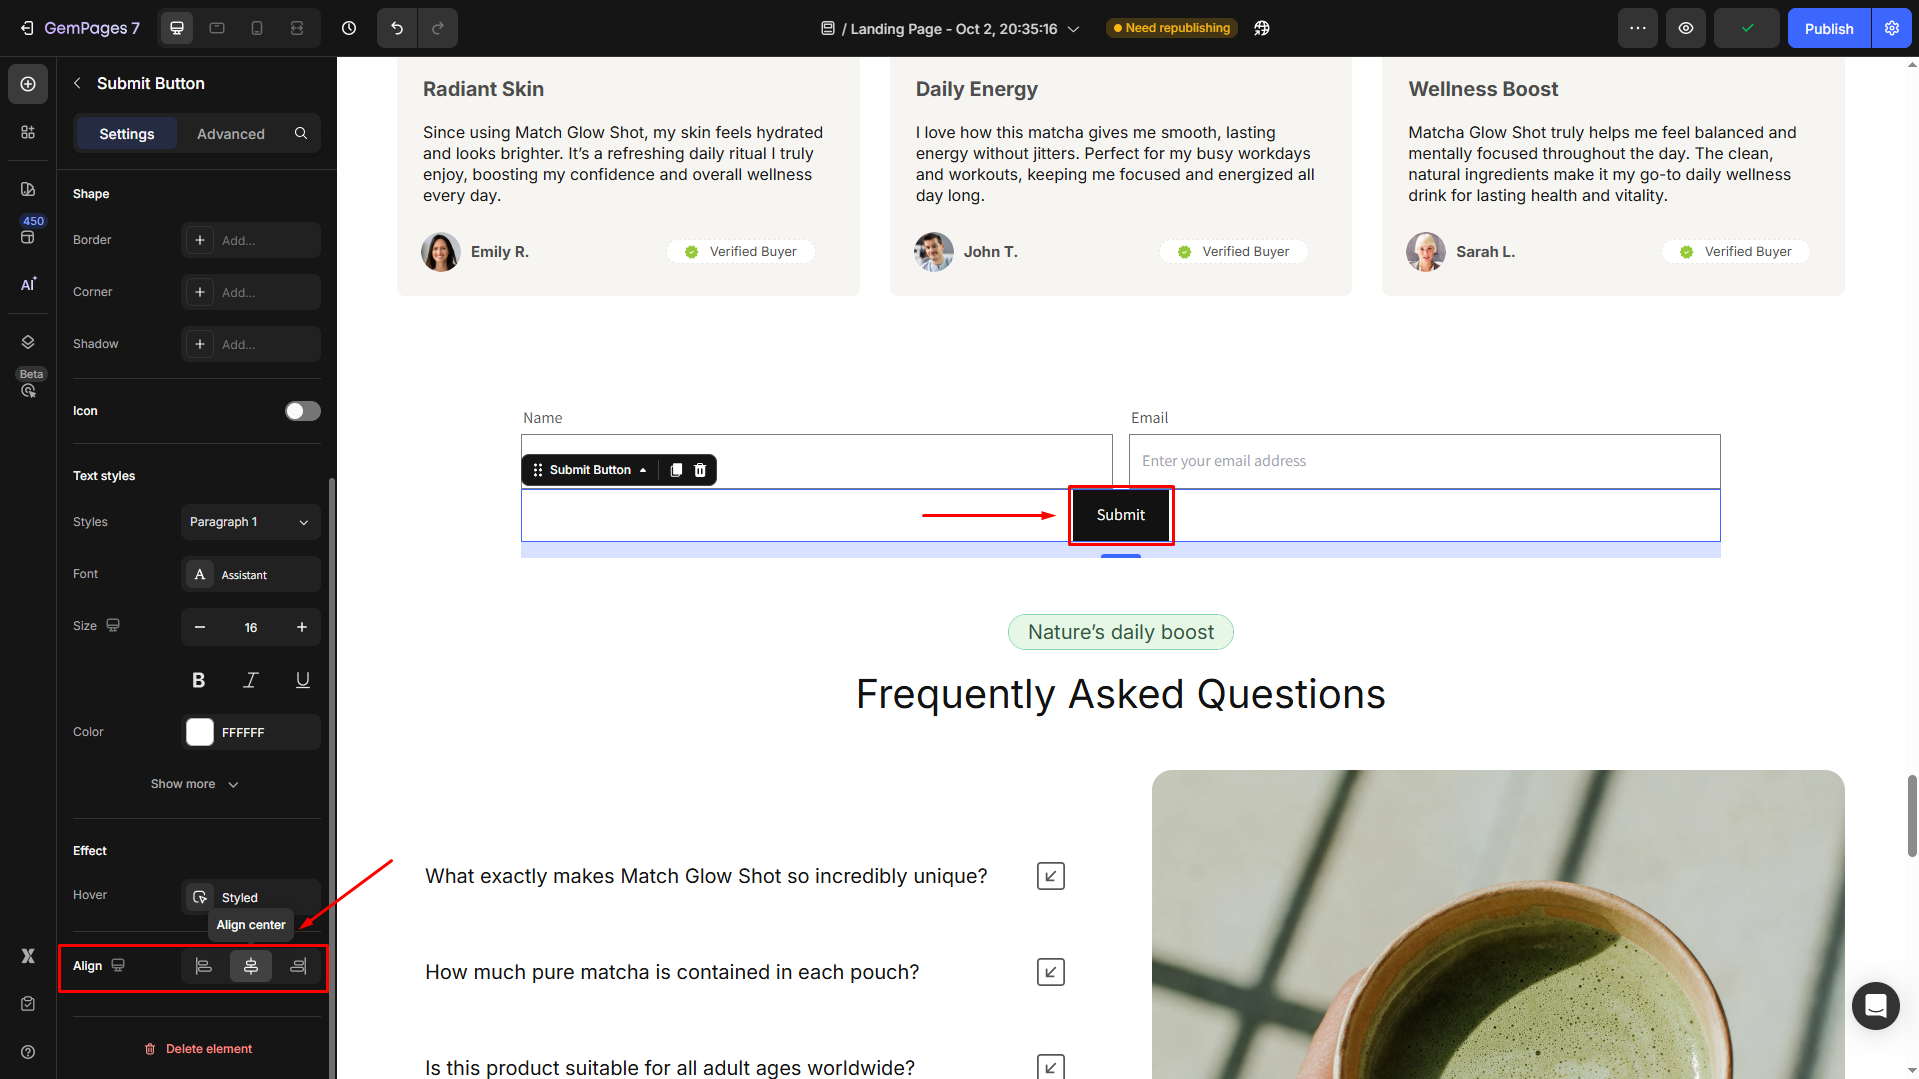
- Adjust the alignment for this button to center for better visibility.
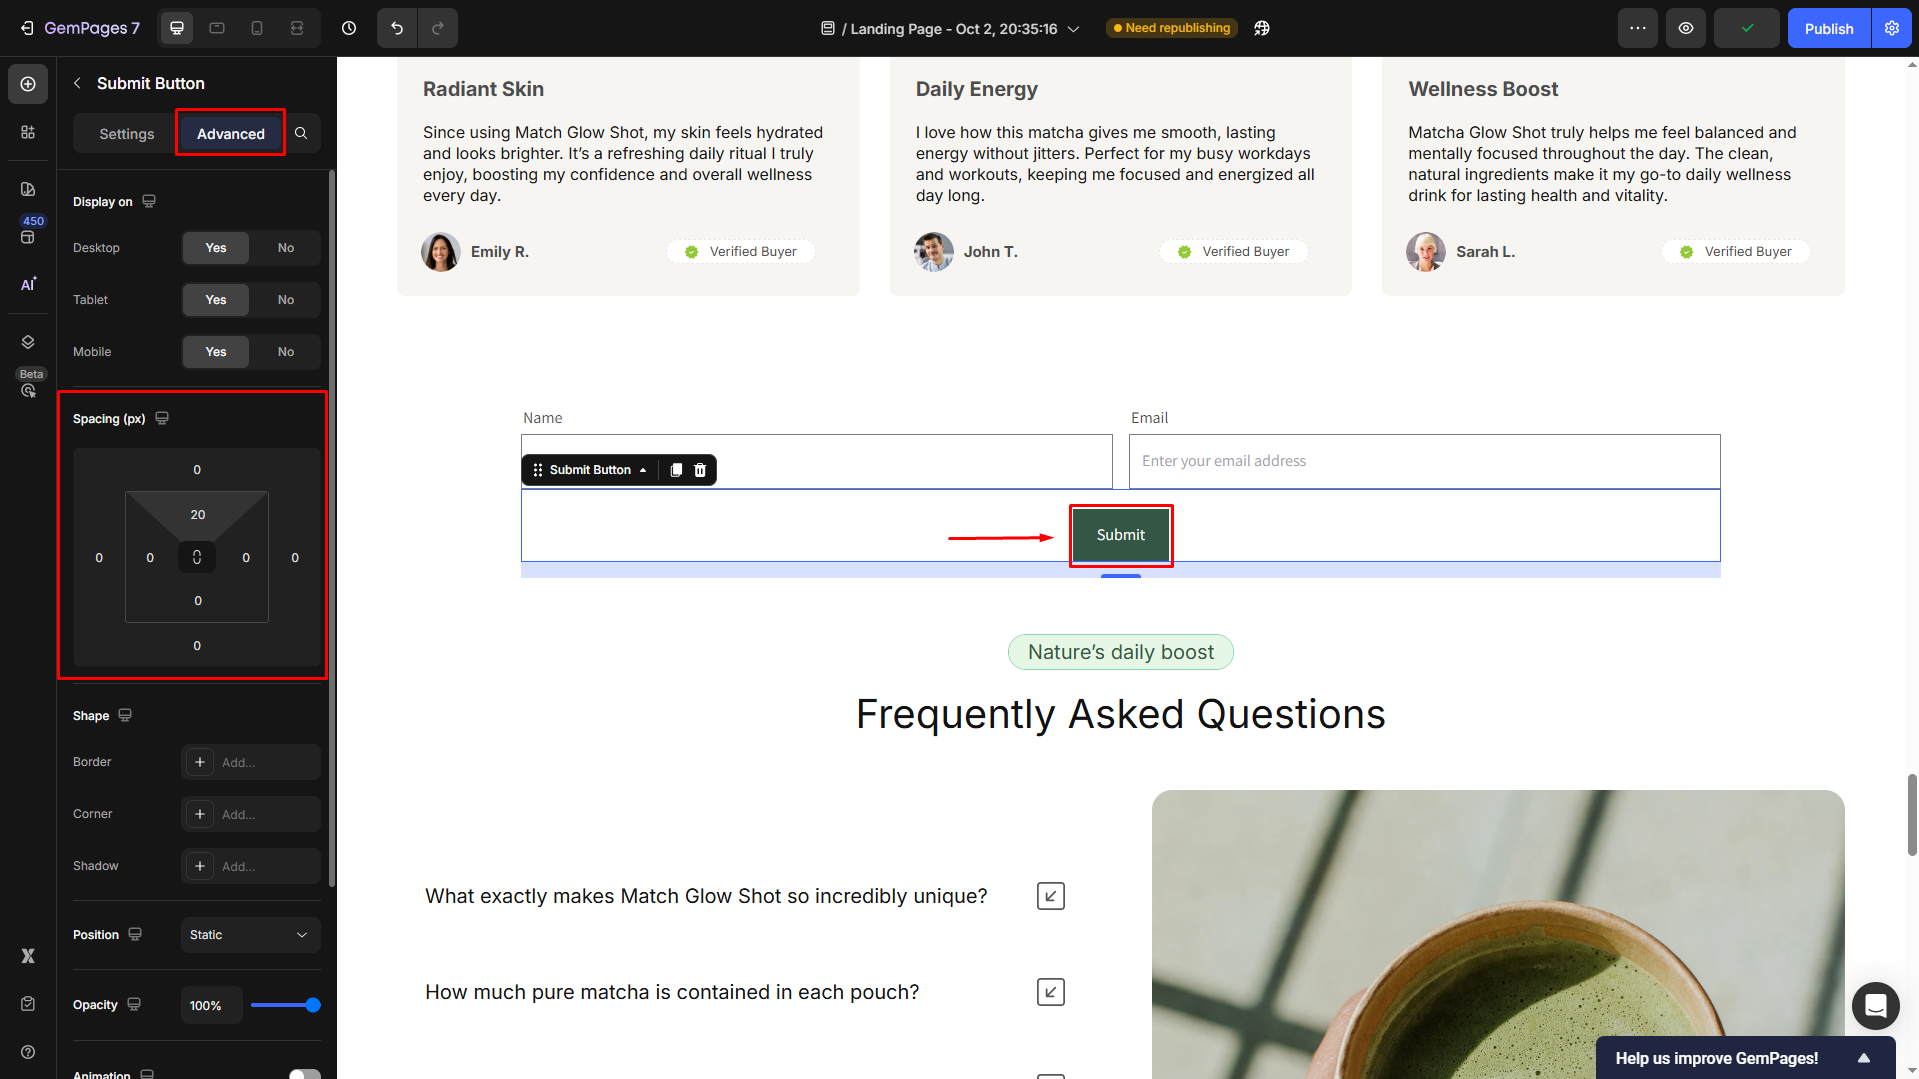
- Go to the Advanced tab and adjust the spacing under the Spacing section.
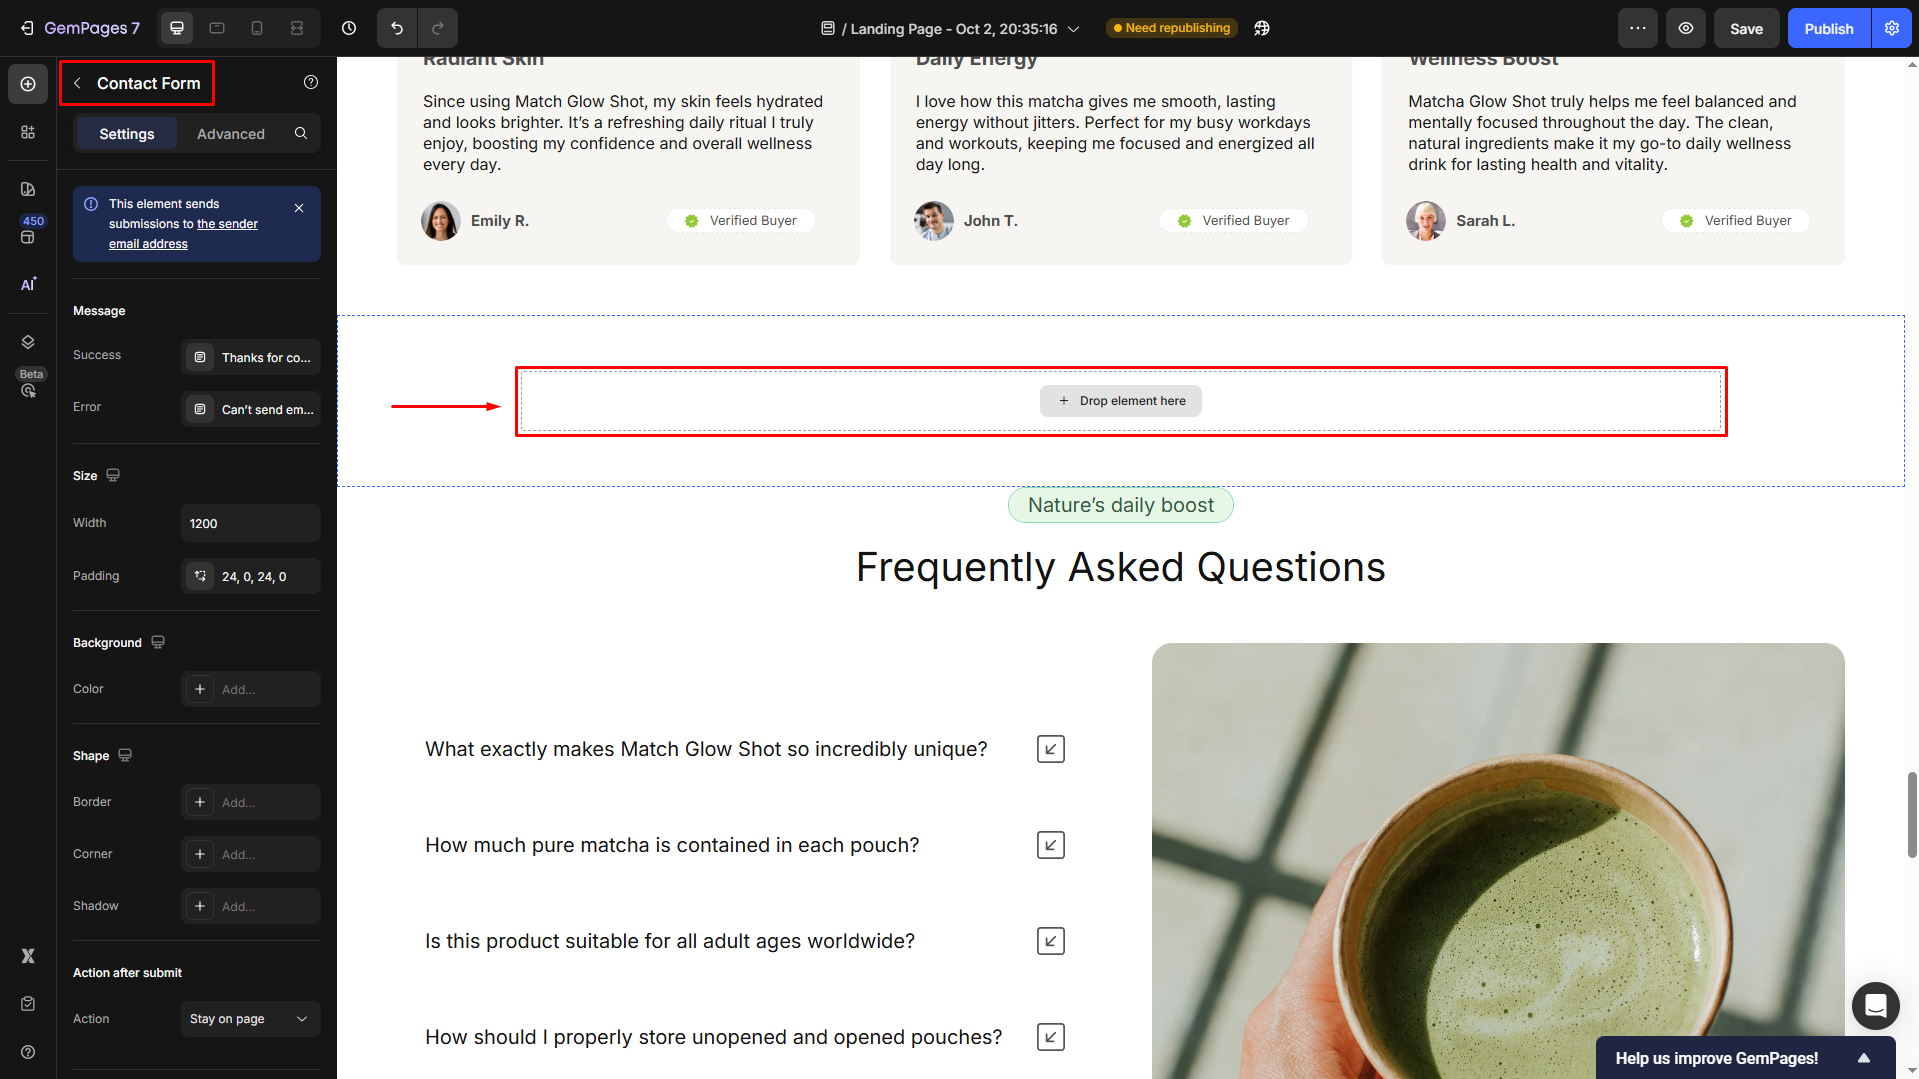
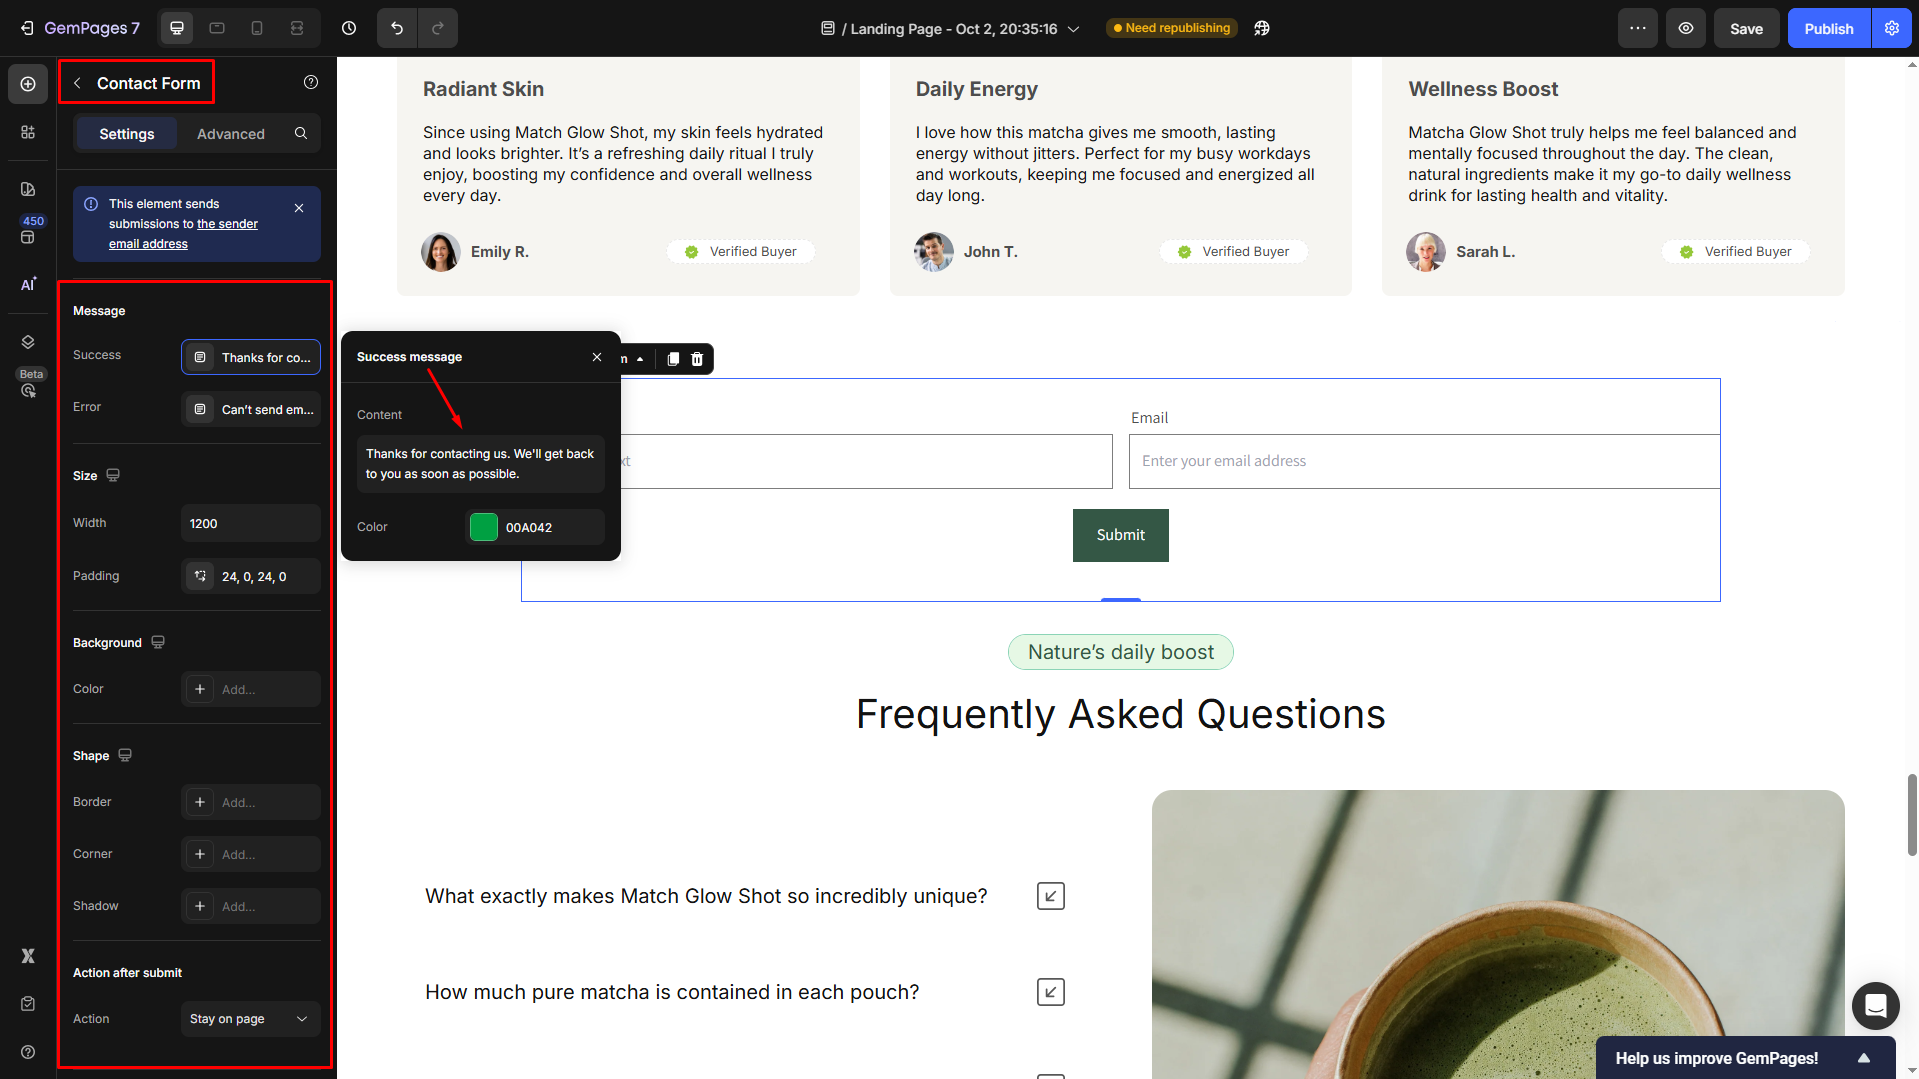
Step 5: Configure Contact Form Settings
Configure settings to customize each condition:
- After Submit: Choose whether to let customers stay on the current page or redirect them to a specific URL or page after submitting the form.
- Success Message: Display a message to confirm successful submission.
- Error Message: Show an alert if there’s an error that prevents the form from being submitted, such as issues with the Shopify system.
Create a Contact Form from a Template in the Library
You can also create a contact form by using pre-built templates from the Library.
Step 1: Click on the Section tab on the left sidebar and scroll down to the Contact option.
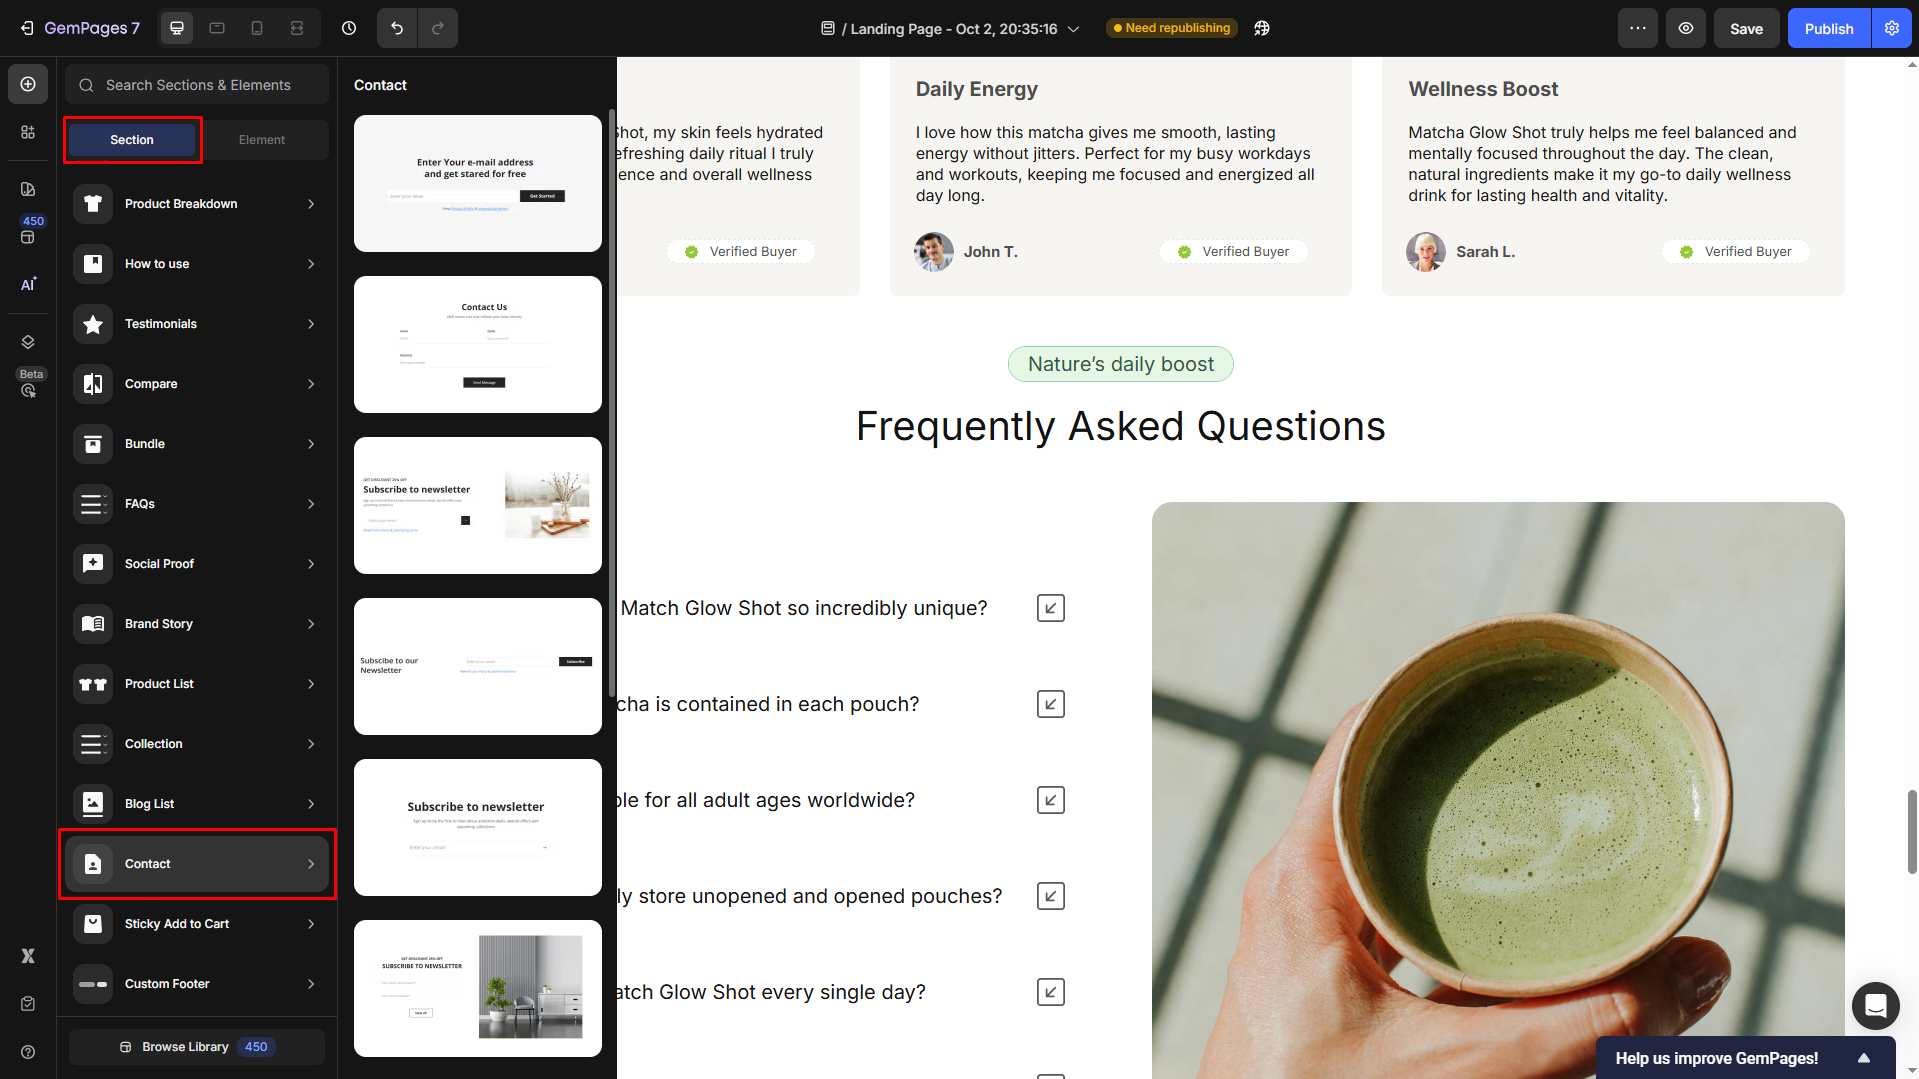
Step 2: Hover over Contact to see all pre-built contact sections from the GemPages library, then drag and drop the preferred one into the design area.
Step 3: You can customize it your way, or simply save and publish the page with this pre-built contact section.
Troubleshooting Contact Form Issues
If your contact form does not work as expected, check the common issues below and follow the suggested solutions.
Issue 1: Error code {"msg":"Missing credentials","status":"error"} appears after submitting the form
Possible cause: This usually happens when the form is tested on the Preview page instead of the live page. The preview environment may not fully support form submission.
How to fix:
Make sure to test the contact form on the live published page only.
Follow these steps:
- Click Publish to publish your page.
- Open the live page URL in a new browser tab.
- Submit the form again from the live page.
- Check your Shopify Admin to confirm whether the submission is received.
Issue 2: Contact form does not display on the live page
Possible cause: The contact form was added inside an Instant Landing Page (ILP).
Instant Landing Pages do not support Shopify Contact Forms, because the contact form is a Shopify-native feature.
How to fix: Move the contact form to a regular GemPages page instead of using an Instant Landing Page.
Recommended solution:
- Create or open a regular page in GemPages.
- Drag and drop the Contact Form element into the page.
- Save and publish the page.
- Open the live page to confirm the contact form appears correctly.


Thank you for your comments