


How to modify the Hero Banner’s size in GemPages
Step 1: Select the Hero Banner
- If you haven’t added a Hero Banner to your page yet, drag and drop one from the left sidebar. Refer to this guide on how to insert a Hero Banner.

- If you’re modifying an existing Hero Banner, click on it to open the settings panel on the left side of your screen.
Step 2: Locate the Size Settings
In the settings panel, scroll down to find the Size section. Here, you will see different options for adjusting the banner size.

Step 3: Adjust the Banner Size
From the Frame dropdown, you have two options to modify the Hero Banner size:
1. As Banner Source (Auto Adjustment)
If you select “As banner source,” the banner will automatically adjust its size based on the dimensions of the uploaded image.
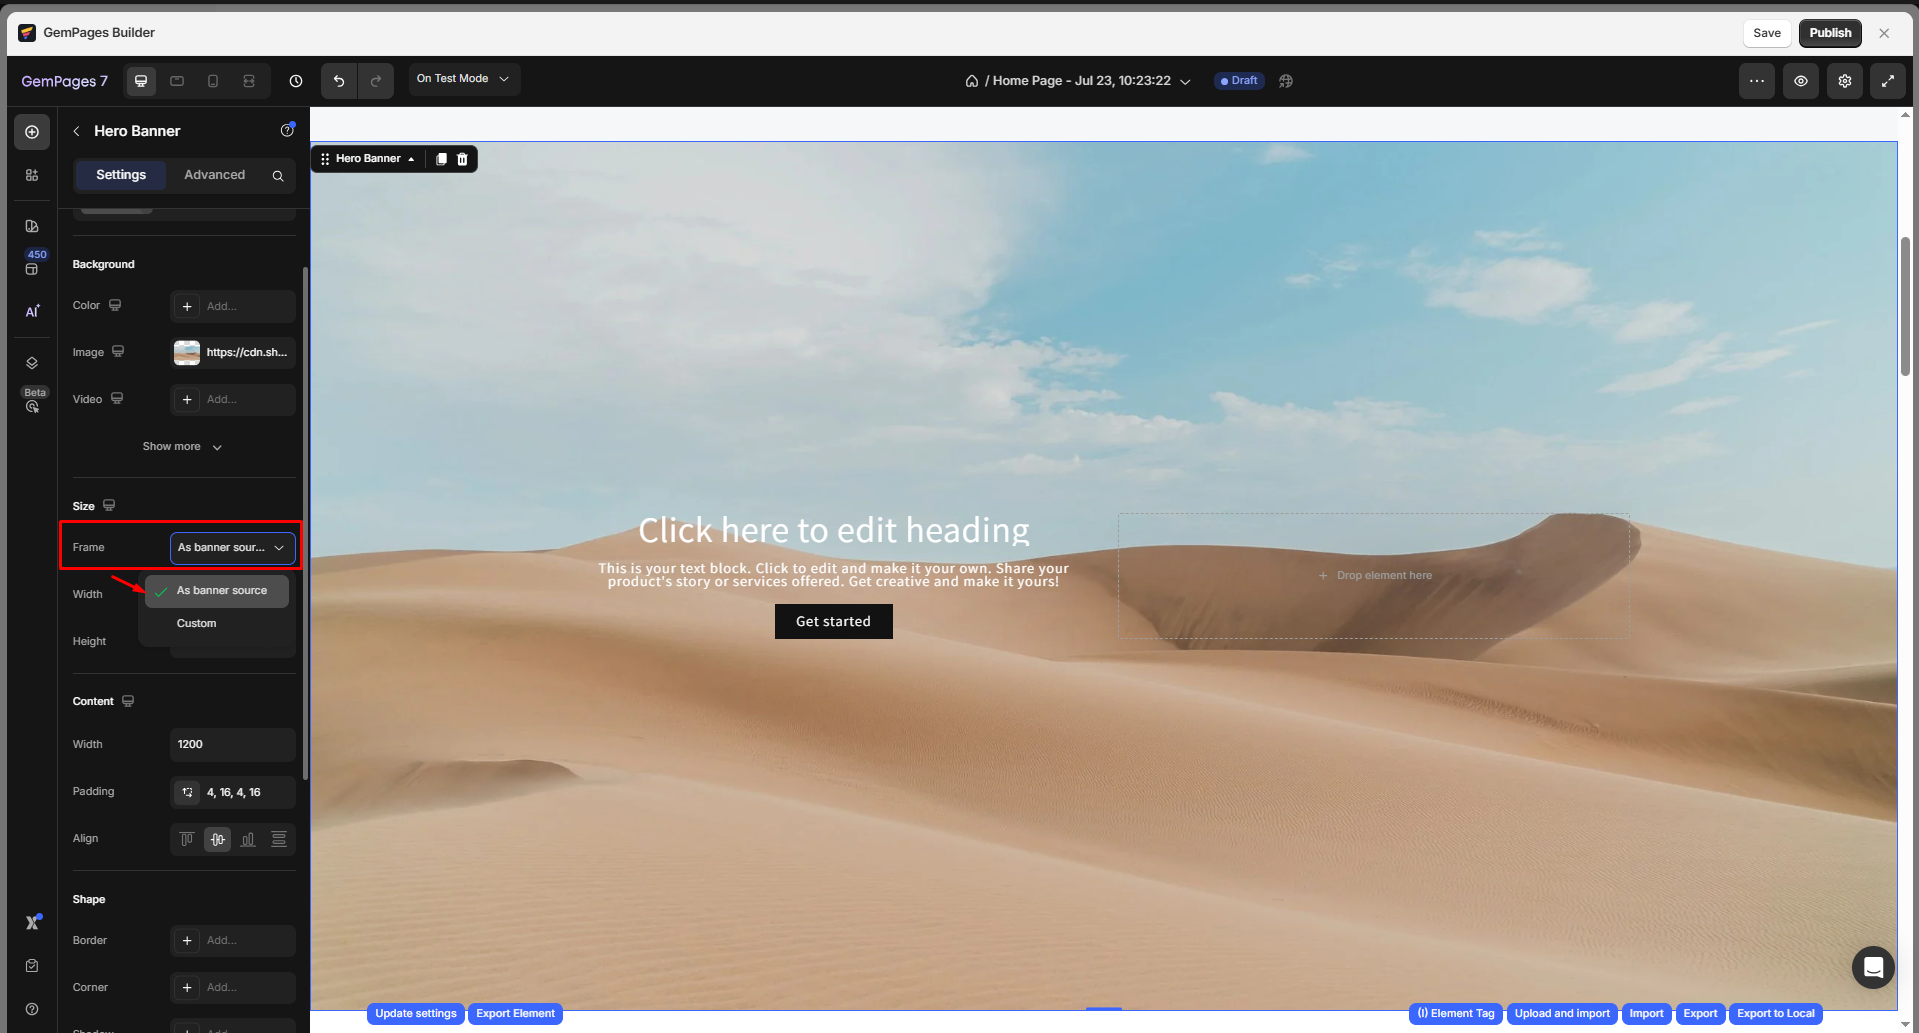
This ensures that your image is displayed at its optimal resolution without stretching or distortion.
2. Custom Size (Manual Adjustment)
If you prefer full control over the banner dimensions, select “Custom” from the dropdown menu.
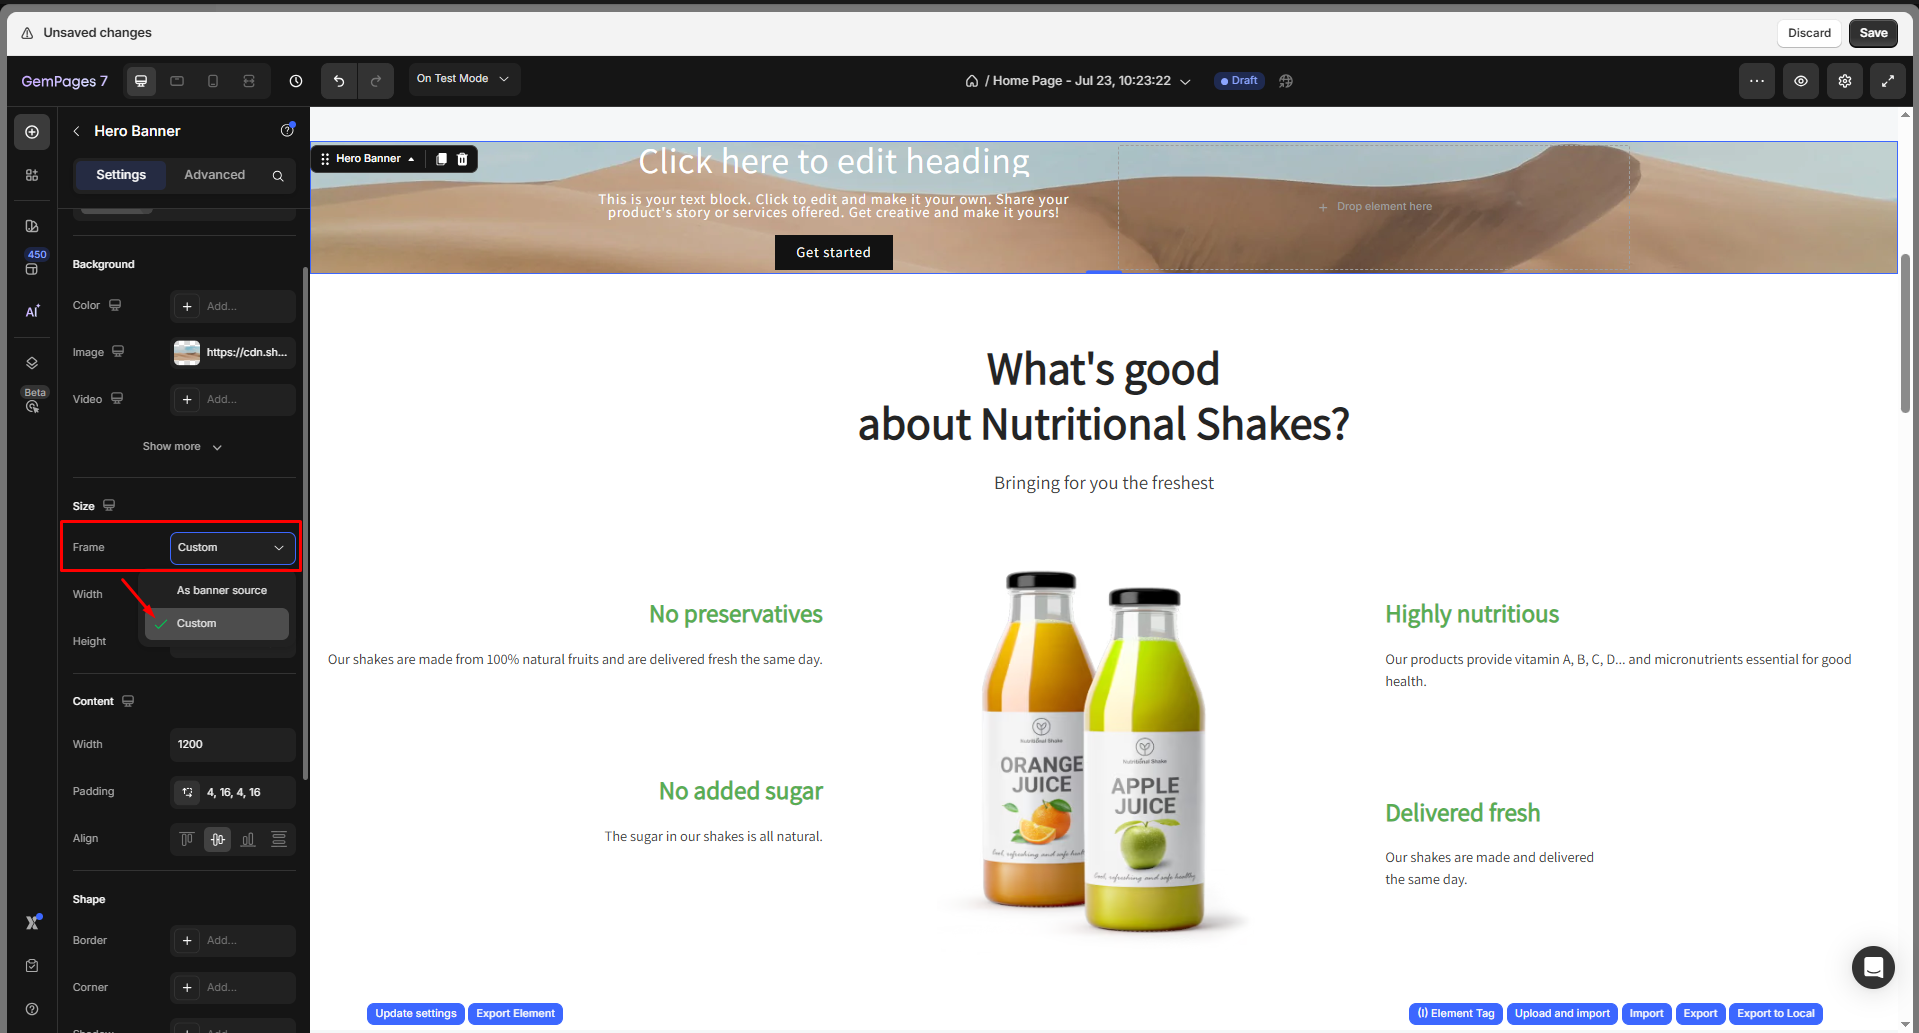
Two input fields will appear, allowing you to enter your preferred values for:
Width (in pixels or percentage)
- Full (as 100%)
- Default (as 1200 px).
Banner Height (in pixels or percentage)
- Fit content (auto)
- Fit screen (100vh)
Adjust these values to fit your page design.
Best Practices for Image Quality
- For the best visual appearance, use high-resolution images that match the dimensions of your banner. Check out our recommendations on optimal image sizes.
- Once you have set your desired banner size, preview your page to ensure the changes look as expected.
- Adjust the dimensions further if necessary to maintain responsiveness across different screen sizes.


Thank you for your comments