About Article Category Element
The Article Category element displays the category (also known as the blog name or blog category) assigned to a Shopify article. This helps readers understand the context of the post and improves navigation across your blog.
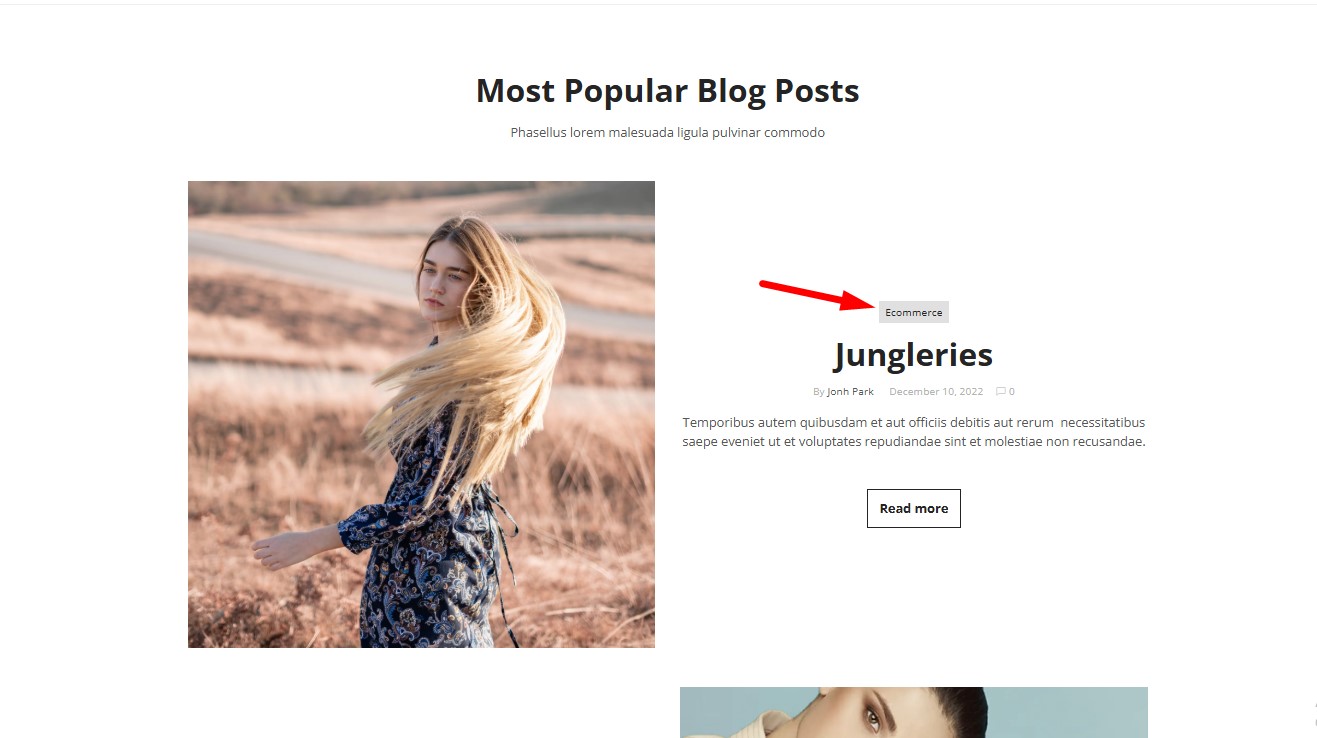
How to Add an Article Category to Shopify?
- Log in to Shopify Admin.
- Navigate to Online Store > Blog Posts > Manage Blogs.
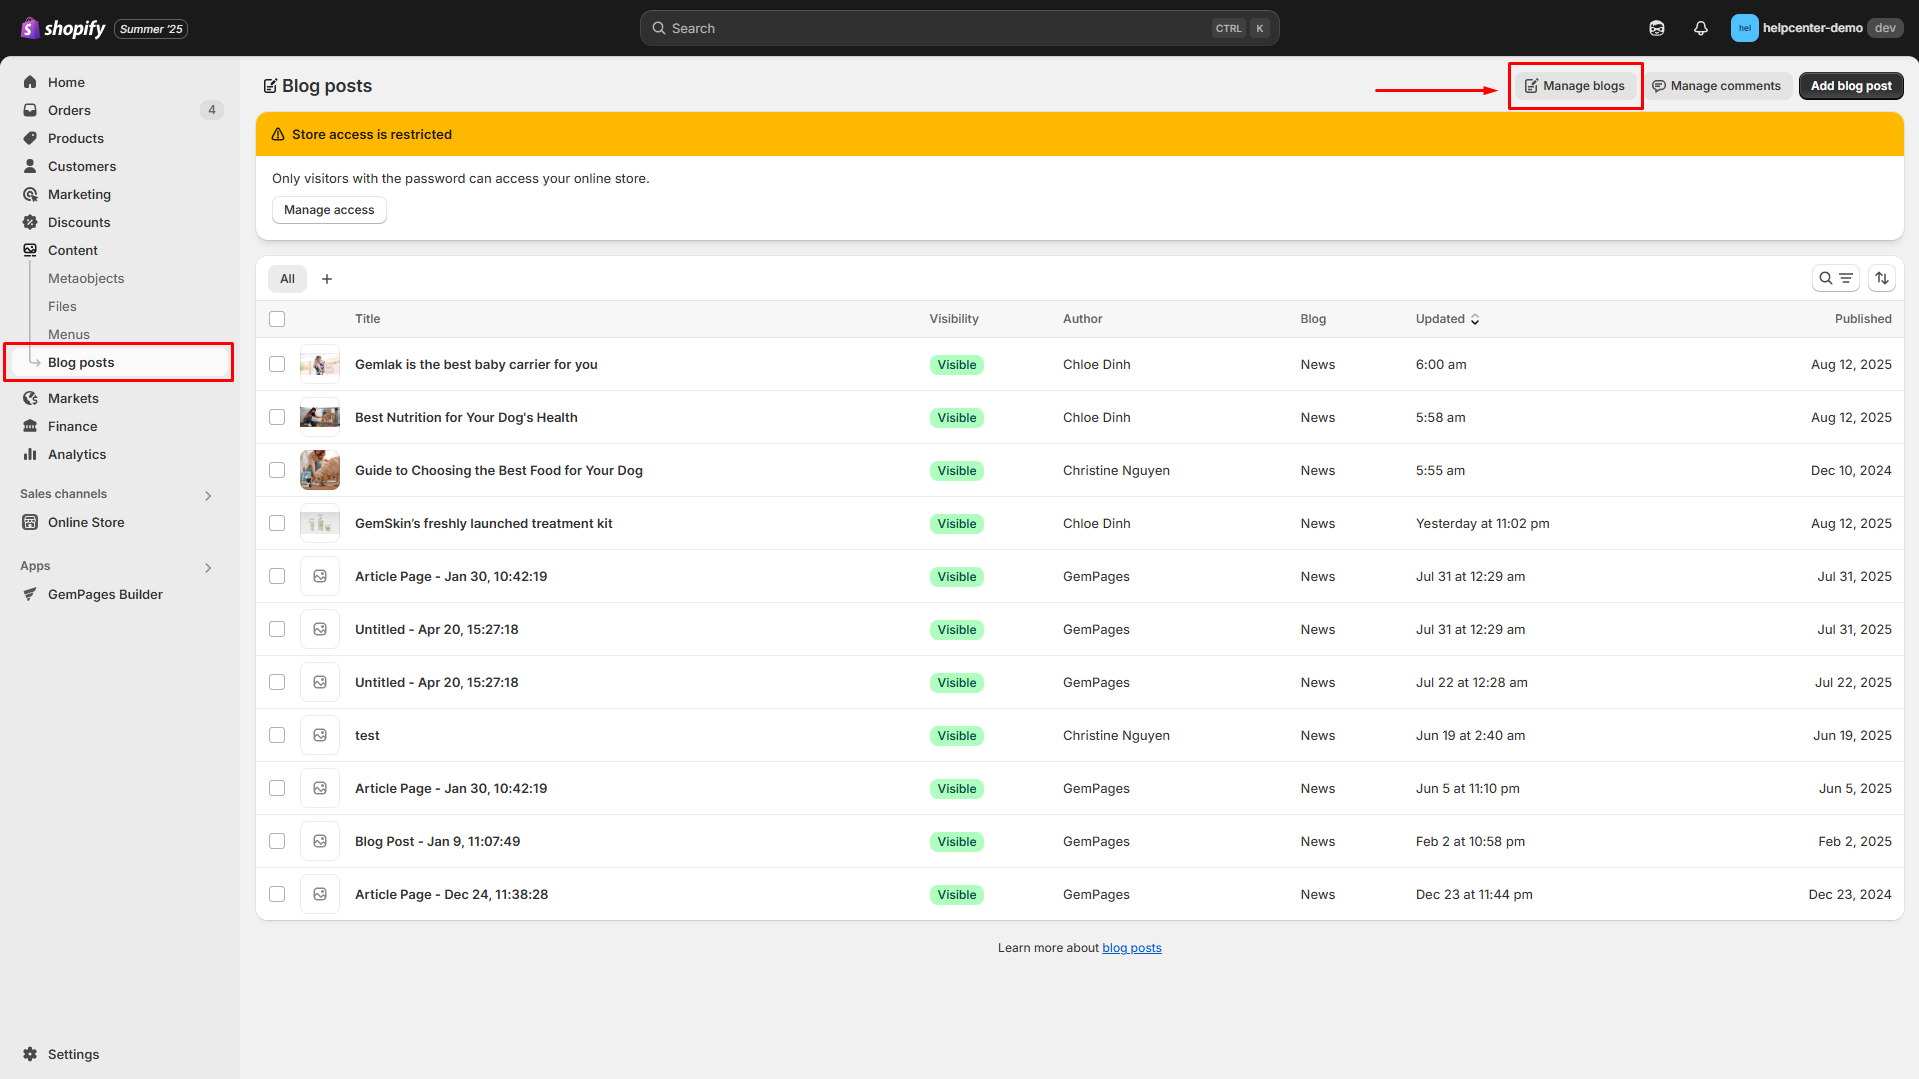
- Click Add Blog.

- Name your new category (e.g., “News”). Save your changes to start using this category.

Add an Article Category Element to Your Page
Step 1: Access the GemPages Dashboard > Pages, then click on your target page to locate the editor.
Step 2: From the left sidebar, search for the Article Category Element and drag & drop it to the preferred position on your page.
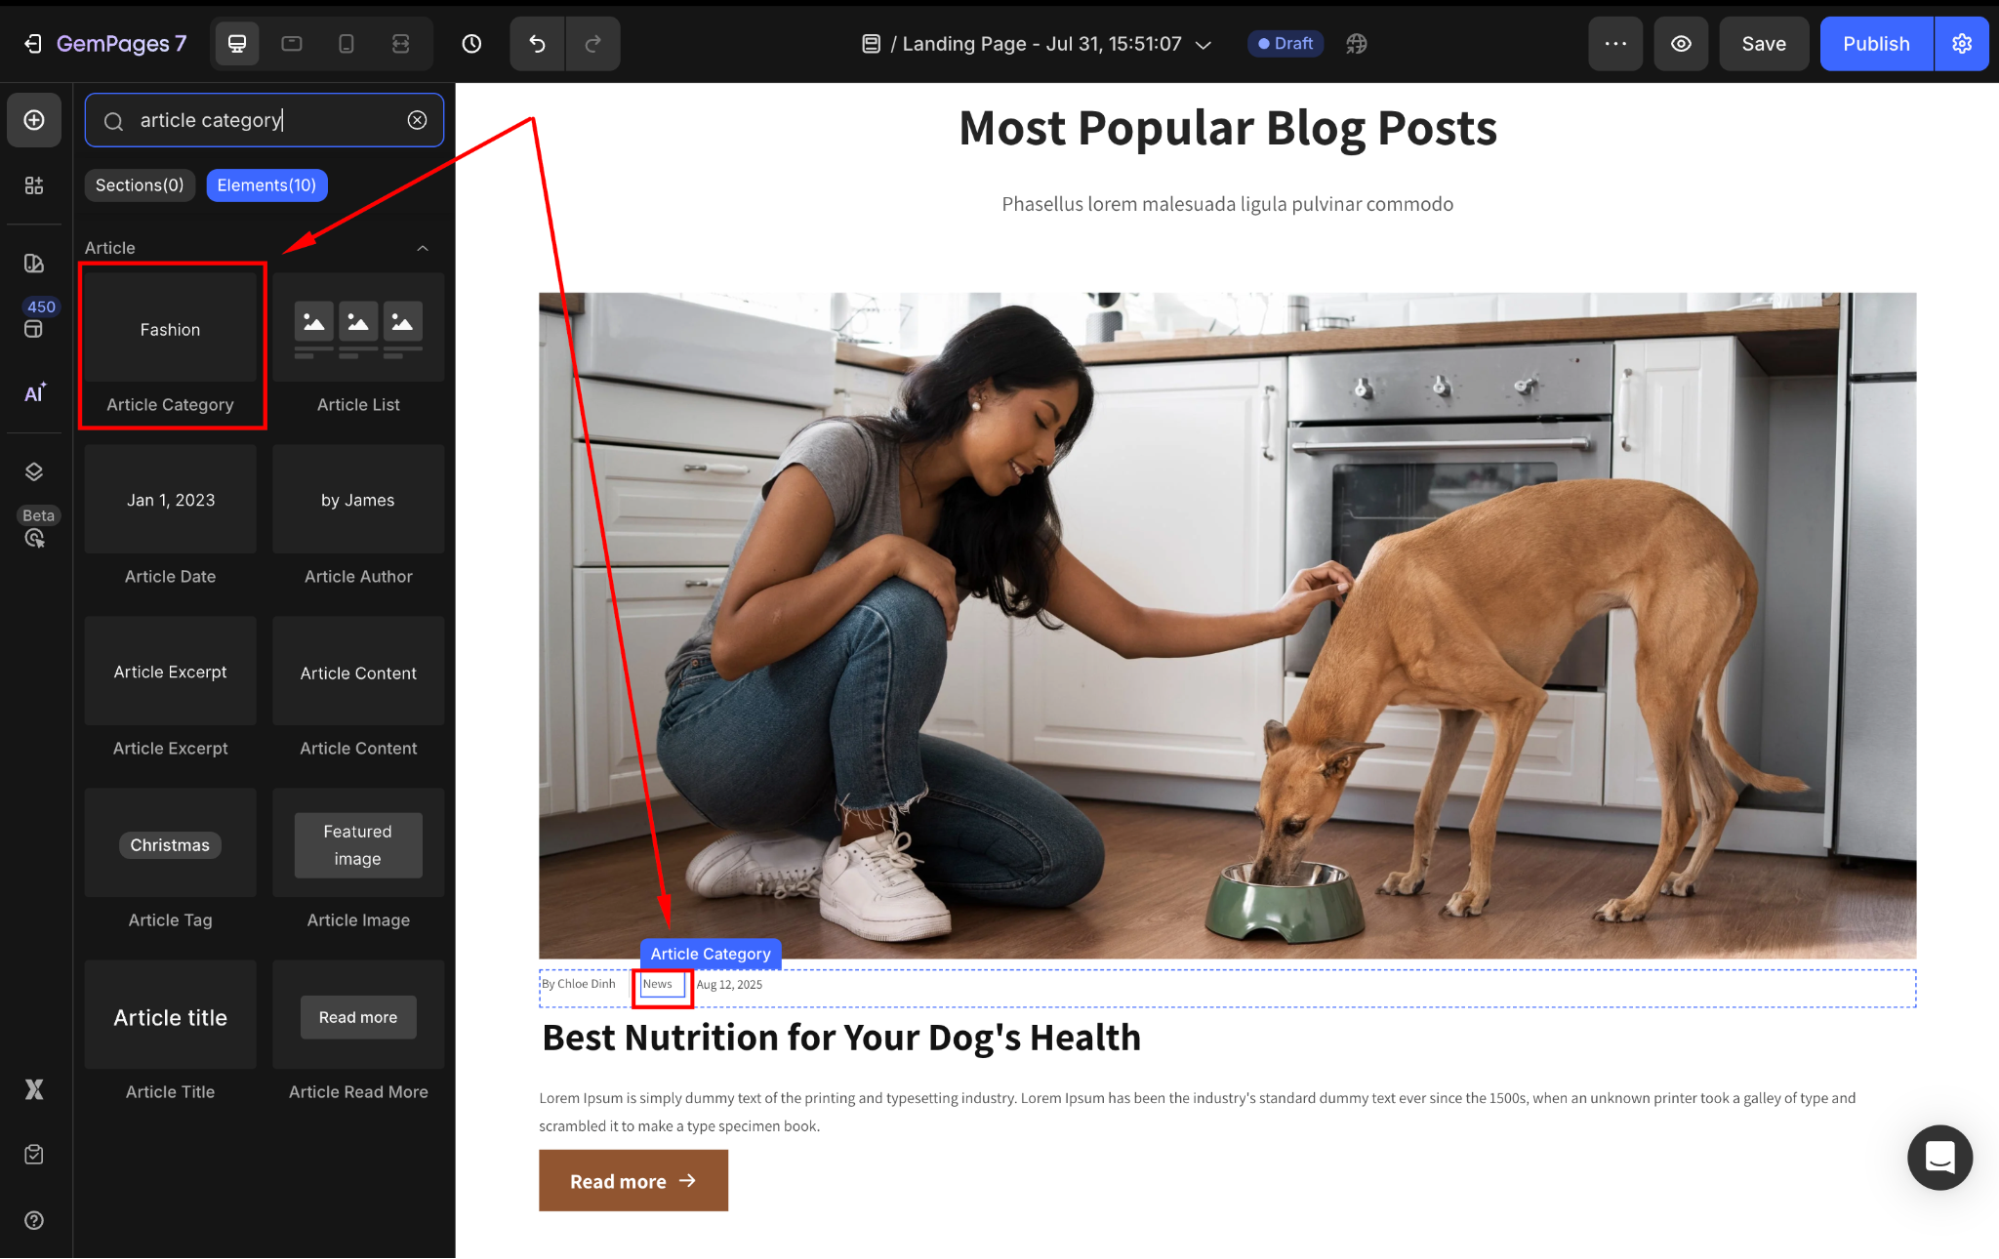
Step 3: Click on the element to open its settings for further customization.
Configure the Article Category Element Settings
To help you customize the Article Author Element for your design, here’s a breakdown of its key settings:
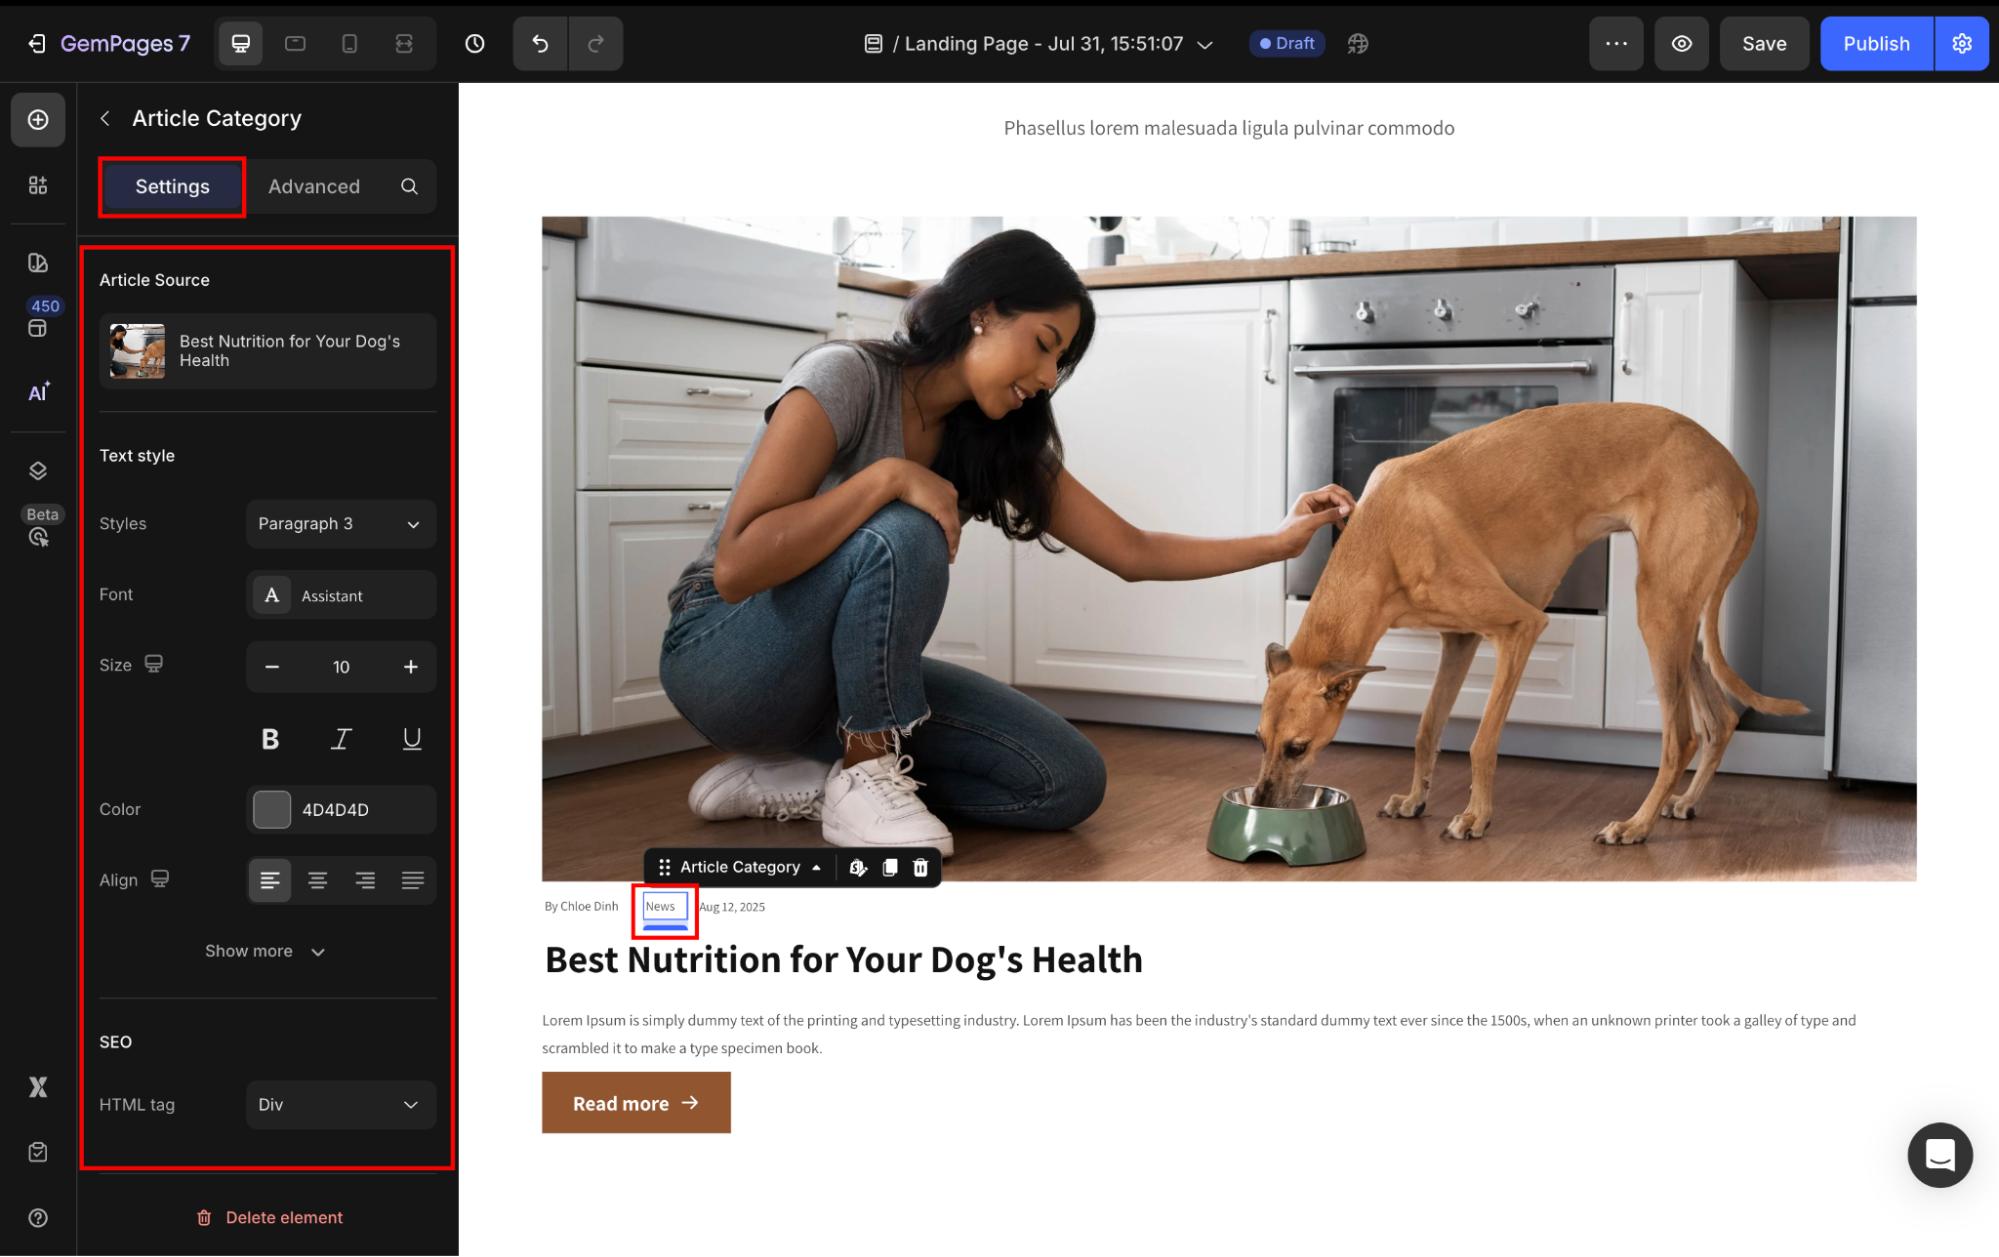
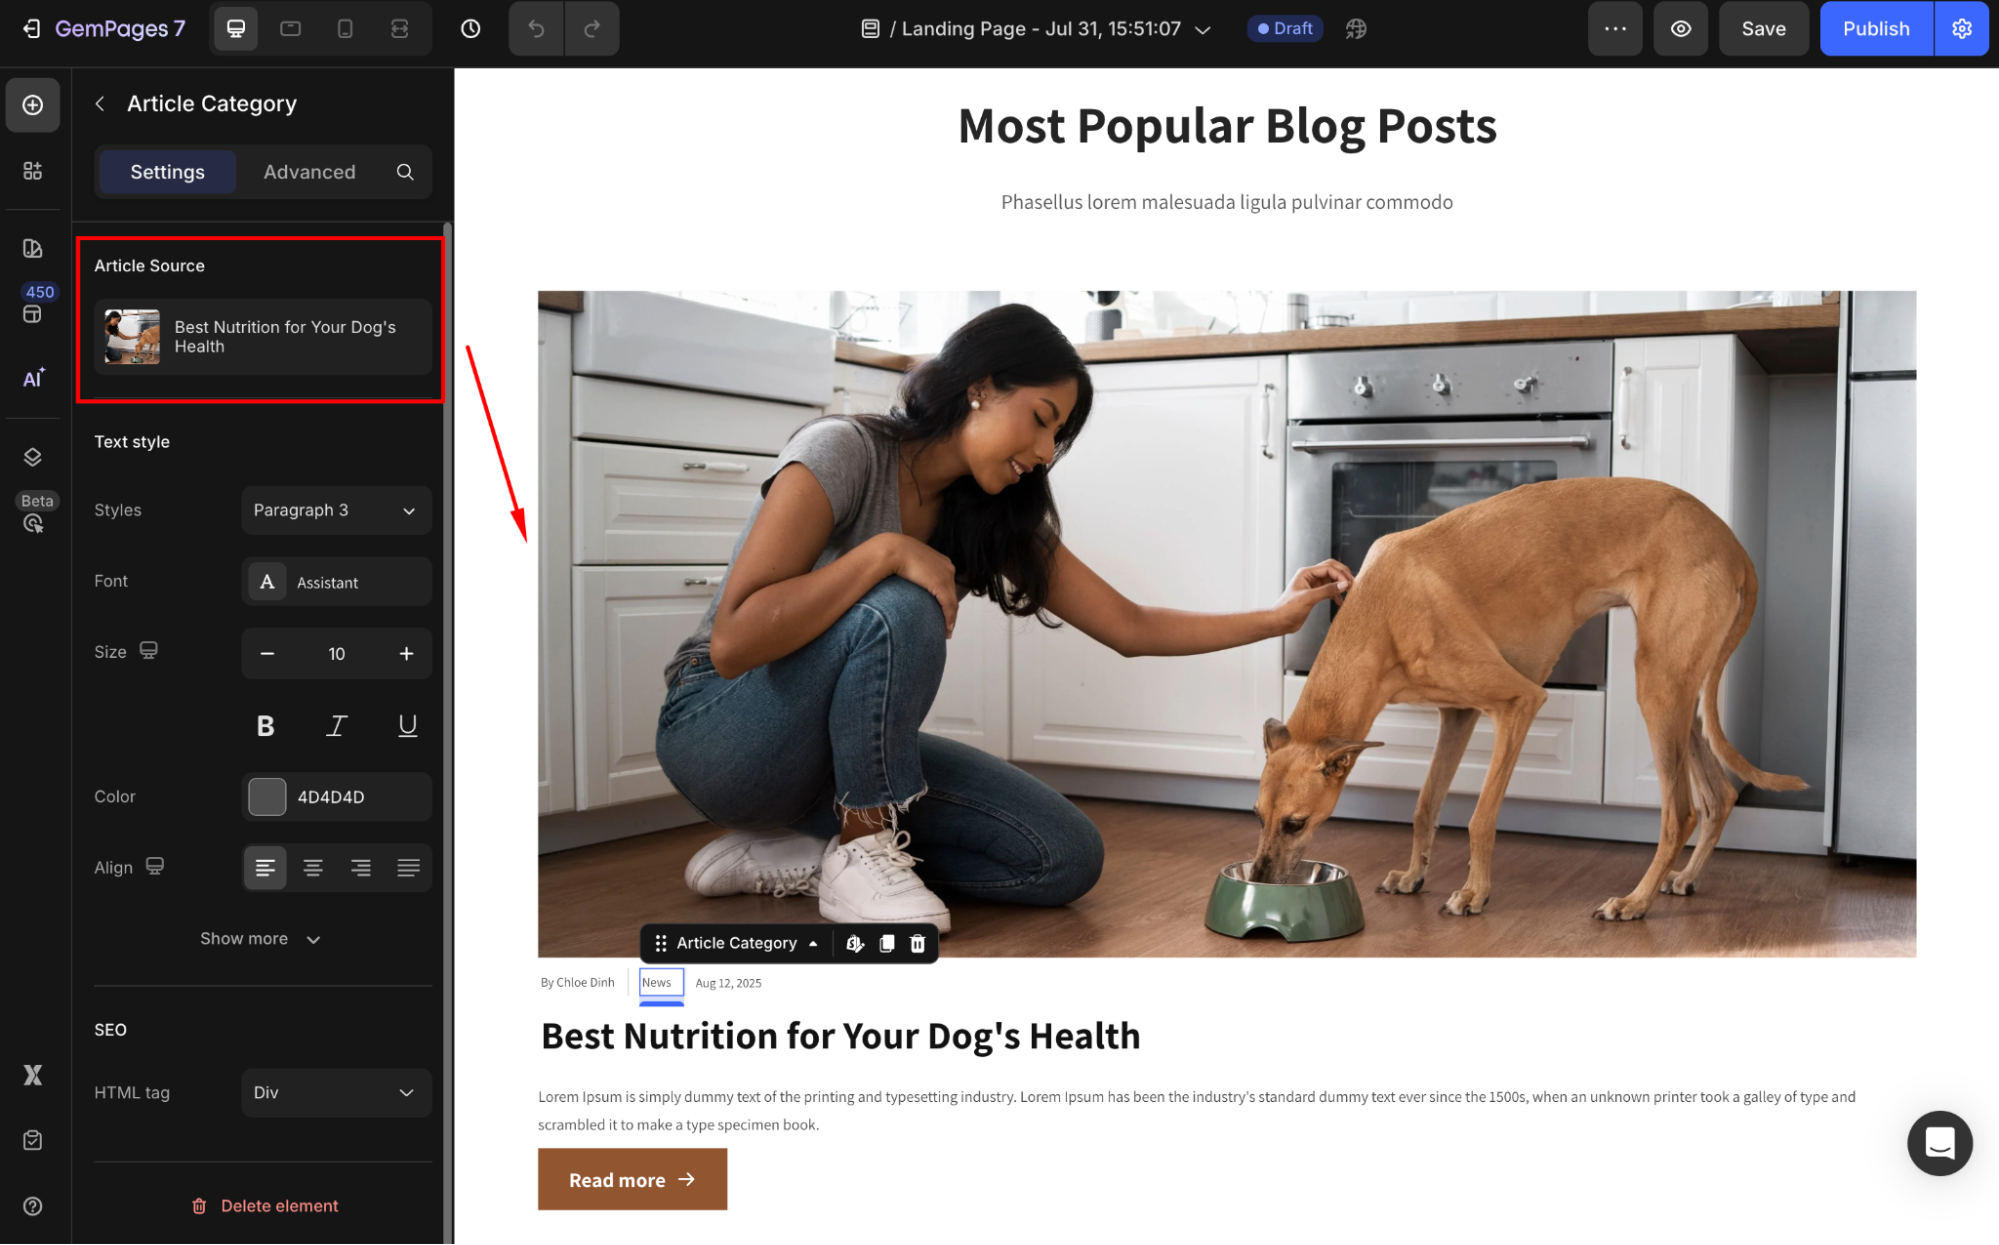
Article Source
Click on the box to configure the article sources in the Article List element.
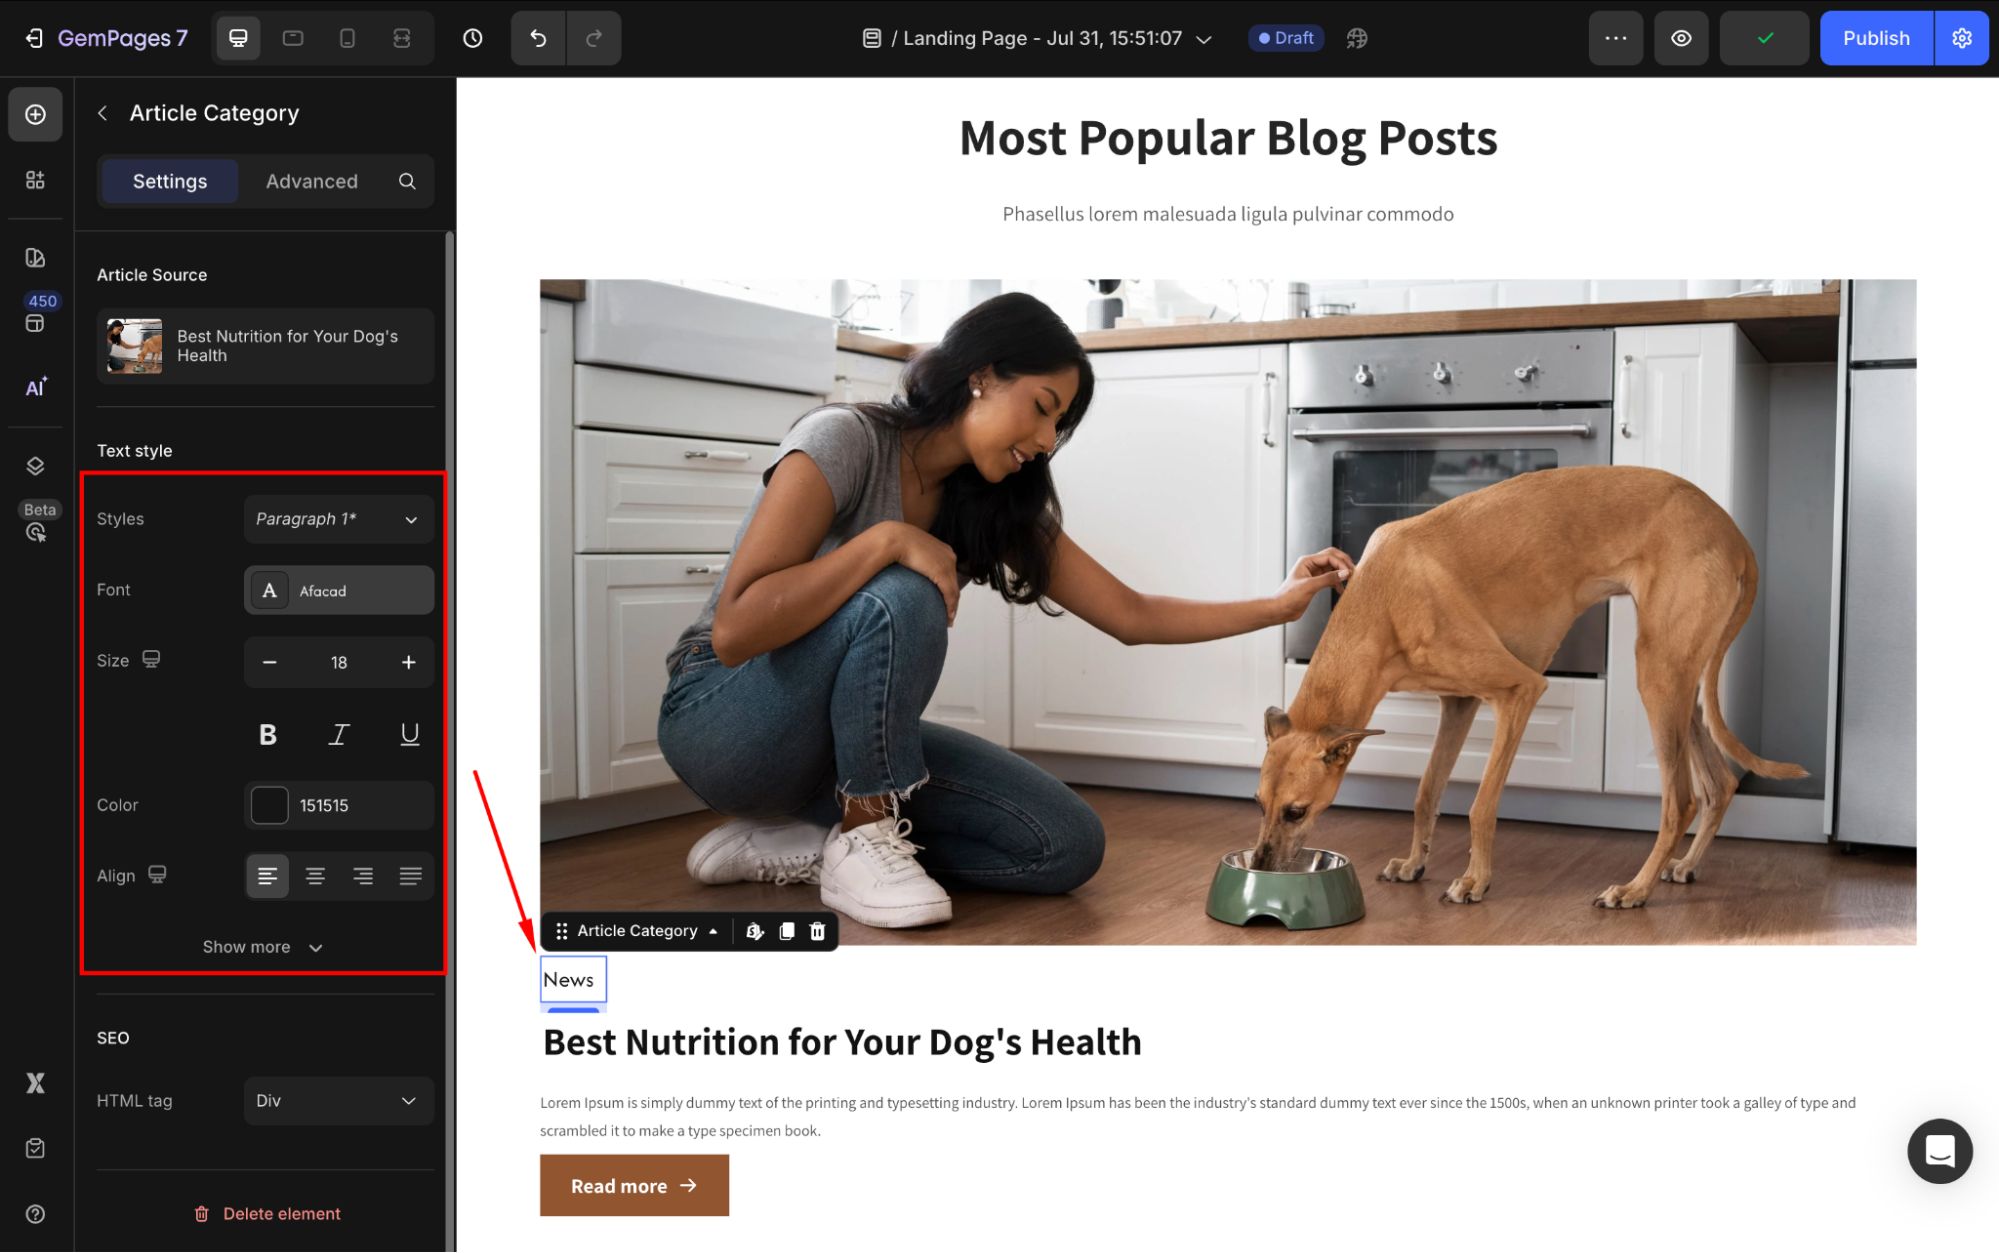
Text style
Configure the button text your way, including:
- Prefix: Add a prefix before the author’s name, such as “By,” to provide context.
- Style: Choose the heading.
- Font: Select a font style that matches your brand identity.
- Size: Adjust the font size to make the heading prominent.
- Color: Pick a color that complements your design.
- Align: Adjust your text alignment to left, center, right, or justify.
Click Show more to expand the full settings in the Text style section:
- Font Weight: Control how thick or thin the text appears.
- Line Height: Adjust the space between lines for better readability.
- Letter Spacing: Create a more modern or compact look by changing the space between letters.
- Transform: Convert the text to uppercase, lowercase, or capitalize the first letter of each word.
- Shadow: Add a text shadow to give your headings depth.

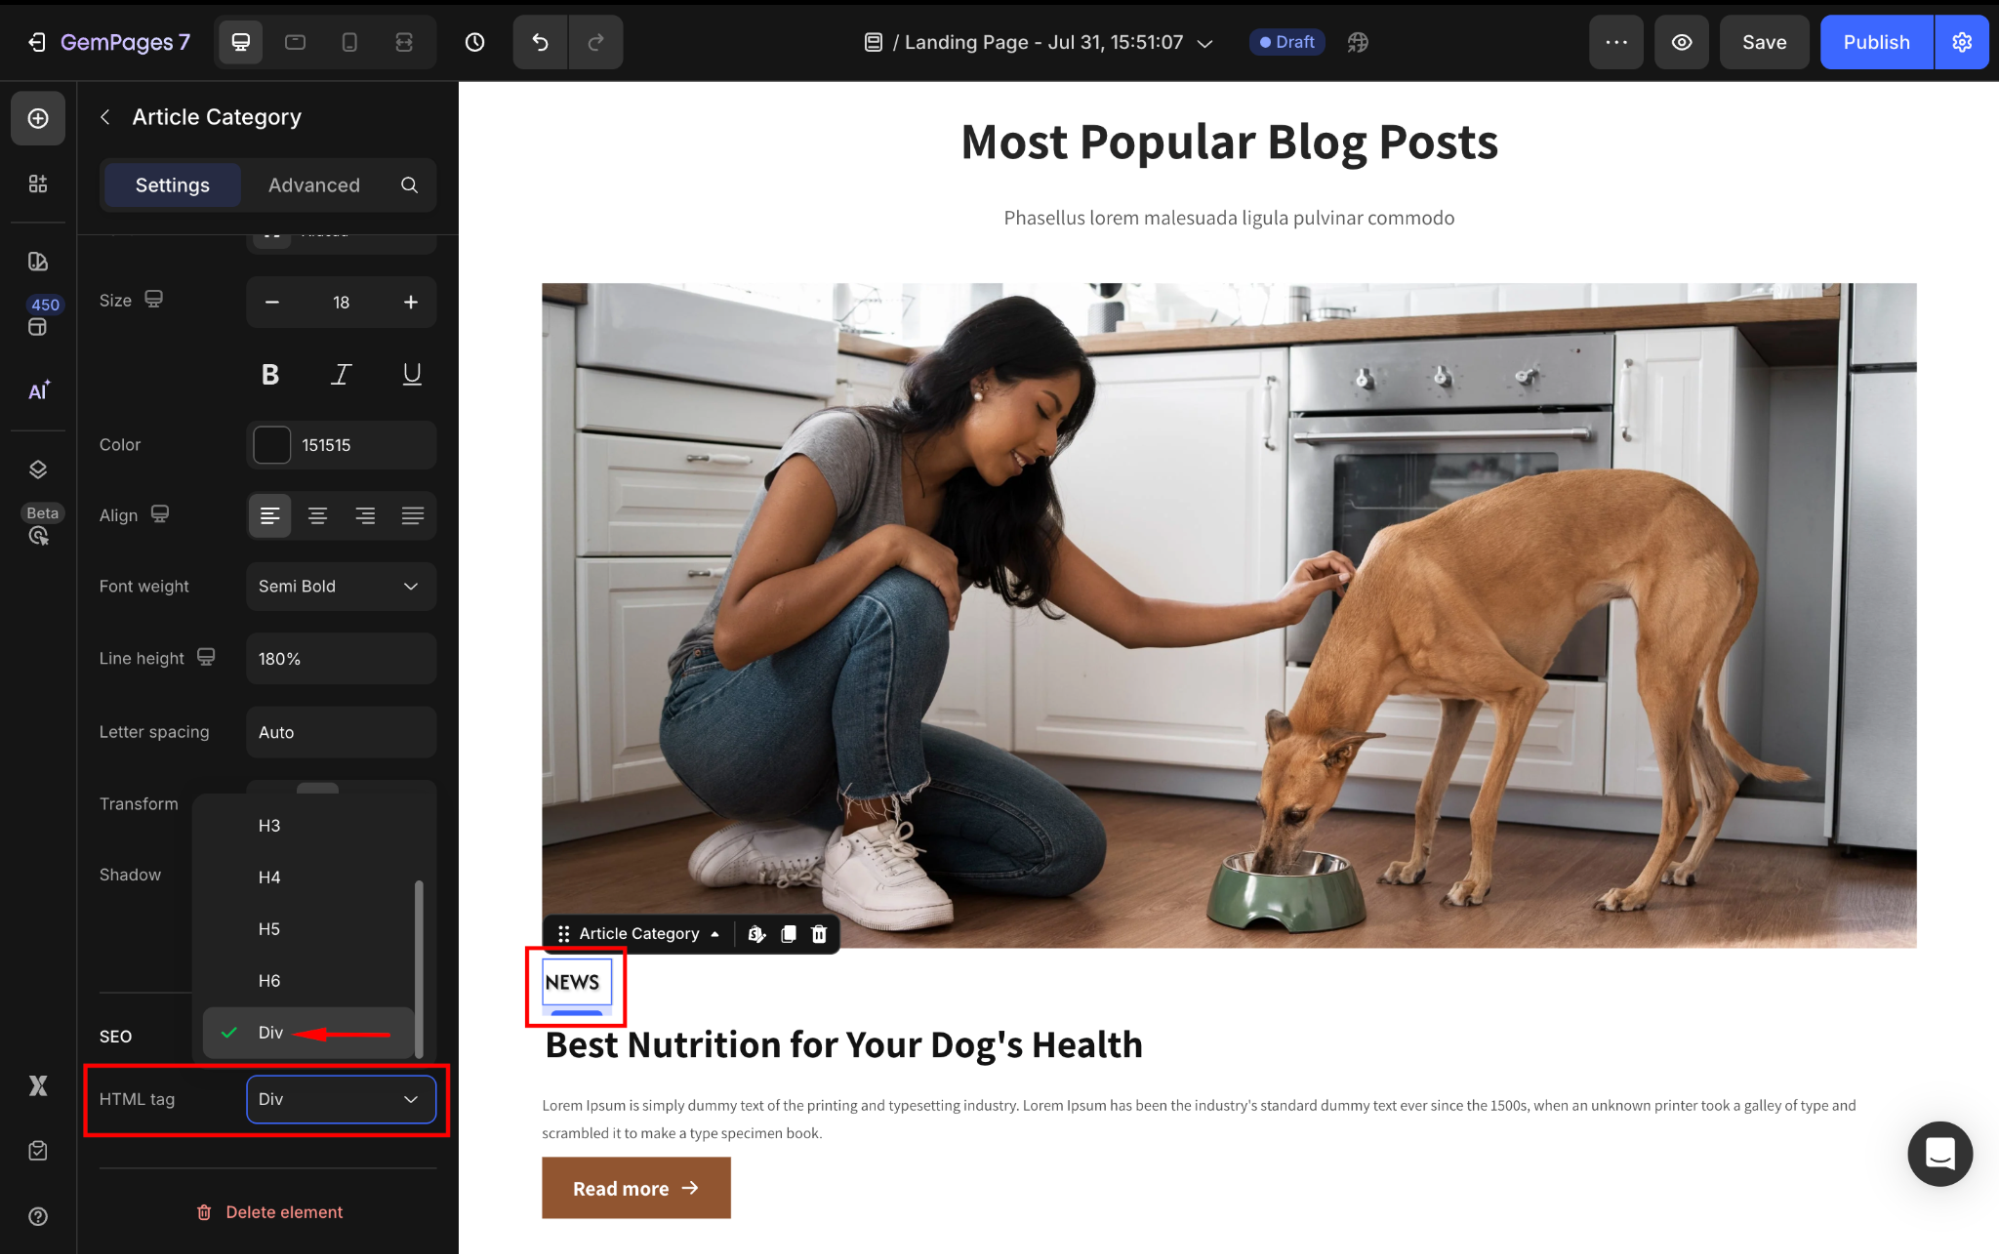
SEO
HTML Tag: Optimize your page’s SEO by selecting the appropriate HTML tag for the title.
- H1–H6: Use semantic heading structure to improve search engine rankings.
- Div: For non-semantic purposes, the title doesn’t need to be indexed as a heading.
Configure the Advanced tab
For more advanced customization, please navigate to the Advanced tab and follow the instructions in this article.


Thank you for your comments