


Why Create a New Homepage with GemPages?
- Break Free from Defaults: Shopify themes may limit your layout options. GemPages lets you create unique designs.
- Boost Conversions: A tailored homepage makes your store stand out and convinces customers to buy.
- Stay Seasonal: Easily update your homepage for special occasions and events.
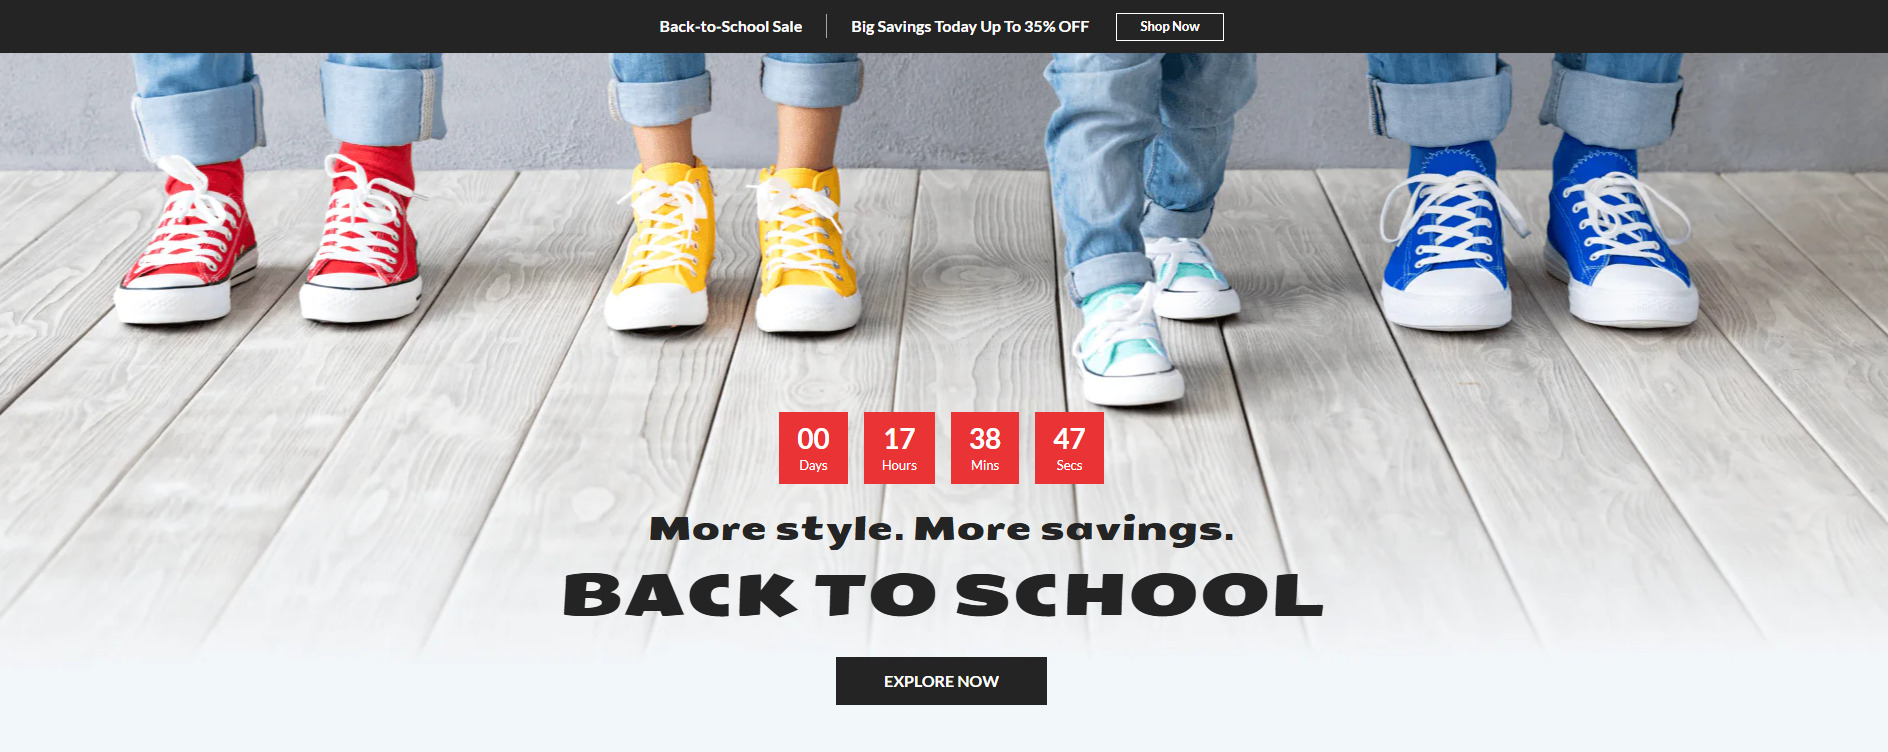
How to Create a New Homepage with GemPages?
Follow the steps below to create a new homepage using GemPages.
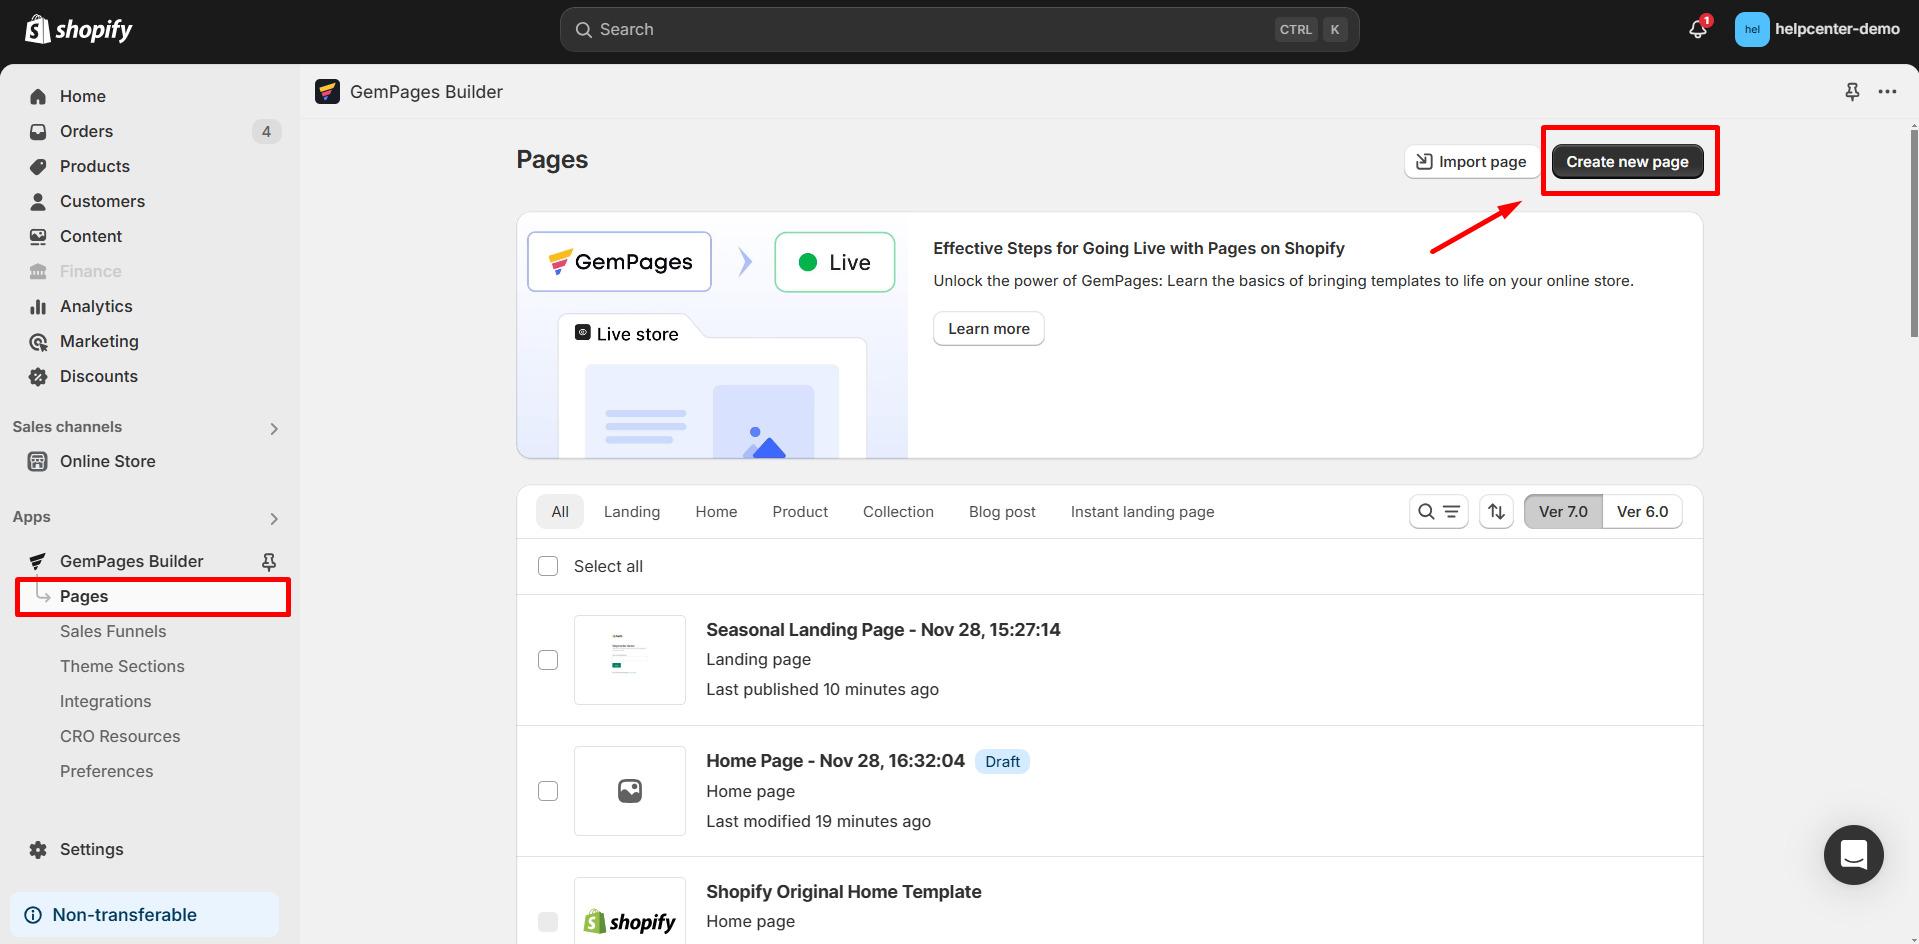
Step 1: Open your GemPages dashboard. Navigate to Pages and click Create New Page.
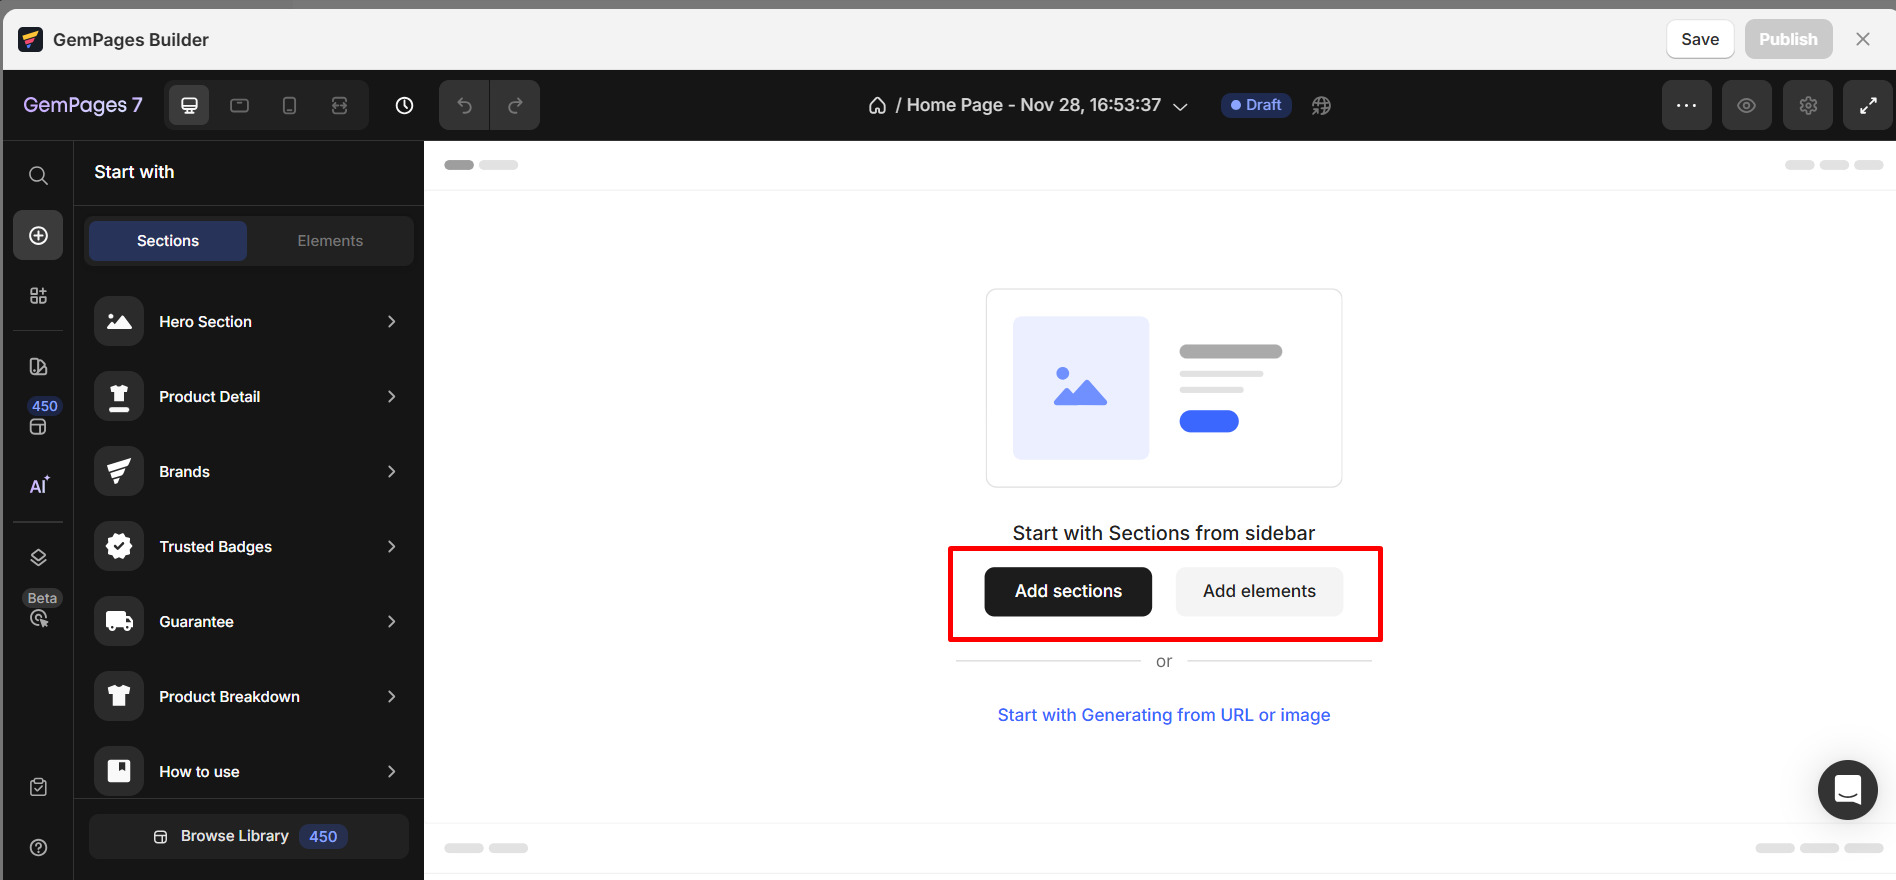
Step 2: At this step, you will have three options to create your homepage.
Option 1: Start from Scratch
Choose this option if you want to build your homepage using a blank canvas.
- Select Start from Scratch. The Editor will open with an empty layout.
- Use the drag-and-drop editor to add elements such as banners, product lists, text blocks, buttons, and images.
- Customize each element to build your homepage layout exactly as you want.
- For a complete list of available elements and their functionalities, refer to GemPages Elements.
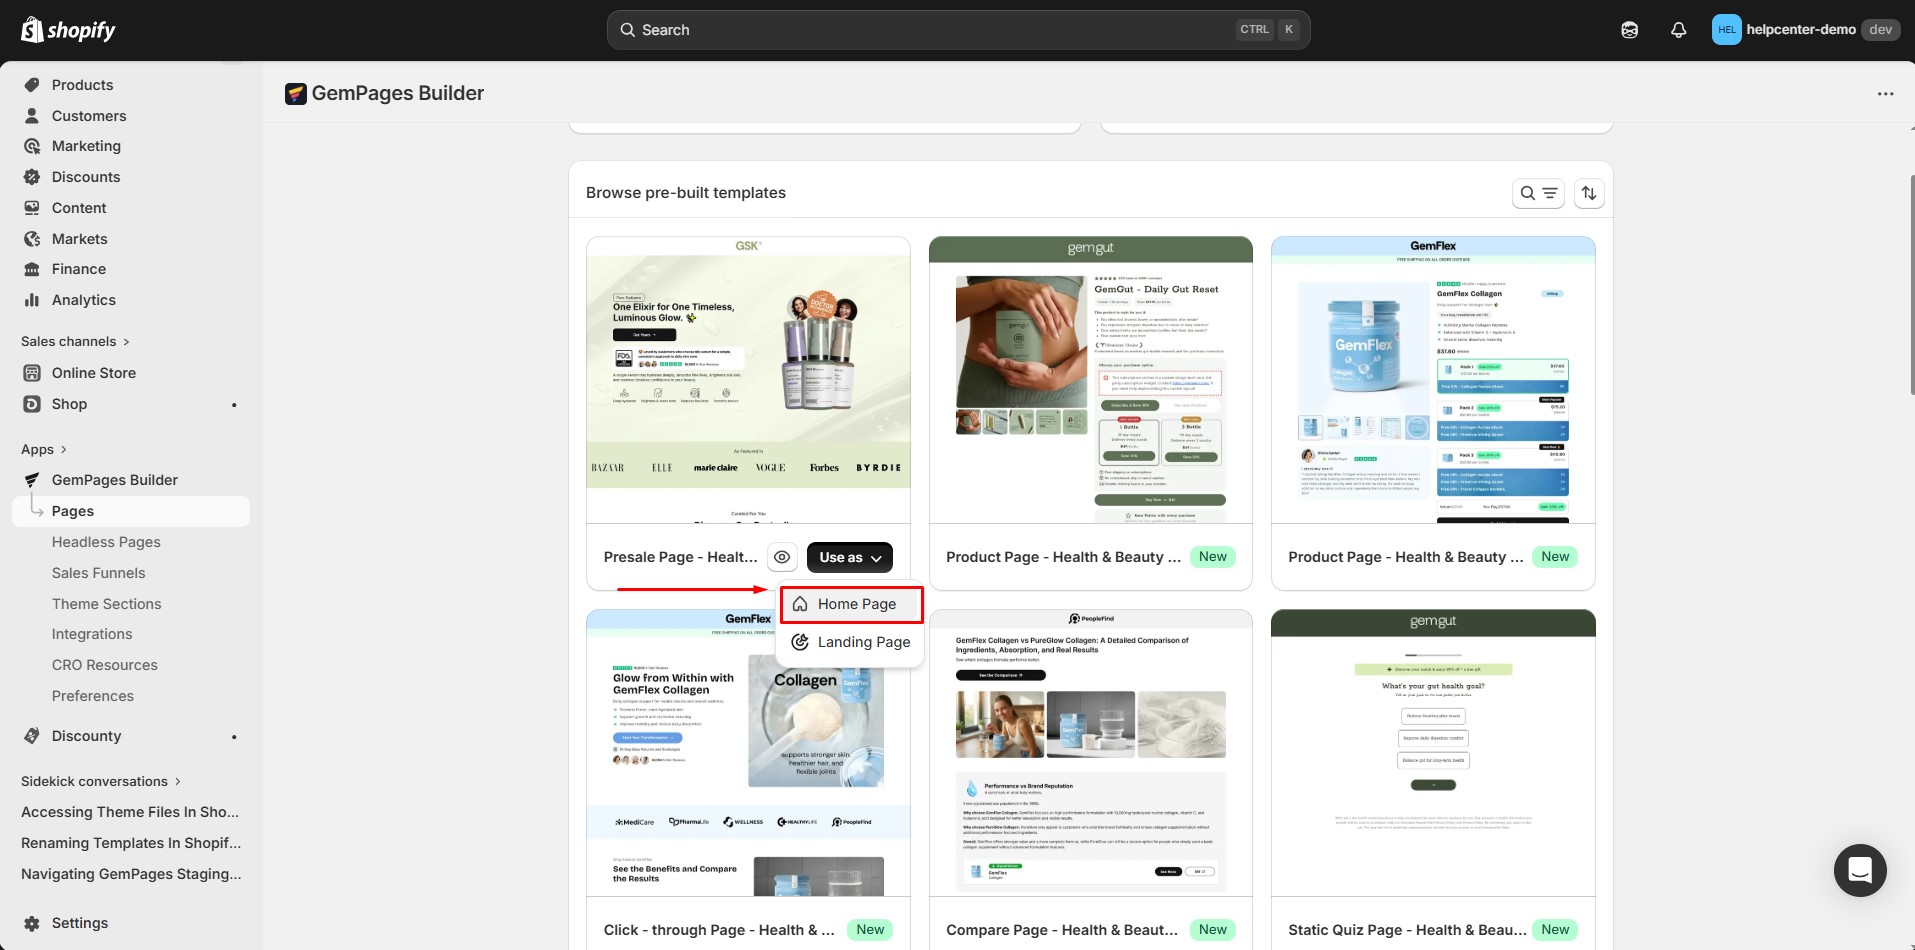
Option 2: Use a Pre-Built Template
For a faster setup, choose a pre-built template from GemPages. All templates are carefully designed to optimize conversion rates (CRO). Choose from a library of pre-designed templates tailored for various industries.
- Hover over your preferred template. Click Use as homepage.
- Customize text, images, colors, and layout as you prefer.
- After finishing the design, remember to Save and Publish your new homepage.
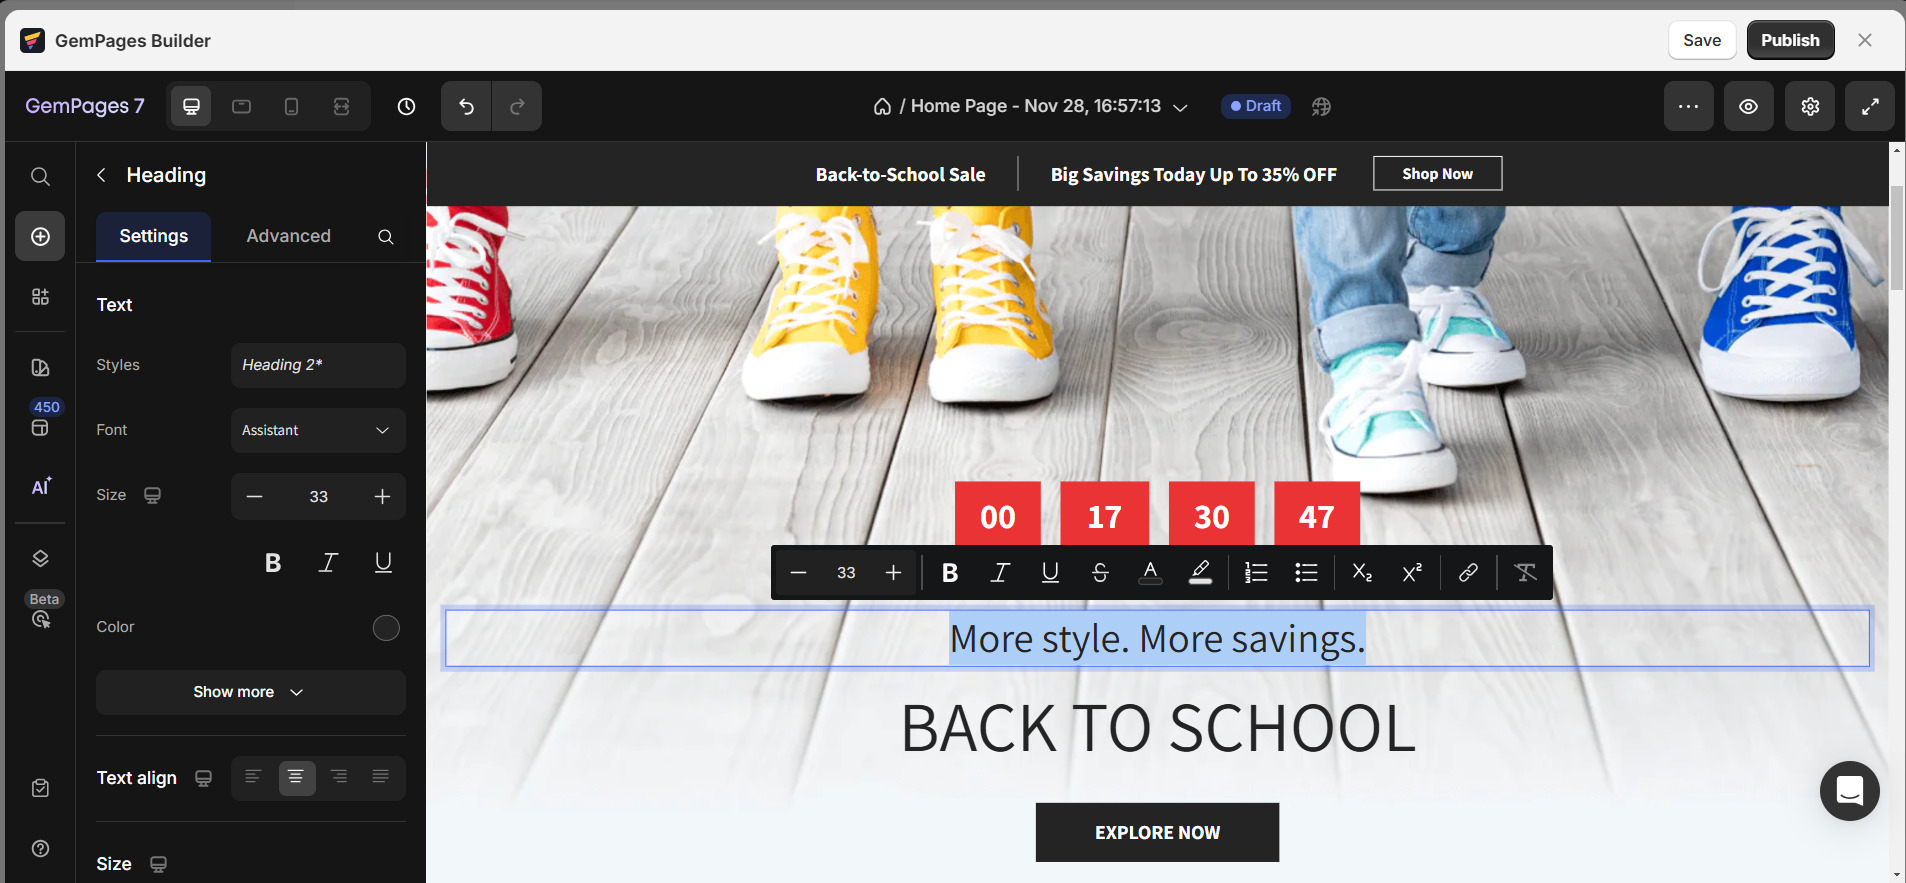
Option 3: Import a Page File
You can also create a homepage by importing an existing GemPages page file.
This option is useful if you:
- Have exported templates
- Want to reuse designs
- Are migrating layouts between stores
For more information, please refer to this article: https://help.gempages.net/articles/export-import-templates
How to Create a Page Using GemPages MCP
GemPages MCP allows compatible AI agents to work with Shopify and GemPages so you can create editable pages from existing references instead of starting from a blank canvas.
For AI page generation, you can use:
- HTML – use an existing HTML page as the source.
- Image – use an image or screenshot as a visual reference.
- URL – provide an existing webpage URL as the source.
Step 1: Connect GemPages MCP
Before creating a page, connect GemPages MCP to a compatible AI environment and your Shopify store.
Follow the setup instructions in the GemPages MCP connection guide.
Step 2: Choose Your Source
Prepare the reference you want the AI to use.
You can provide:
- An HTML file
- An image or screenshot
- A webpage URL
Choose the source that best represents the page you want to create.
Step 3: Tell the AI What You Want to Create
Use a clear prompt that identifies GemCommerce MCP, the source, and the type of page you want.
For example:
Use GemCommerce MCP. Create an editable Advertorial Page based on this URL: [URL].
Use GemCommerce MCP. Turn the attached HTML into an editable GemPages page.
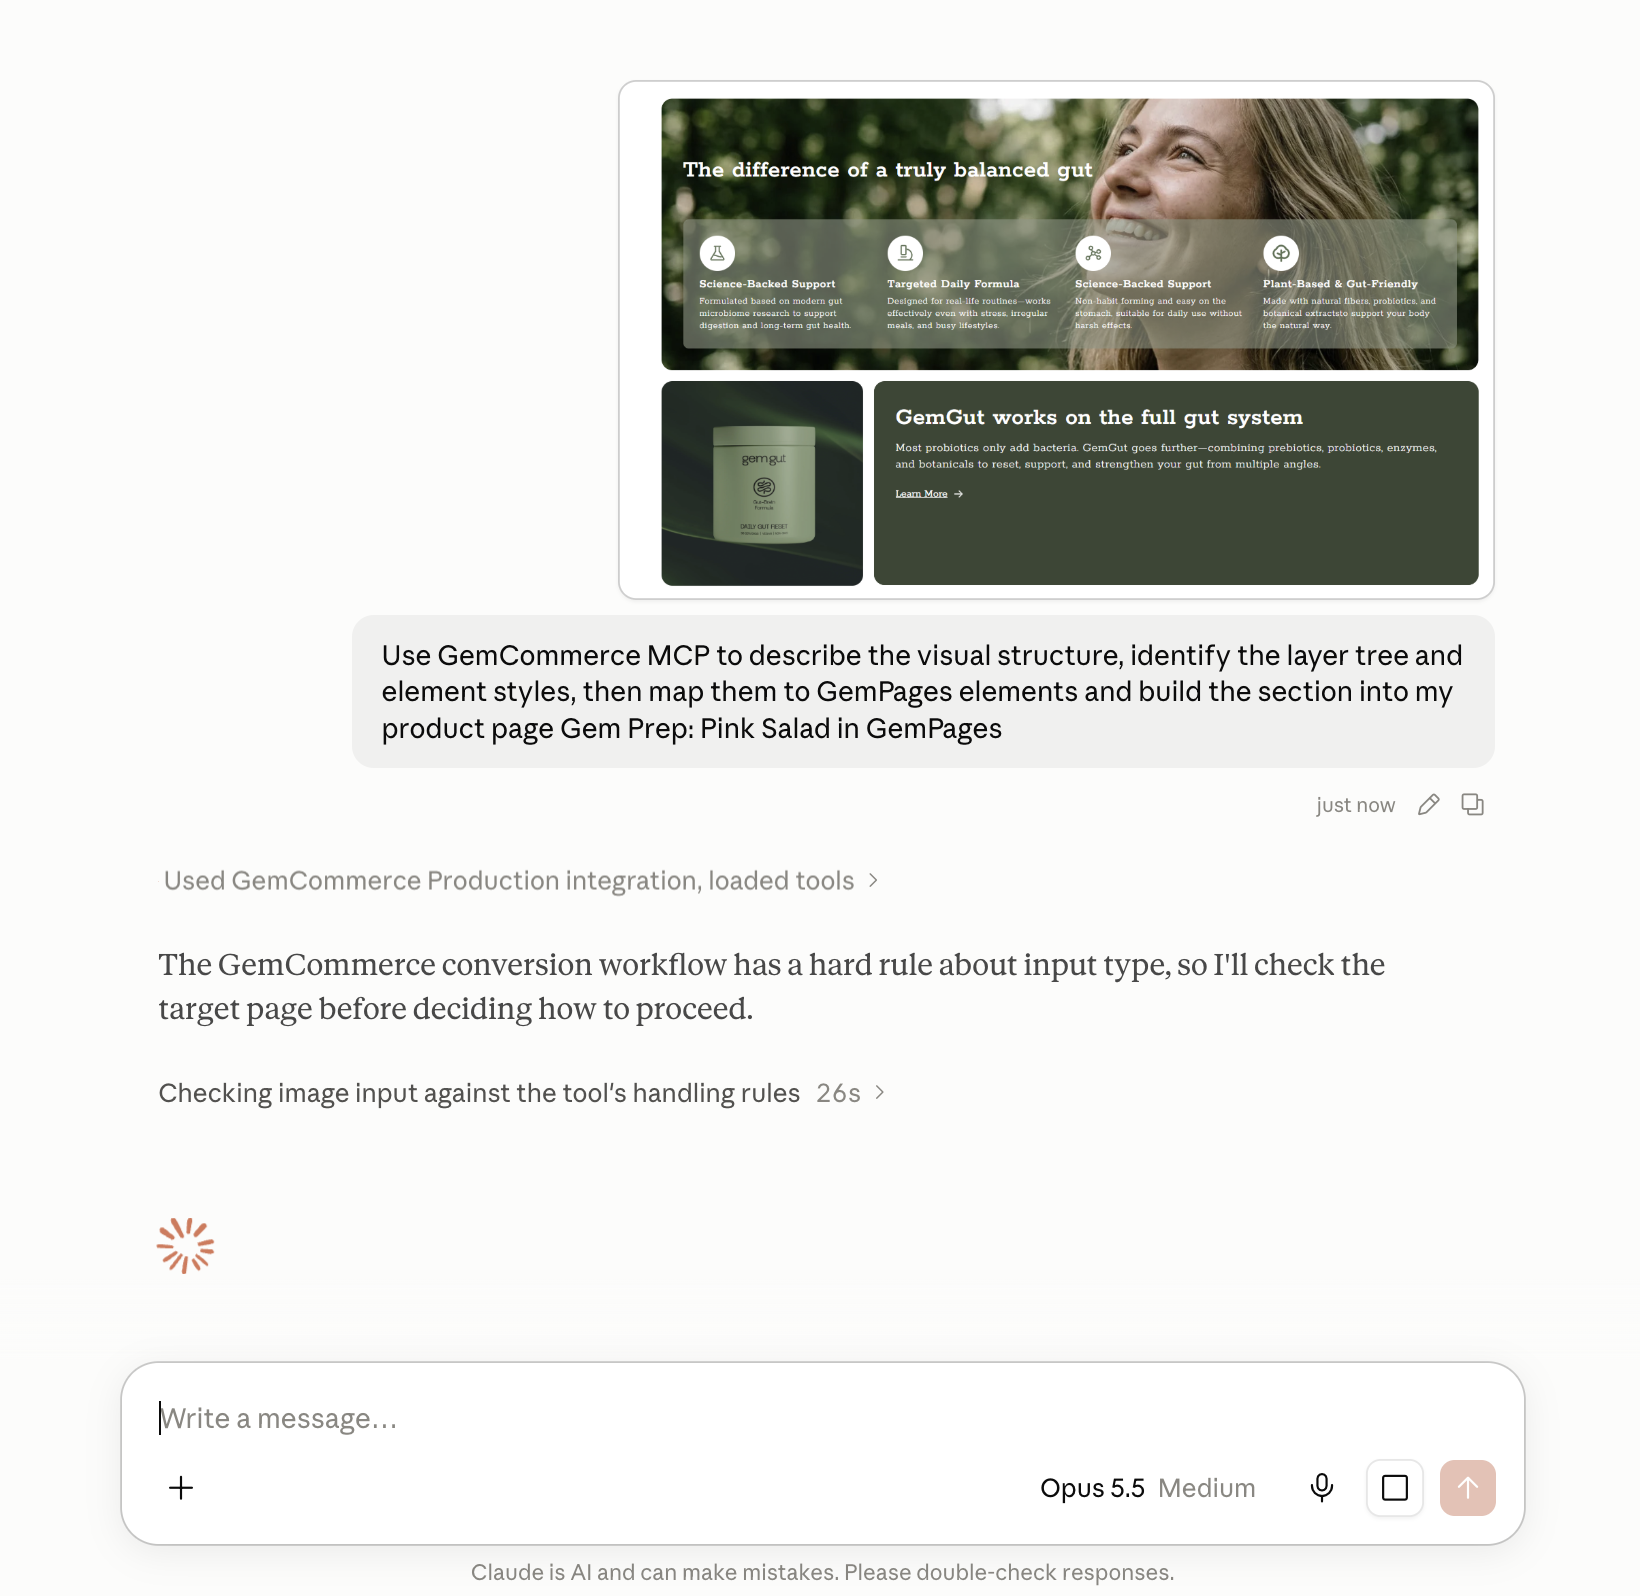
Step 4: Let GemPages MCP Generate the Page
The AI uses the provided reference to generate the page inside GemPages.
The exact process depends on the input type. For example, HTML can provide detailed page structure and content, while images primarily provide visual direction.
Step 5: Review the Generated Page
Once the page is created, open it in GemPages and review the result carefully.
Check:
- Page structure
- Copy and images
- Colors and typography
- Buttons and links
- Desktop, tablet, and mobile presentation
- Forms and interactive elements
- Product and offer information
Make any necessary changes in the GemPages Editor before publishing.


Thank you for your comments