


For this article, we’ll be using GemPages V7. If you’re using V6, please refer to this article.
What Is a Product Vendor in Shopify?
In Shopify, a vendor refers to the supplier or brand associated with a product. Assigning vendors to your products is useful because it helps organize your catalog, improves navigation, and makes it easier for customers to browse products from the same brand.
In GemPages, the Product Vendor element is designed to display this vendor information directly on your product pages. By doing so, you can provide customers with more context about the products they are browsing and even link them to a collection of items from the same vendor.
How to Add or Edit a Product Vendor in Shopify
Before using the Product Vendor element in GemPages, you need to make sure your products have vendor information in Shopify:
Step 1: Navigate to Shopify Admin > Products.
Step 2: Choose the product for which you want to add or change the vendor. Scroll down to locate the vendor box on the right side.
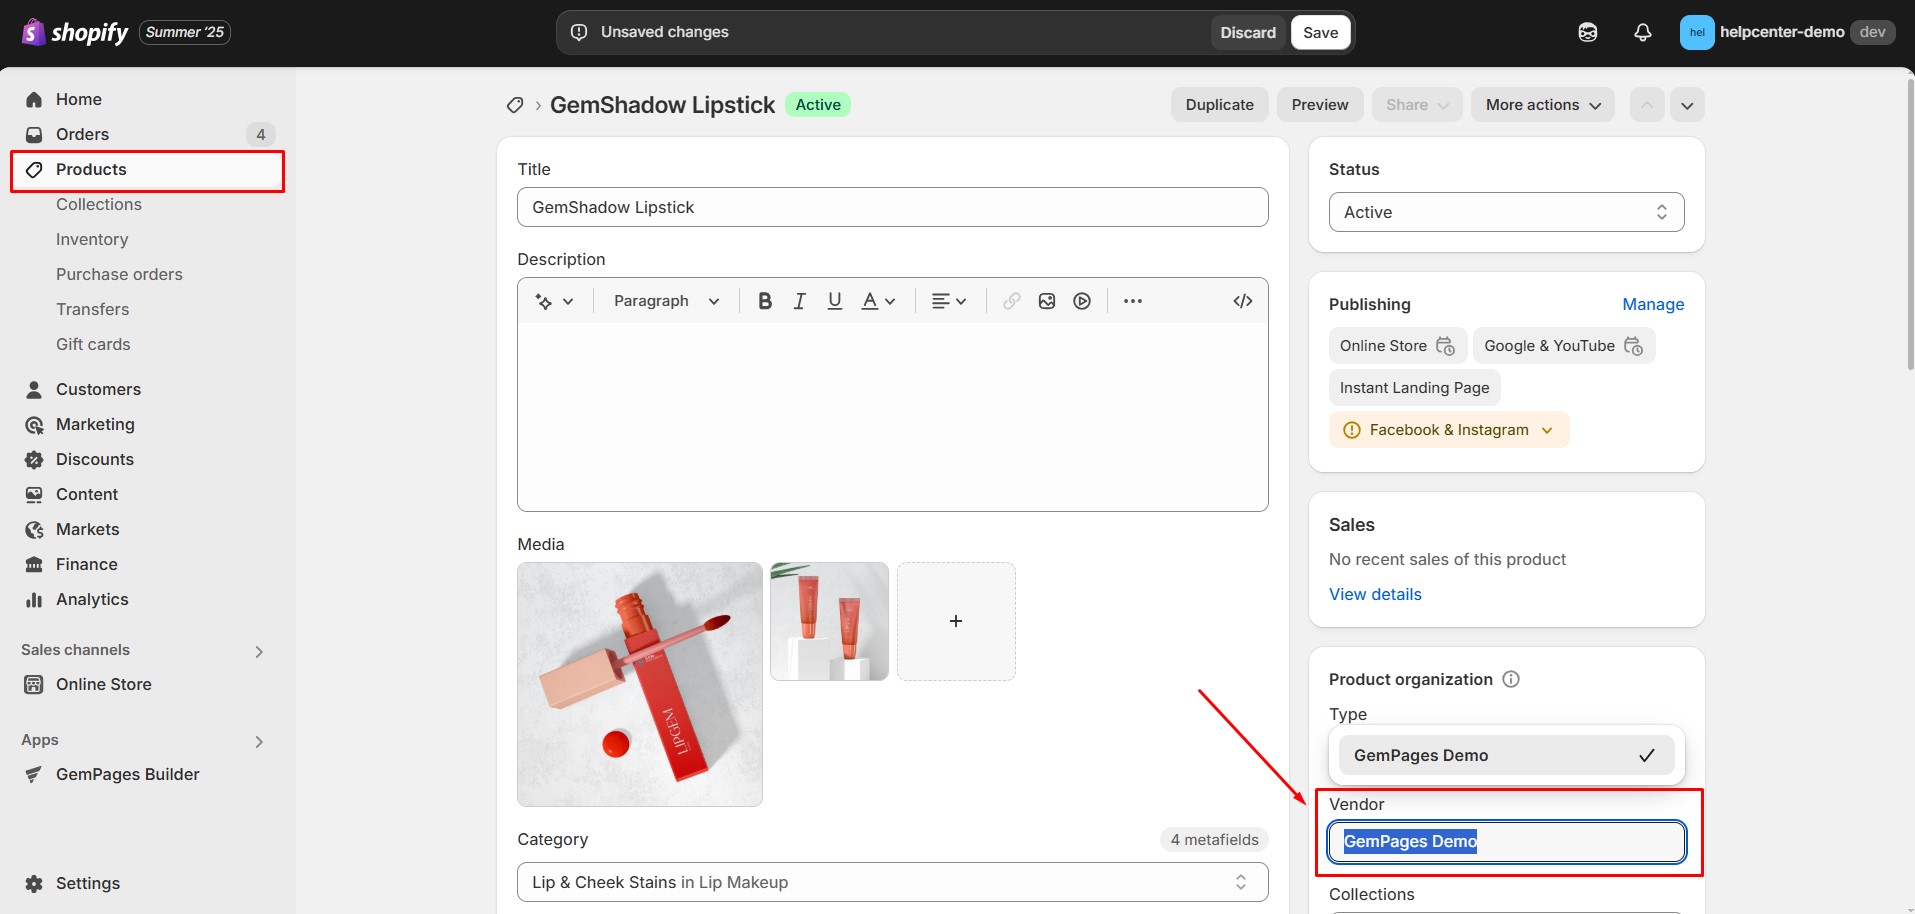
Now your product has a vendor assigned, and this information can be displayed using GemPages.
How to Add the Product Vendor Element in GemPages
Once you have assigned vendors in Shopify, you can display them on your storefront using the Product Vendor element in GemPages.
Step 1: Open GemPages and pick the page you want to change or add a Product Vendor to, which will take you to the GemPages editor.
Step 2: Head over to the ‘Element‘ tab and look up ‘Product Vendor’. Drag the Product Vendor element to your desired location.
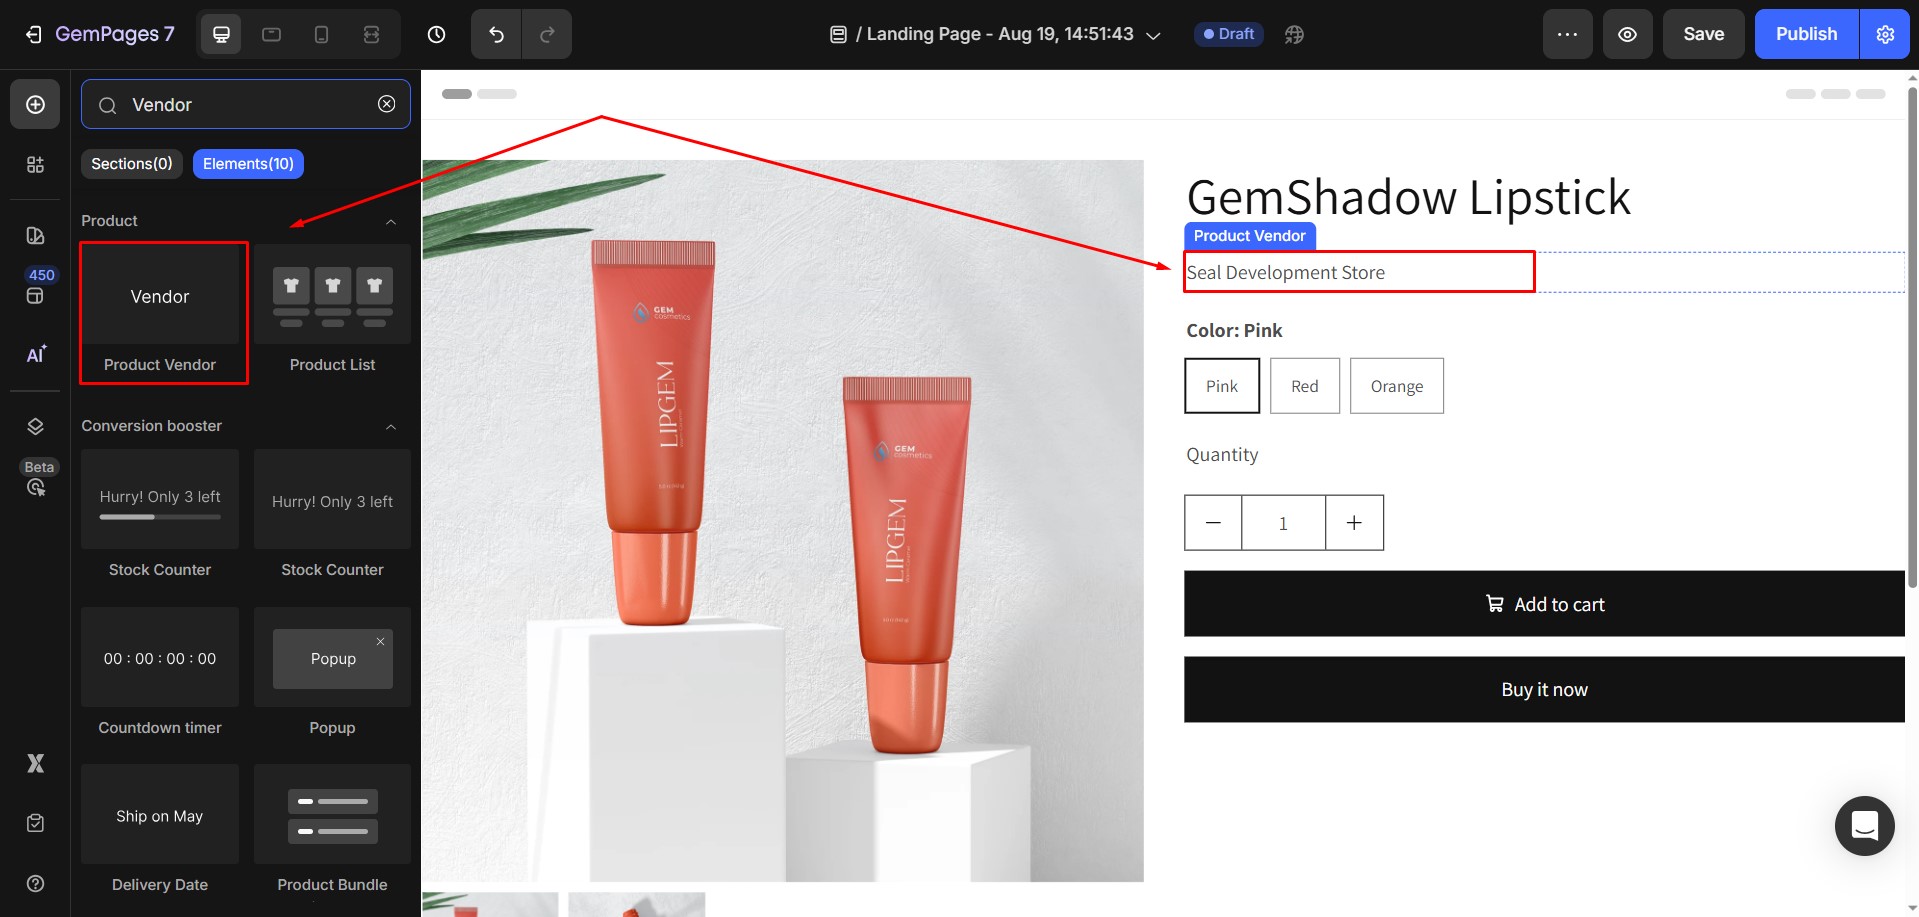
When you click on the Product Vendor element in the GemPages Editor, the settings panel will appear on the left. This panel contains two main sections: Settings and Advanced.
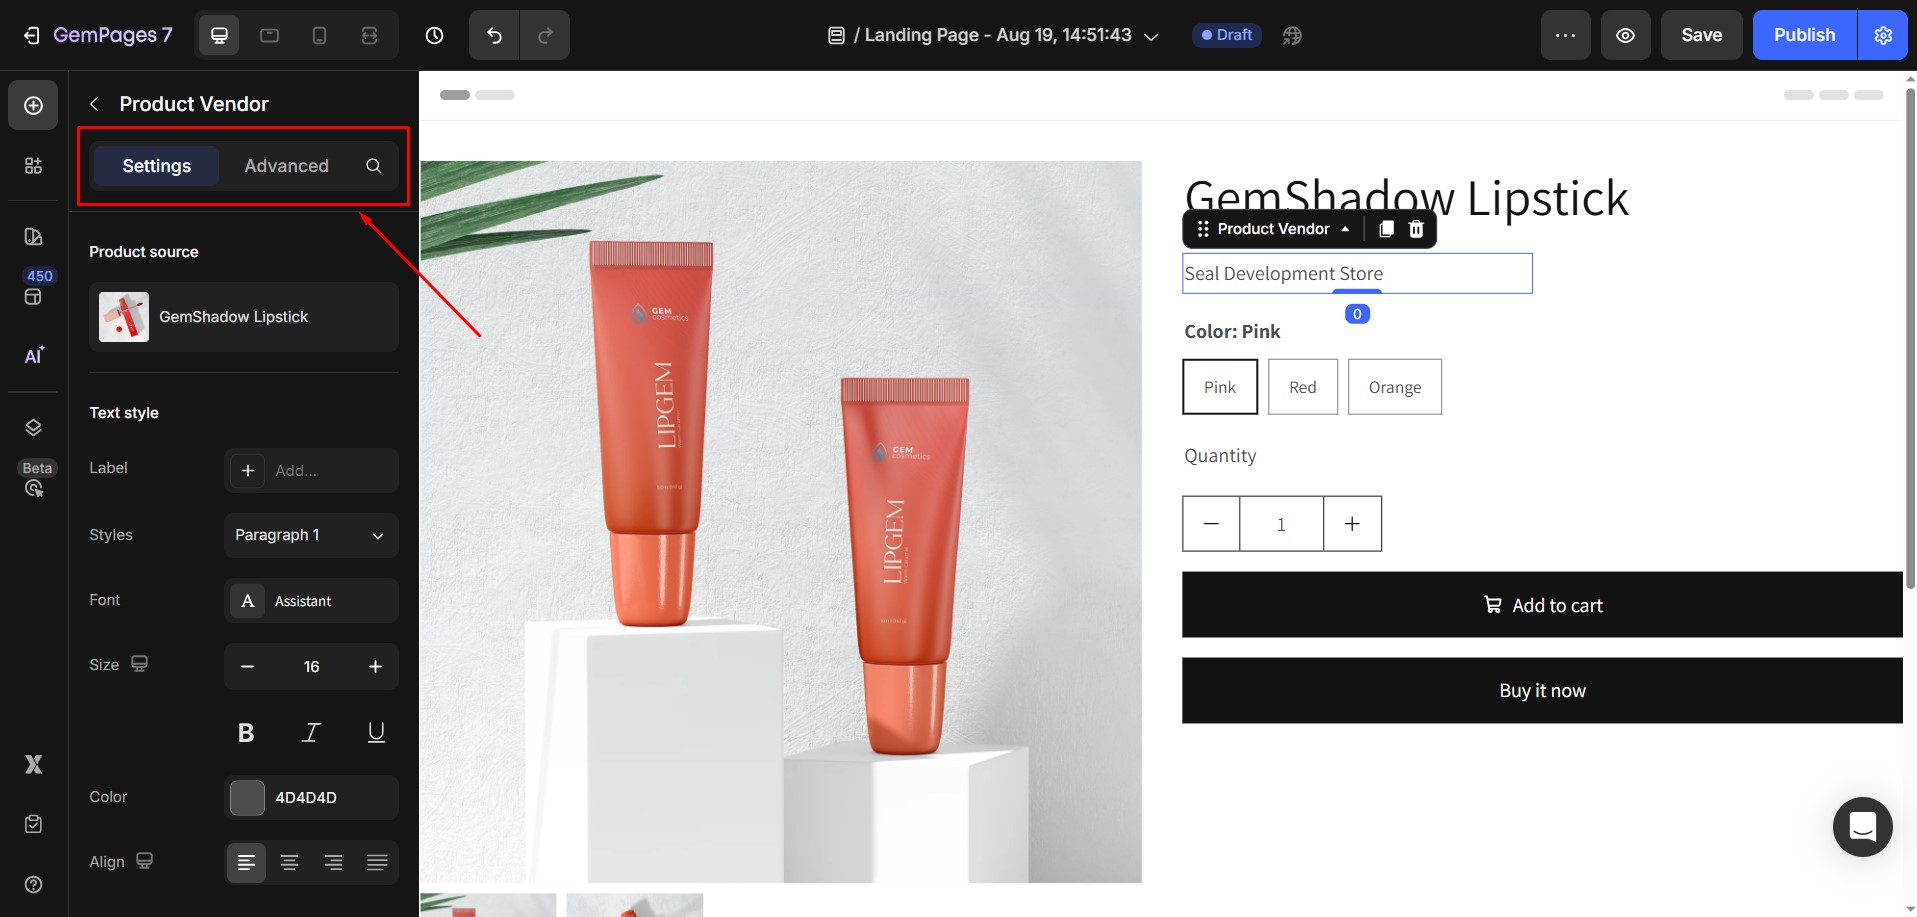
Configure the Settings Tab
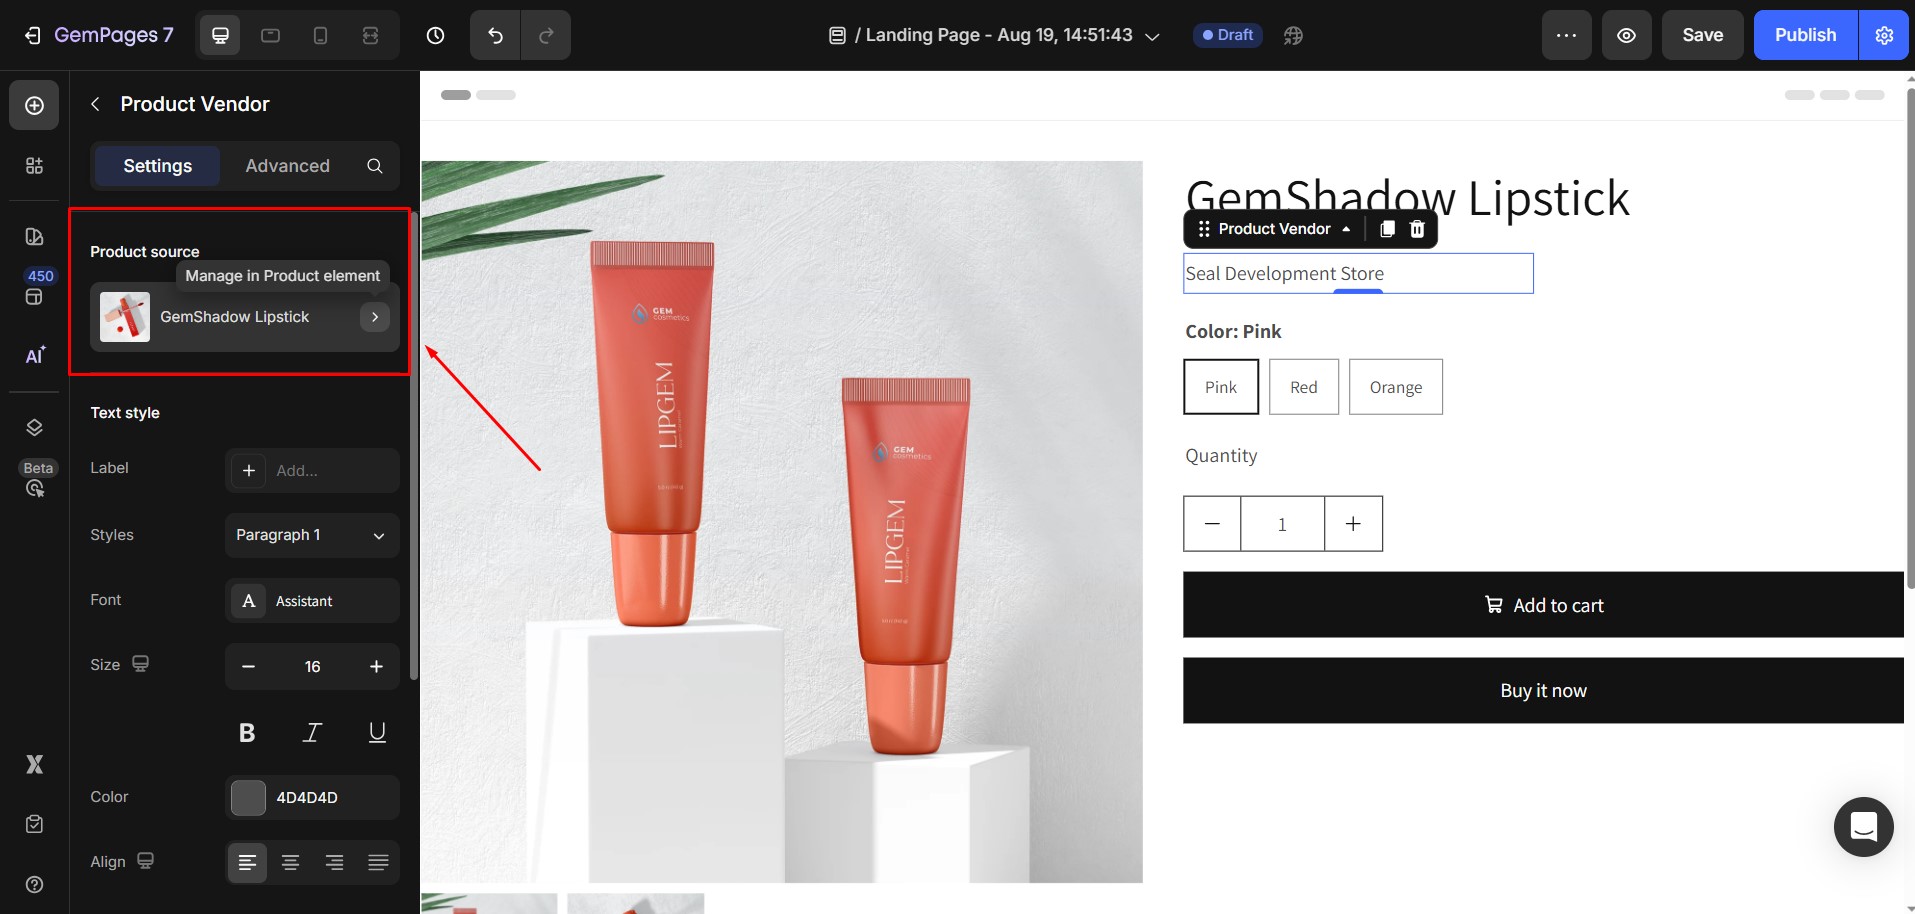
Product source
This determines which product the element displays vendor information from. By default, it uses the product assigned to the Product Module. You can switch products by opening the Product Picker in the Product Module.
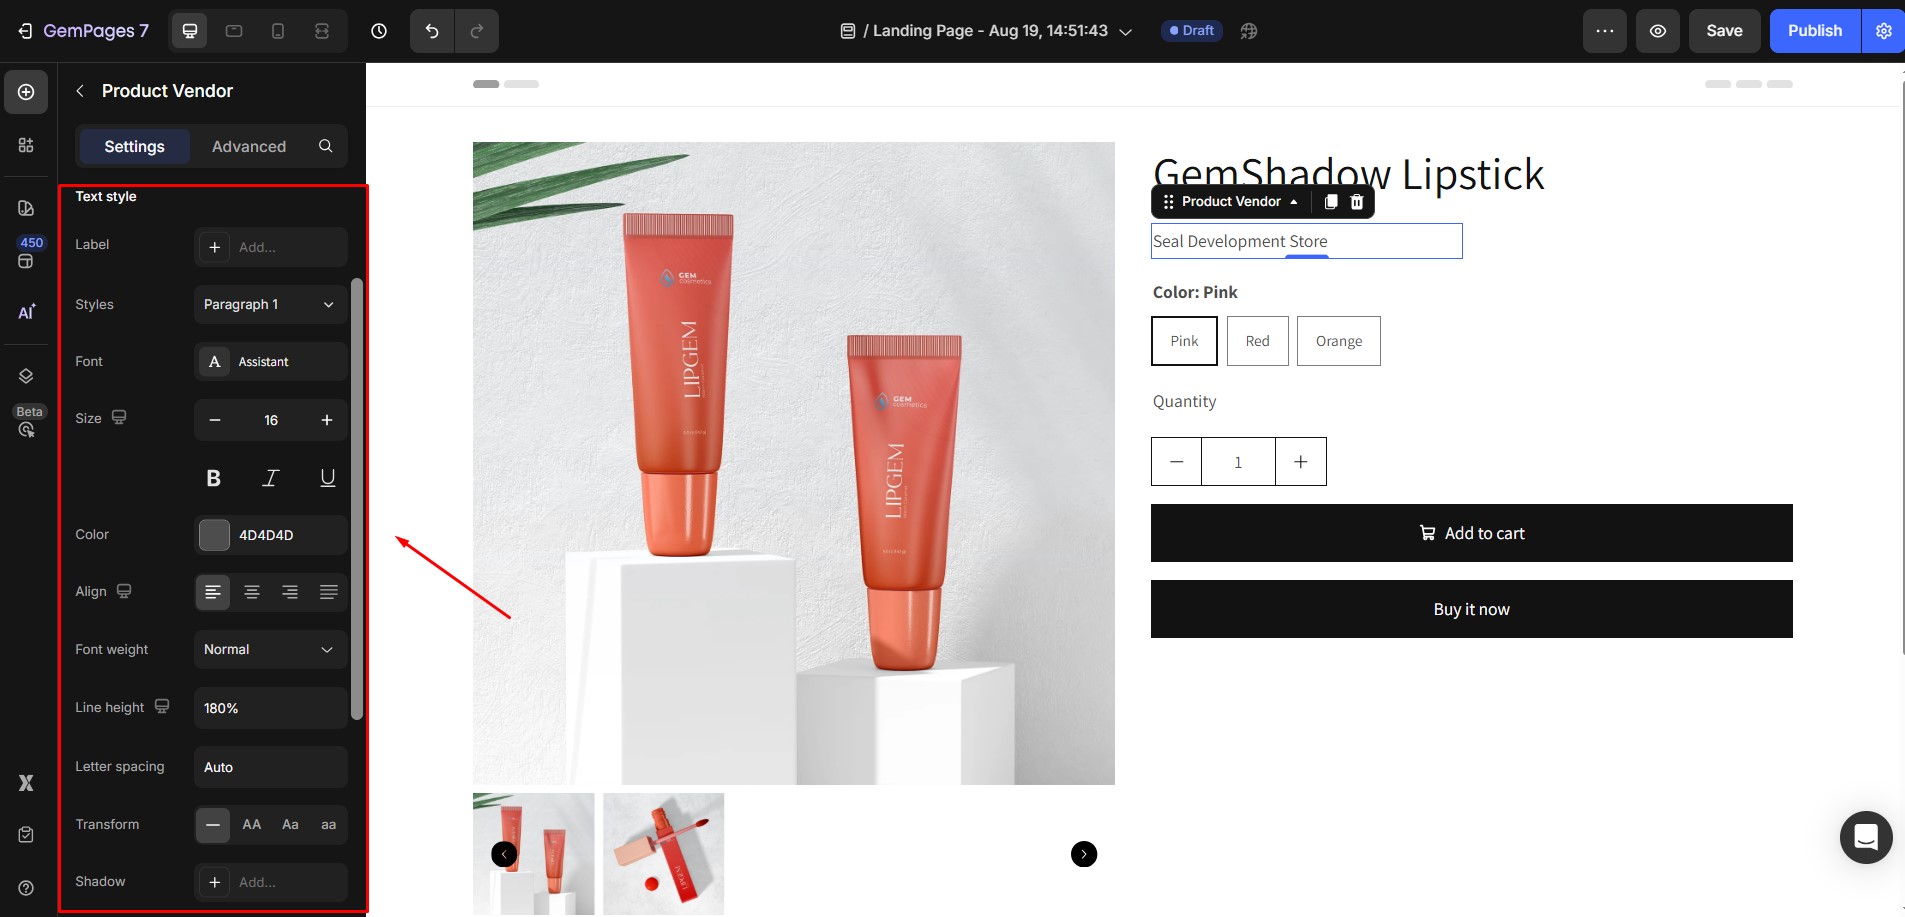
Text styles
- Label: Add or edit a prefix before the vendor name.
- Style: Choose from six heading styles (H1–H6) or three paragraph styles to control text hierarchy.
- Font & Size: Select a font and adjust the text size in pixels.
- Color: Pick a color for the vendor name.
- Align: Align the text to the left, center, right, or justify it across the container.
- Font Weight: Choose how bold the text appears.
- Line Height: Adjust the spacing between lines for readability.
- Letter Spacing: Increase or decrease the space between letters.
- Transform: Change the text case (none, uppercase, lowercase, or capitalize).
- Shadow: Add a text shadow to create depth. You can control direction, color, distance, and blur.
Effect
Customize how the vendor name behaves when a visitor hovers over it:
- Change the text color.
- Choose whether the vendor name is underlined on hover.
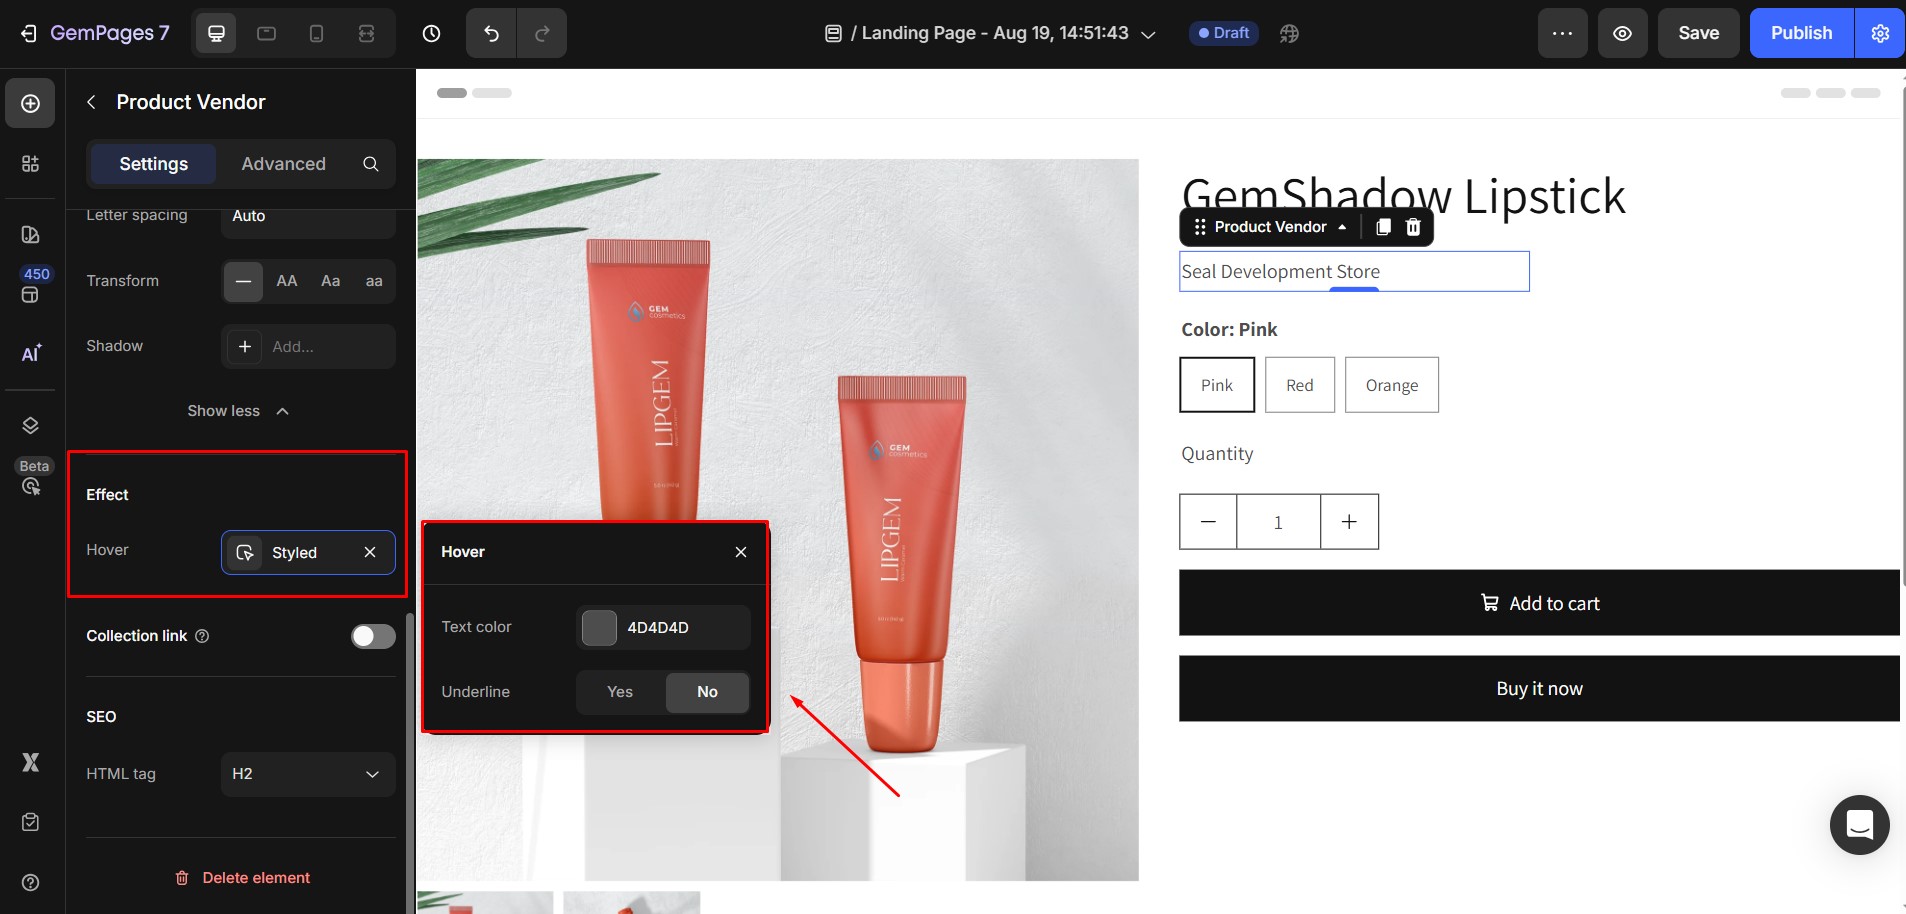
Collection link
Enable this toggle if you want the vendor name to link to a collection page that shows all products from the same vendor. This can improve navigation and user experience.

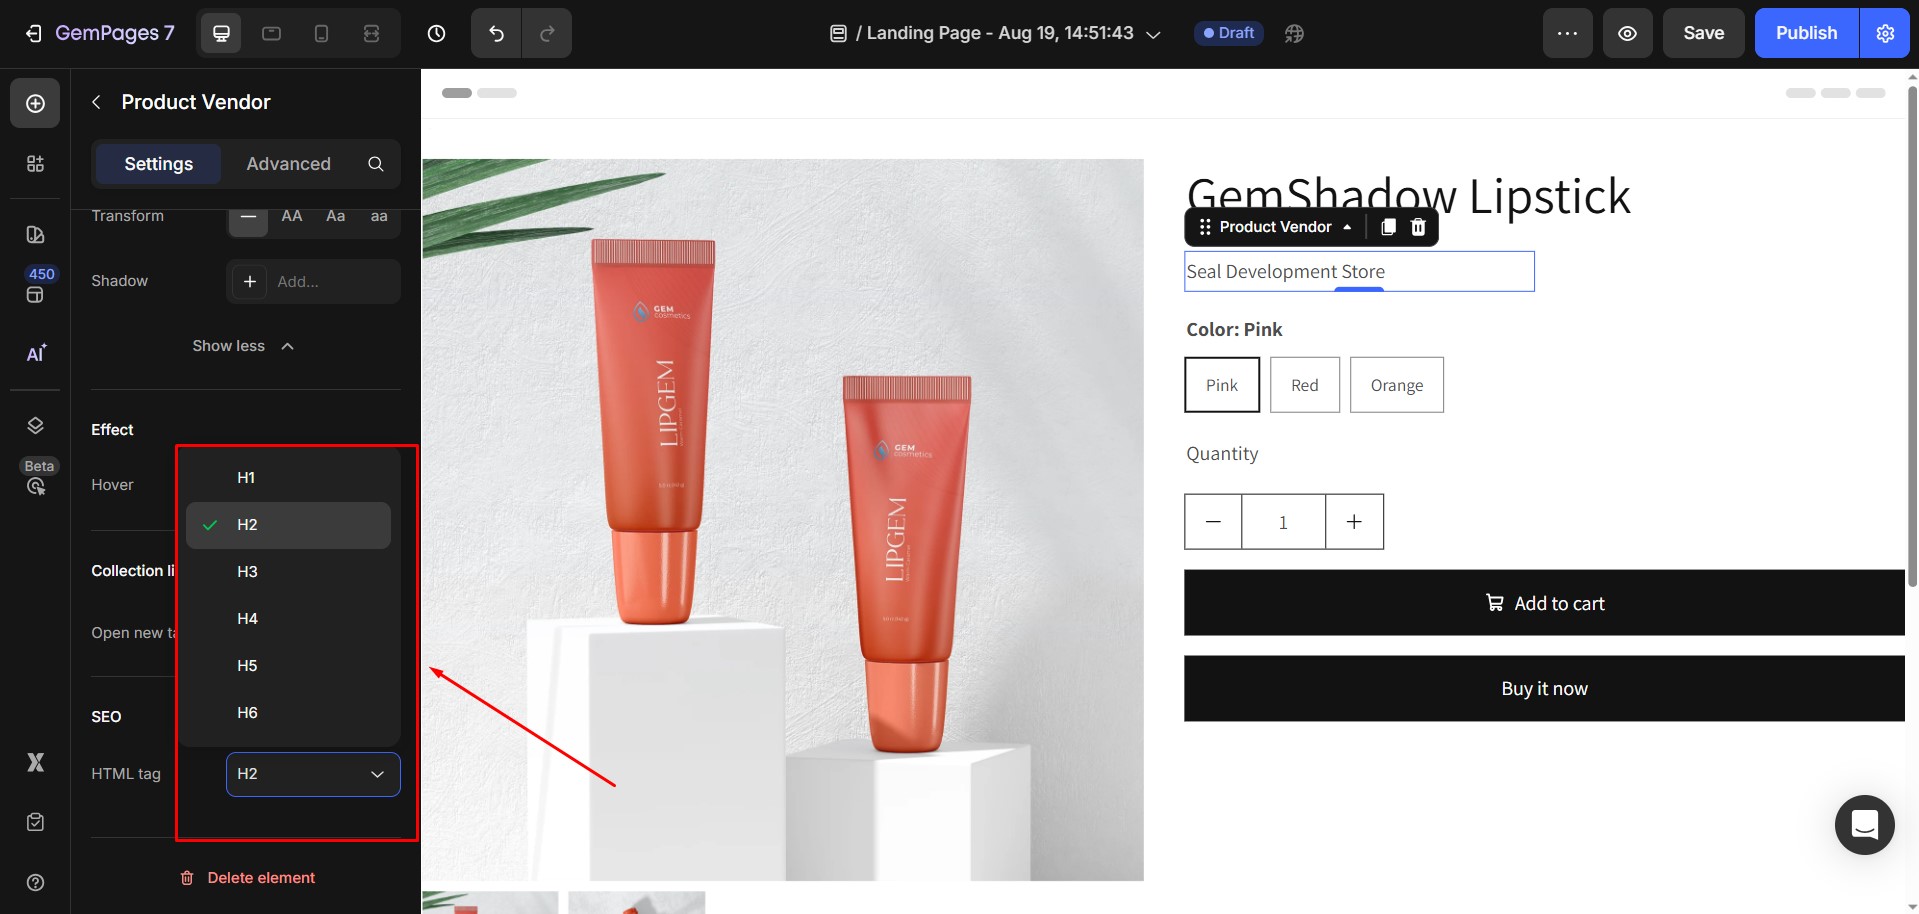
SEO
You can assign an HTML tag to the vendor text (e.g., <h1>,<h2>). Using heading tags appropriately can help optimize your store for search engines.
Configure the Advanced Tab
For more advanced customization, please navigate to the Advanced tab and follow the instructions in this article.


Thank you for your comments