


Before You Start
Before adding an email subscription form, make sure you have a landing page set up.
- If you haven’t created one yet, refer to this article for detailed instructions.
- If you prefer to convert your homepage or product page into a landing page, check out this article.
GemPages provides two built-in elements to collect email addresses on your landing page:
| Element | Best for |
| Newsletter | Collecting just an email address |
| Contact Form | Collect more detailed lead capture (e.g., name, email, phone, message) |
Design an Email Subscription Form for Your Landing Page
Option 1: Using Newsletter Element
The Newsletter Element is the simplest way to create an email subscription form on your landing page.
Follow these steps:
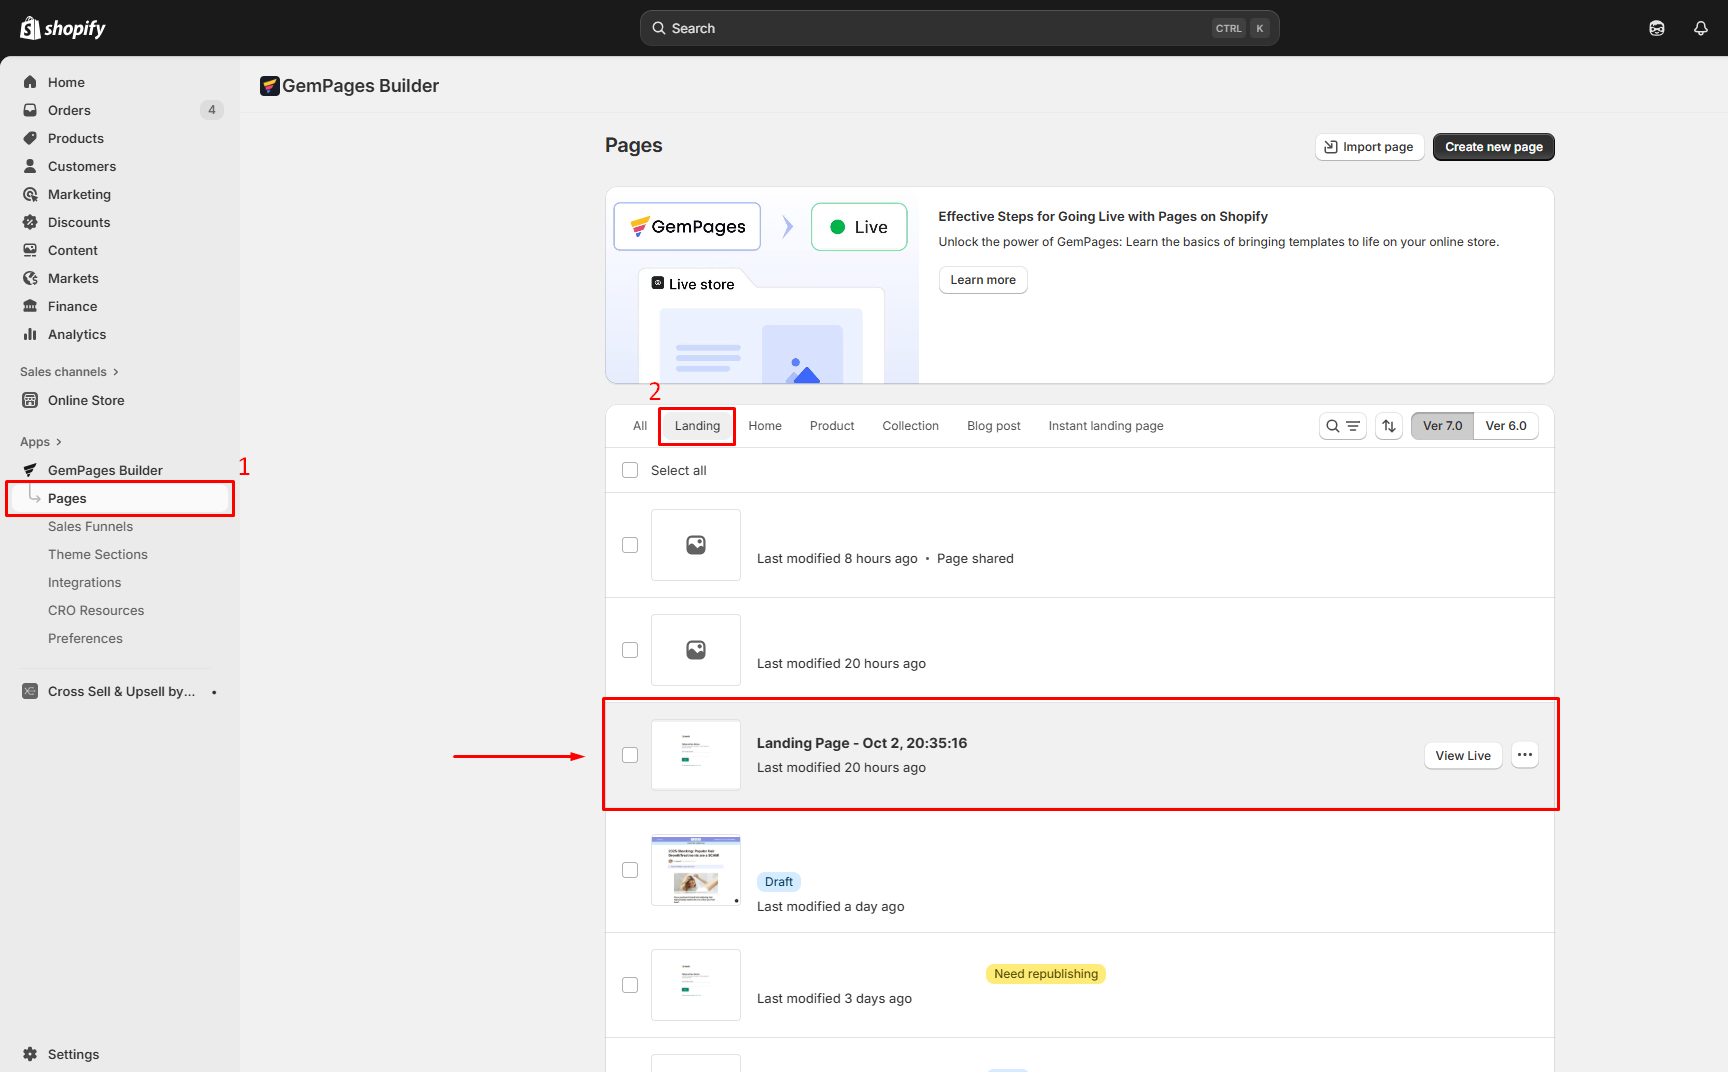
Step 1: Access GemPages Editor
- From your Shopify admin, open the GemPages Builder app under the Apps section.
- Navigate to the app dashboard > Pages > Landing, and click on the target landing page to open it in the editor.
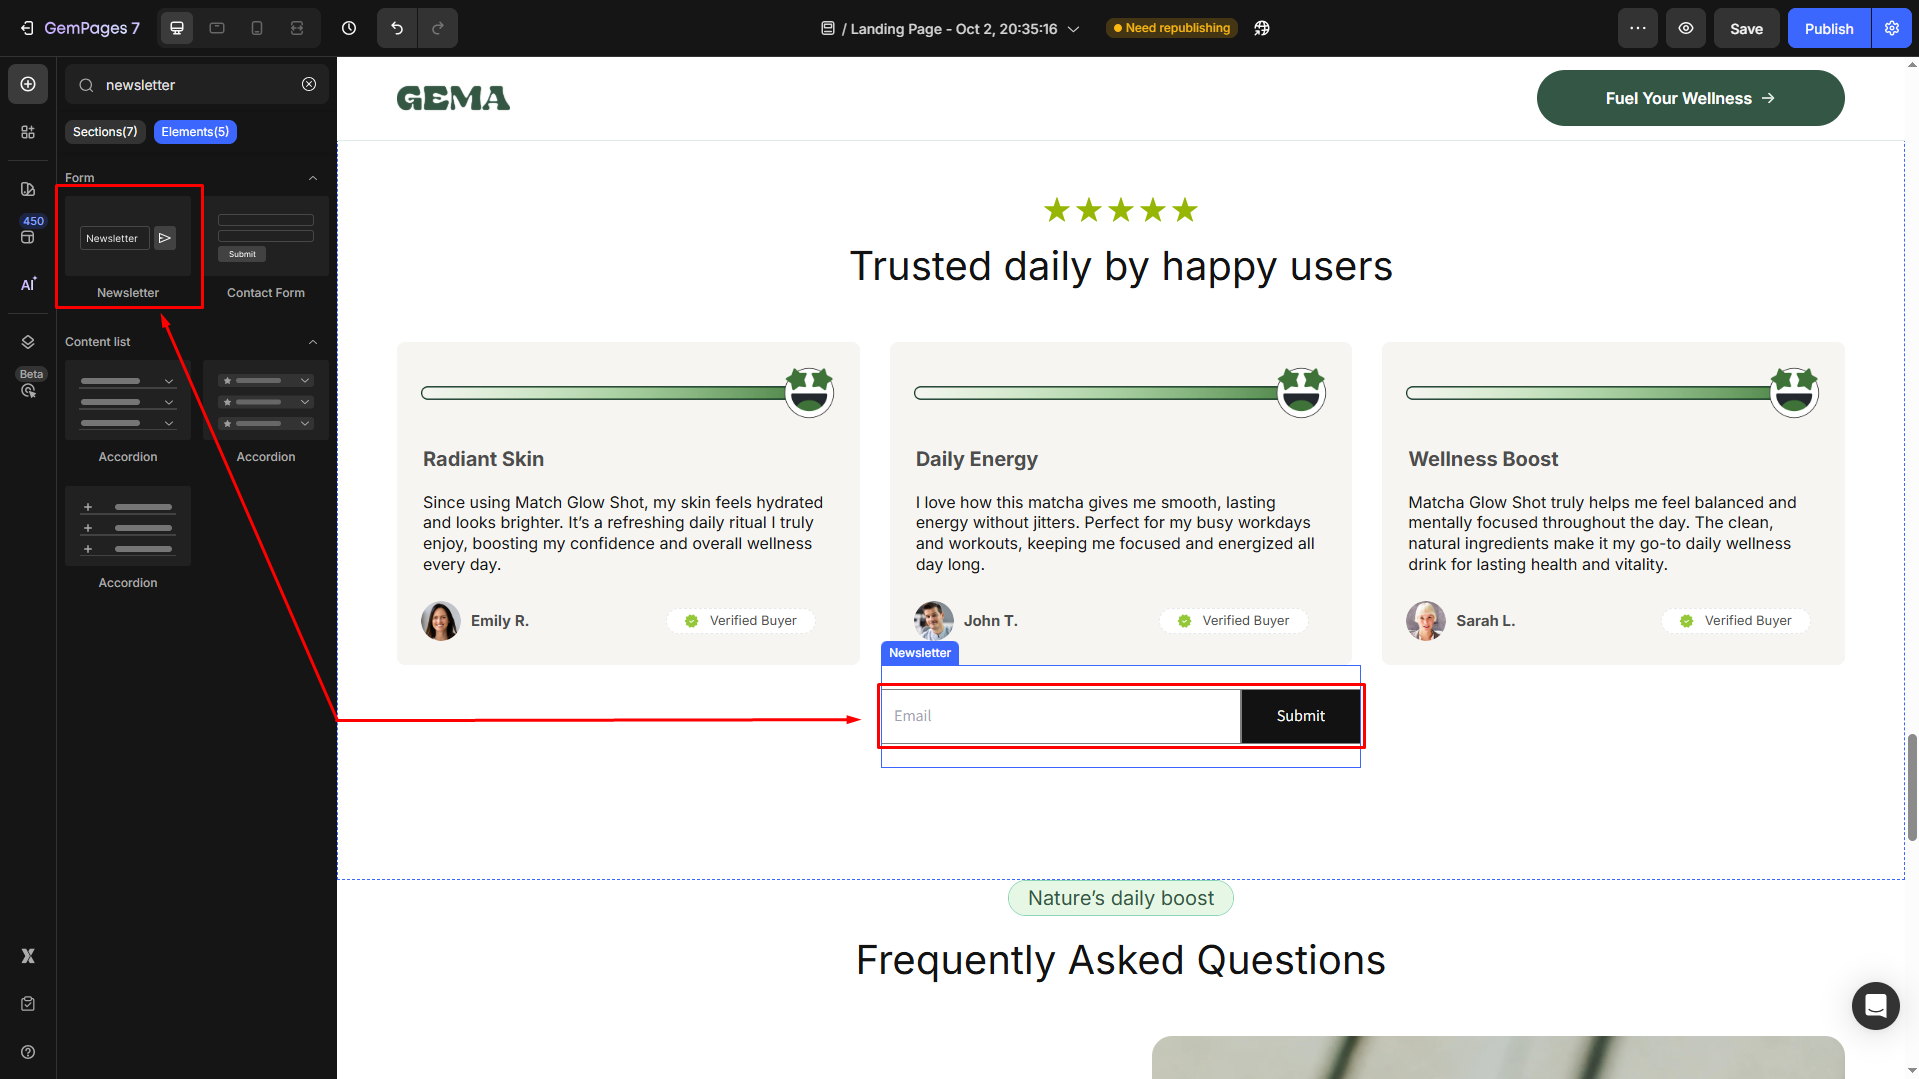
Step 2: Add the Newsletter Element
- From the left sidebar in the editor, use the search bar to find the Newsletter Element.
- Drag and drop the element into the desired position on your page.
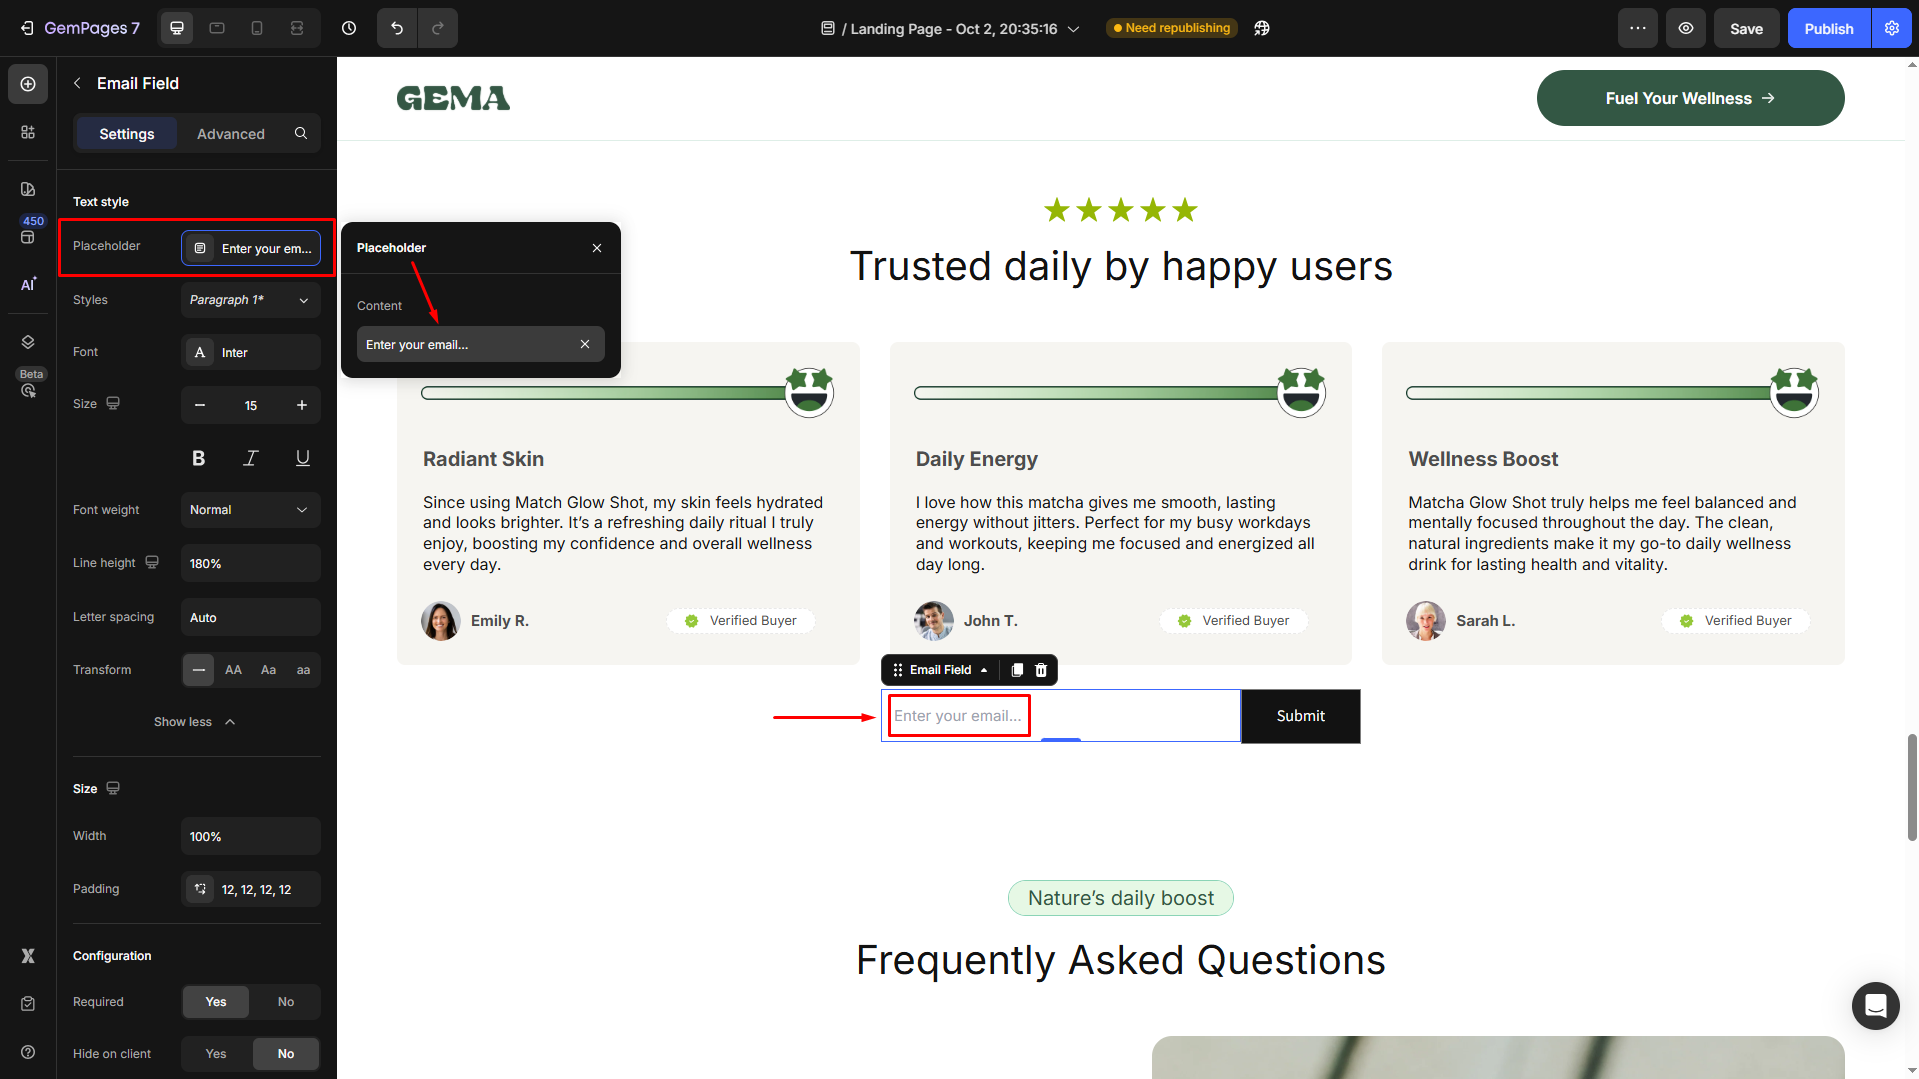
Step 3: Customize your email subscription section
Click on the element to open its settings in the left sidebar.
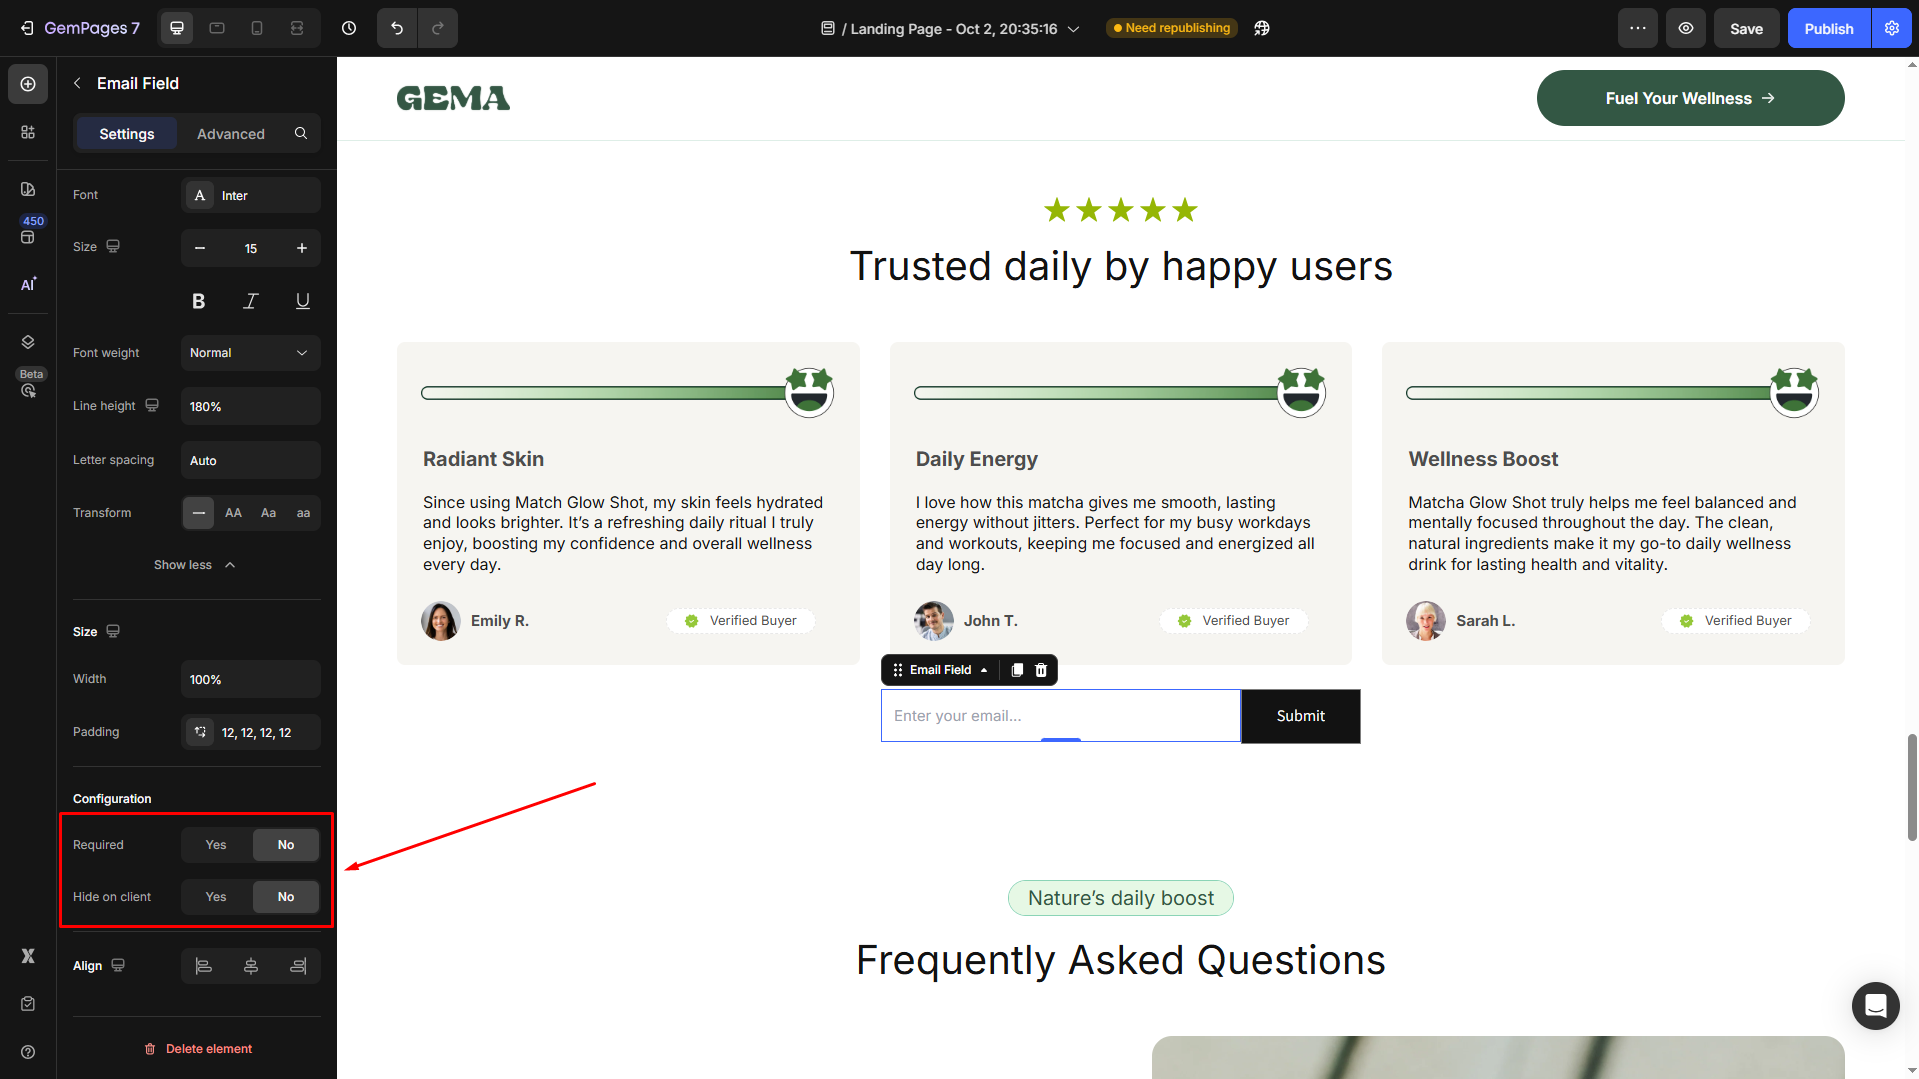
Under the Settings tab, you can customize the form to fit your requirements, such as:
- Change the placeholder text (e.g., “Enter your email…”).
- Adjust the form’s size.

- Set the email field to be required or not in the Configuration section.
- Add a hover effect for the submit button.
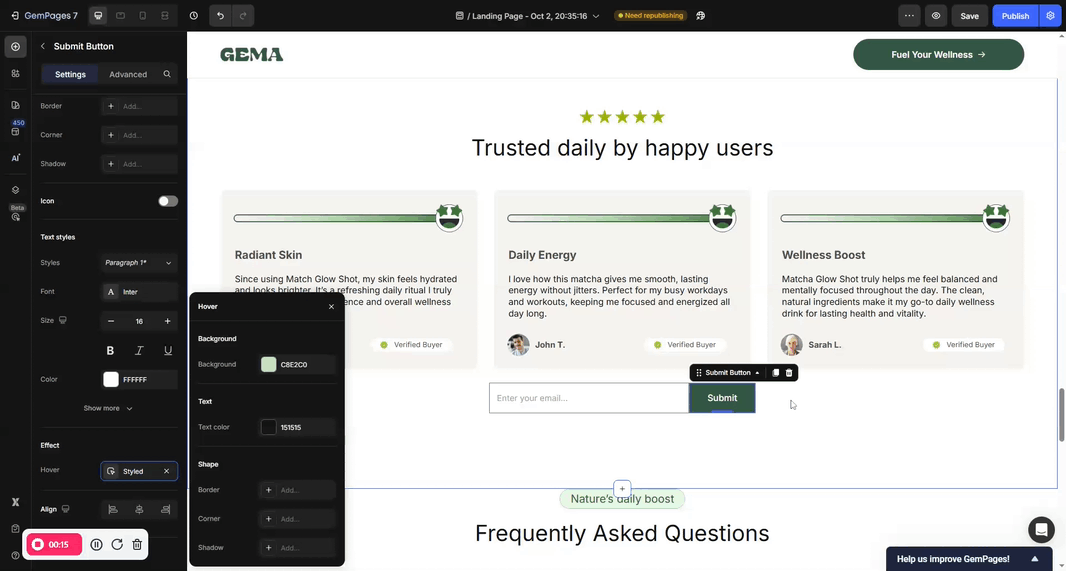
Option 2: Use Pre-Built Section
To save time and effort, you can select a pre-designed form section from the GemPages Library.
- From the left sidebar, go to the Section tab and scroll down to the Contact option.
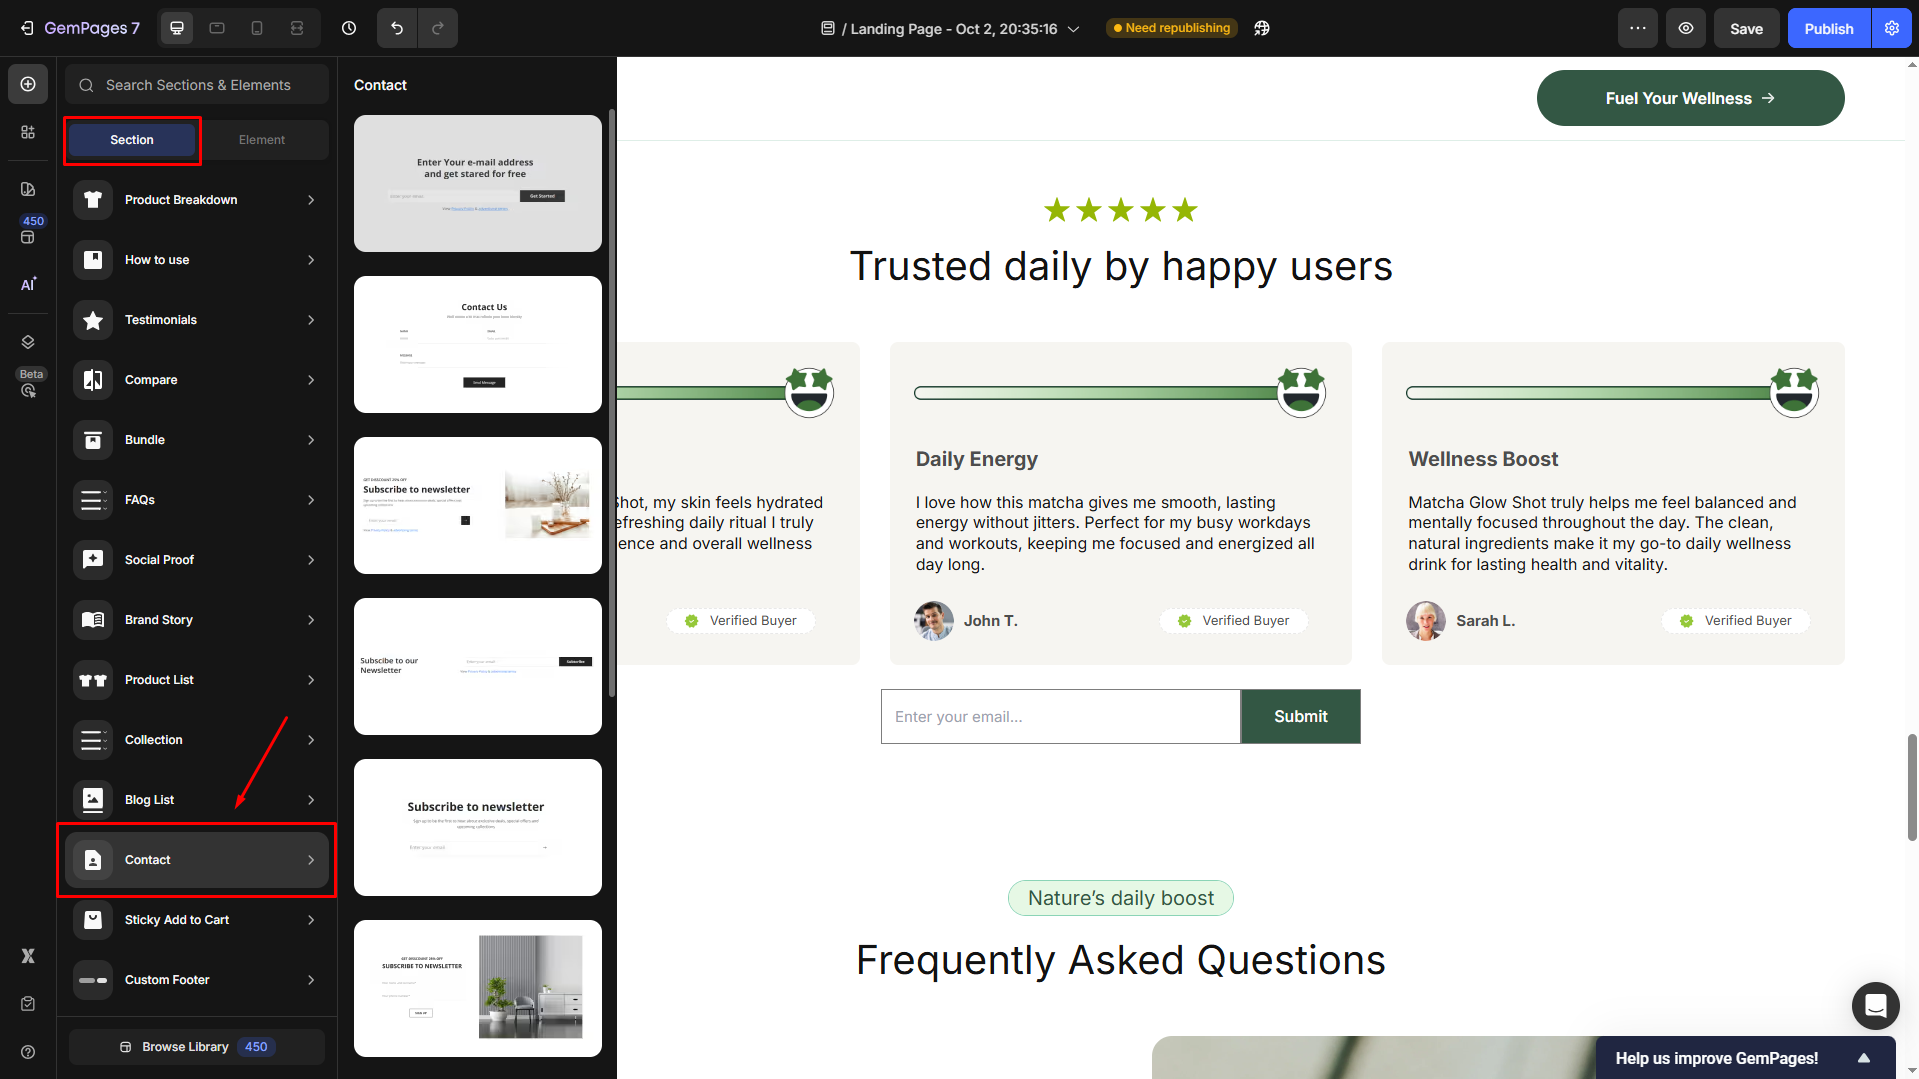
- Drag and drop your preferred section to the design area.
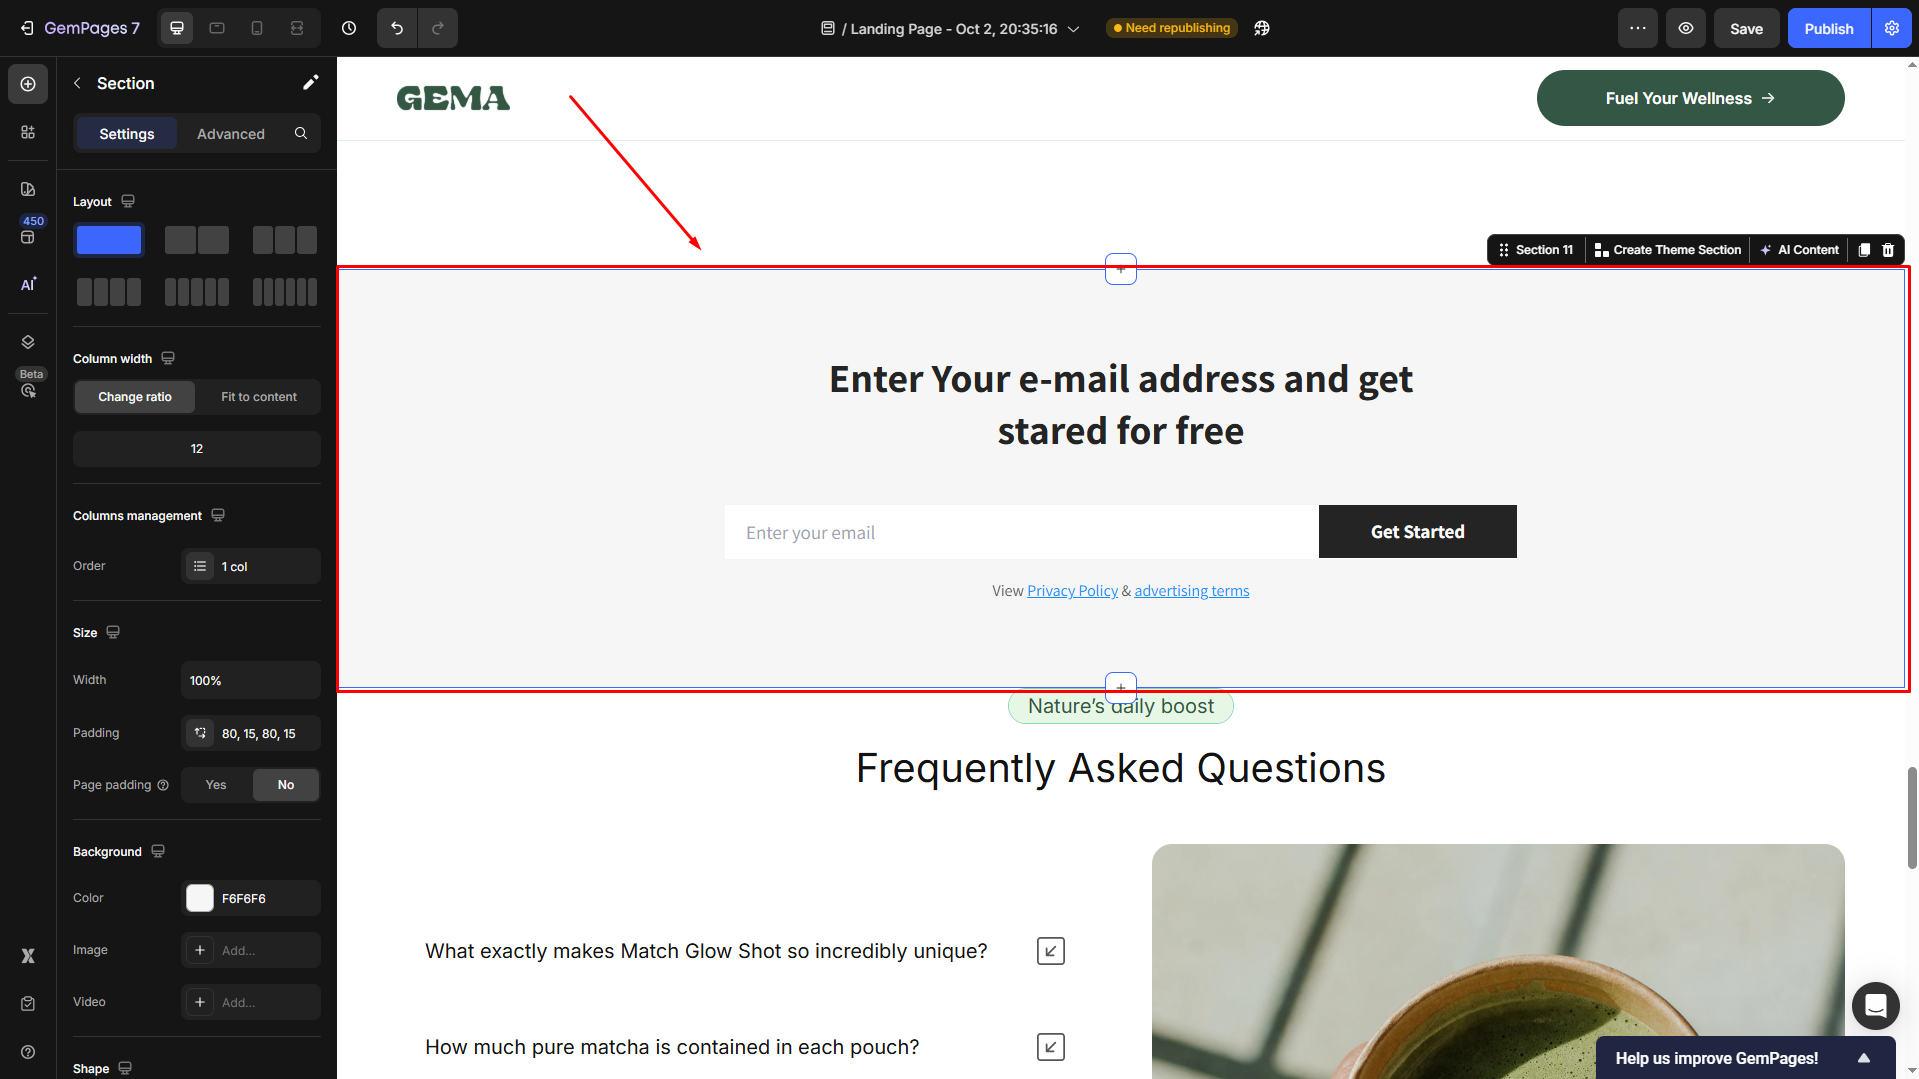
- You can customize the section to ensure it fits your brand design.
Tips for Higher Email Sign-Up Conversion
Collecting emails is just the first step. The real challenge is convincing visitors to sign up.
Here are a few CRO best practices you can apply directly inside GemPages:
- Add a clear headline above the form (e.g, “Join our newsletter for 10% off”).
- Offer a lead magnet (e.g, discount, freebie, early access).
- Add trust badges or “No spam” notes near the form.
- Keep the form short and simple, as the fewer fields, the better (e.g, just email, or email + name is often enough).
- Optimize for mobile: Make sure the form is mobile-friendly.
FAQs
1. How do I link an email sign-up to my landing page?
You can do this directly inside GemPages by dragging the Newsletter element onto your page. It’s fully functional without needing third-party apps.
2. What happens to the emails collected through the form?
By default, all submissions go to your Shopify customer list. You can also integrate GemPages with email marketing apps like Klaviyo, Omnisend, Mailchimp, etc. for advanced automation.
3. What if I want to collect more than just an email address?
If you’d like to capture extra details (such as name, phone number, or message), use the Contact Form element instead of the Newsletter element. This is best for broader lead capture rather than quick subscriptions.


Thank you for your comments