


About Appointment Booking Cowlendar App
The Appointment Booking Cowlendar is a Shopify app that allows merchants to offer and manage bookings, appointments, and reservations directly from their Shopify store.
Designed to streamline the booking process for service-based businesses, Cowlendar transforms any product or service into a bookable option with ease.
Key Features of Appointment Booking Cowlendar
Here’s what Appointment Booking Cowlendar offers:
- Online Appointment Booking: Allows customers to view availability and book appointments directly on the store’s website.
- Customizable Interface: Easily adjust the booking interface to match the store’s branding and specific business requirements.
- Automated Notifications: Sends automatic email notifications and reminders to customers, reducing the chance of missed appointments.
- Calendar Synchronization: Supports syncing with external calendars like Google Calendar, allowing store owners to track appointments seamlessly.
How to Install & Set Up Appointment Booking Cowlendar?
Step 1: Install Appointment Booking Cowlendar in the Shopify App Store.
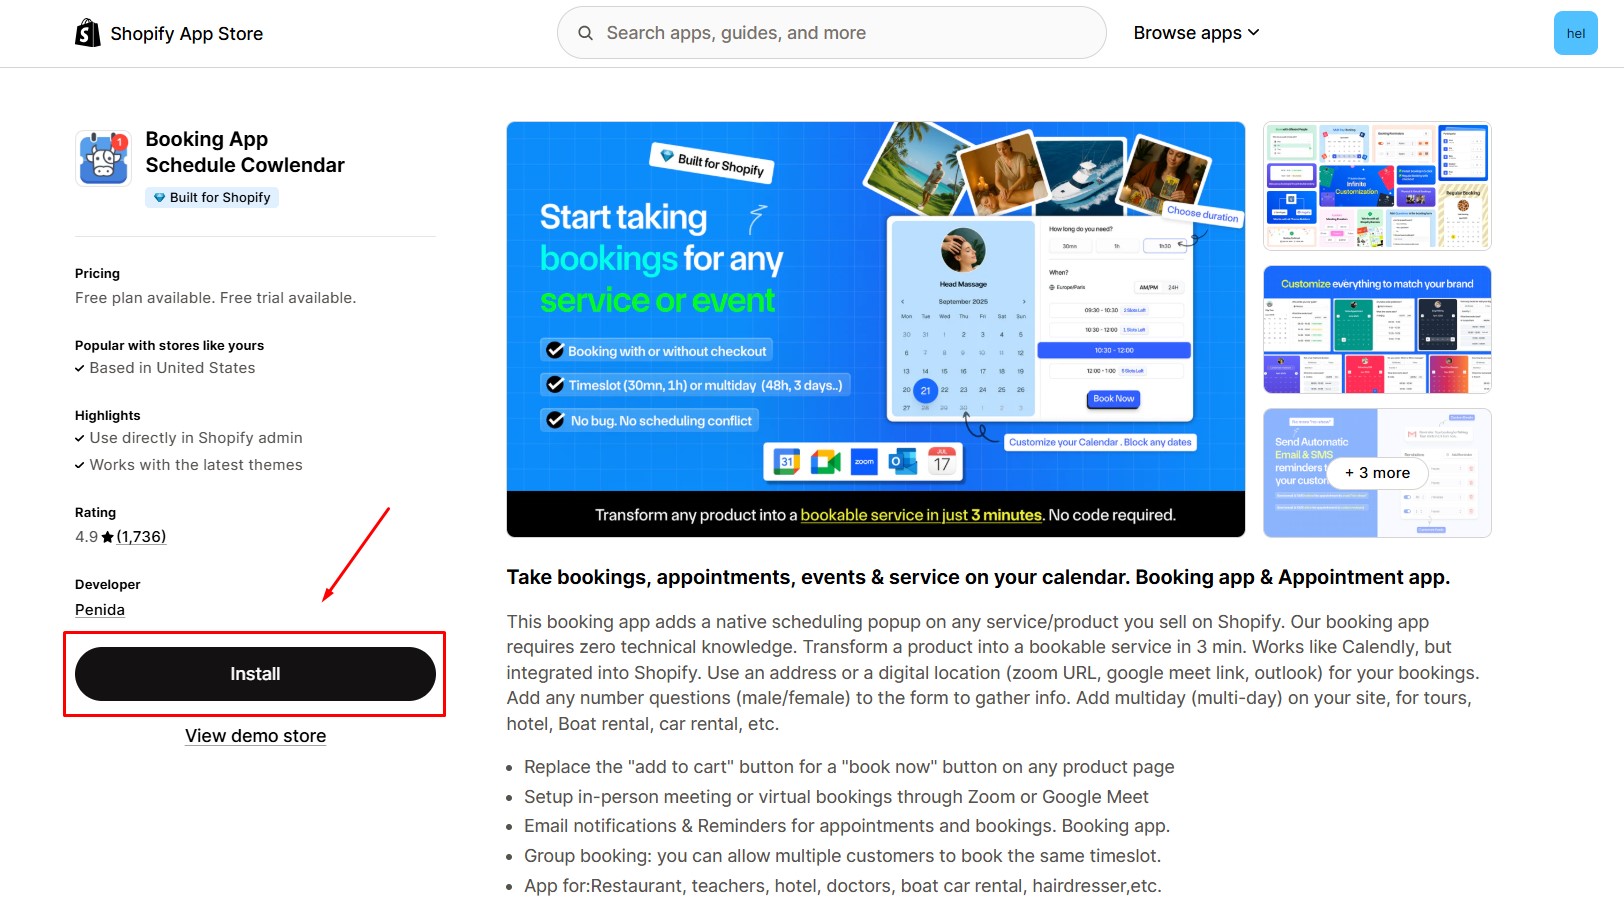
Step 2: Provide the app with access to the required data and click “Install”.
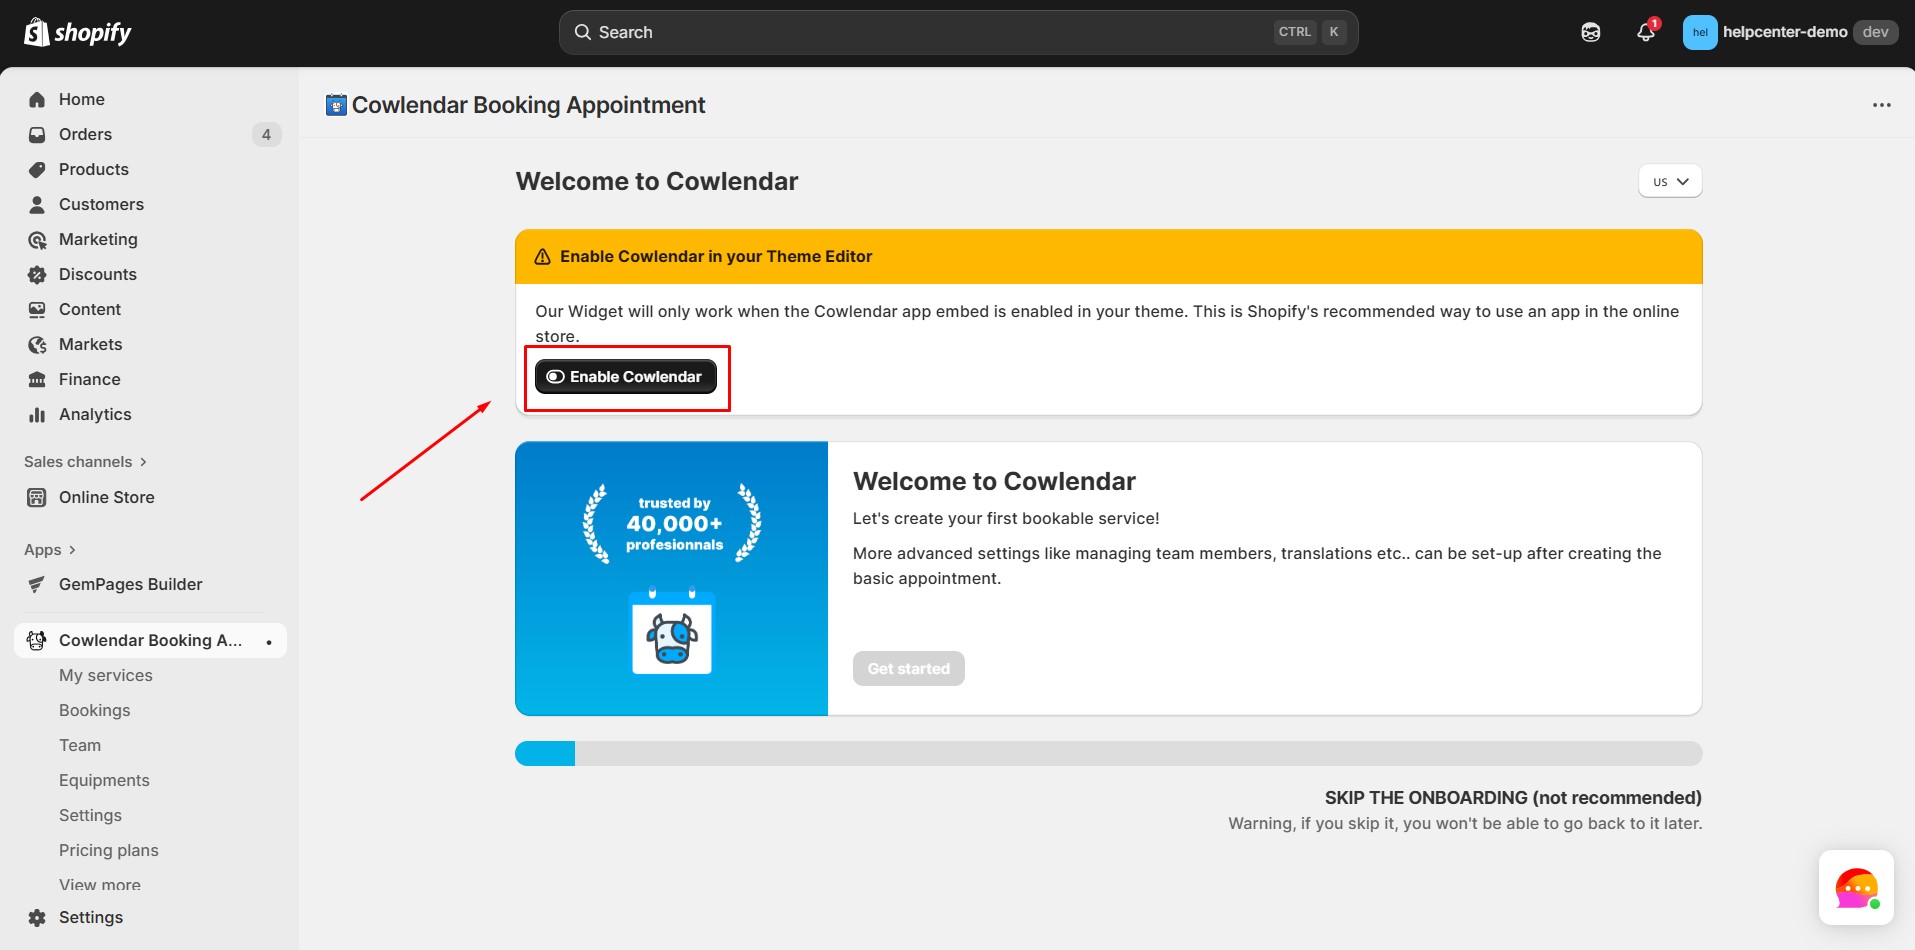
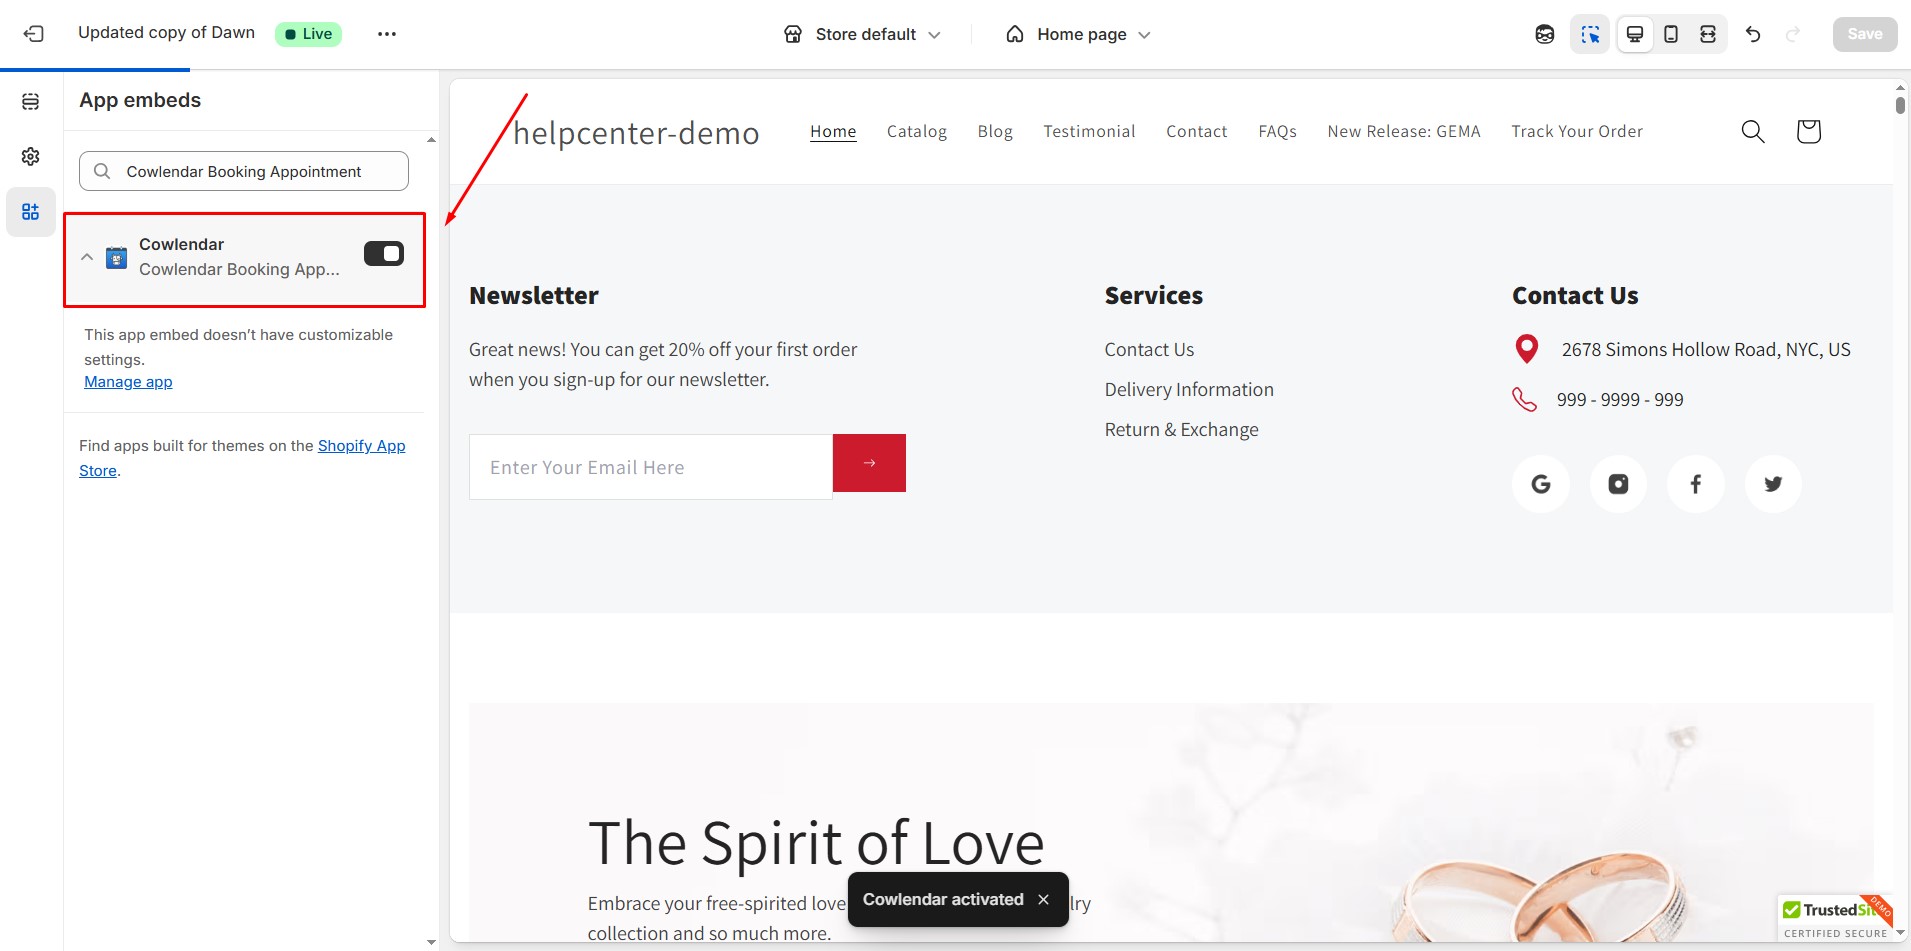
Step 3: Once installed, go to your Shopify admin panel and enable the app embed to activate Cowlendar on your storefront.
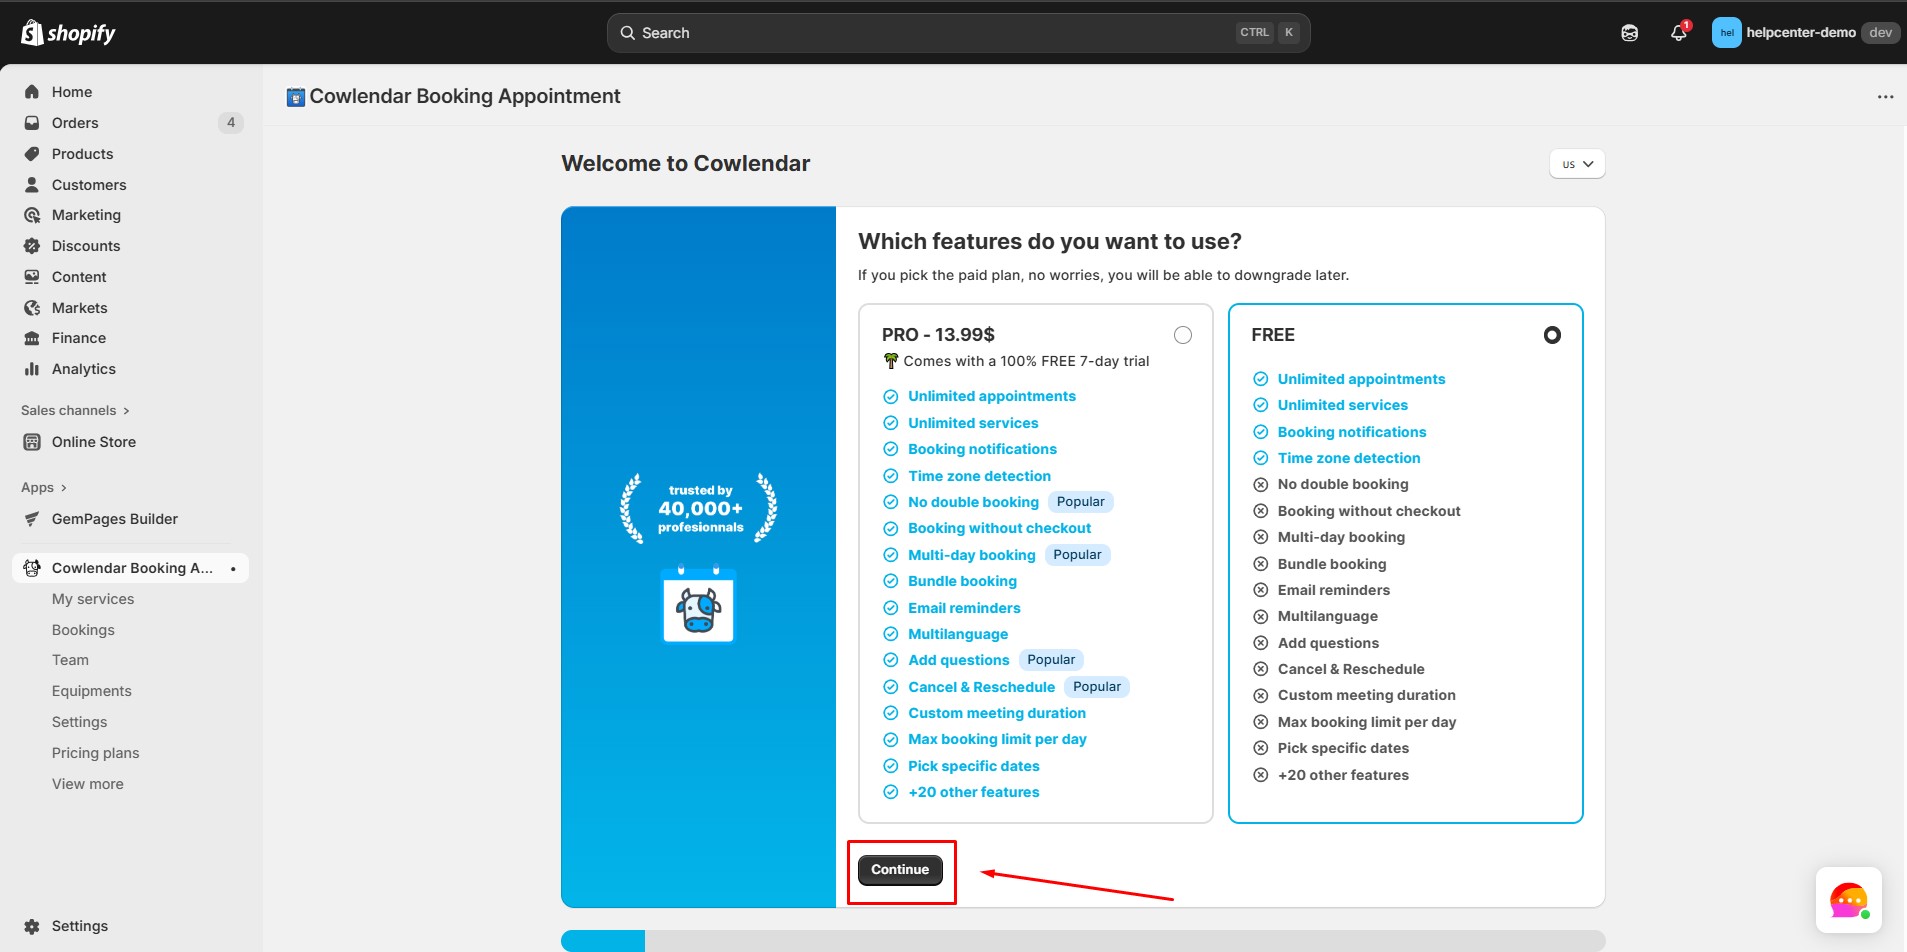
Step 4: Select the pricing plan that fits your needs, then click Continue.
Step 5: Choose the display language for your booking interface.
Step 6: Pick your time zone and click Continue.

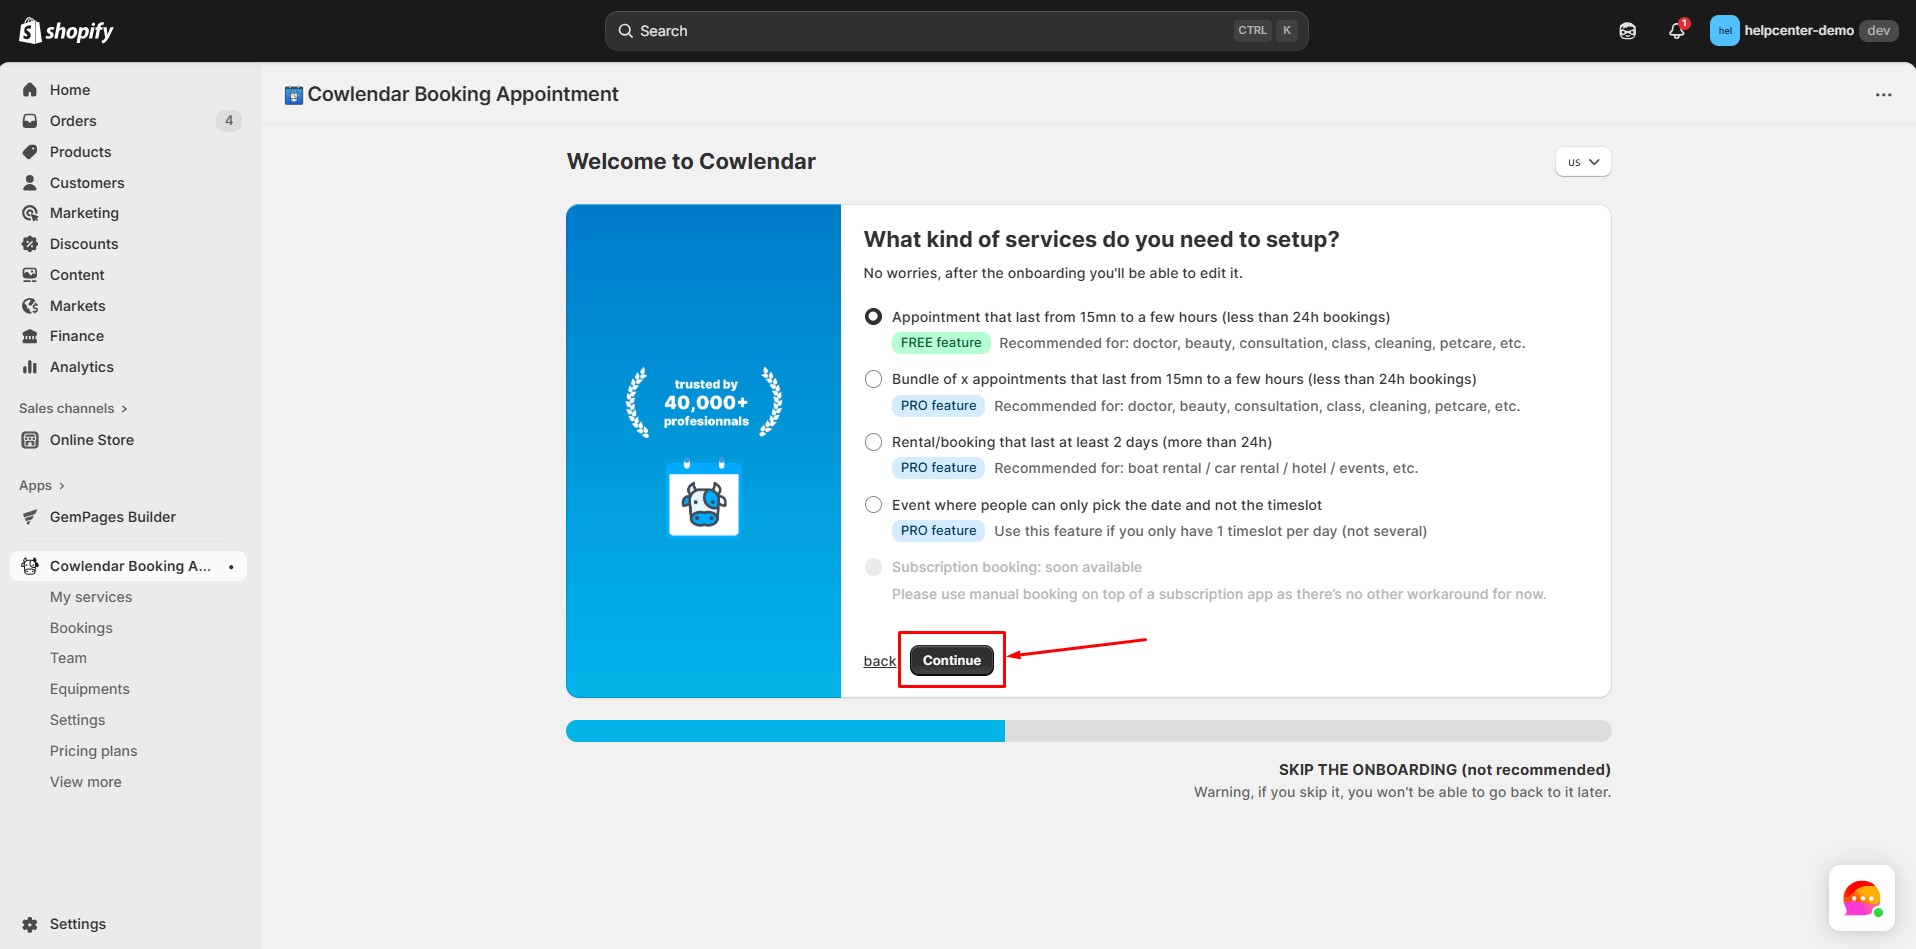
Step 7: Define the type of service you offer.
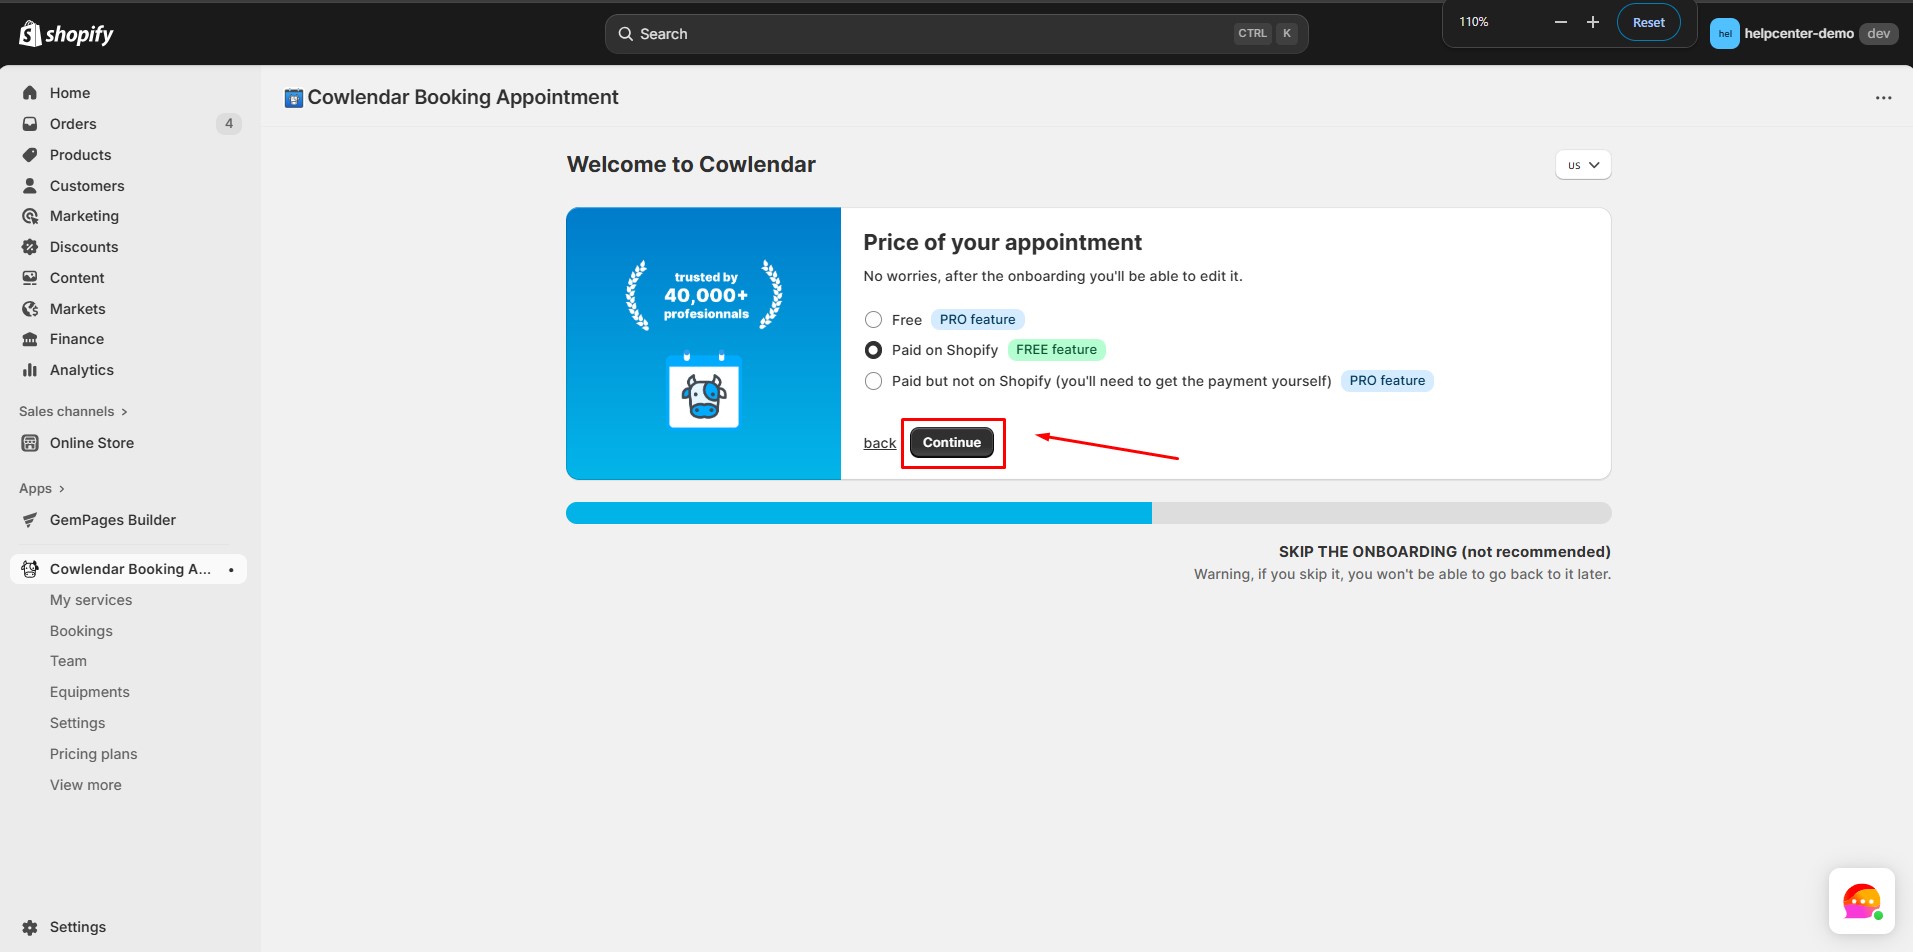
Step 8: Select the price of your appointment or mark it as free.
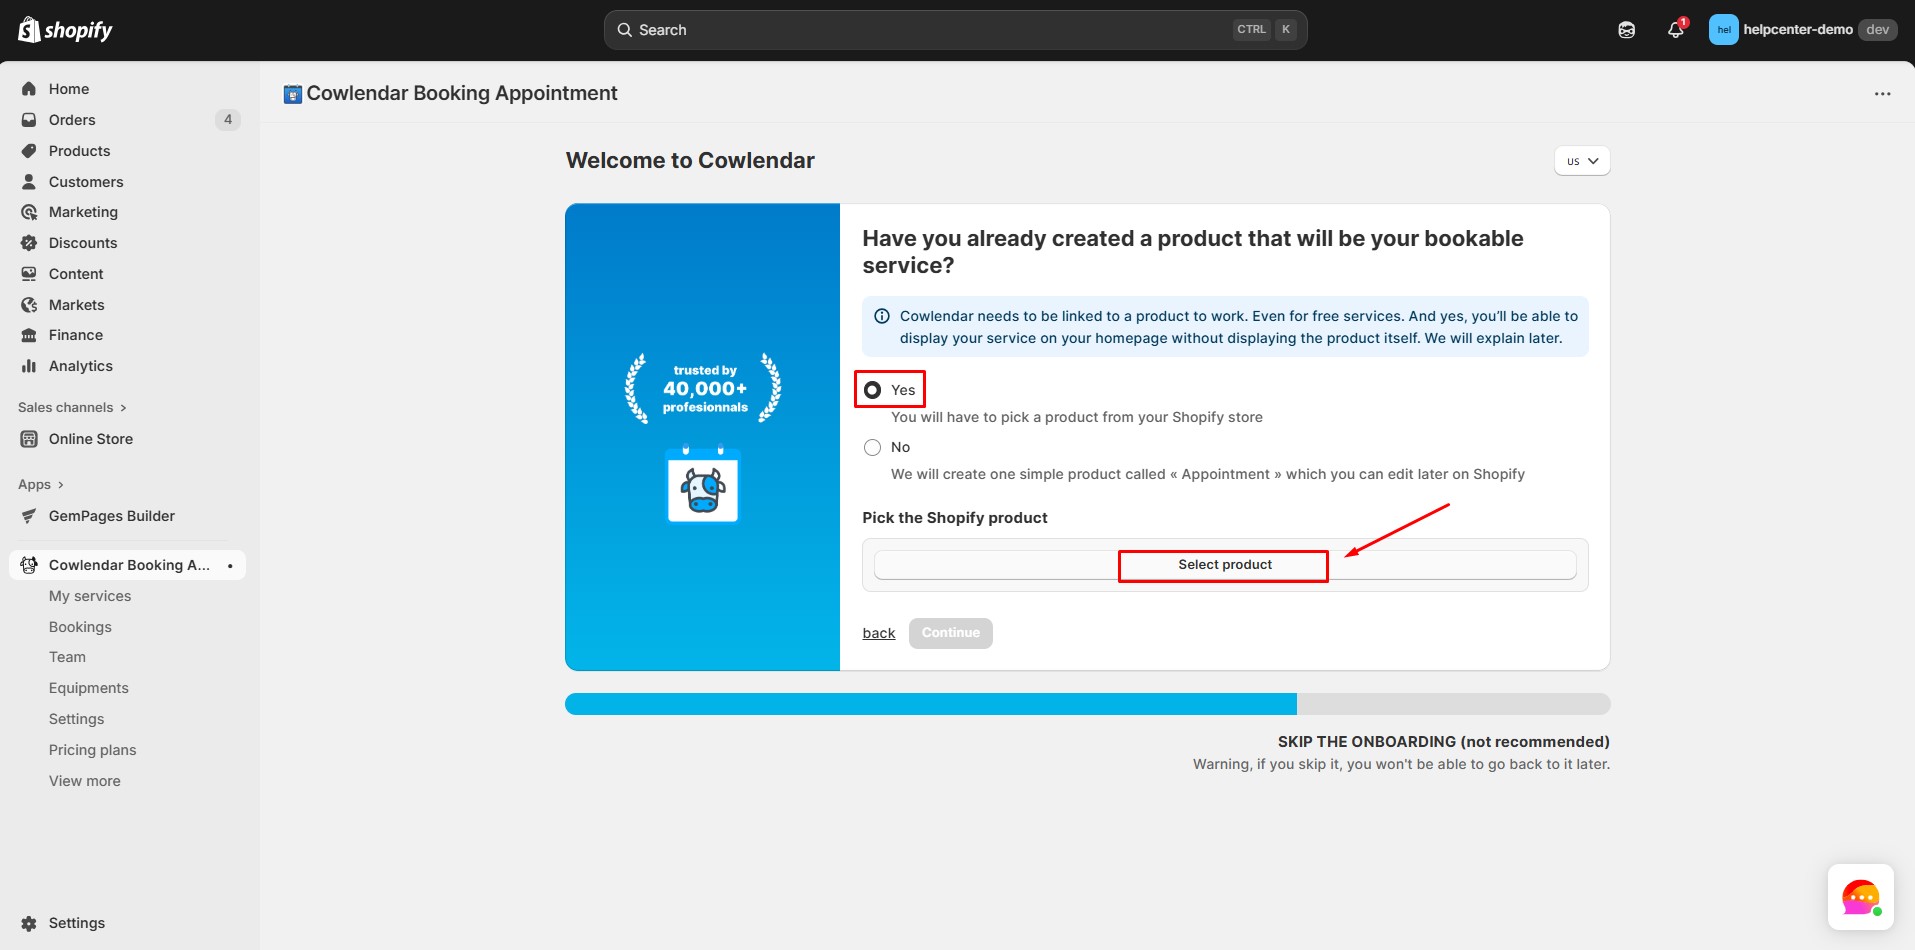
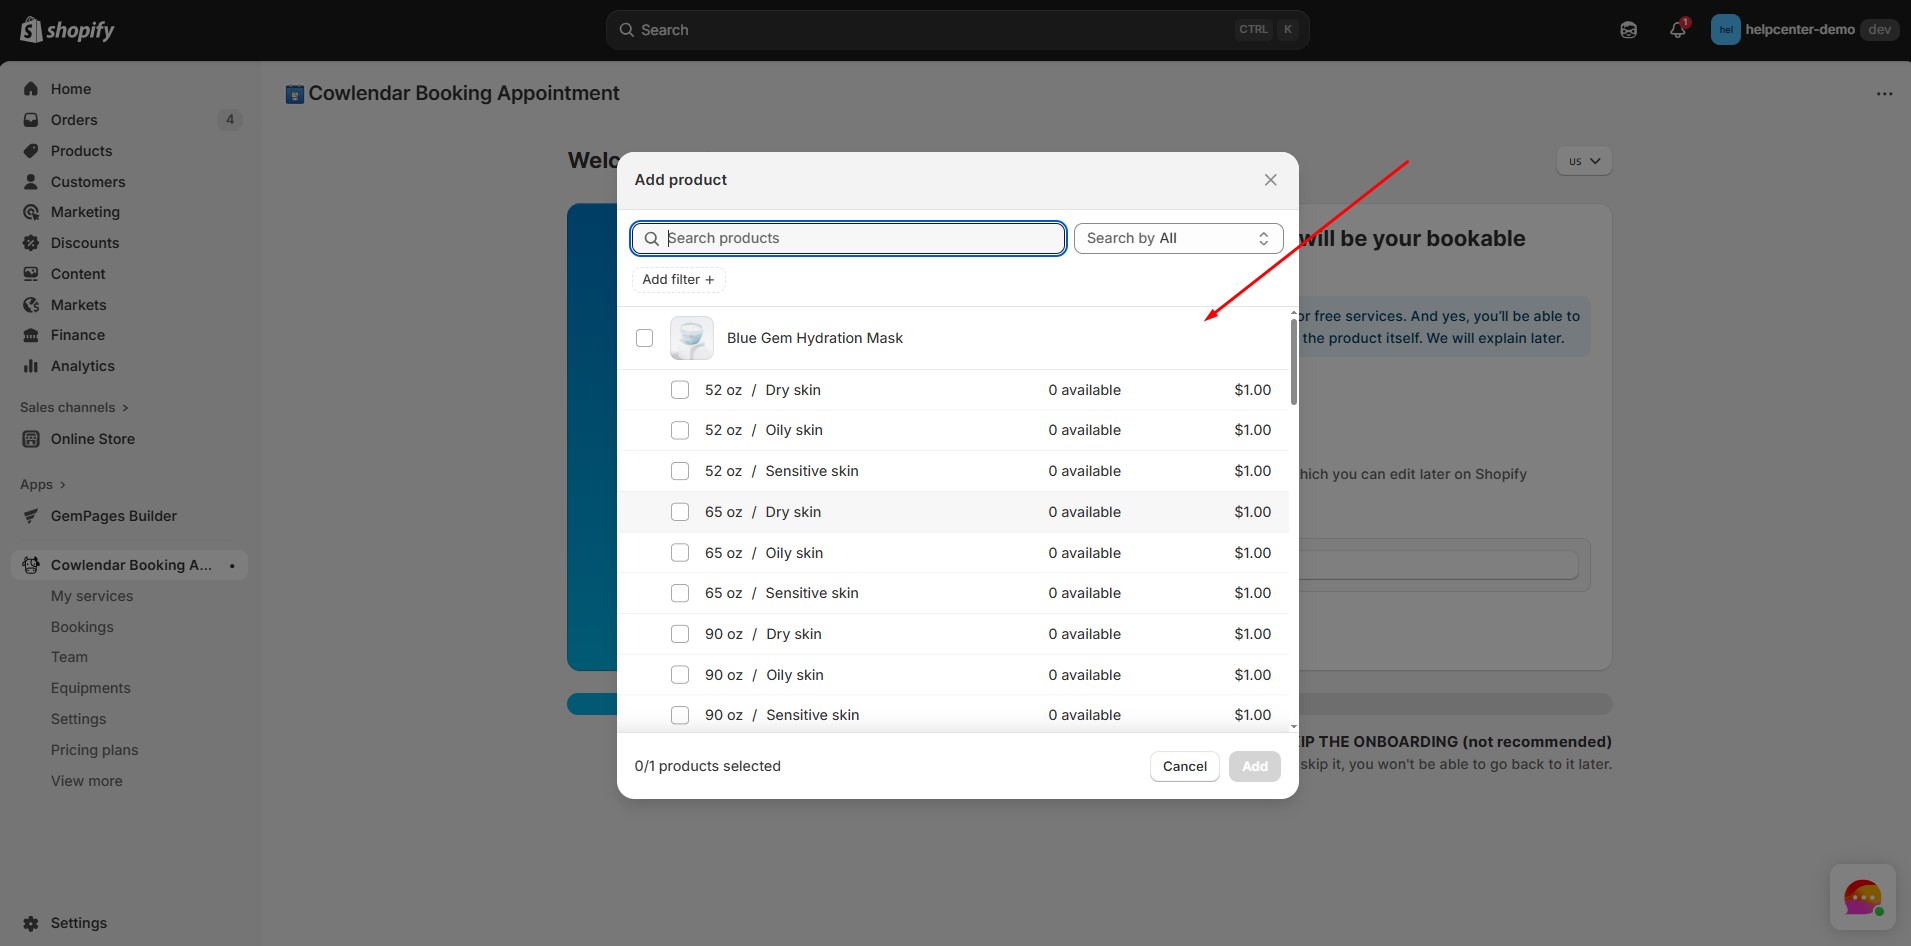
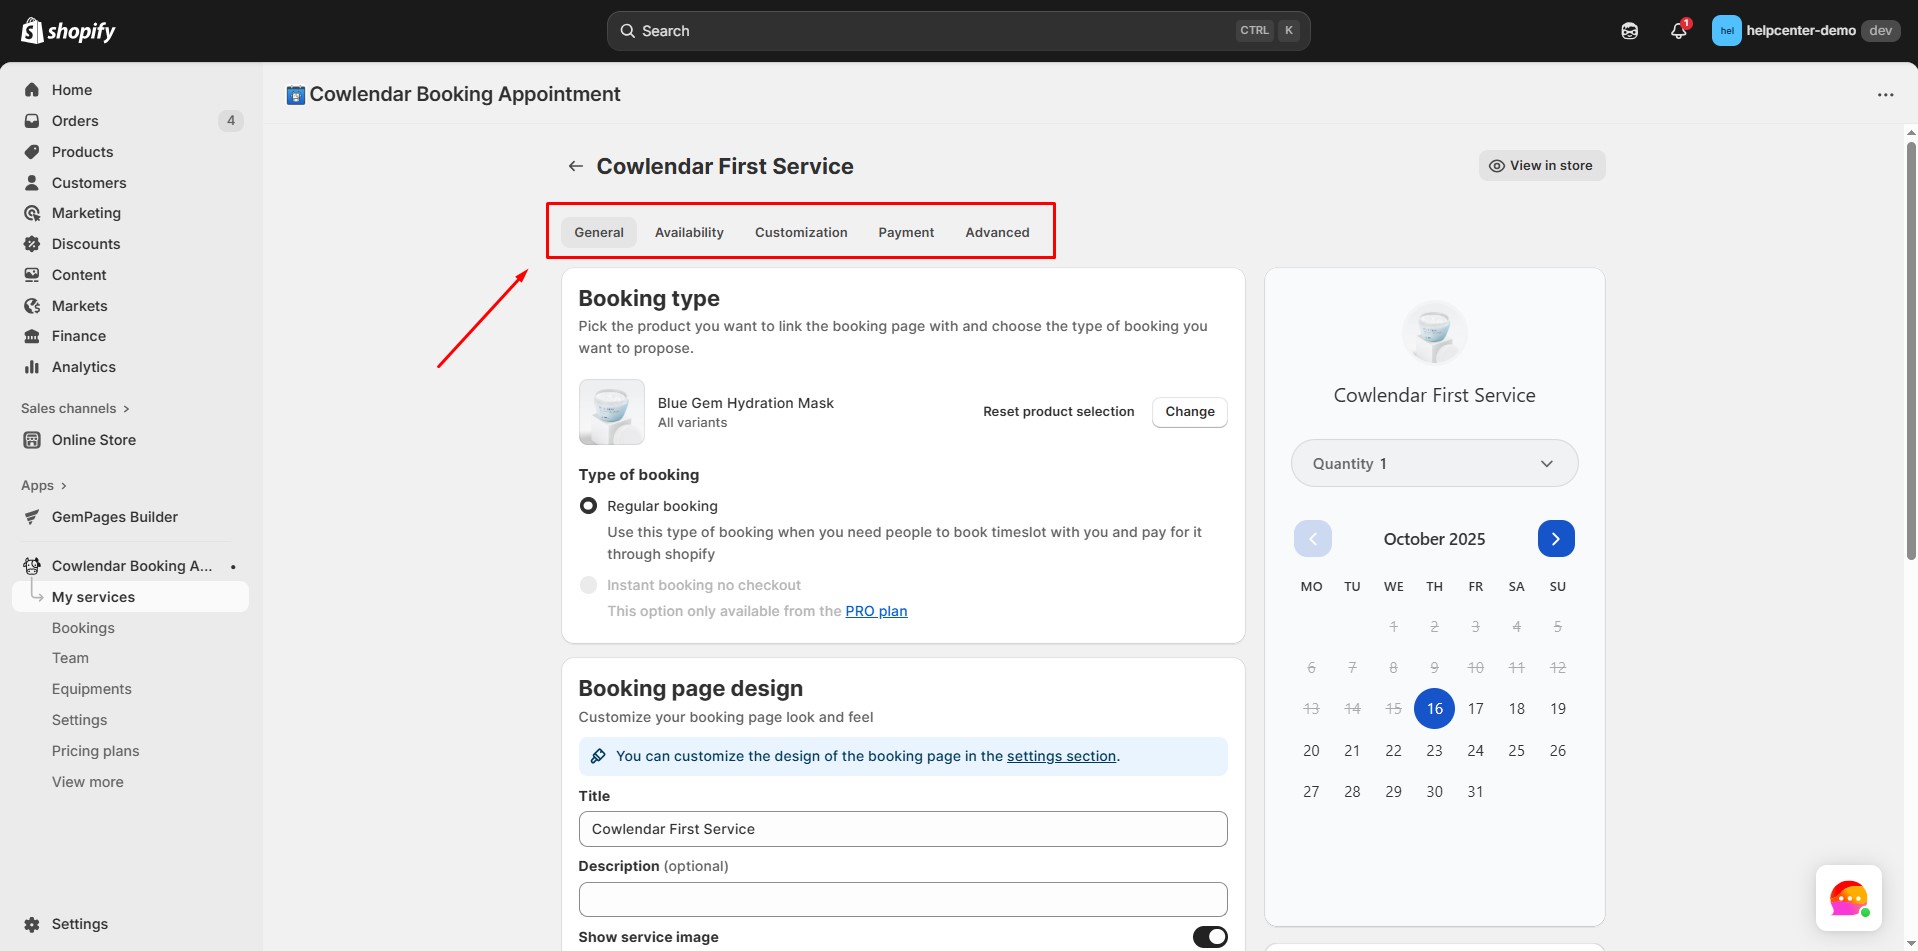
Step 9: Link to Products. Cowlendar must be linked to a Shopify product to function, even for free services.
Step 10: Define your available dates and time slots for the bookings in the app’s availability settings.
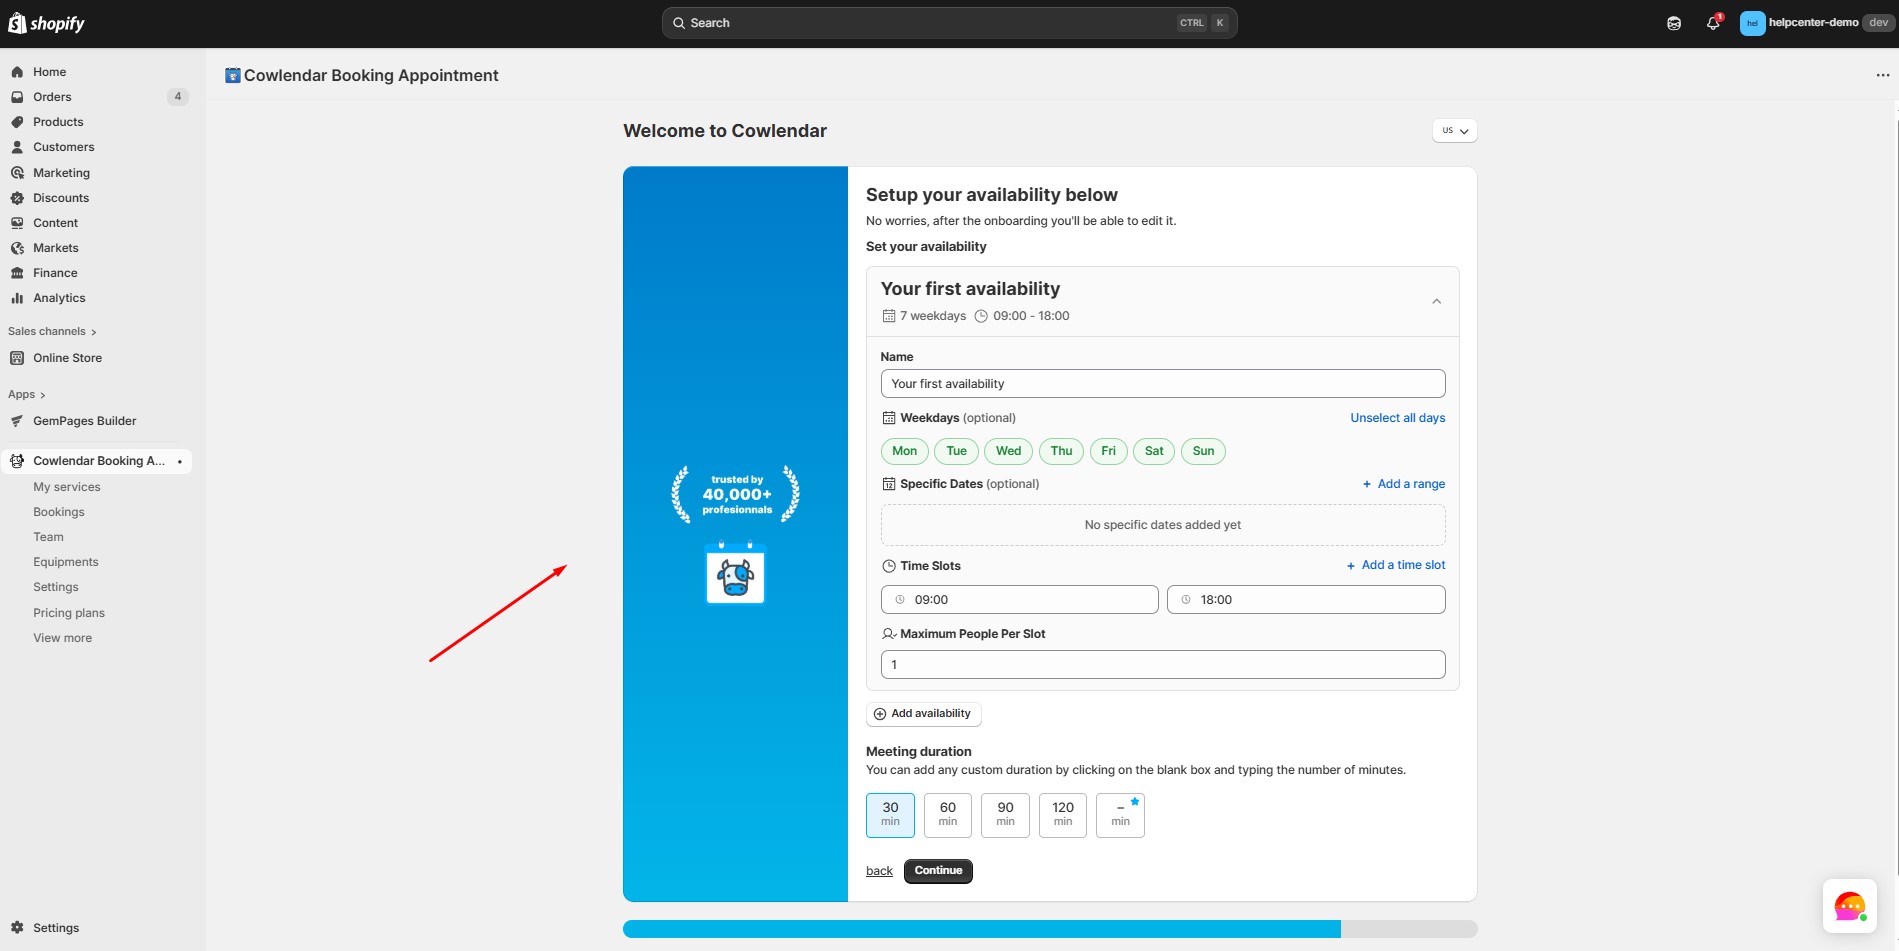
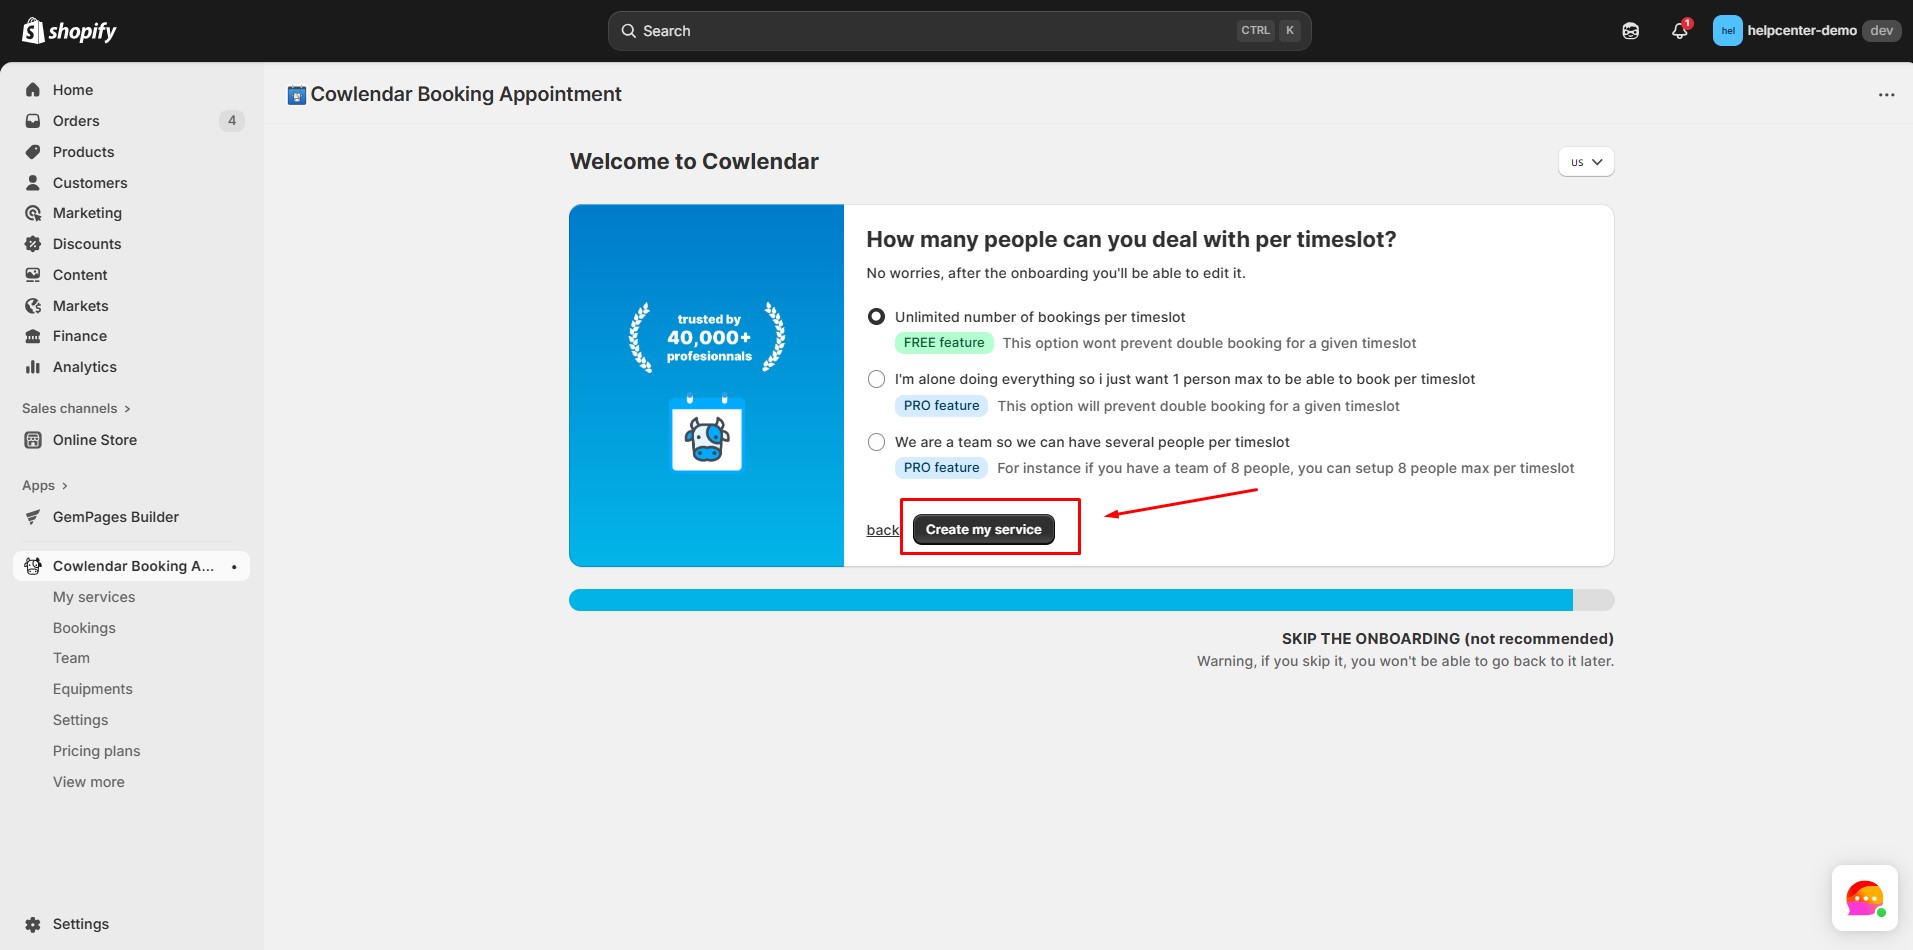
Step 11: Specify how many customers you can serve at once.
Step 12: Go to the My Services tab and customize the appearance of the booking page to align with your store’s brand.
How to Add Appointment Booking Cowlendar to GemPages V7?
Step 1: In the GemPages Editor, open the product page. Use the search bar to find the app, then drag and drop the element onto the design area.
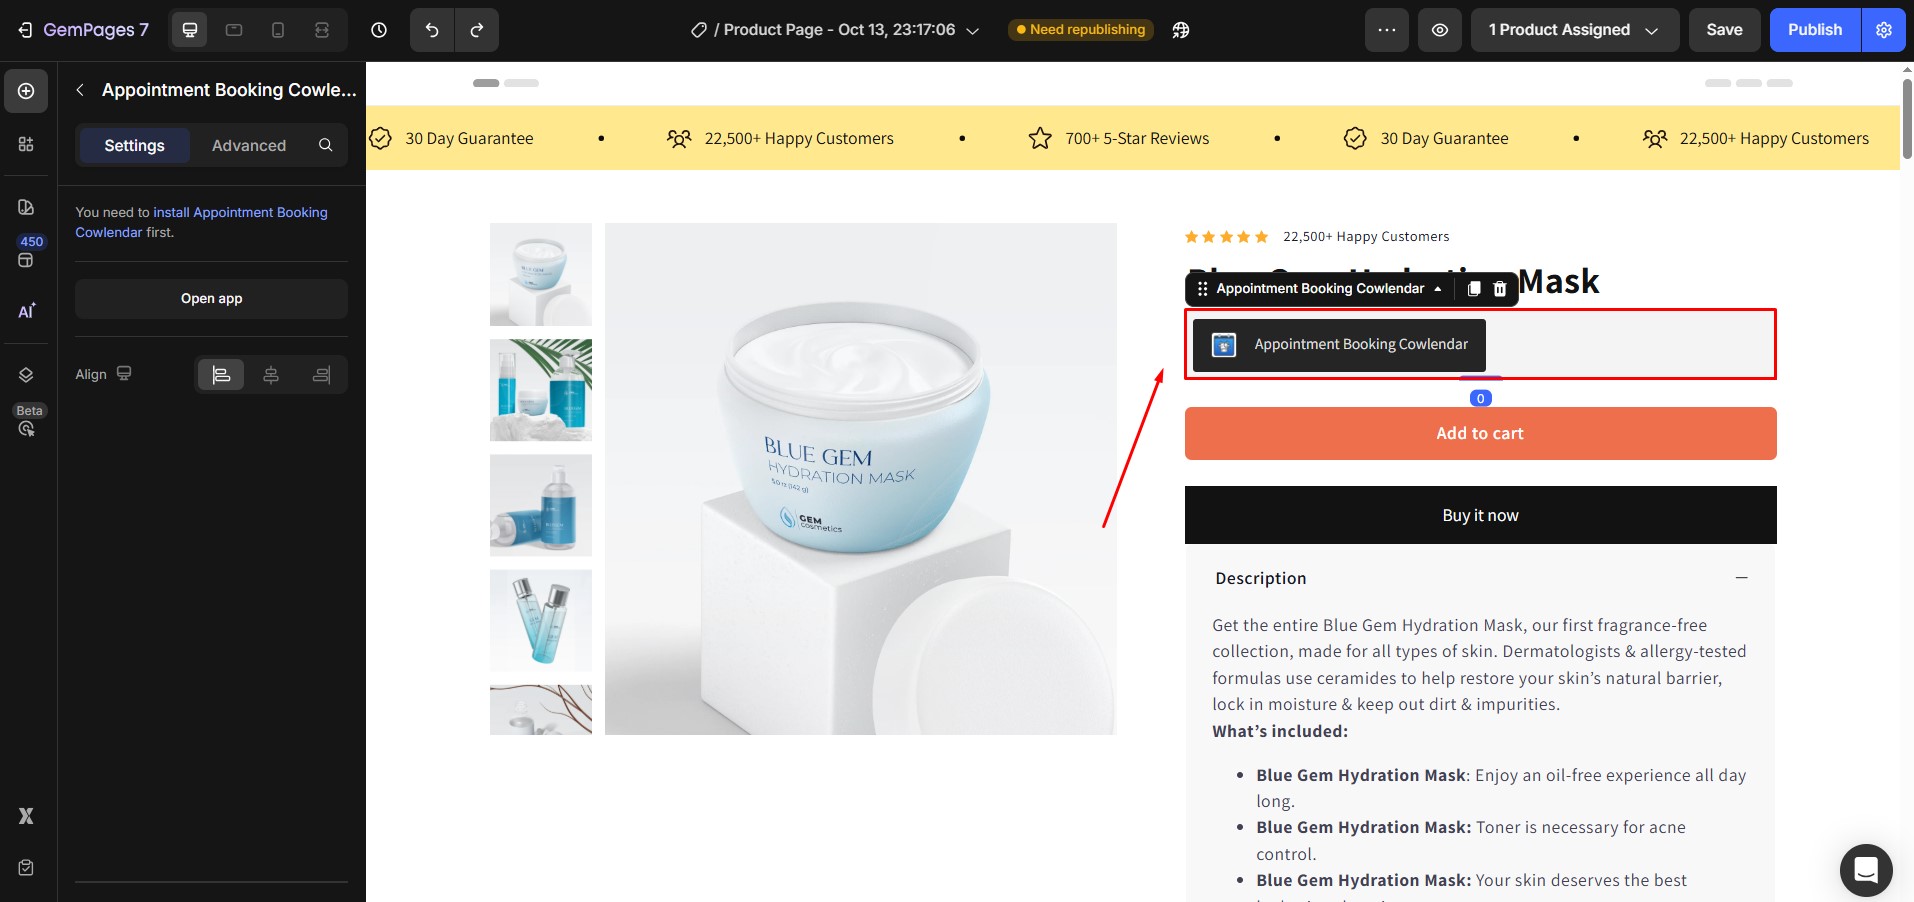
Step 2: Once satisfied with the setup, click “Publish” to make the changes live. The app does not work in preview mode within GemPages.
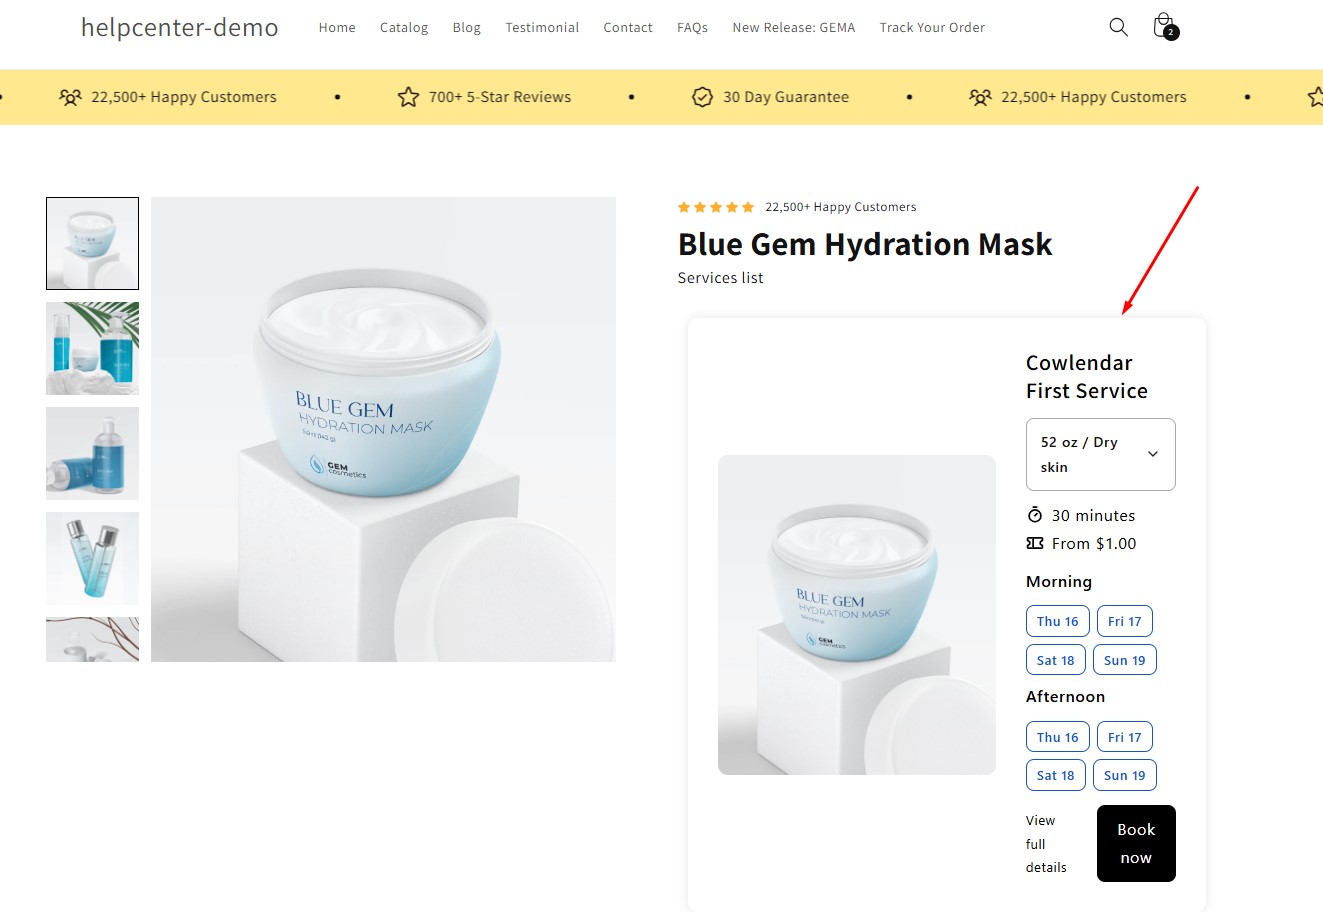
Result:
Note:
- The app does not work in preview mode within GemPages.
- The app runs smoothly on all page types in GemPages.
- Users cannot use multiple Cowlendar elements with shared options on the same page.
- All widgets and options from Cowlendar are fully integrated with GemPages.


Thank you for your comments