


About the Email Field Element
The Email Field element is a form field designed to collect users’ valid email addresses.
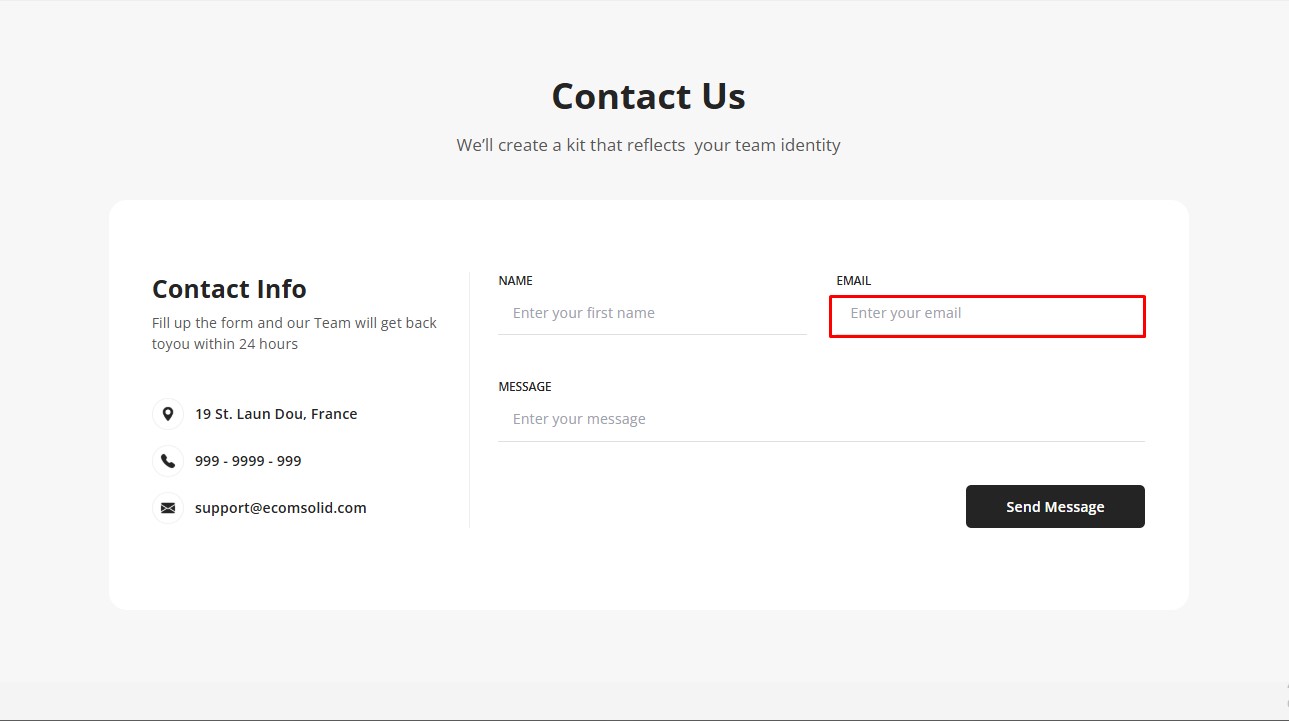
Why collect customer emails?
- Grow your email list directly from your store to reach more potential customers.
- Build stronger customer relationships through follow-up email marketing.
- Use collected emails for promotions, product updates, and abandoned cart recovery.
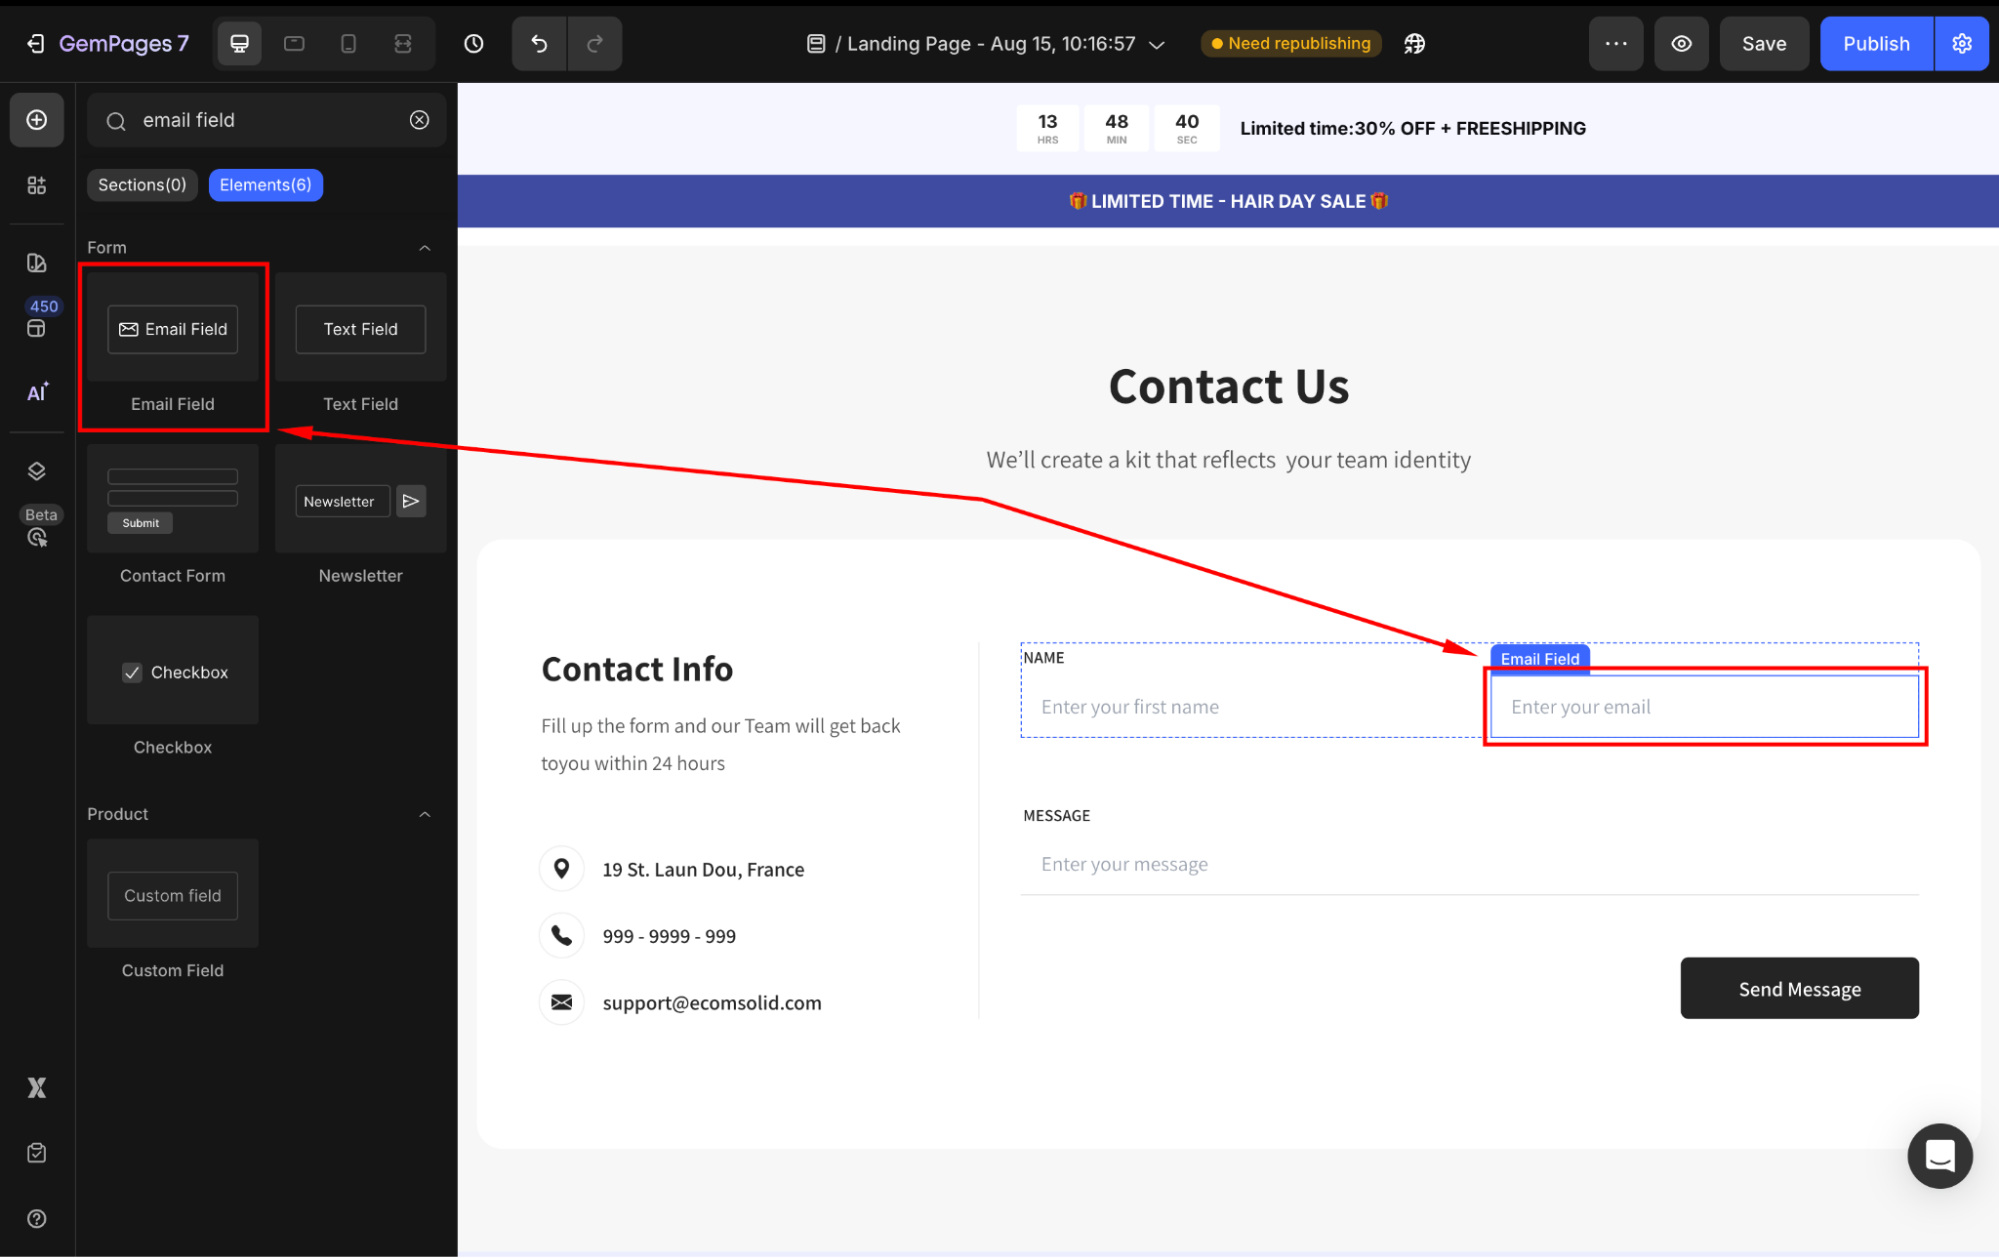
To use the email field element, drag and drop it into the Contact/Newsletter form. Please refer to the article: How to Build a Contact Form for a better understanding.
Configure the Settings tab
Under the Settings tab, you can adjust the following sections:
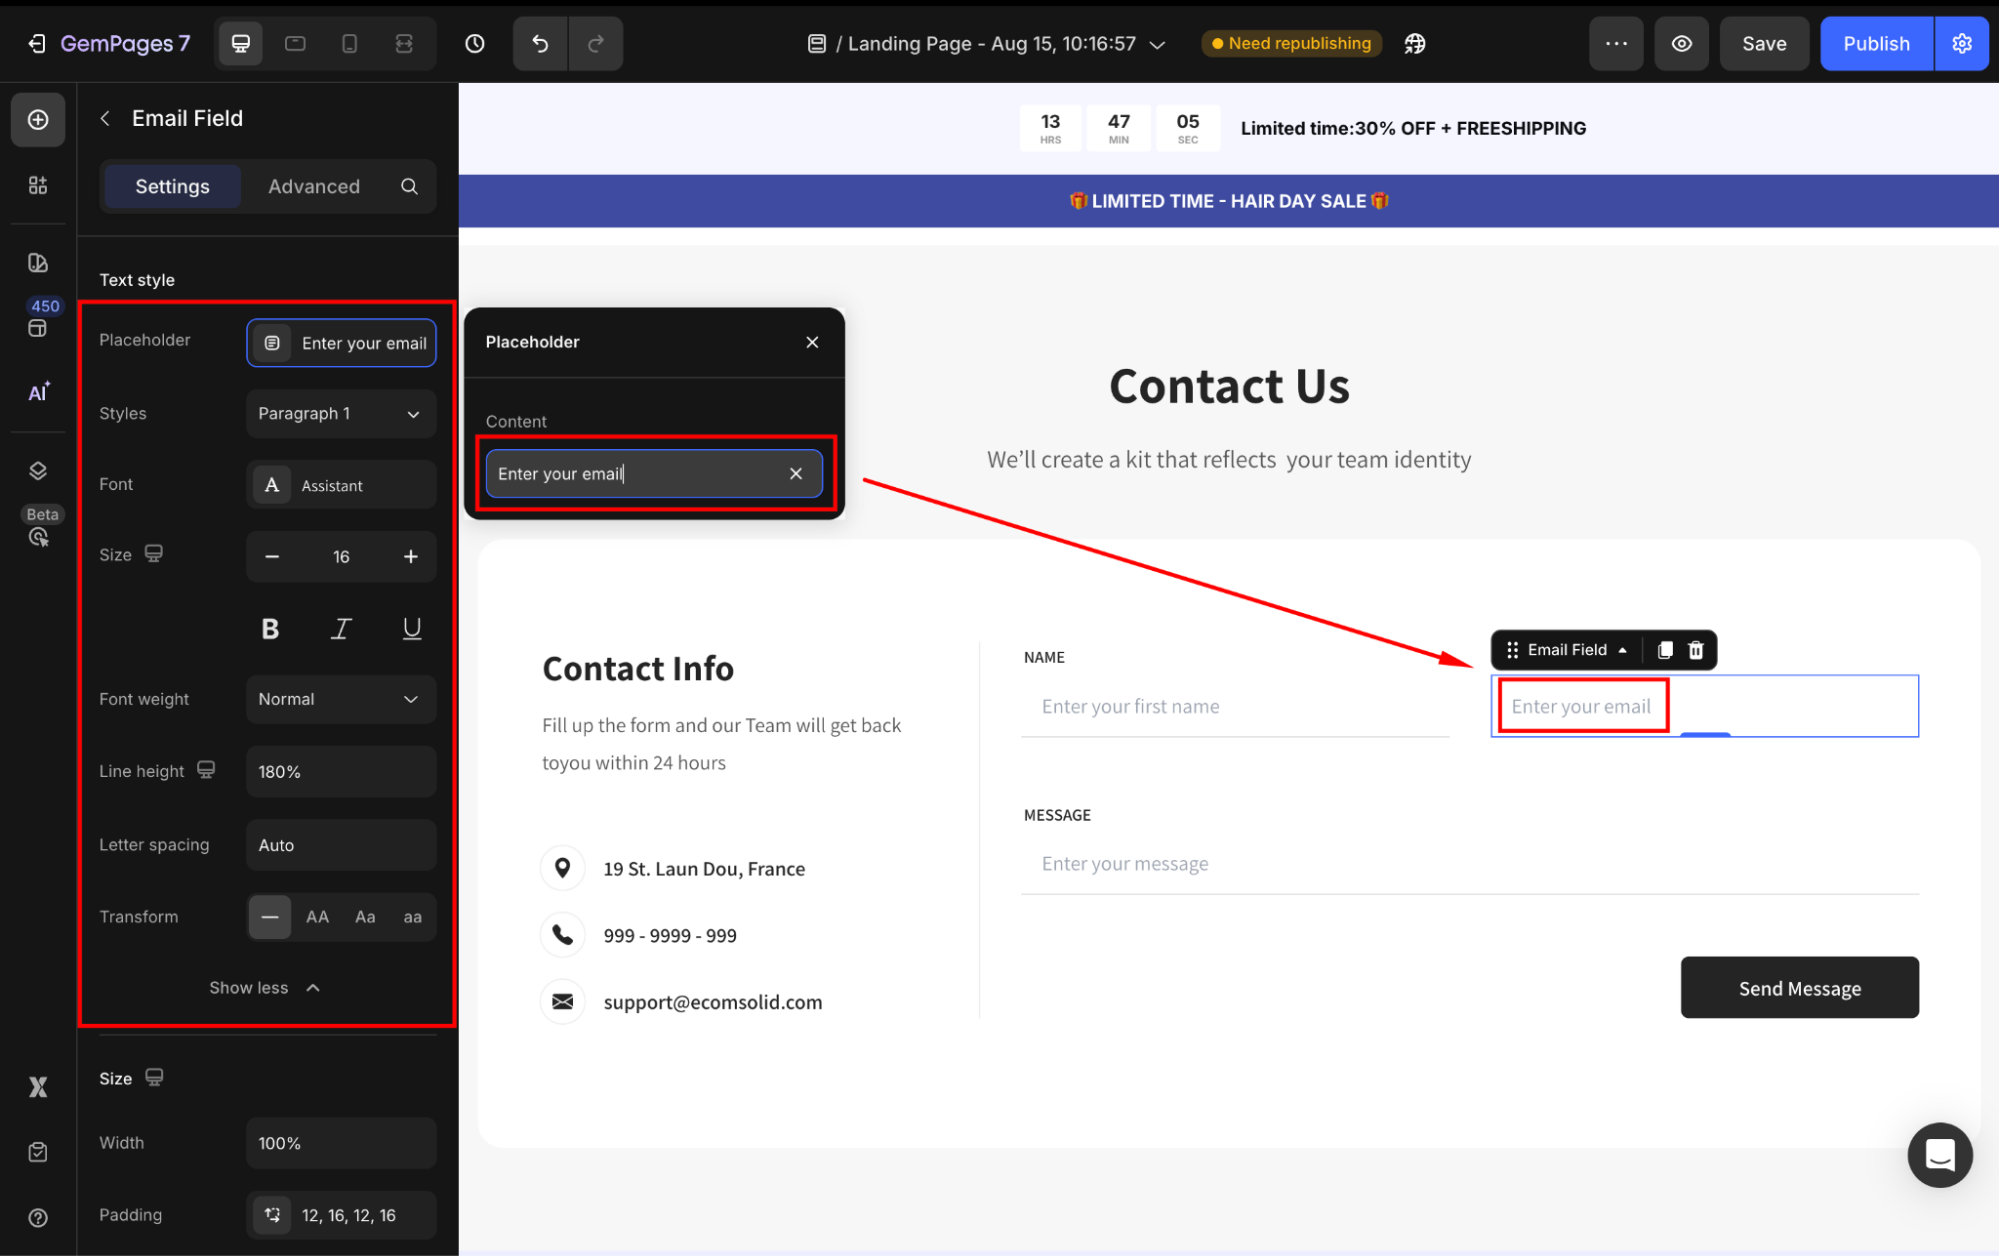
Text style
Define the placeholder text that appears within the field.
- Placeholder: Guide users on what type of input is expected, such as “Enter your email”.
- Styles: Choose the text style from Heading 1-6 or Paragraph 1-3 as the global style.
- Font: Select a font style that matches your brand identity.
- Size: Adjust the font size to make the text prominent.
- Font Weight: Control how thick or thin the text appears.
- Line Height: Adjust the space between lines for better readability.
- Letter Spacing: Create a more modern or compact look by changing the space between letters.
- Transform: Convert the text to uppercase, lowercase, or capitalize the first letter of each word.
Size
Adjust the size of the Email Field element to fit your form design.
- Width: Customize the width of the Email Field. You can set it to fit perfectly within your form layout or make it larger for better readability.
- Padding: Define internal spacing inside the button.
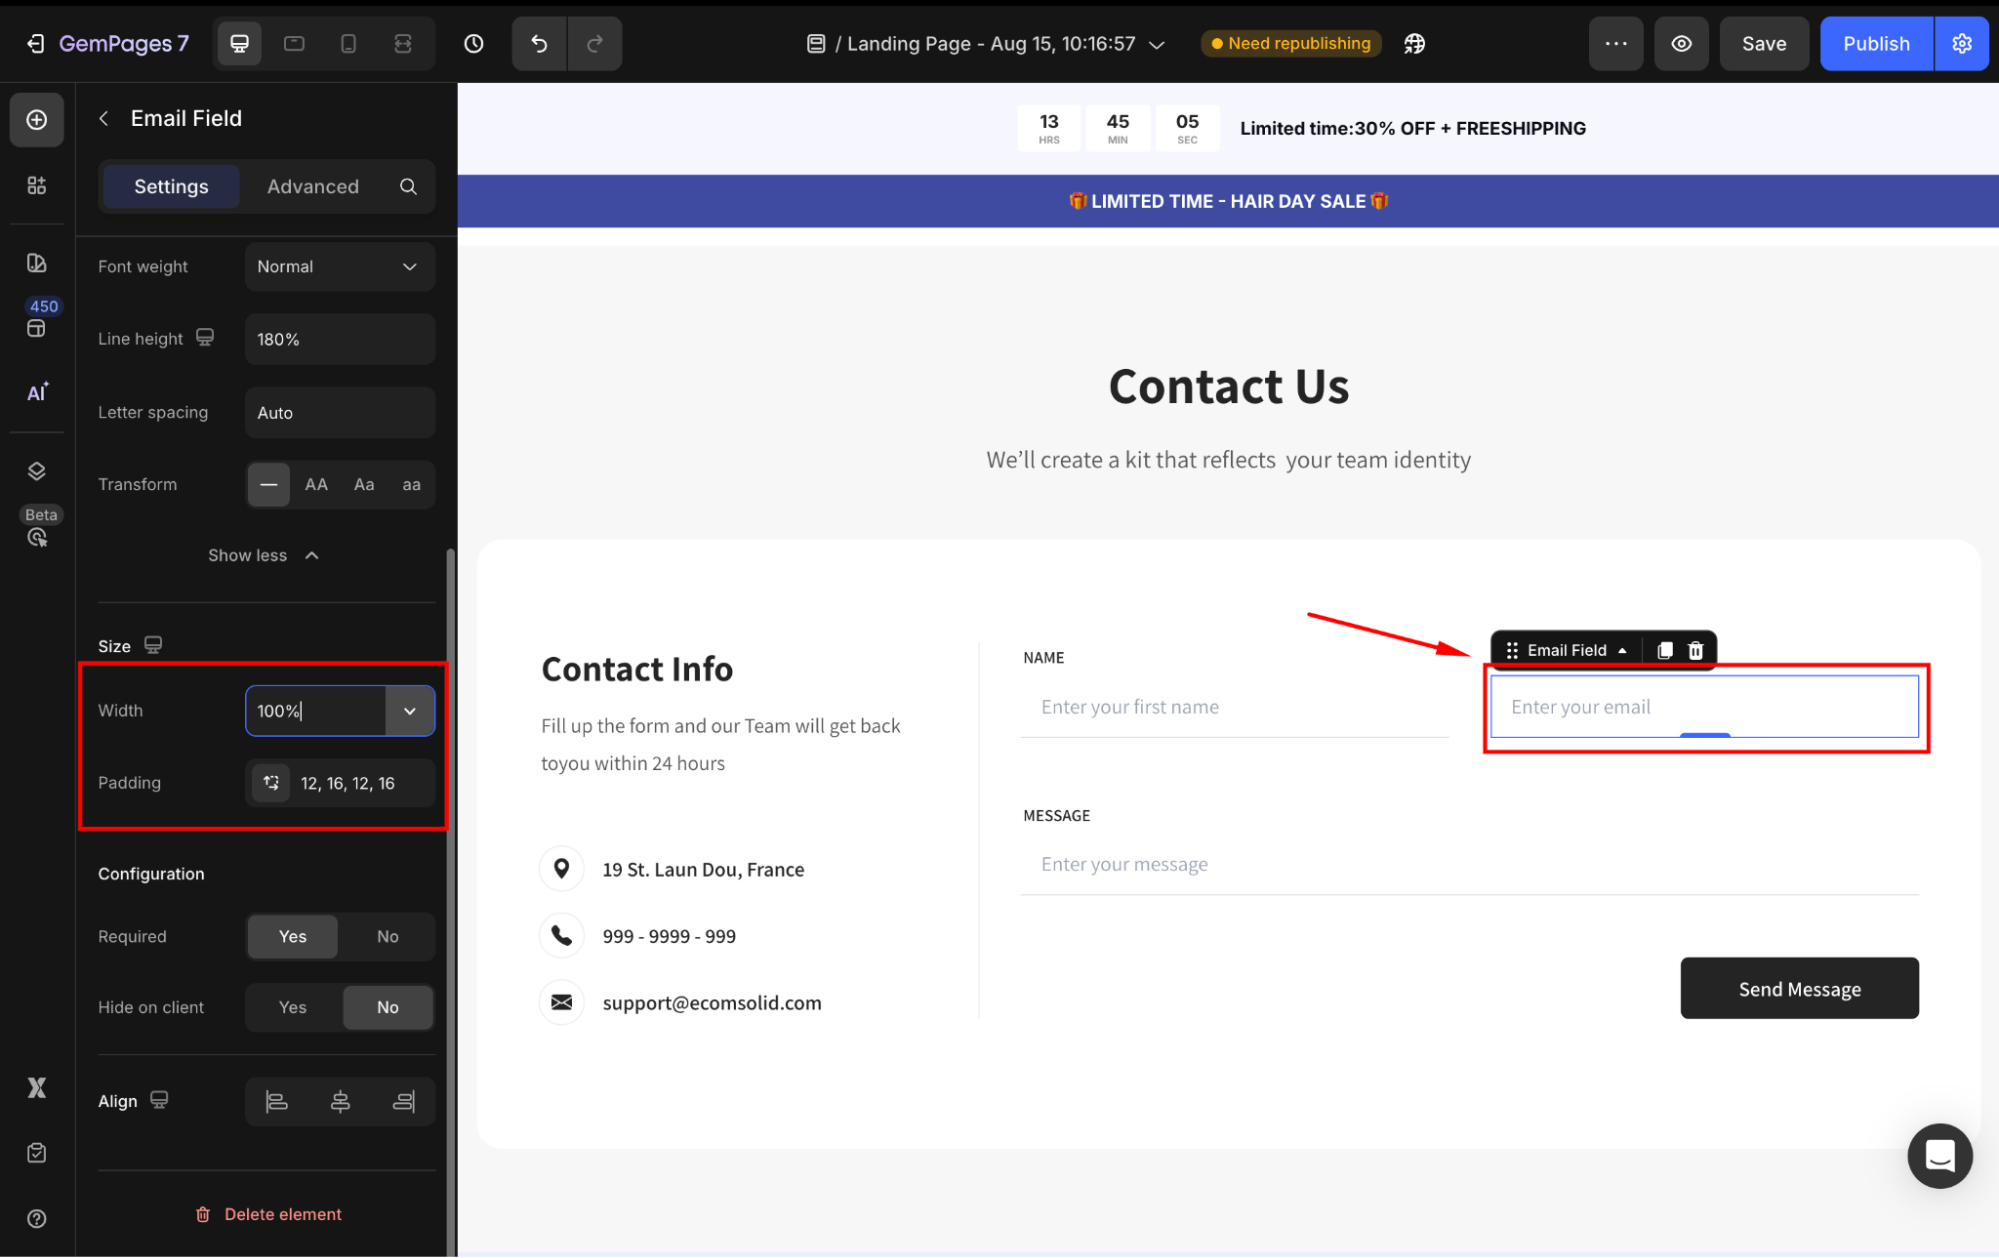
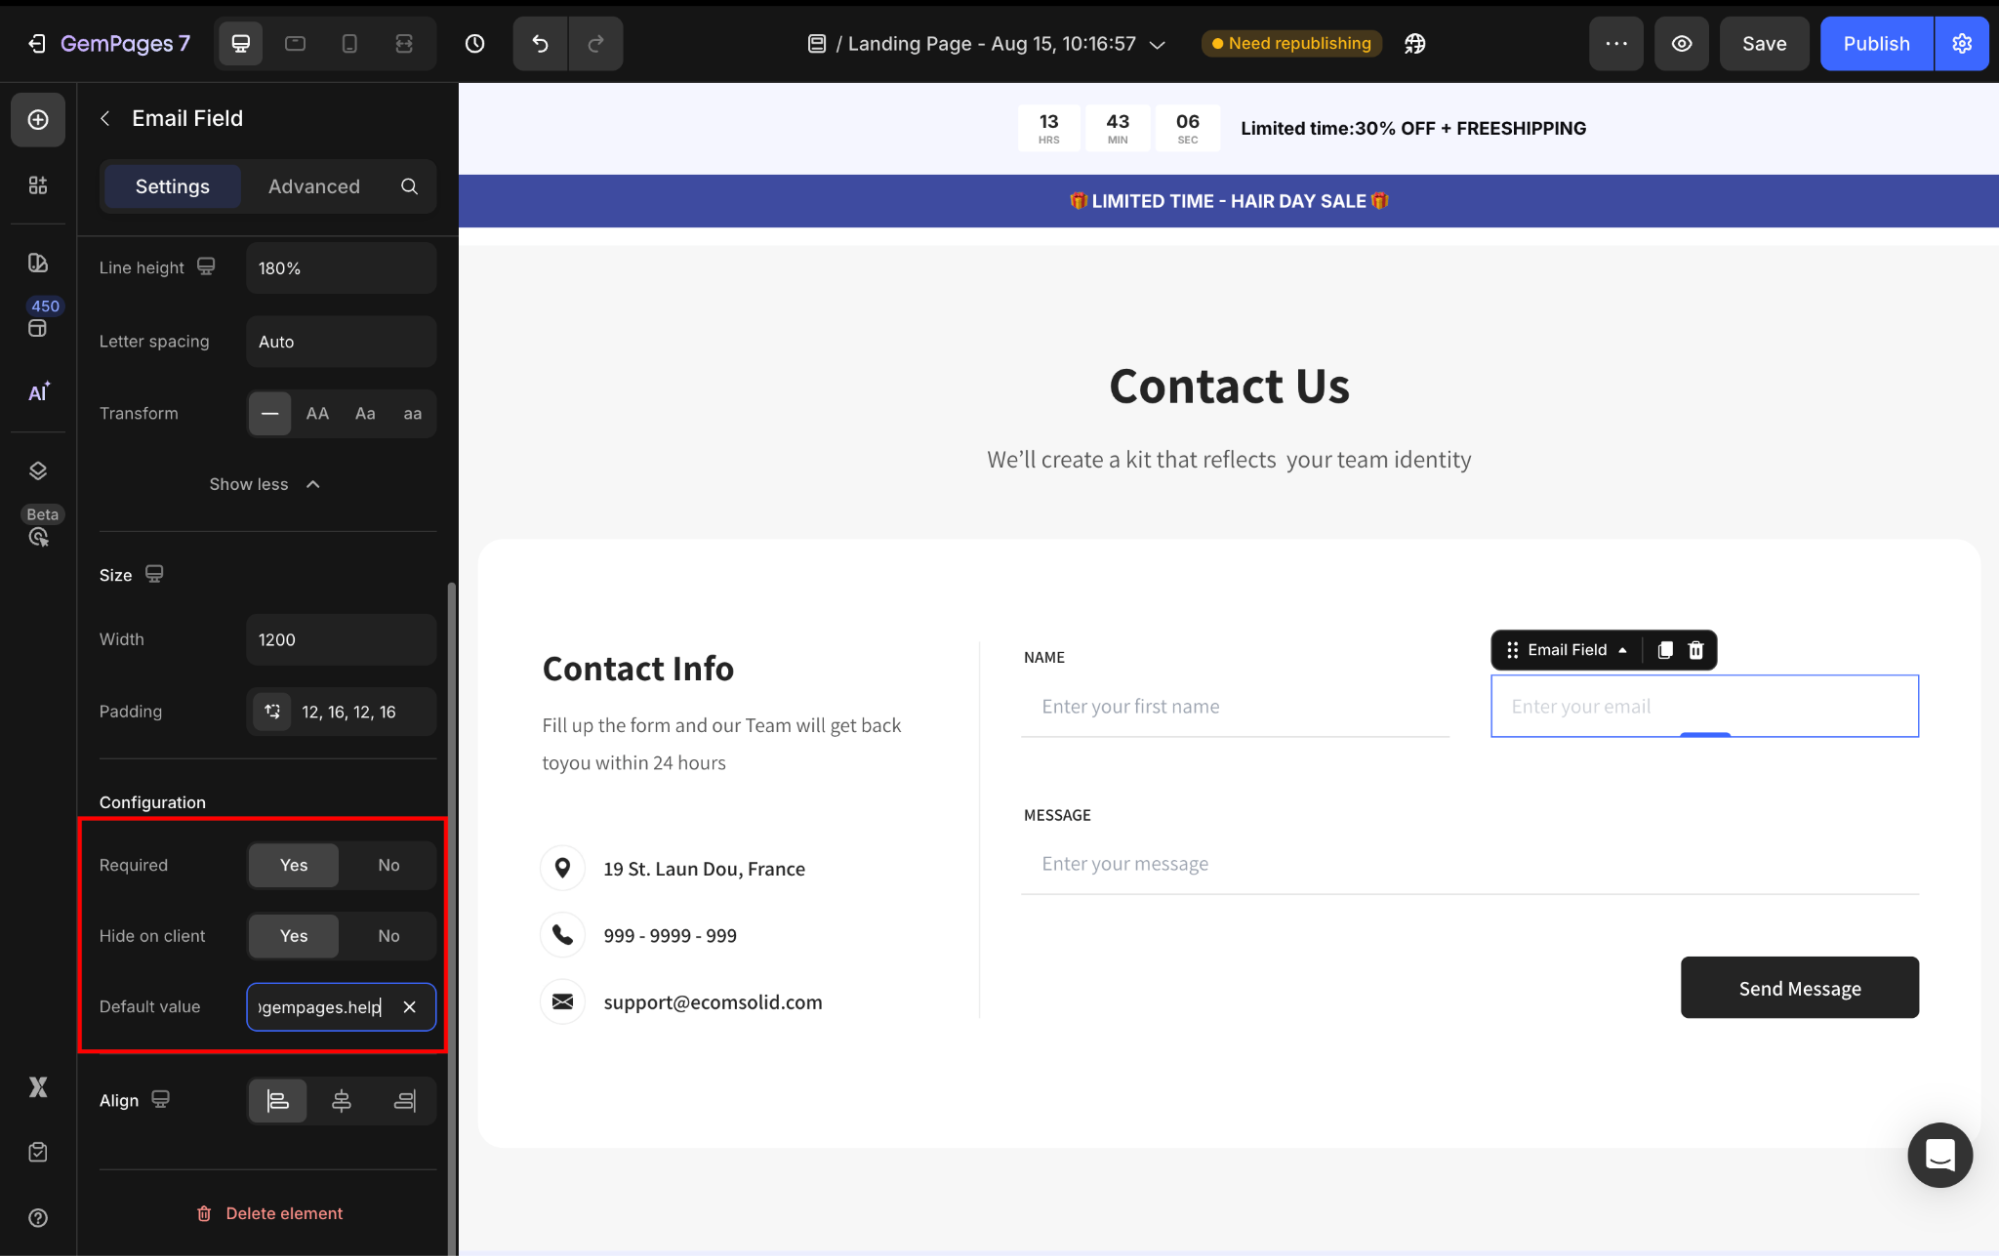
Configuration
- If the Required = Yes, the Email Field will be mandatory to prevent incomplete submissions. Otherwise, users can submit the form while skipping this field.
- Hide on client: Set it to Yes if you don’t want the field to appear for users on the live page. This is useful for fields you only need internally or plan to use later.
Align
Align your text area to the left, center, or right. However, if the width is set to 100% or greater, the horizontal alignment will be disabled.
Configure the Advanced Tab
For more advanced customization, please navigate to the Advanced tab and follow the instructions in this article.
FAQs about the Email Field Element
1. Can I use the Email Field for collecting emails for newsletters?
Yes. The Email Field is designed for reliable email collection in Newsletter or Contact forms. Simply add it to your form and mark it as “Required” to capture valid email addresses.
2. How do I ensure better email collection performance?
Use a clear placeholder text (e.g., “Enter your email”), set the field as “Required,” and place your form in a visible area such as above the fold or at the end of a blog post to maximize submissions.
3. Does the Email Field integrate with email marketing apps?
Yes. You can connect the Email Field with third-party apps such as Klaviyo through GemPages integrations, making it easier to sync collected emails for your campaigns.
4. How do I add an email signup content block to my page?
To create an email signup block, simply drag and drop the Newsletter Form element onto your page, then insert the Email Field inside it. This setup works as an email signup content block, allowing customers to subscribe to your store updates or promotions.
5. How can I change the text color in the Email Field?
- Identify and copy the class of your Email Field element from the template.
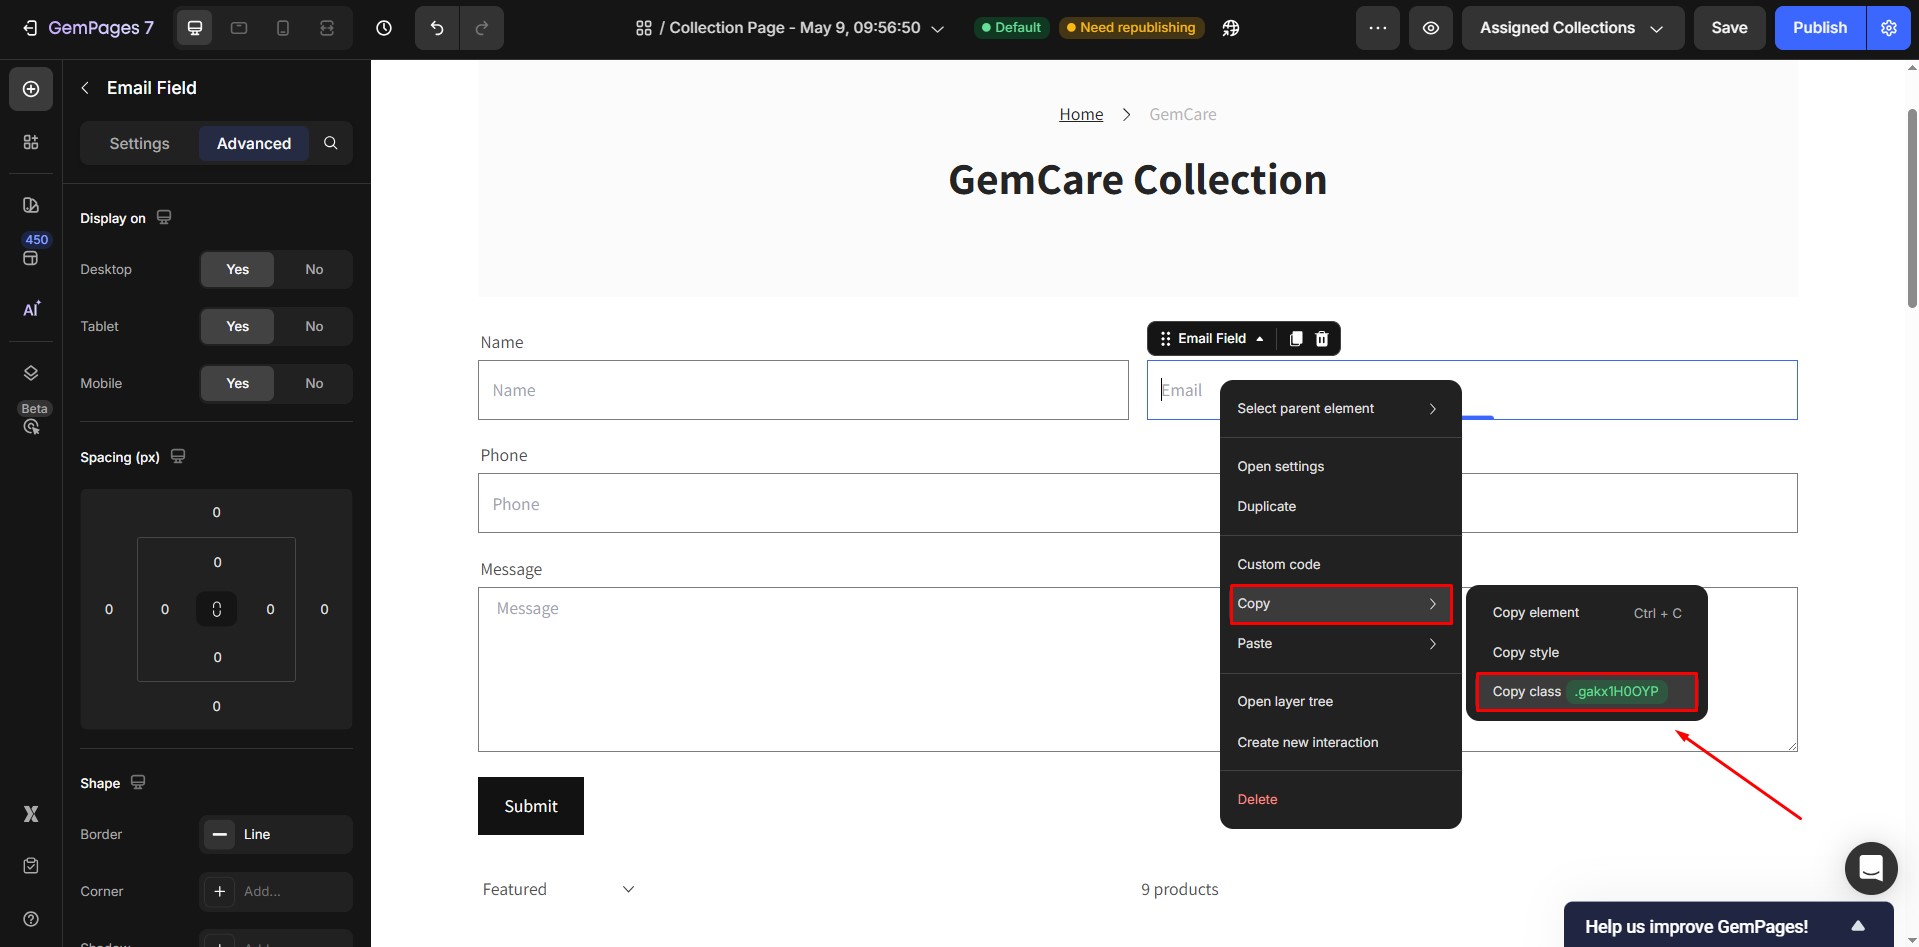
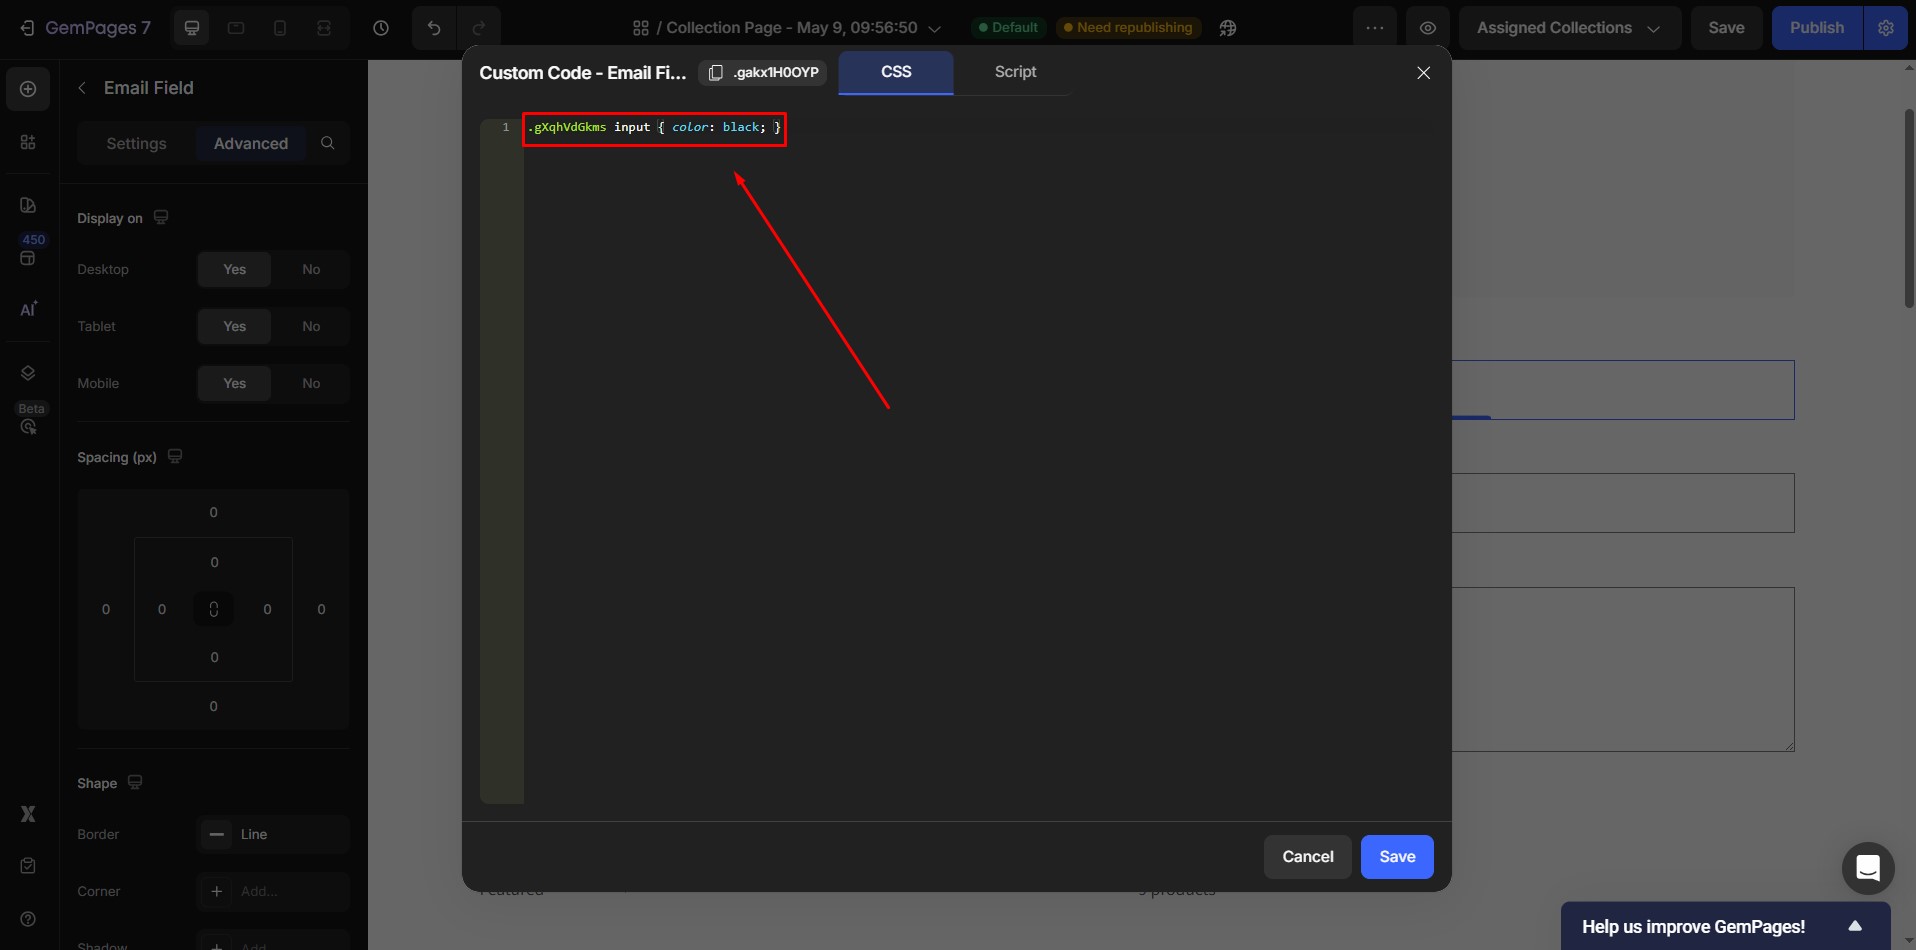
- Add the following custom CSS, replacing
.gXqhVdGkmswith your element’s actual class. You can also replace black with any color of your choice:
.gXqhVdGkms input {
  color: black;
}


Thank you for your comments