Collection Page vs. Collection Template
To clarify the difference between a Collection Page and a Collection Template:
- Collection Page: This is a page on your Shopify store that displays a list of products from a specific collection.
- Collection Template: This is a design layout created in GemPages. It can be assigned to one or more collections, determining the appearance and layout of their respective Collection Pages.
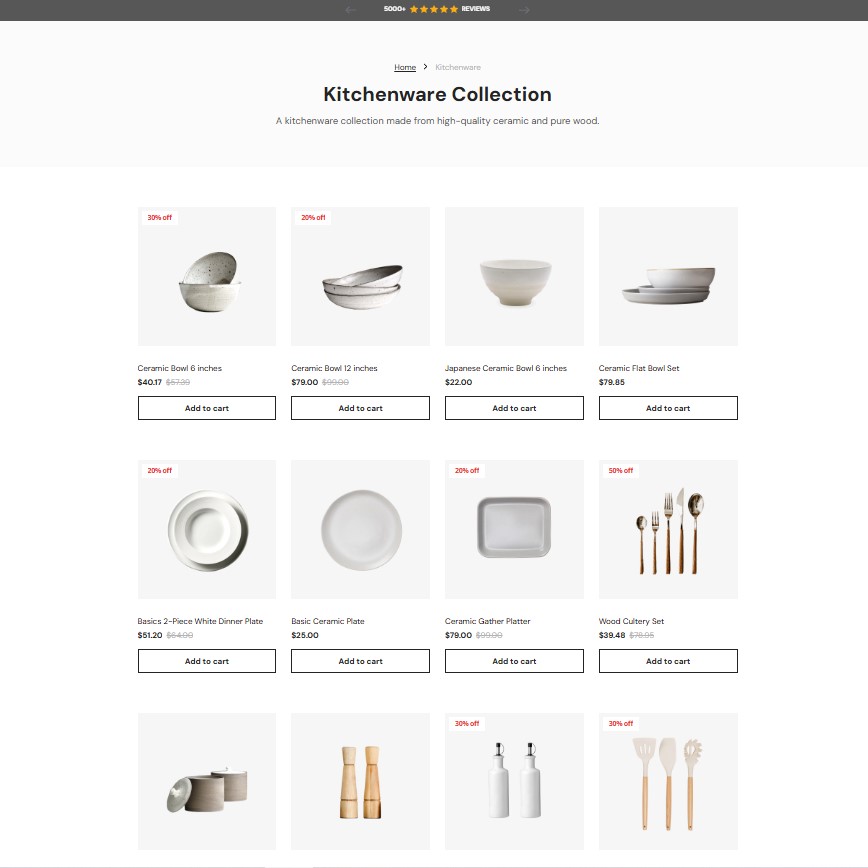
Here’s how it works:
- When one collection is assigned to a template: That collection page will follow the style and layout defined by the Collection Template.
- When multiple collections are assigned to a template: All the Collection Pages for those assigned collections will share the same style and layout as defined by the Collection Template.
This table will show how they differ from each other:
| Feature | Collection Page | Collection Template |
| Definition | For one collection only. | Reusable for multiple collections. |
| Use Case | Unique designs for seasonal promotions. | Consistent layouts across collections. |
| Flexibility | High; each page is customized individually. | Limited; changes affect all assigned pages. |
| Time Efficiency | Time-consuming for multiple pages. | Time-efficient for batch designs. |
| SEO Considerations | Individual settings. | Shared settings, customizable per collection. |
| Editing | Edits affect one page only. | Edits update all assigned collections. |
| GemPages Support | Fully supports single-page customization. | Fully supports template design. |
In summary, the Collection Template serves as the design blueprint for one or many Collection Pages in your store.
How to Create a Collection Template for All (or Some Specific) Collection Pages
Follow these steps to create a Collection Template that can be applied to all or specific Collection Pages in your Shopify store:
Step 1: Go to GemPages and Create a New Collection Page
Open the GemPages Dashboard. Click Create New Page and select Collection Page as the page type.
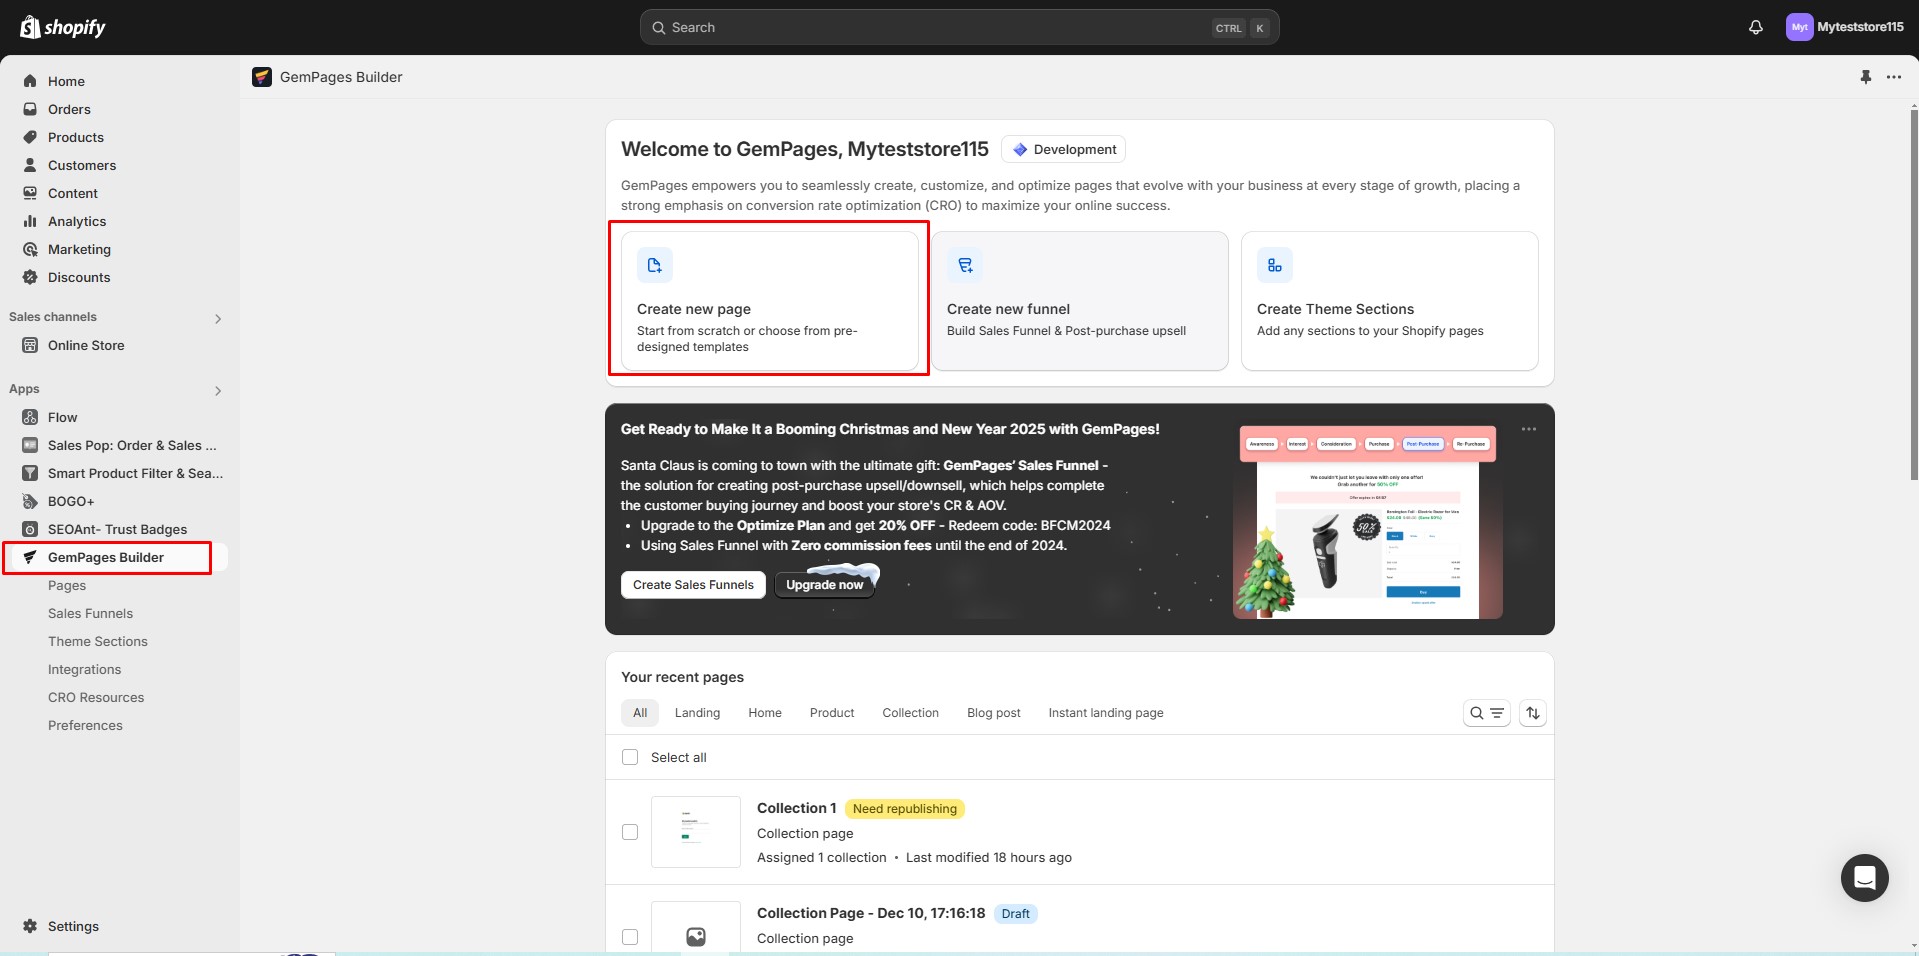
You can choose to:
- Start from scratch to create a completely custom template.
- Choose a pre-made template from GemPages to save time (this guide will use a pre-made template for demonstration).

Step 2: Use Dynamic Collection Elements
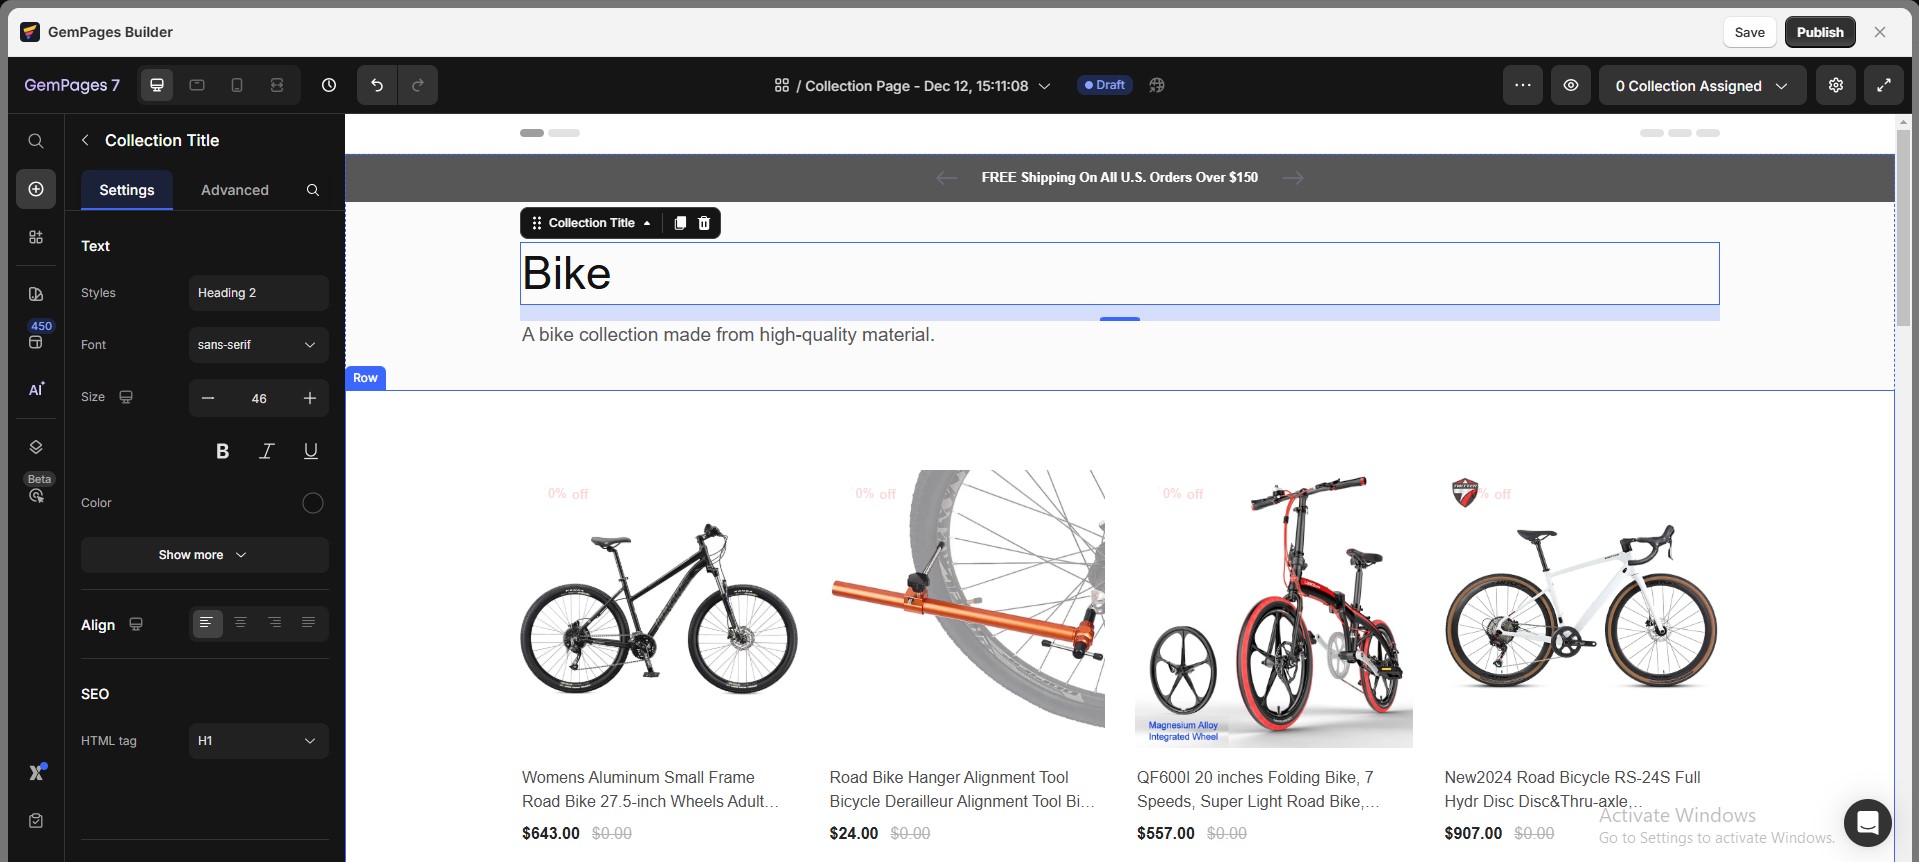
When designing a Collection Template for multiple collections, it’s crucial to use dynamic elements that automatically pull content from each assigned collection. This ensures each Collection Page updates correctly with its unique products, titles, and features.

The collection elements include:
- Collection Banner
- Collection Title
- Collection Toolbar
- Collection Description
- Product List
- Collection Paginator
- Other Optional Elements: Product Badges, Estimated Shipping Time, View More Button, and more.
Step 3: Assign the Template to All (or Specific) Collection Pages
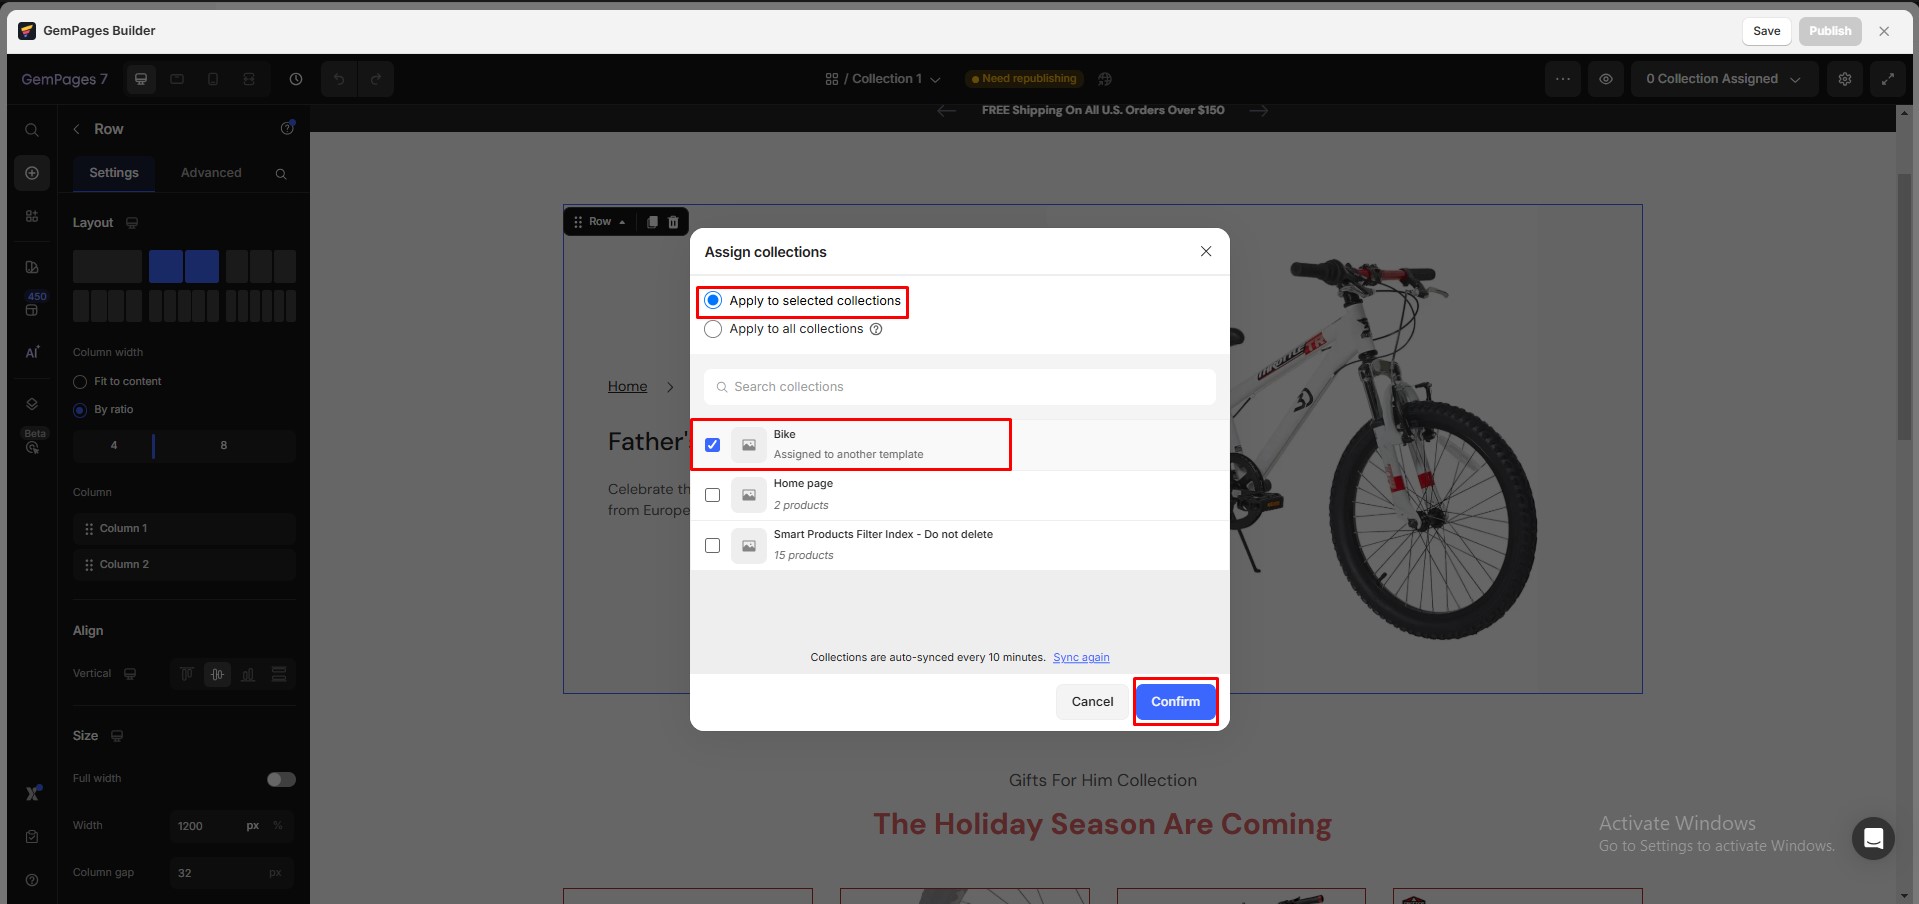
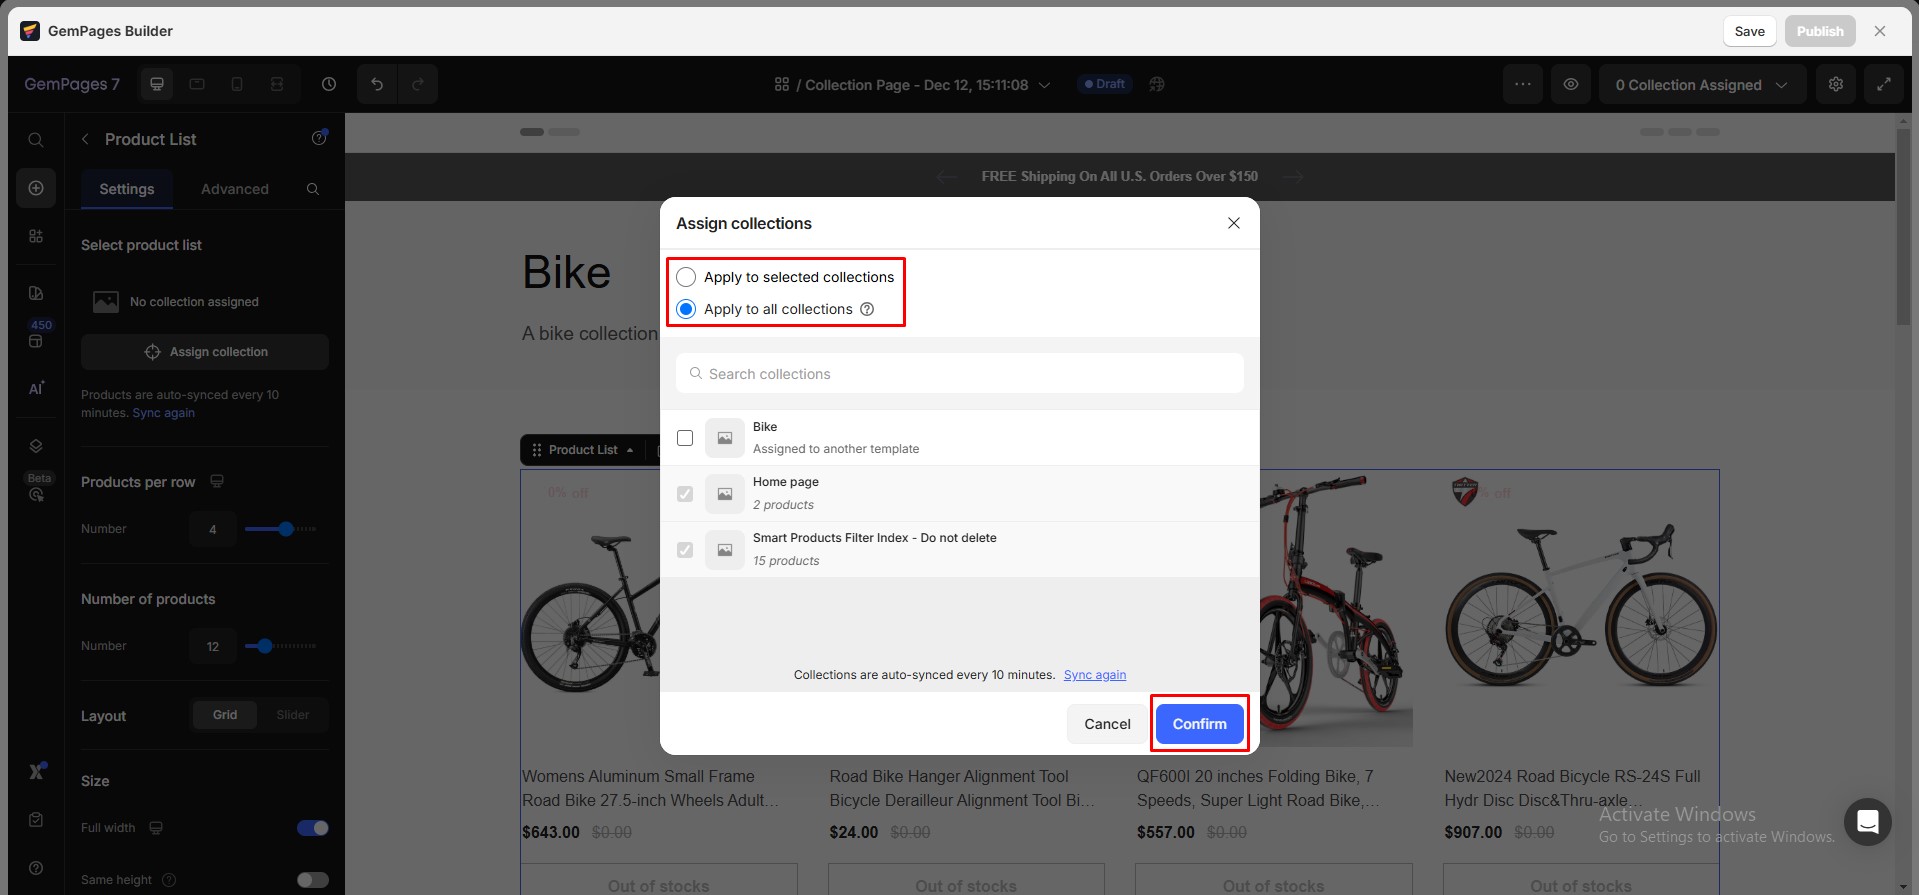
In the GemPages Editor, click the Collection Assigned button on the top-left bar to choose where to apply your Collection Template:
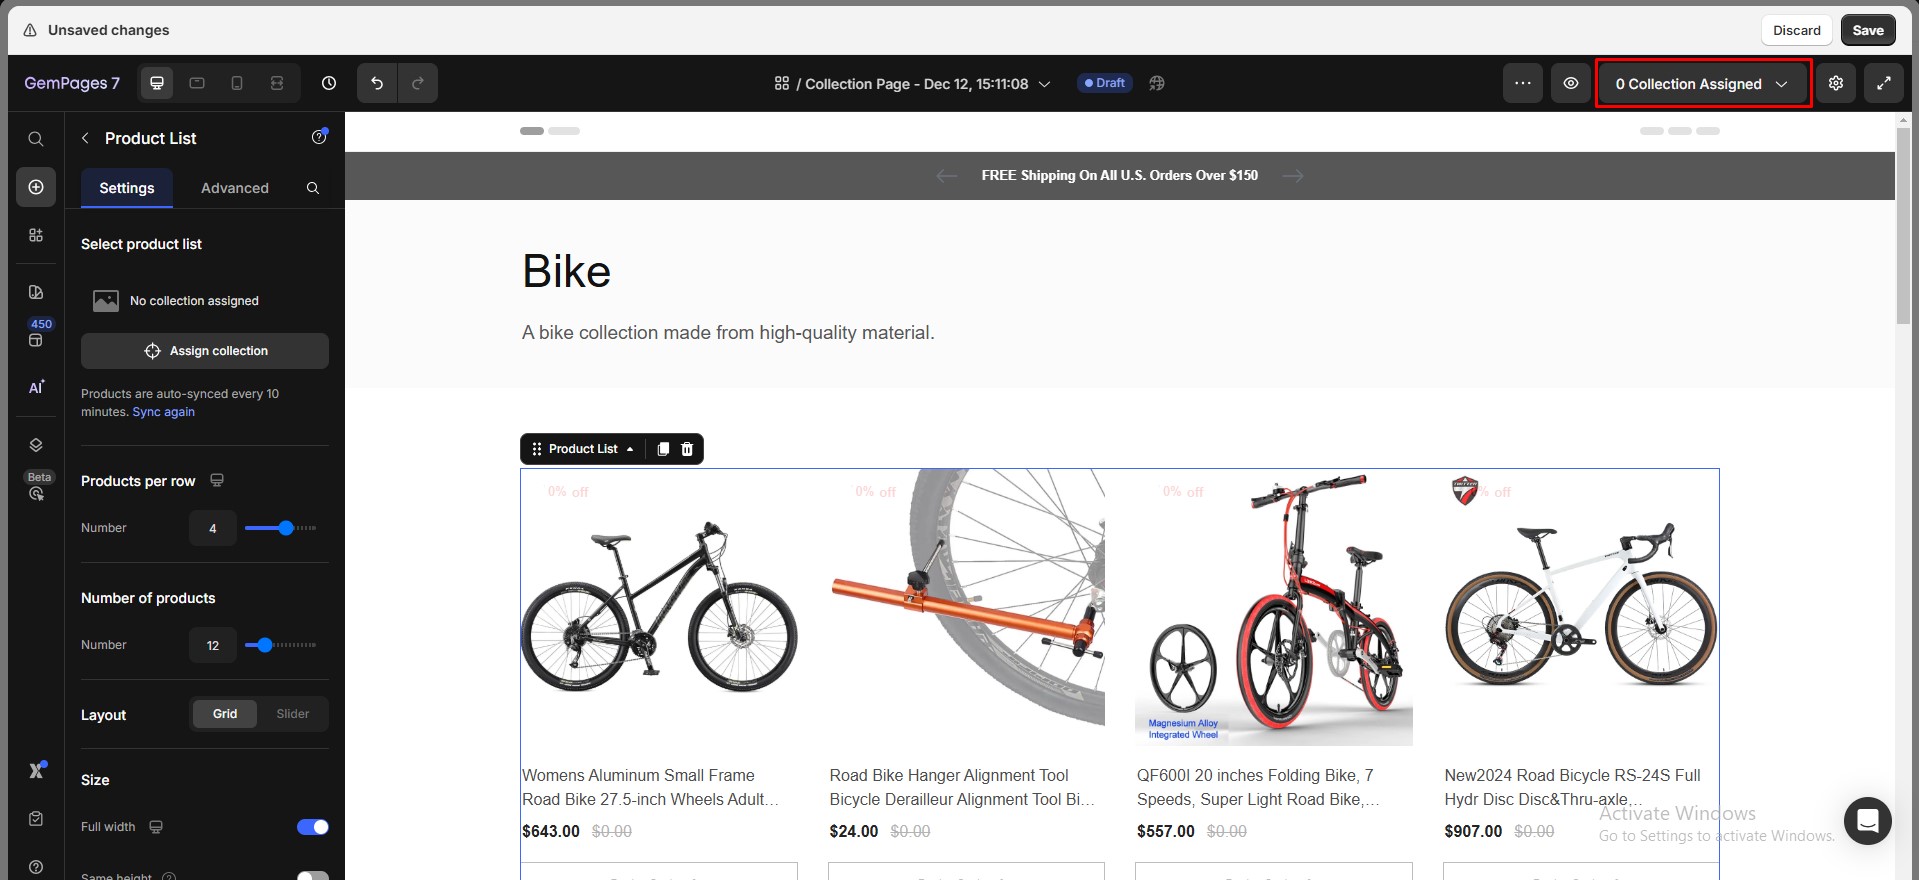
- All Collection Pages: The template will be applied to every collection in your store.
- Specific Collections: Select the collections you want to apply this template to.
How to Create a Collection Template for a Specific Collection Page
Because the template is only assigned to one collection, you don’t need the design to update dynamically for other collections. This allows you to include static, custom content tailored specifically to that collection.
Step 1: Go to GemPages and Create a New Collection Page
Step 2: Use Static Elements (Optional)
Since the template will only be used for one collection, you can add static elements to make your collection more appealing, such as:
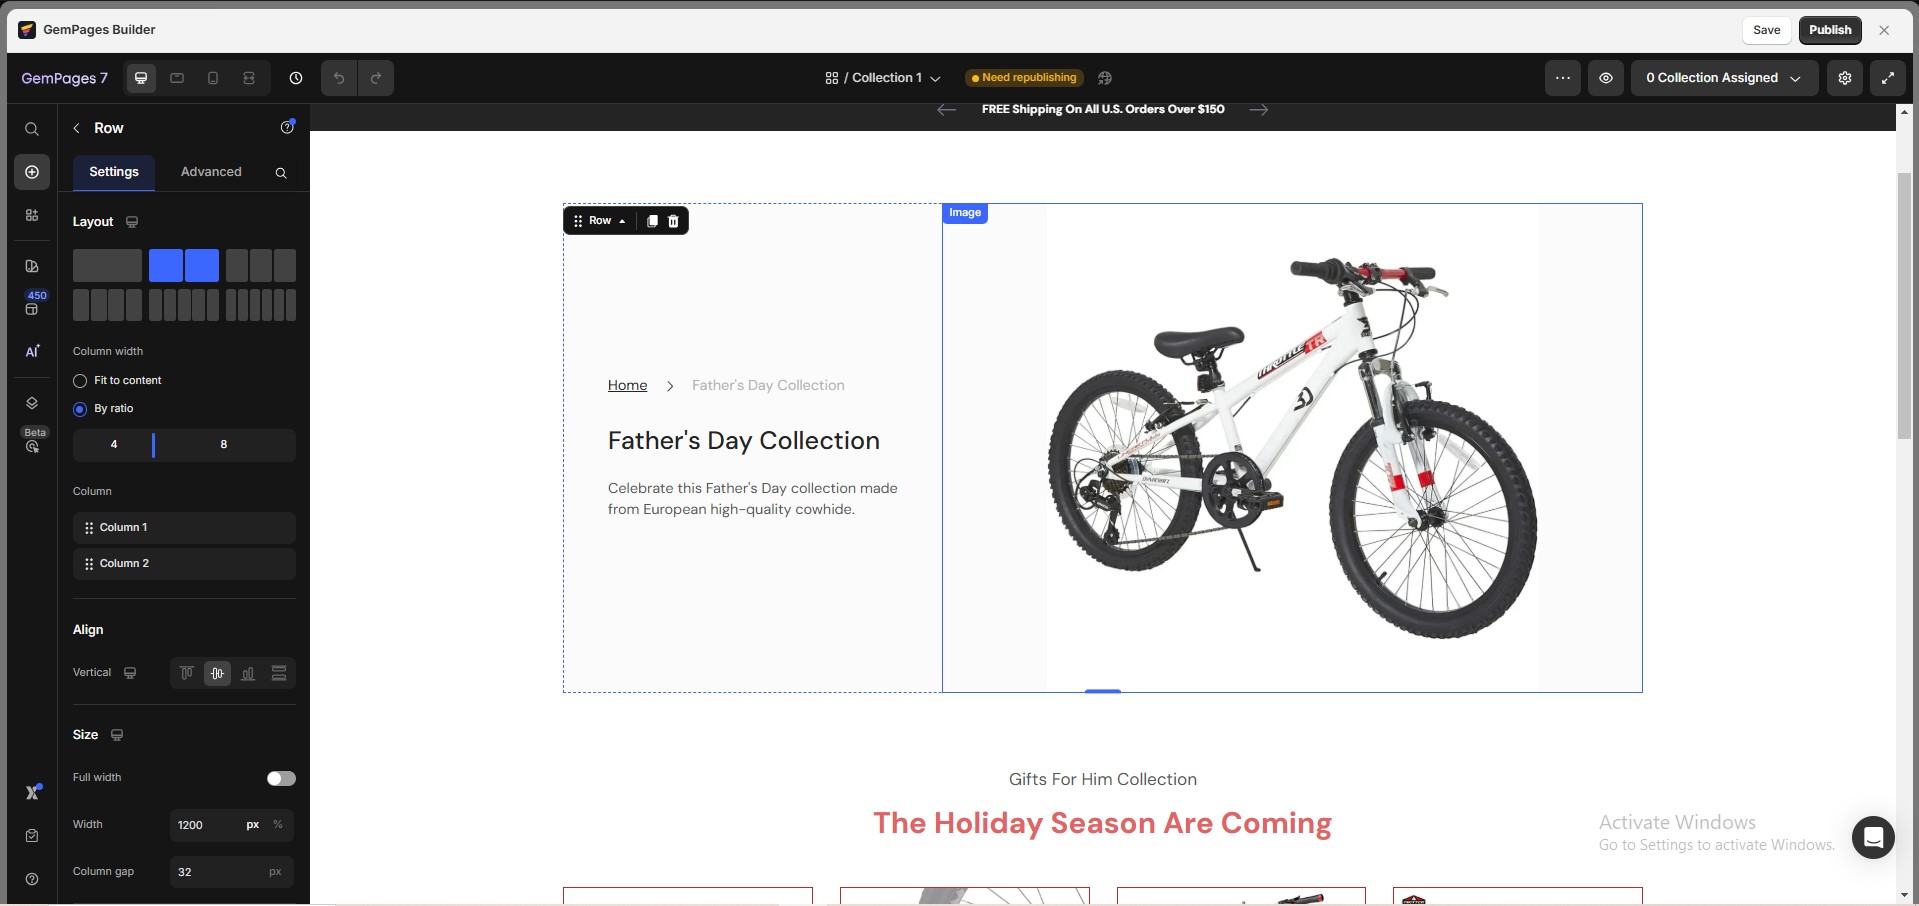
- Image: Add custom images unique to this collection.
- Text: Add personalized descriptions or messages.
- Button: Include call-to-action buttons tailored to this collection.
- Product List: Add products manually if you want full control over the display.
Step 3: Assign to a Specific Collection Only:
In the GemPages Editor, click the Collection Assigned button on the top-left bar to choose where to apply your Collection Template :
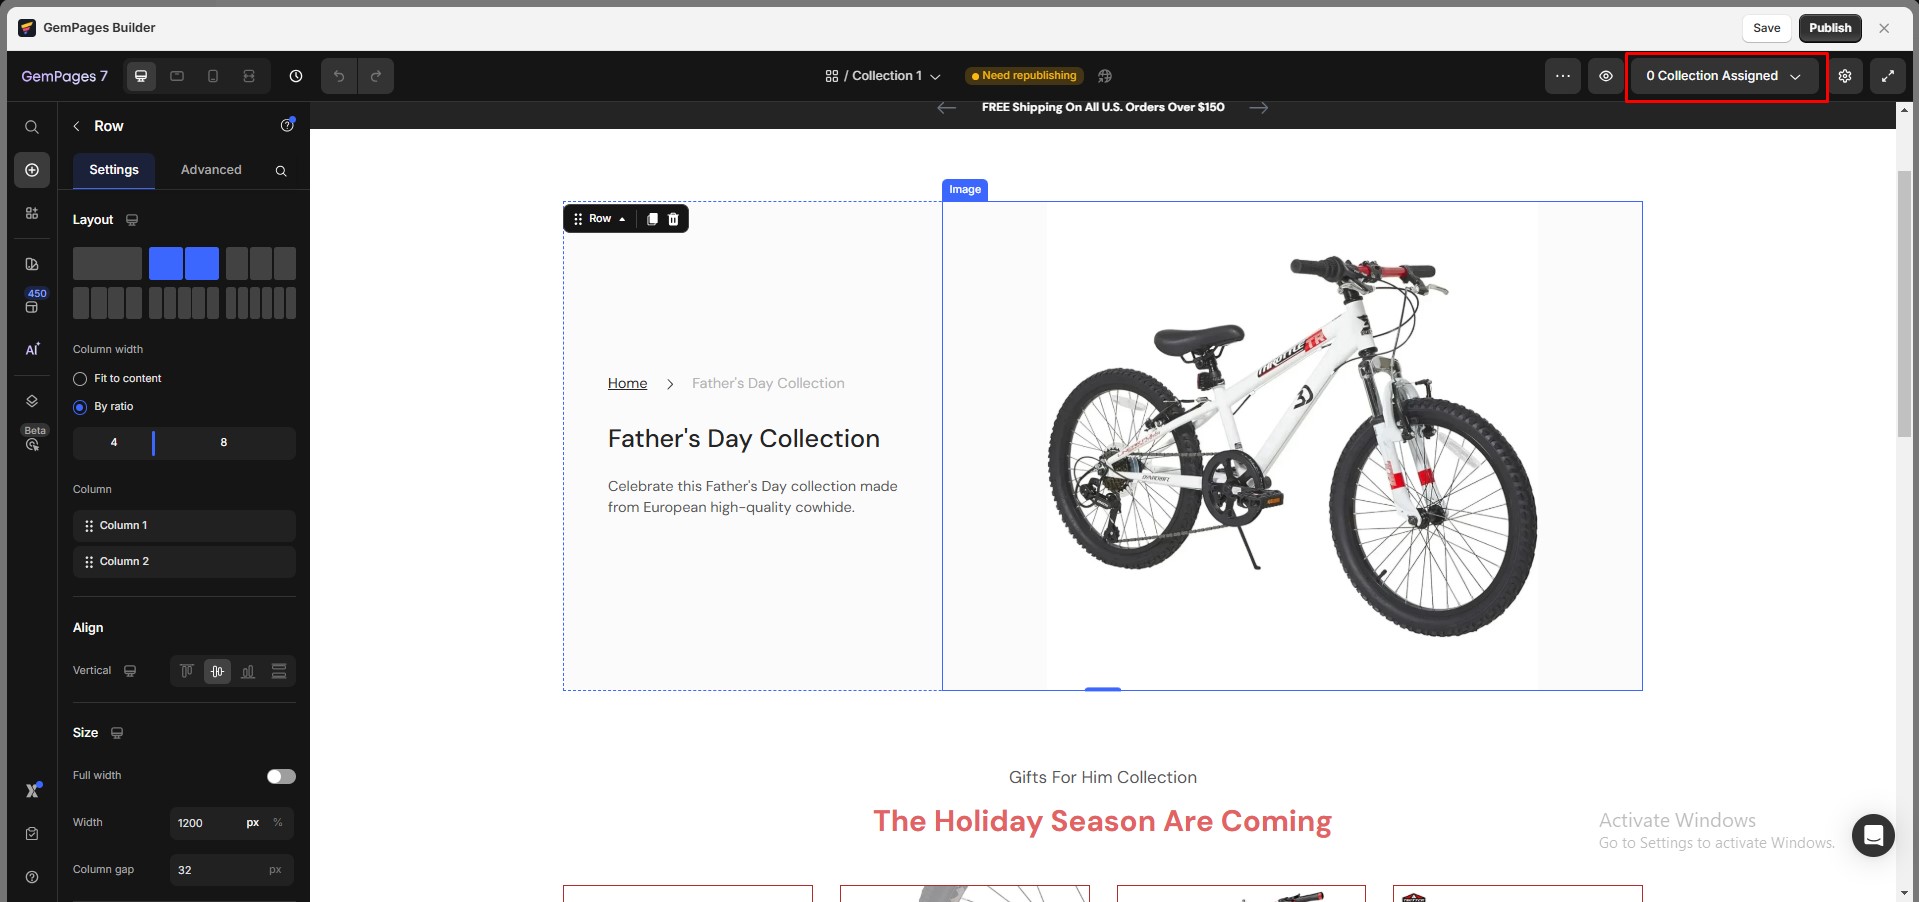
Choose only one specific collection. Click “Confirm”. Then, the template you design is only applied to that collection.
