


This guide will show you how to use the Product Description Element in GemPages, customize its settings, and update your Shopify product description with ease. Optimizing your product details not only improves the shopping experience but also boosts your Shopify SEO.
What is a Product Description Element?
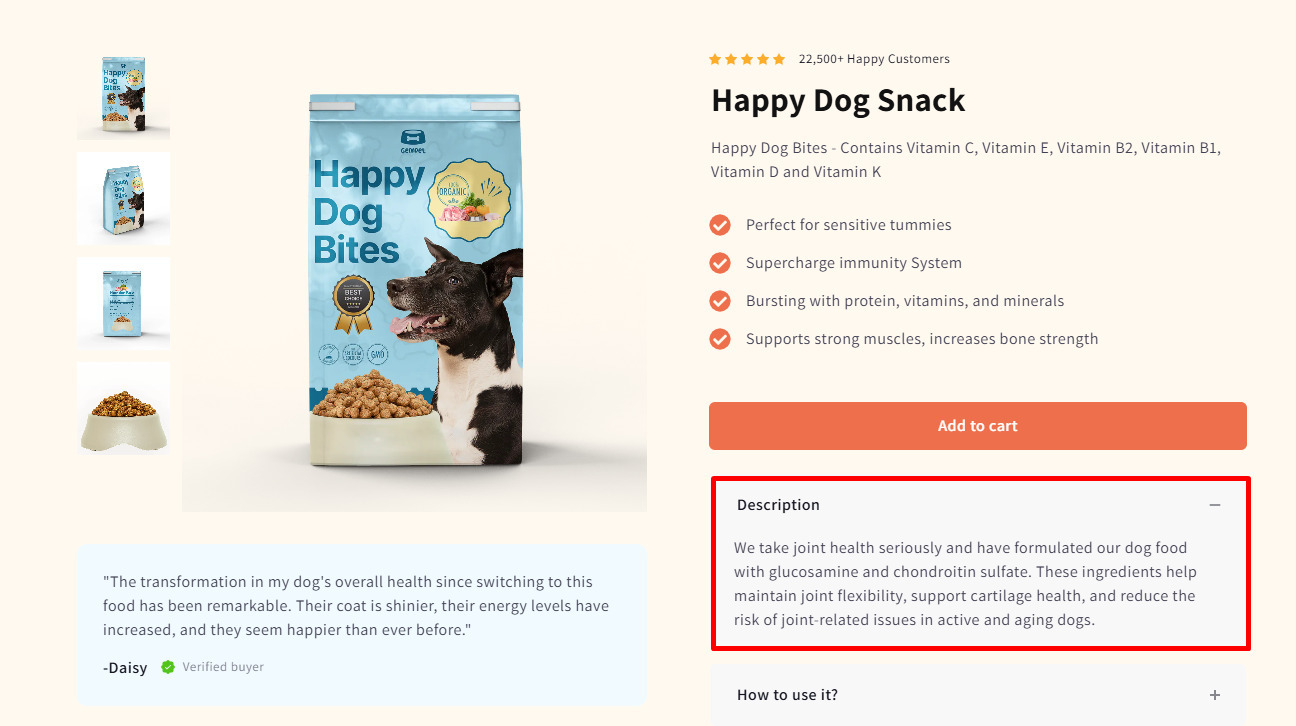
The Product Description Element in GemPages is a dynamic element designed specifically for product content.
- This element automatically pulls data from the Product Source and displays the corresponding product description.
- It can only be dragged and dropped inside the Product Element.
How to Add the Product Description Element in GemPages
Since this element can only exist within a Product Module, you’ll need to start there:
Step 1: Drag and drop a Product Element from the left sidebar into your page.
You’ll see several default product elements appear automatically (title, image, price, and description).
GemPages product elements (Product Title, Product Image, Price, Product Description, etc.) pull the corresponding data directly from your Shopify Admin.
These elements display the product information that your Shopify theme and Shopify Admin manage. Any changes to the product title or description must be made in Shopify and then synced in GemPages.
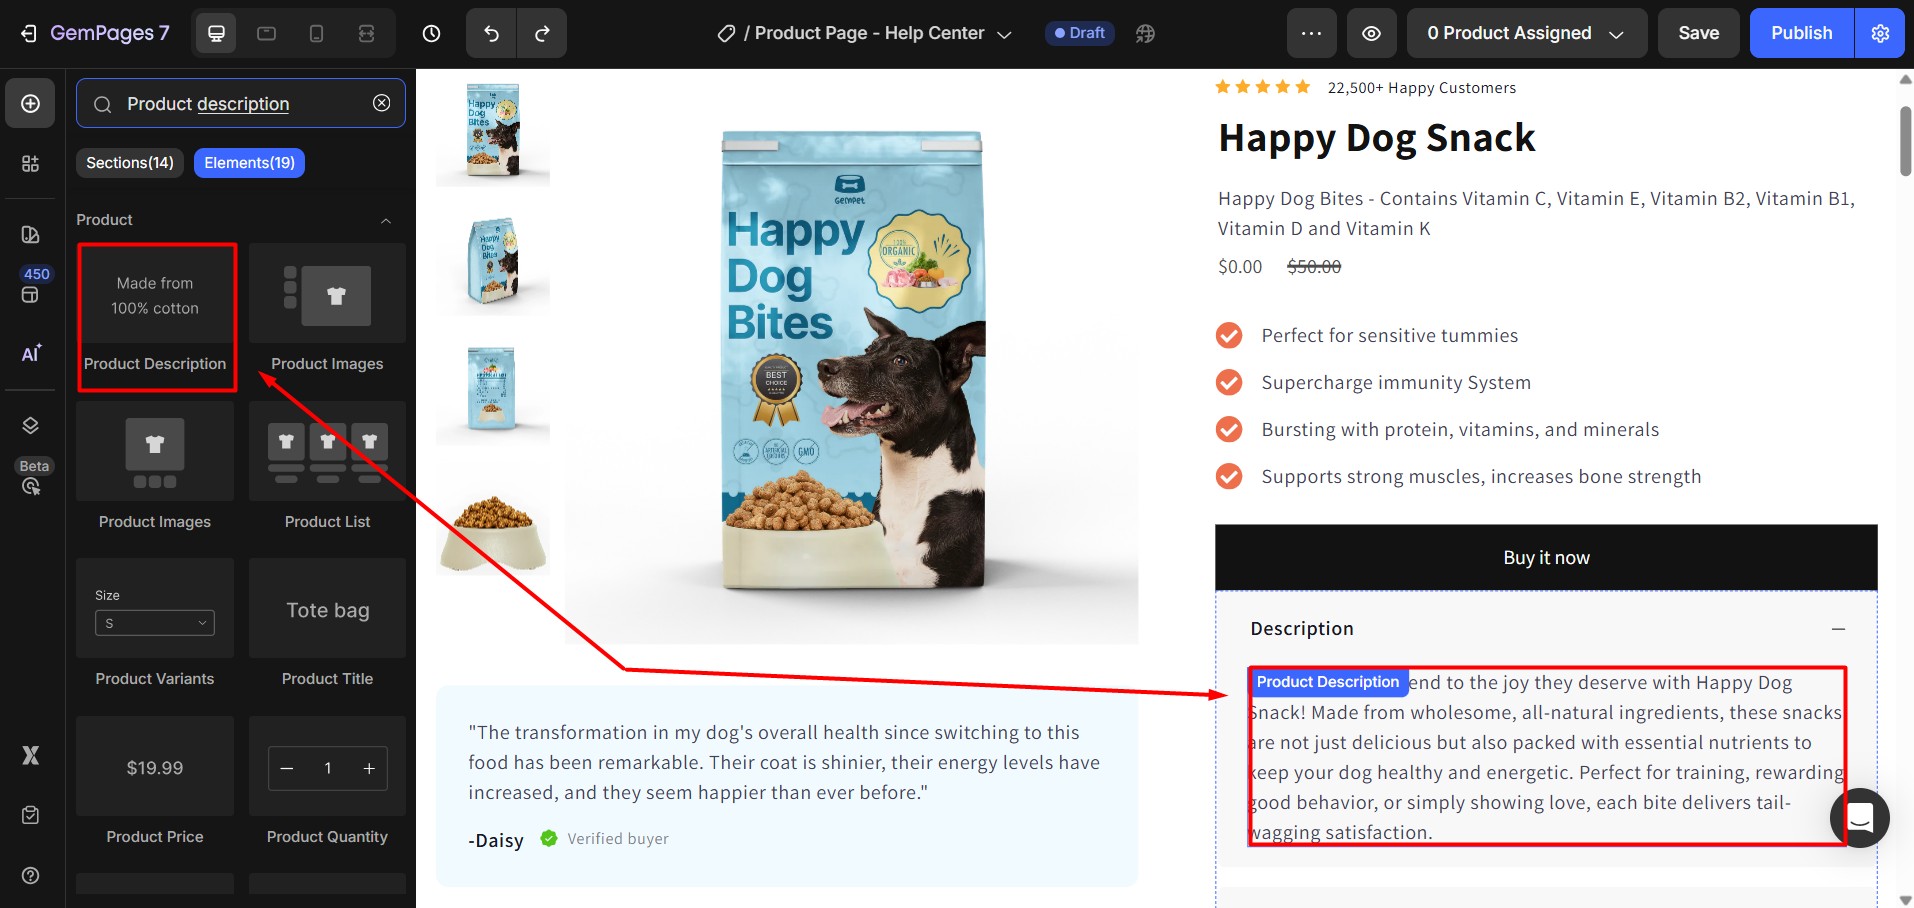
Step 2: If the Product Description Element was removed or if you’d like to add it again:
- Locate Product Description in the left sidebar.
- Drag and drop it into the Product Module area.
Click on the element to open its Setting Panel on the left side. You’ll see two tabs: Settings and Advanced.
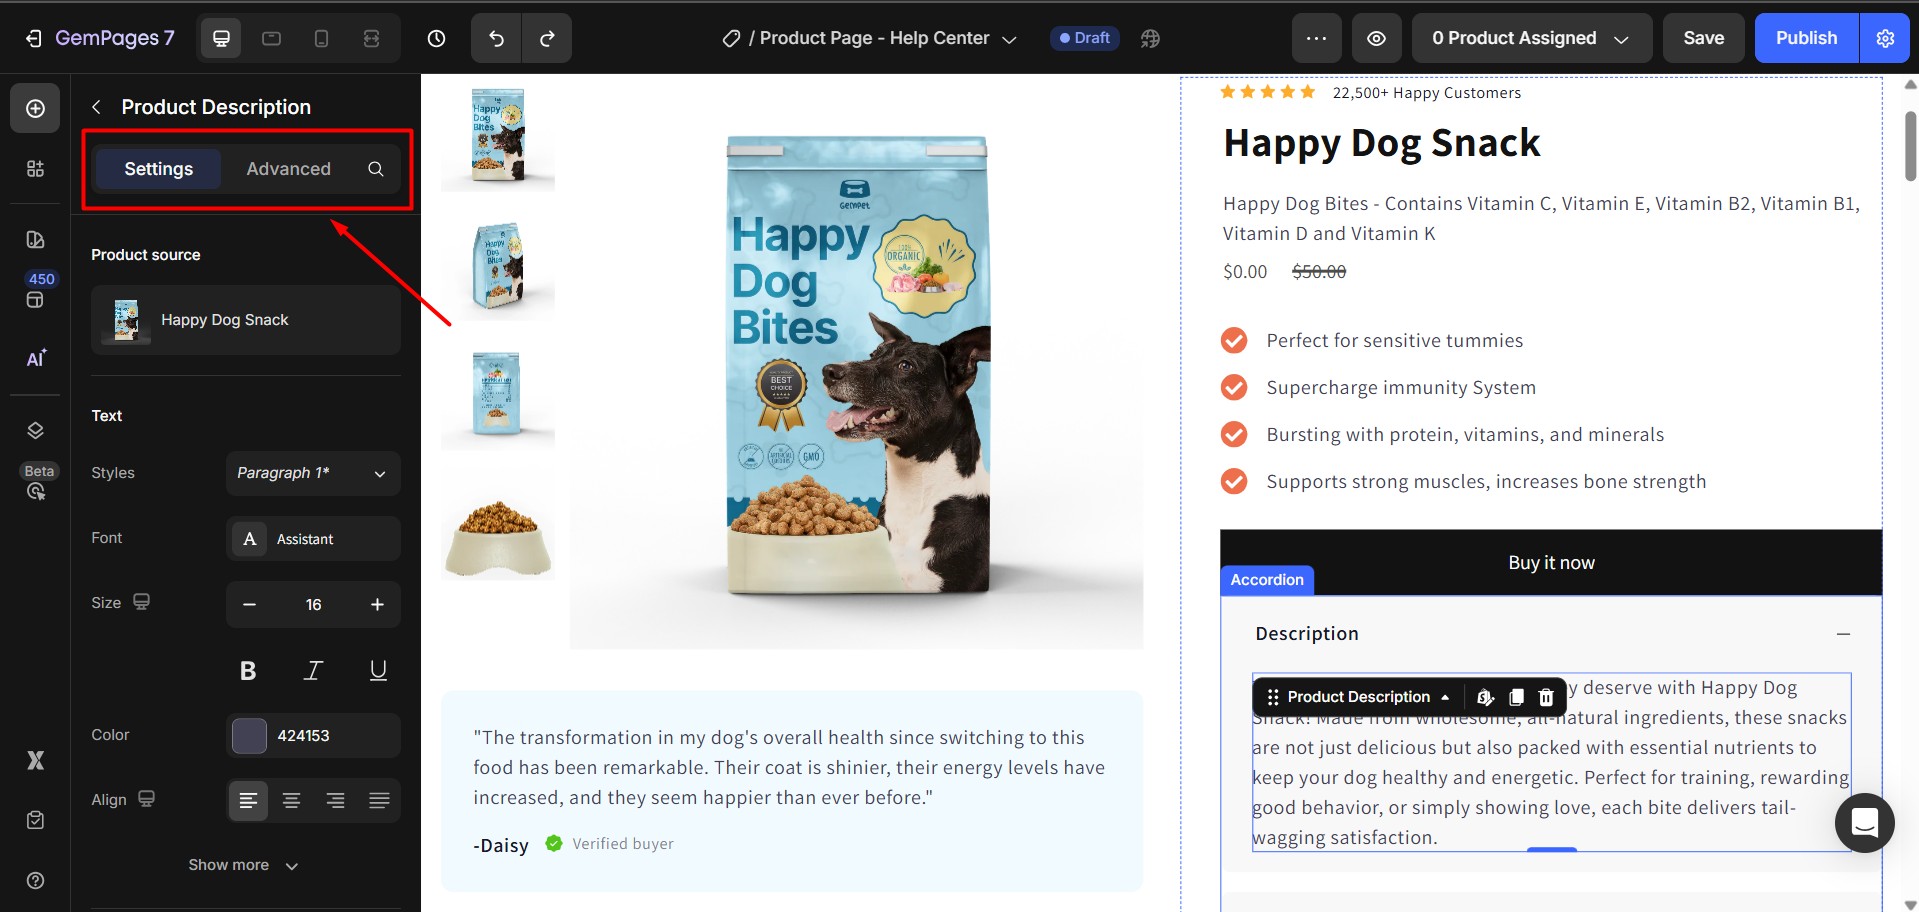
Configure the Settings Tab
The Settings Tab controls how the Shopify product description looks on your storefront.
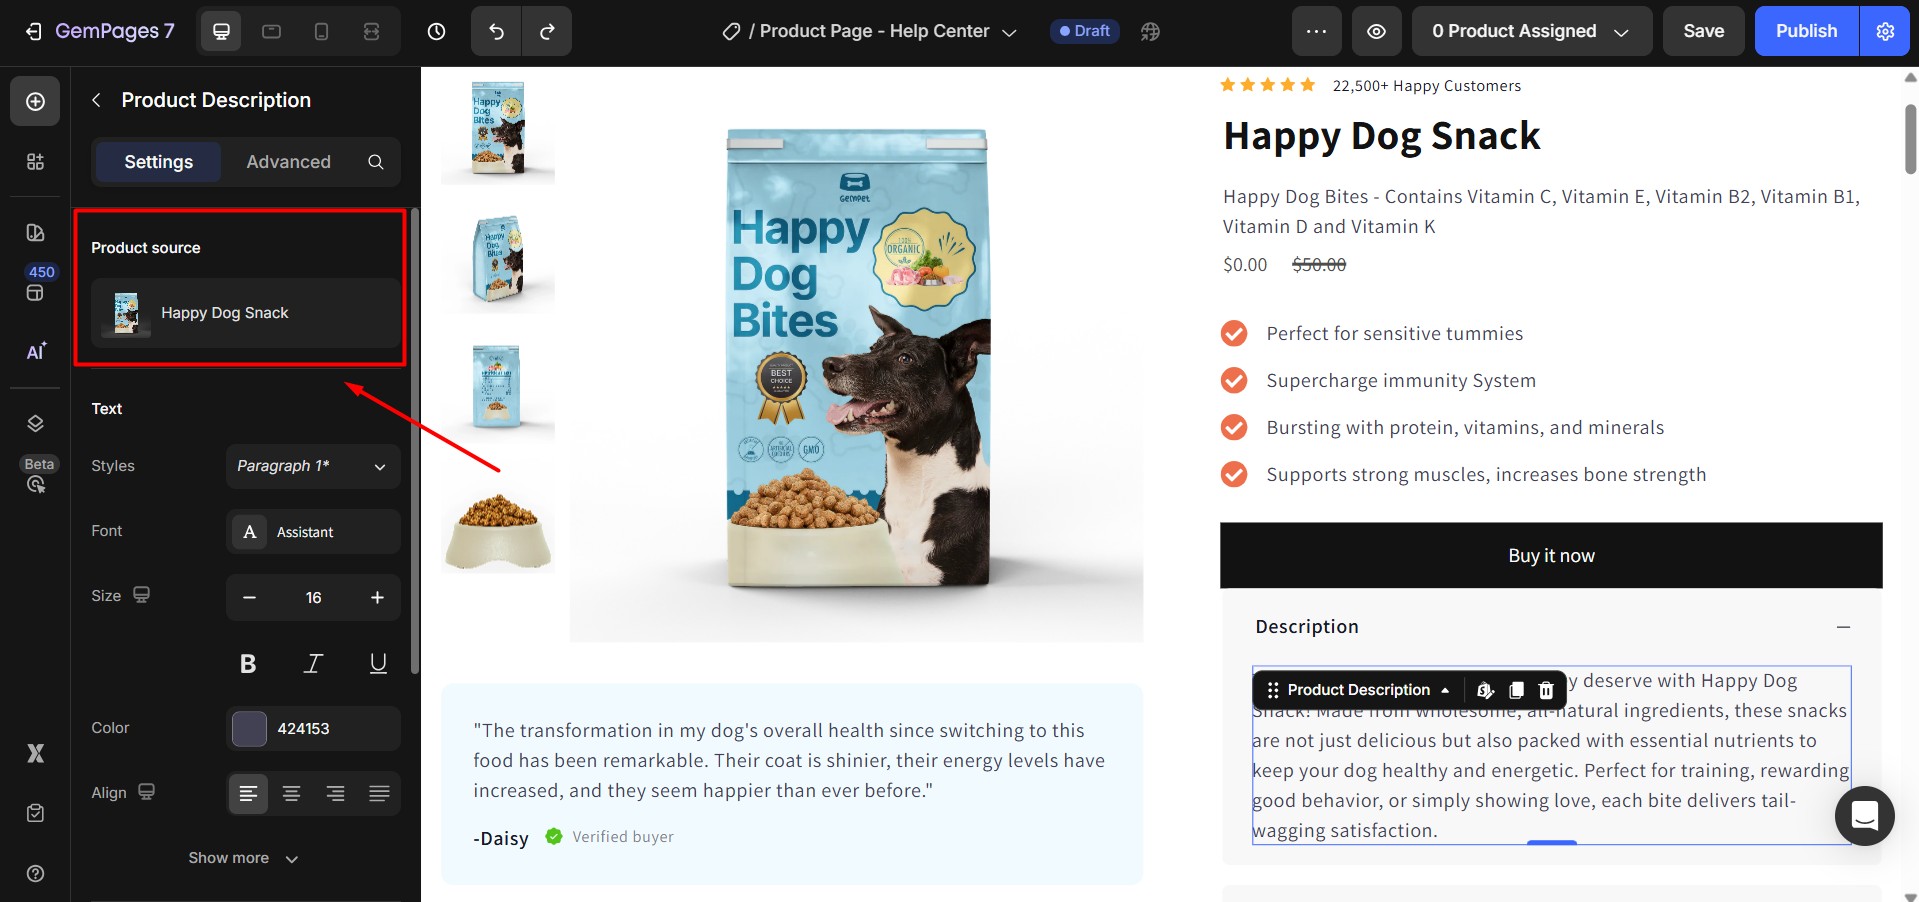
1. Product Source
Connects the element to the product data from your Shopify store.
2. Text
Customize how your description is displayed:

- Styles: Choose a heading style for the description text.
- Size: Adjust the text size for readability.
- Font: Select the font family to match your branding.
- Color: Change the text color.
- Alignment: Align text left, right, center, or justified.
- Font Weight: Control text thickness (regular, bold, etc.).
- Line Height: Adjust spacing between lines for better readability.
- Letter Spacing: Increase or decrease the spacing between characters.
- Text Transform: Convert text to uppercase, lowercase, or capitalize.
- Shadow: Apply text shadow for extra styling.
3. View More Option
This setting is useful for long Shopify product descriptions, allowing you to collapse or expand content.
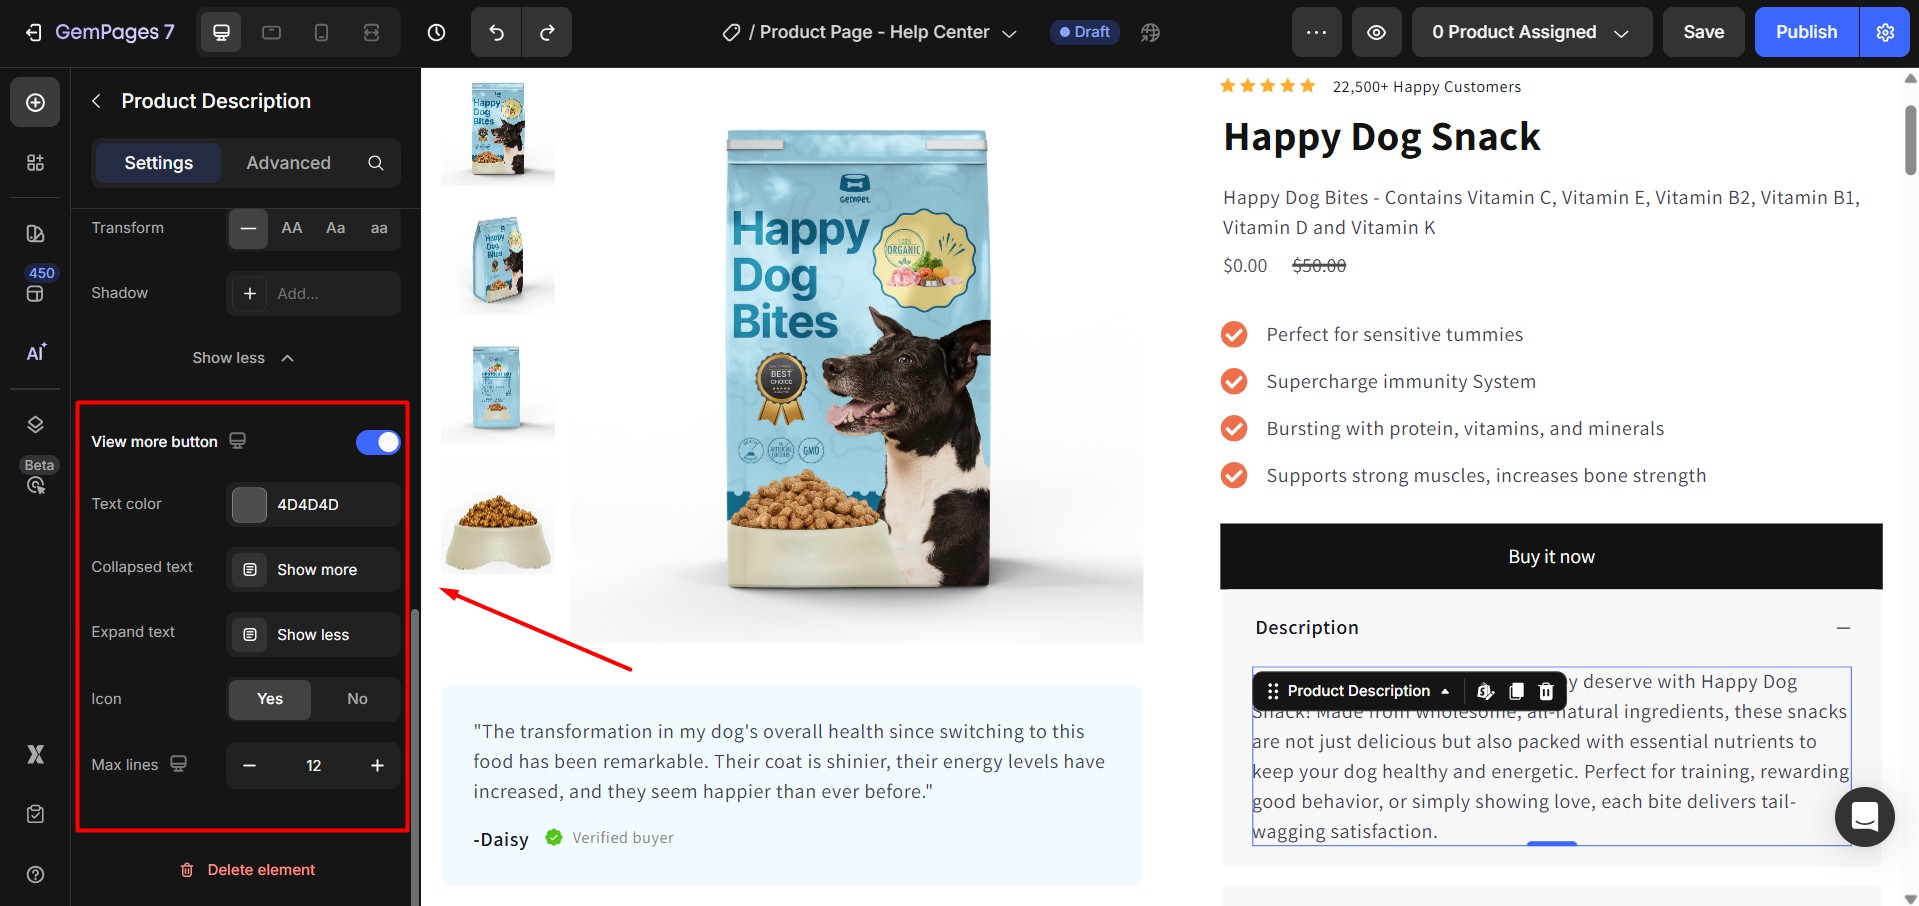
On/Off: Enable or disable the ability to expand the description.
Settings if Enabled:
- Text Color: Customize the color of the “Show More” text.
- Max Lines: Define the number of lines displayed before the “Show More” option appears.
- Show More Label: Enter the text for the “Show More” button (e.g., “Read More”).
- Show Less Label: Enter the text for collapsing (e.g., “Read Less”).
- Icon: Enable or disable icons for the labels.
Configure the Advanced Tab
For more advanced customization, please navigate to the Advanced tab and follow the instructions in this article.
How to Edit the Product Description in Shopify
It’s important to note: you cannot edit the product description directly inside GemPages. The element only displays what’s in your Shopify Admin.
To update your Shopify product description, follow these steps:
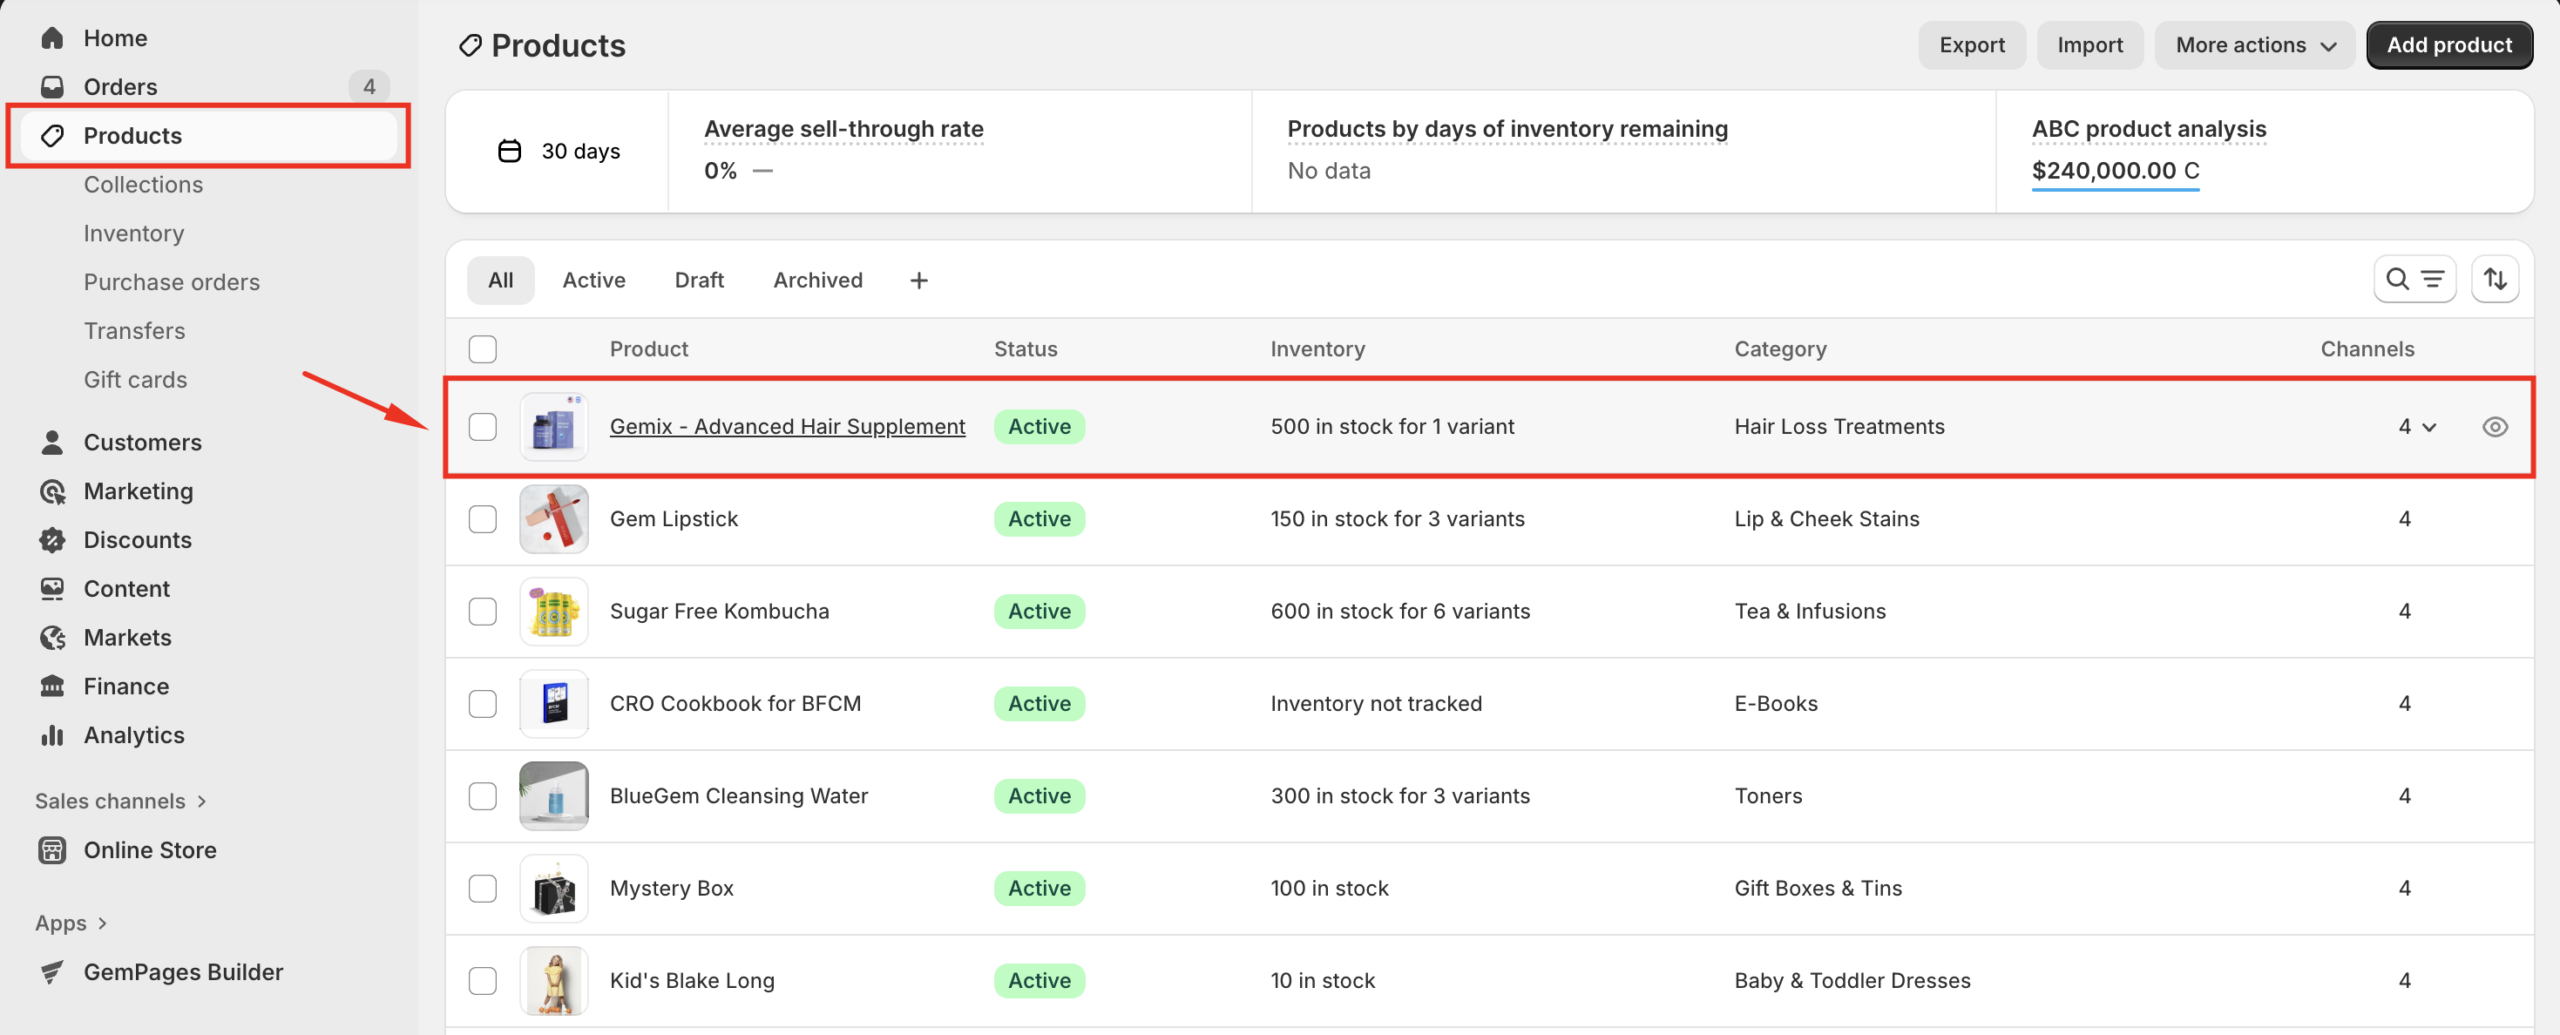
- Go to your Shopify Dashboard > Products, and click on the product you want to edit.
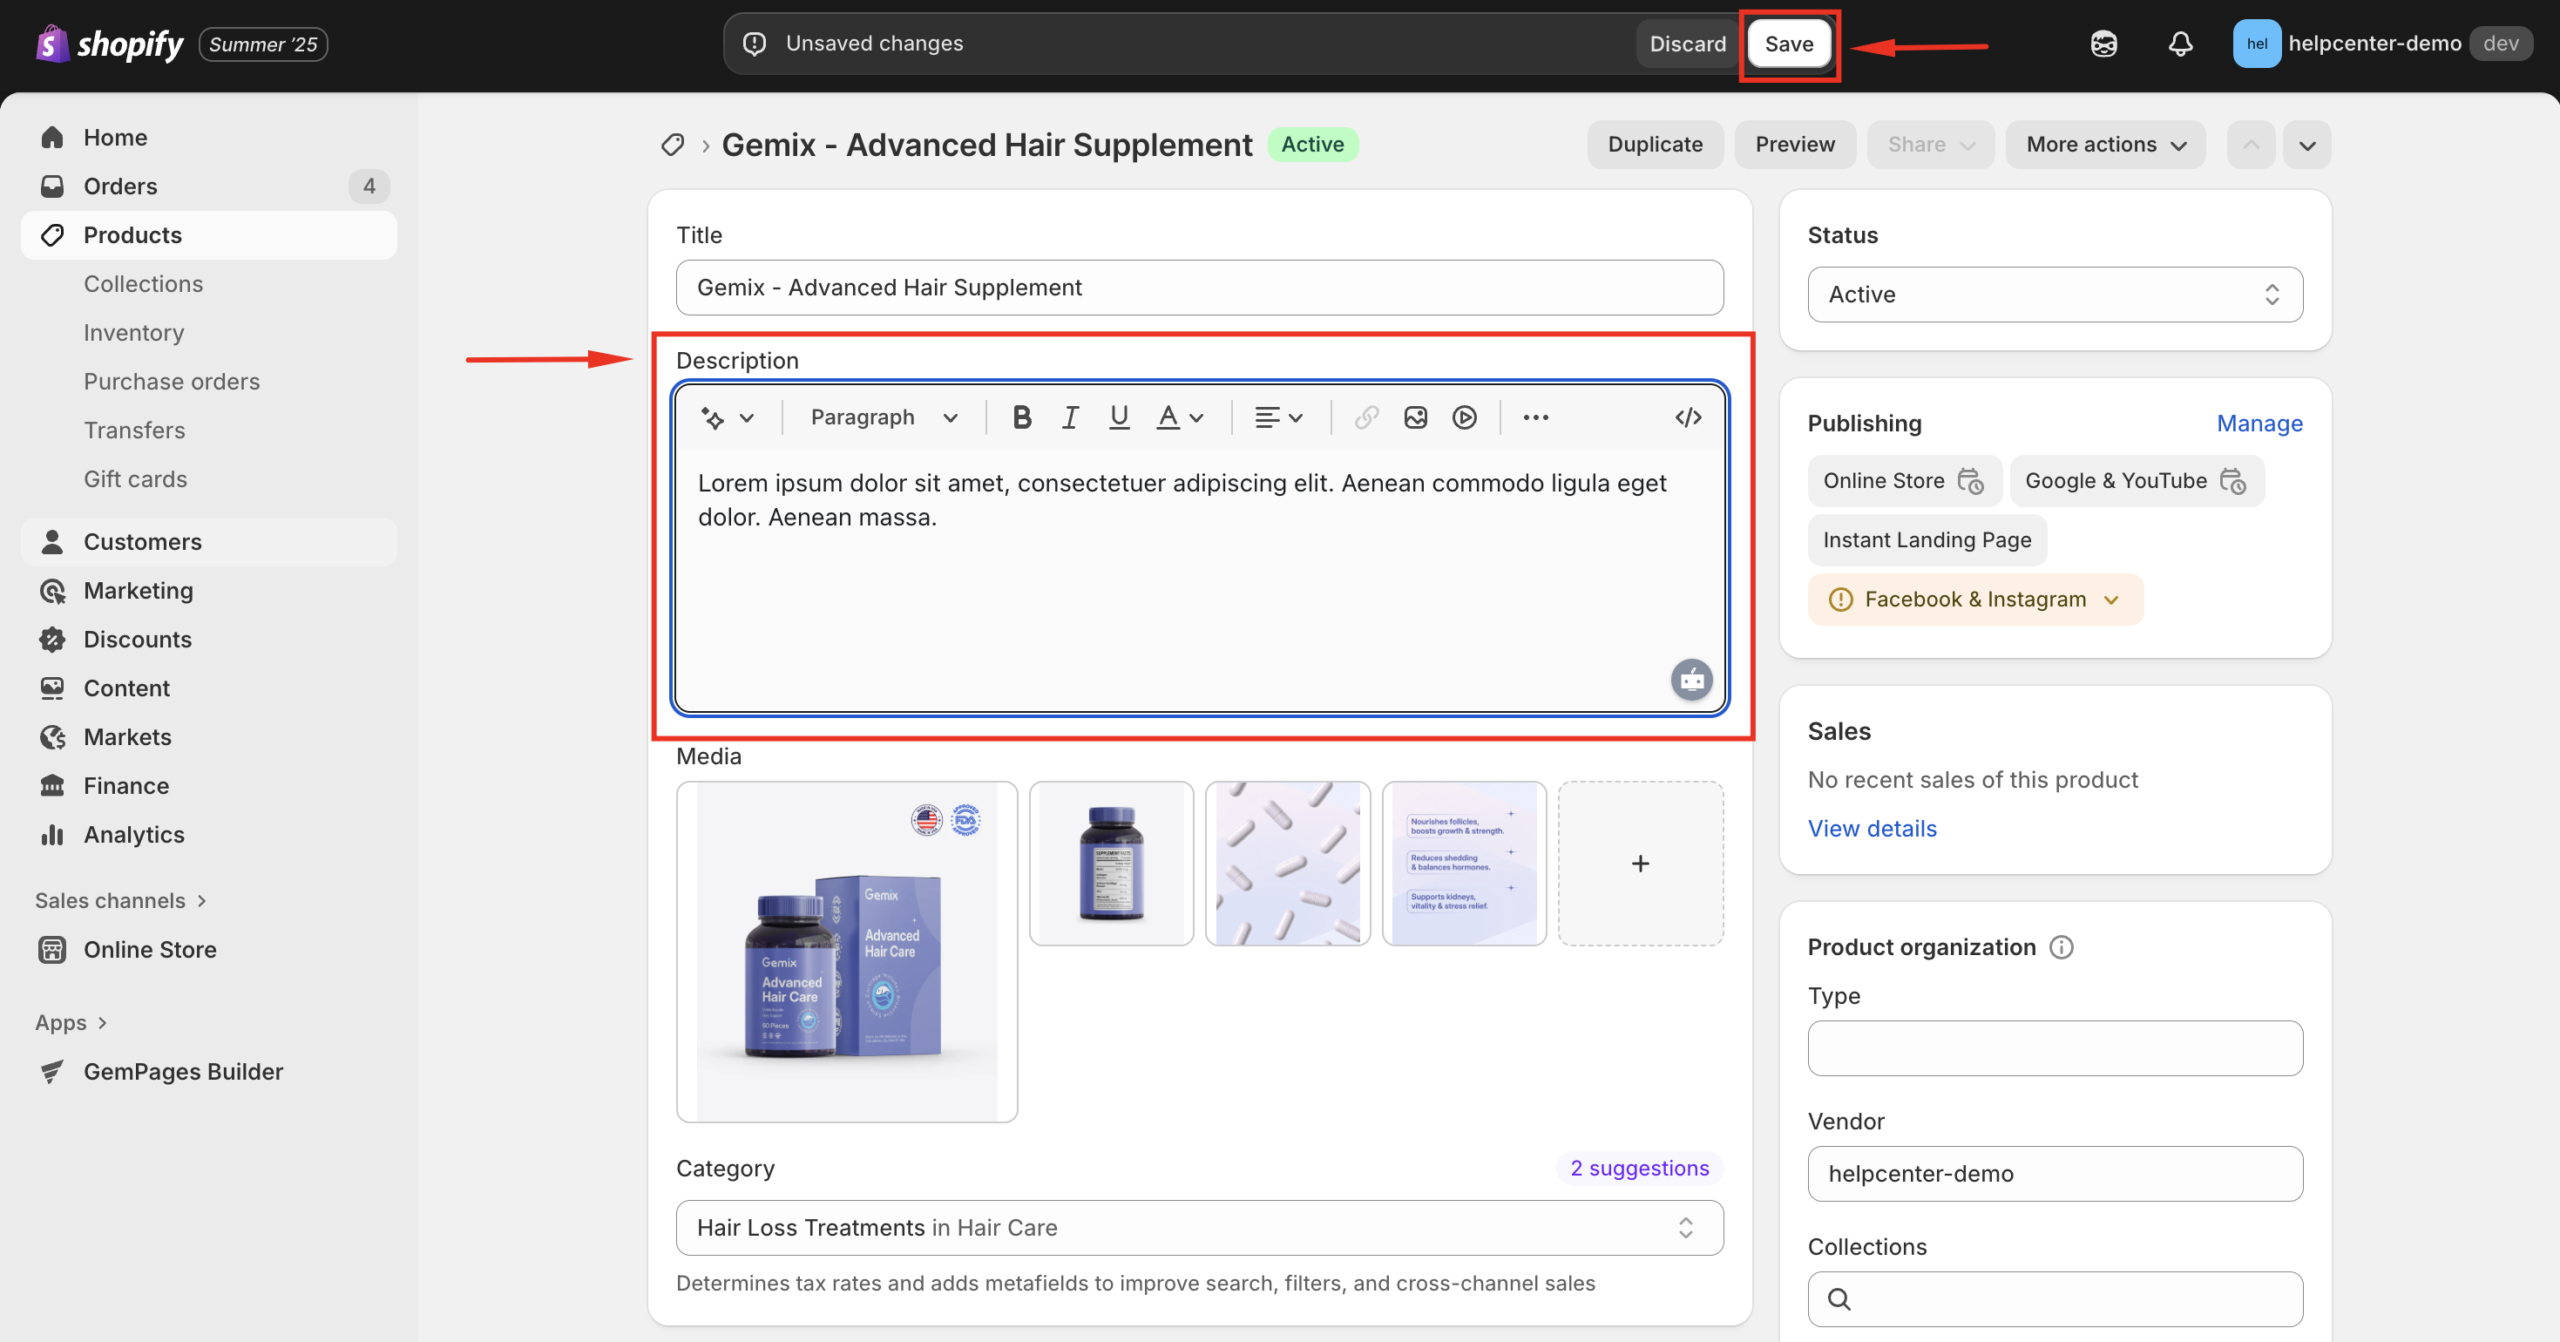
- Edit the product description (you can add text, images, bullet points, etc.) as you prefer.
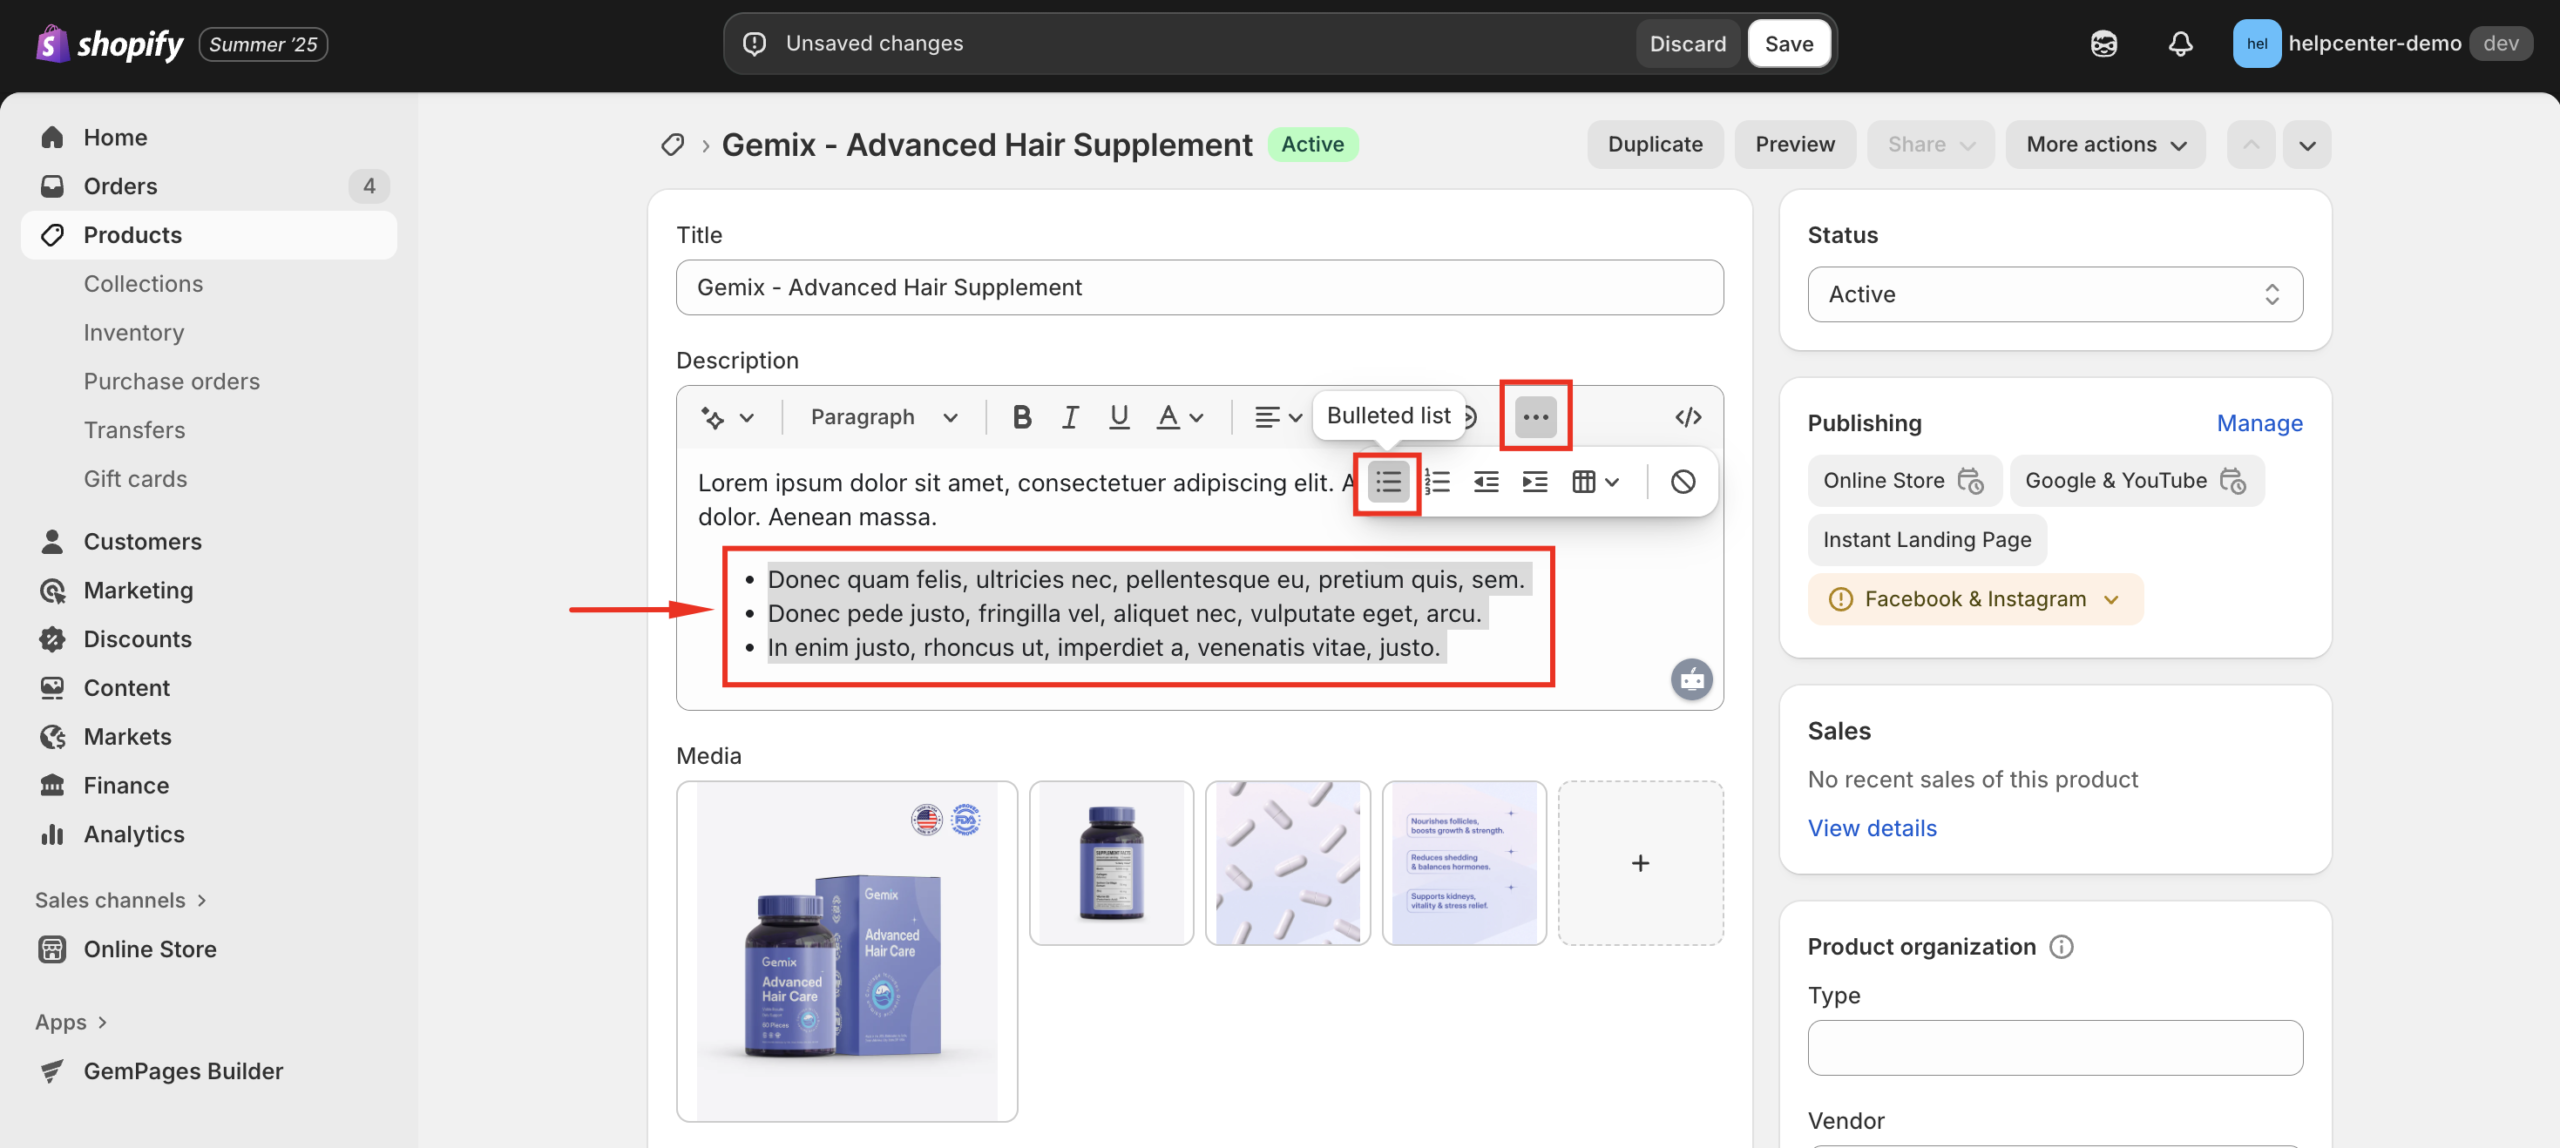
For example, to add a busted list for the product description, click on the three-dot icon > busted-list icon.
- Click Save to record your changes.
Return to GemPages and click Sync under the Product Source section. The updated description will appear in the Product Description Element.
Best Practices for Shopify Product Descriptions
To make the most of the Product Description Element and optimize your Shopify product details for SEO:
- Write clear, detailed product descriptions highlighting key benefits and features.
- Use short paragraphs, bullet points, and headings for easy readability.
- Add keywords naturally (e.g., Shopify product description, product details, optimize product description for SEO).
- Include lifestyle or instructional images to make descriptions more engaging.
- Keep a consistent tone that reflects your brand voice.
Frequently Asked Questions
1. What’s the difference between Spacing, Padding, and Border in GemPages Editor?
Spacing controls the space outside the element and affects how far it sits from other components. Padding defines the inner space between the content and the element’s container. Border adds an outline around the element, which helps define visual separation and emphasis.
2. Do these style options apply to all elements in GemPages v7?
Yes. All elements inside the Editor support adjustments for Spacing, Padding, and Border so you can fine-tune overall layout and alignment.
3. Can I apply the same styling consistently across multiple pages?
Yes. Use Global Styles to maintain consistent visual styling across pages and sections without having to repeat manual adjustments.
4. Will editing these styles impact the pages that are already live?
Yes. Once you publish the changes, the updated styling will reflect on your live pages. Make sure to double-check the preview before final publish to avoid unexpected layout shifts.


Thank you for your comments