


Create a New Page in the GemPages Dashboard
Step 1: Open the GemPages Dashboard
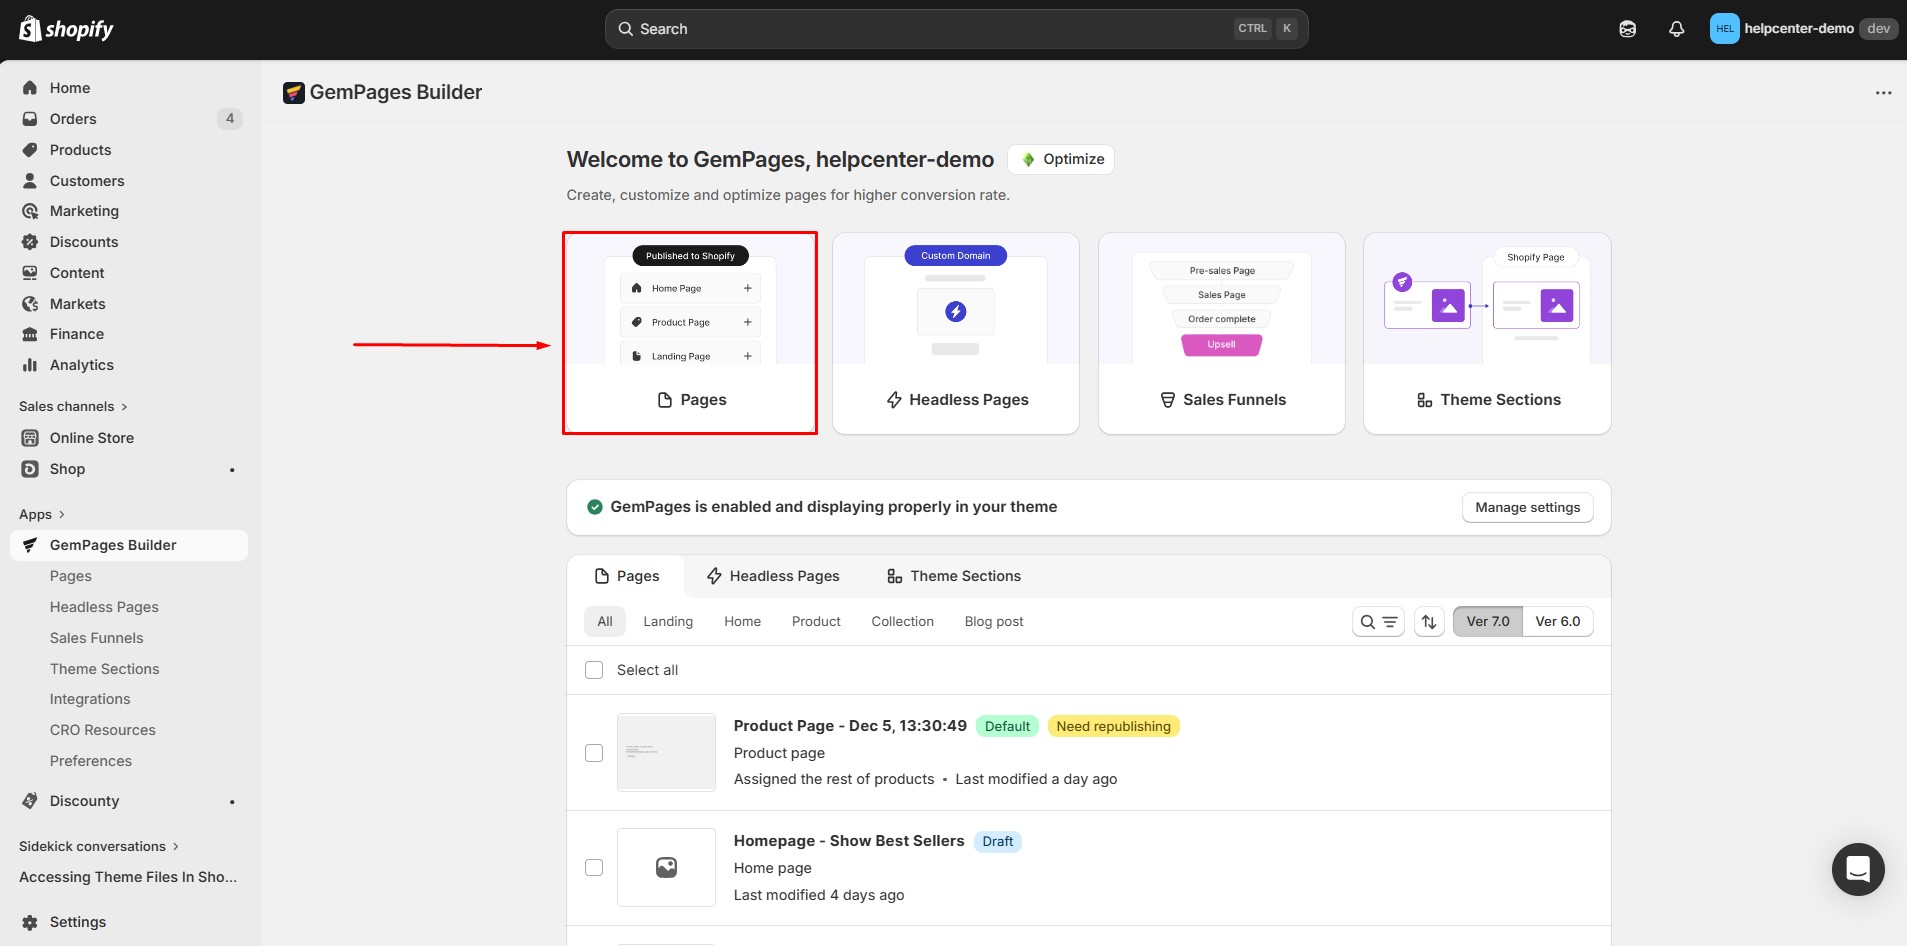
From your Shopify Admin:
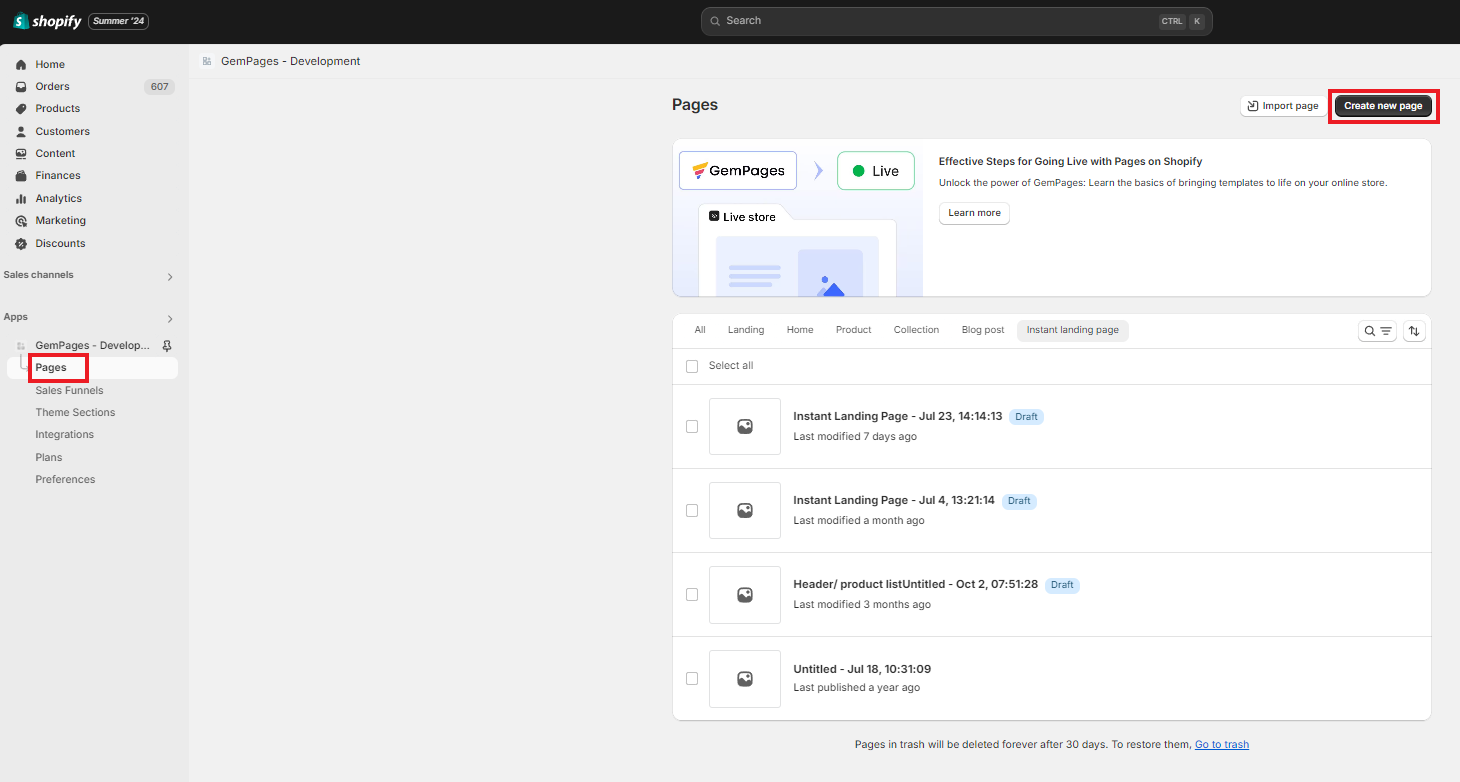
Go to GemPages Dashboard, then click Pages.
Step 3: Start Customizing Your Page
Once you’ve selected a template or blank layout, the GemPages Editor will open. From here, you can start customizing your page using the intuitive drag-and-drop interface.
Create a New Page from the Editor
If you’re already working inside the Editor and want to create another page, follow these steps:
Step 1: Open the Page List
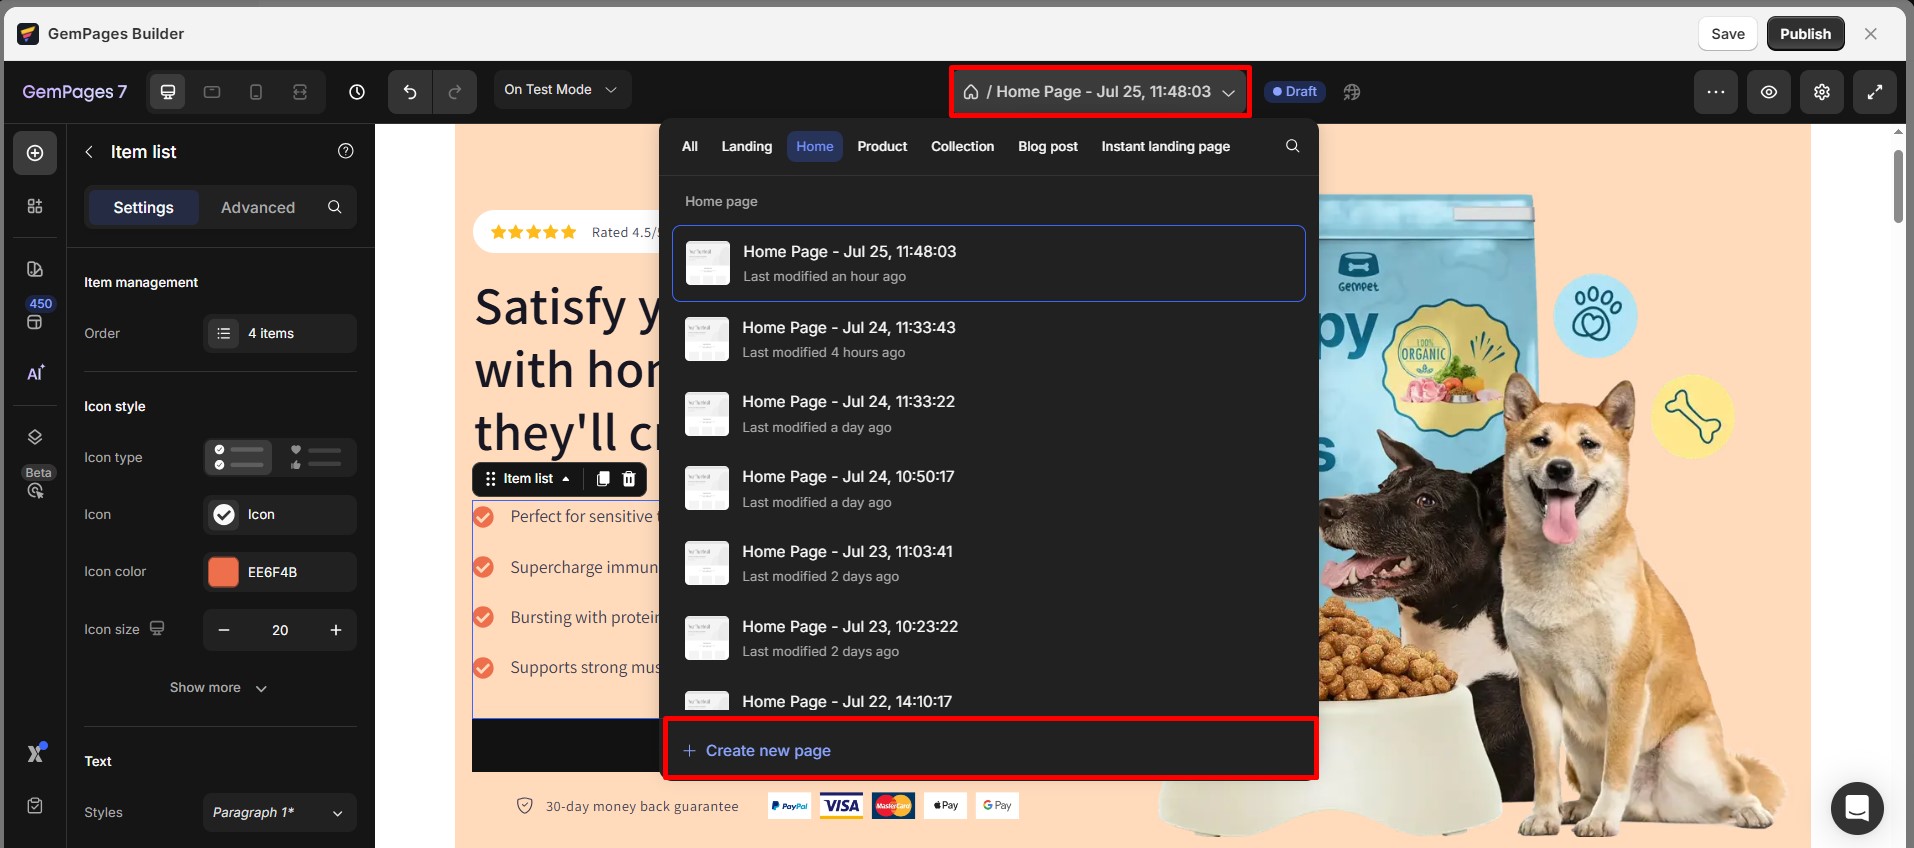
Inside the GemPages Editor, click on the page name of the current page you’re customizing.
Step 2: Create a New Page
A list of pages will appear. Select Create new page from the options.
Step 3: Choose Your Page Creation Method
You will be redirected to the GemPages Dashboard.
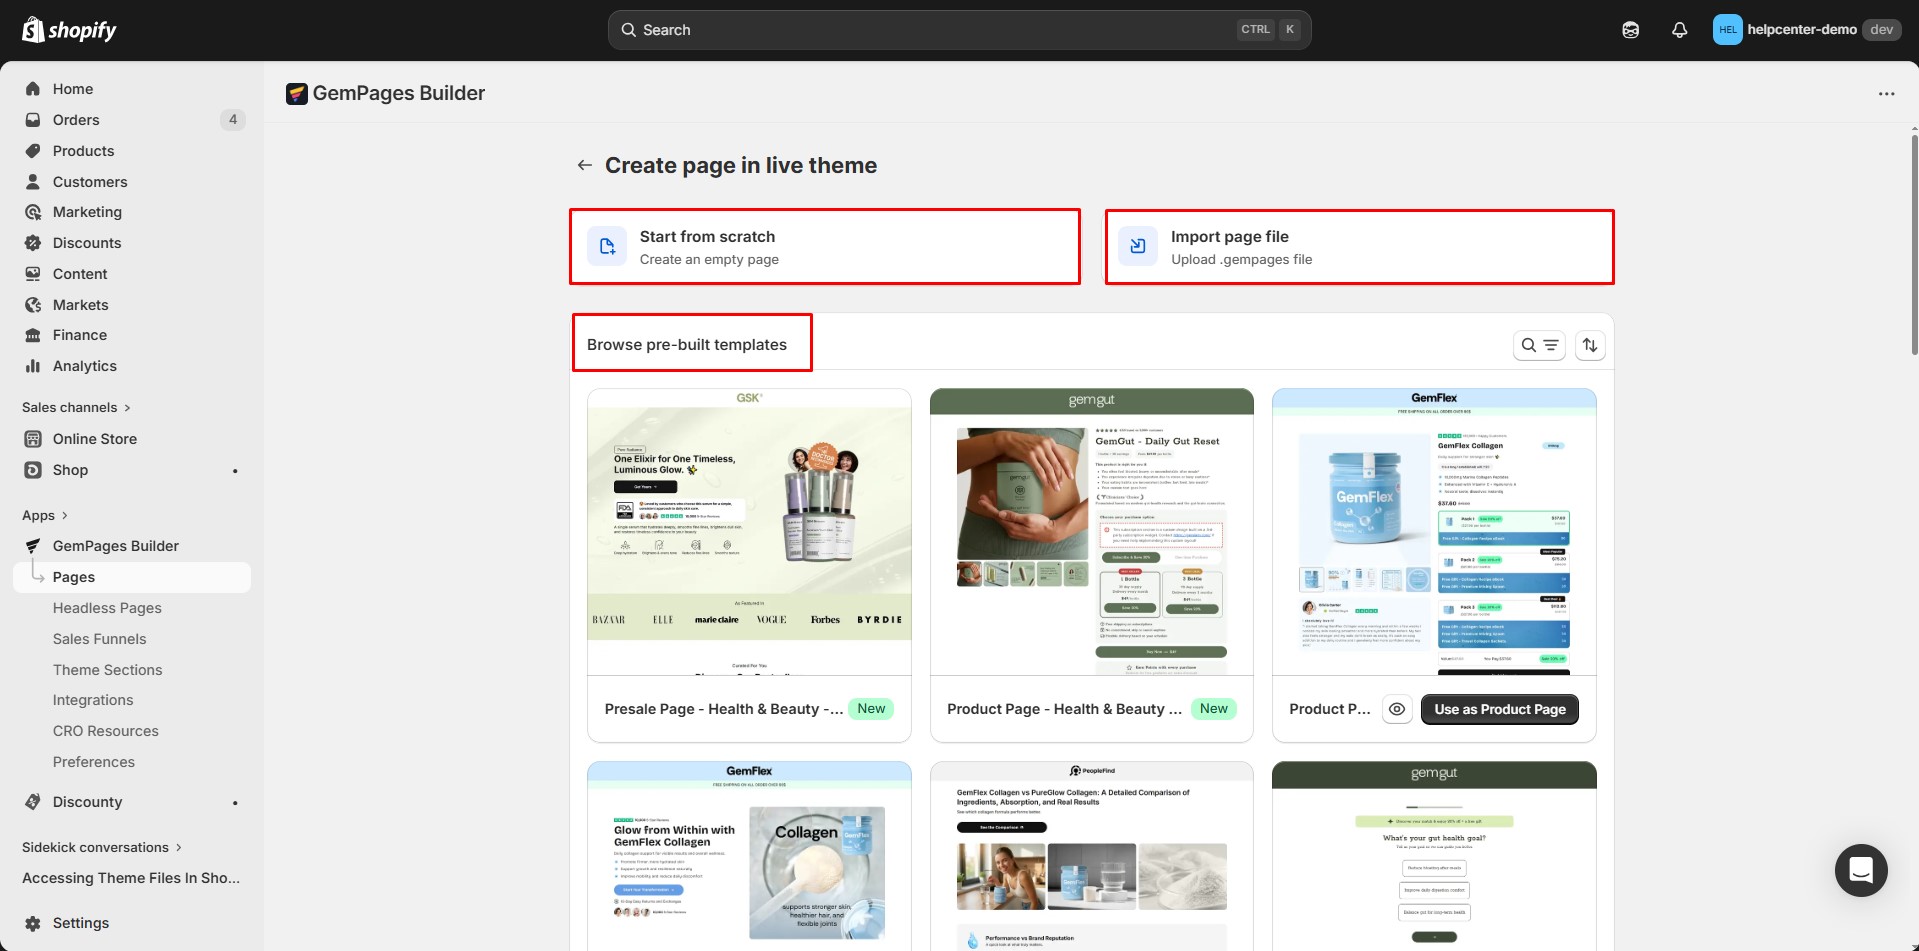
From there, choose one of the following:
- Select your preferred template type
- Start fresh by creating a page from scratch
- Import a GemPages file
Step 4: Customize the New Page
Use the GemPages Editor to design your new page.
How to Make a GemPages Page Appear on Your Storefront
After creating your page, make sure to publish it in the GemPages Editor.
For Homepage, Product pages, or Collection pages, you also need to set the page as the default template in GemPages. Once a template is set as default, Shopify will automatically use it for that page type, no manual assignment in Shopify is required.
Landing pages work differently. They are standalone pages and need to be added to your store navigation to be accessible.
For detailed, step-by-step instructions, refer to this guide:
👉 How to Set a GemPages Page as Default and Publish It on Your Storefront
How to Create a Page Using the Image to Layout Feature
The Image to Layout feature allows you to convert an image or a URL into an editable page layout.
This helps speed up page creation by automatically detecting sections and generating a structured layout based on visual input.
You can use:
- A screenshot
- A webpage URL
The system will analyze the input and generate editable sections inside the Editor.
Step 1: Create a New Page From Scratch
Click Start from scratch to create a blank page. Once you enter the Editor, you will see the option to convert a URL or an image into a page layout.
Step 2: Choose Your Input Method
At this point, you will have two options:
- Paste a URL to Create a Layout
Paste a webpage URL into the input box. The system will analyze the URL and extract layout elements.
- Upload an Image
Click the upload area and select an image from your device. This image will be used to generate a page structure.
Step 3: Generate the Layout
- After entering a URL or uploading an image:
- Click Generate.
Important: Make sure you have the legal right to use the images for your page. GemPages is not responsible for any copyright disputes between you and the image owner.
Step 4: System Processing
After clicking Generate:
The system will:
- Analyze the input
- Detect sections
- Generate structured content
This process may take a few moments depending on the complexity of the input.
Step 5: Review Detected Sections
Once detection is complete:
The result will be displayed in the right column.
By default:
All sections will be selected.
You can uncheck any section you do not want to add to your page.
Step 6: Final Generation
After reviewing the sections:
Click Generate again to finalize the content creation. Your layout will then appear inside the Editor as editable sections.
For more information, please refer to: https://help.gempages.net/articles/editor-7-0-introduction-to-image-to-layout-feature
Frequently Asked Questions
1. Can I create a page for a specific country?
2. What’s the difference between a Landing Page and an Instant Landing Page?
yourstore.com/pages/landing.promo.yourstore.com).


Thank you for your comments