


What Is a Testimonial Section?
A testimonial section highlights positive feedback and real experiences from past buyers. It is one of the most effective ways to build trust with potential customers. By showcasing genuine testimonials, you can:
- Increase credibility for your brand
- Influence buying decisions
- Boost conversion rates by showing social proof
A testimonial carousel is simply a testimonial section displayed in a rotating slider format, allowing you to show multiple reviews in the same space.
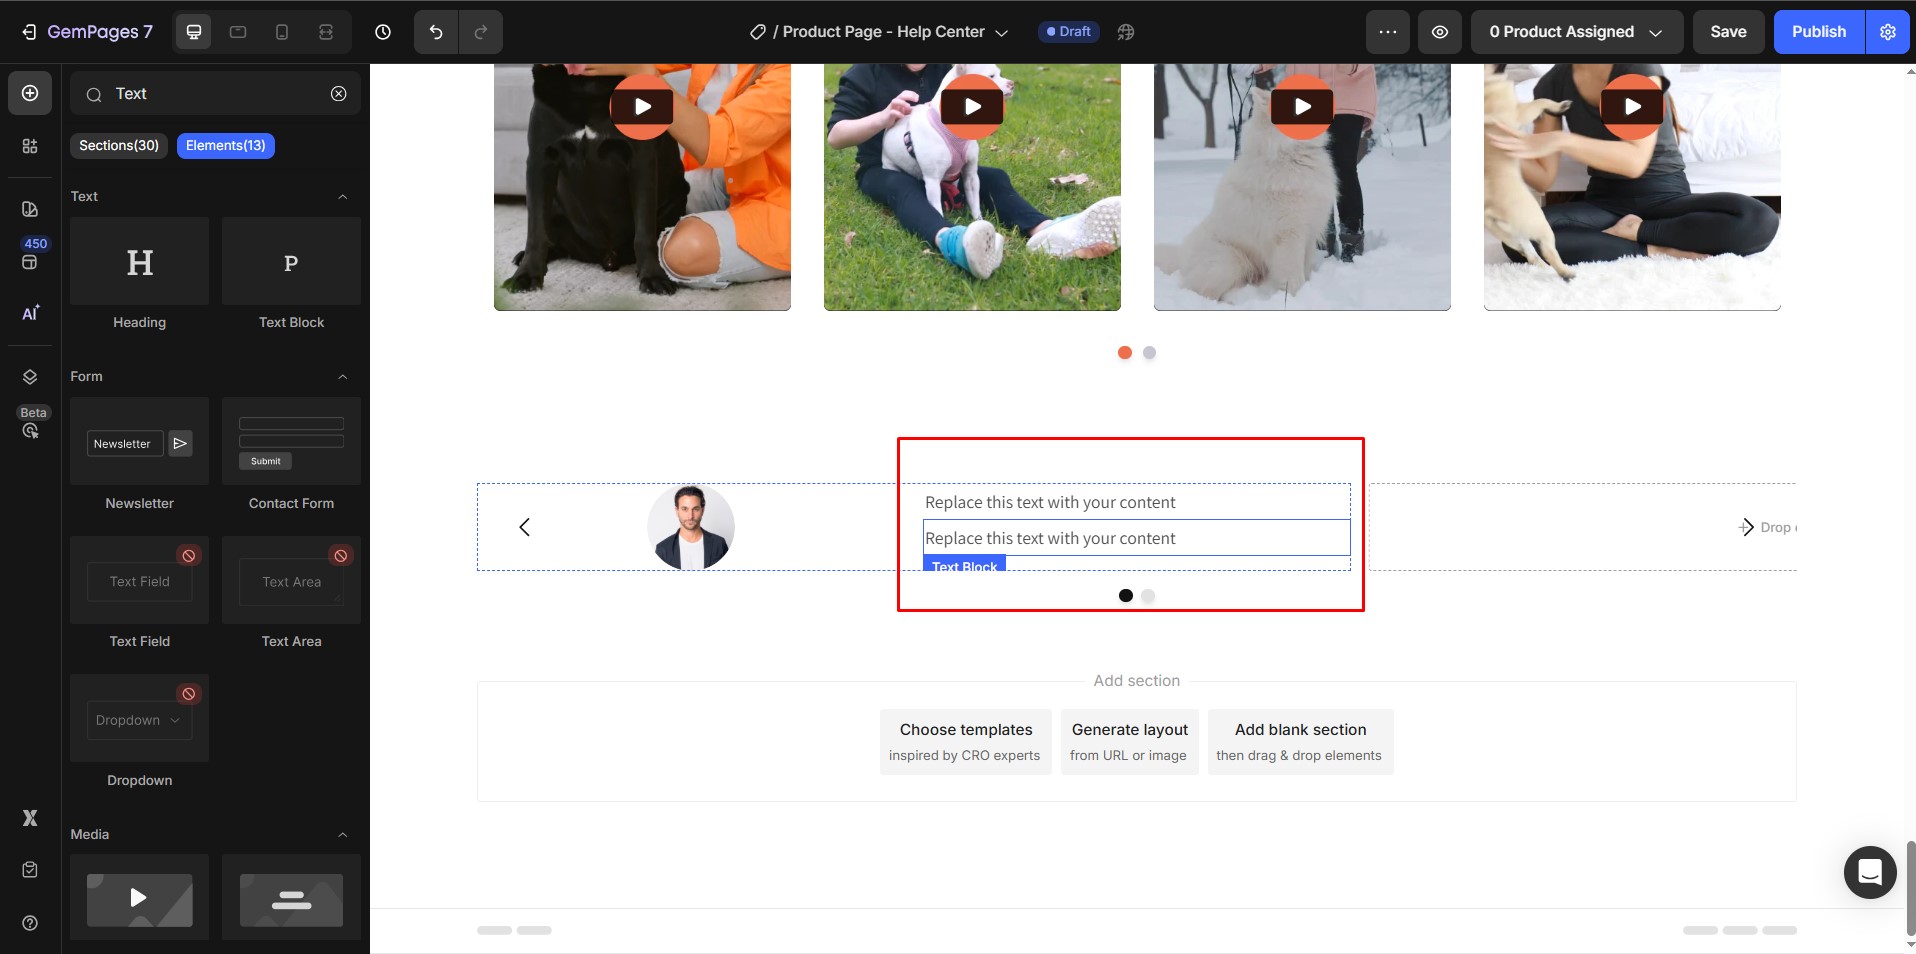
How to Build a Testimonial Carousel with Carousel Element
Follow these steps to create a testimonial carousel from scratch using GemPages:
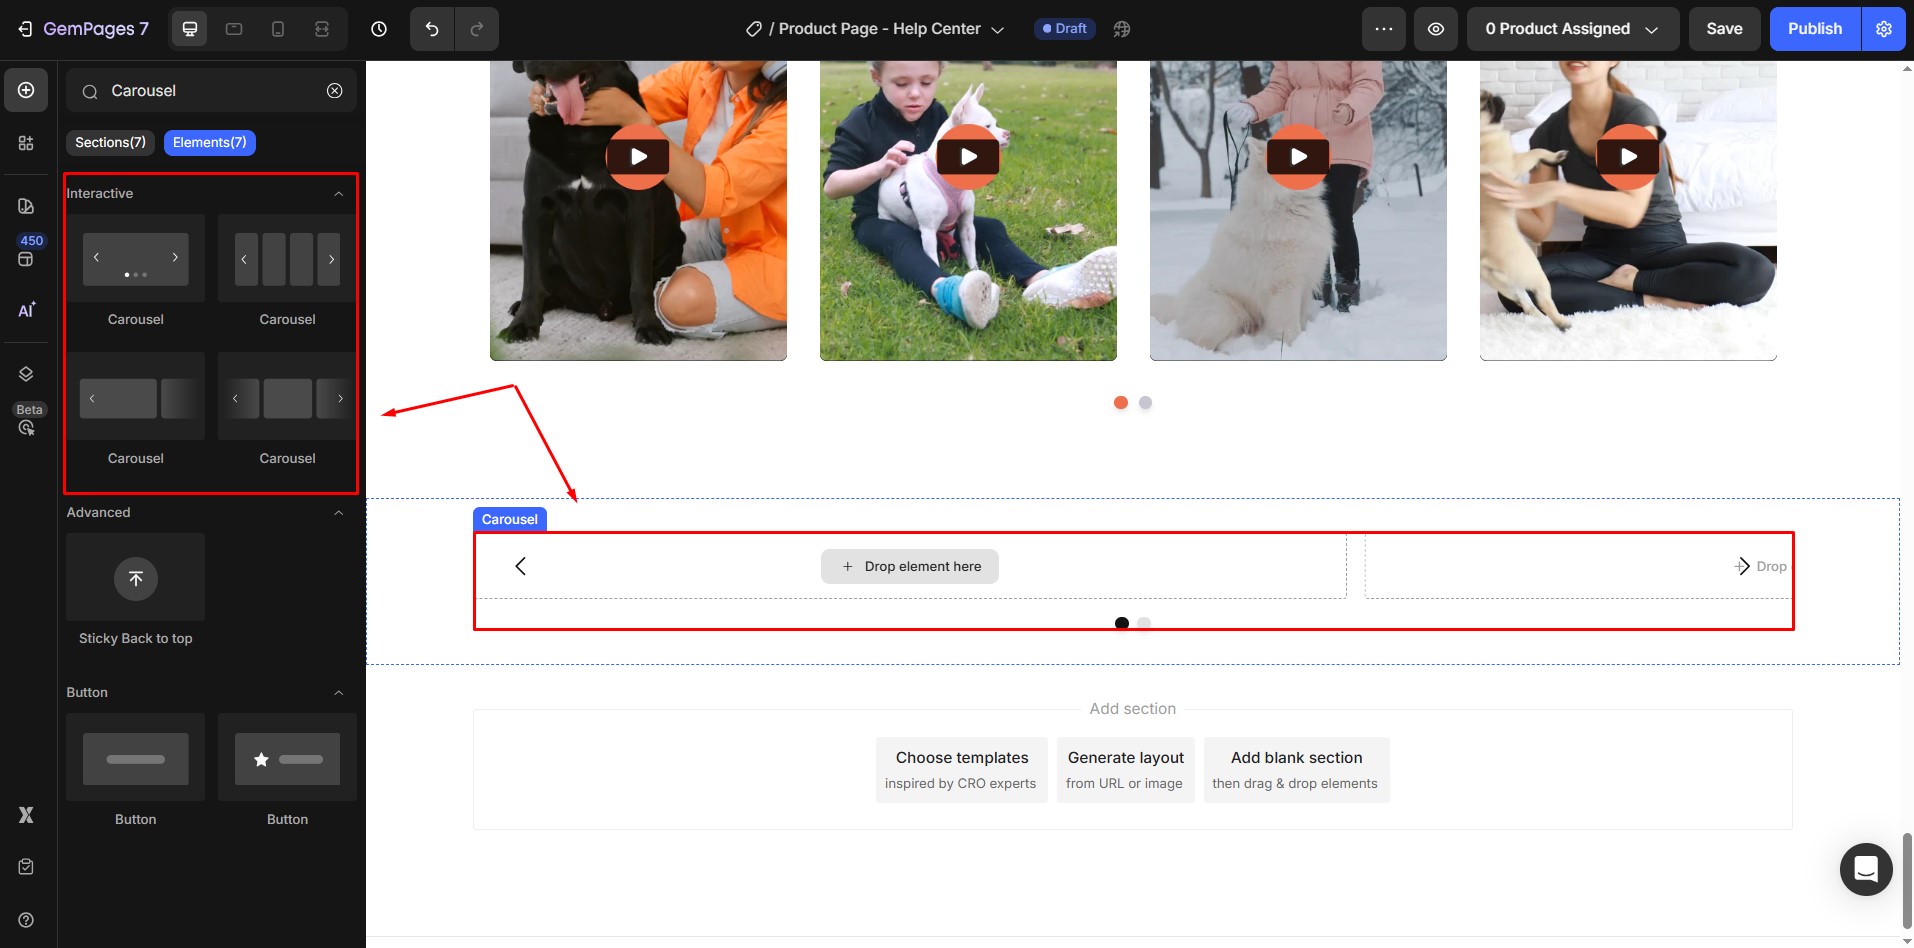
Step 1: Add a Carousel Element
Drag and drop a Carousel element onto your page.
GemPages offers four layout types for the carousel. For this tutorial, we’ll use a basic testimonial carousel layout.
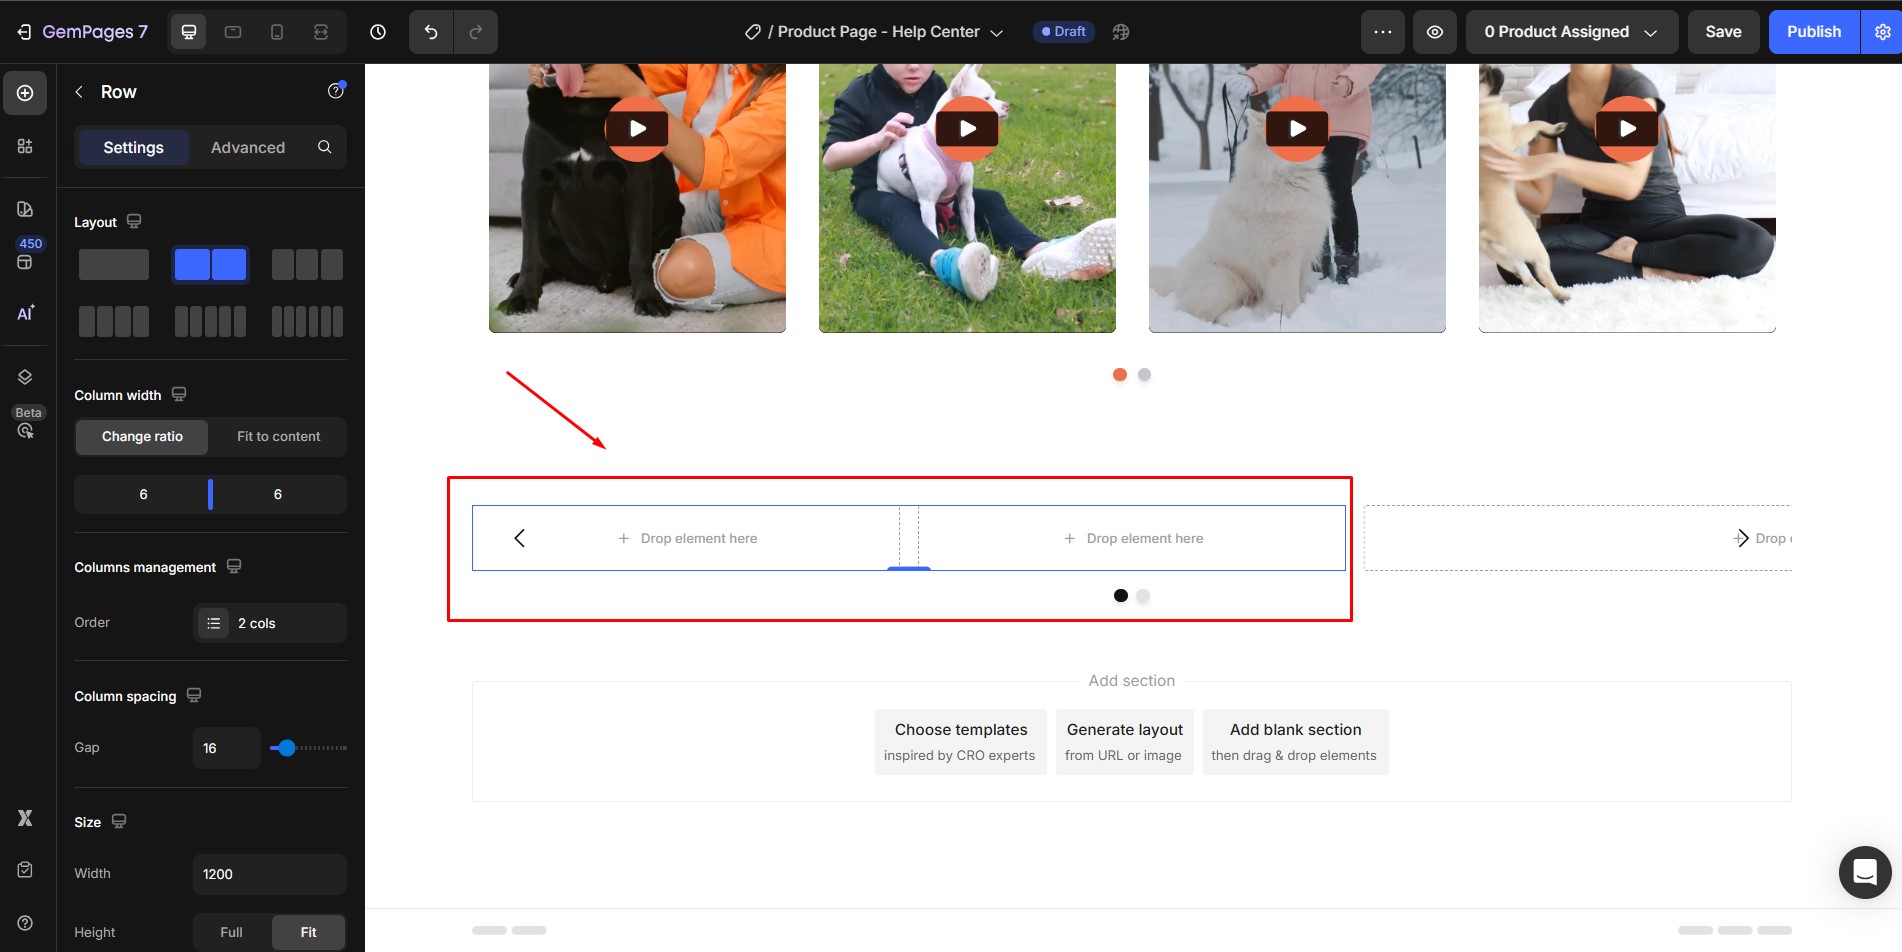
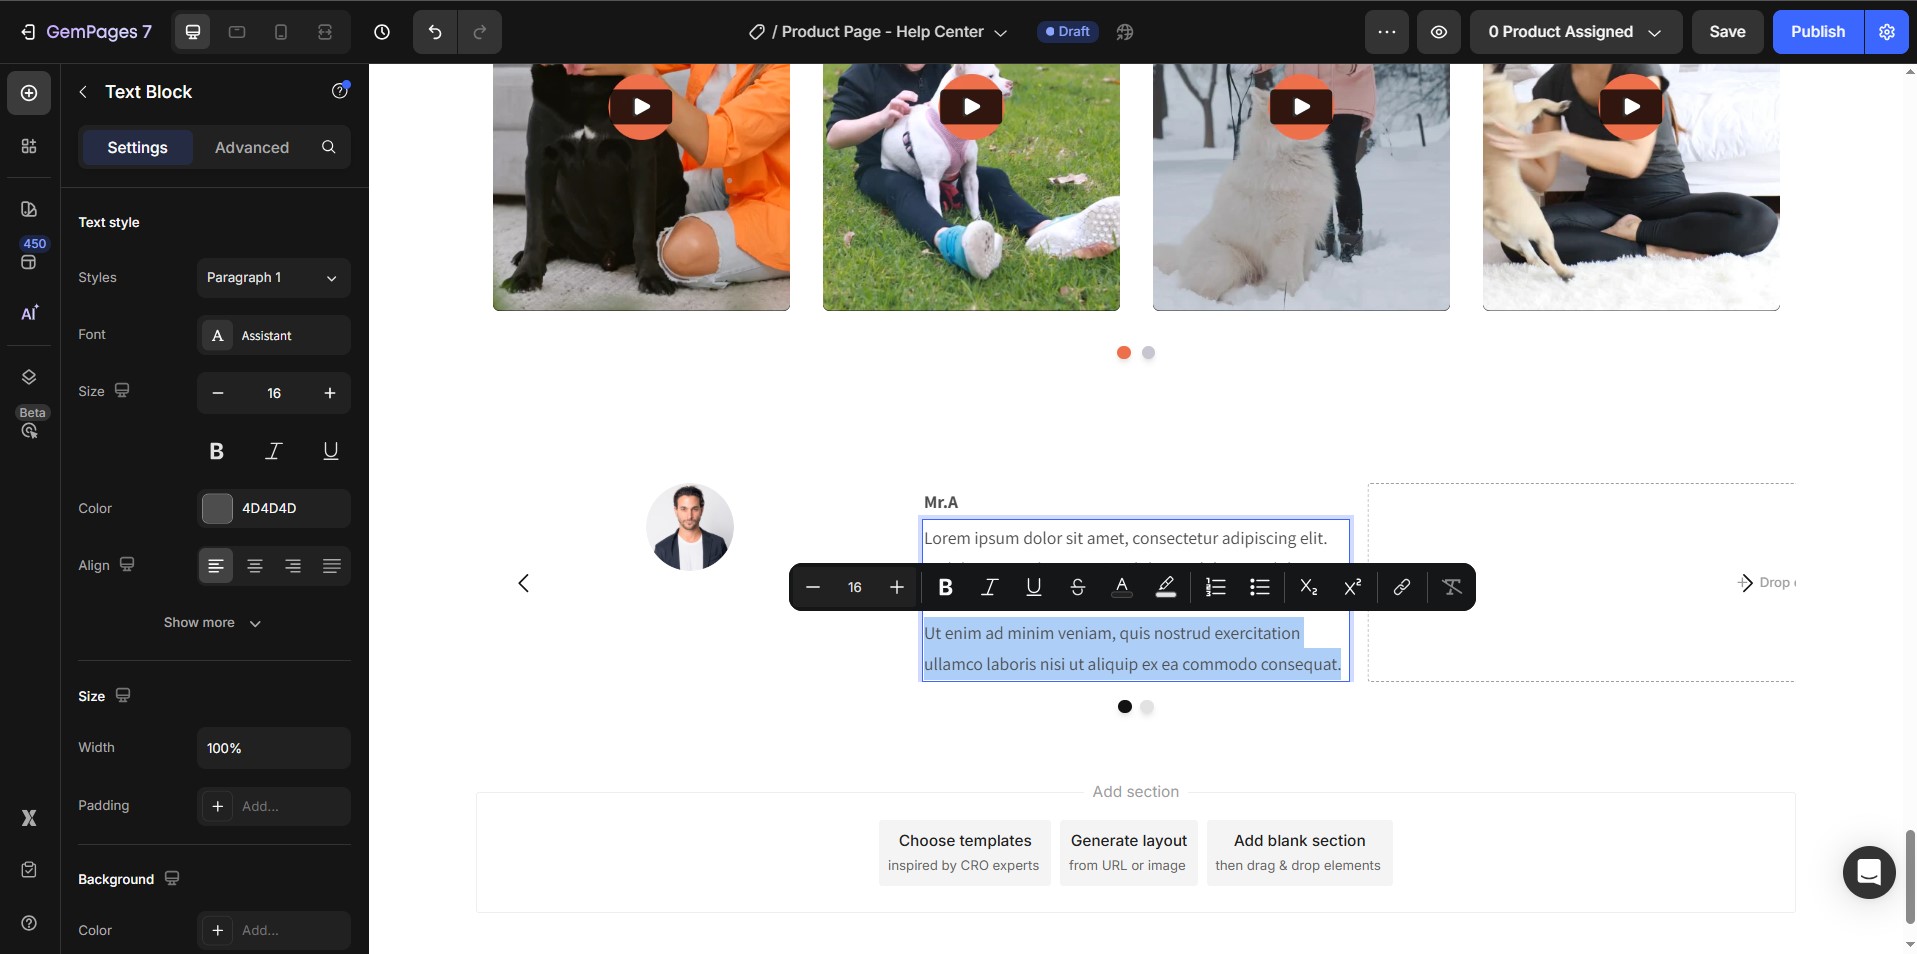
Step 2: Create a Two-Column Row Inside the Carousel Slide
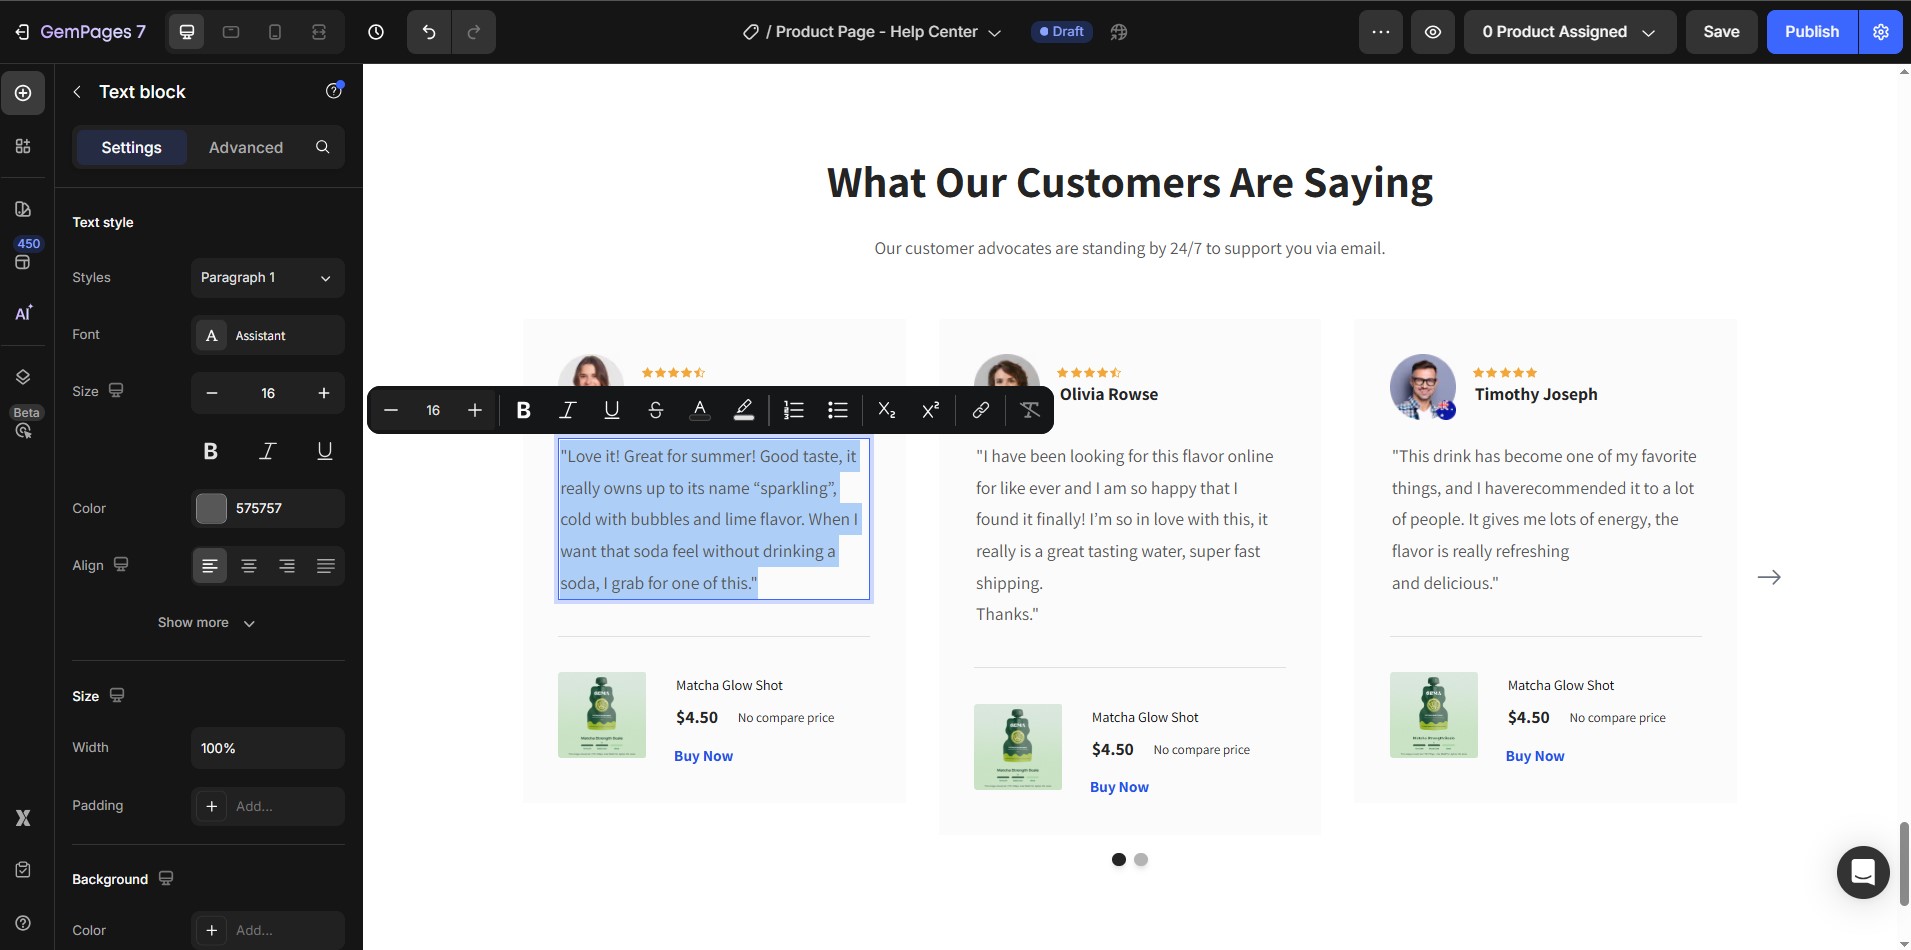
In this tutorial, we’ll build a basic testimonial carousel where each slide has two parts:
- Left side: the customer’s photo (the reviewer)
- Right side: the reviewer’s name and testimonial content
To set this up, inside the first carousel slide, drag in a Row element with two columns:
- Left column: for the customer’s image
- Right column: for the reviewer’s name and testimonial text

Step 3: Add the Reviewer’s Image
In the left column, drag an Image element.
- Choose between a circular or rectangular image style (commonly, circular is preferred for testimonials).
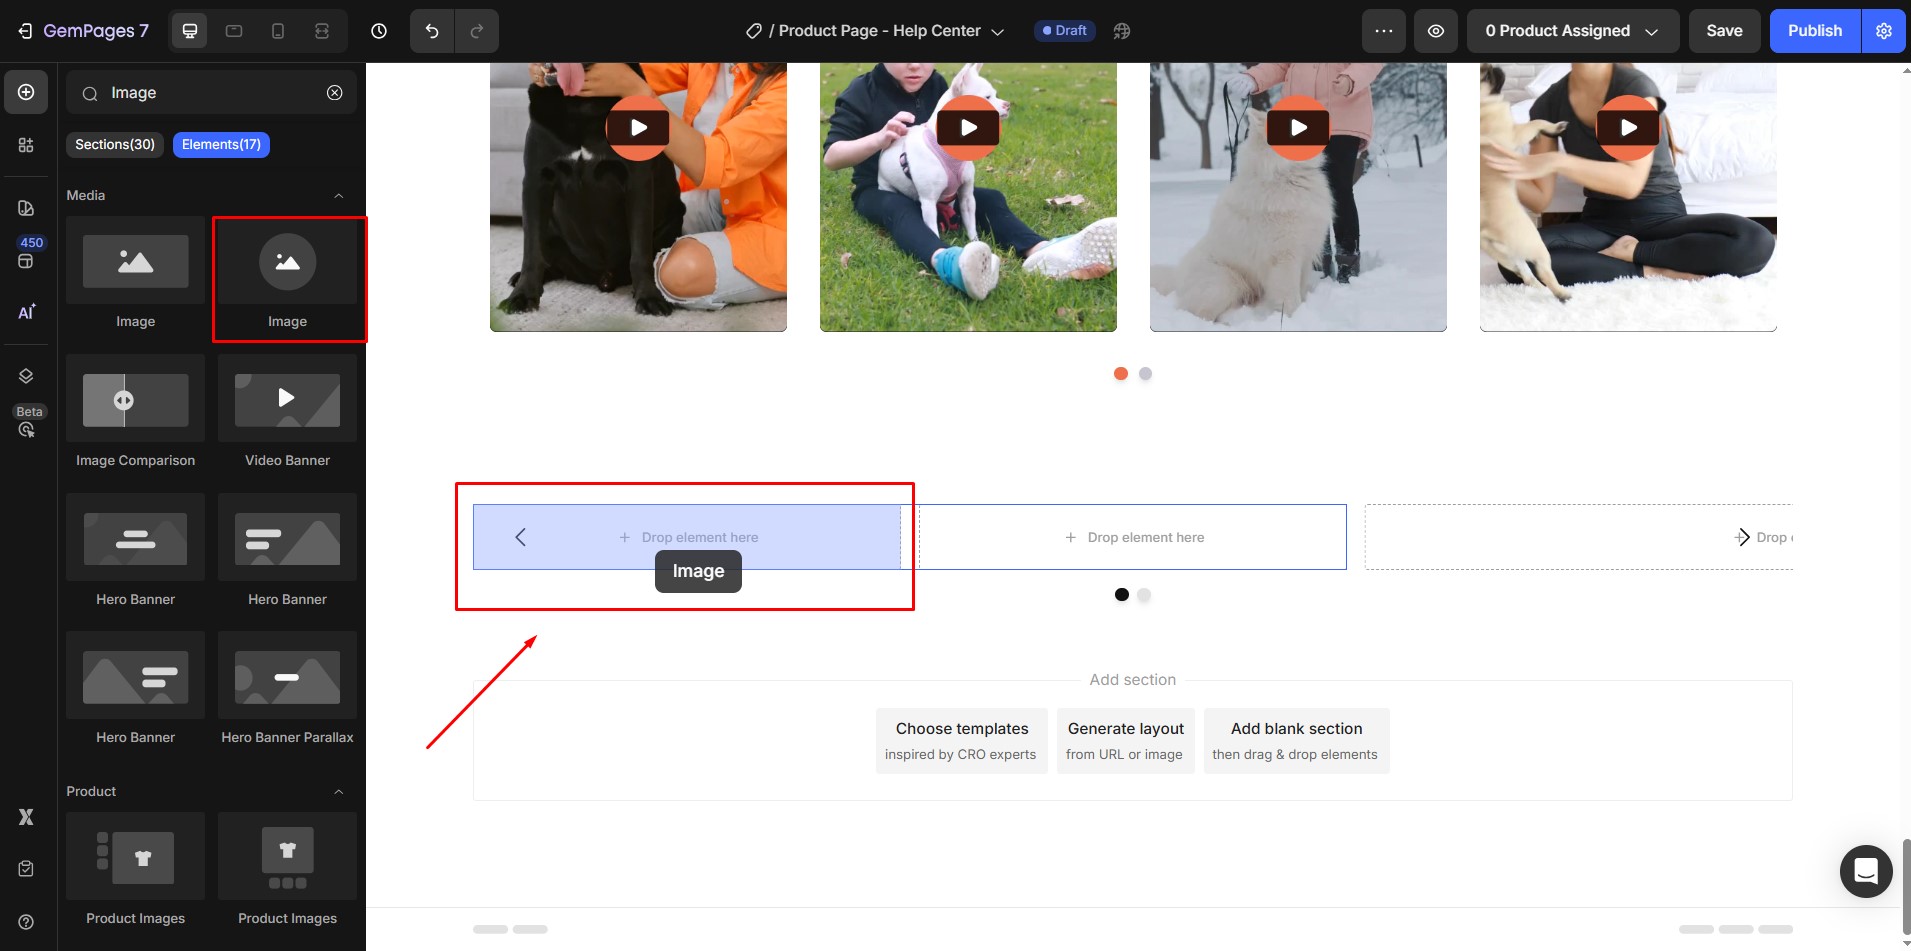

- Upload the customer’s photo.


- Adjust the size and alignment to fit your design.
Step 4: Add the Reviewer’s Name and Testimonial Text
In the right column, drag in two Text elements:
- The top text for the reviewer’s name
- The bottom text for the testimonial content
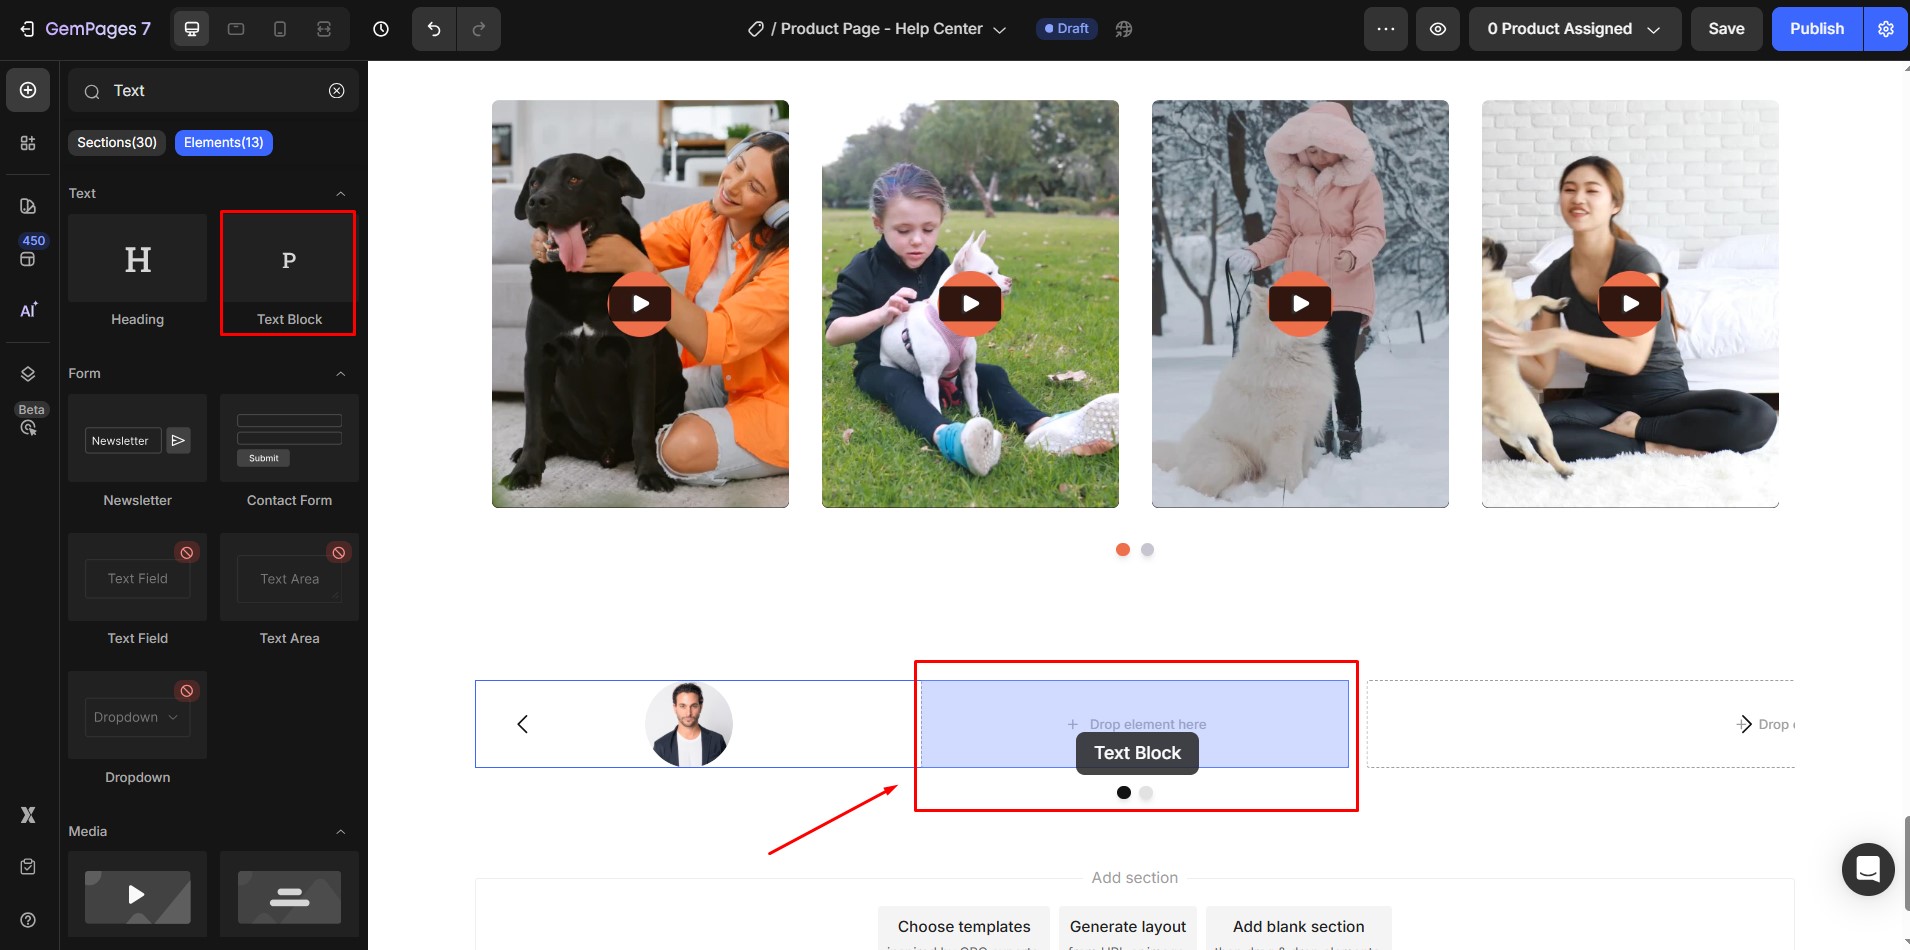
You can customize the font, size, and color to match your brand’s style.
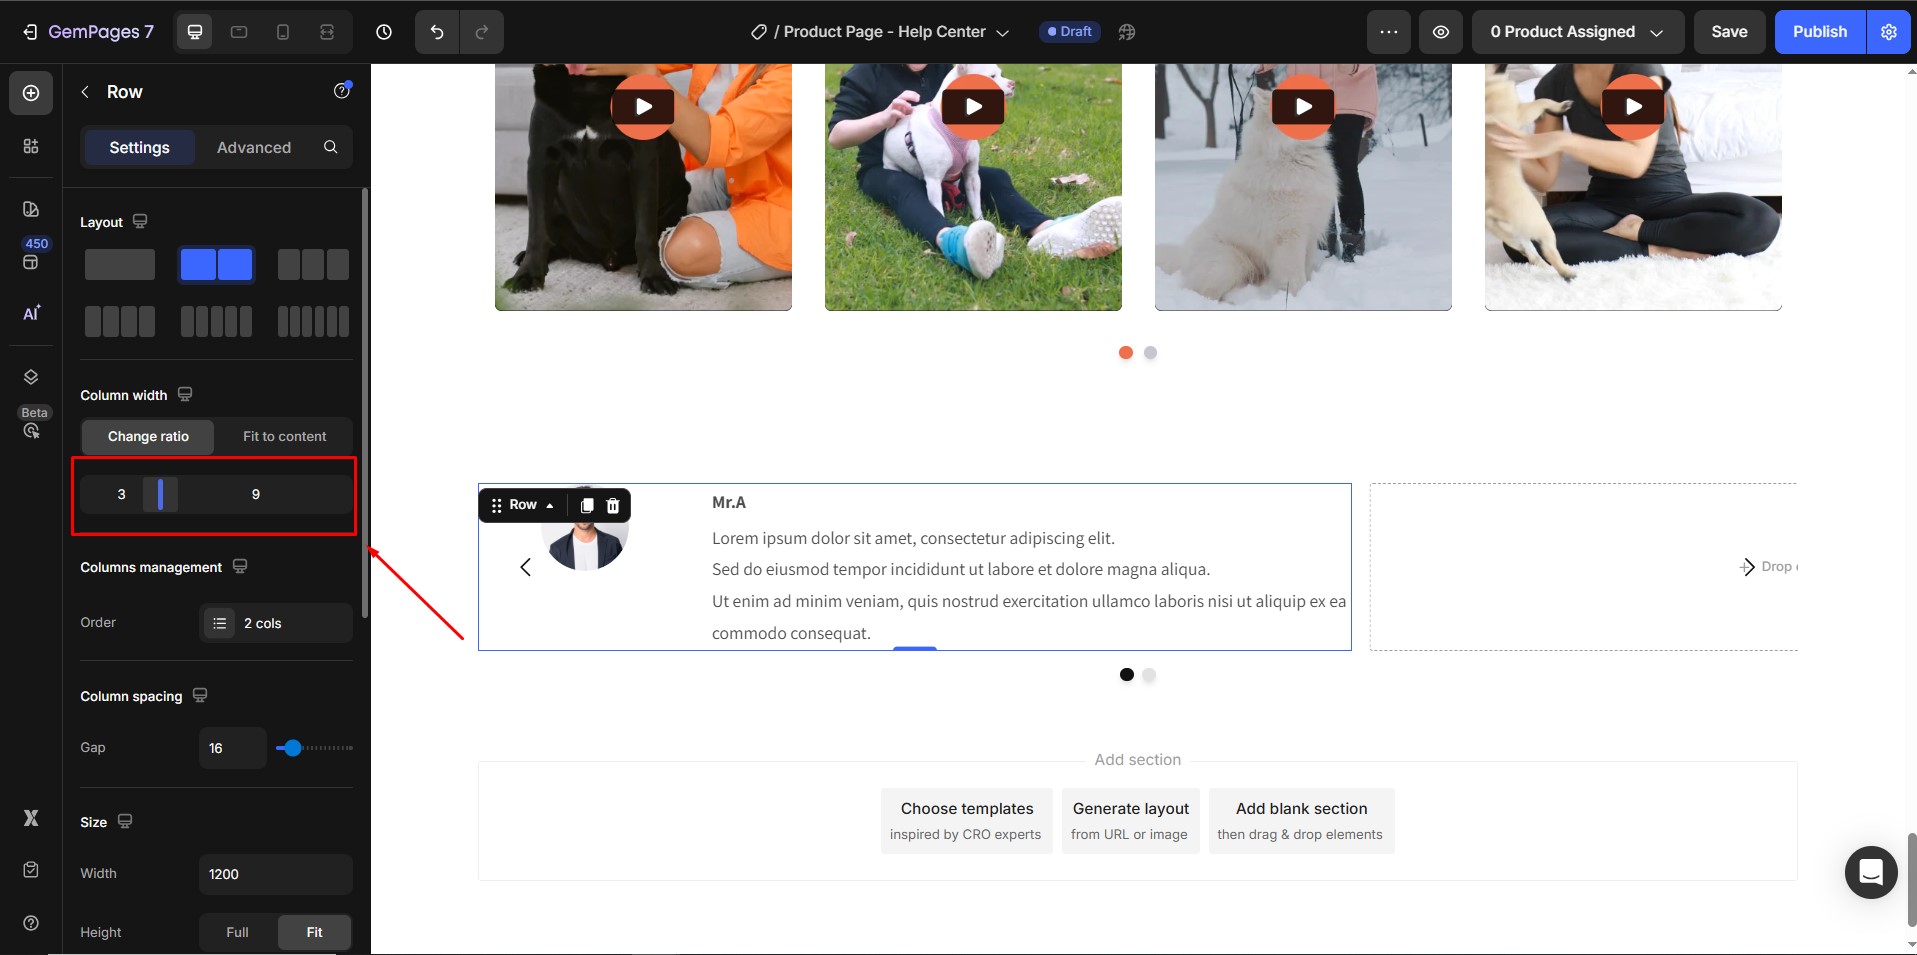
Step 5: Adjust Column Ratios
Resize the two columns to create the right balance:
- A smaller column for the image (left)
- A larger column for the testimonial text (right)
Use the column ratio slider for precise adjustments.
Step 6: Duplicate Slides for More Testimonials
Once your first testimonial slide is ready:
- Duplicate the slide to add more testimonials.
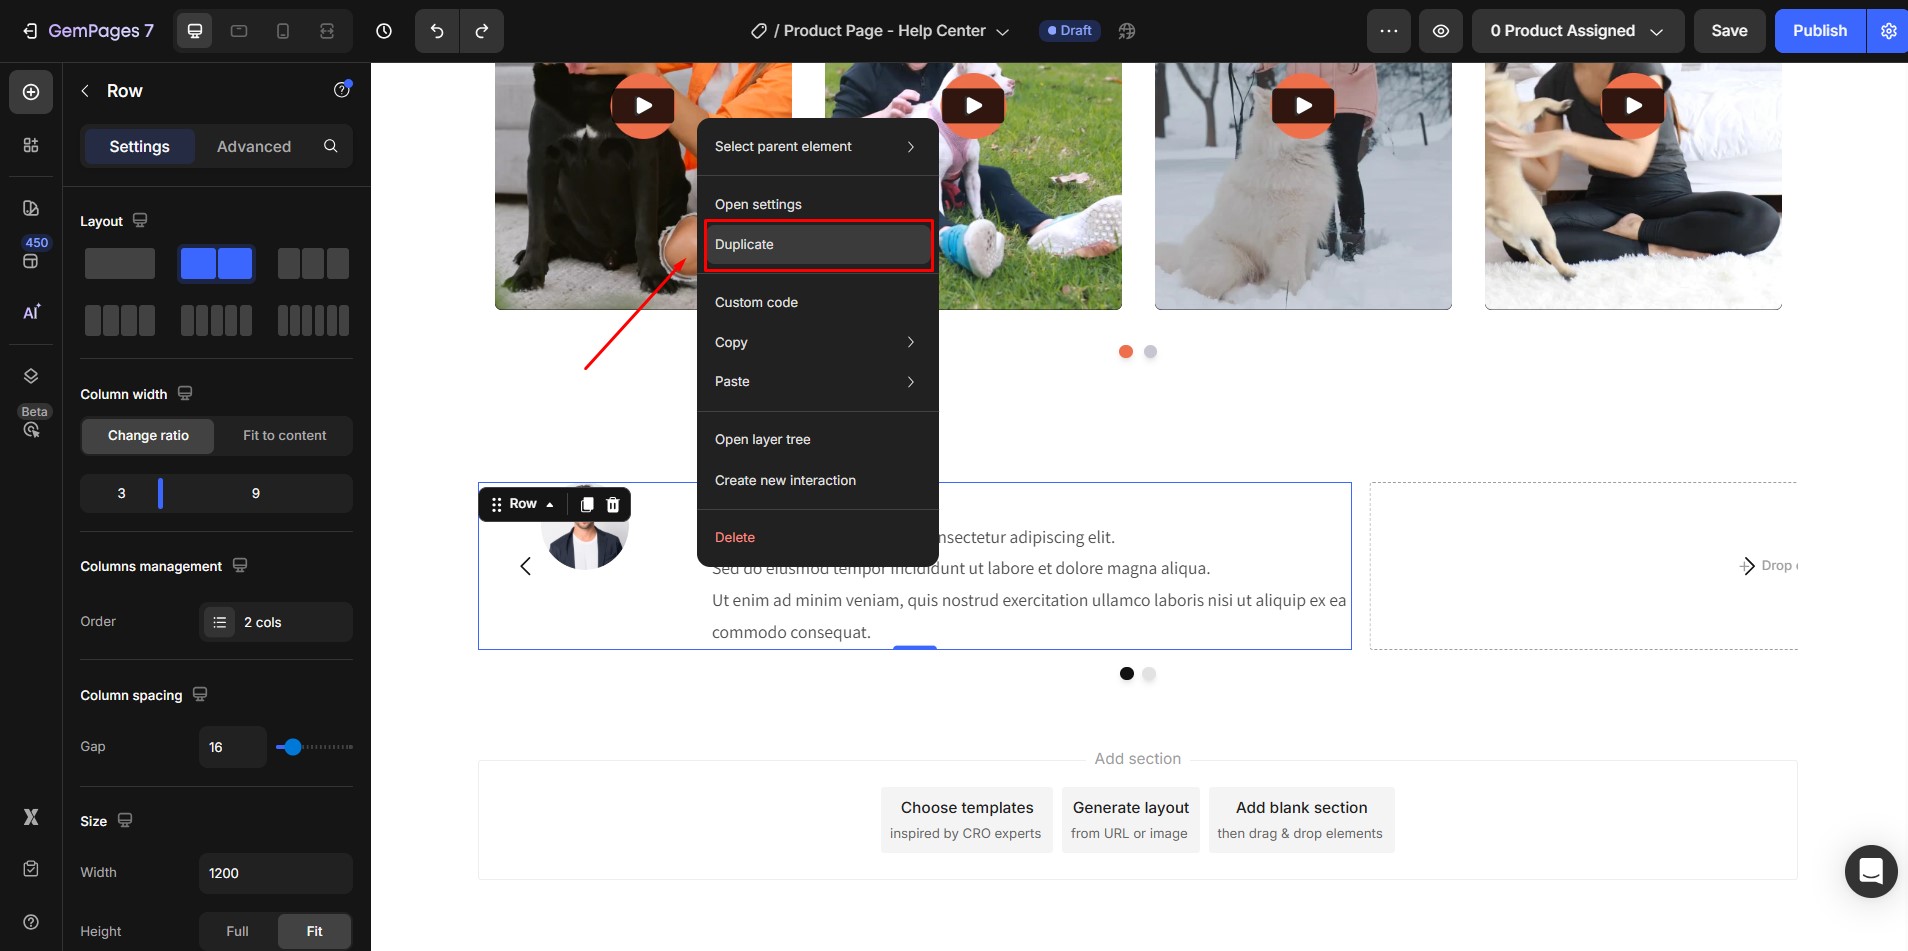
- Update each slide with different customer images, names, and reviews.

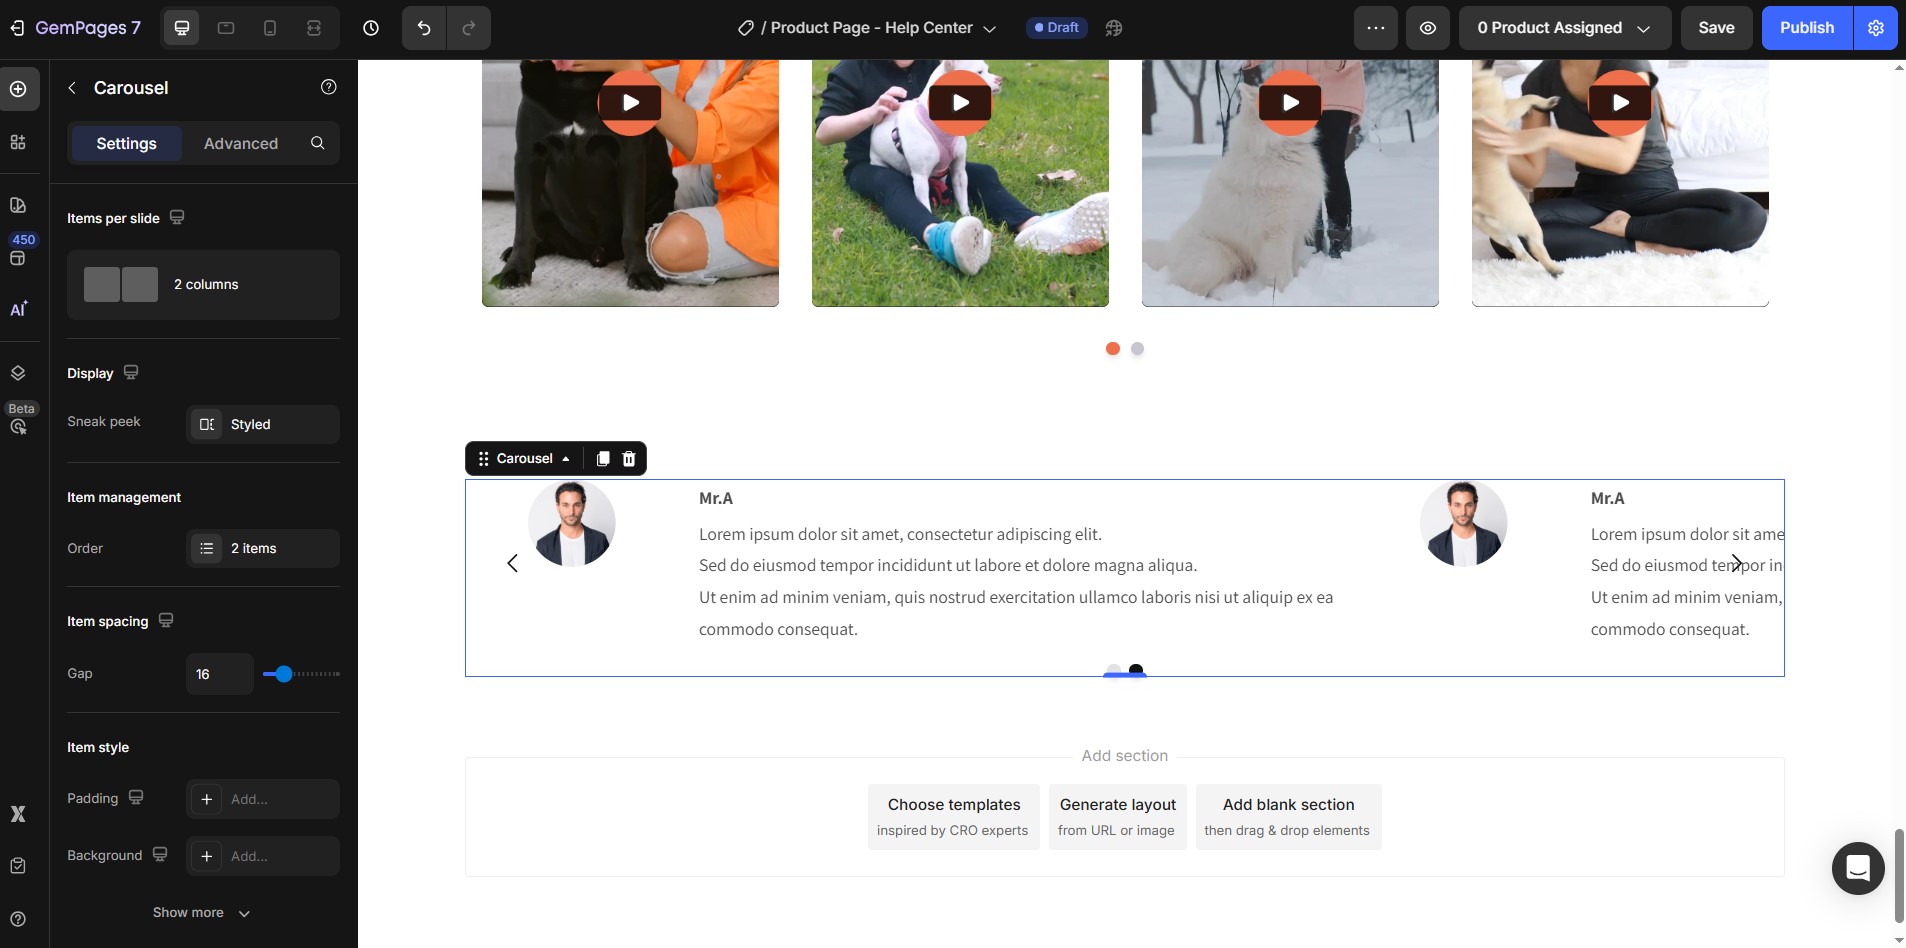
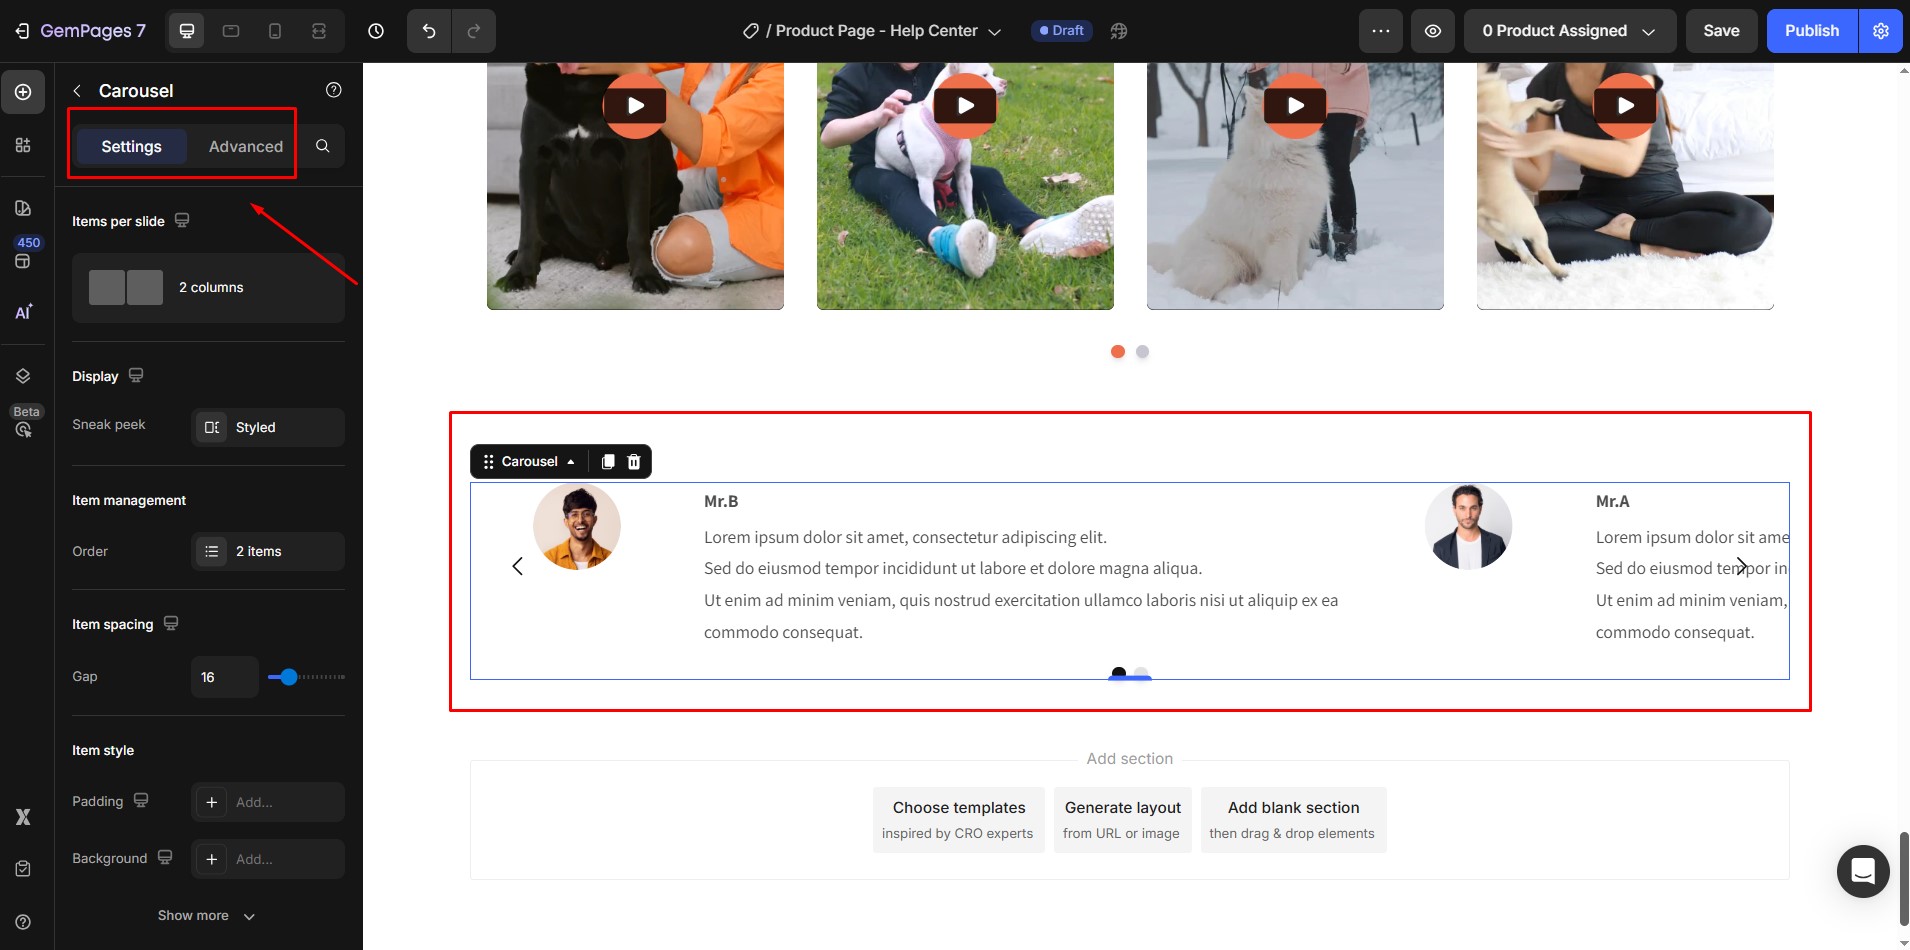
Step 7: Customize the Carousel Settings
When all testimonial slides are complete, click on the Carousel element itself. In the settings panel, you’ll find two tabs: Settings and Advanced. Here, you can:
- Adjust items per slide
- Enable or disable sneak peek
- Customize navigation settings (arrows, dots, etc.)
- Set size, background, and shape
- Choose transition effects
For more detailed guidance, see our article on the Carousel Element.
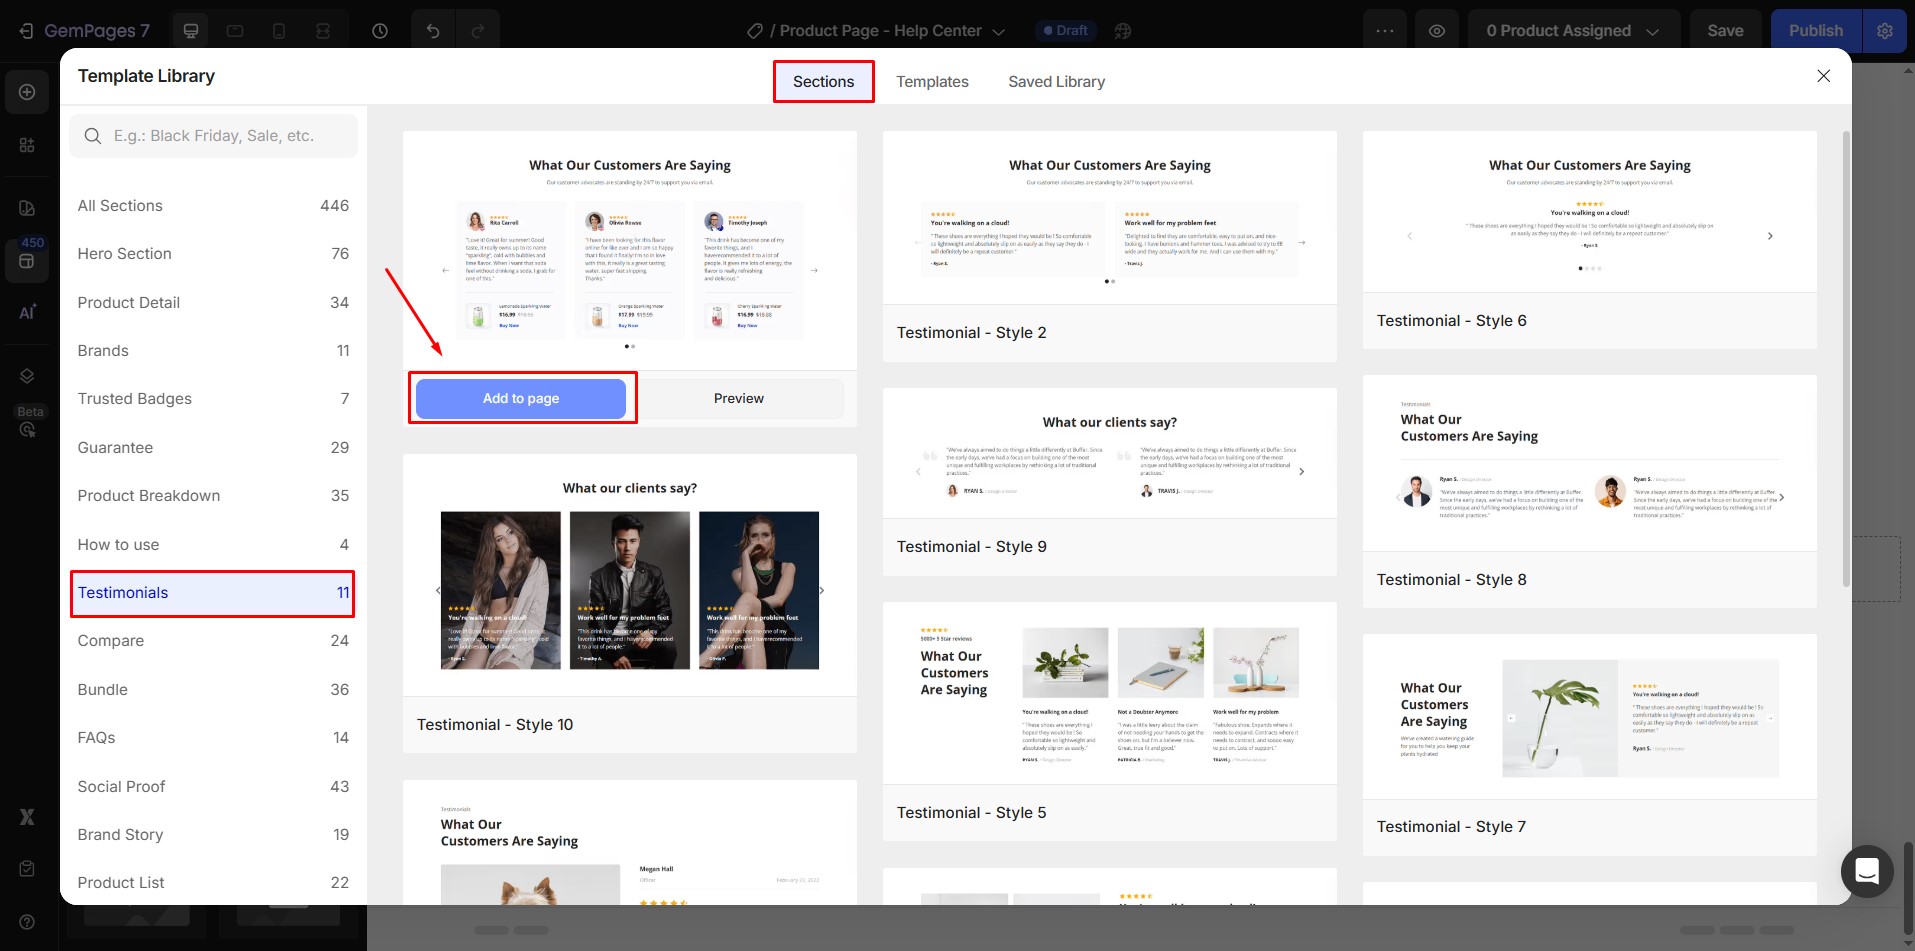
How to Build a Testimonial Carousel with Prebuilt Section Template
If you prefer a faster setup, GemPages offers ready-made testimonial carousel layouts in the Template Library.
Step 1: Go to the template library.
Step 2: Select “Testimonial” in “Sections”, browse the library, and choose one that suits your style. Click “Add to page” to insert it directly into your page. Make any changes if needed.


Thank you for your comments