For deep instructions on how to use Margin and Padding in GemPages v7, check out our tutorial below:
Margin & Padding
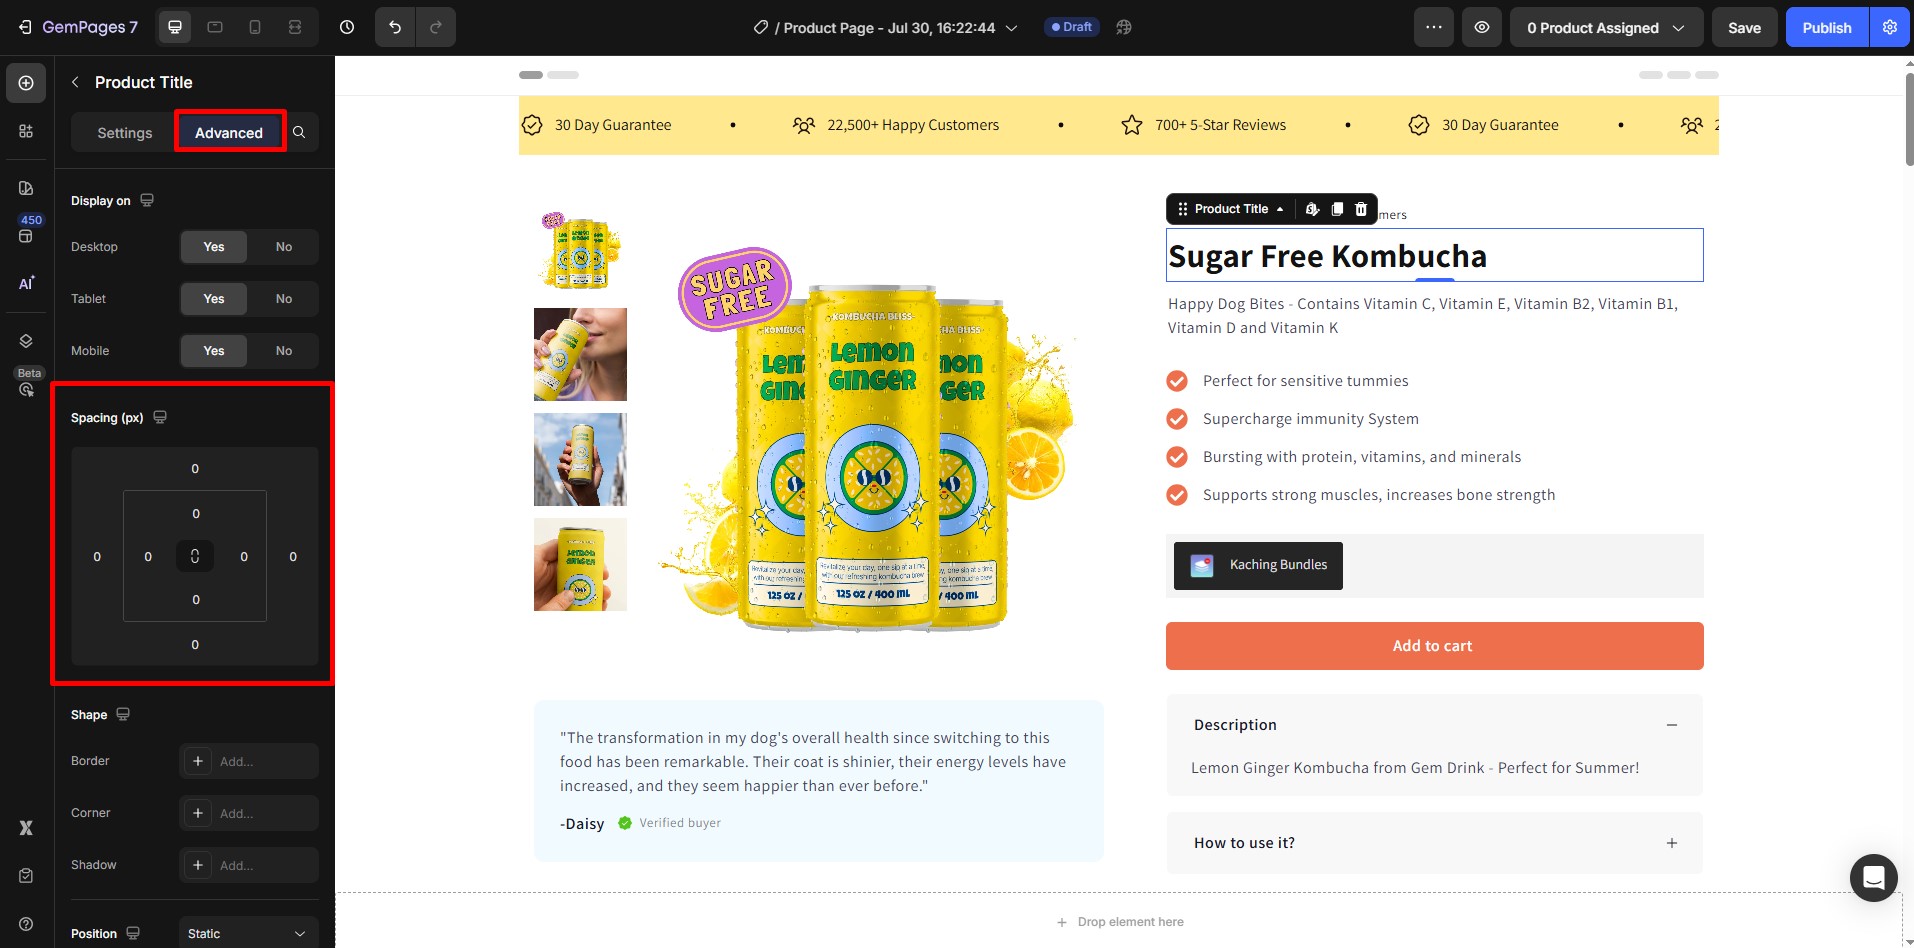
Margin is the space outside an element’s border, creating distance between that element and adjacent ones. It can be adjusted for the top, right, bottom, and left sides, allowing for control over the layout and visual separation.
Padding, on the other hand, is the space inside an element’s border, acting as a cushion between the content and the edges. Like margins, padding can be adjusted for each side, ensuring that content does not touch the element’s borders.

Spacing
Spacing refers to the adjustments made to control the gaps and overall distance between various elements on a page.
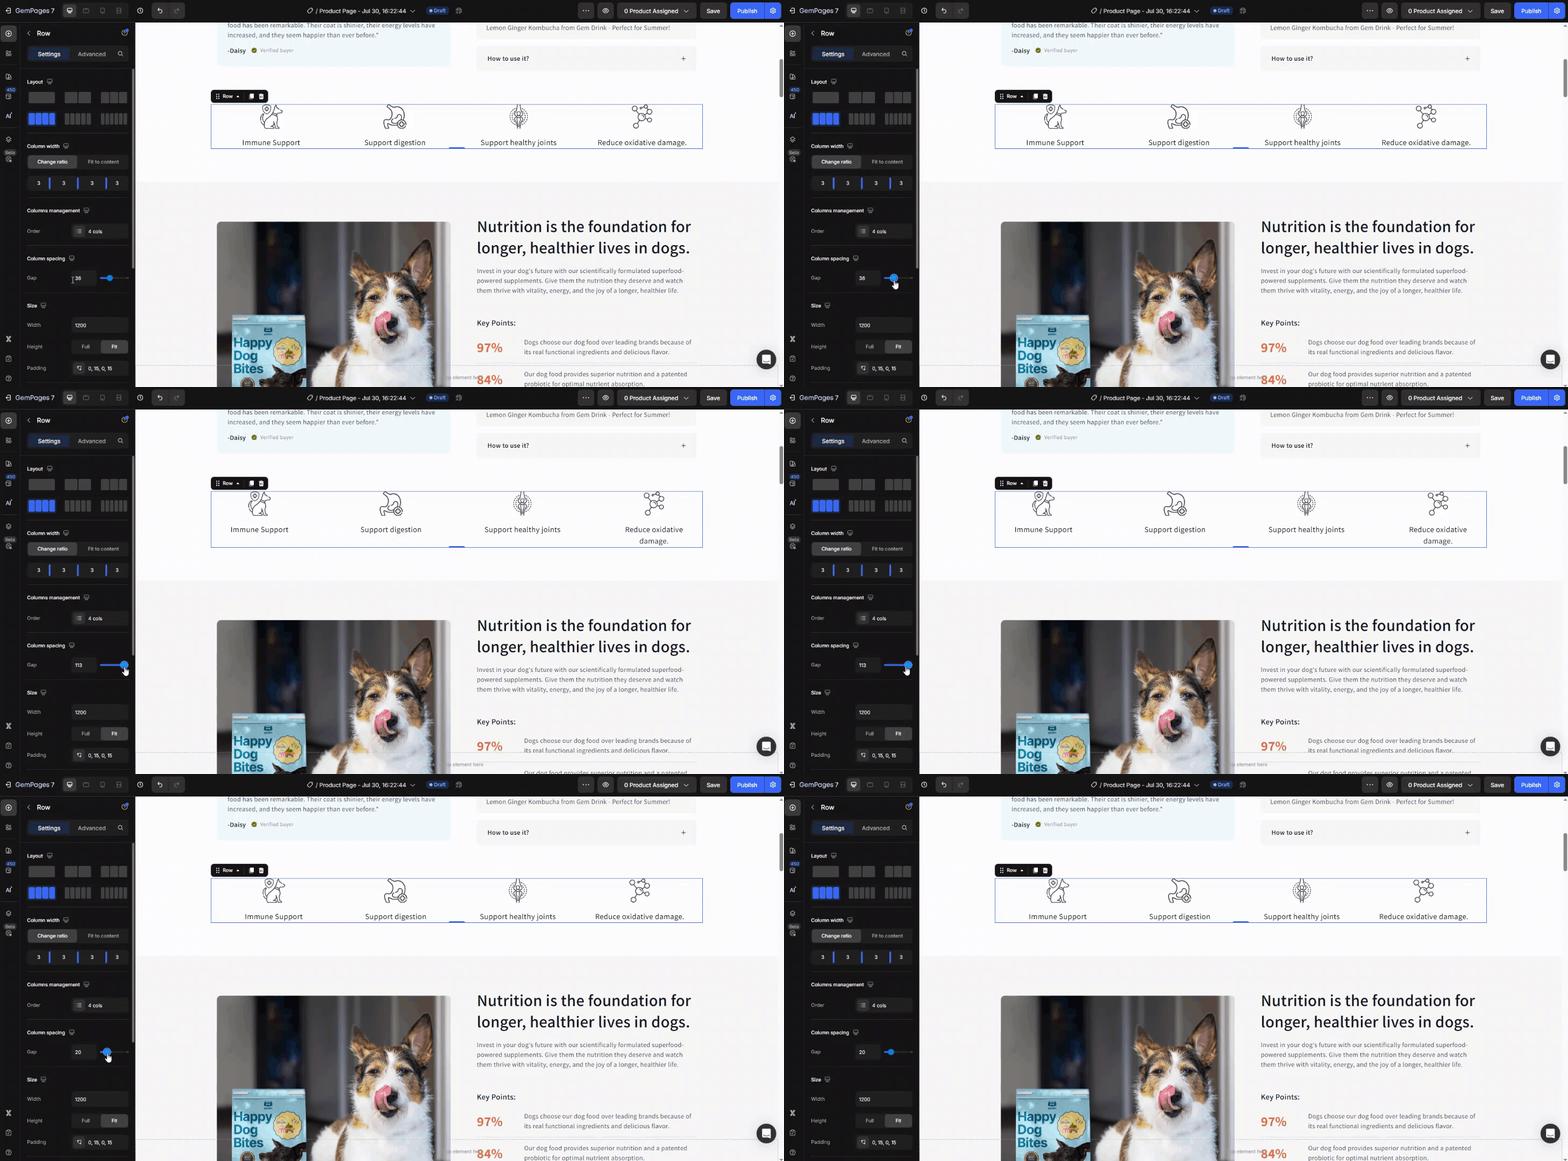
For example, in the Row element, spacing settings can be utilized to set the column gaps. By adjusting the spacing, you can control the distance between the columns, ensuring that the layout appears balanced and visually appealing.

Position
Position settings in GemPages are an important attribute for positioning elements on a web page. This attribute allows you to control how an element is positioned on a web page using different values.
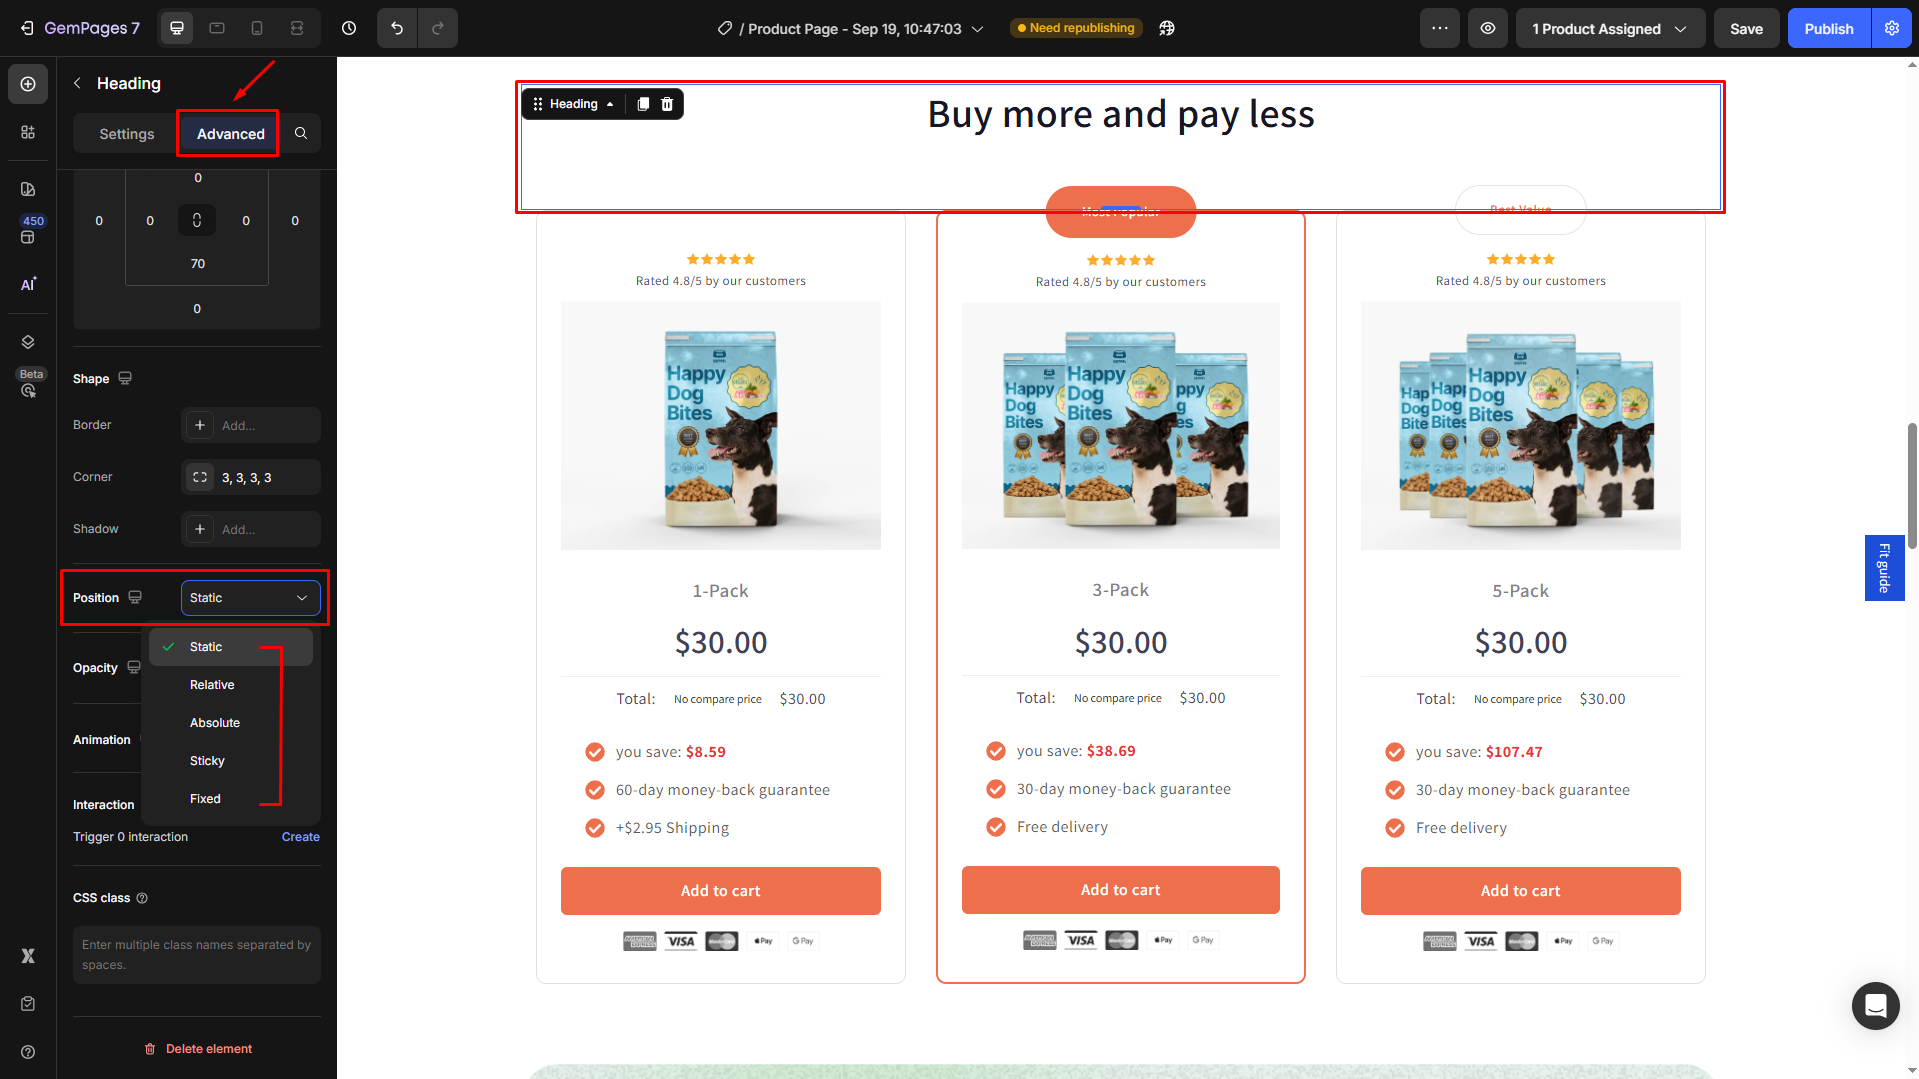
Go to the Position section under the Advanced tab in your left settings panel. From here, you can choose the preferred position for any element from the dropdown:
- Static: The default value for elements, and cannot be positioned using the top, bottom, left, or right attributes.
- Relative: If Static is the default way to display an element’s position, then Relative is the way to display its relative position. The initial position will still occupy a space on the page.
- Absolute: The position of an element relative to the nearest scrolling parent element.
- Fixed: The position of an element relative to the viewport.
- Sticky: The position of an element relative to its parent element.

FAQs about Margin, Padding, and Spacing
1. Why do my images appear shifted to the right or overlapping instead of centered?
This usually happens when the padding value is set too high on one side of the element.
Try reducing the left or right padding, or resetting the padding to default values.
If the issue persists, check the margin settings or use the Position options (e.g., Center) to realign the element.
2. How can I make sure my content doesn’t touch the edges of an element?
Increase the padding inside the element.
Padding creates space between the content and the element’s border, helping your design look balanced and easier to read.
3. What’s the best way to create space between two elements?
Use margin to add distance outside an element’s border.
For example, applying margin-bottom to a heading will create spacing before the next element below it.
4. How do I adjust the gap between columns in a Row element?
Go to the Spacing settings of the Row element and increase the Column gap.
This controls the distance between columns and helps the layout look more even.
5. When should I use Position settings instead of margin or padding?
Use Position when you need precise control of where an element sits on the page (e.g., Fixed header, Sticky banner).
For general layout spacing, margin and padding are usually better.


Thank you for your comments