


This article will show you how to adjust Z-index settings in GemPages Editor to create visually dynamic and layered designs.
What Is Z-index?
Z-index is a CSS property that controls the stacking order of elements on a webpage—determining which element appears on top when elements overlap. A higher Z-index value means the element will appear in front, while a lower (or negative) value sends it behind others.
Key Rules of Z-index
- Positive values (e.g., 10, 100) bring an element forward in the stack.
- Negative values (e.g., -1) push an element behind others.
- Higher values always appear in front of lower ones.
- Important: Z-index only applies to elements within the same layer or section. It also respects the parent-child hierarchy, meaning a child element can’t visually escape its parent’s stacking context.
Note:
- Z-index only works for elements that are in the same layer group.
- A child element’s Z-index is relative to its parent element and cannot override the parent’s stacking order.
How to Adjust Z-index in GemPages
Follow these steps to control the Z-index of an element directly in the GemPages Editor:
Step 1: Create Overlap Between Elements
- Click on the element you want to reposition.
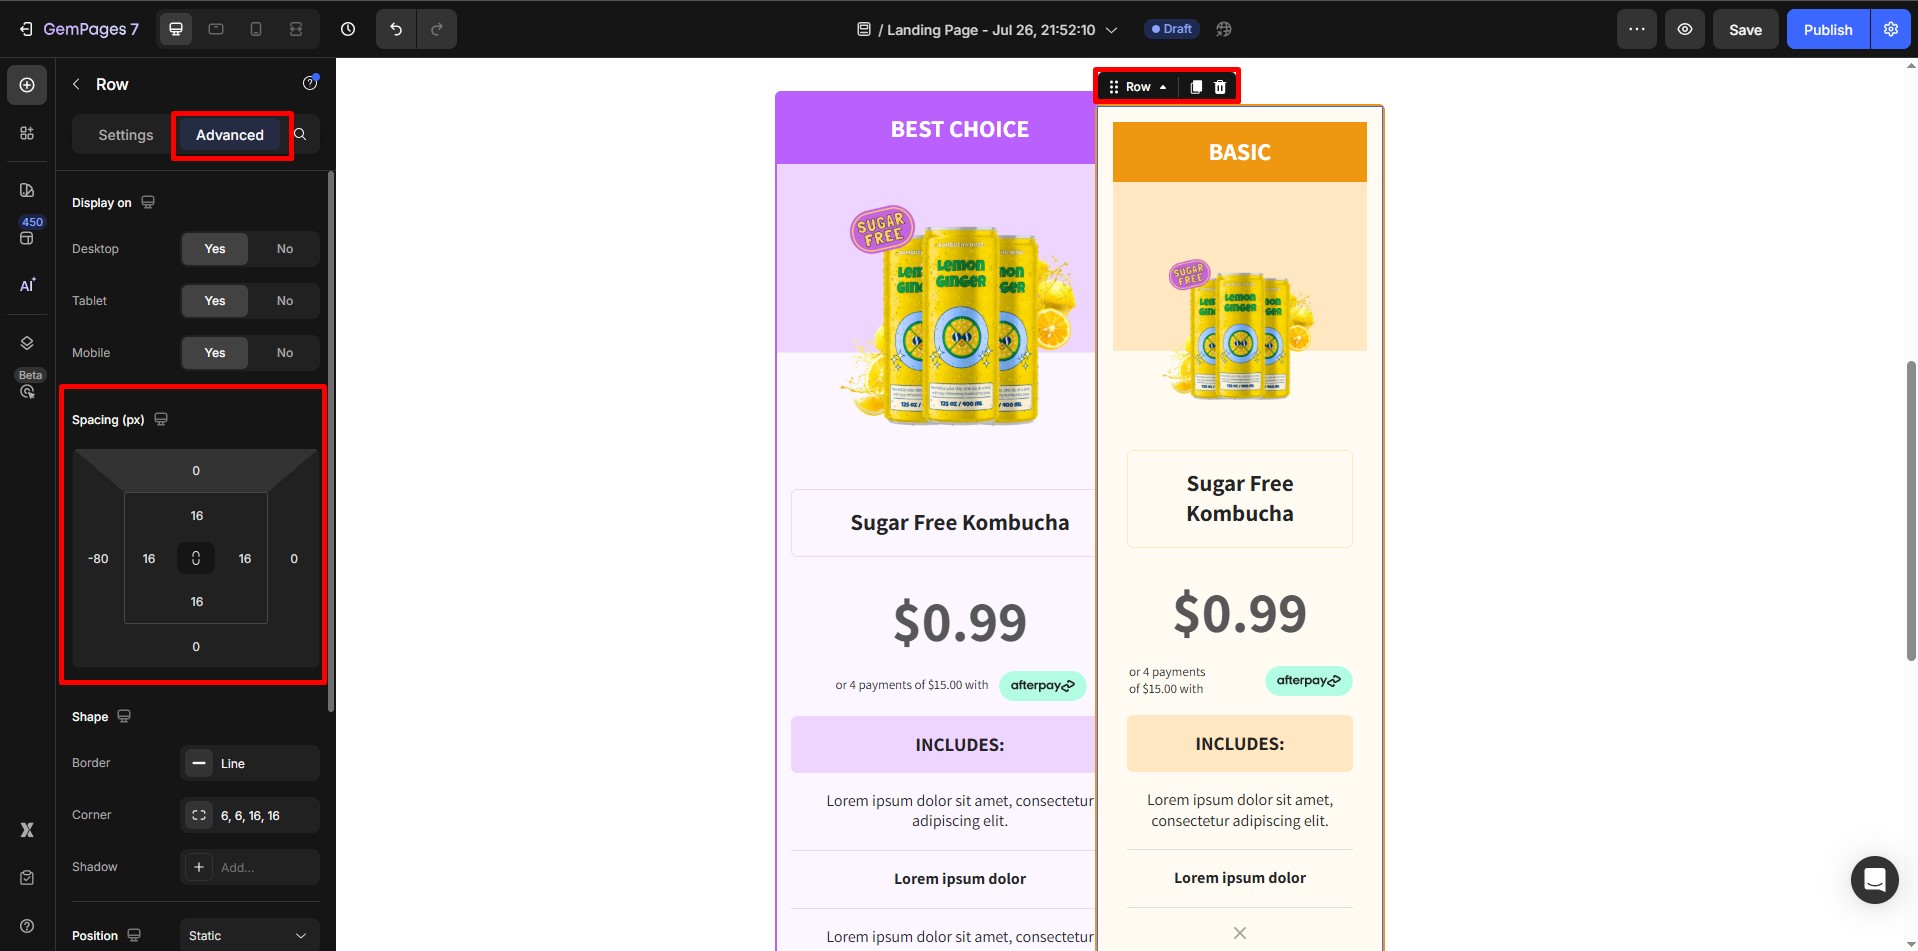
- In the left sidebar, open the Advanced tab.
- Under Margins & Padding, apply a negative margin (e.g., on the left side) to move the element so it overlaps another element in the same row or section.
- Open the Advanced tab in the settings sidebar. Navigate to Margins and Padding and apply a negative margin on the left side of the element.
- This moves the element so that it overlaps with the element on its left.
This step is necessary to see the visual effect of Z-index changes.
Step 2: Set the Position and Z-index
- Click on the element that should appear in front (or behind).
- In the Advanced tab of the Settings panel, locate the Position property.
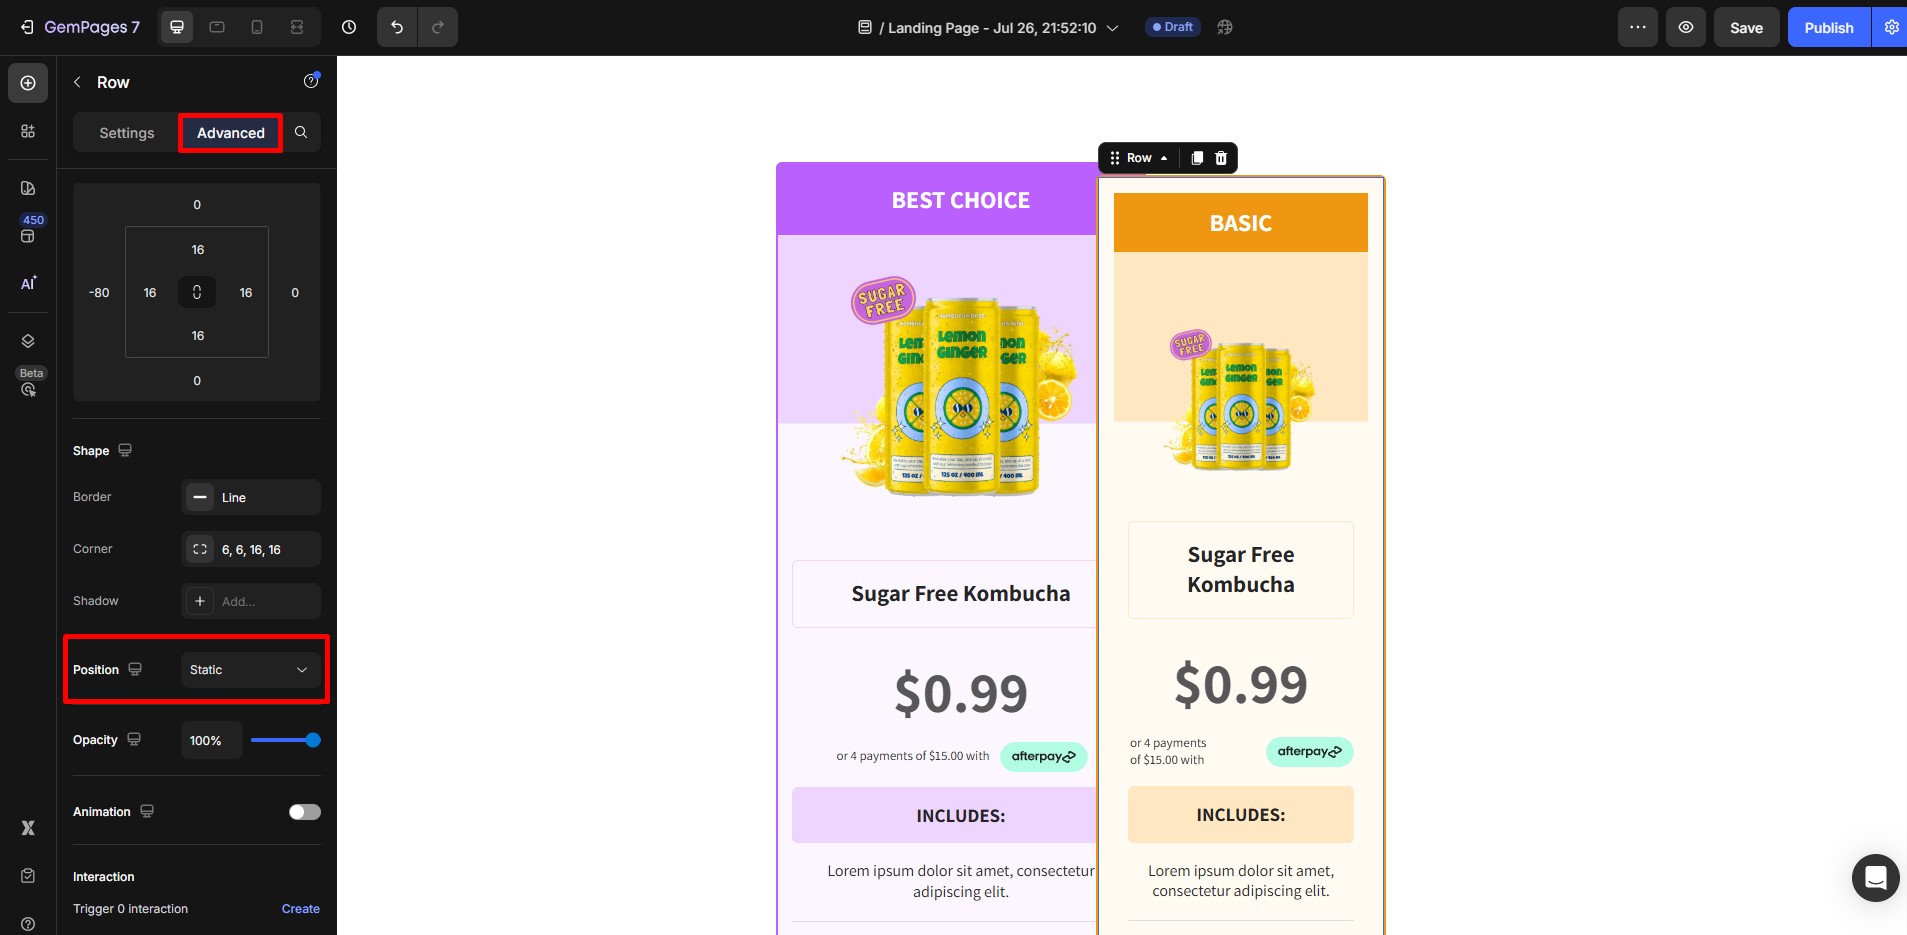
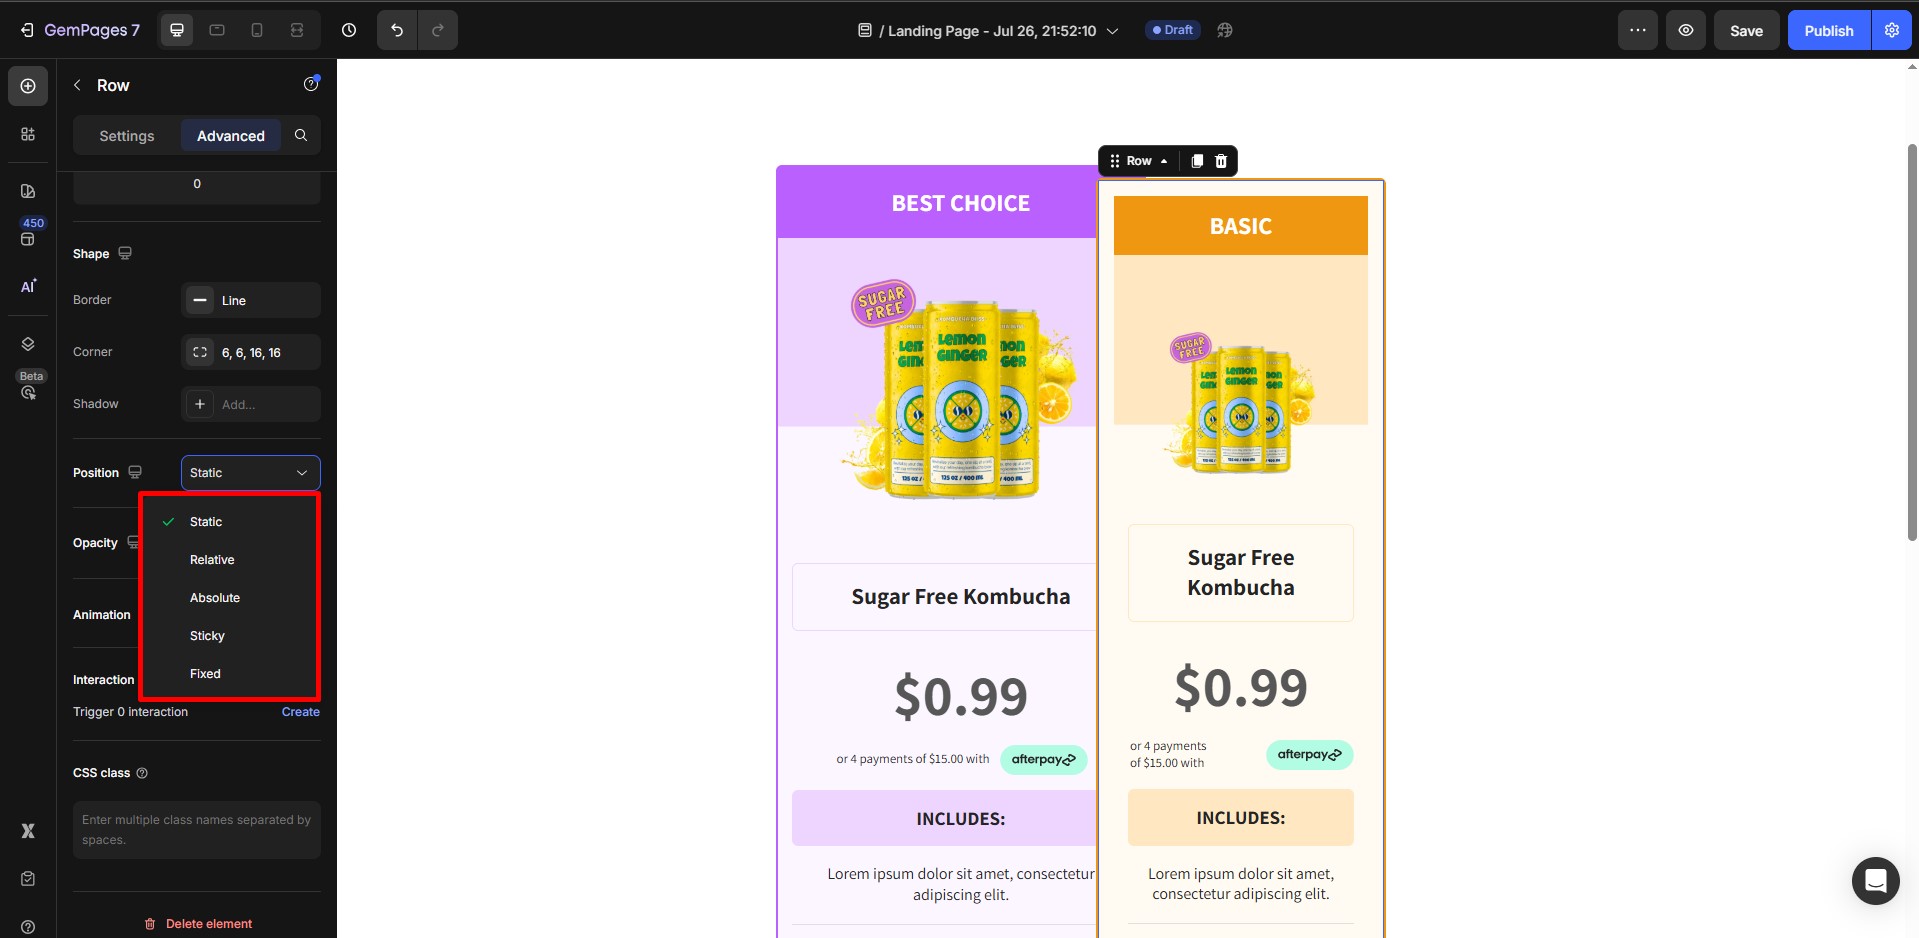
- Set the position to either:
- Relative: Keeps the element in the normal layout flow but allows stacking.
- Absolute: Removes it from the layout flow and positions it relative to the nearest positioned ancestor.
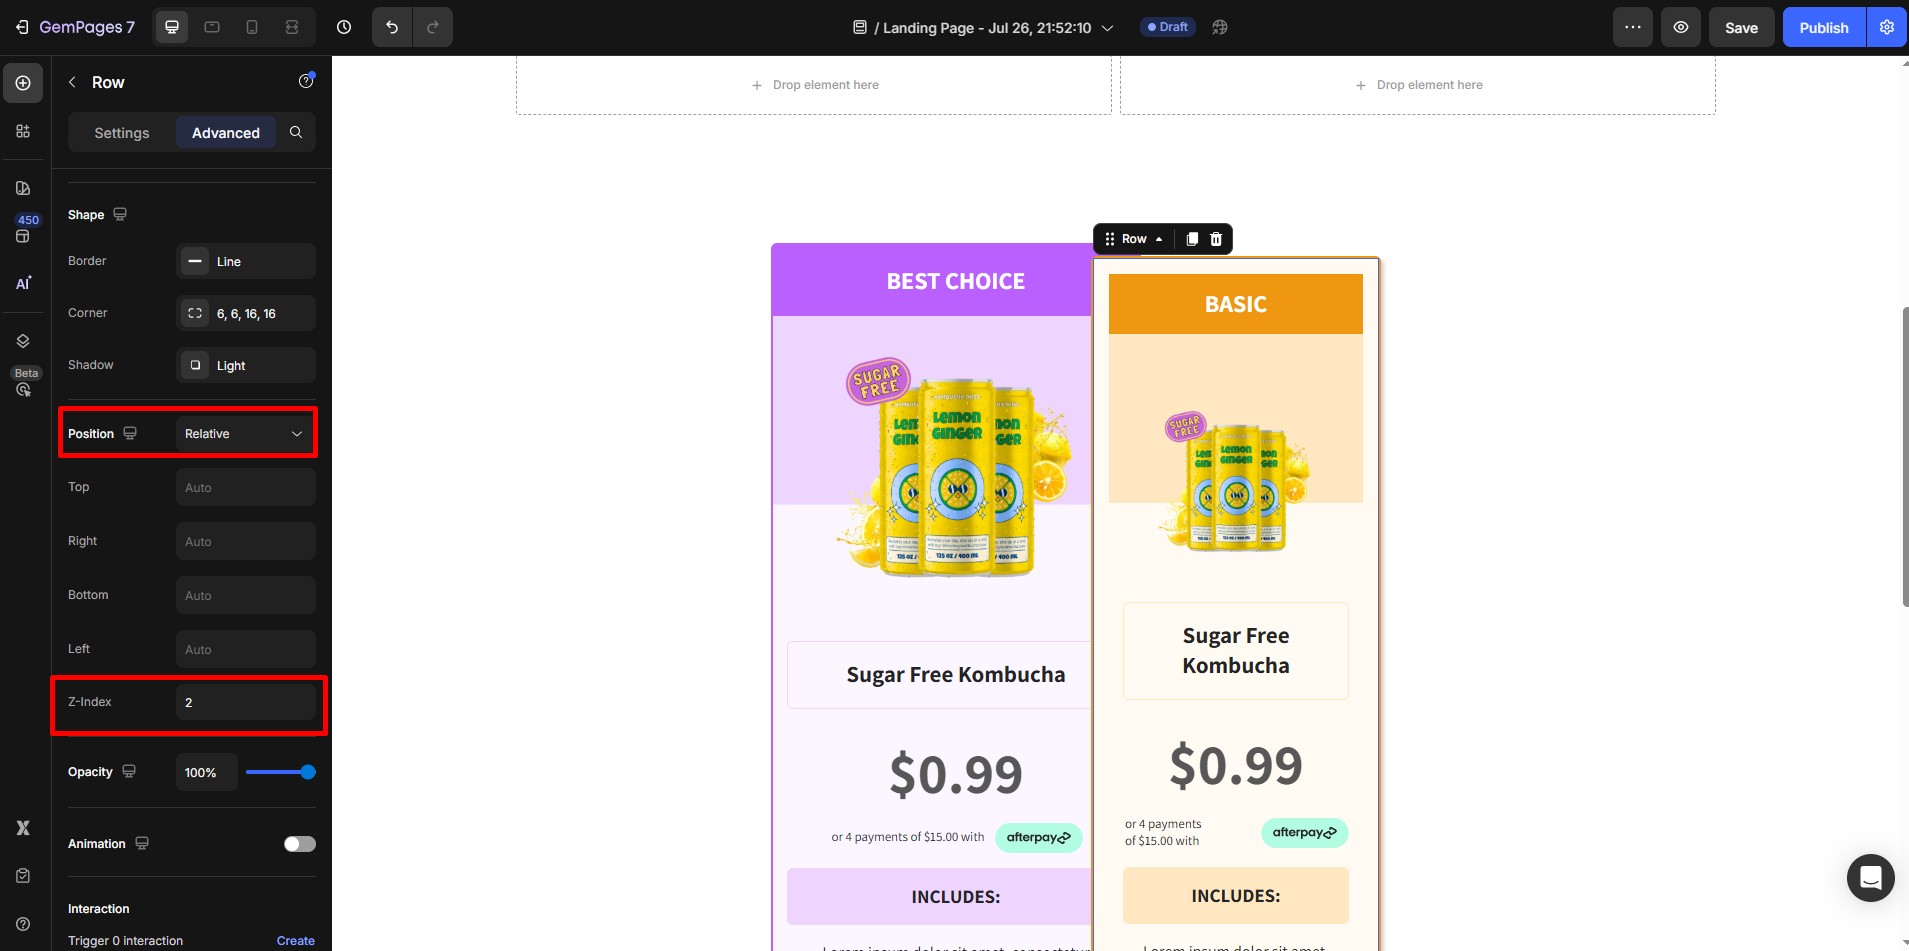
- Now, scroll down to the Z-index field:
- Enter a positive value (e.g., 2, 10, 100) to bring the element forward.
- Enter a negative value (e.g., -1) to send it backward.
Example: Choose “Relative” and set Z-index to 2 to bring the element in front of overlapping content.


Thank you for your comments