


In certain instances, you want to utilize a footer generated by GemPages rather than the one provided by your theme. With the Theme Section, you can now seamlessly achieve this.
Follow these steps below:
Create a Footer with the GemPages Theme Section
First, you must create a footer in the Theme Section by following the steps below:
Start from GemPages Dashboard
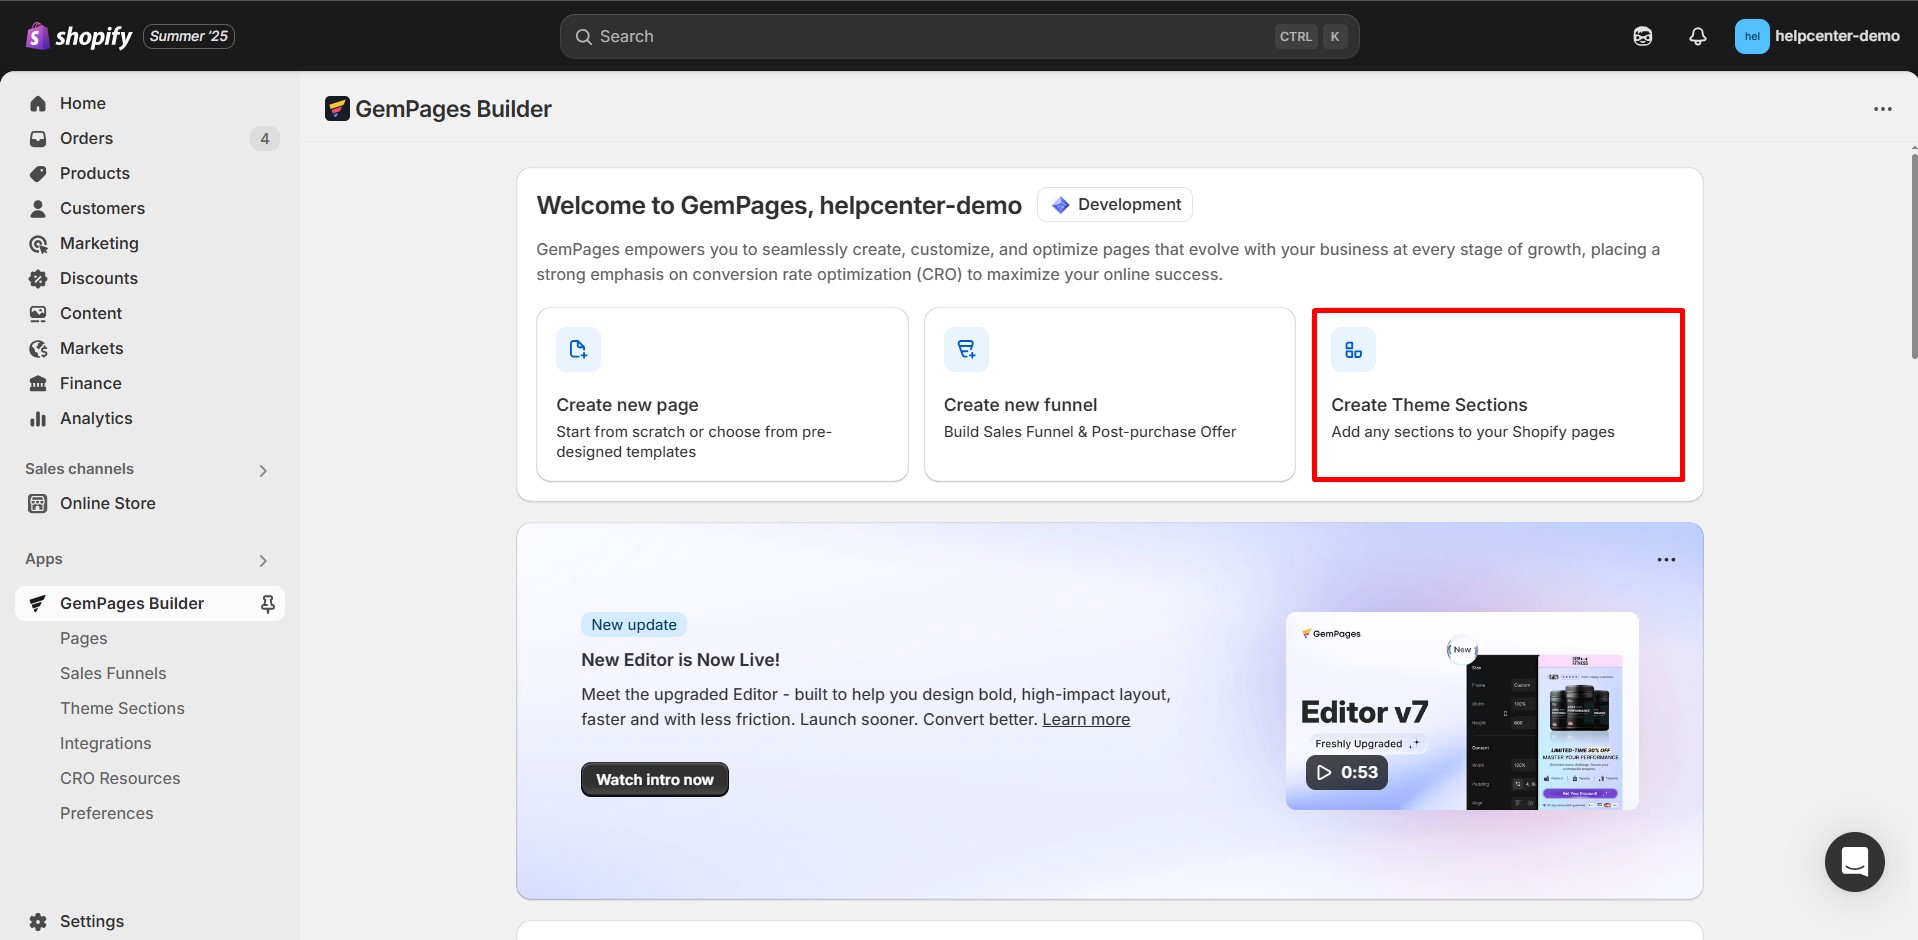
Step 1: Go to Shopify Admin > Apps and select GemPages Builder to access the GemPages Dashboard.
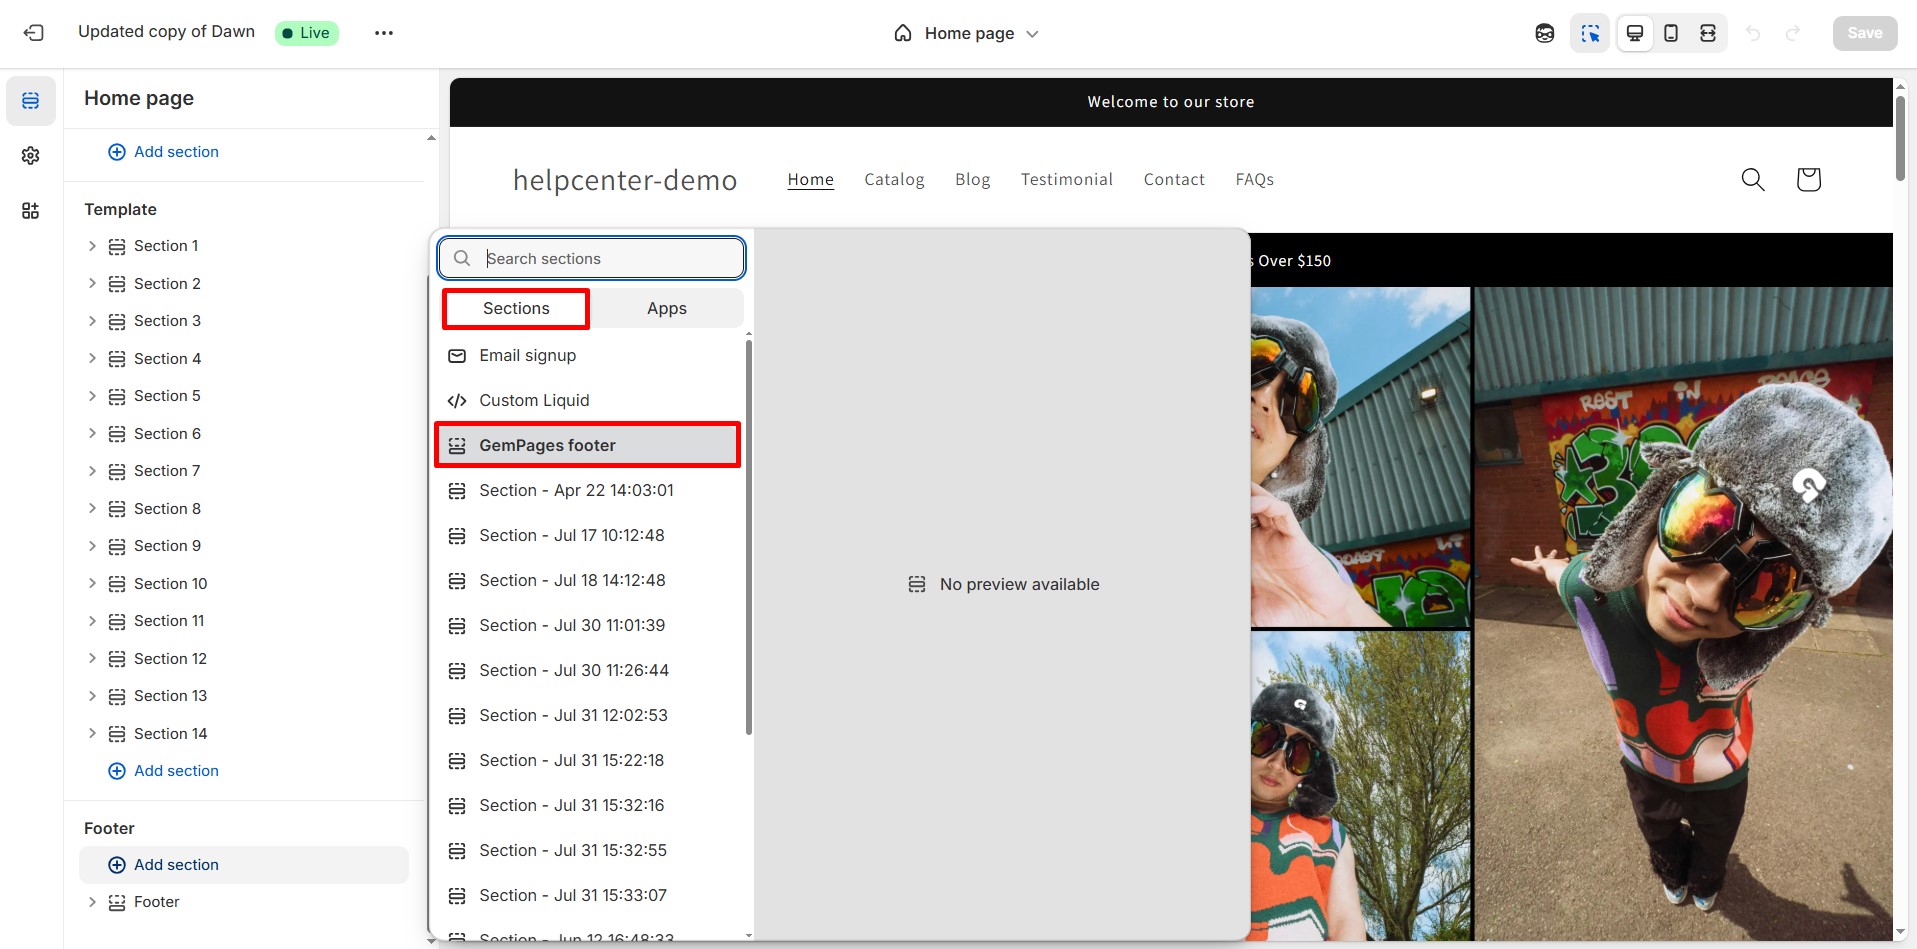
Step 2: Go to “Theme Section” and click the “Create new section” button.
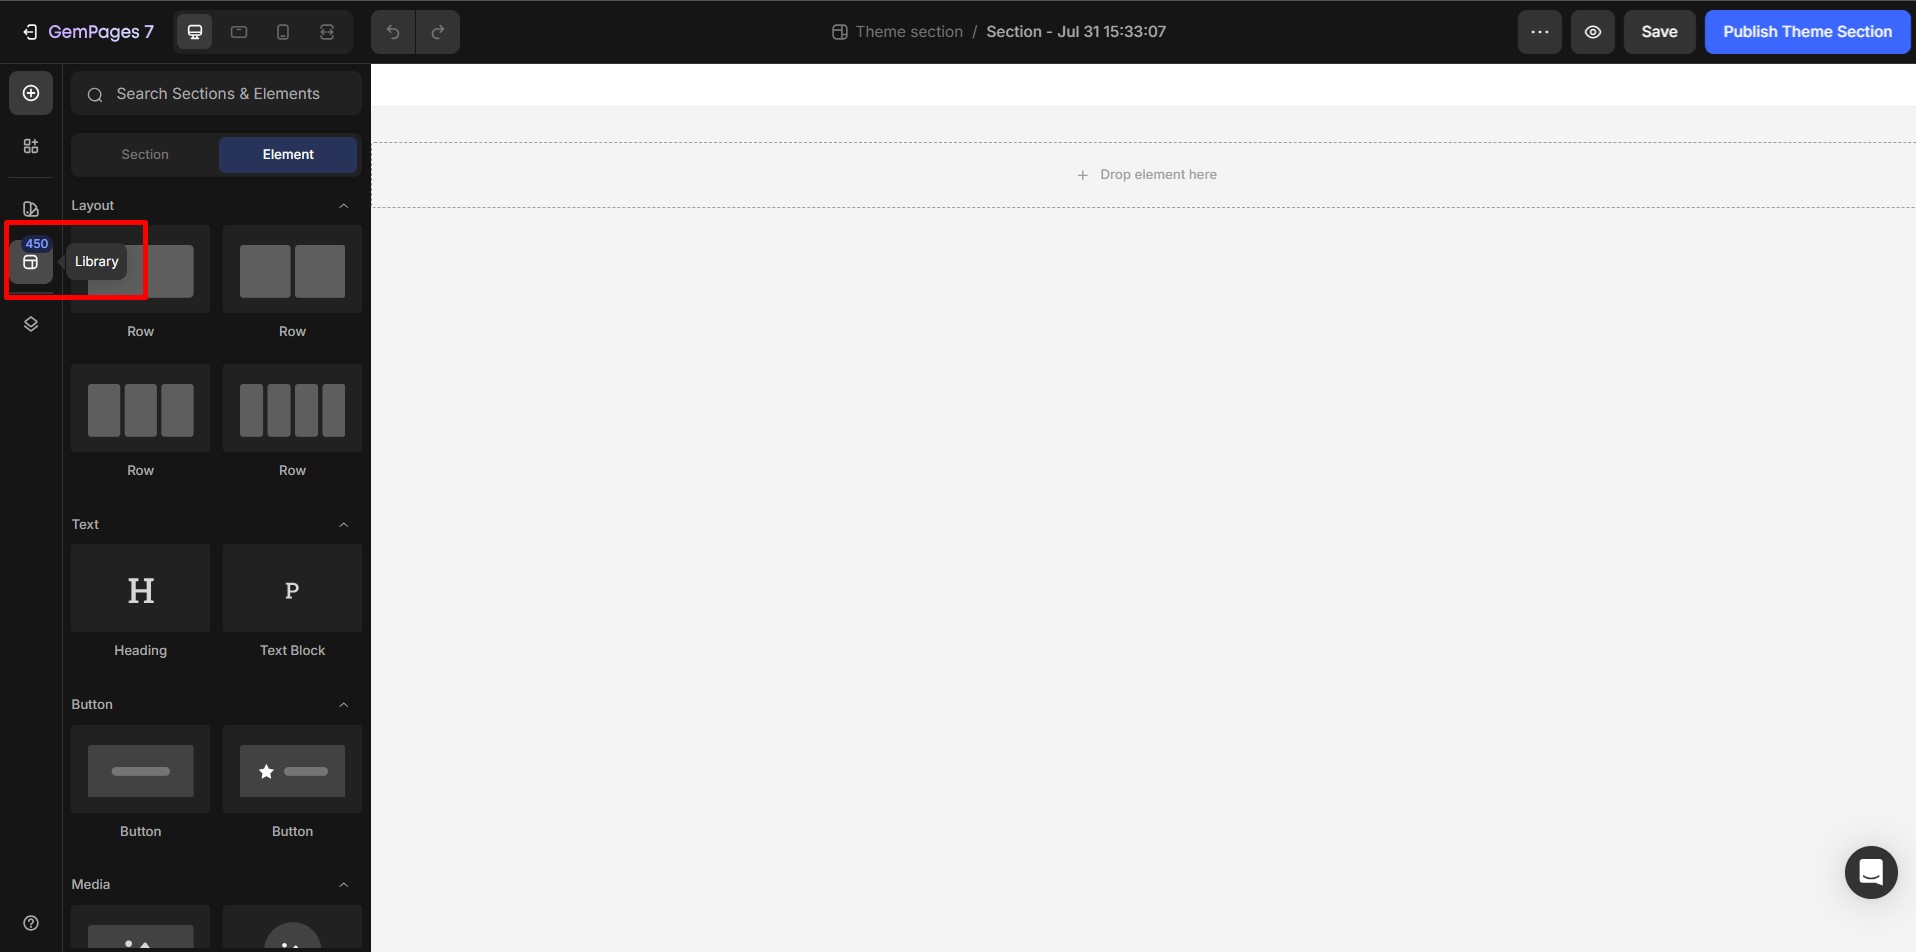
Step 3: You will be redirected to the editor. Click on the Templates icon on the left sidebar of the Editor to access the template library.
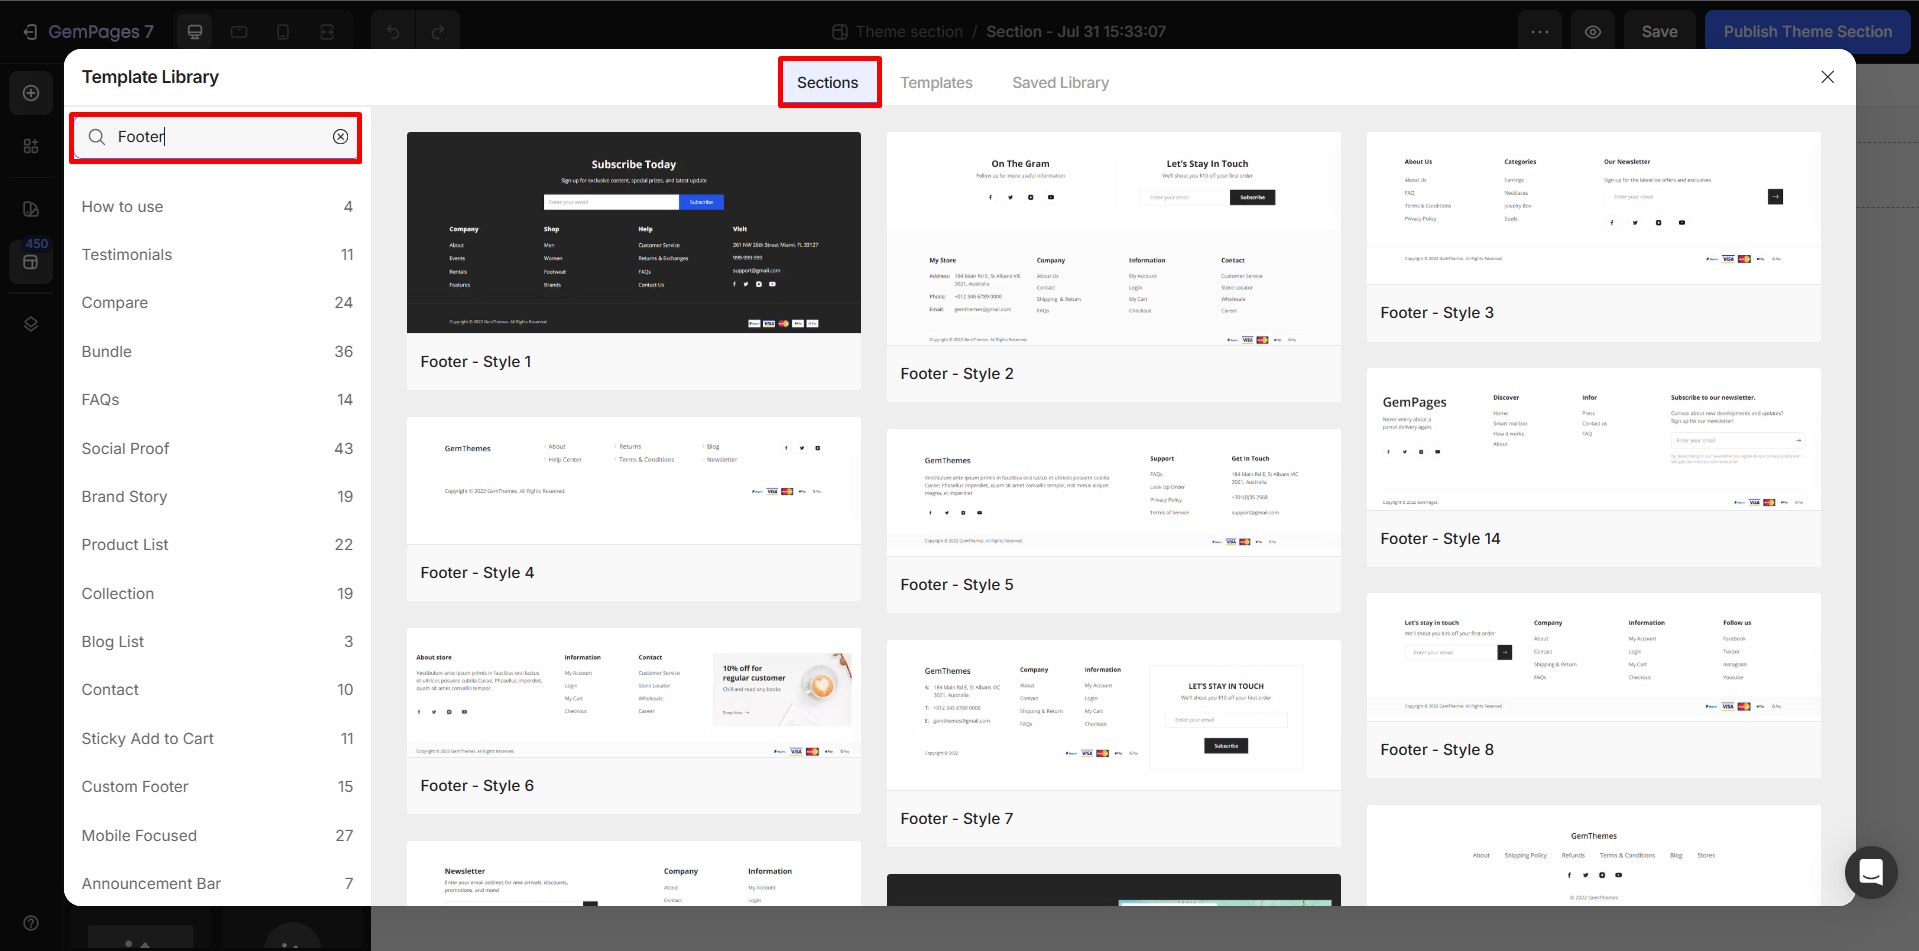
Step 4: Type “Footer” into the search bar to quickly access a variety of pre-designed footer templates available in the library.
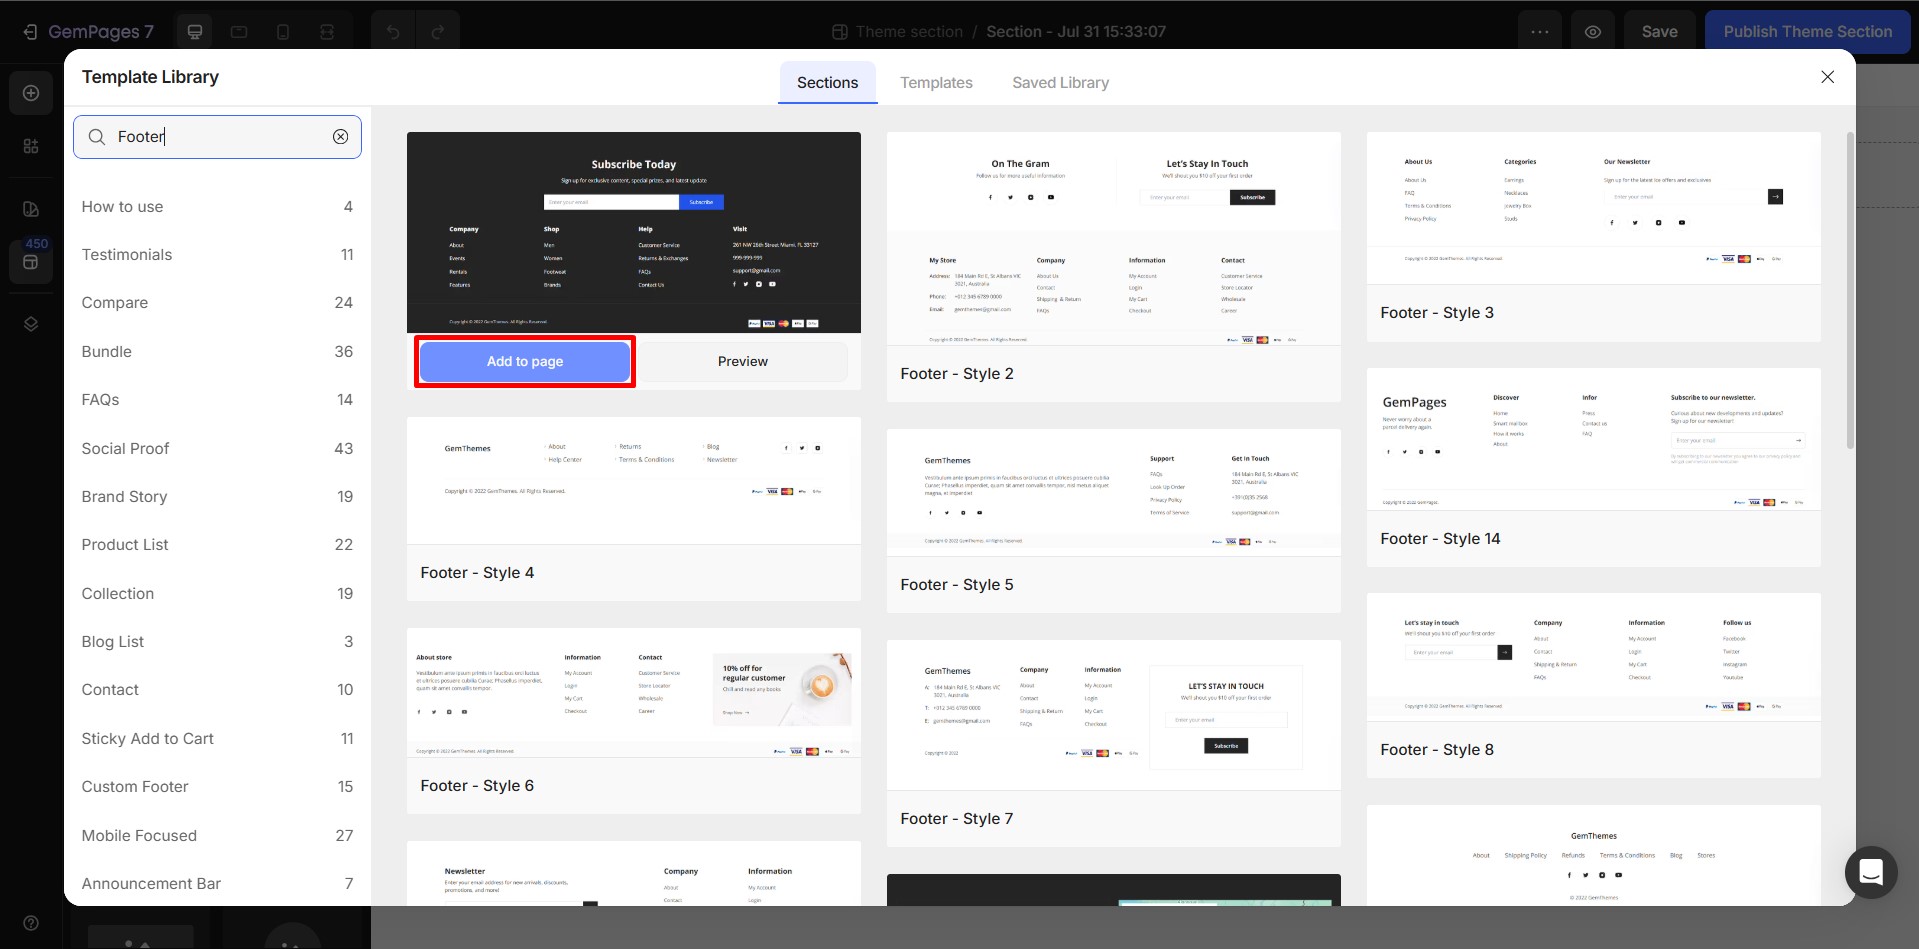
Step 5: Hover over the footer section of your choice, select “Preview” to get a visual preview, and then click “Add to page” to add it into your design.
Step 6: Complete the footer design to your preference.
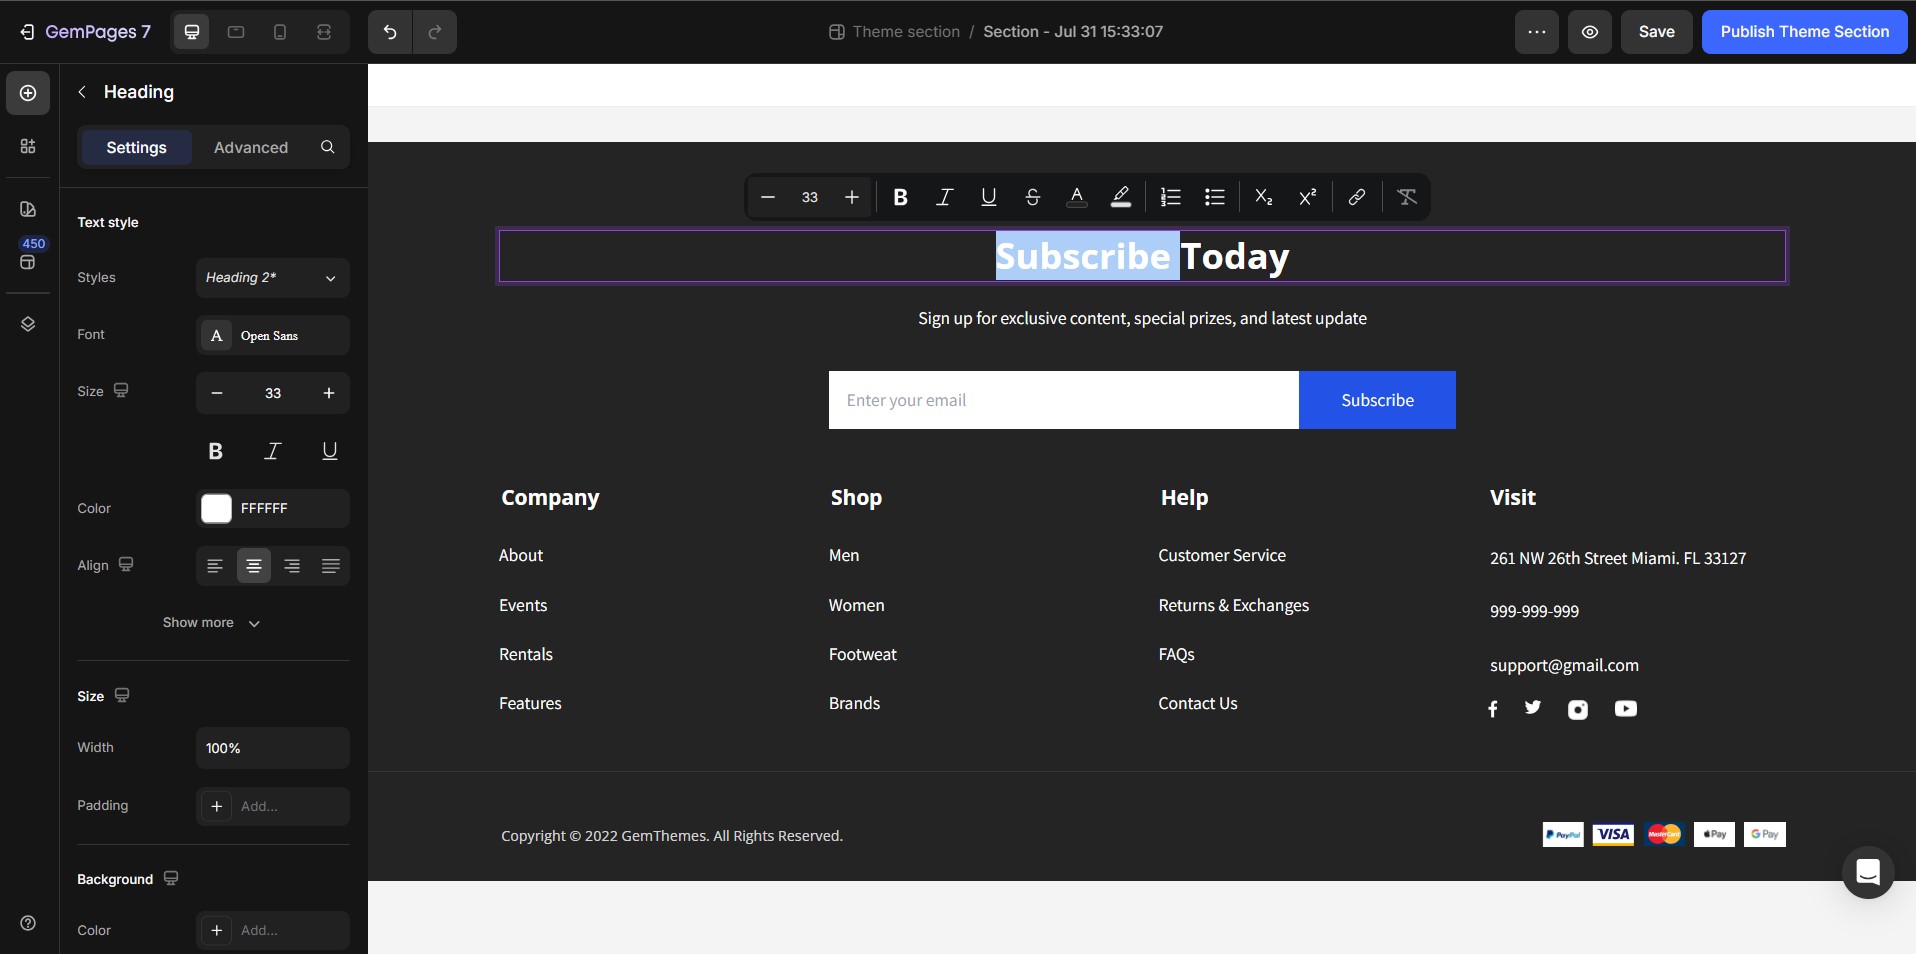
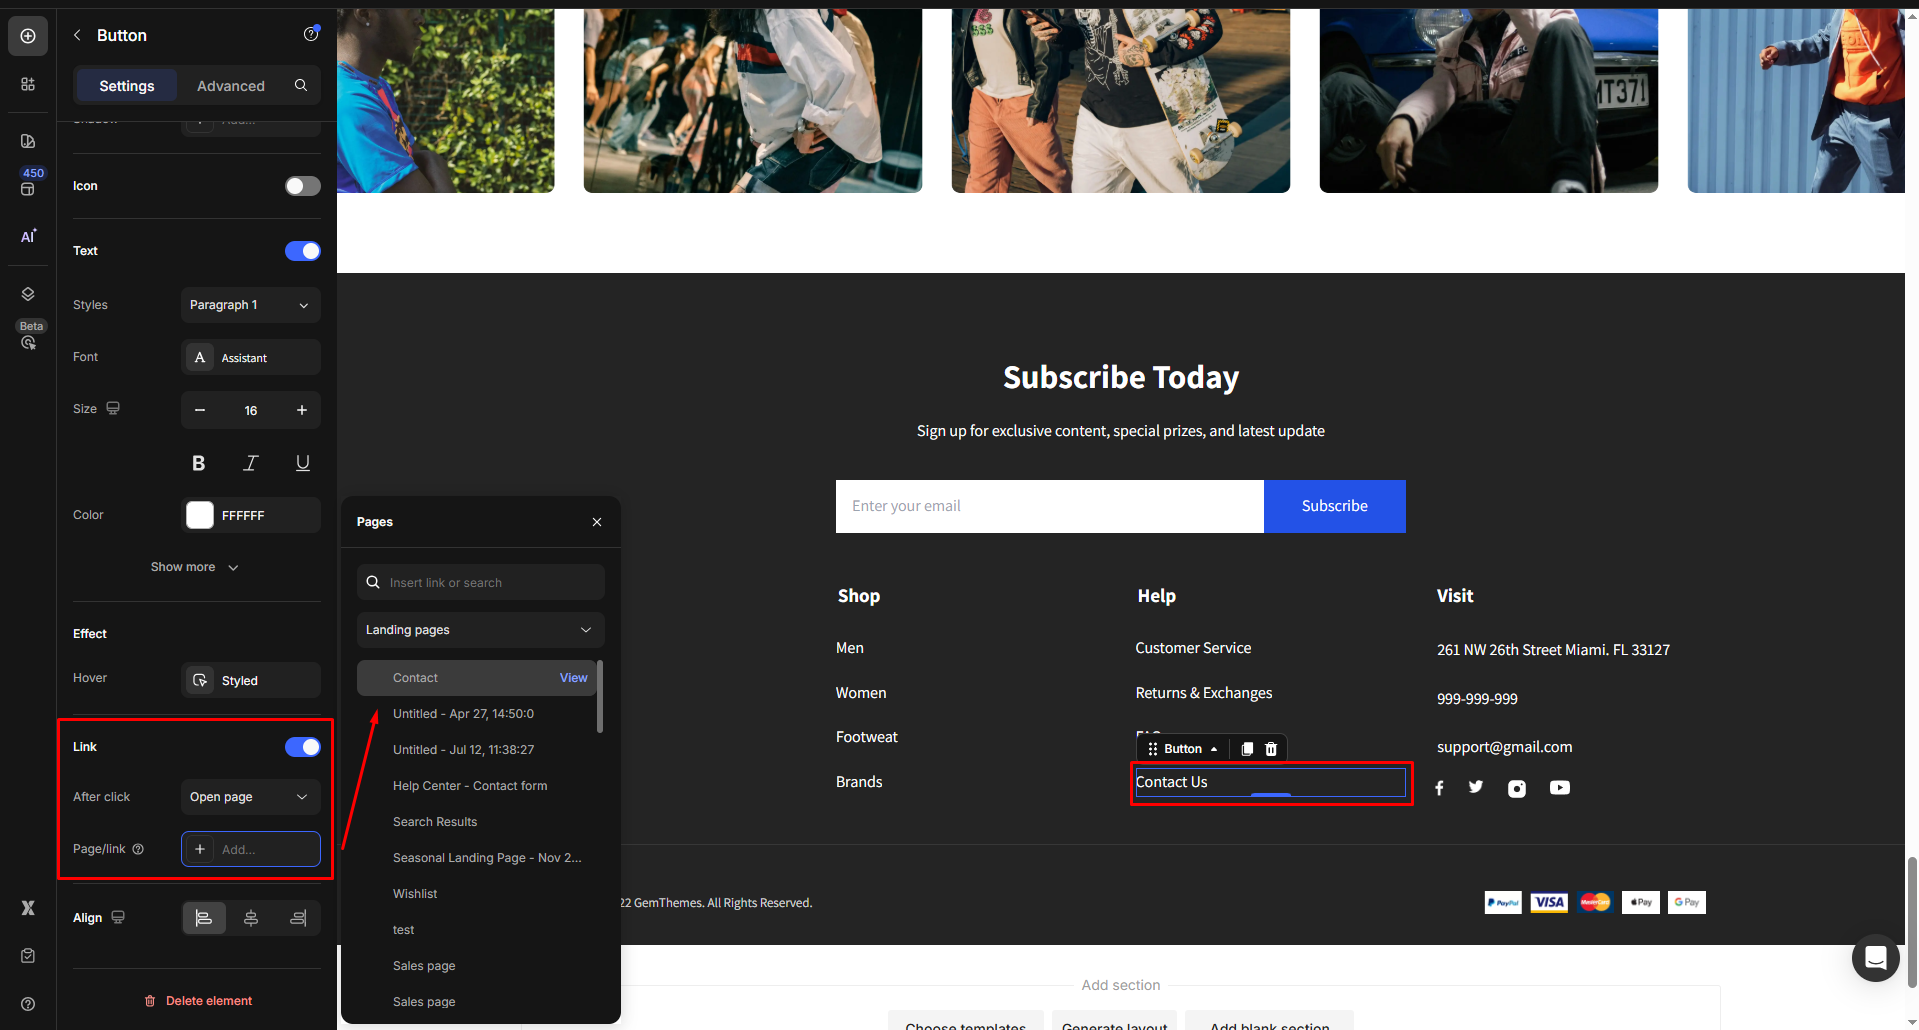
Click on a Button element to open its settings panel. Scroll down to the Link section and toggle it ON, then set the After click = Open page and select the target page for each navigation from the Footer.
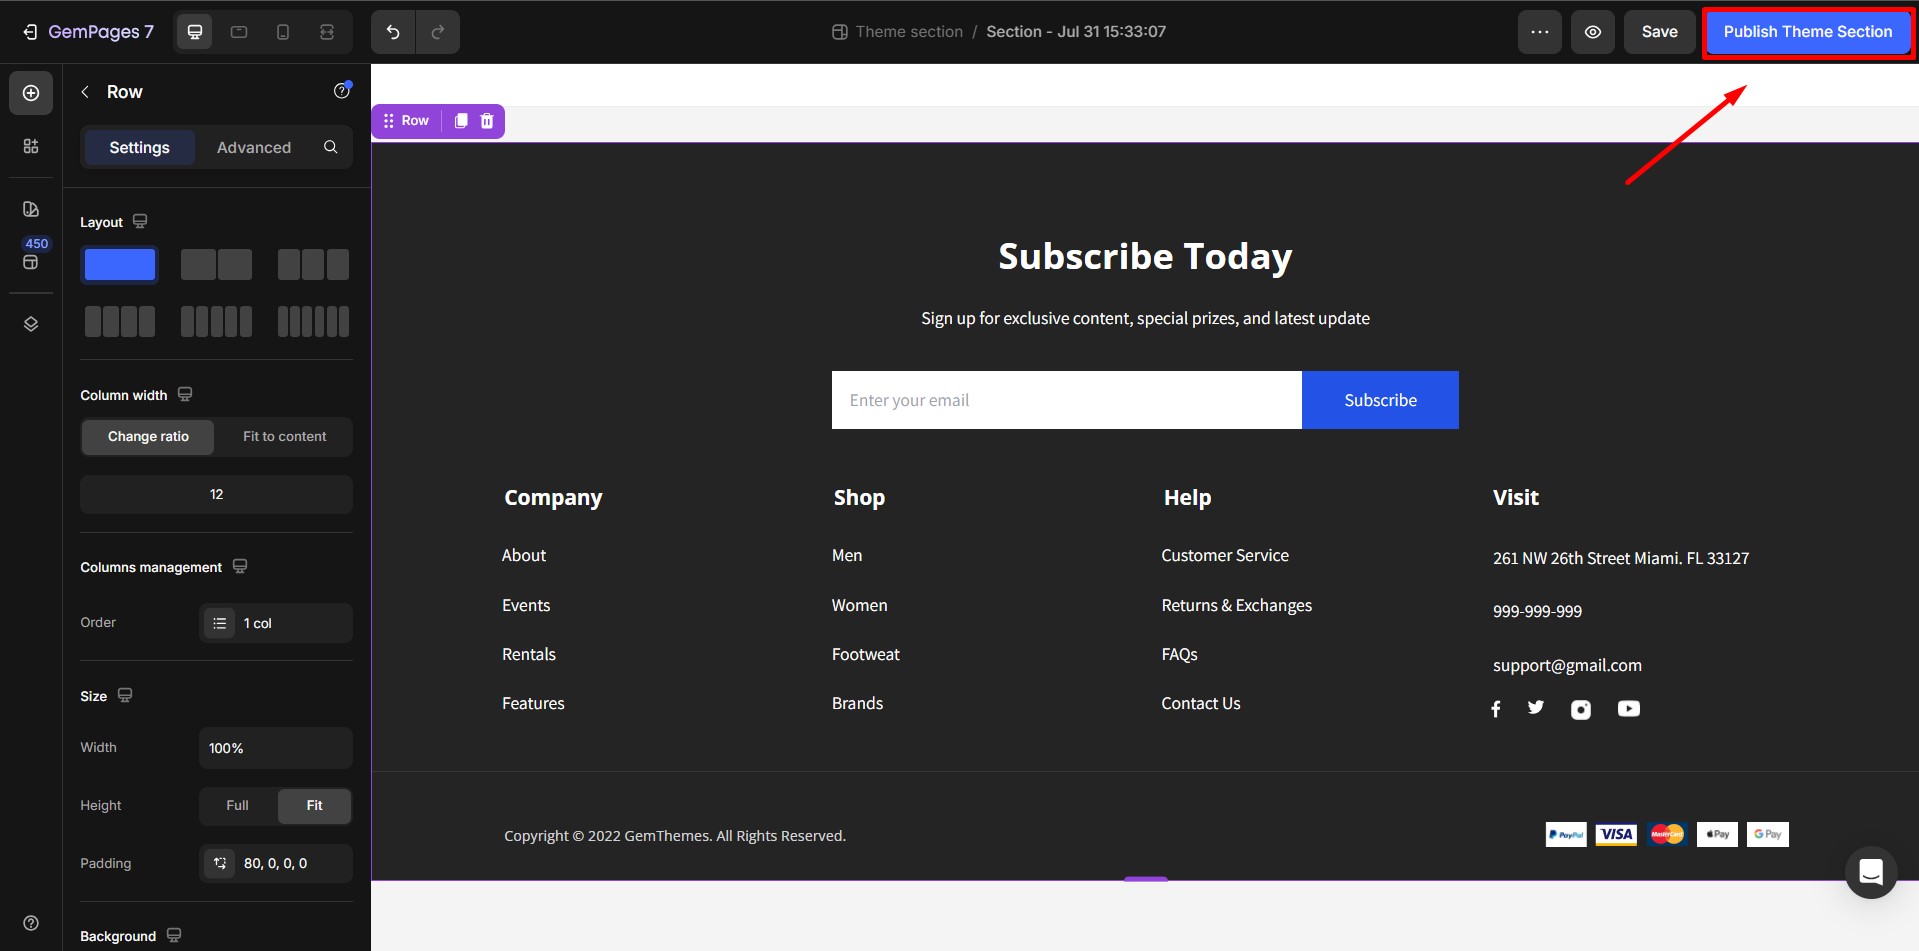
Then, click on the “Publish Theme Section” button when finished.
If you prefer to use something other than a pre-designed footer, feel free to craft your own from a blank page using GemPages’ elements.
Start from GemPages Editor
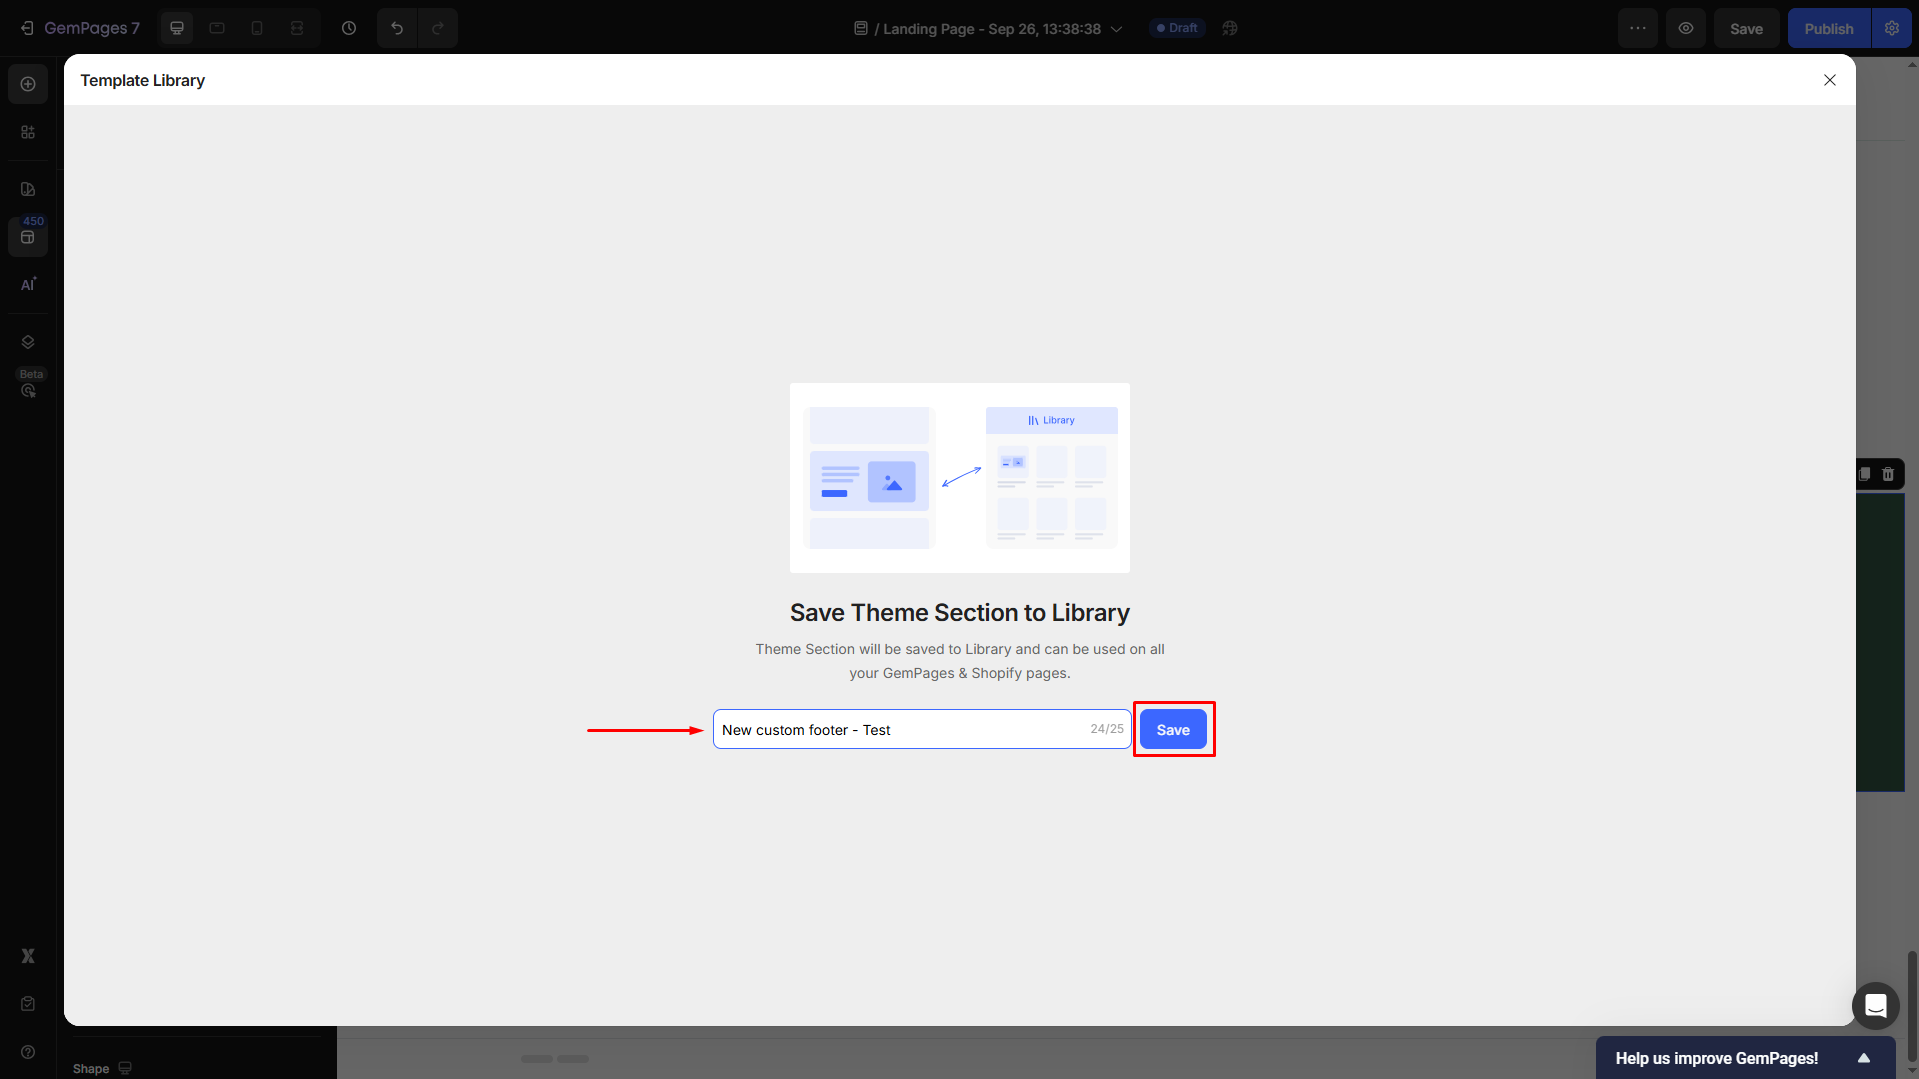
If you’re locating a page editor and prefer to save its footer as a new custom footer, just click on the section and select Create theme section.
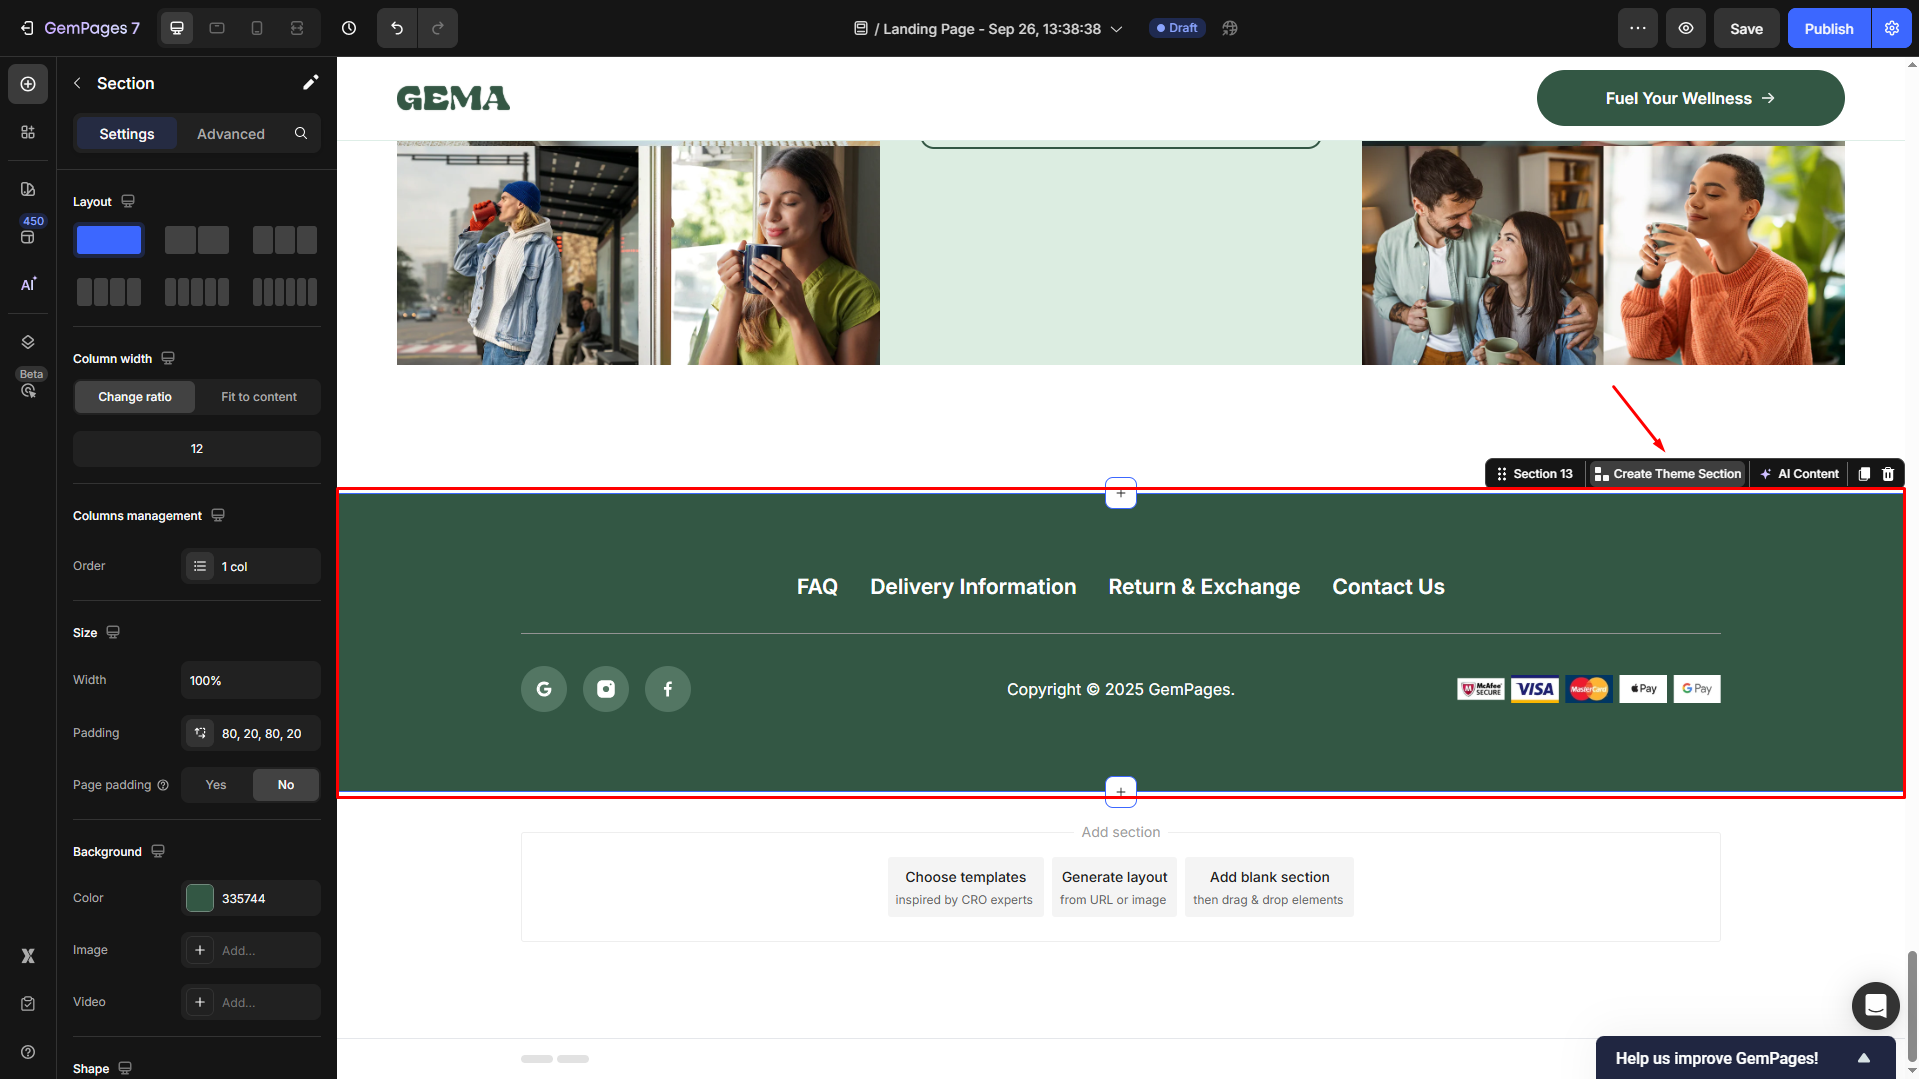
Then, enter the theme section’s name and hit Save.
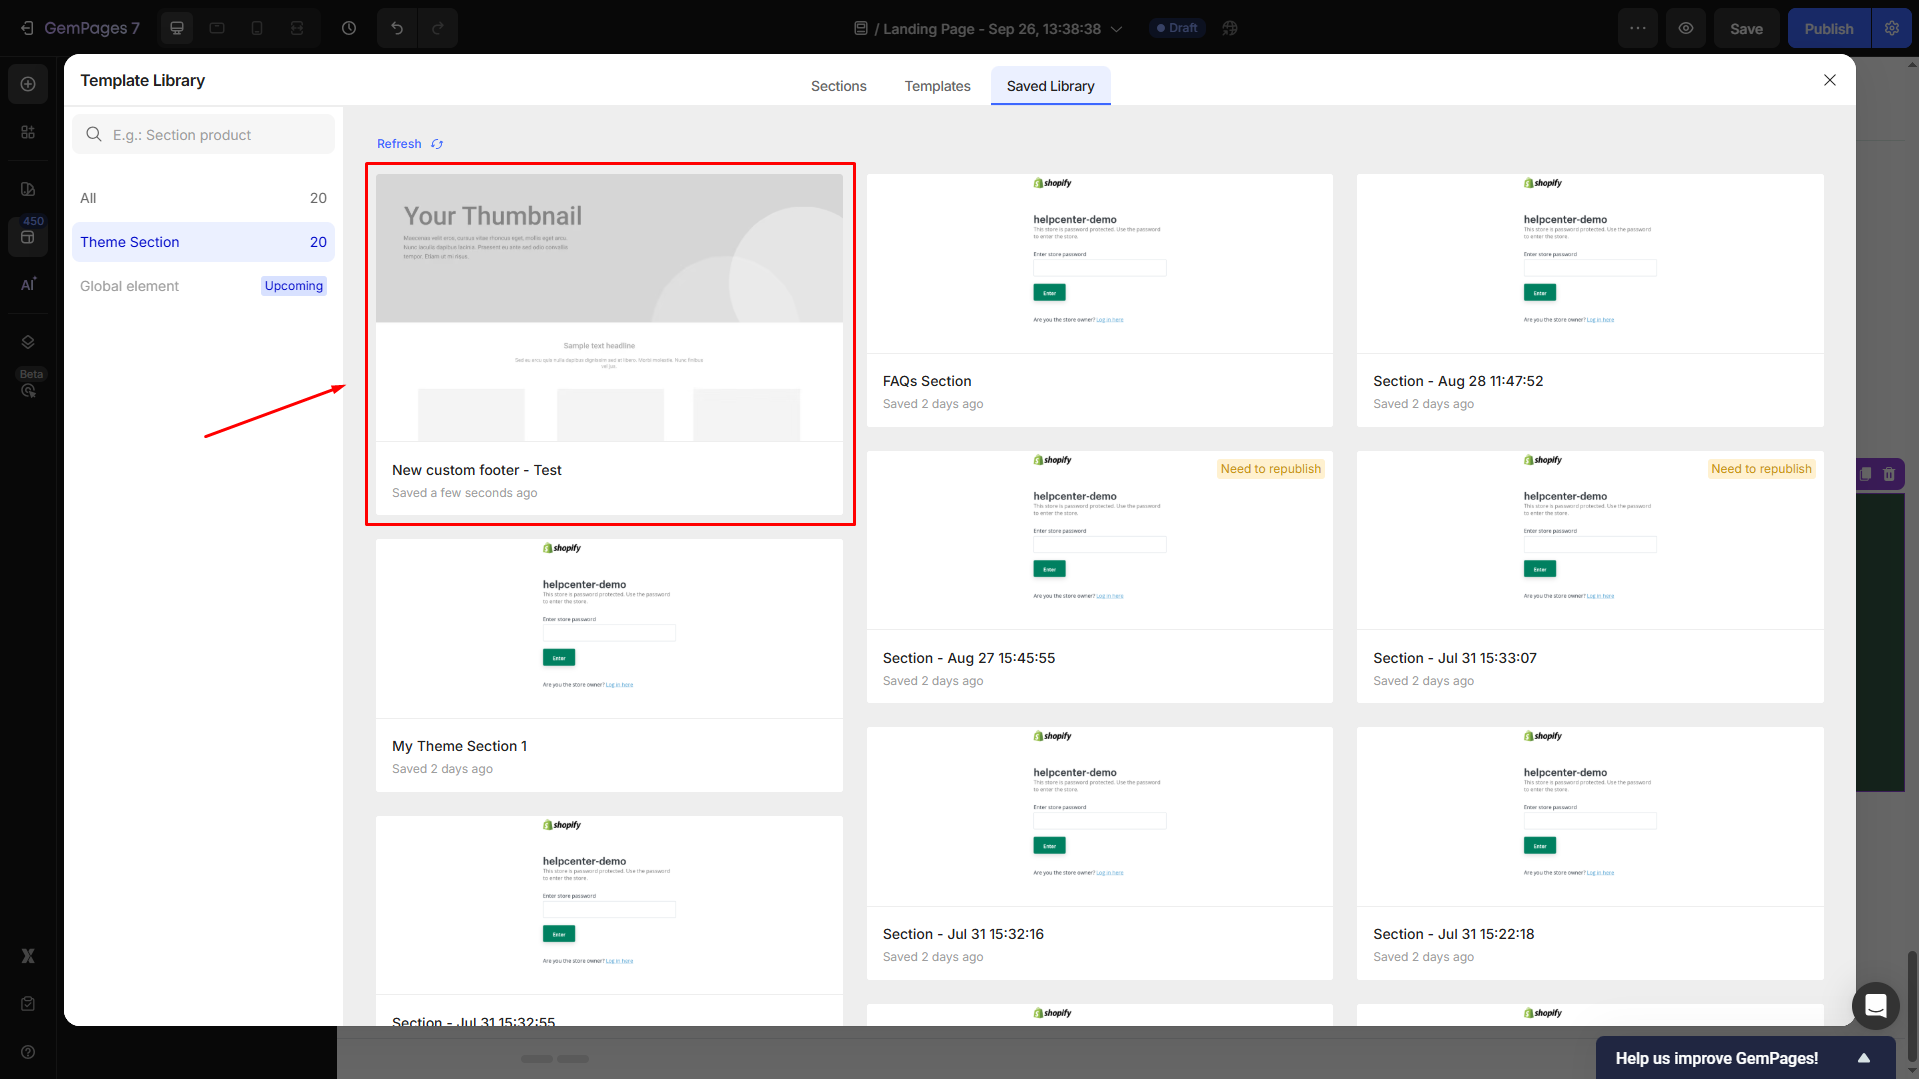
Now, you can find it in the Template Library > Saved Library.
Add the GemPages Footer to Your Shopify Theme
Now that you’ve created and published your custom footer, follow these steps to insert it into your Shopify store:
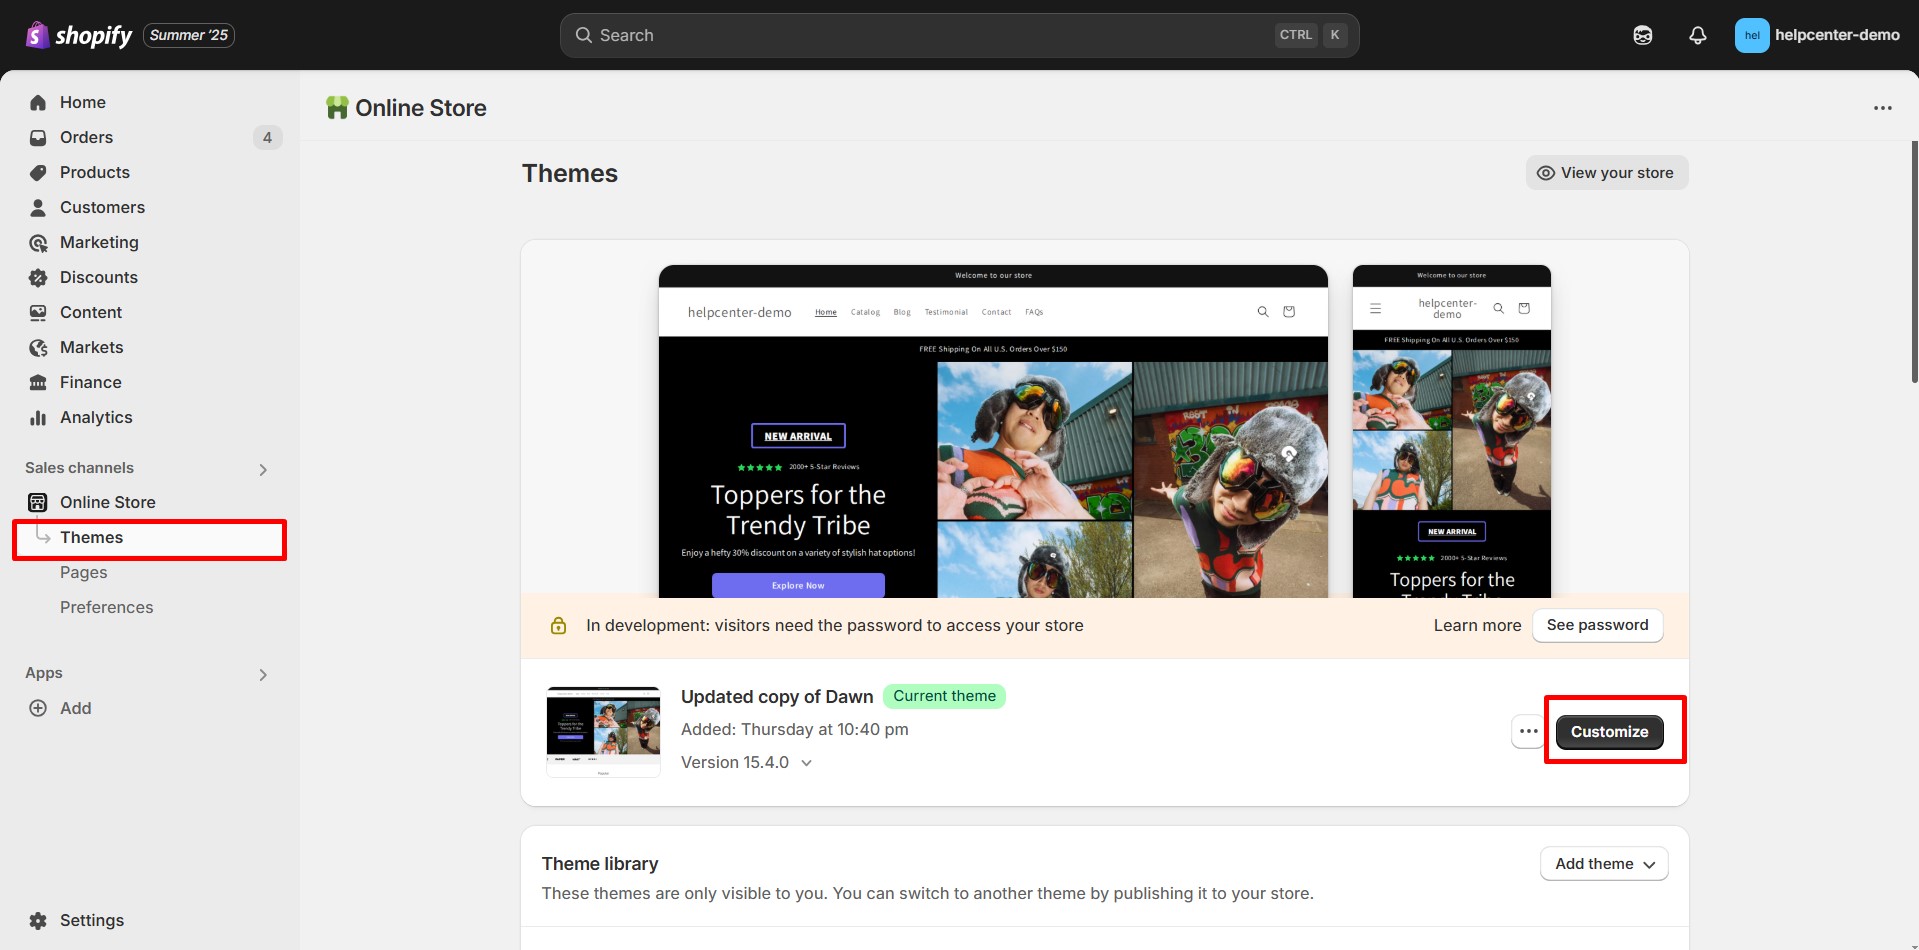
Step 1: Access Shopify Theme Editor.
- Log in to your Shopify Admin.
- Click “Online Store” in the left sidebar and select “Themes.”
- Click on “Customize” to access the Theme Editor.
Step 2: From the drop-down menu in the top bar, select the template within your theme where you want to add the section.

Step 3: Add the footer in the preferred position.
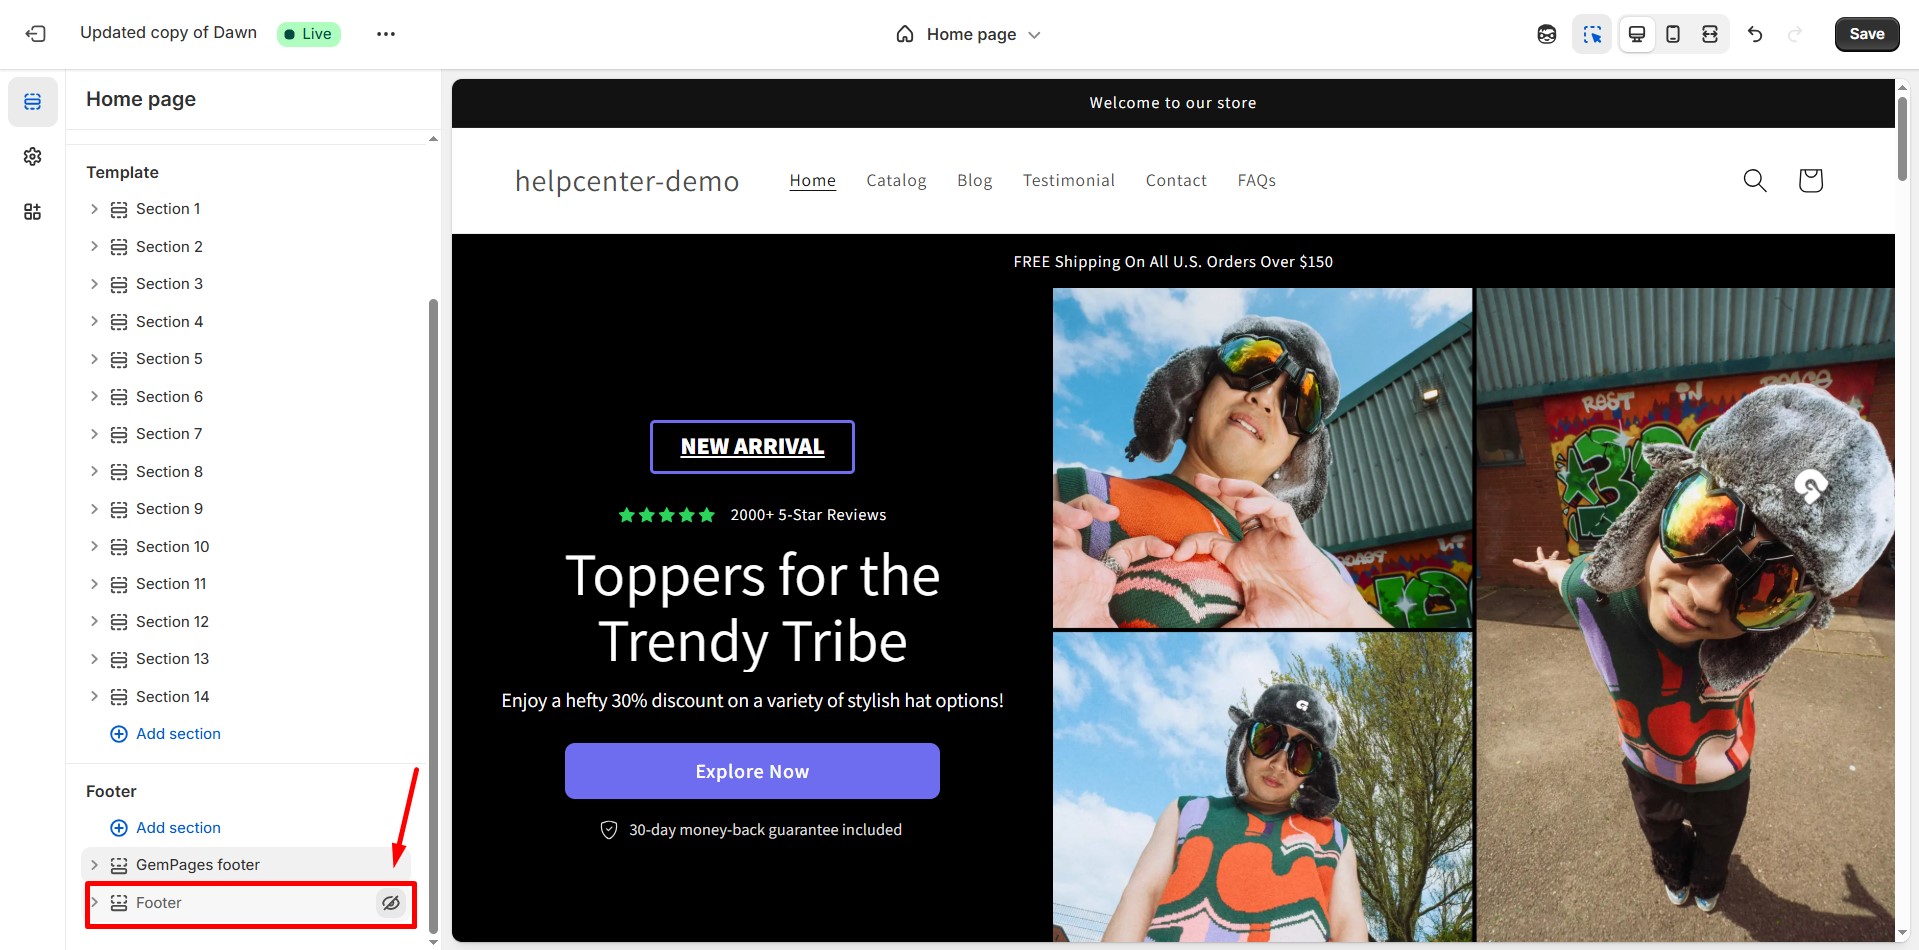
- Within the selected template, scroll down to the footer.
- Click on the “Add Section” button.
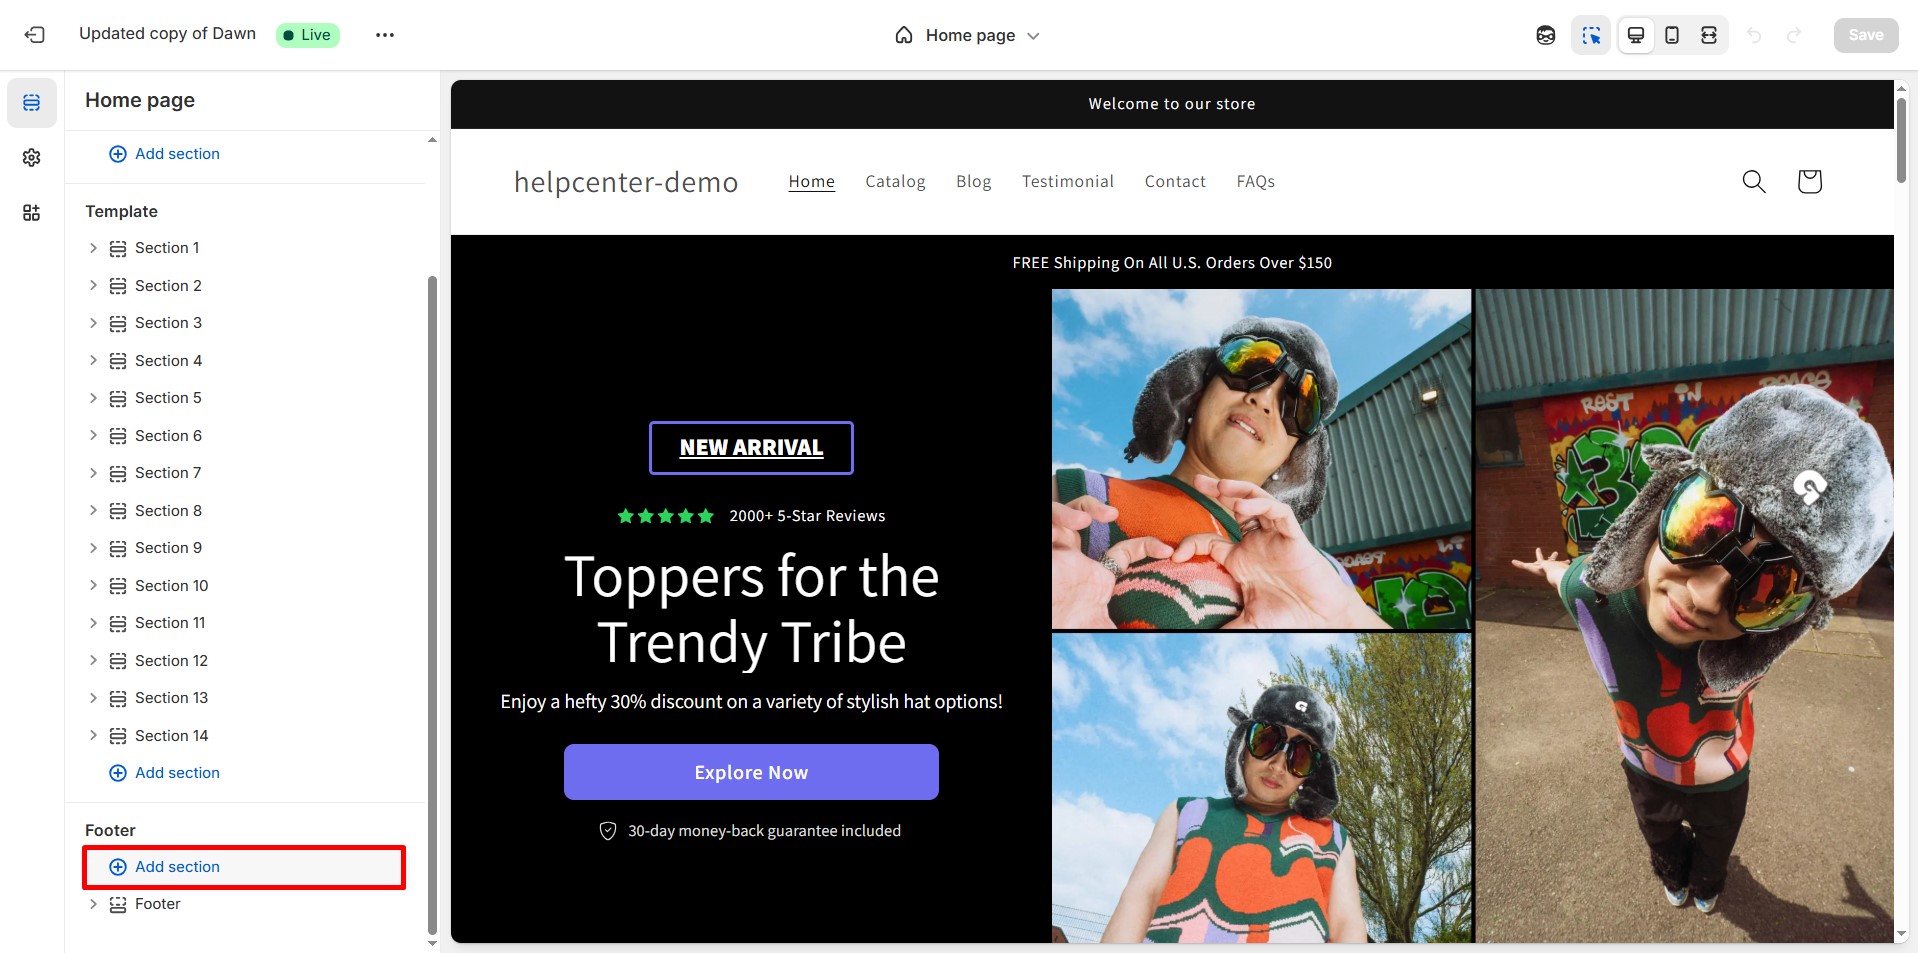
- Locate the saved section in the list. Click on it to add it to your template.
- Don’t forget to hide the theme footer by clicking on the Eye icon.
Hit “Save” when finished.
FAQs
1. Can I replace my theme’s footer with a GemPages footer?
Yes. After publishing your GemPages footer as a Theme Section, simply add it in the Theme Editor and hide the original theme footer.
2. Can I reuse one footer across multiple templates?
Yes. Once a Theme Section is published, you can insert it into any template from the Theme Editor. This keeps your header and footer consistent across your site.
3. Do I need coding to customize the footer?
No coding is required. You can design and customize both the header and footer entirely using GemPages’ drag-and-drop elements.
4. I want to add Shopify page links to the GemPages footer section. How can I do that?
To add Shopify links, place Button elements inside your GemPages footer. For each button:
- Click to open its settings panel.
- Scroll to the Link section and toggle it ON.
- Set After click = Open page.
- Select the Shopify page you want to link (like Home, Product Catalog, or Contact).
This way, your footer navigation will use Shopify pages directly while still being fully customizable in GemPages.
5. How do I add payment icons to my GemPages footer?
To display payment icons inside your custom footer, follow these steps:
Option 1: Use the Icon List element
- In the GemPages Editor, drag the Icon List element into your footer section.
- Click each icon in the list to replace it with a payment icon (Visa, MasterCard, PayPal, Shop Pay…).
- Upload your own SVG/PNG icons or choose from the Icon Library.
- Adjust size, spacing, colors, and alignment in the left settings panel.
- Add an Image element into your footer.
- Upload a pre-made payment icon strip (often provided by payment gateways).
- Resize and position it as needed.


Thank you for your comments