


About the GemPages Theme Sections
GemPages Theme Sections are flexible content sections that you can customize within your Shopify store’s theme. With these sections, you can easily edit and enhance your store’s design using GemPages.
Here’s what you can typically do with GemPages theme sections:
- Save and Reuse: Easily save any part of your webpage, like banners or product displays, and reuse them on other pages with a click.
- Effortless Editing: Edit saved sections once, and changes automatically update across all connected pages, saving time.
- Seamless Add Section to Your Theme: Add saved sections to your theme pages for a consistent, professional look across your site.
Shopify offers user-friendly content sections, but they can be somewhat limited in terms of advanced customization.
GemPages addresses this by allowing you to modify these theme sections using a drag-and-drop interface, offering greater flexibility for personalization without the need for coding.
This feature is particularly useful when creating landing pages, product pages, home pages, or custom sections on your Shopify store.
How to Create GemPages Theme Sections?
Method 1: Create a new Theme section
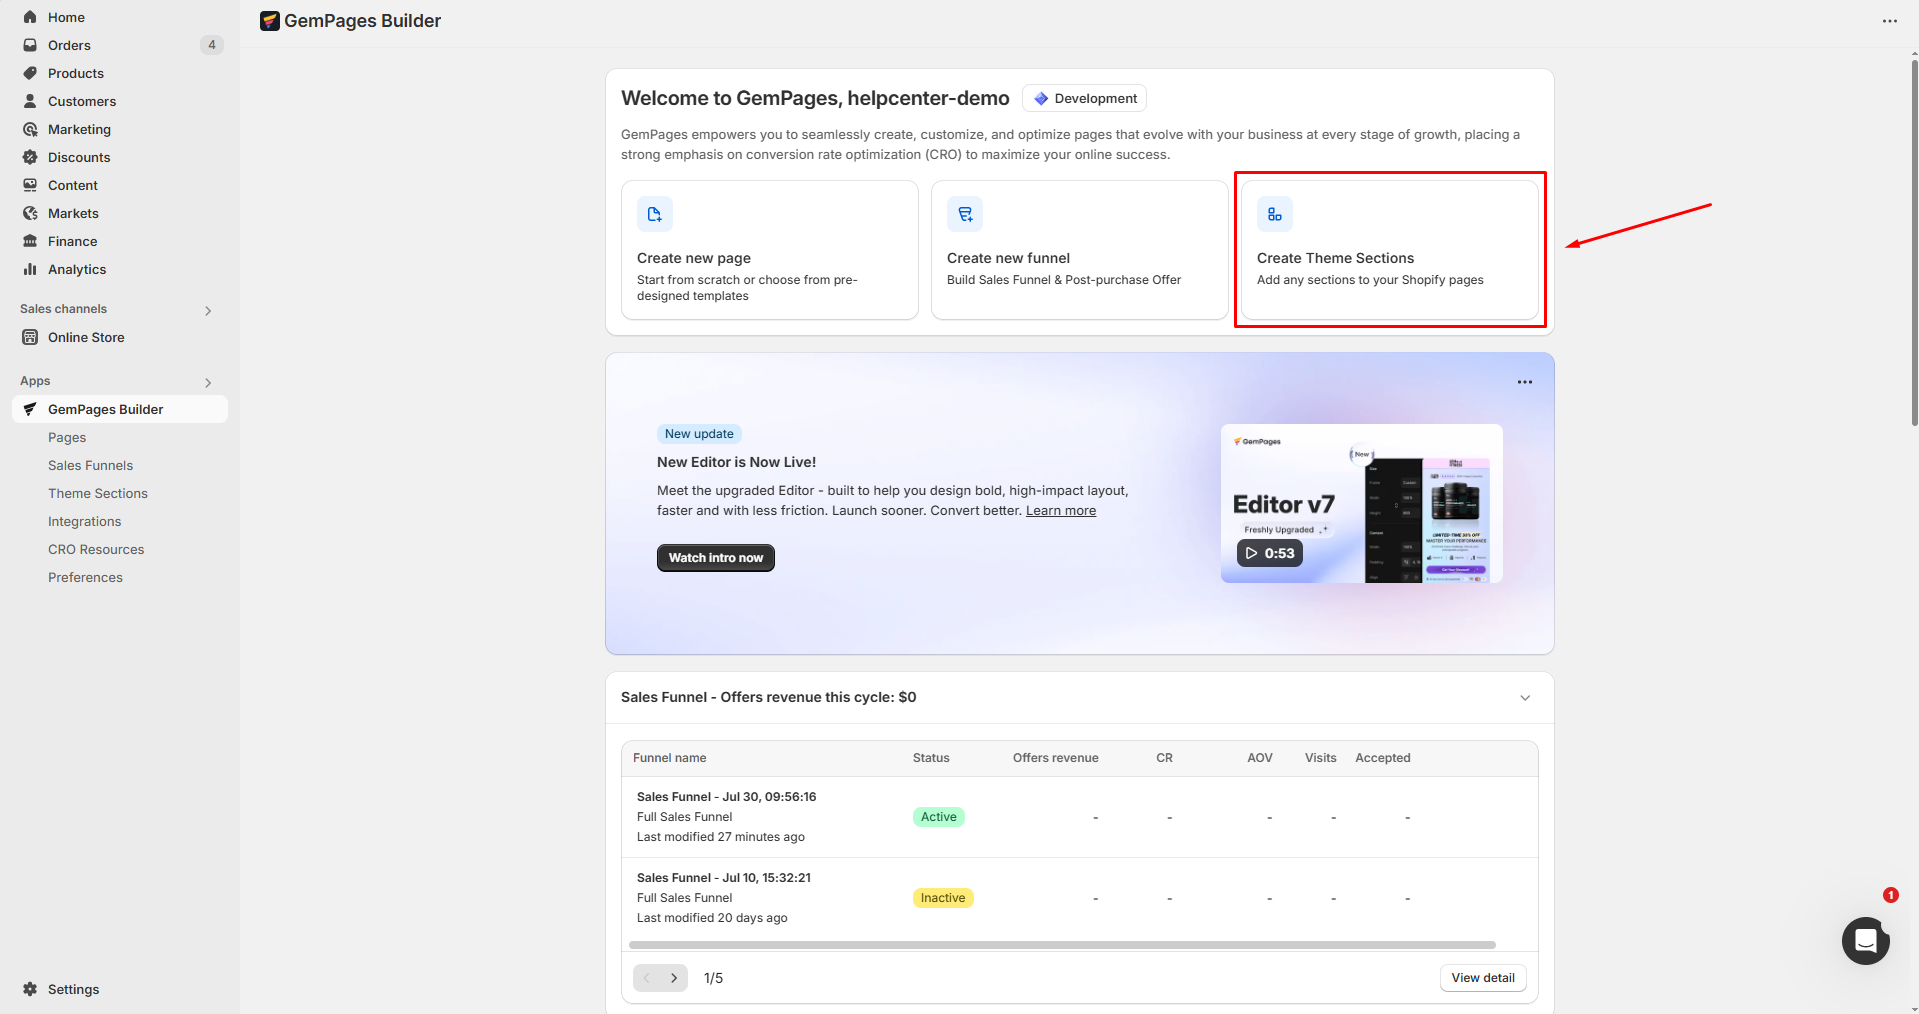
- From your GemPages Dashboard, click on “Create Theme Sections”. You will be redirected to the Editor page.
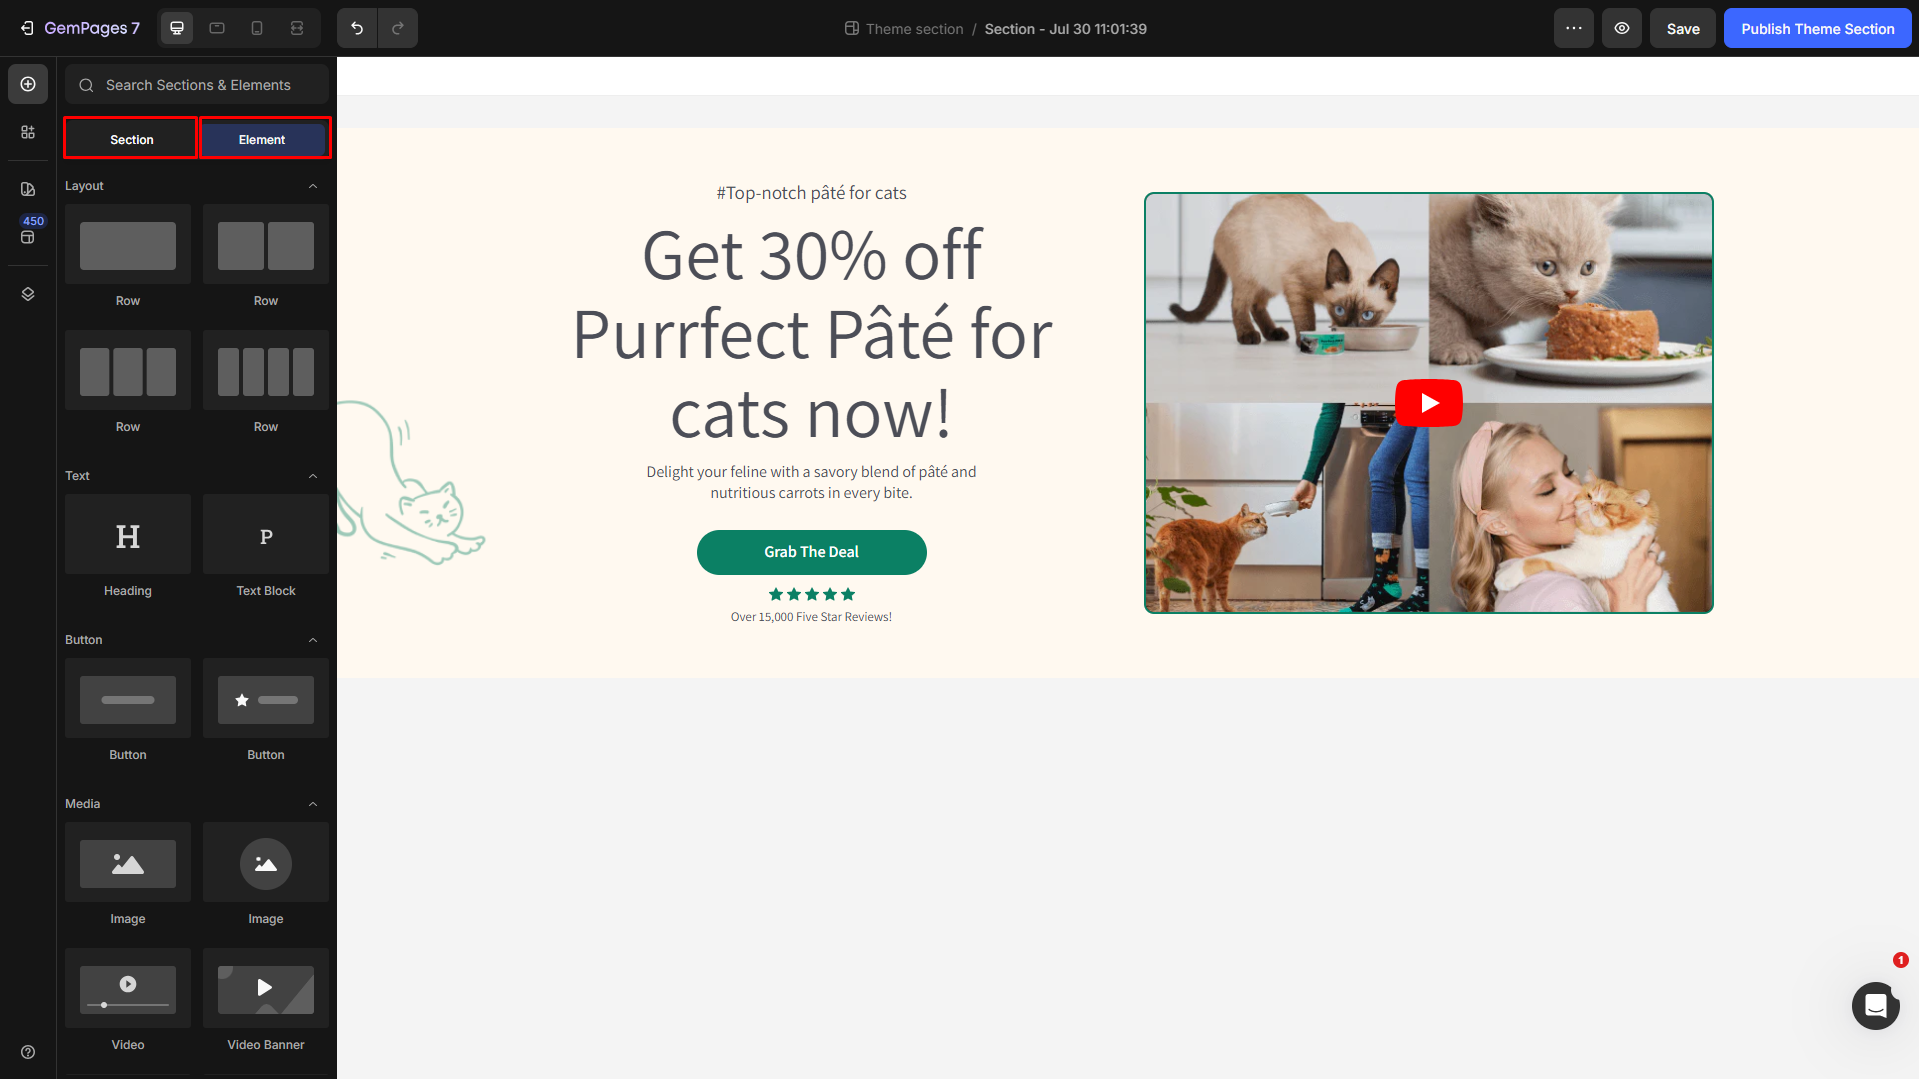
- From the left sidebar, you can add a pre-built section or drag and drop an element to design the theme section as you prefer.
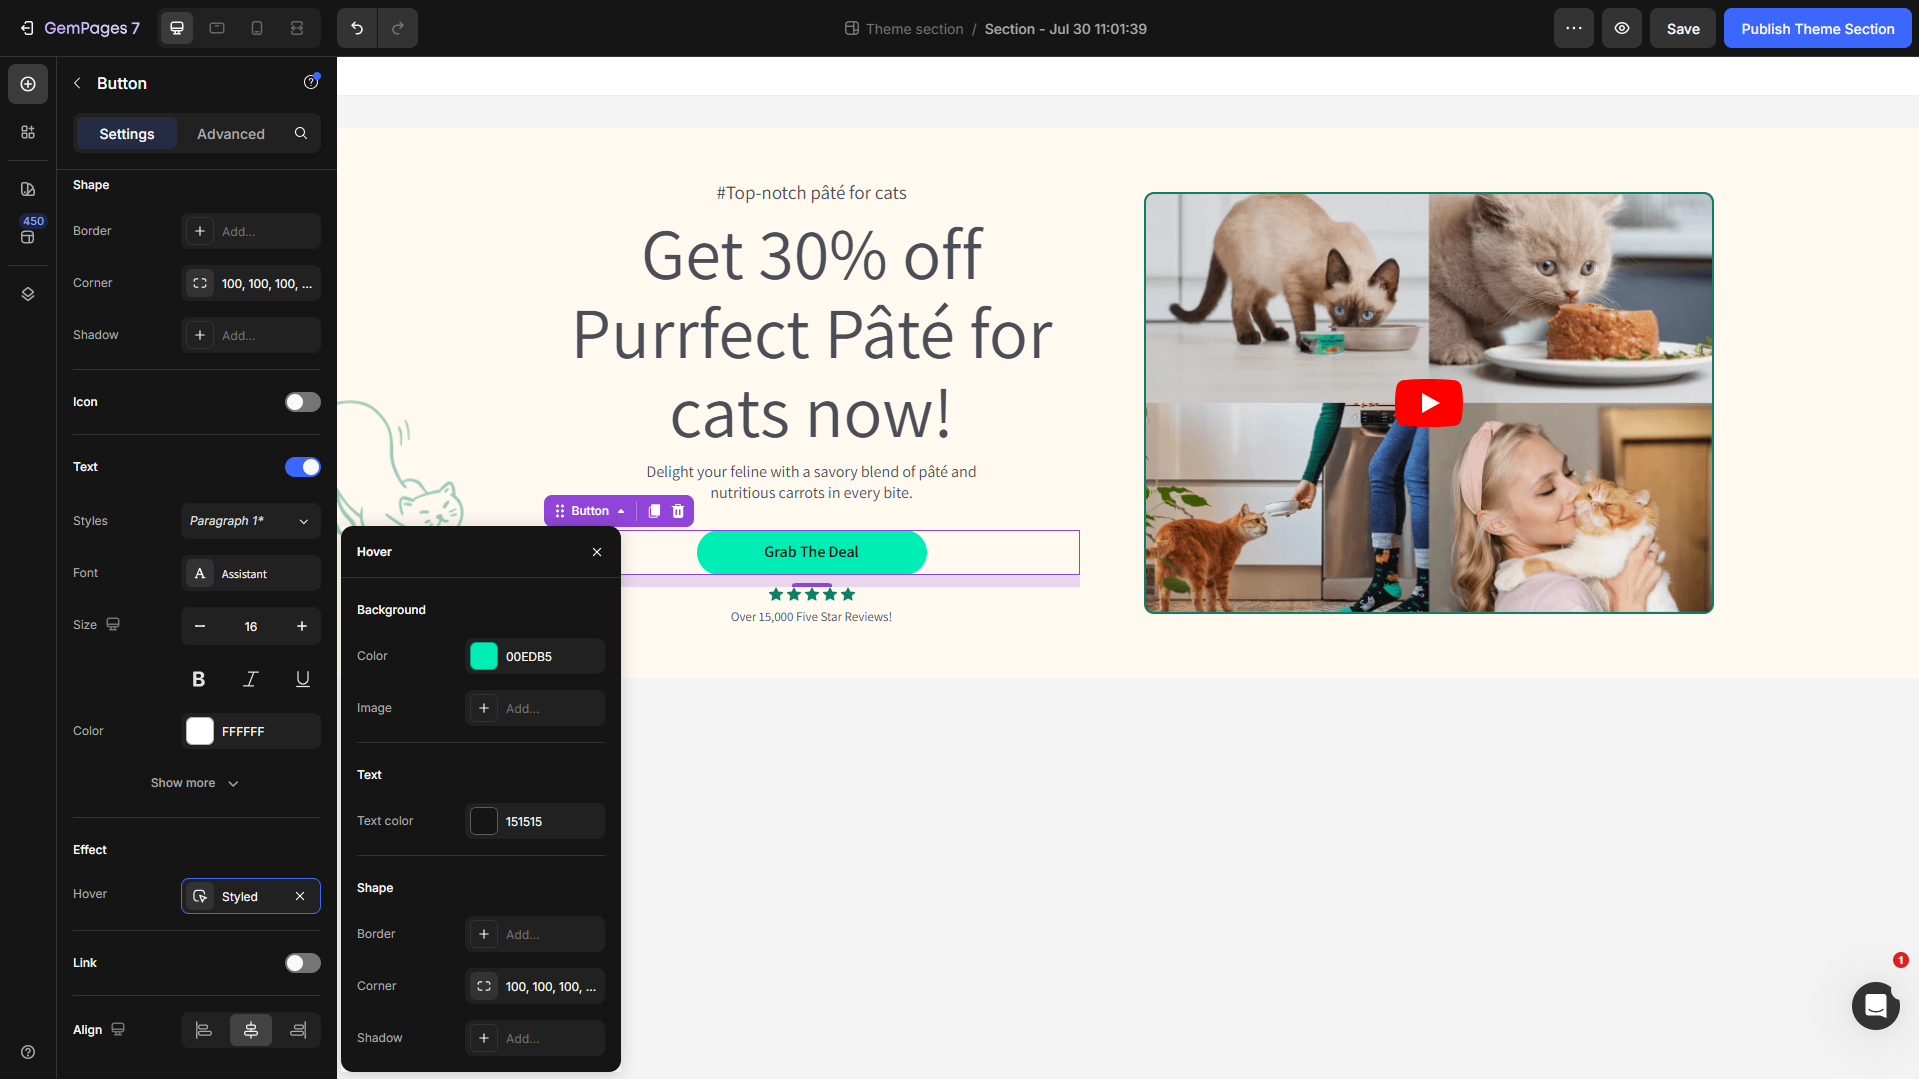
- Customize each element your way. For example, you can add a hover effect for the button.
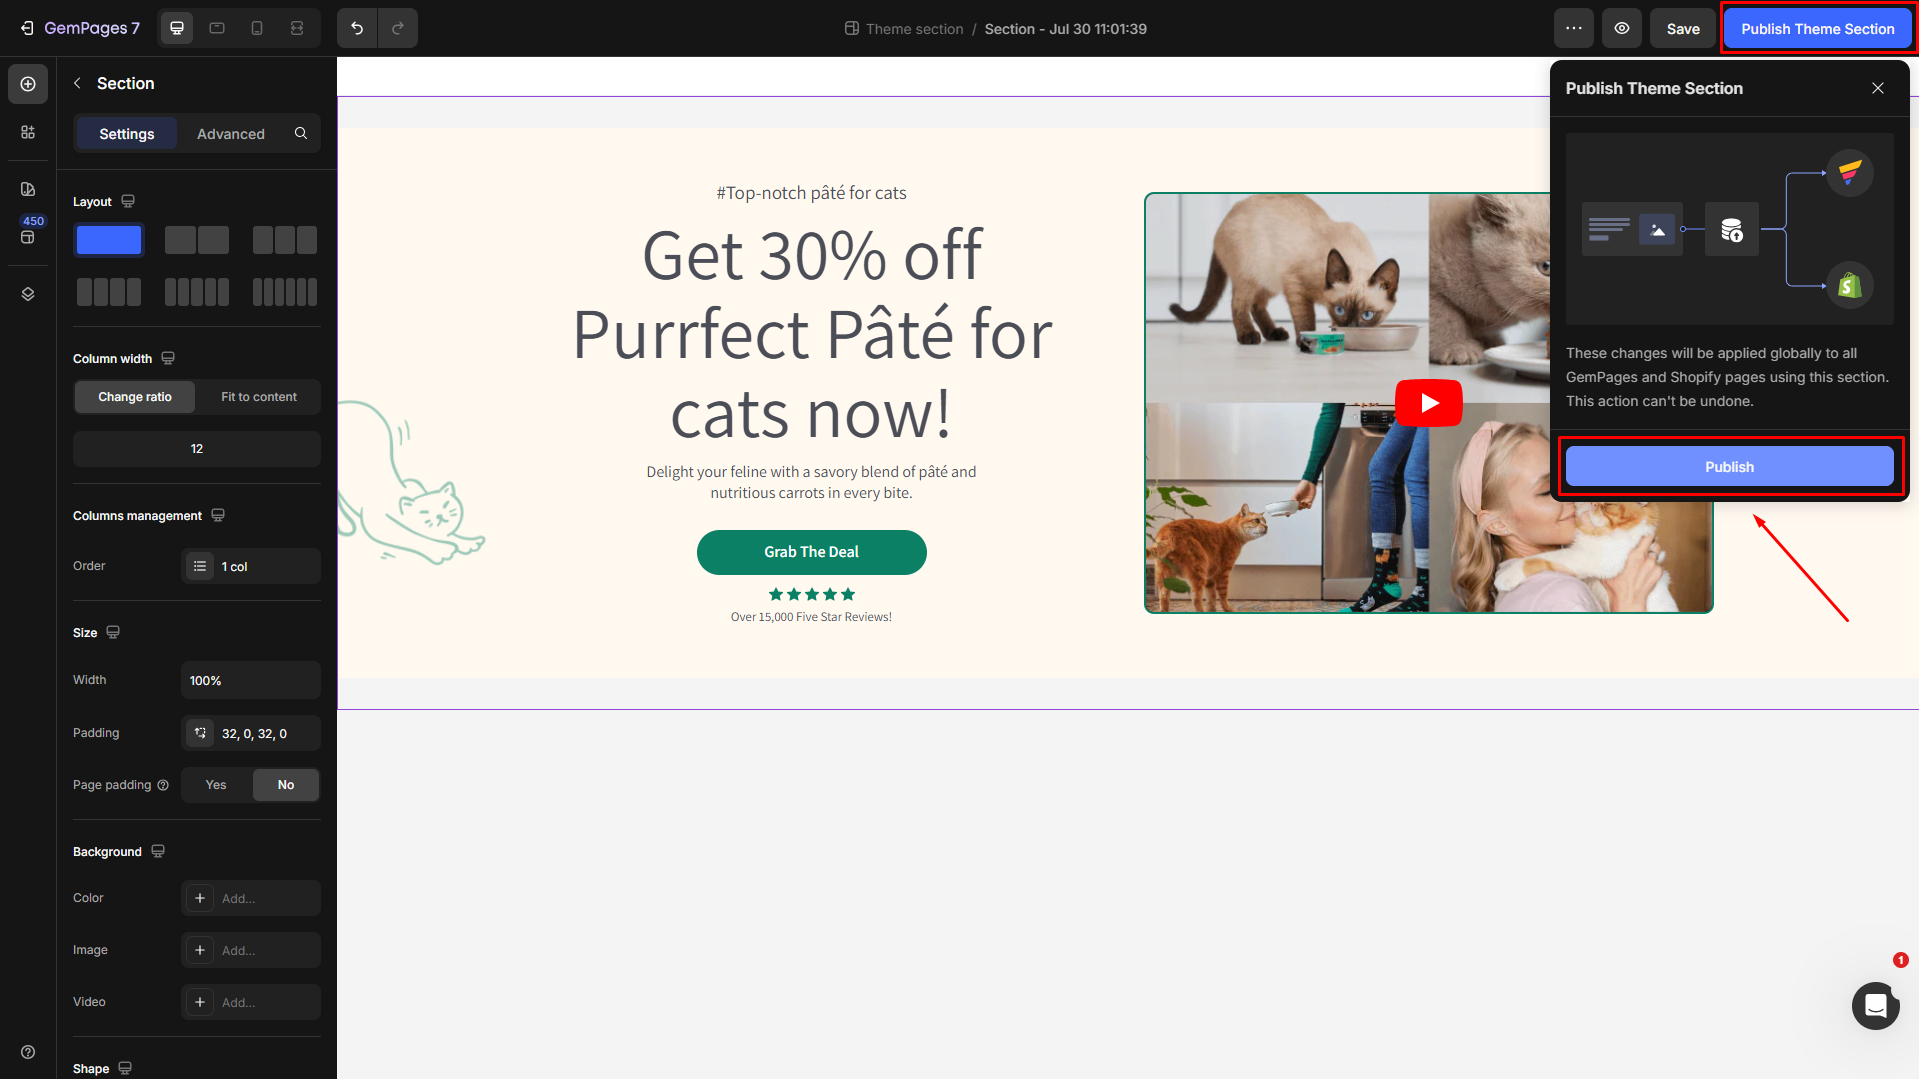
- Once done, hit Publish to save and publish your theme section.
Method 2: From a section on your designed pages
- Back to GemPages Dashboard > Pages > locate your target page to open the editor.

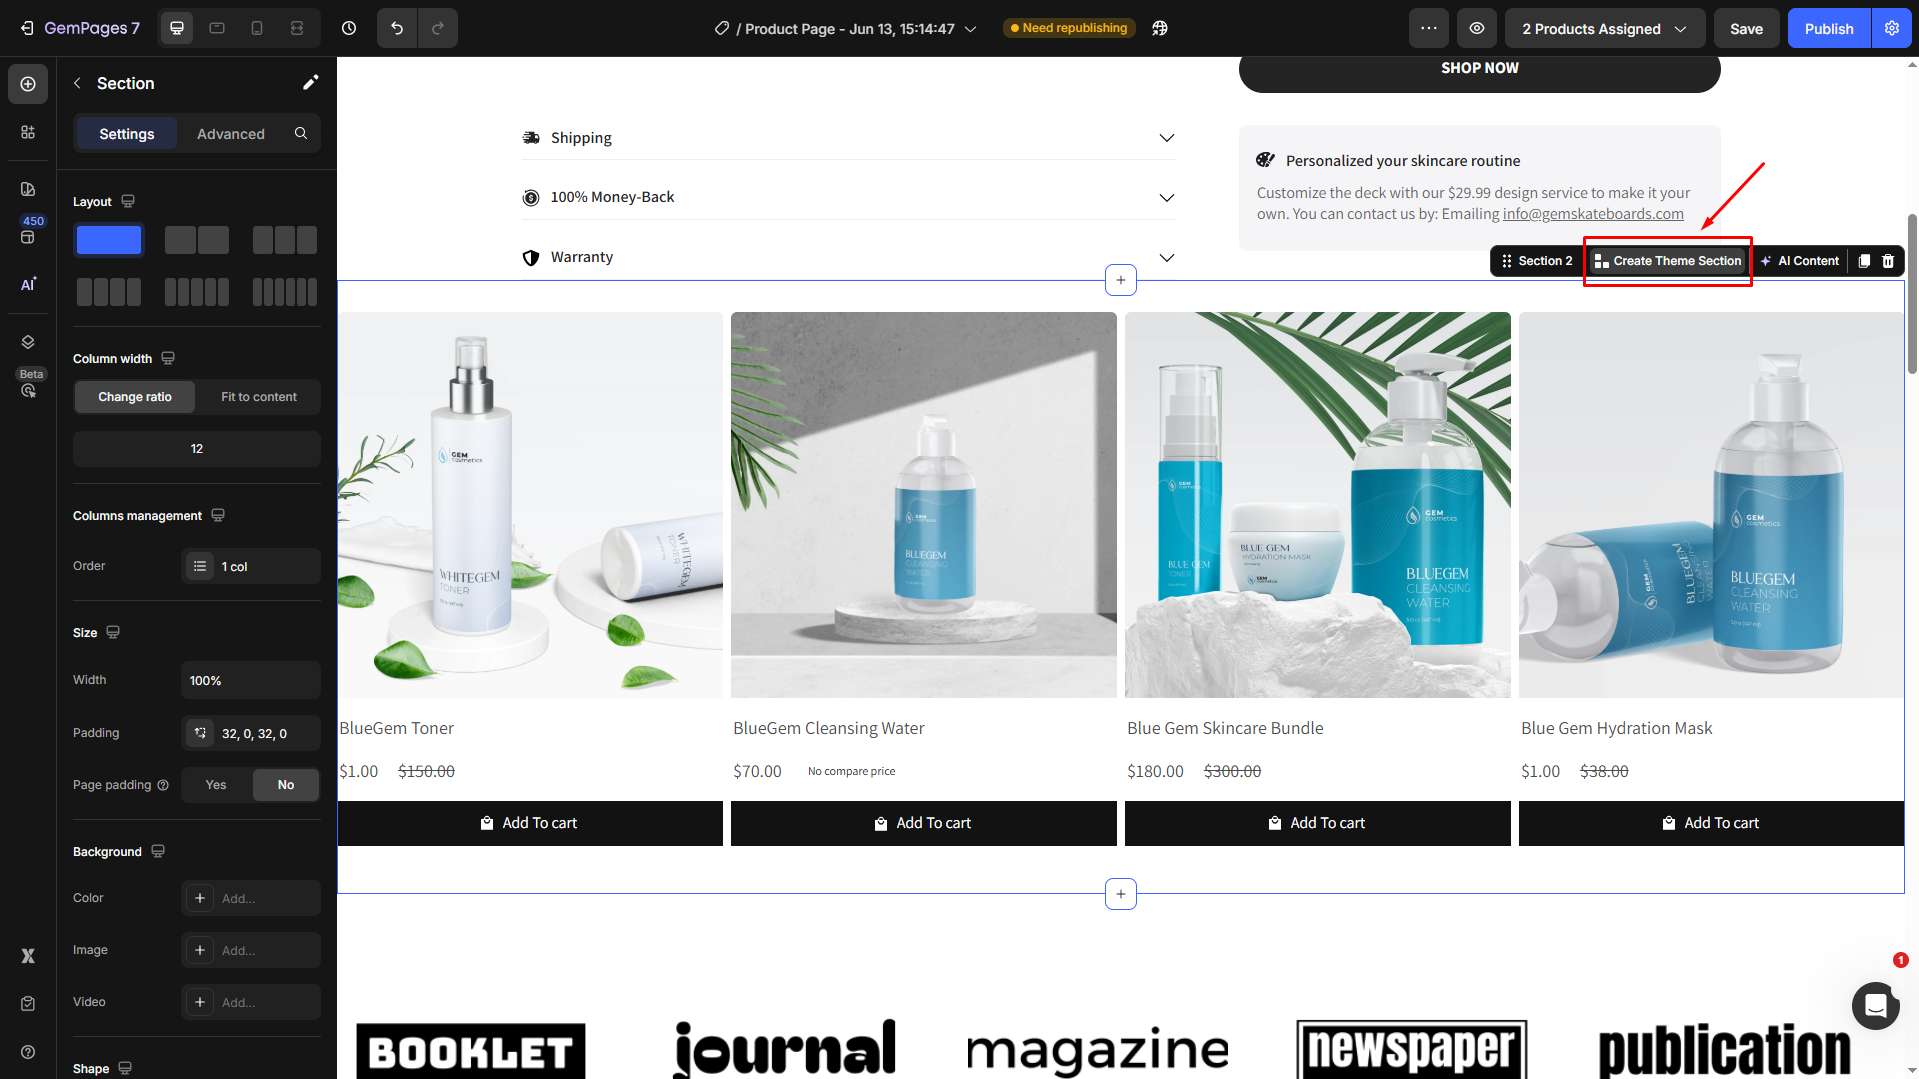
- Click the section you want to save as the theme section, then select Create Theme Section.
- Enter the preferred name in the box, then hit “Save” when finished.
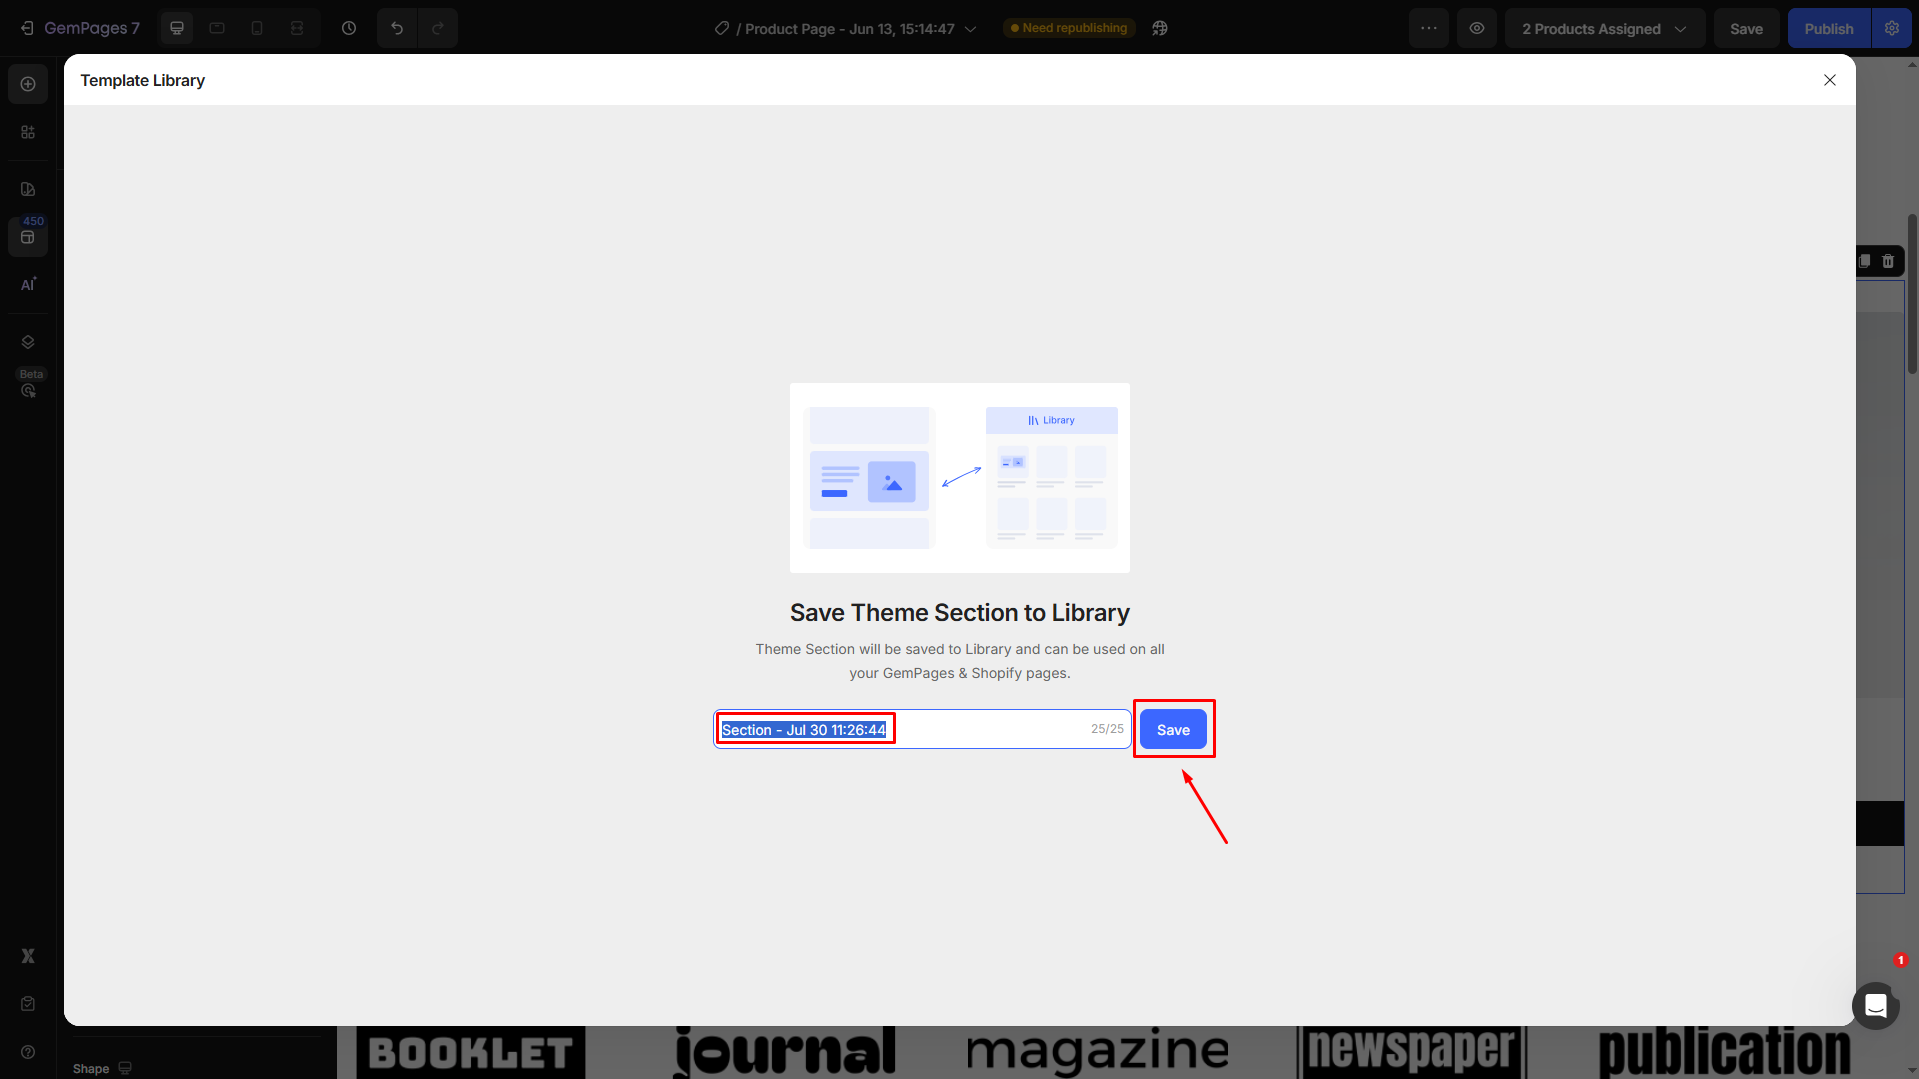
- The Template Library dialog box will be shown here. You can see all your theme sections under Saved Library.
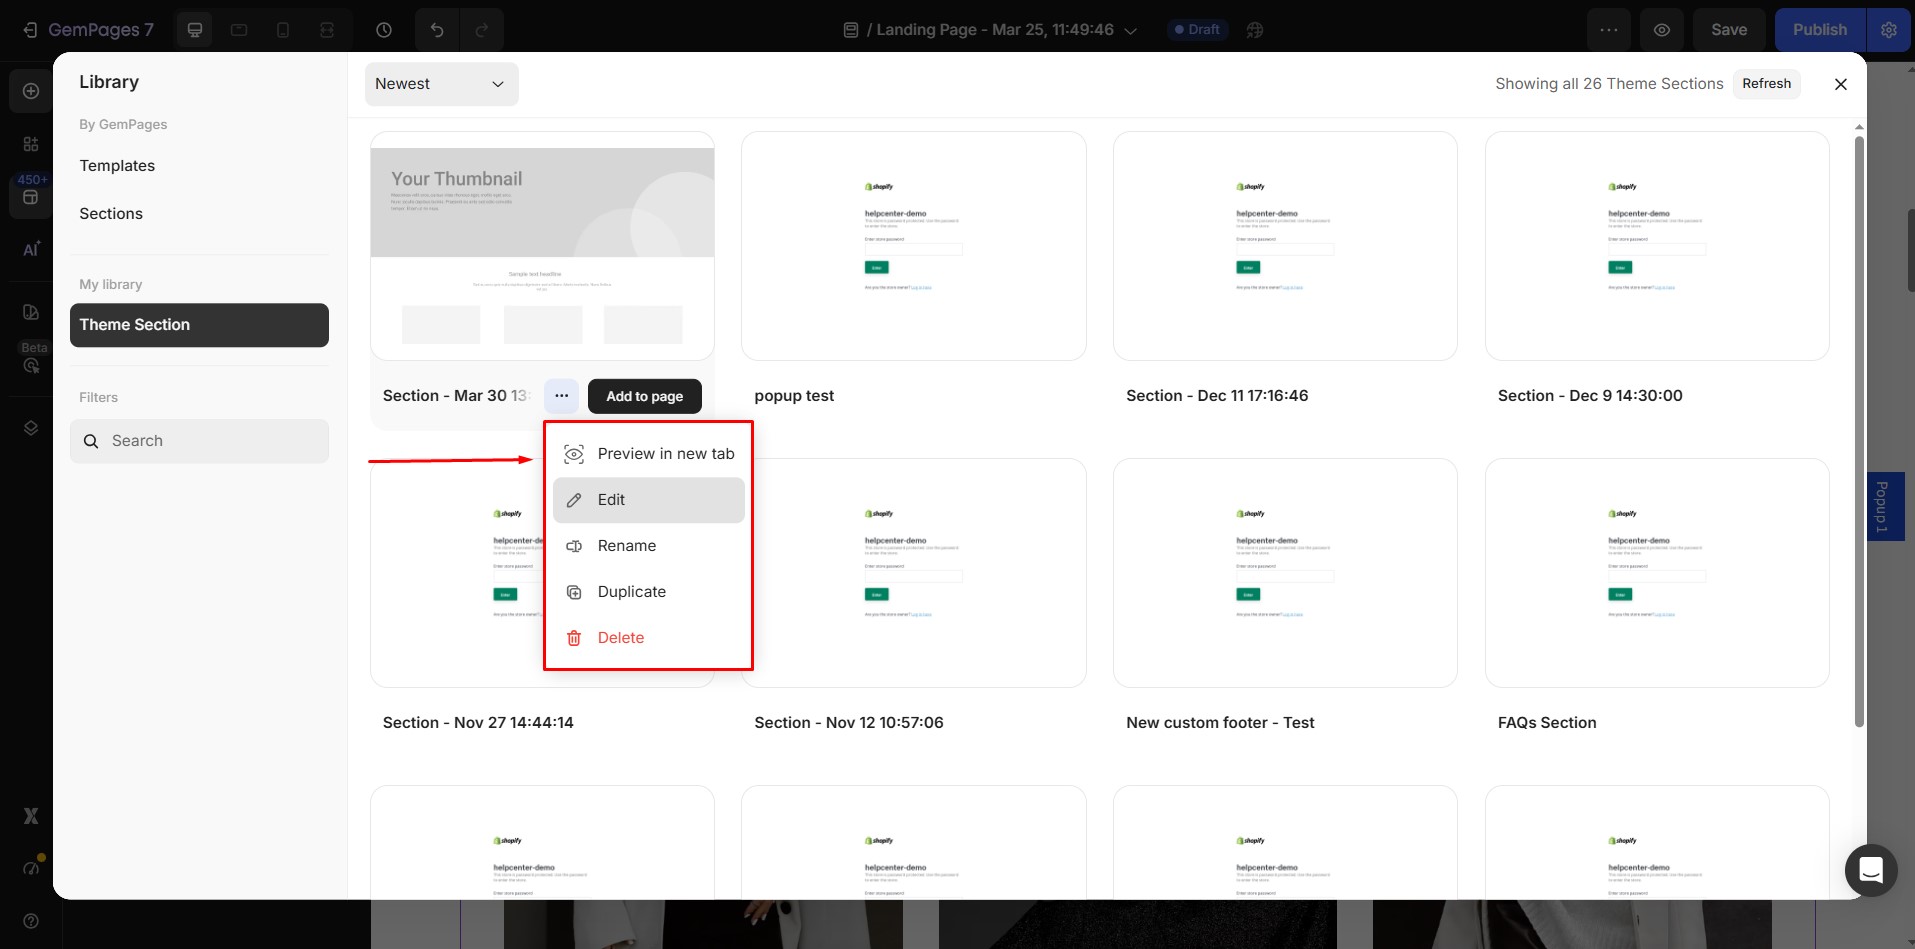
Hover over the theme section to add it to a page, edit the theme section, and rename, duplicate, or delete it.
Using Theme Sections in Shopify with GemPages
Scenario 1: Insert the Theme Section into Shopify Themes
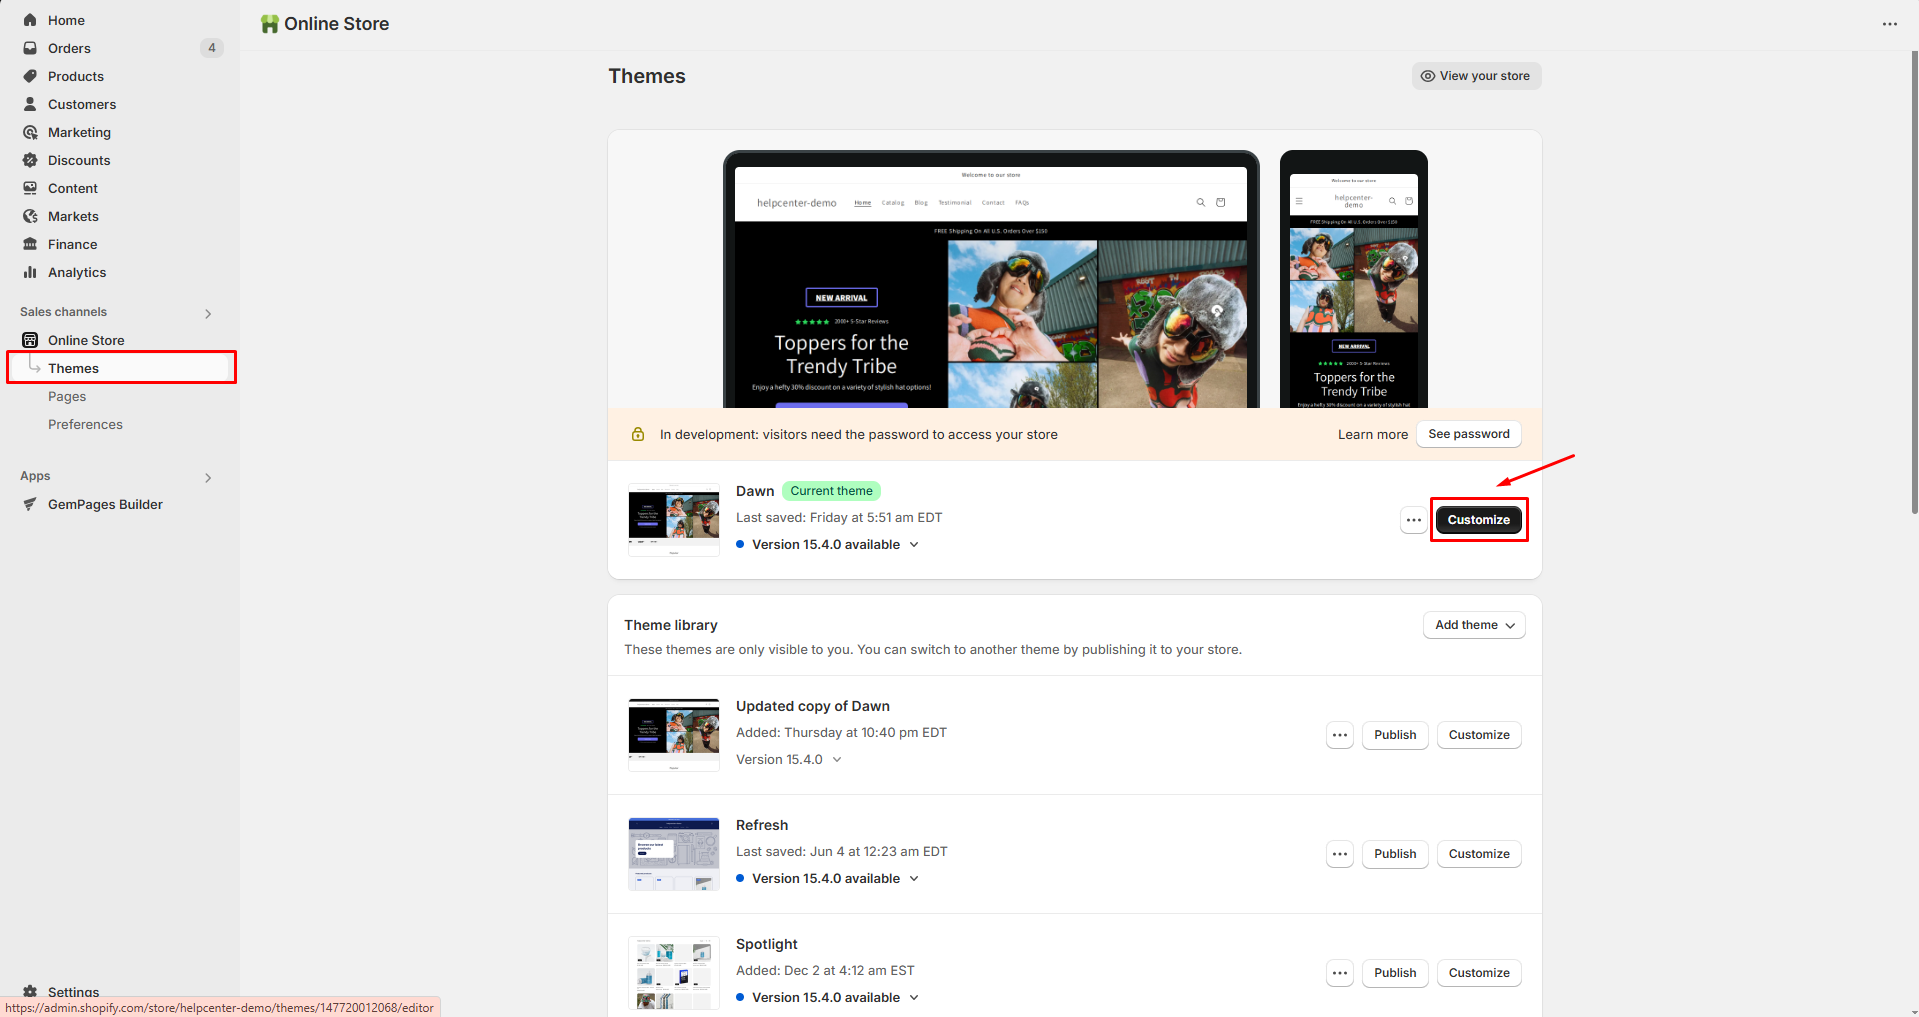
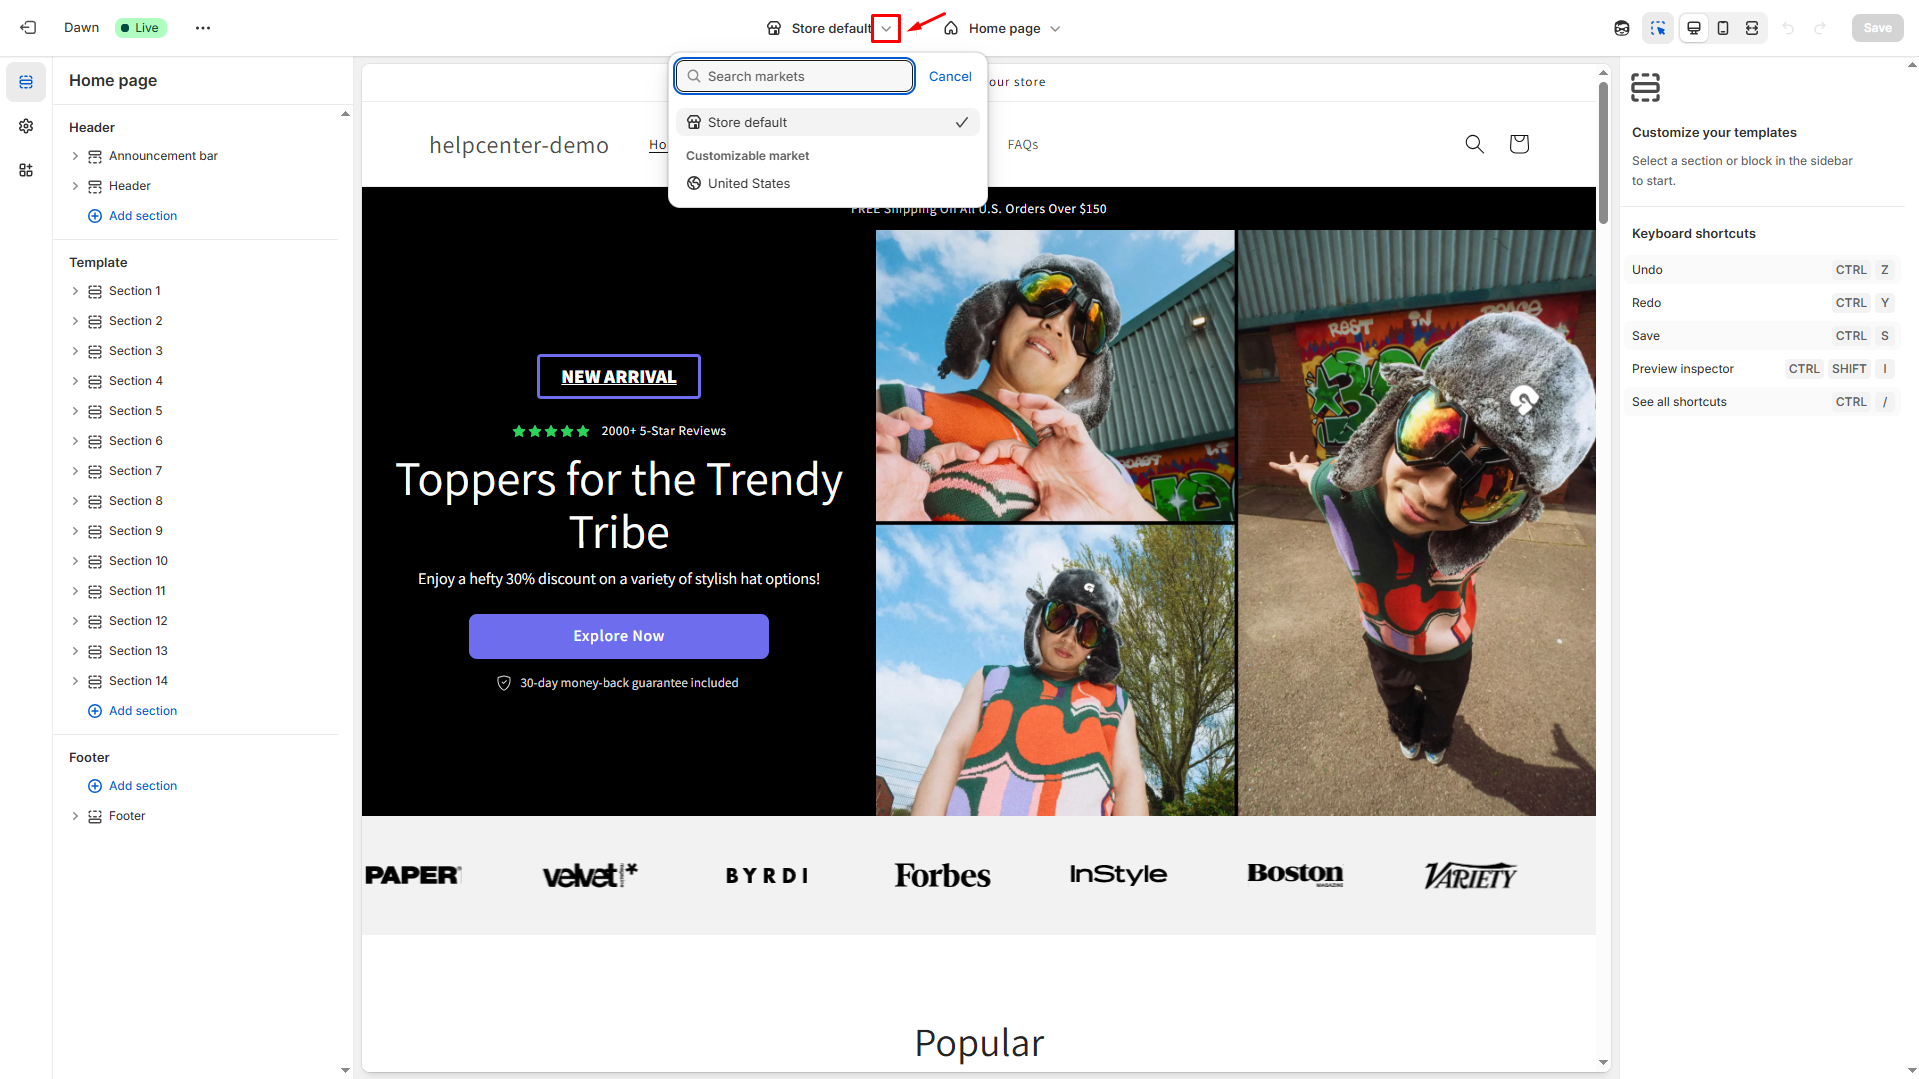
Log in to your Shopify Admin > Online Store > Themes. Click on “Customize” to access the Theme Editor.
From the drop-down menu in the top bar, select the template within your theme where you want to add the section.
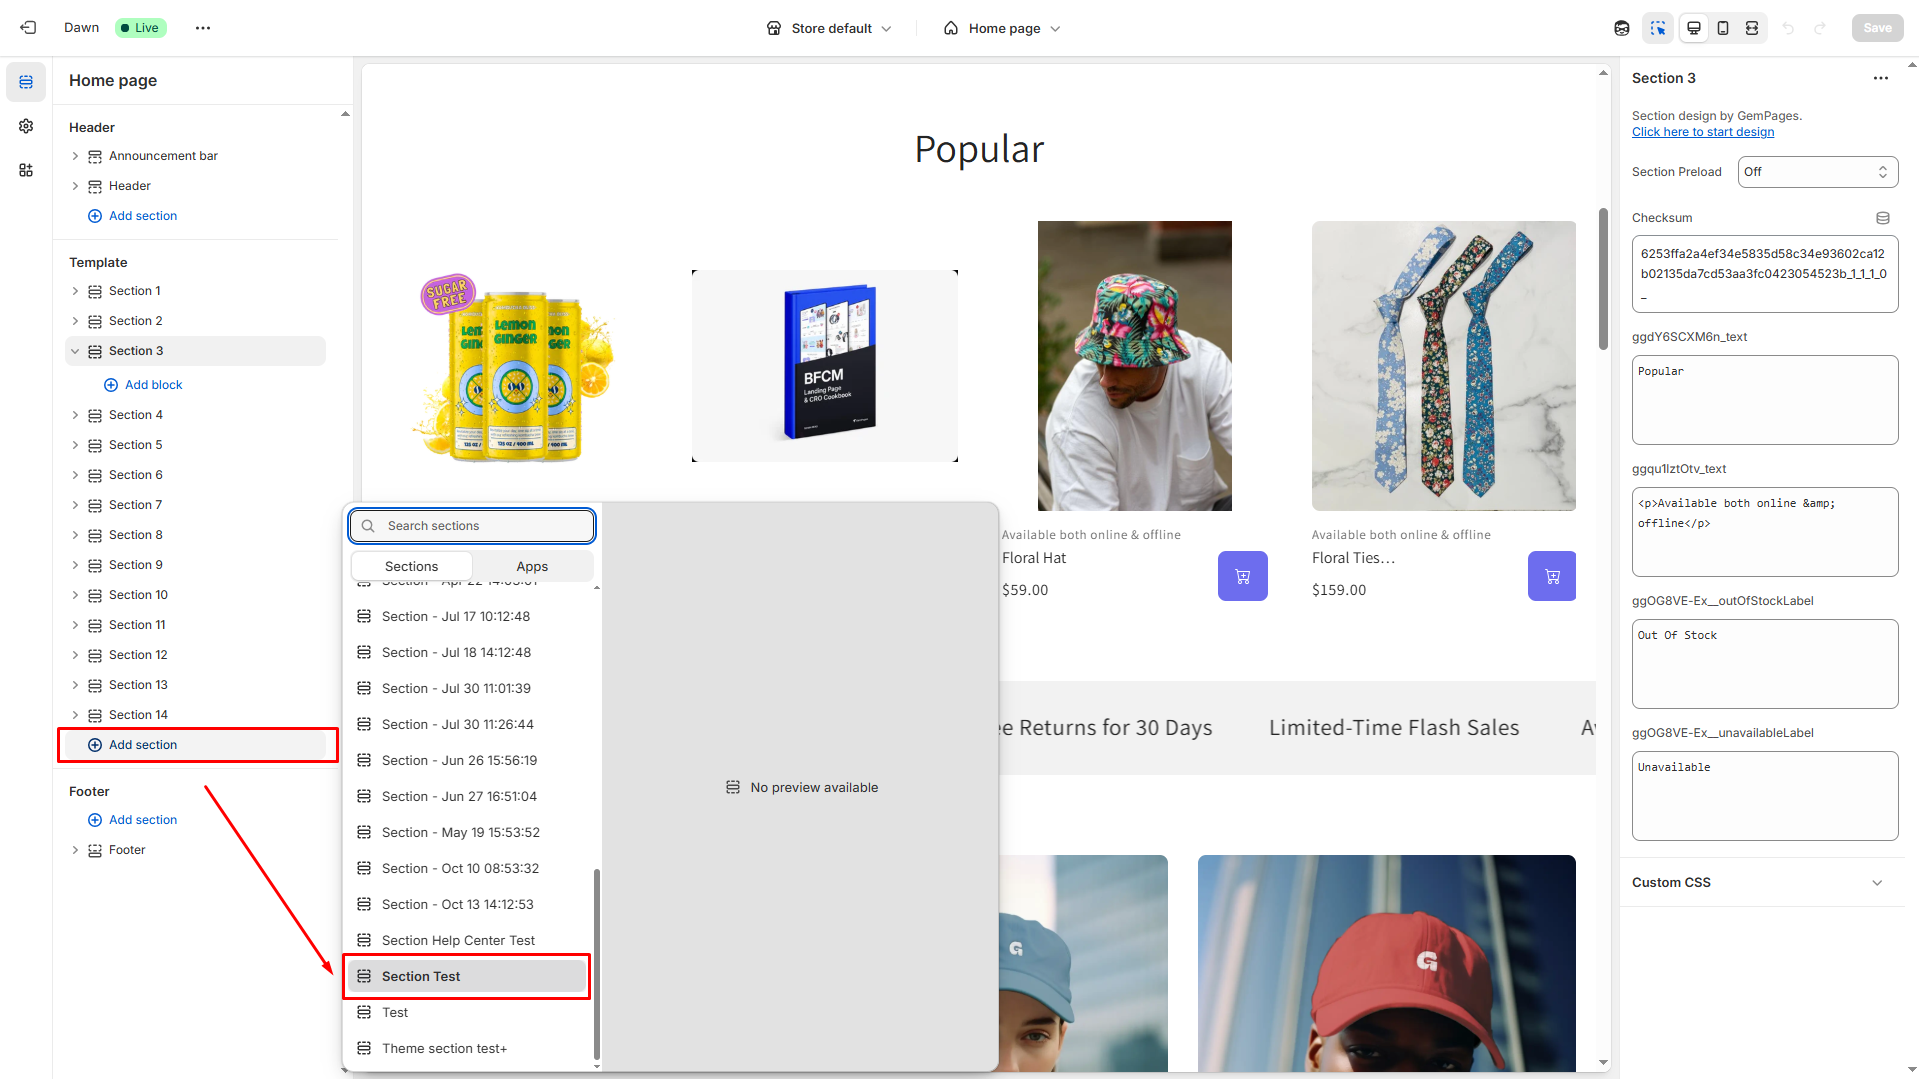
Within the selected template, identify the specific area where you want to add a new Theme Section. Click on the “Add Section” button and select from the dropdown list.
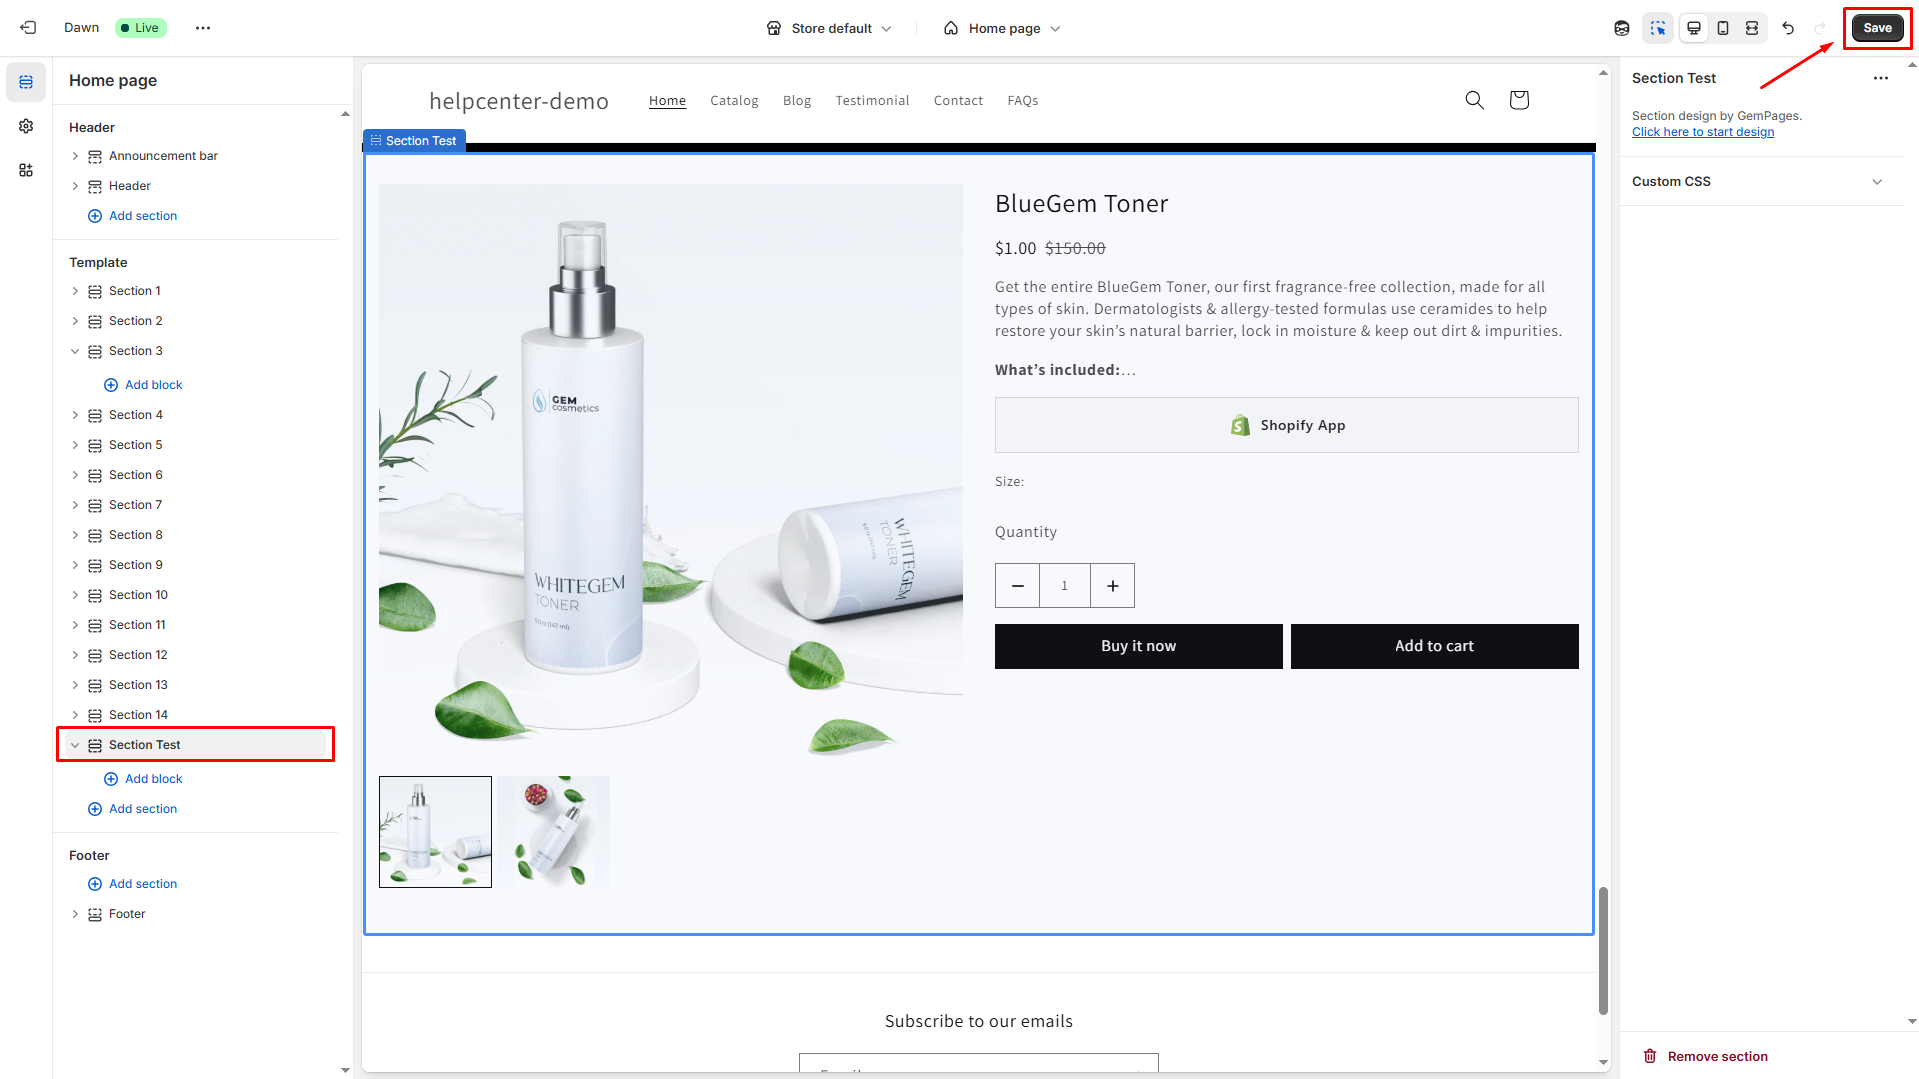
Click Save when finished to save your changes.
Scenario 2: Insert Theme Section to pages built with GemPages
GemPages provides an intuitive way to incorporate theme sections across various pages of your Shopify store.
- Access GemPages Dashboard > Pages and locate your target page to open the editor.
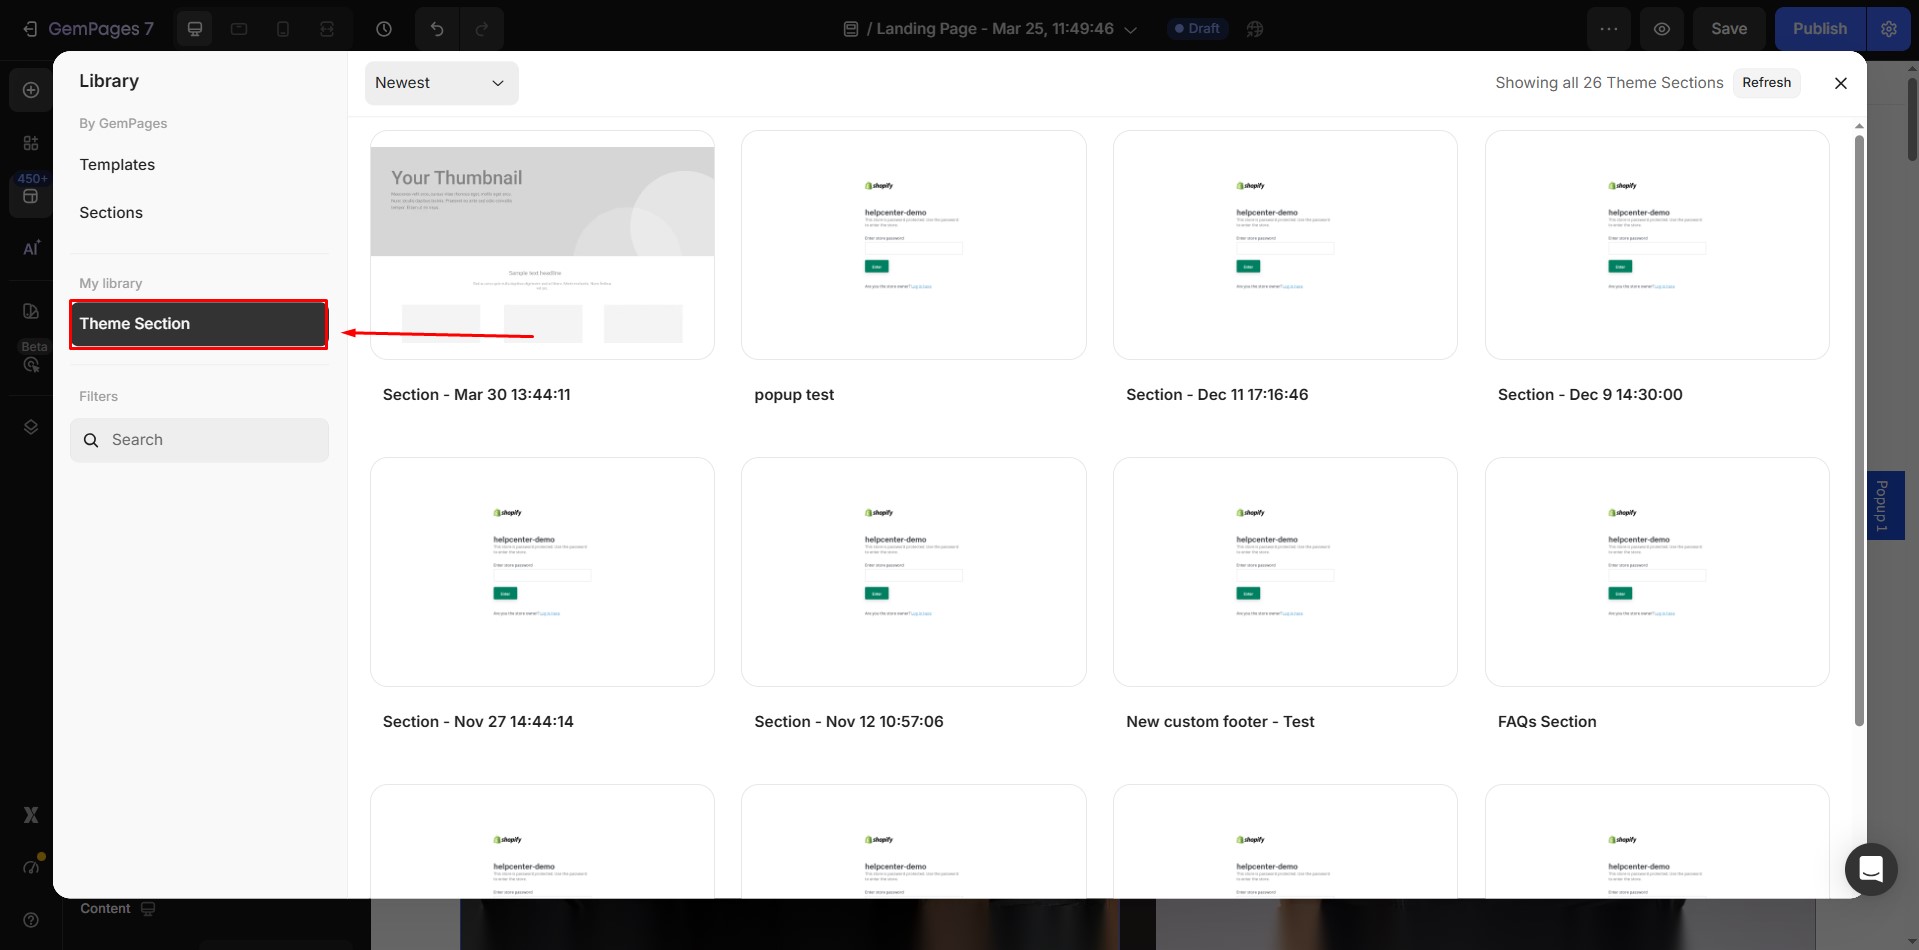
- From the left sidebar, click Library.
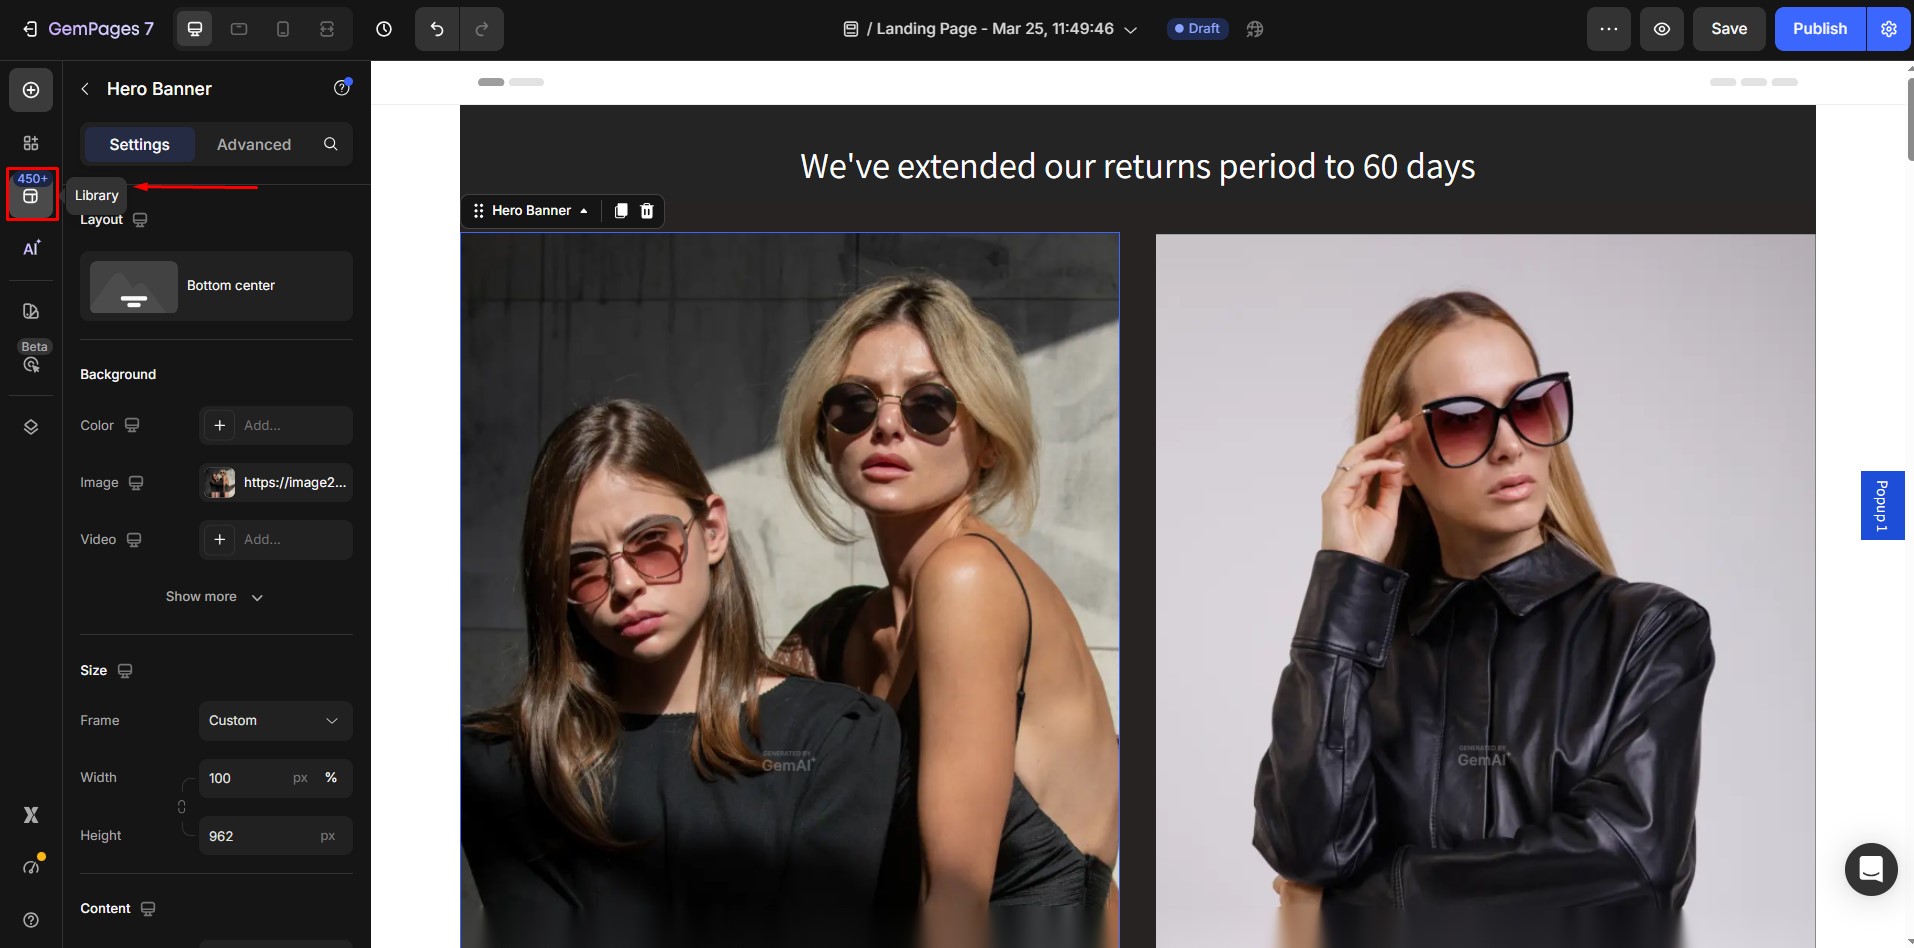
- Navigate to Theme Section, find the section you want to use, then hover over it and select Add to page.
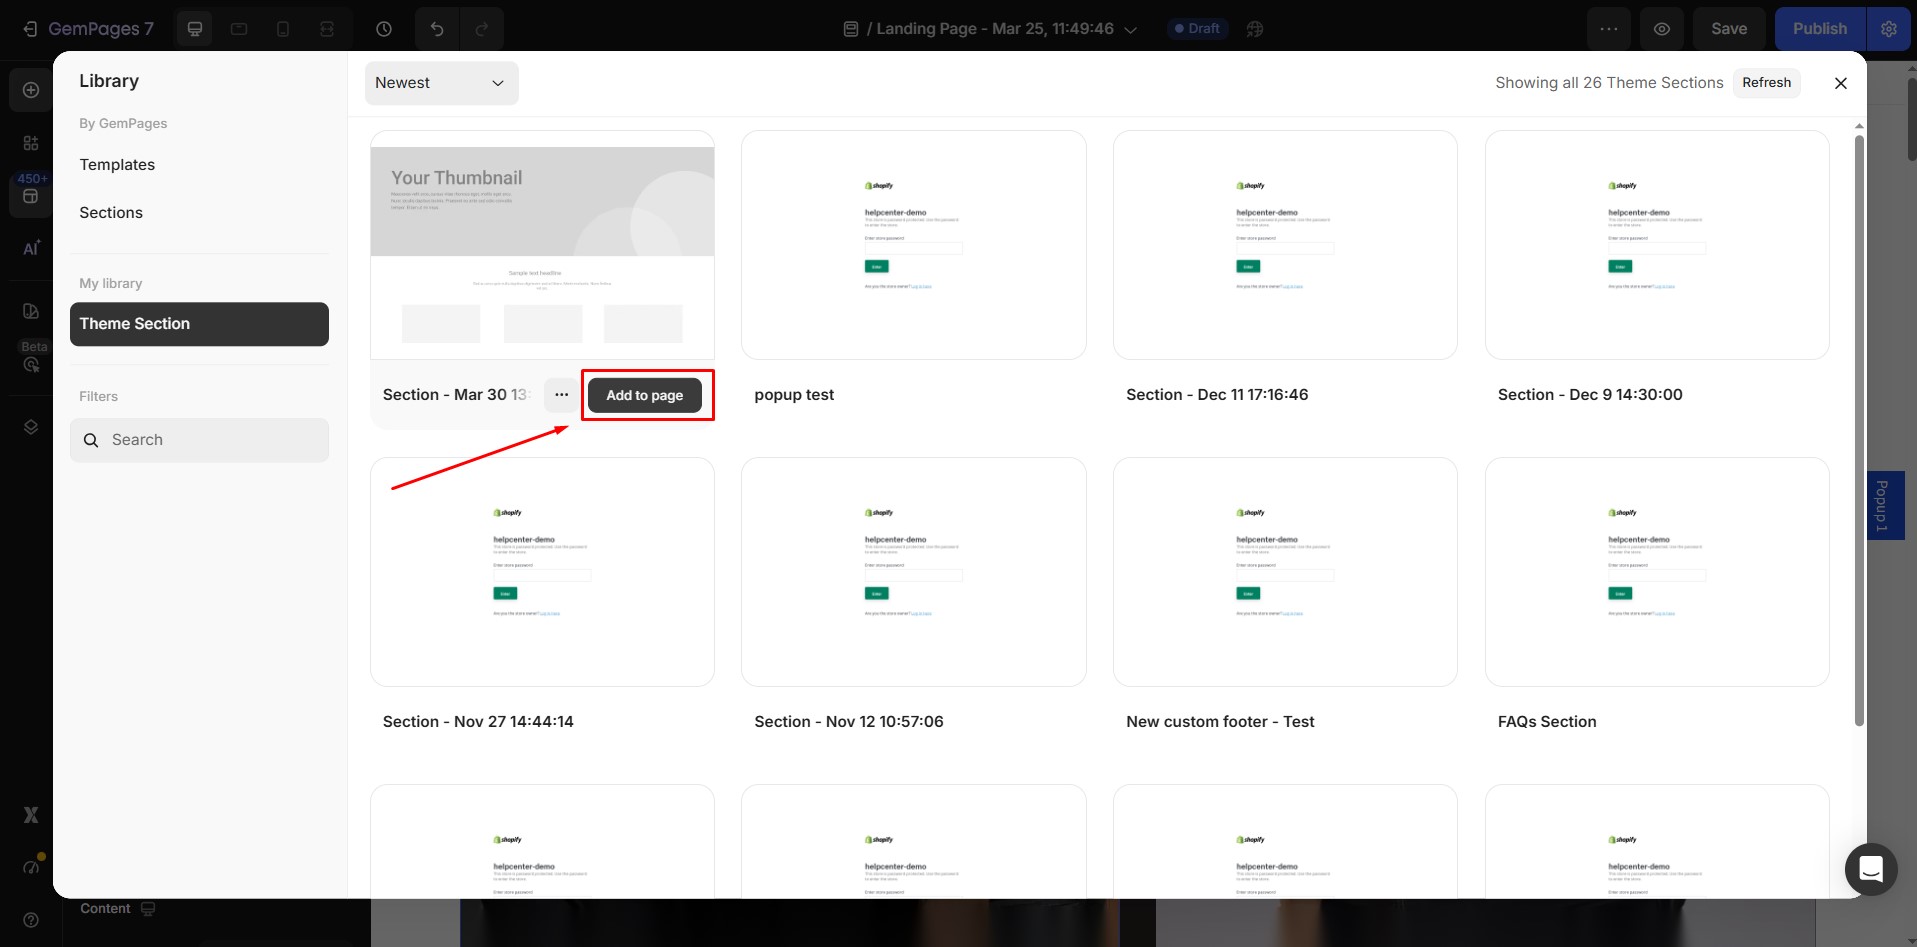
- Simply drag the theme section from your saved library into your GemPages page.
How to Edit the Theme Sections?
Please note:
When you edit and publish a theme section, all pages containing that theme section, whether they are standard Shopify pages or those created with GemPages, will be updated automatically.
This ensures that your changes are reflected consistently across your entire site.
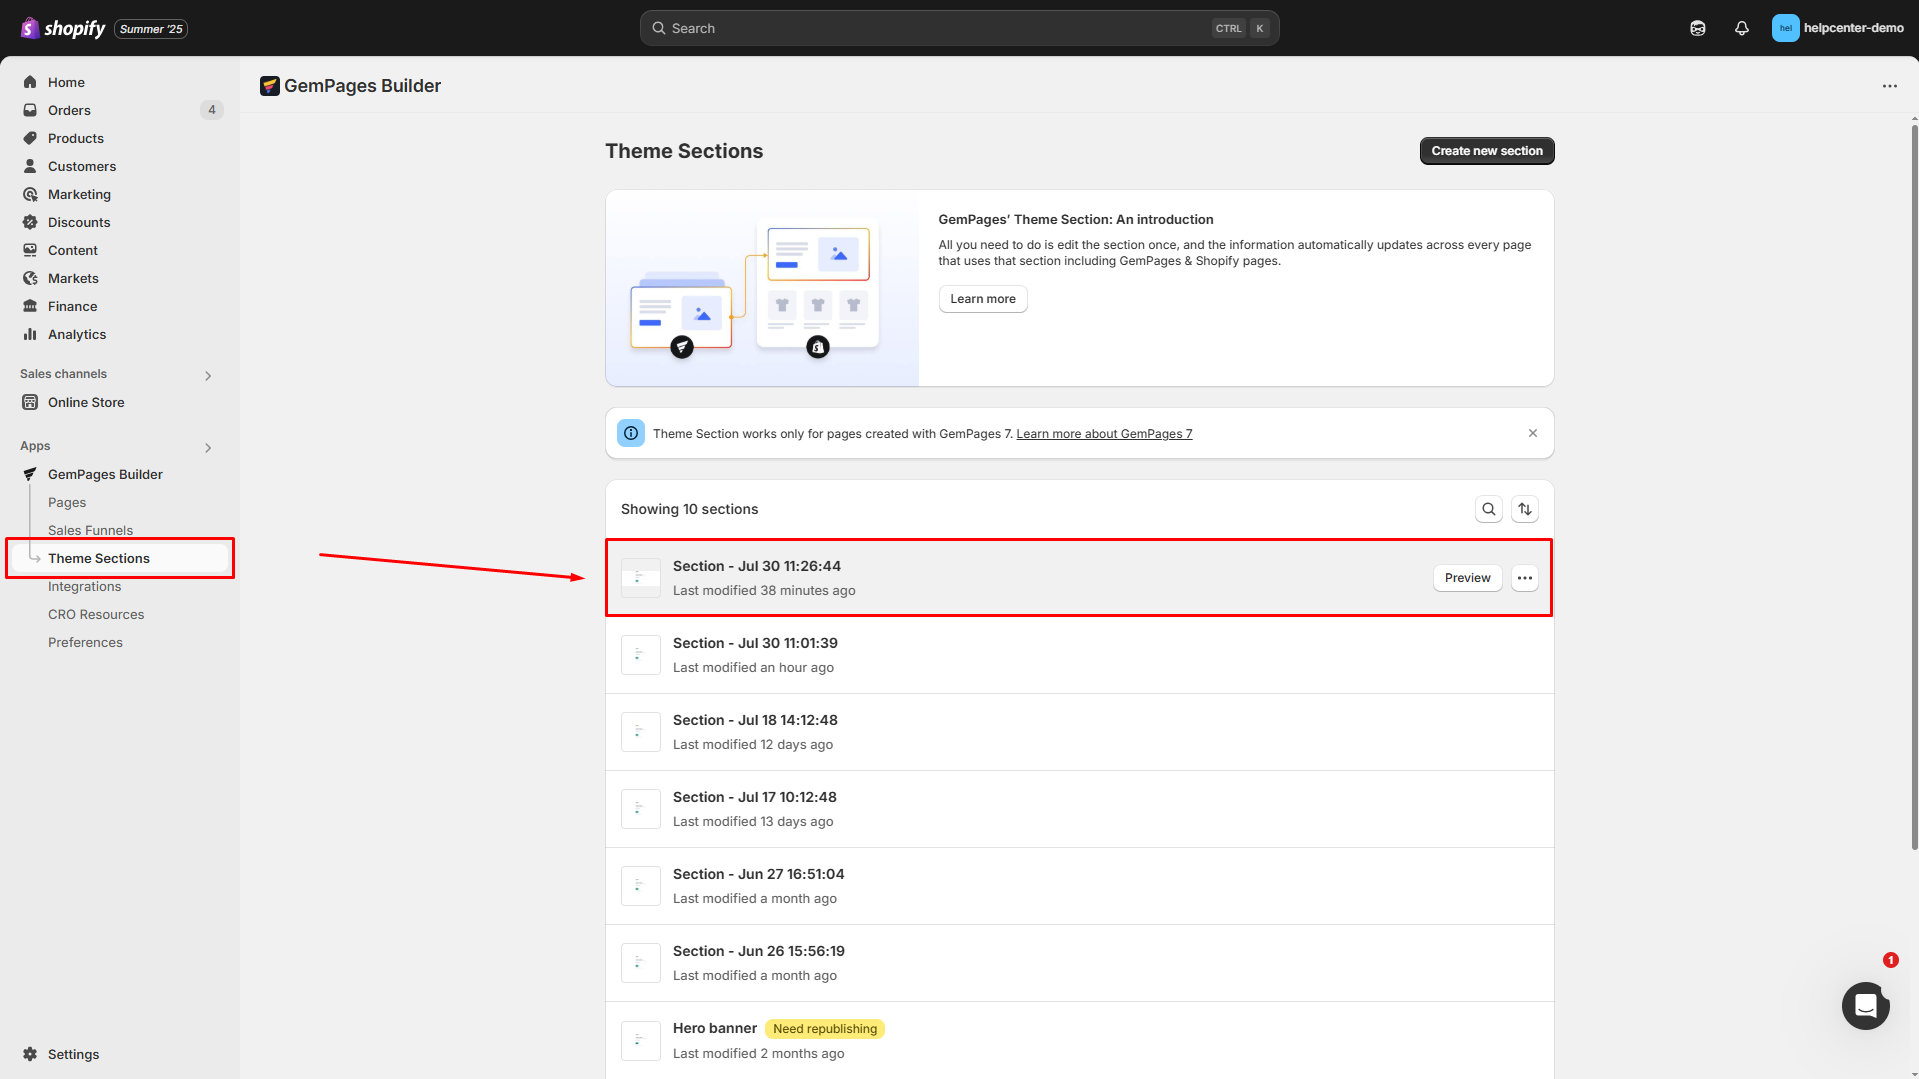
Step 1: Access GemPages Dashboard > Theme Sections, locate the section you want to customize to open the editor.
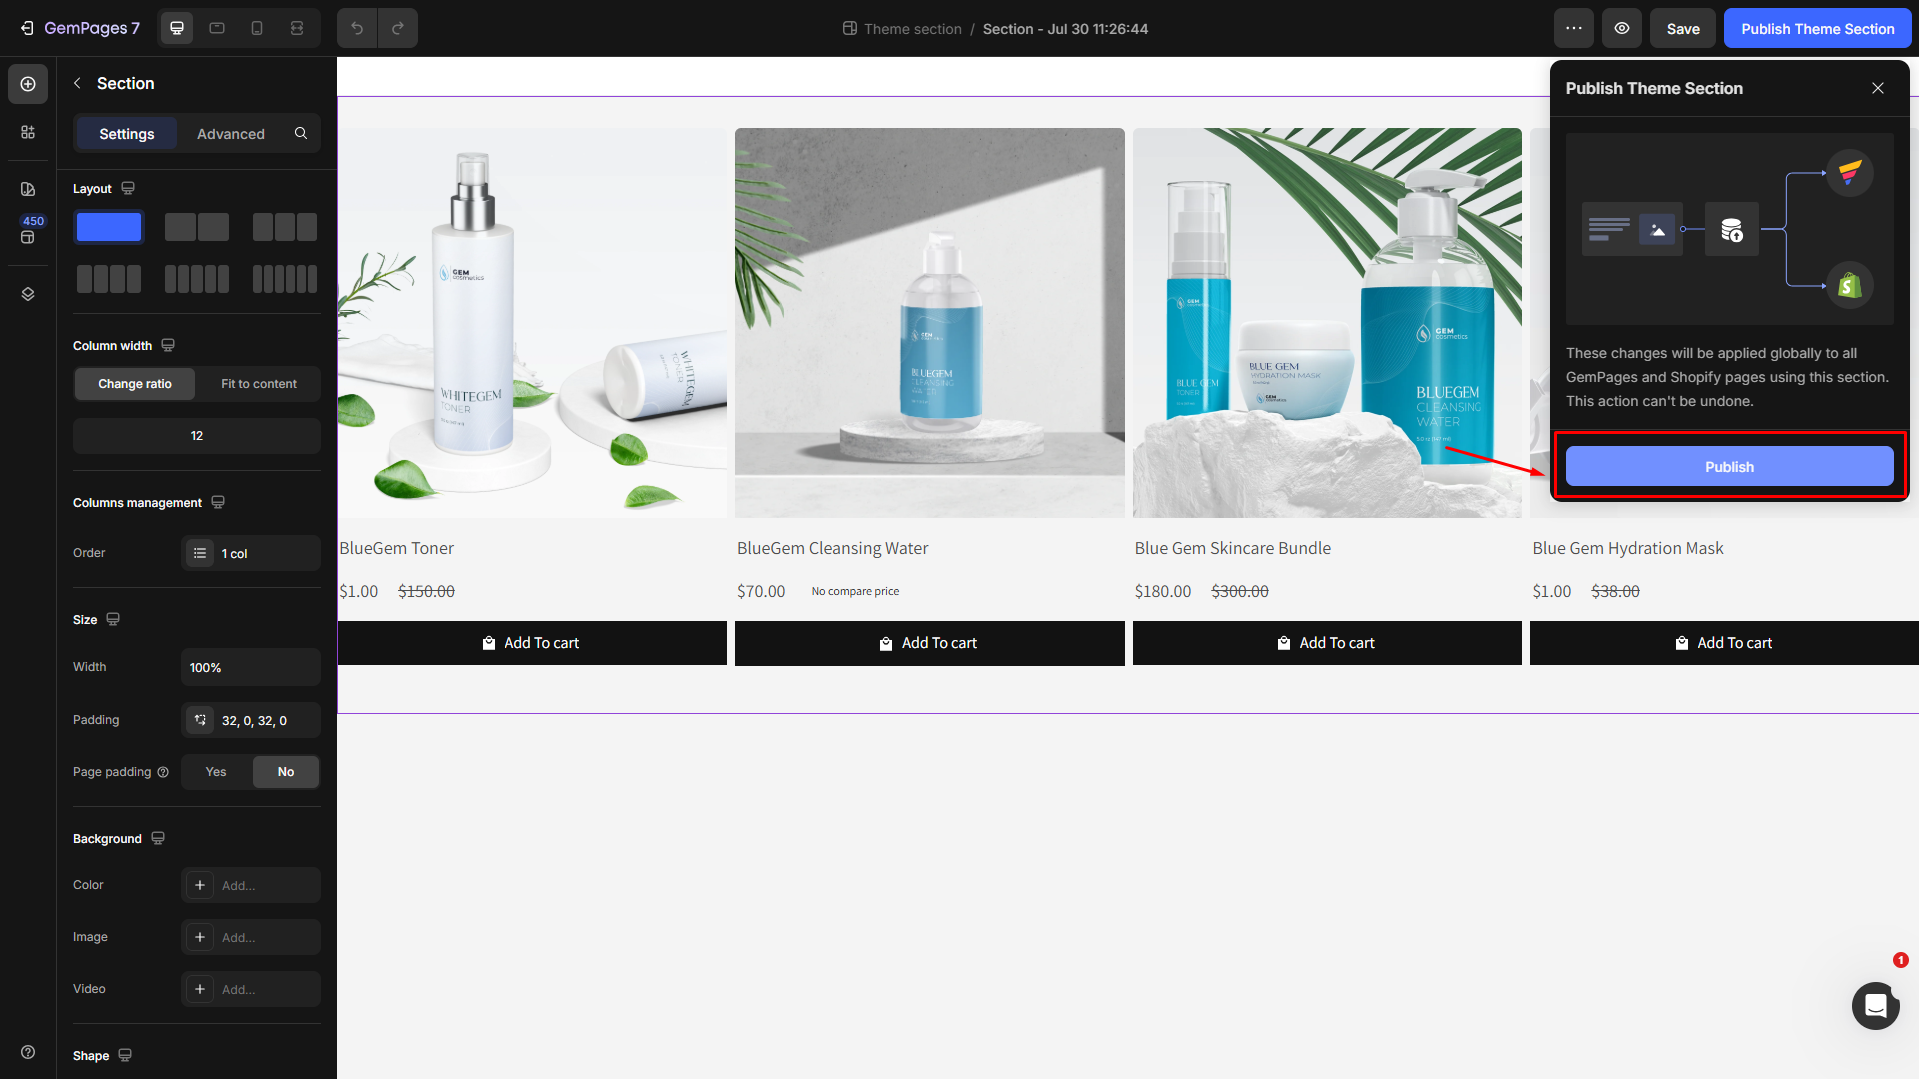
Step 2: Edit the theme section as you prefer.
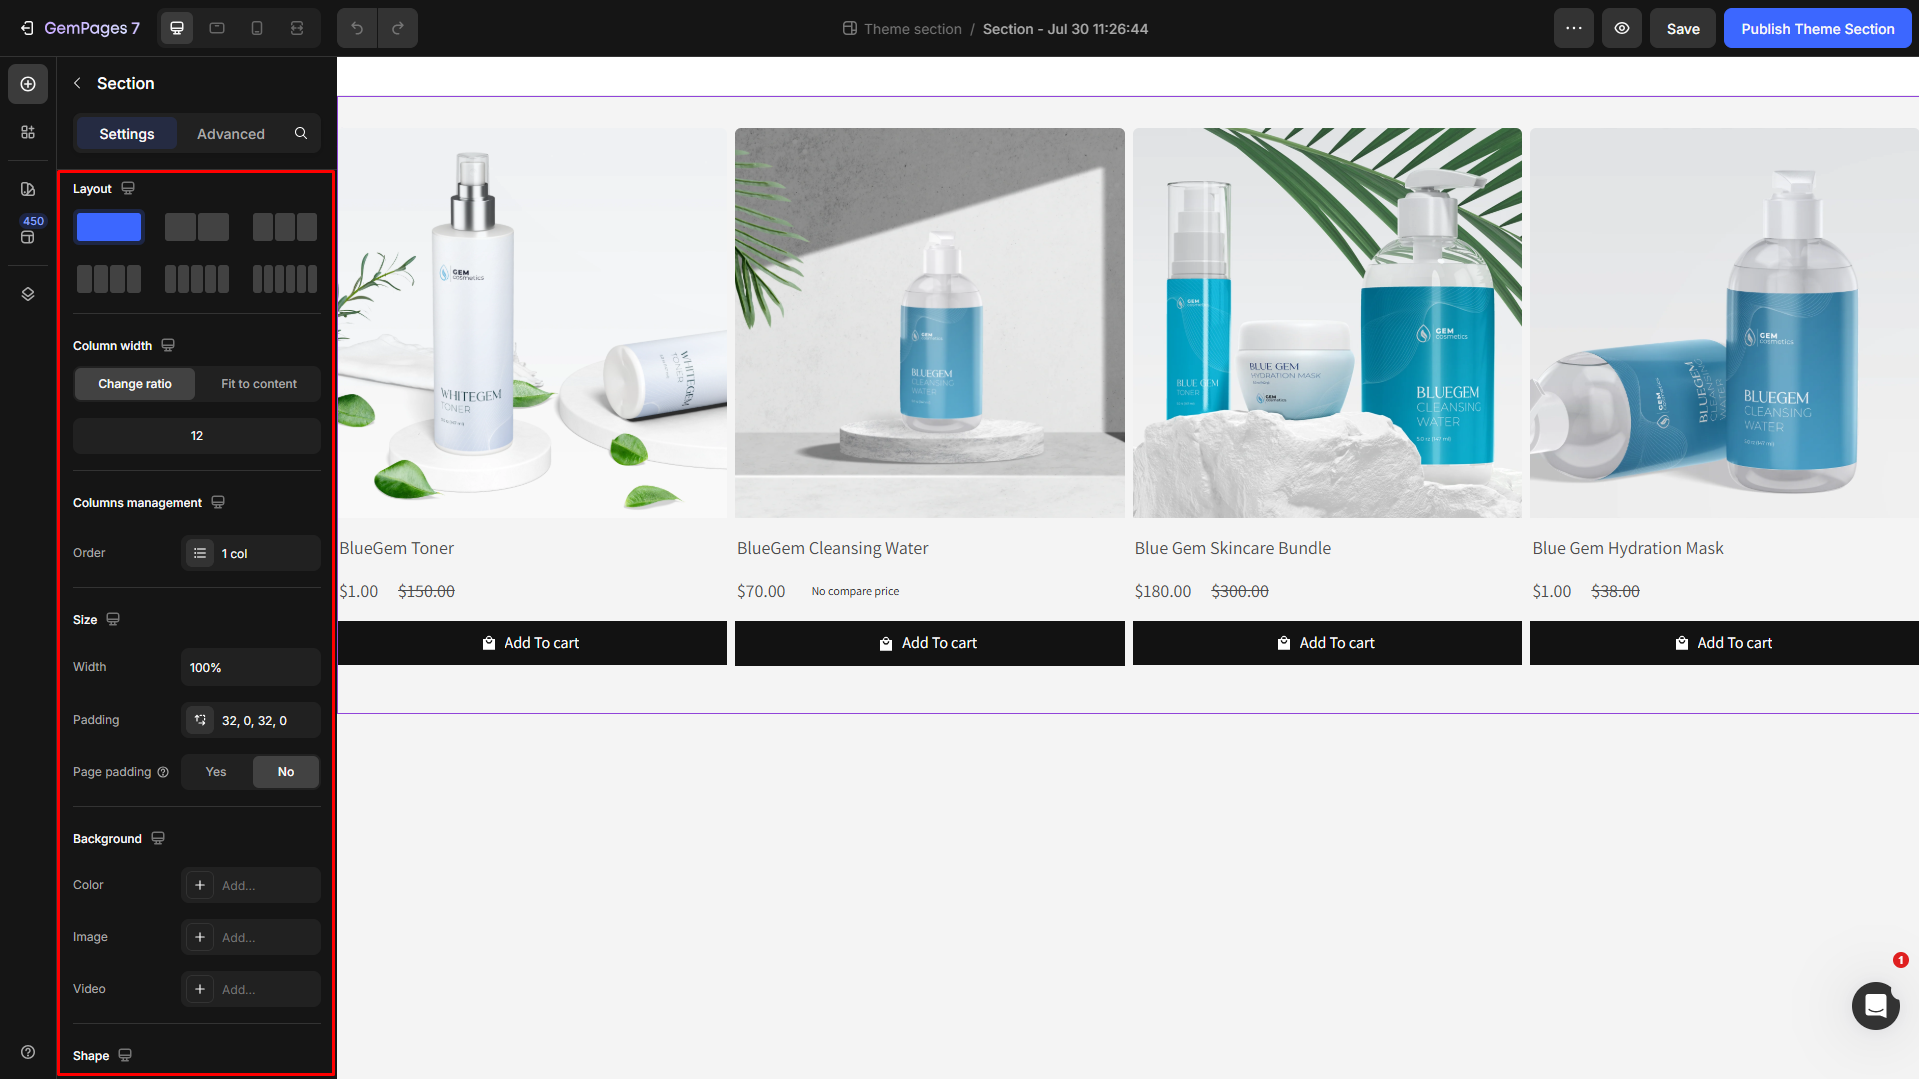
Step 3: Once you’re done, click Publish.
Theme Section FAQs
1. Can I copy or transfer a Theme Section to another store?
Currently, you can’t directly copy or transfer Theme Sections between Shopify stores. Each store has its own GemPages workspace, so saved sections are stored locally and can’t be shared or synced across stores.
If you want to reuse a section design on another store, the only way is to rebuild it manually using the same layout and settings in GemPages v7.
2. What happens if I delete Theme Sections from the saved library?
Deleting a theme section permanently removes it from your Saved Library and from all pages where it’s been used, including Shopify theme pages and GemPages-built pages. If you delete a section that’s actively displayed on your store, it will disappear immediately from the live site.
Before deleting, duplicate the section or save a backup version under a different name in case you need to reuse it later.
3. Can I add a section from the Shopify theme to GemPages pages?
Not yet. You can add Theme Sections created in GemPages to your Shopify theme pages, but not the other way around. Sections built directly inside Shopify’s Theme Editor can’t be imported or edited in GemPages because both systems handle layout data differently.
If you want to reuse a Shopify theme section in GemPages, you’ll need to recreate it manually inside the GemPages Editor.
4. Can I use Theme Sections with other page builders?
No. Theme Sections are currently exclusive to GemPages and Shopify’s Theme Editor. They can’t be used or edited in other page builders. This limitation ensures full compatibility and proper synchronization when editing or publishing your store content.
If you’re switching from another builder, you can rebuild your favorite layouts in GemPages and save them as Theme Sections for future use.
5. Why can’t I find the option to create a Theme Section?
If you’re unable to find the option, it could be due to one of the following reasons:
- Using Editor Version 6: Theme Sections are only available with Editor Version 7. If you are using Version 6, please contact our support team for help with upgrading.
- Using a Free Plan: Theme Sections are available exclusively for paid plans. Please refer to our pricing and consider upgrading your plan to unlock this feature.
6. Why is my GemPages Theme Section not showing up?
There are a few common reasons:
| Version & Plan | Theme Sections are available only on GemPages Version 7 and paid plans. |
| Not Added to Theme | After creating and saving a Theme Section, you must manually add it in the Shopify Theme Editor by clicking “Add Section” and selecting your saved section. |
| Not Published | Ensure the section is published in GemPages; otherwise, it won’t appear on your live site. |
| Wrong Theme | Theme Sections work only with your published Shopify theme, not with draft versions. |
| Visibility Settings | Check if the section is hidden on specific devices (desktop, tablet, or mobile) within the GemPages Editor. |
| Using ILP (Instant Landing Page) | If you are using ILP (Instant Landing Page), Theme Sections are not supported. |


Thank you for your comments