Before we start, please make sure you’ve installed Bundler – Product Bundles from the Shopify App Store then process to the next steps outlined below.
Install and configure the Bundler – Product Bundles app
Step 1: From the Shopify App Store, click Install to install the app to your Shopify admin.

Step 2: Hit Install to grant the app access to your Shopify.

Step 3: Choose your preferred plan and proceed to complete the in-app settings. Click Create bundle to start creating your first bundle.


Customize the bundle as you wish and hit “Save bundle” when finished.
If there are any questions related to this process, please check out the Bundler FAQ page or contact their support team for further assistance.
Identify Bundler shortcode
Step 1: Go to the Bundler app settings and click on the bundle you want to display on your page.

Step 2: Scroll down to the “Bundle shortcode” section and click on the “Get shortcode” button.

Step 3: Copy the bundle shortcode provided in Option #1. This code is essential for integrating with GemPages in the next steps.

Add a Bundler element to your page
Step 1: Go to the GemPages Dashboard and choose the page you want to edit to access the Editor.
Step 2: Locate the Bundler element on the left sidebar of the Editor, under the Shopify Apps section. You can also use the search bar to save time. Drag & drop the element to any place you prefer.

Step 3: Click the element to open its Settings tab. Enter the shortcode you’ve collected before into the box next to Shortcode.

Step 4: Hit Save and Publish to make your changes public.
FAQs
1. Do I need a Bundler paid plan to get a shortcode?
2. How can I add the Bundler widget on other page types besides the default Product page?
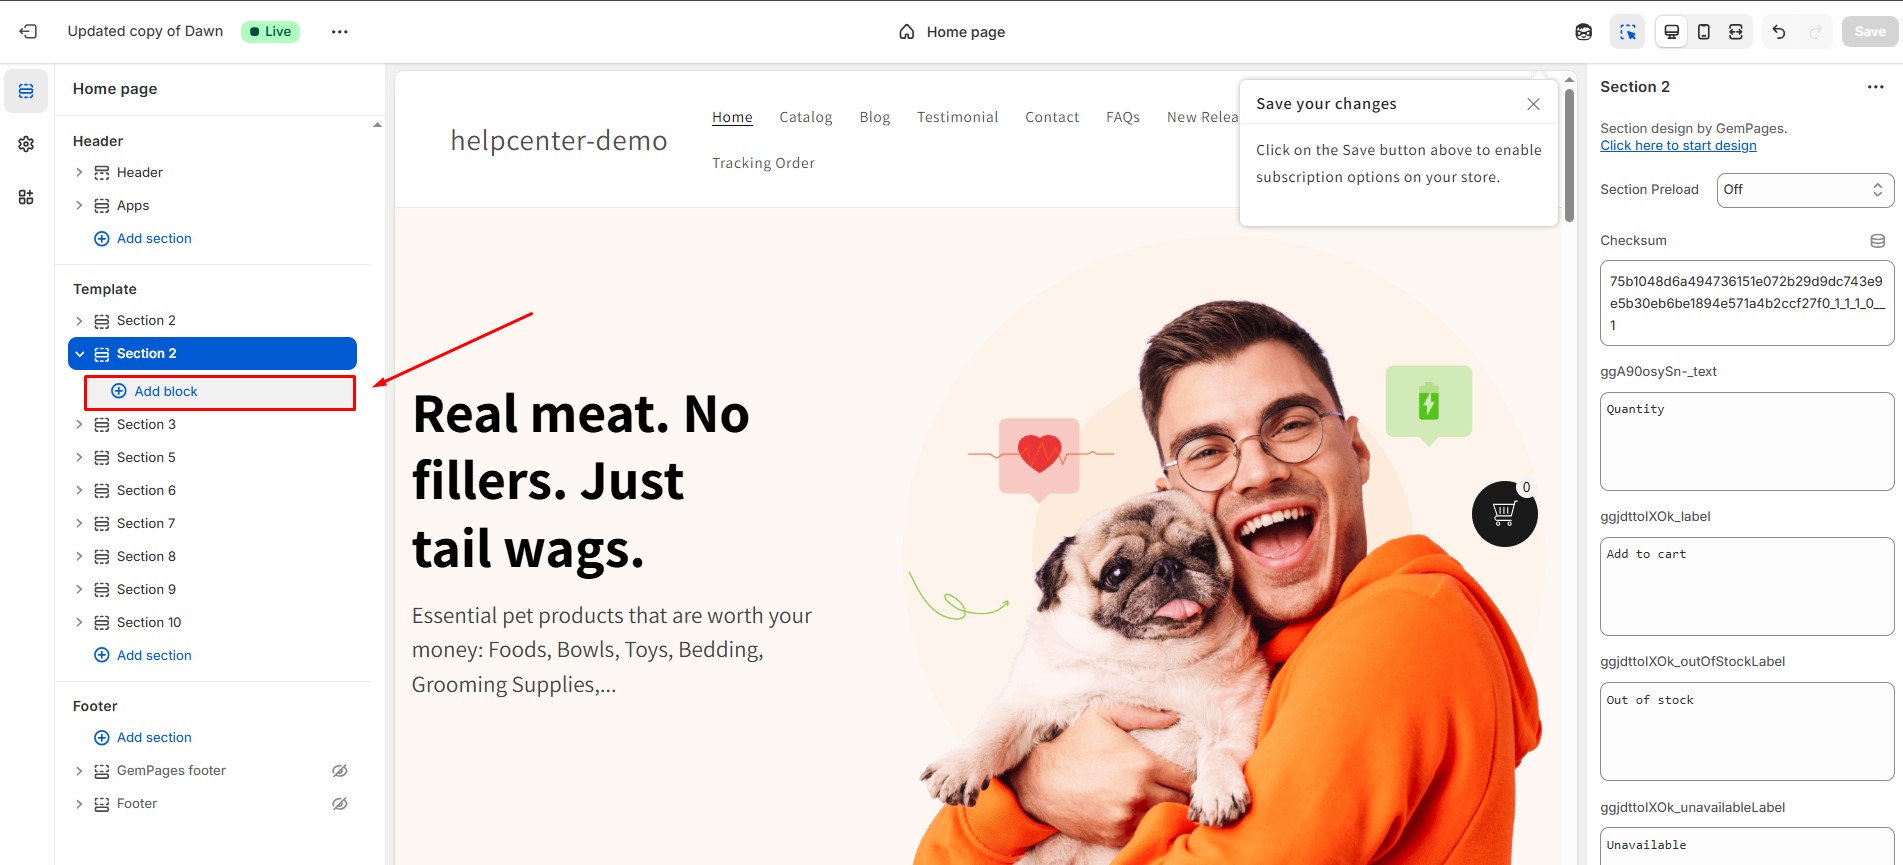
You can manually add Bundler to non-product pages using the Shopify Theme Editor. Follow these steps:
Step 1: Open the Theme Editor and select the page you want to edit (e.g., Homepage, Collection page, static Pages).
Step 2: Under the Template section, click Add block.
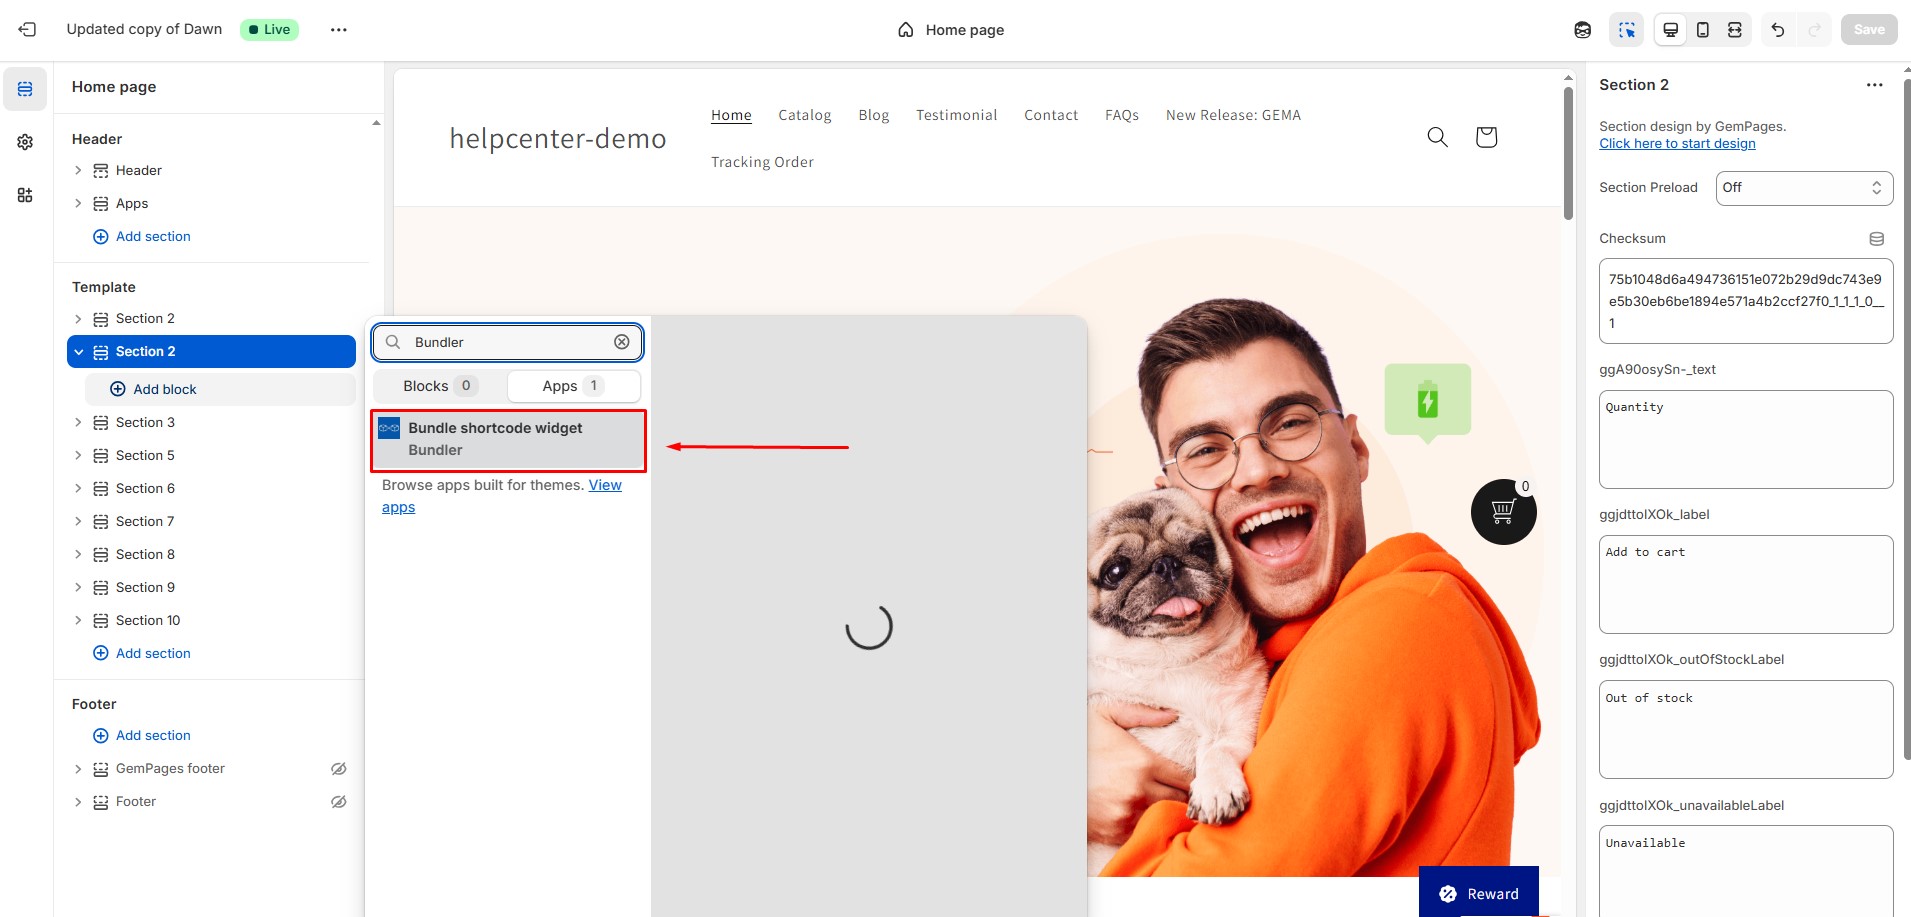
 Step 3: From the App Blocks list, select Bundler – Product Bundles. The app widget will appear where you positioned.
 Step 4: Click Save to apply your changes.


Thank you for your comments