


This article explores how to upload and apply custom fonts in GemPages, across both Version 7 and Version 6.
What Is a Custom Font?
A custom font is a typeface that isn’t included by default in standard libraries like Google Fonts. Instead, it’s uploaded manually to your store to reflect your brand’s personality.
Why Use Custom Fonts in Shopify?
- Reinforce brand consistency across pages
- Achieve unique typography not offered by standard libraries
- Improve visual hierarchy and readability
- Stand out from competitors with personalized design
How to Upload Custom Font in GemPages Version 7
With GemPages Version 7, you can upload Shopify custom fonts directly within the editor. Although Google Fonts is available, this feature allows you to bring in any font you want.
How to Upload Font in GemPages V7
Method 1: Upload Fonts via the Editor
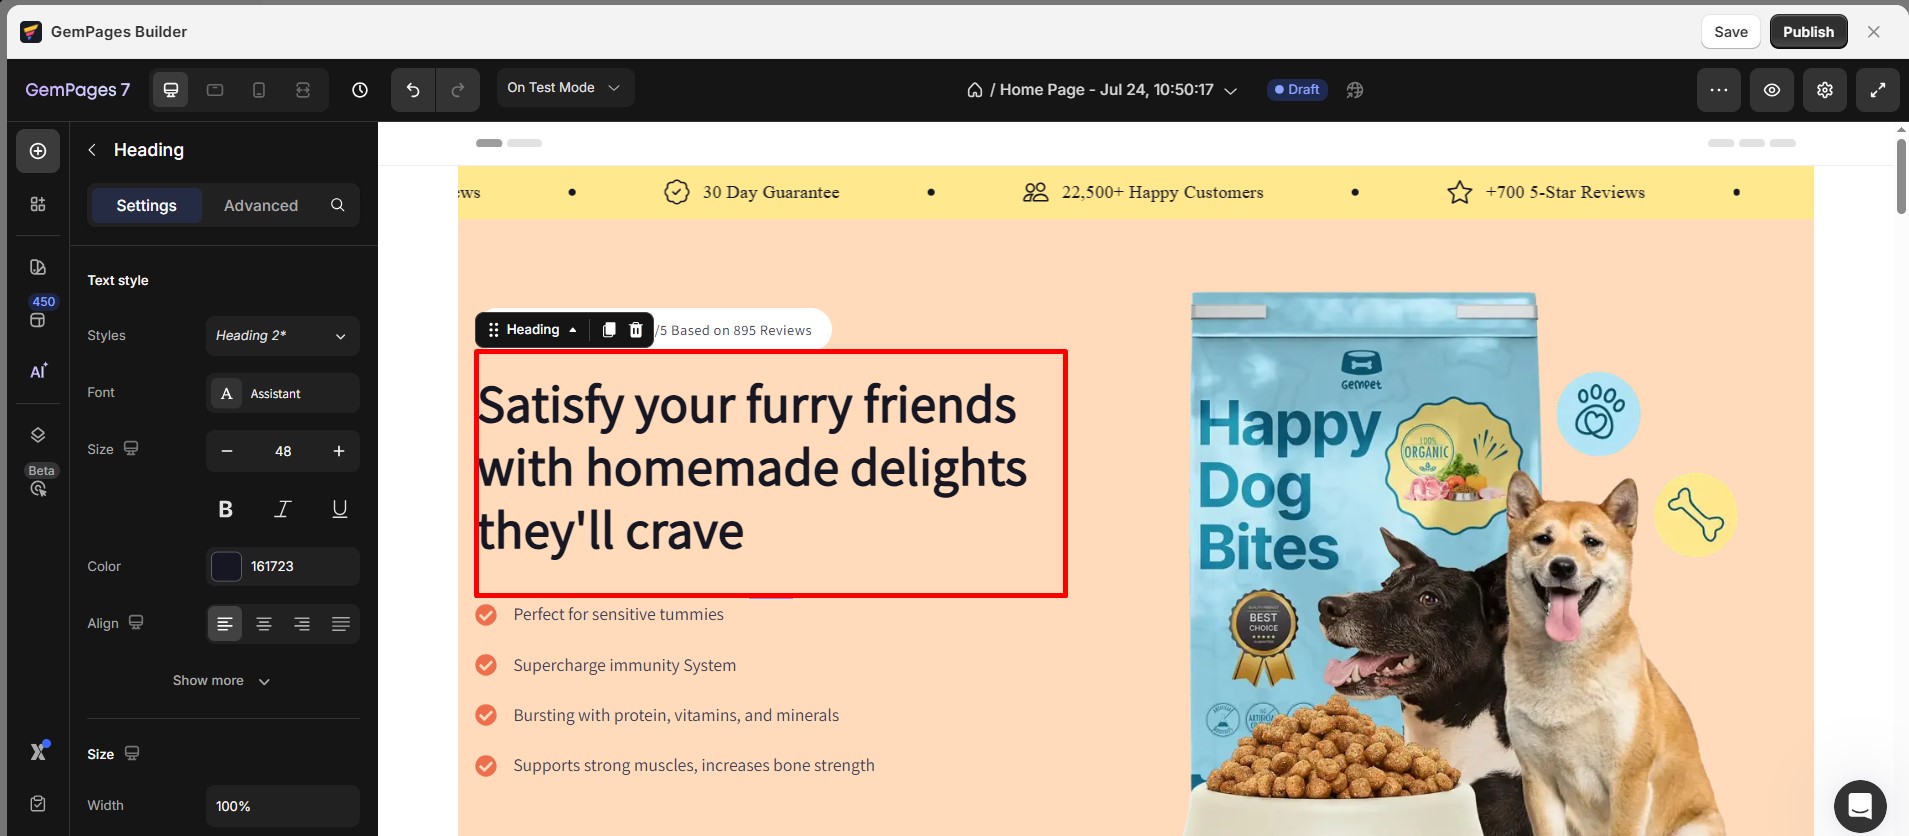
Step 1: Within the GemPages Editor, choose any element containing text settings, such as a heading.
Step 2: Prepare the font.
You can download the font you want to use from an online/offline source or purchase it from a provider. Then, save the font to your computer to upload it in GemPages Editor.
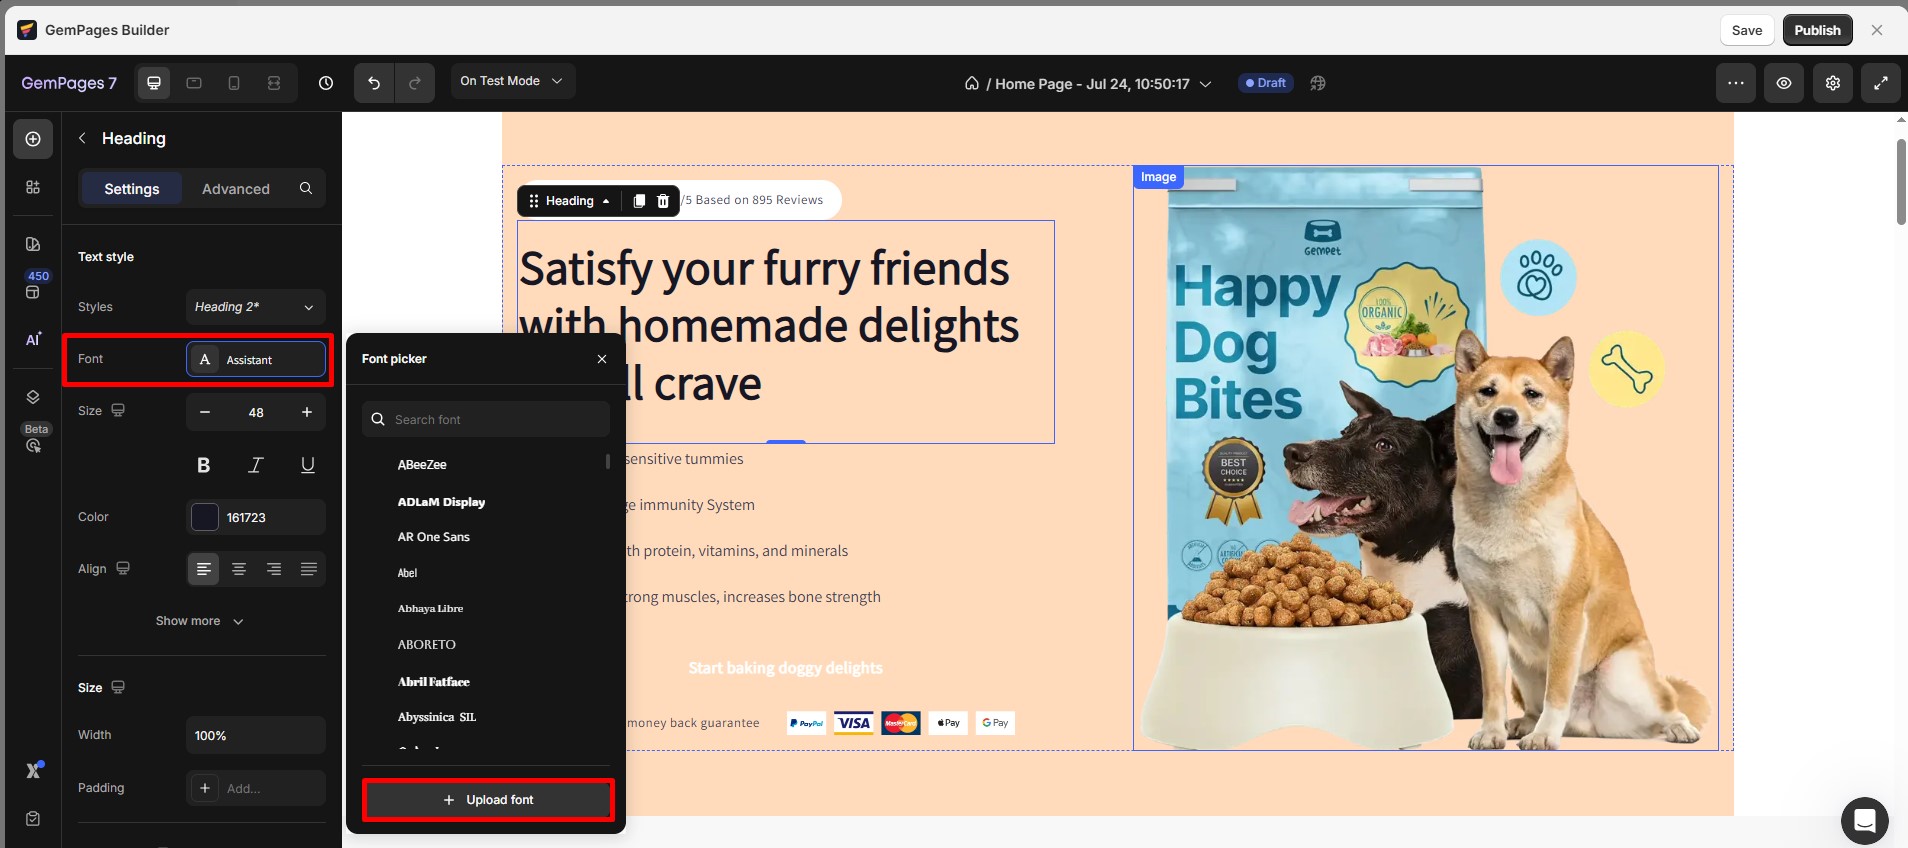
Step 3: Go to the Font section and open the font list. Then, click the Upload font button.
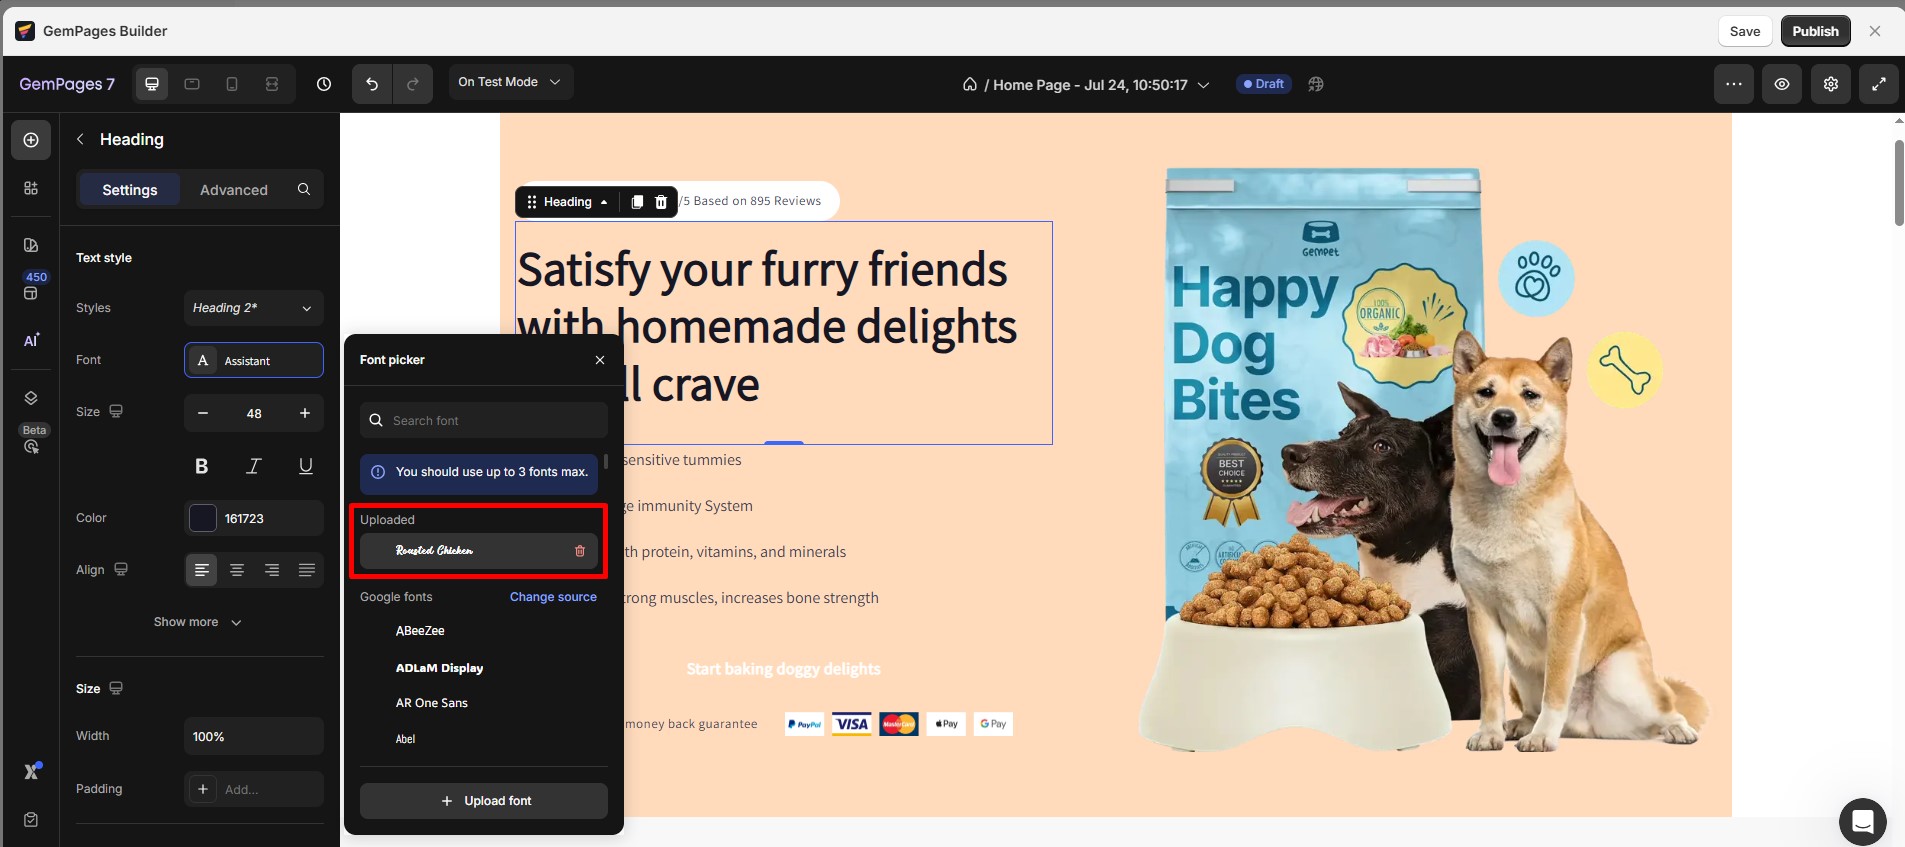
Step 4: Once the upload is successful, the font will be visible in the Uploaded section.
Step 5: Check how the custom font is displayed in editor and live page mode.
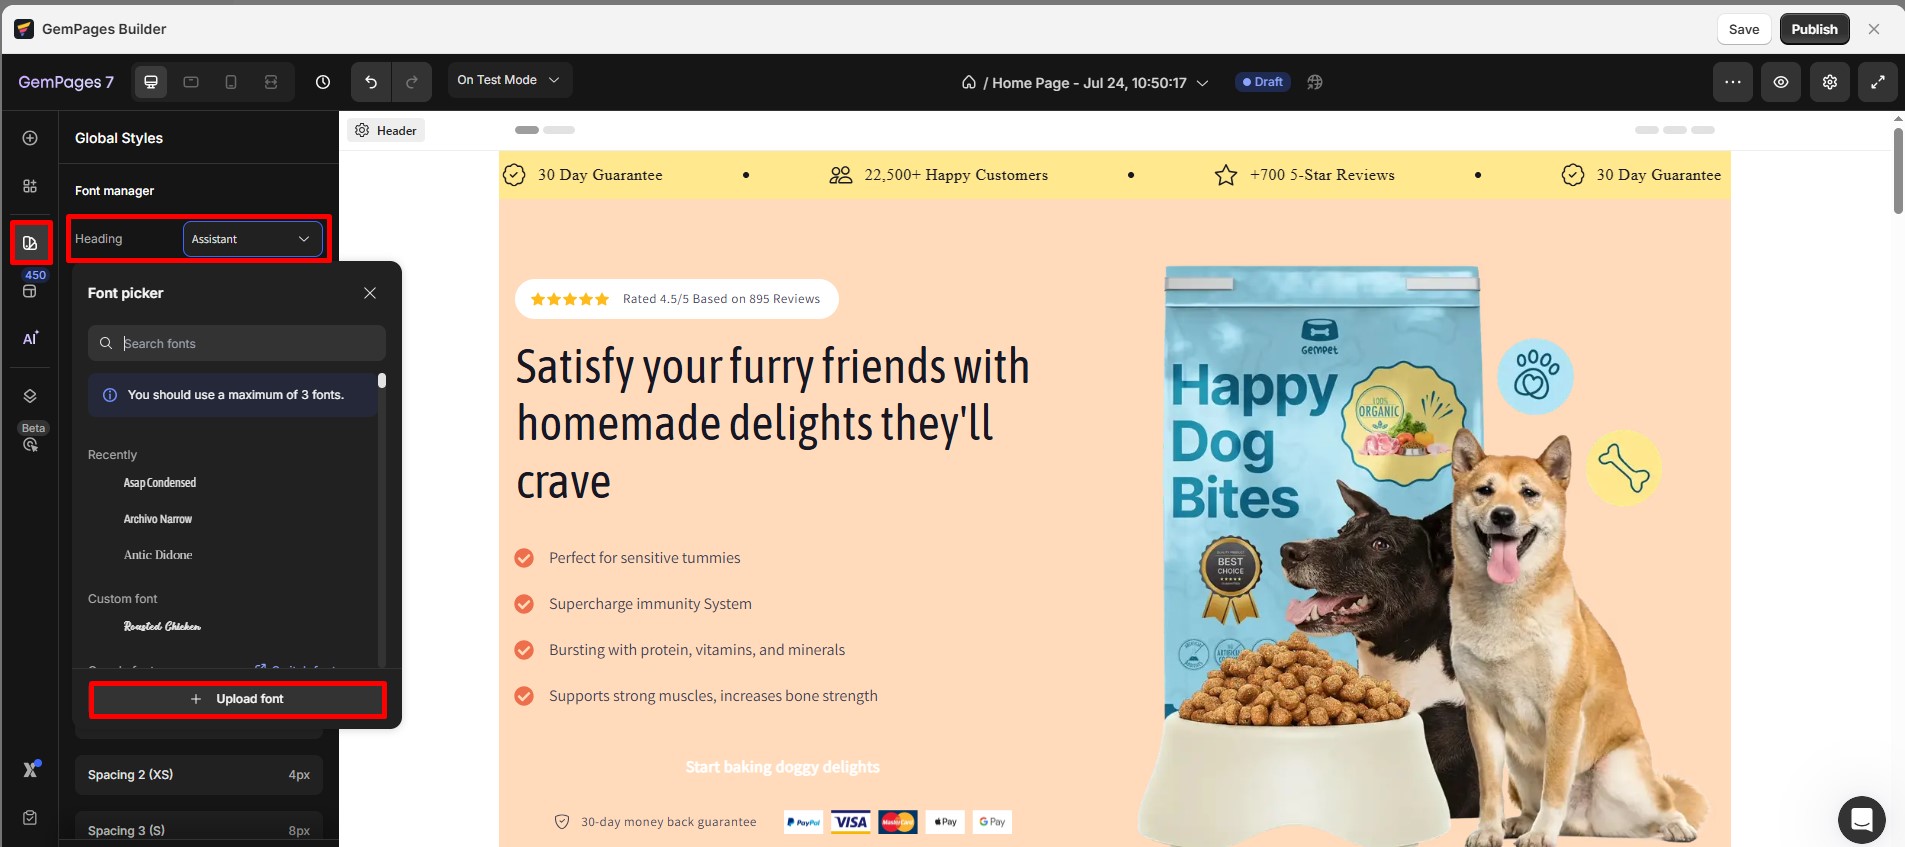
Method 2: Upload Fonts via Global Styles
Go to Global Styles and access the Font Manager section. There, you can upload the custom font for your Heading and Paragraph.
How to Delete Custom Font
Step 1: Hover the font options, you will see the Trash icon on the right of the custom font.
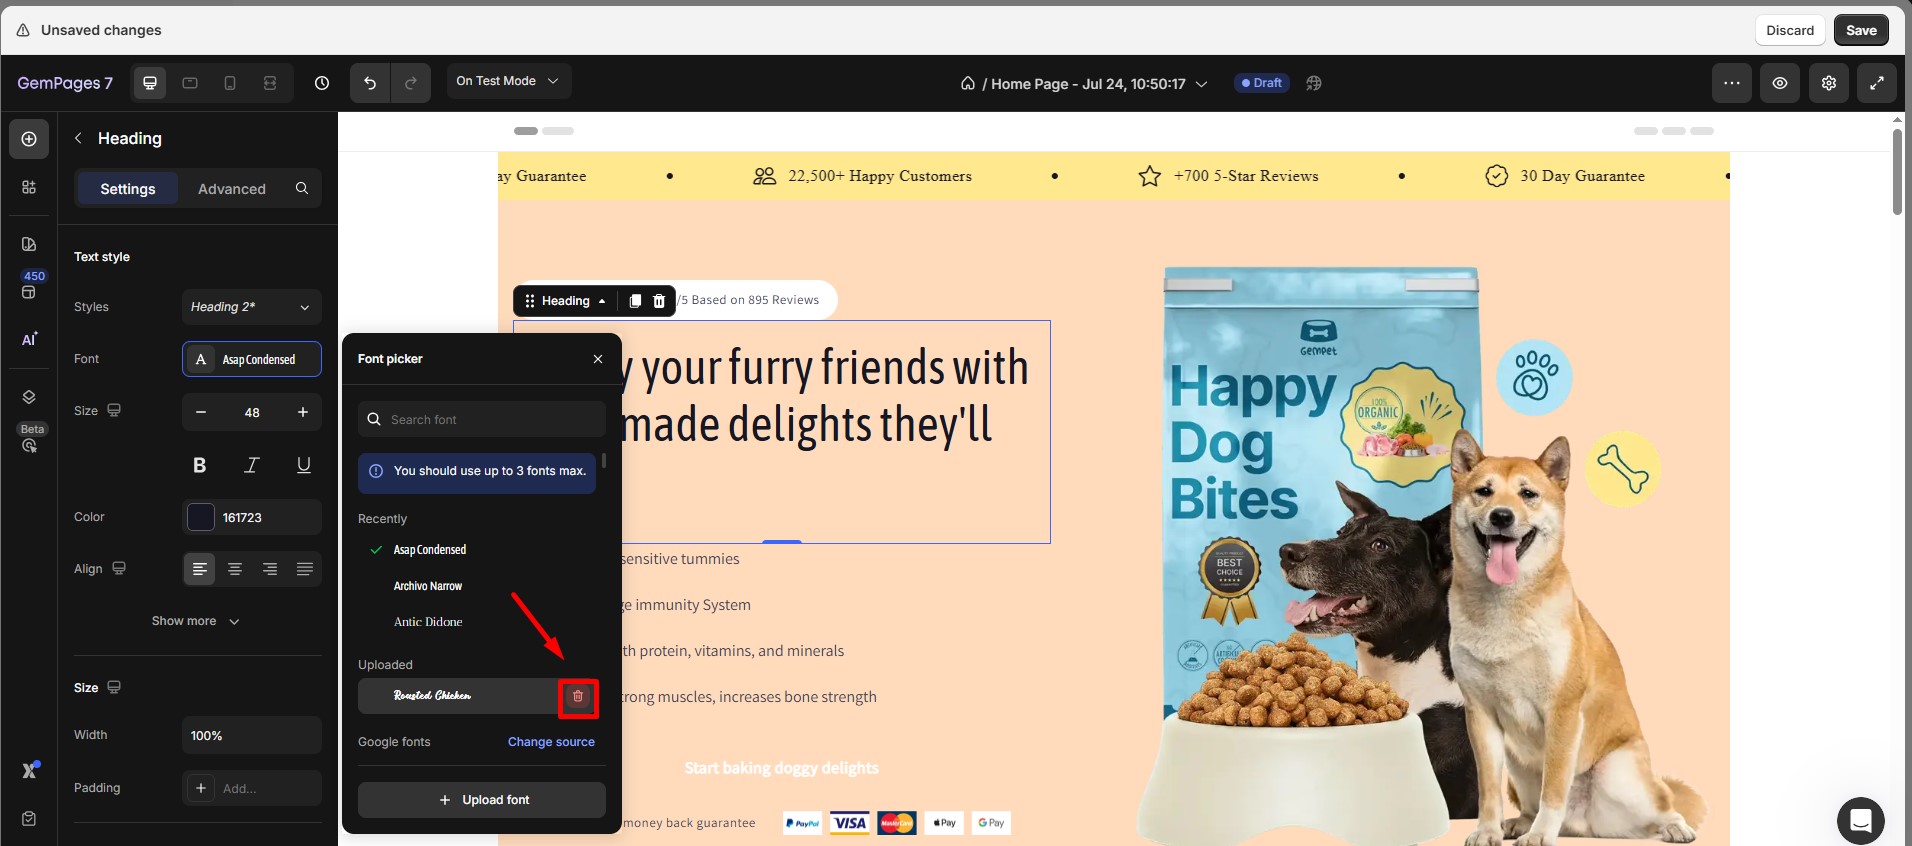
Step 2: Click on the Trash icon beside it.
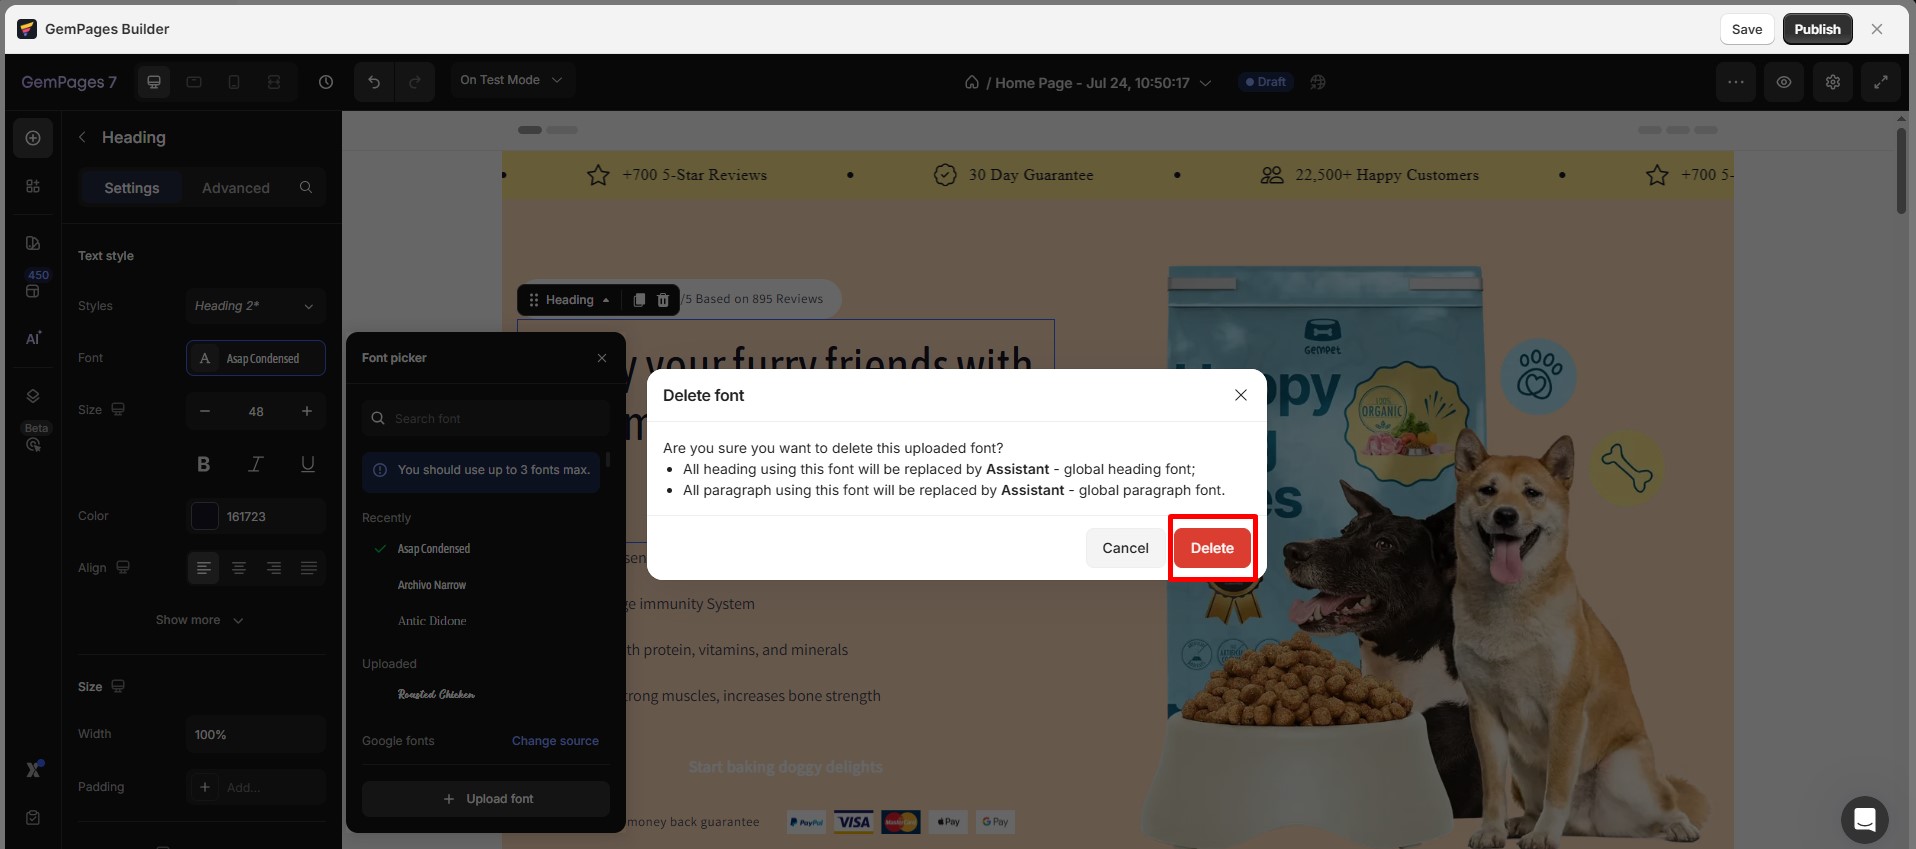
Step 3: Confirm your deletion.
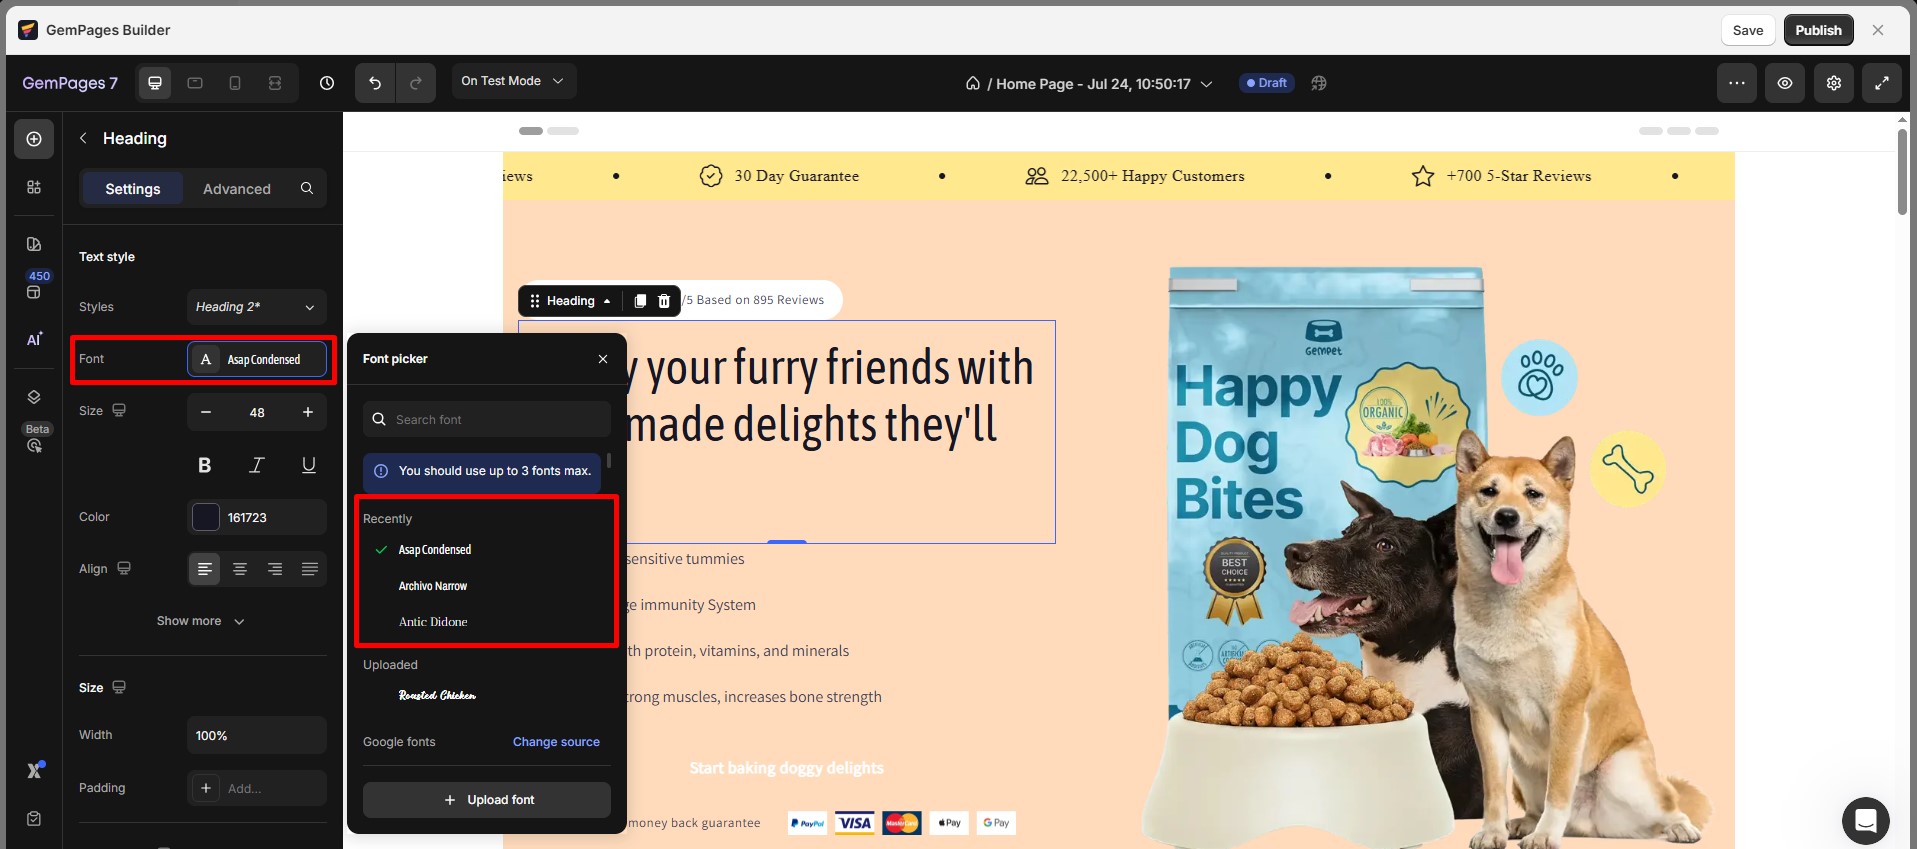
How to Check Your Recent Custom Fonts
Step 1: Within the font options, select the More icon beside the font name to reveal the font list.
Step 2: Check the three most recent fonts displayed at the top of the font list.
Uploading Custom Font in GemPages Version 6
Unlike V7, GemPages V6 relies on Shopify’s theme files to host and render fonts.
With recent updates from Shopify, you can no longer upload .ttf and .ottf files into a theme anymore. Instead, you can add Font File into the File section in your Shopify Admin.
Step 1: Upload Font File to Shopify
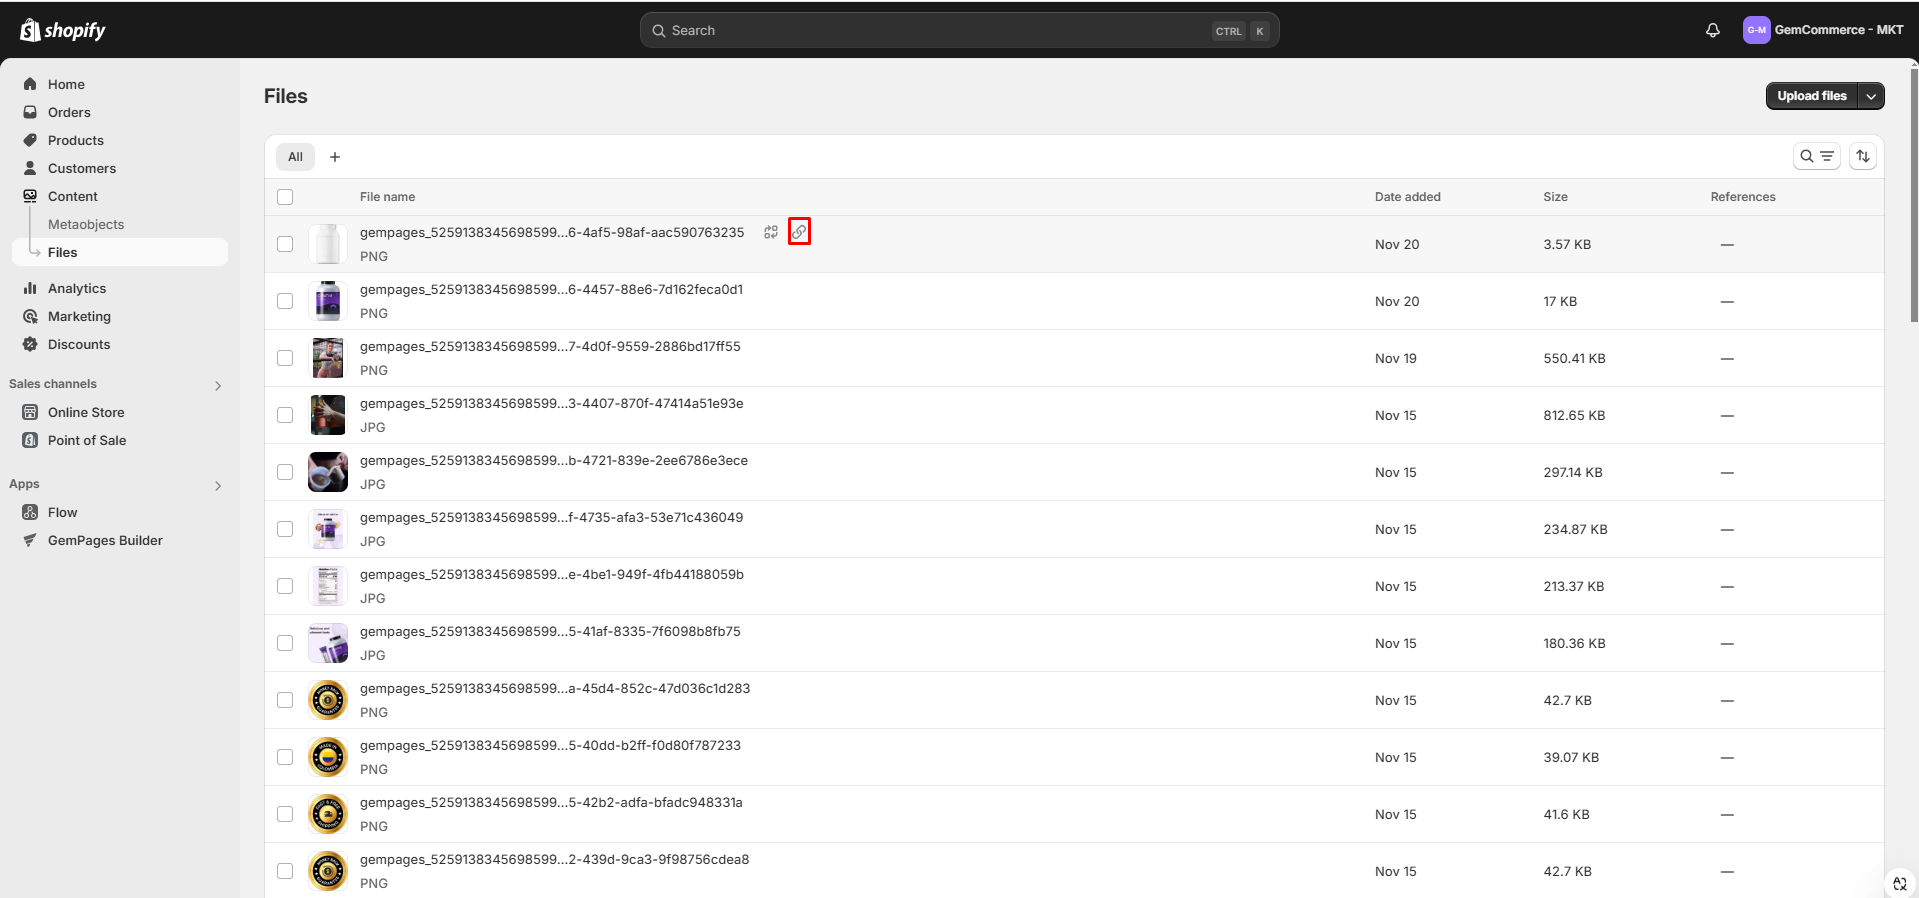
- Go to Shopify Admin > Content > File. Upload your Font File by selecting “Upload file”.
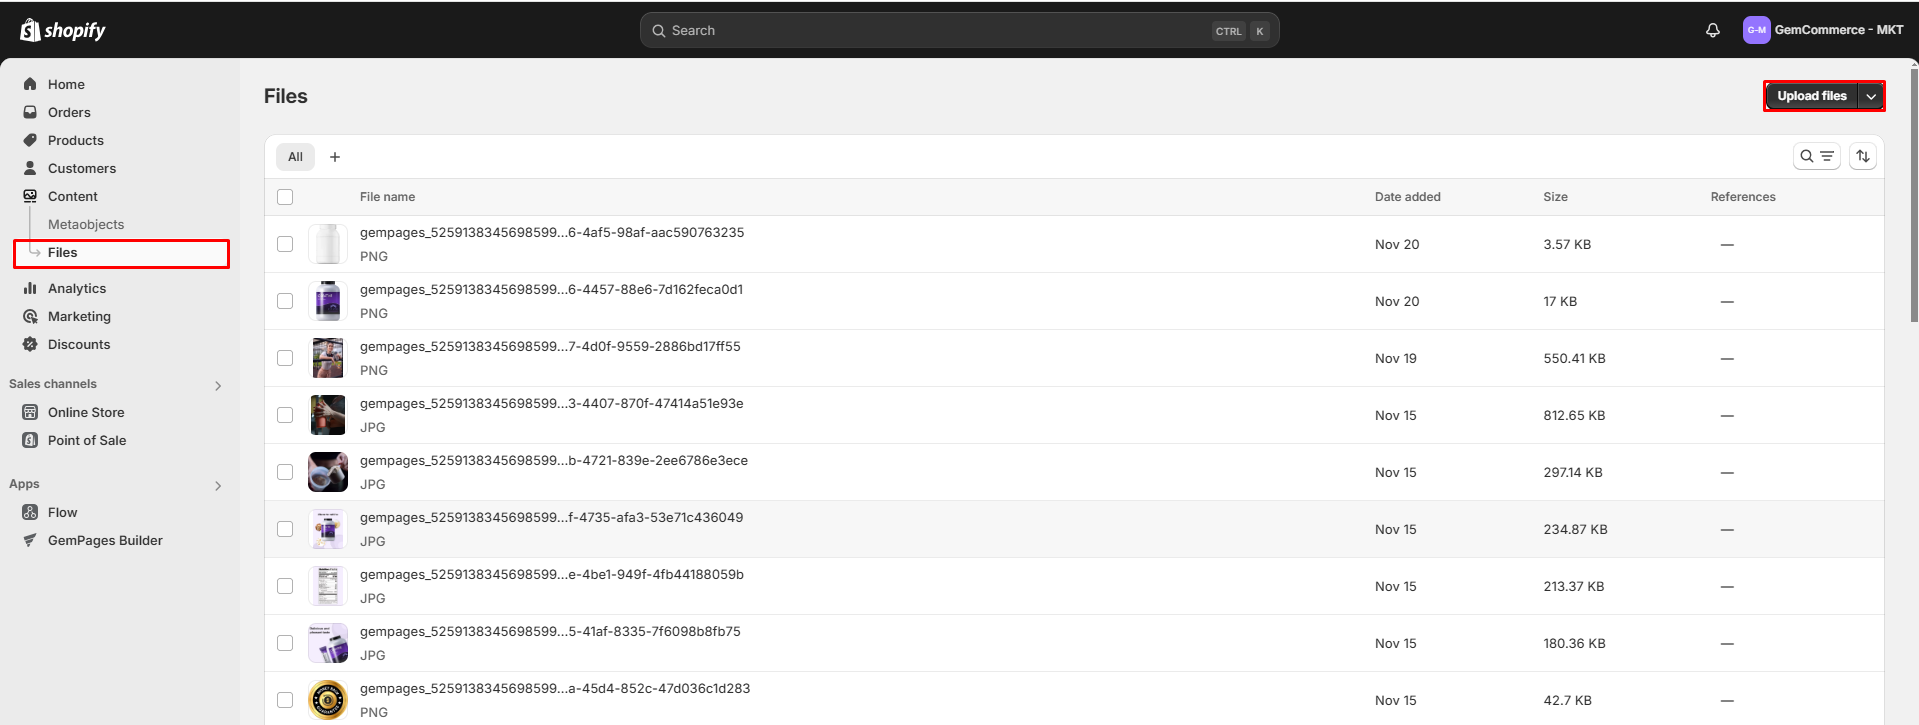
- The opened window will allow you to select the font file to add. After having successfully uploaded the file, select the Link icon to copy the file link.
Step 2: Modify Shopify Theme Code
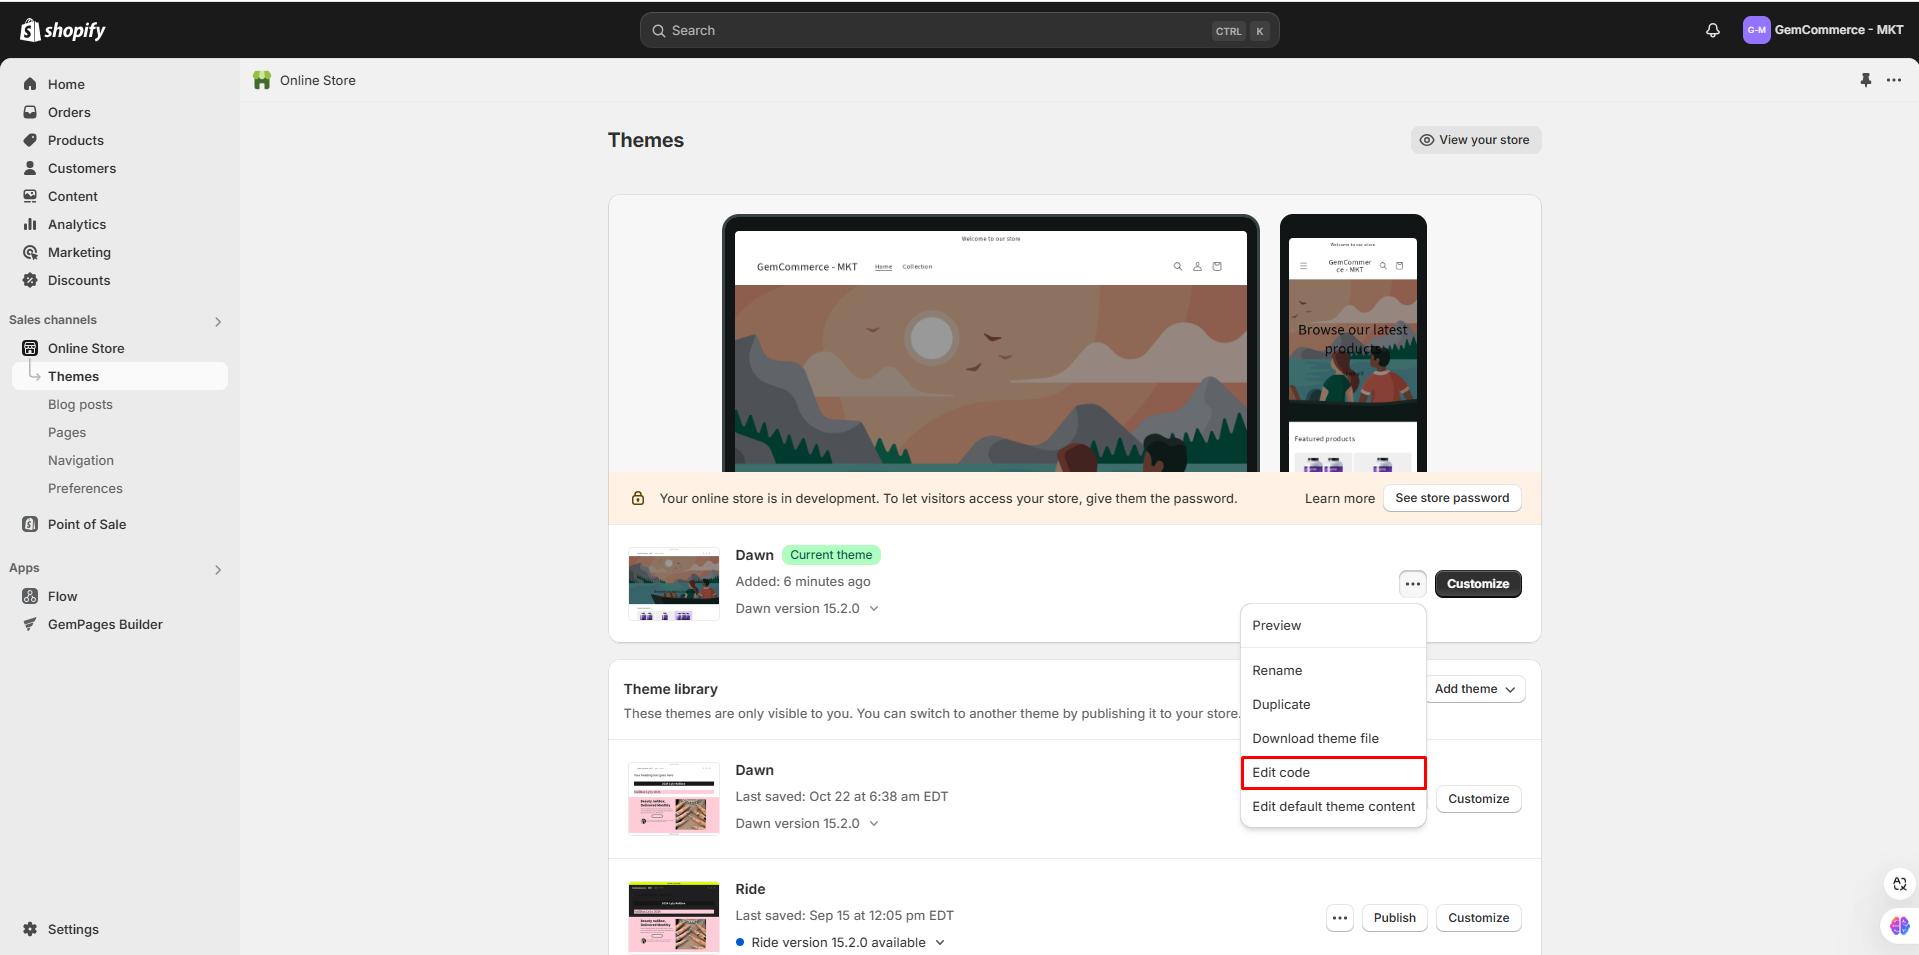
- Go to Online Store > Themes. Click on the three-dot button and select “Edit Code”.
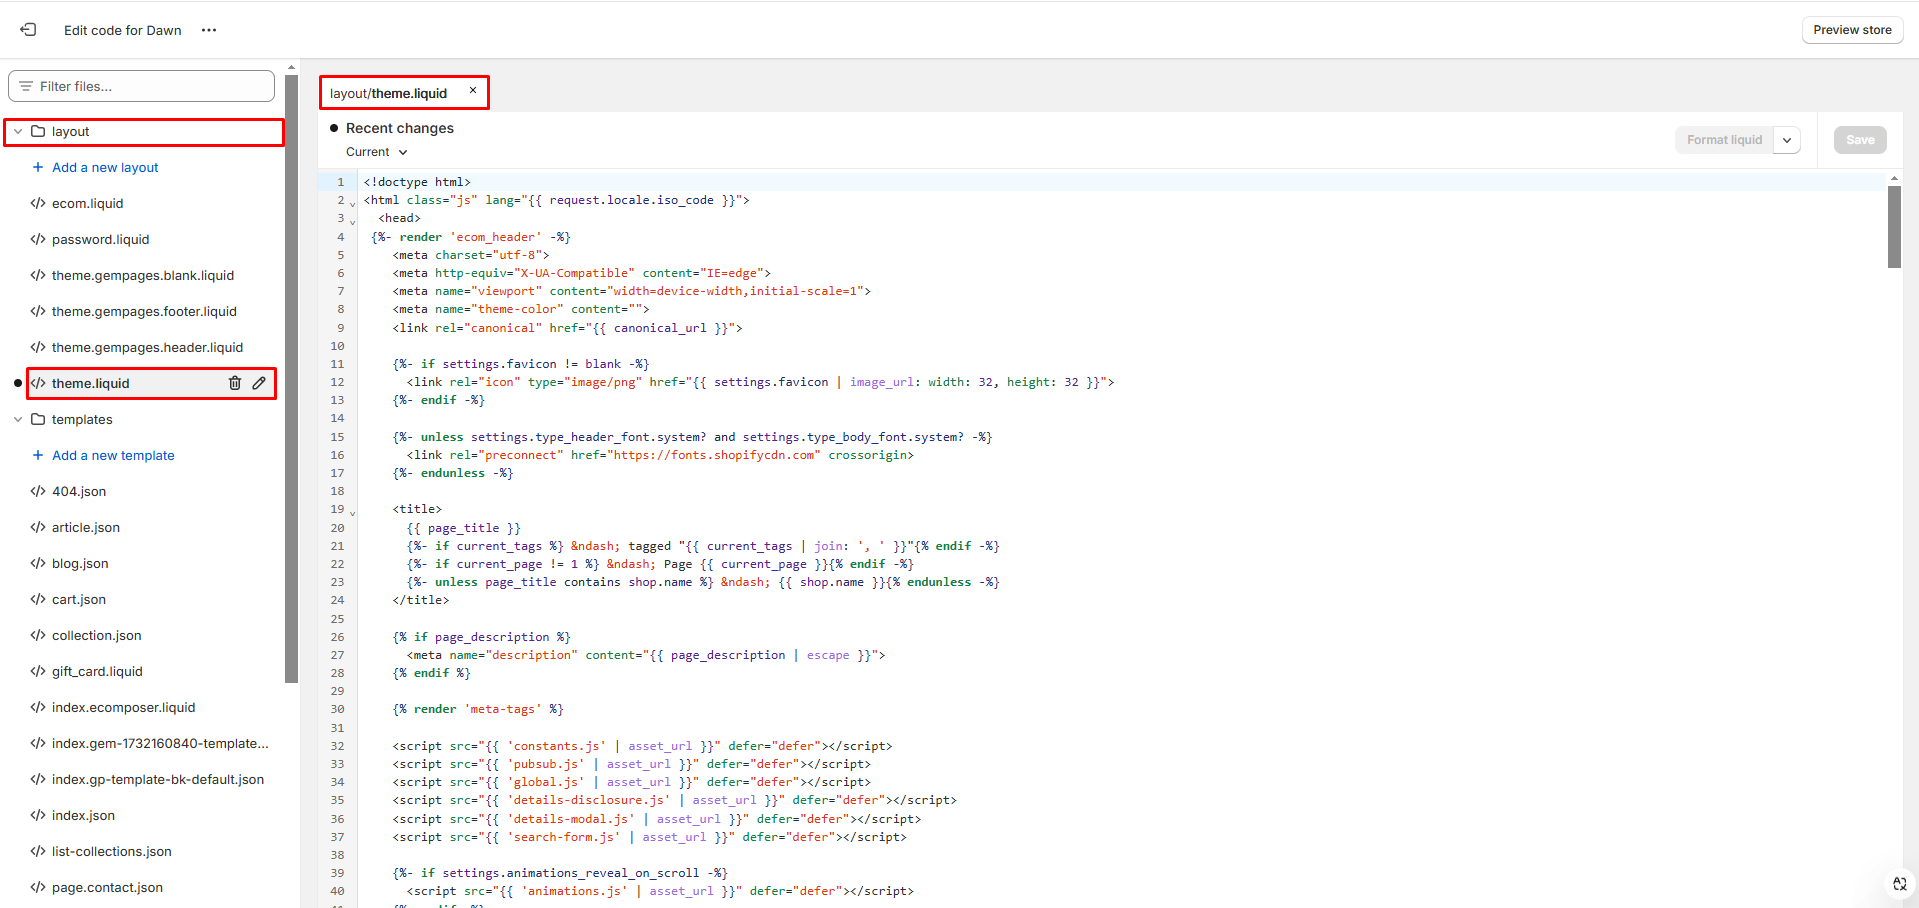
- After that, look for the file “theme.liquid” under the Layout section or via the search bar. Select to open the file.
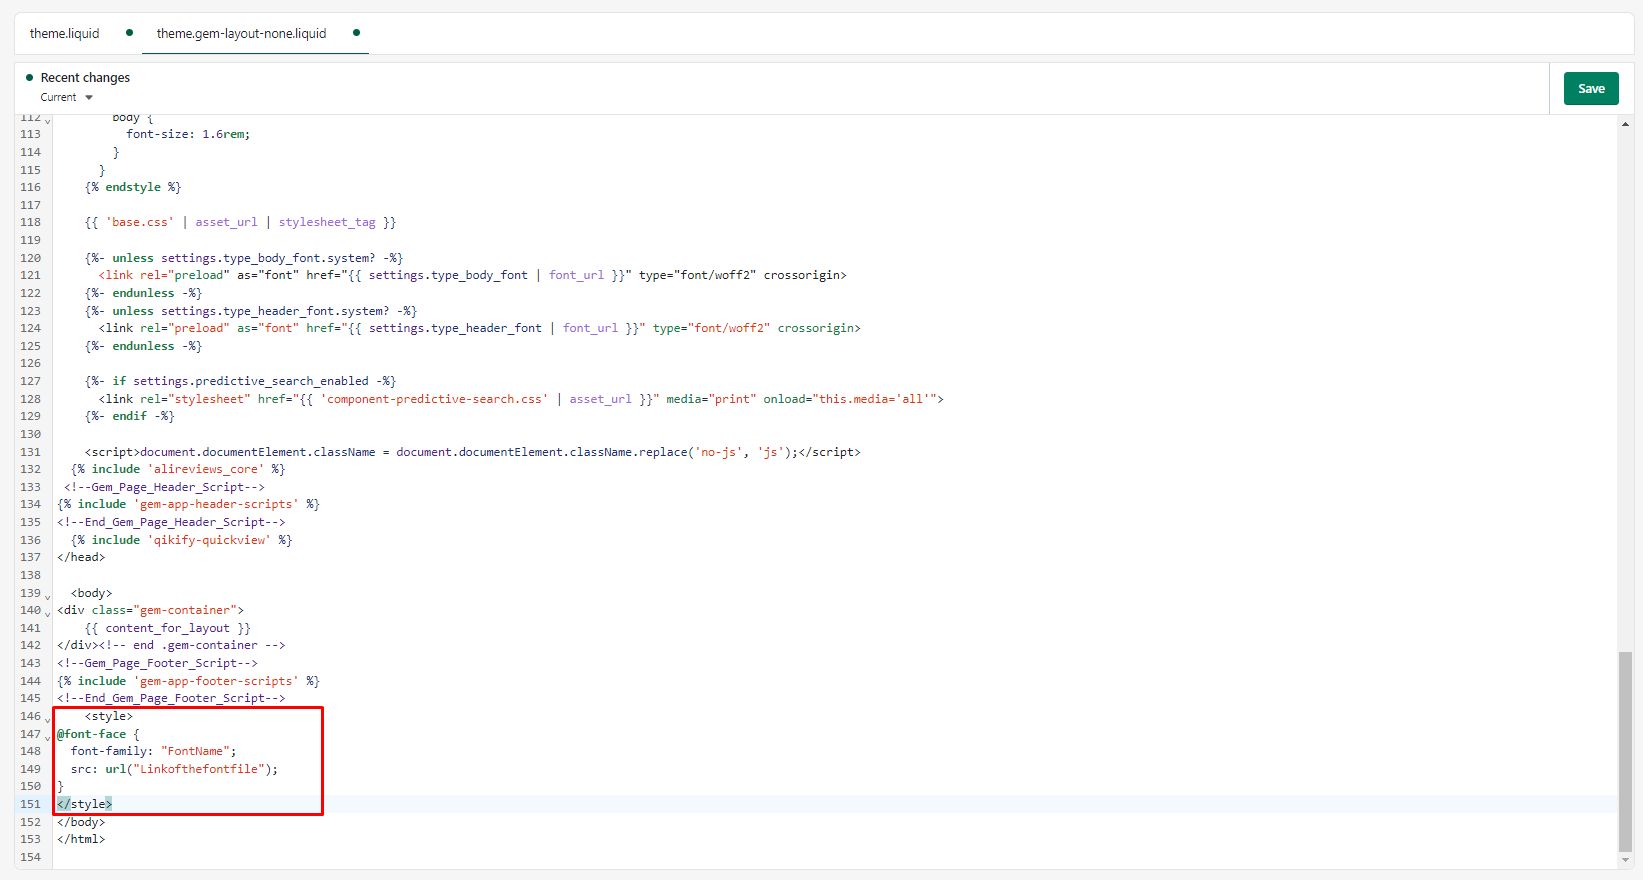
- Add the following code at the bottom of the file.
<style>
@font-face {
font-family: "FontName";
src: url("Linkofthefontfile");
}
</style>
- Replace the below elements of the code with actual data.
Font name: the name of the font.
Linkofthefontfile: the link of the Font File that was previously uploaded. It is copied after you select the Link icon.
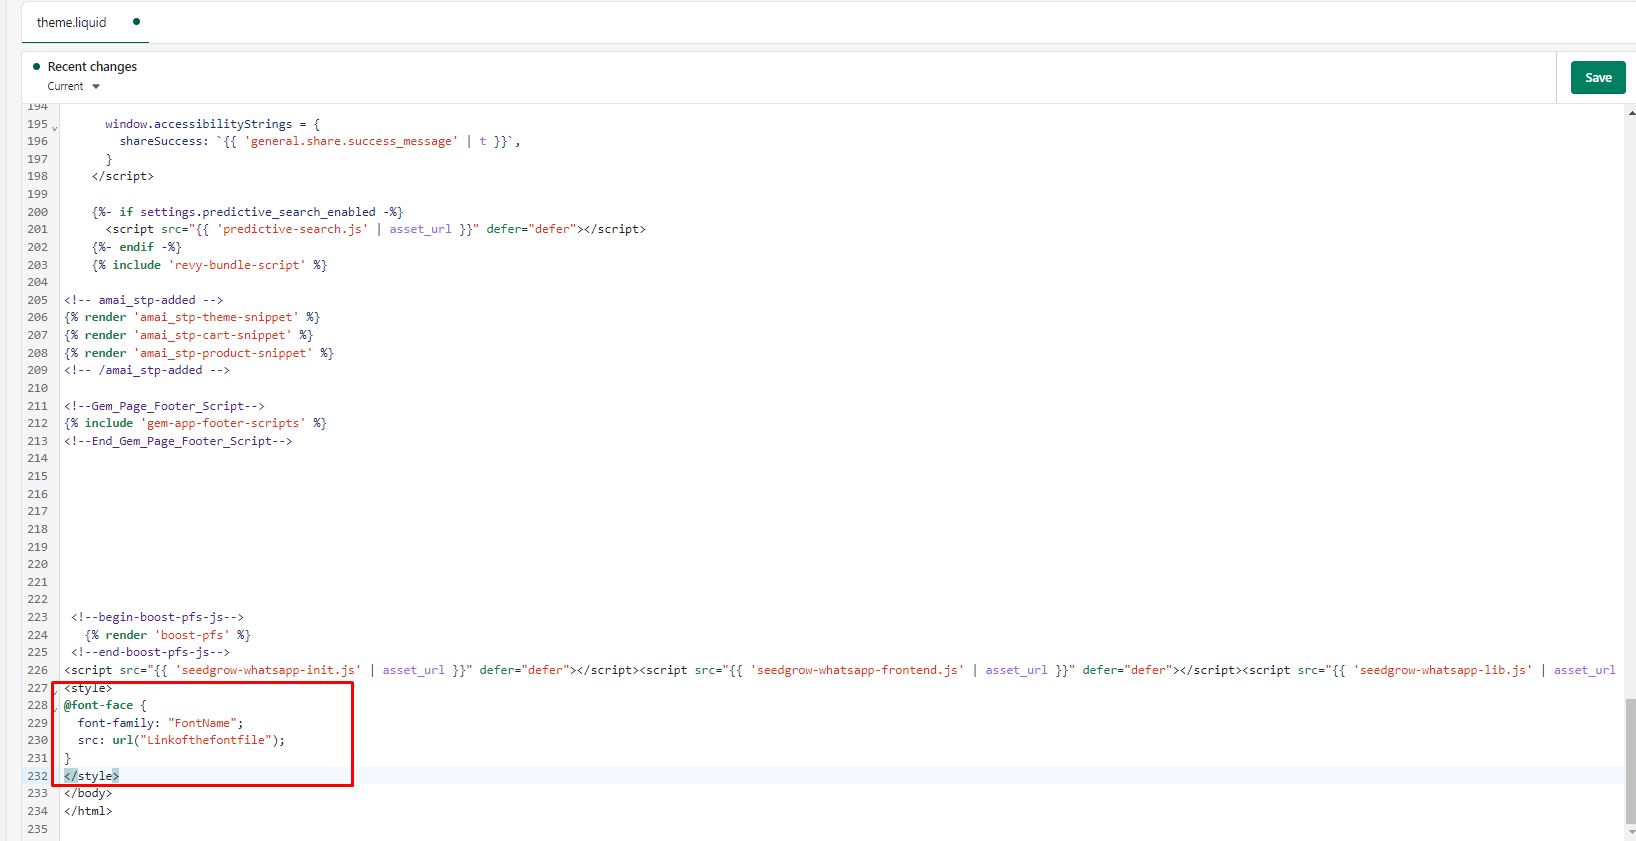
- Click “Save” when finished.
- Look for the file “theme.gem-layout-none.liquid” under the Layout section or via the search bar. Select to open the file.
Next, repeat the previous step within this file.
Step 3: Add the Font to GemPages
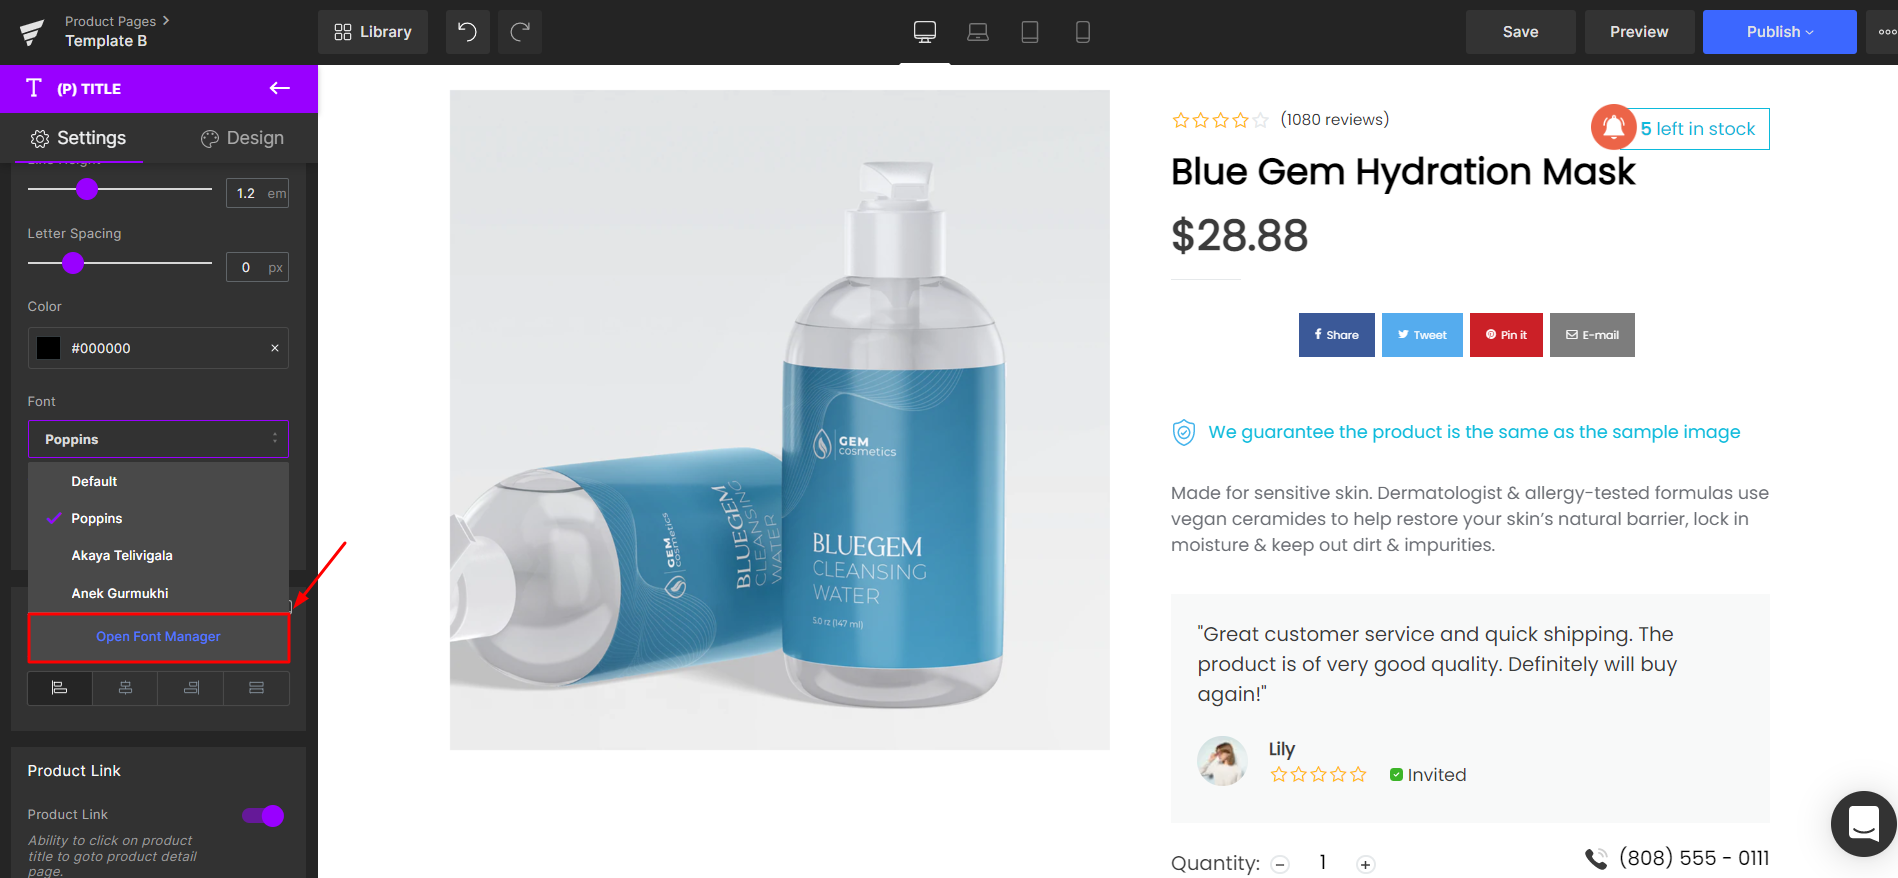
- From the GemPages Dashboard, open your preferred template to edit. Click on a text-based element (Heading, Text Block, etc.) to reveal the configurations on the left sidebar.
- Under the Settings tab, look for the Typography > Font section. Click on the dropdown menu and select Open Font manager.
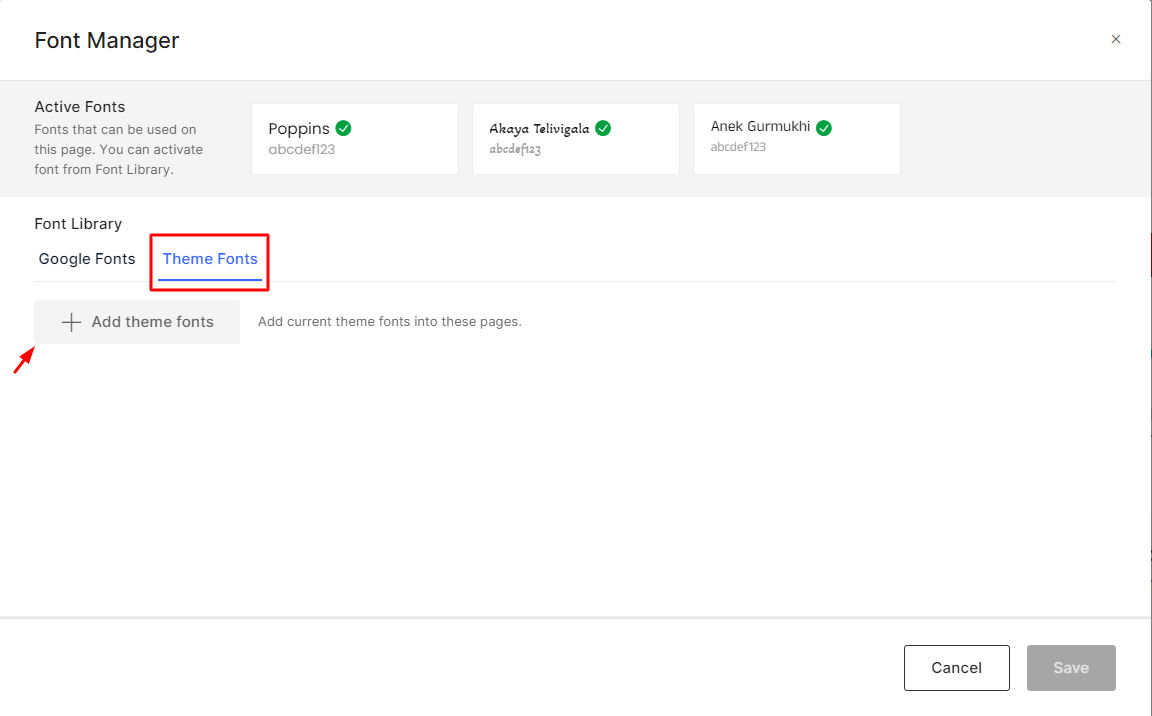
- In the Font Manager, click on the Theme Fonts tab. Next, click Add theme fonts.
- Enter the exact font name into the field and click “Add.”
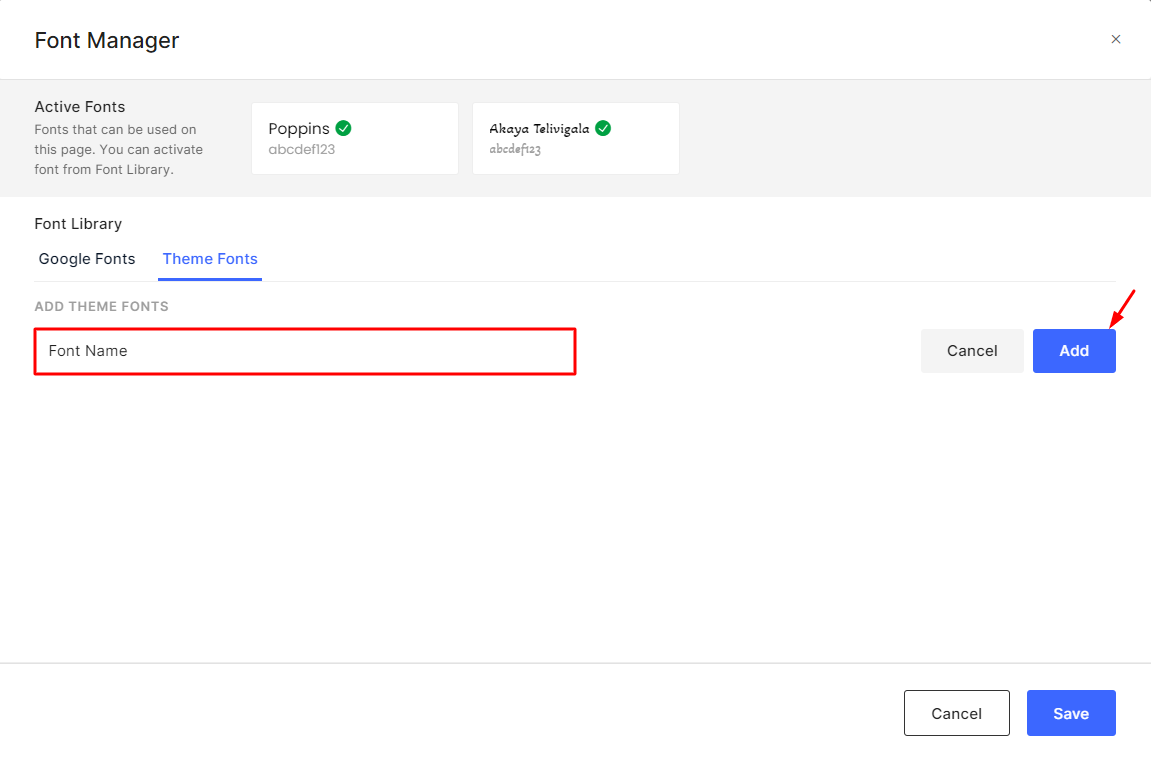
Please enter the exact name as font names are case-sensitive. You can double-check the name in the “theme.liquid” file, as shown in the previous step.
- Next, hover over the Font name and click on the + icon to activate the font.
- Click “Save.” Your added font will then be displayed in the Font dropdown of the Settings tab.

FAQs
1. What are custom fonts in Shopify?
Custom fonts are fonts that you manually upload to your Shopify store, rather than using built-in ones like Google Fonts. They help you maintain consistent branding and give your store a unique look.
2. How to add fonts to Shopify?
To add fonts to Shopify, you need to upload your font file in the Files section of Shopify Admin, then use @font-face in your theme code to apply it. GemPages simplifies this process by allowing you to manage fonts within the editor.
3. Can I upload fonts directly to Shopify?
Yes, you can upload fonts to Shopify through the Content > Files section in your Shopify Admin. After uploading, you can link to the file using custom code in your theme’s liquid files.
4. How do I upload fonts in GemPages?
GemPages offers two ways to upload fonts:
- In Version 7, you can upload them directly in the Font Manager.
- In Version 6, you upload the font to Shopify, then integrate it into GemPages using the “Theme Fonts” feature.
5. Where can I manage my custom fonts in GemPages?
You can manage all custom fonts via the Font Manager in both the Global Styles and individual page editors. From there, you can upload, activate, or delete fonts as needed.


Thank you for your comments