


Displaying Shopify bestselling products on your store’s homepage or landing pages is a powerful way to increase conversions and guide customers toward high-performing items. If you’re using GemPages, the good news is that it fully respects the product order defined in your Shopify collections, including best-selling sorting.
How GemPages Works with Shopify’s Product Order
GemPages uses the product sorting logic set in your Shopify collection. That means if you sort a collection by Best selling in Shopify, your Product List element in GemPages will automatically reflect that order—no manual syncing required.
How to Display Products in Best Selling Order in GemPages
Step 1: Create or Edit a Collection in Shopify
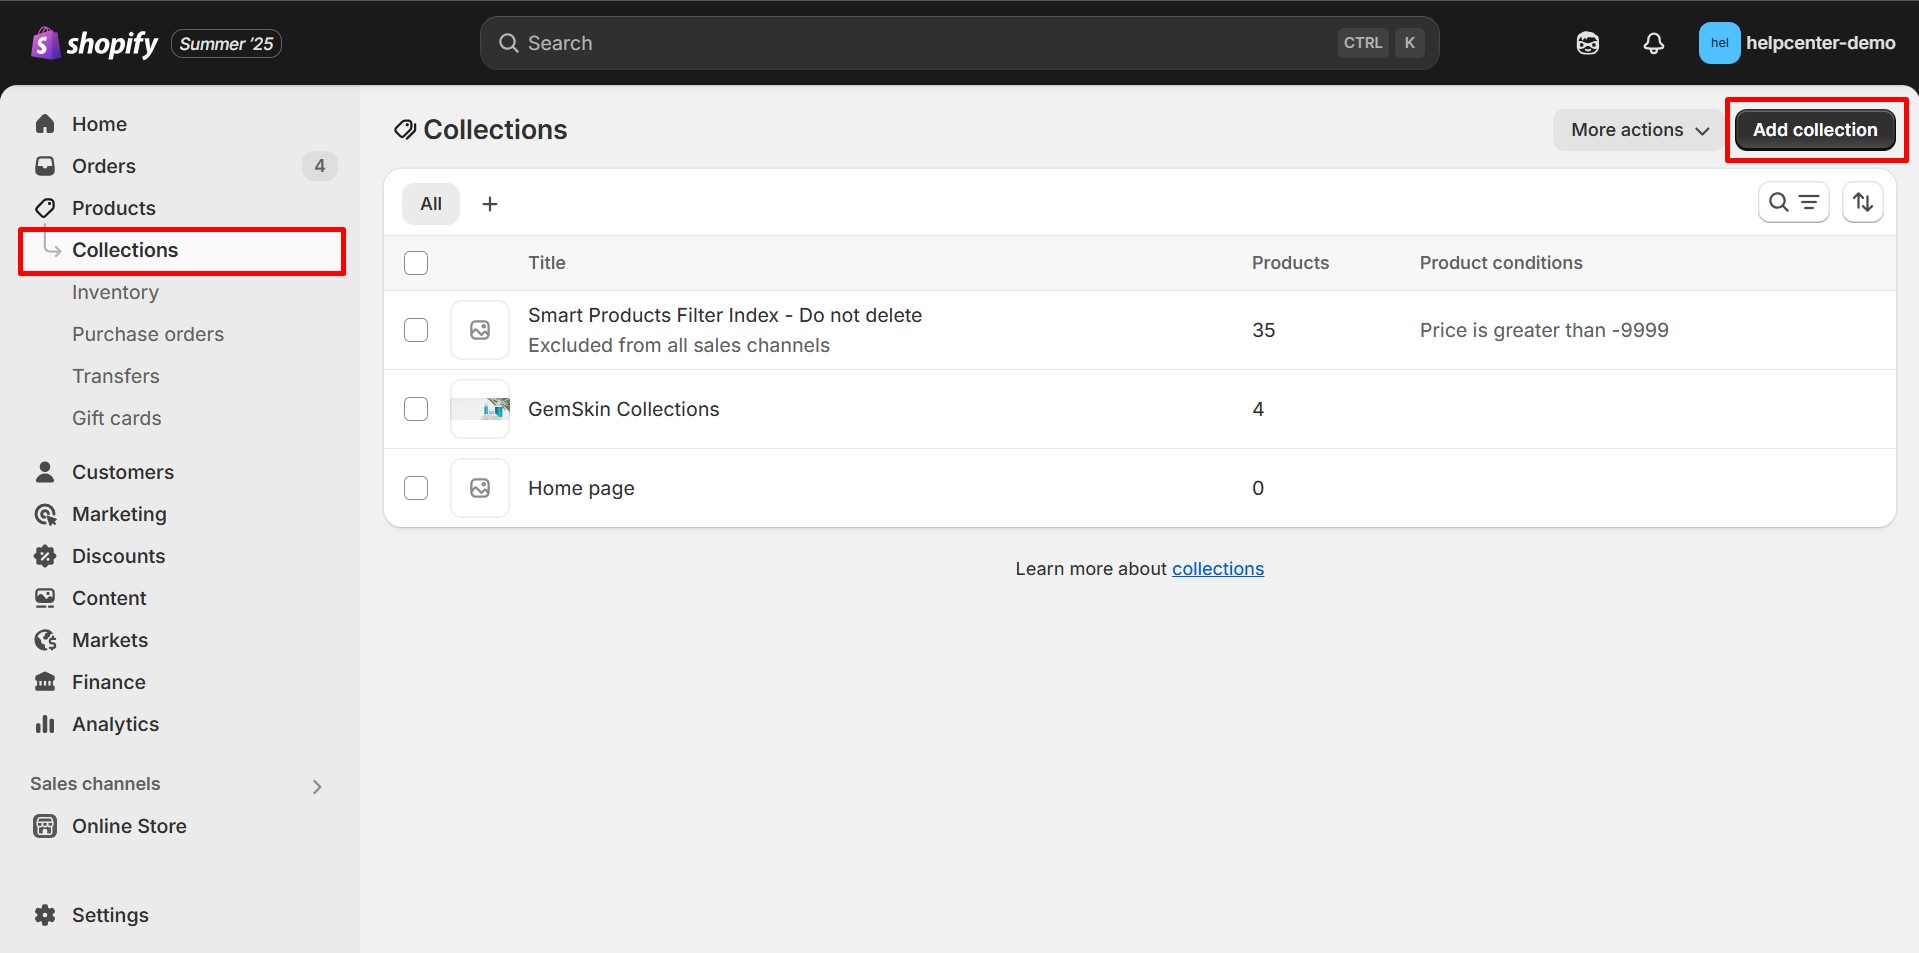
- In your Shopify admin, go to Products → Collections.
- Choose an existing collection or create a new one.
Step 2: Sort the Collection by “Best Selling”
- Inside the collection, look for the Sort dropdown menu.
- Select Best-selling from the list.
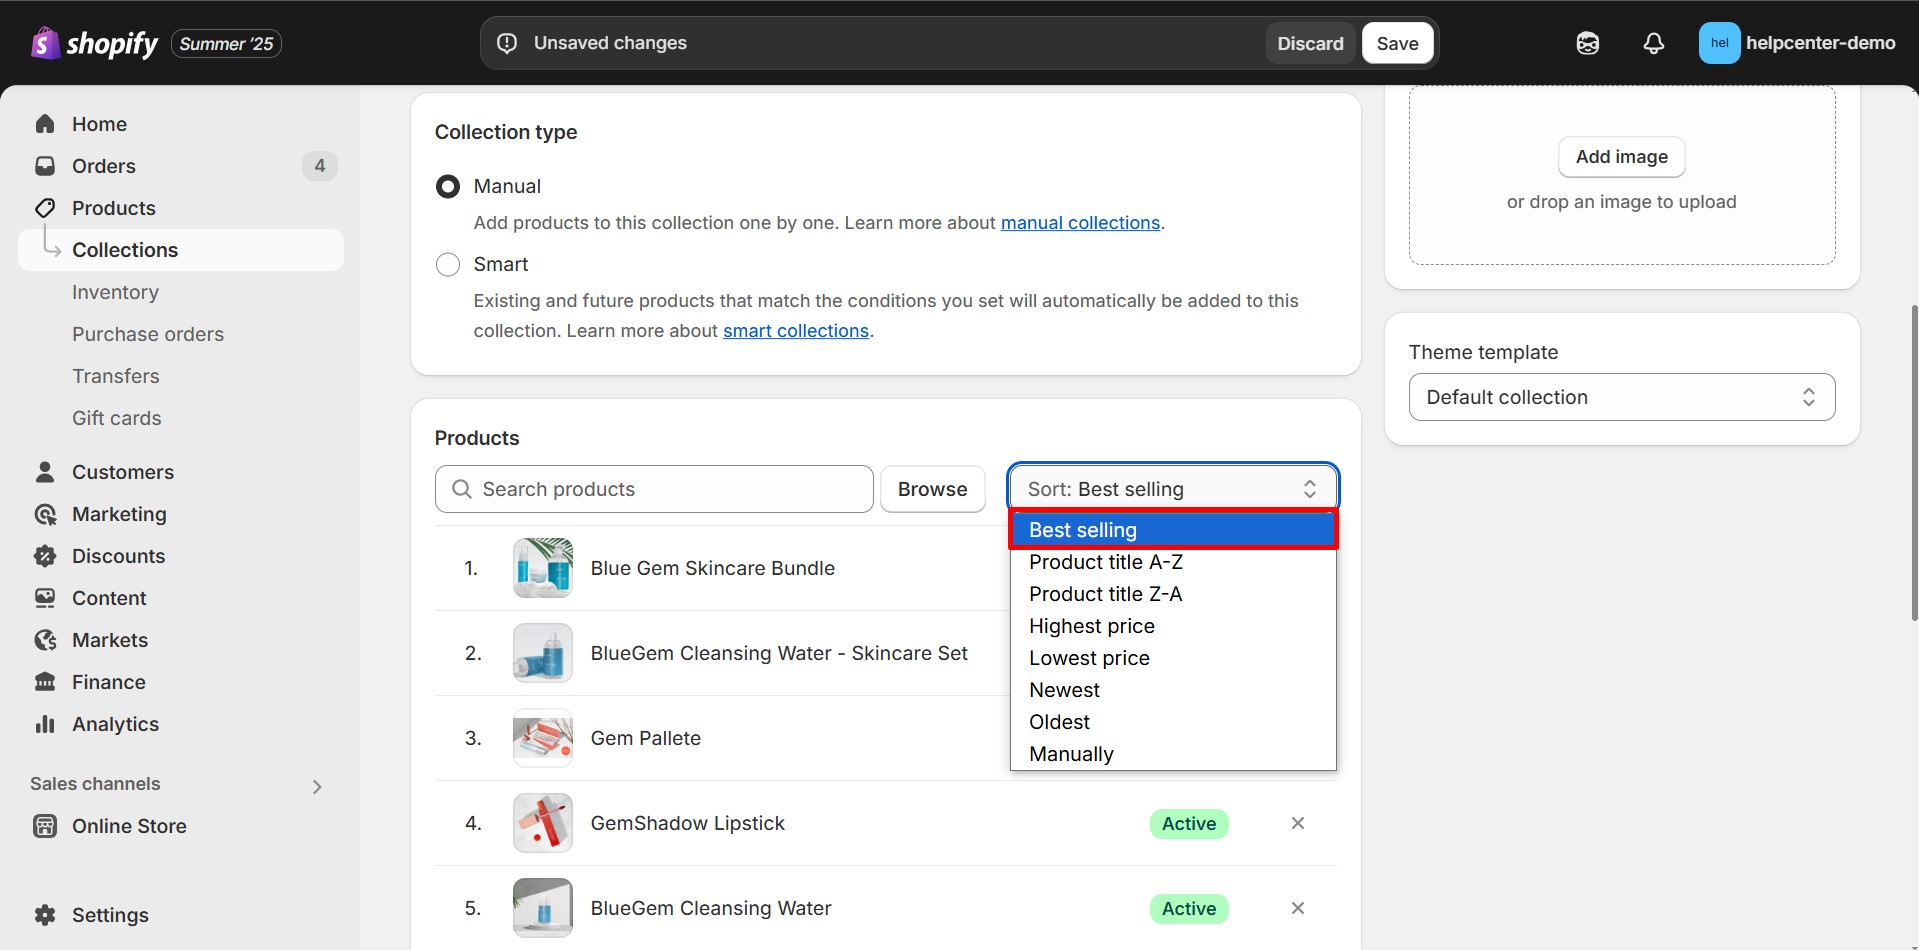
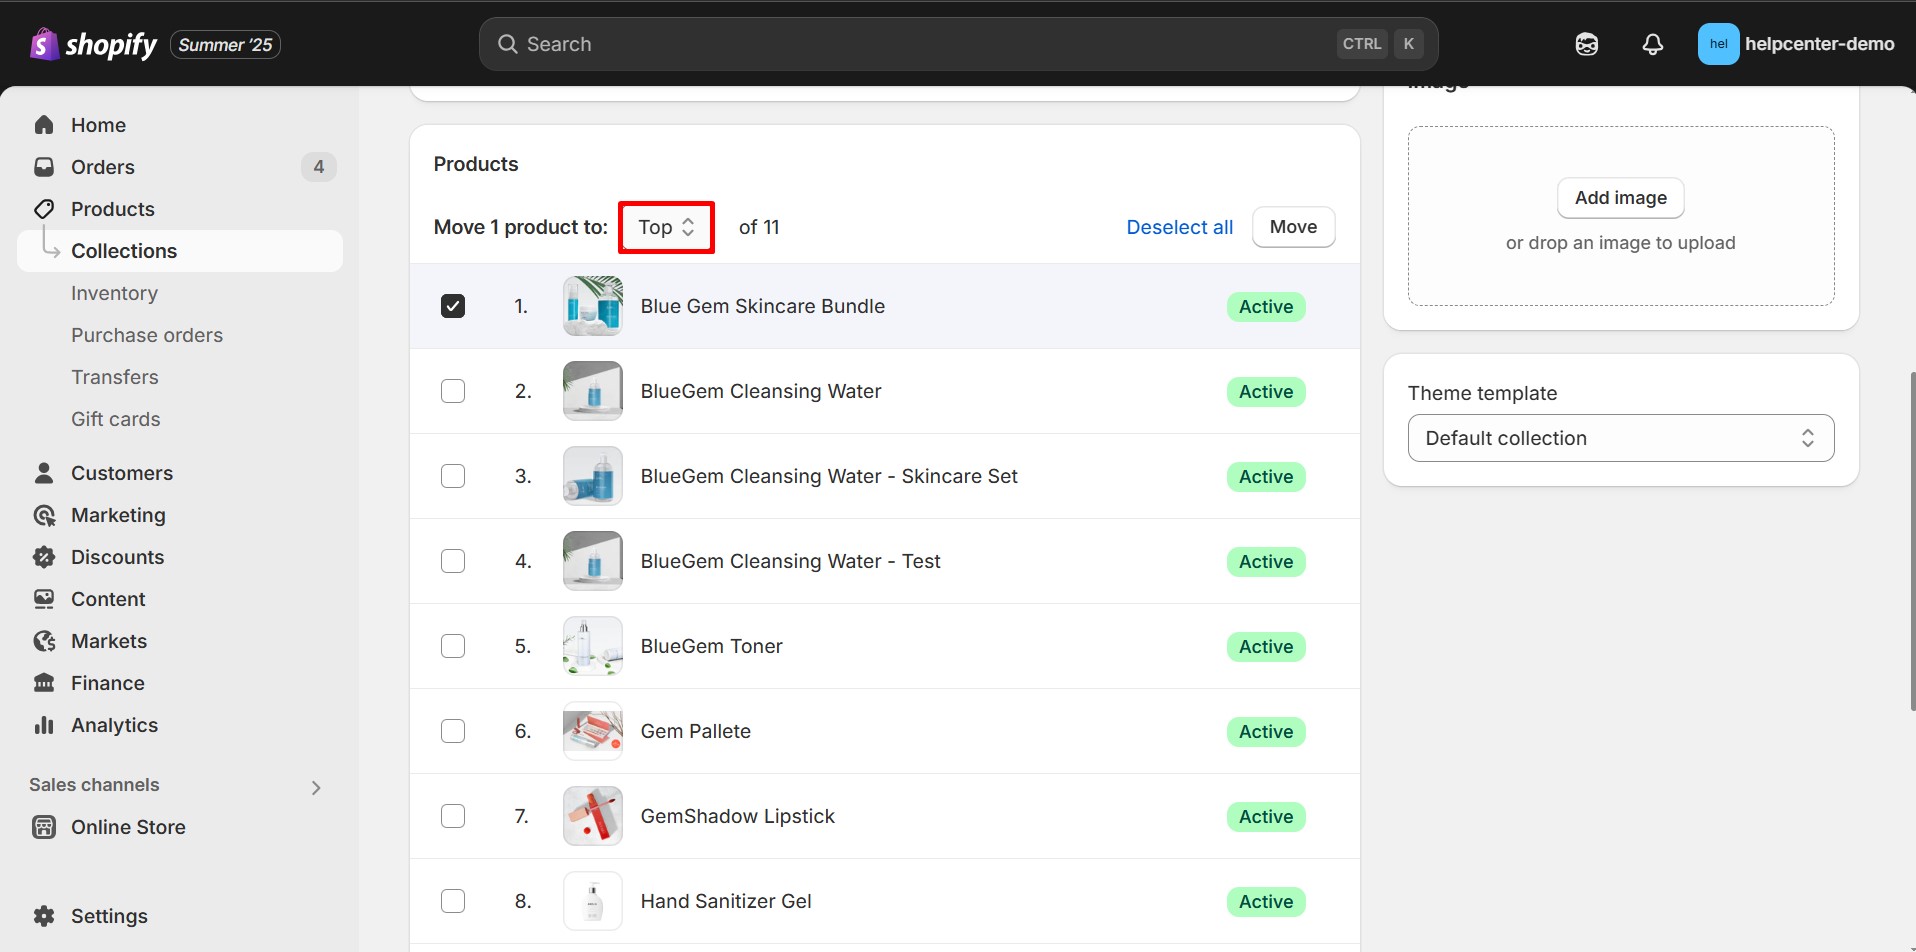
If you prefer full control over order, choose Manual instead.
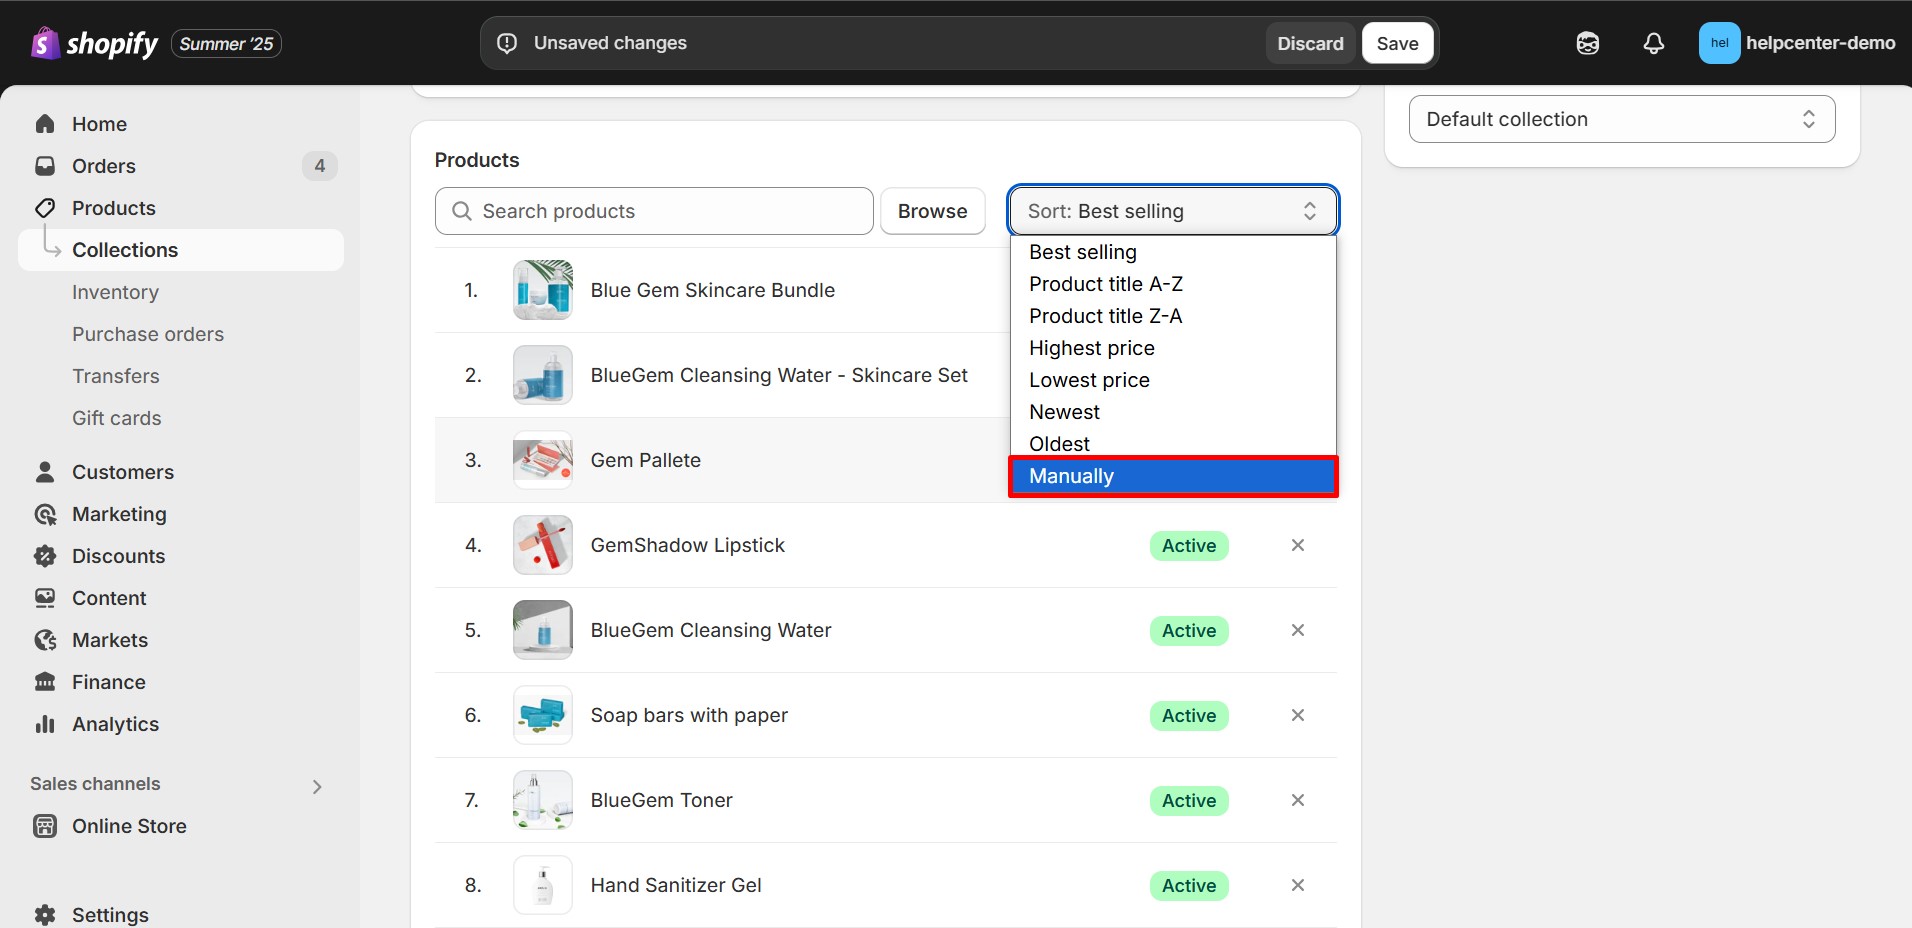
- Click Save to apply your changes.
Step 3: Add the Collection to GemPages
- Open the GemPages editor for the page where you’d like the products to appear.
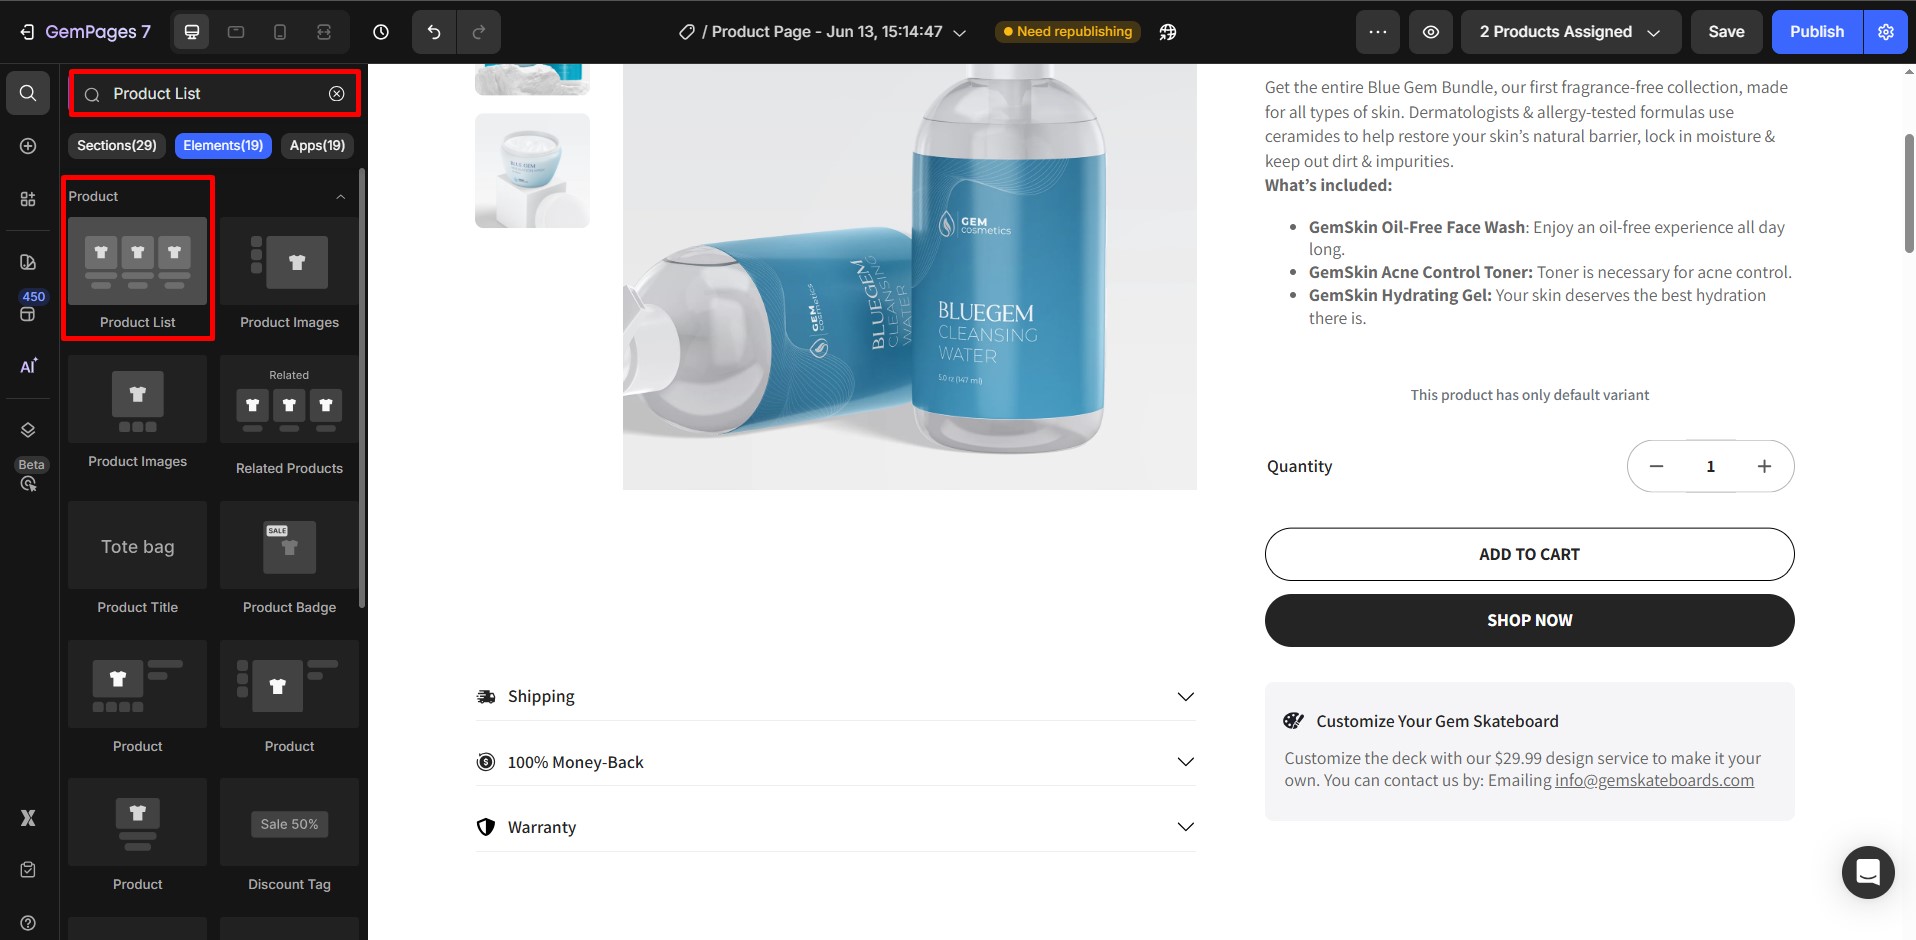
- Drag and drop the Product List element onto your page.
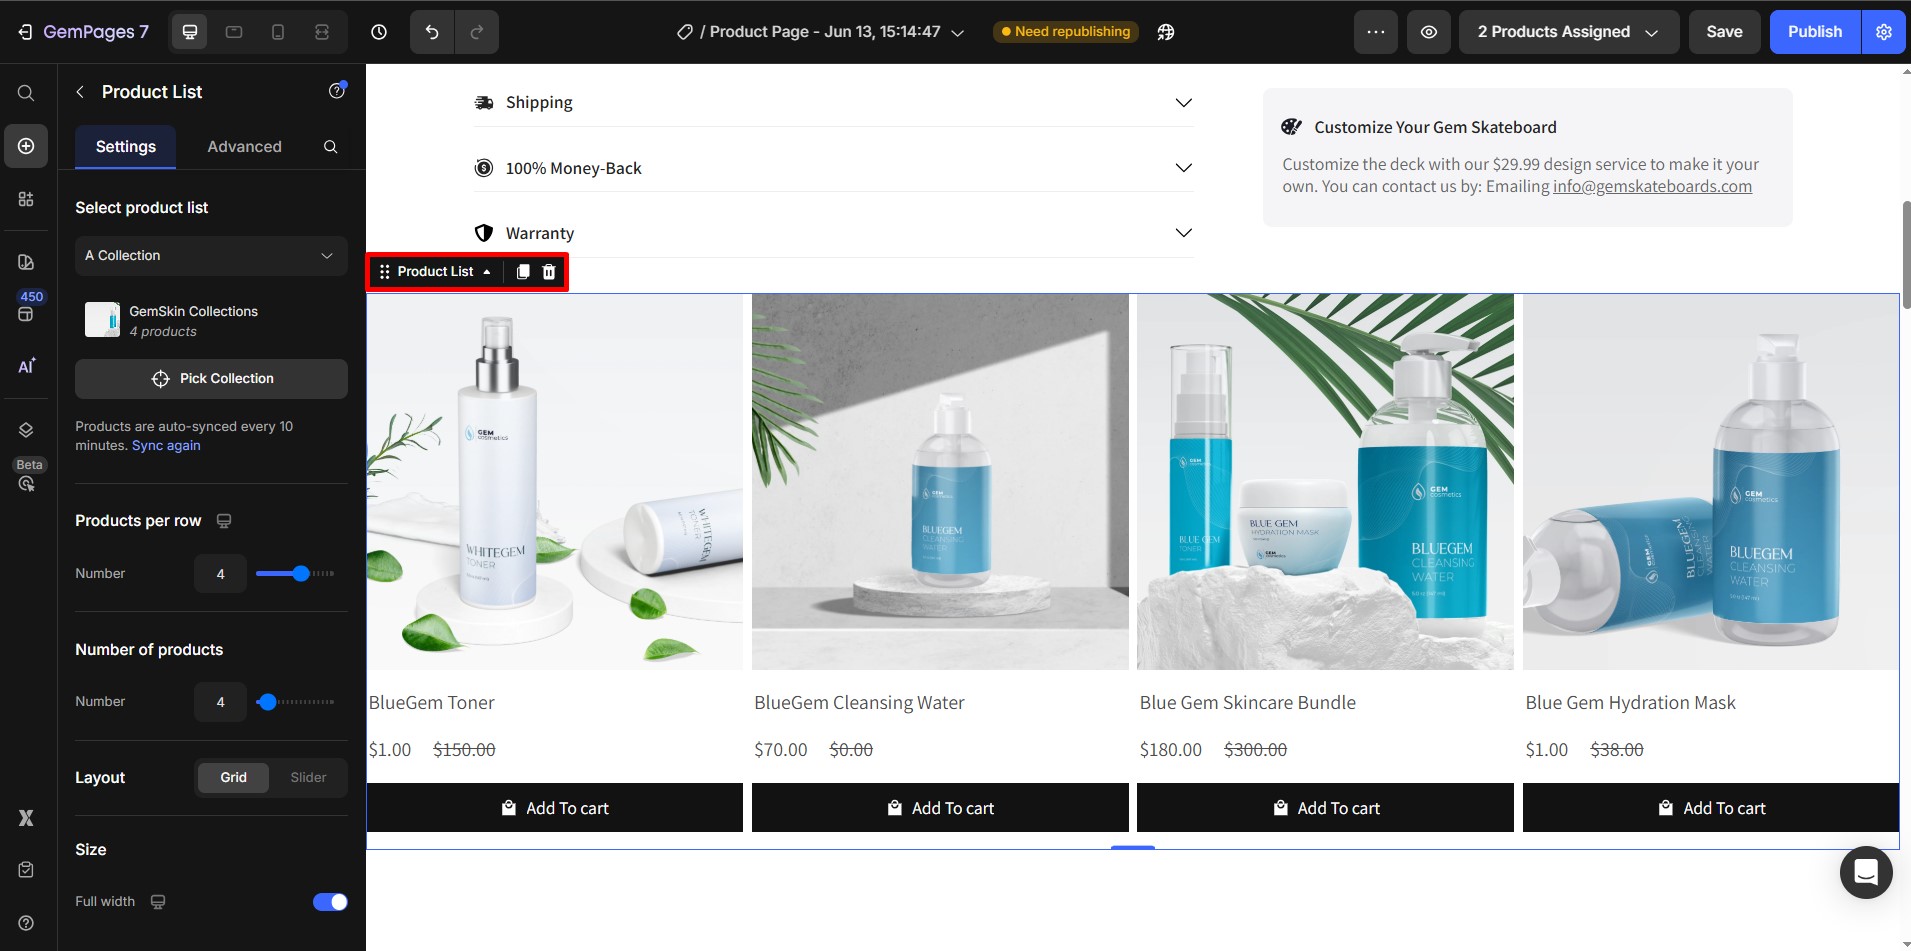
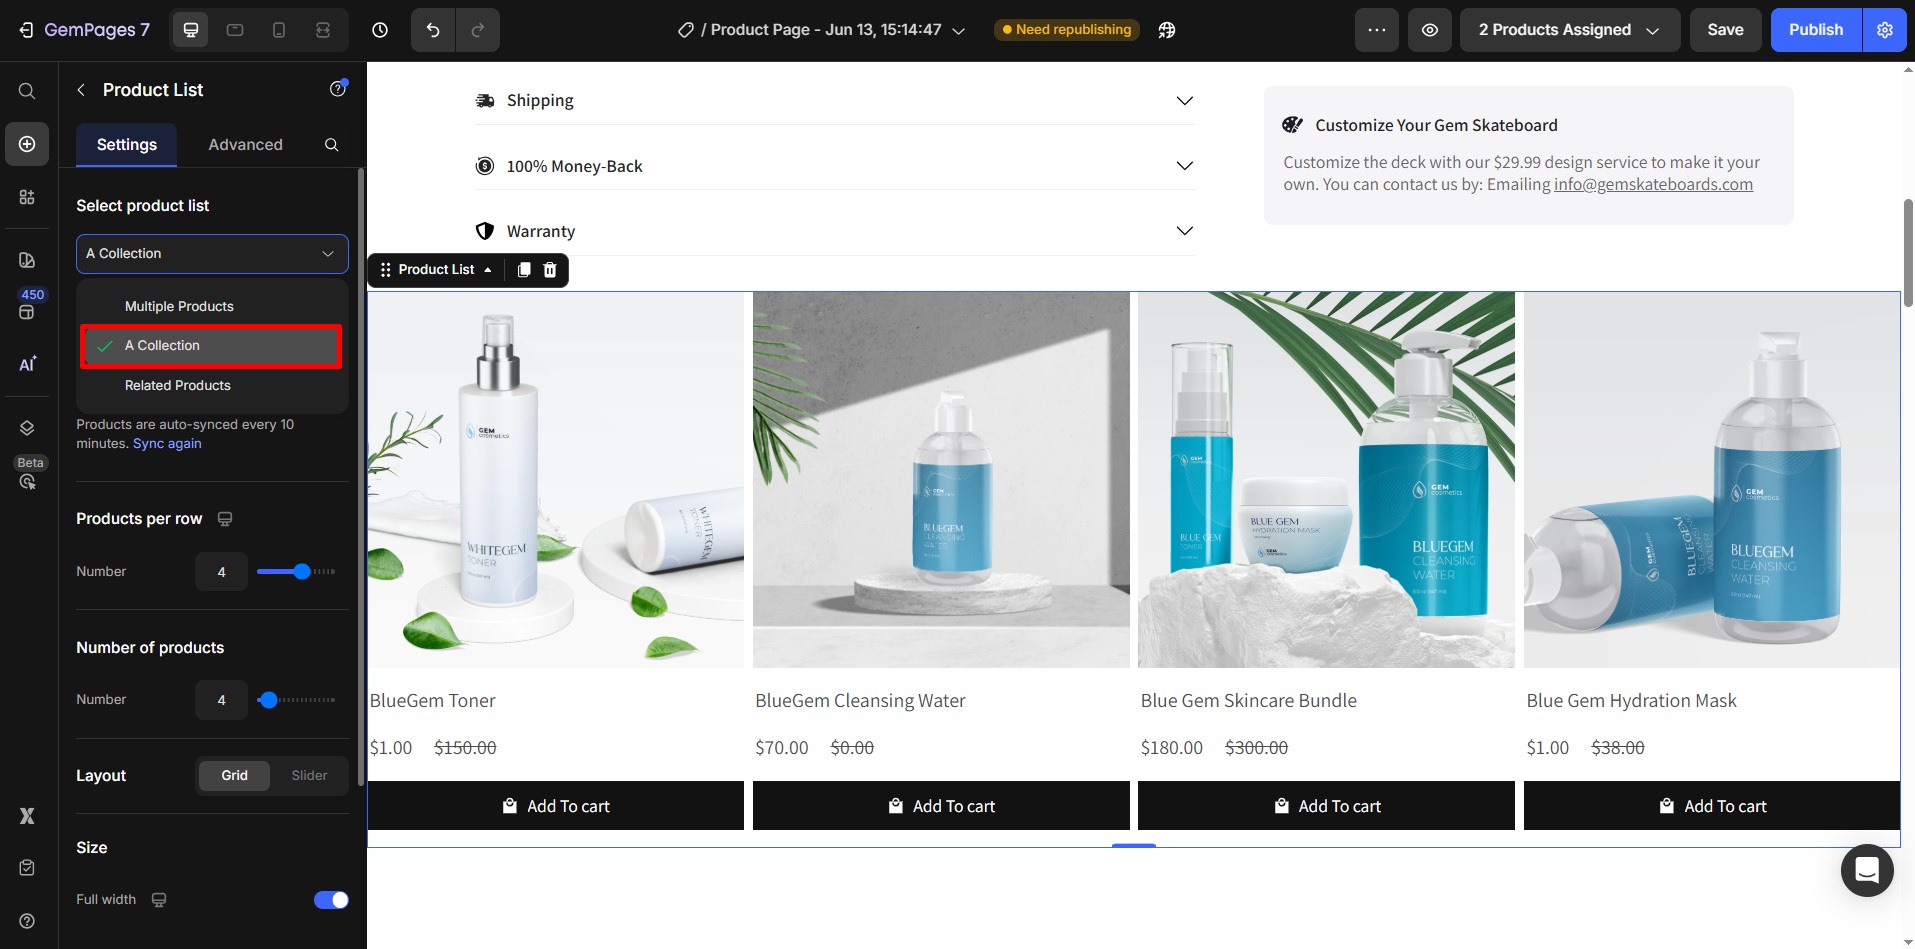
- In the element settings panel, choose the collection you just sorted.
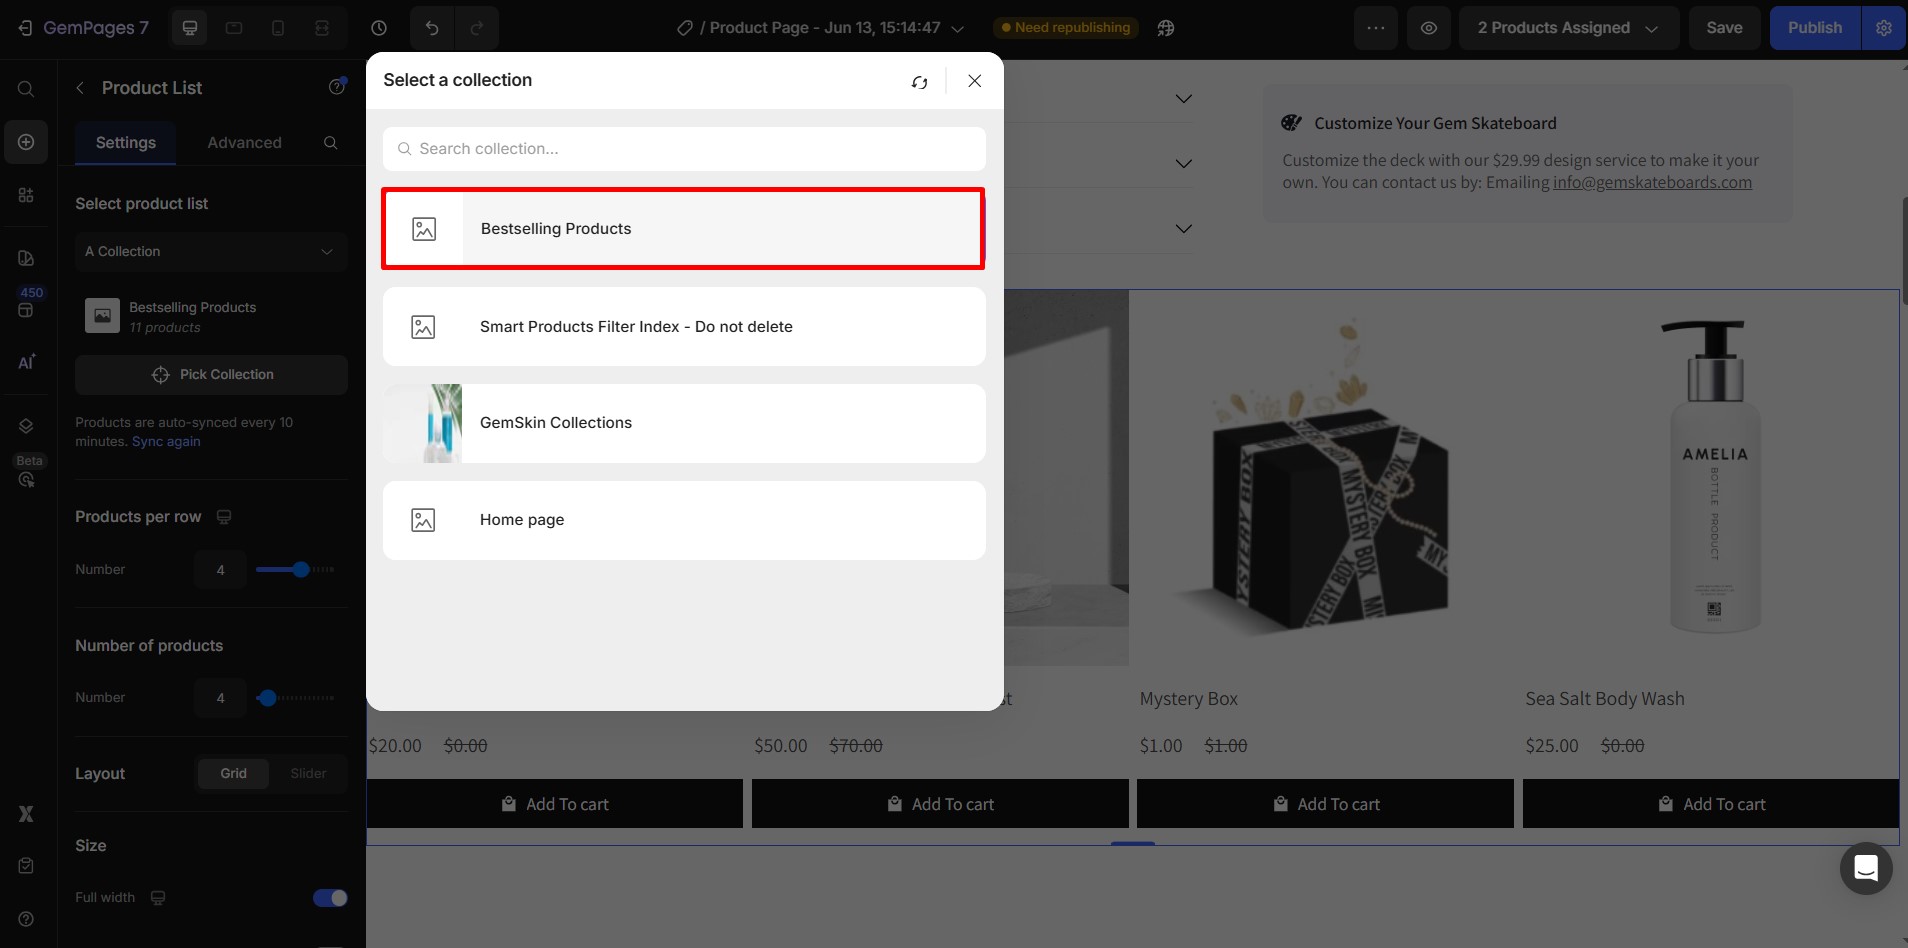
GemPages will pull in the product data and display it in the exact order set in Shopify.
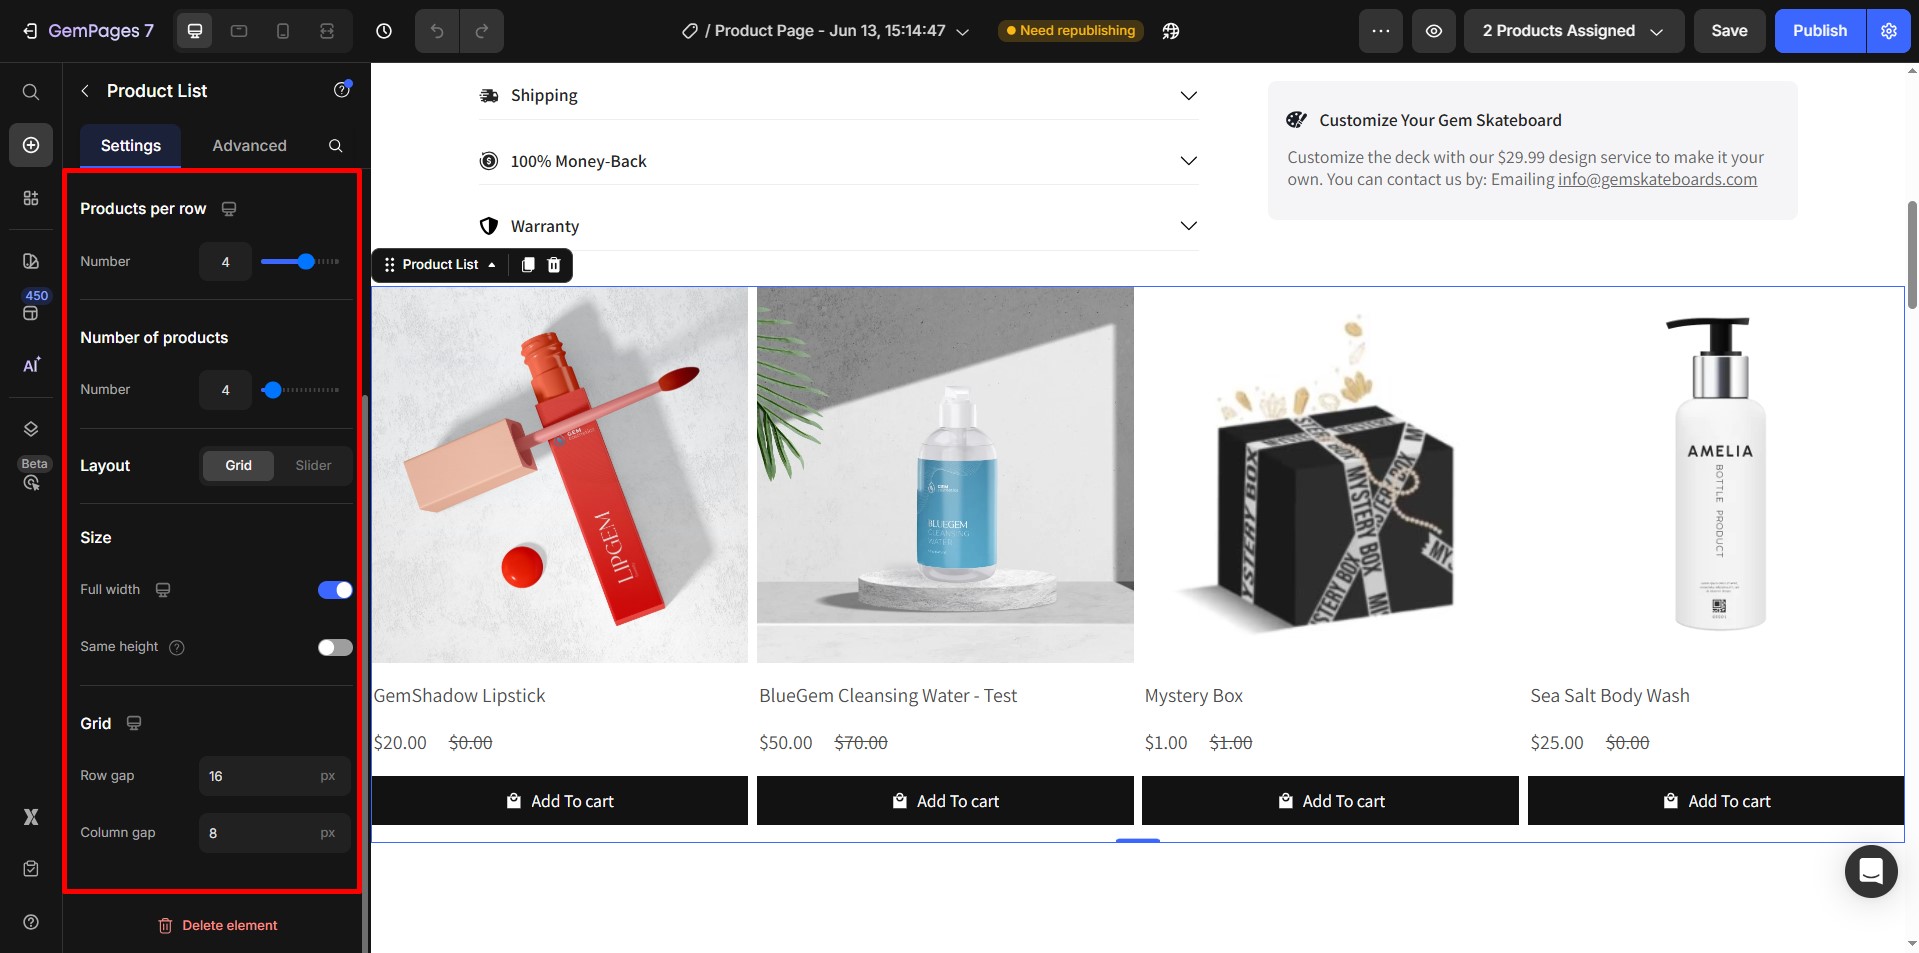
Step 4: Customize the Product List Appearance
Use GemPages’ visual editor to adjust:
- Number of columns
- Product image size and alignment
- Product name, price, and rating display
- Button styles and hover effects
For a full customization guide, check out: How to Use the Product List Element in GemPages


Thank you for your comments