


About the Liquid element
The Liquid element allows you to add Liquid, HTML, JavaScript, or CSS codes to customize sections and integrate third-party apps using GemPages.
To add the element to your page, kindly follow these steps.
Step 1: From the GemPages dashboard, open your preferred template to edit. Drag and drop the element to your desired position.
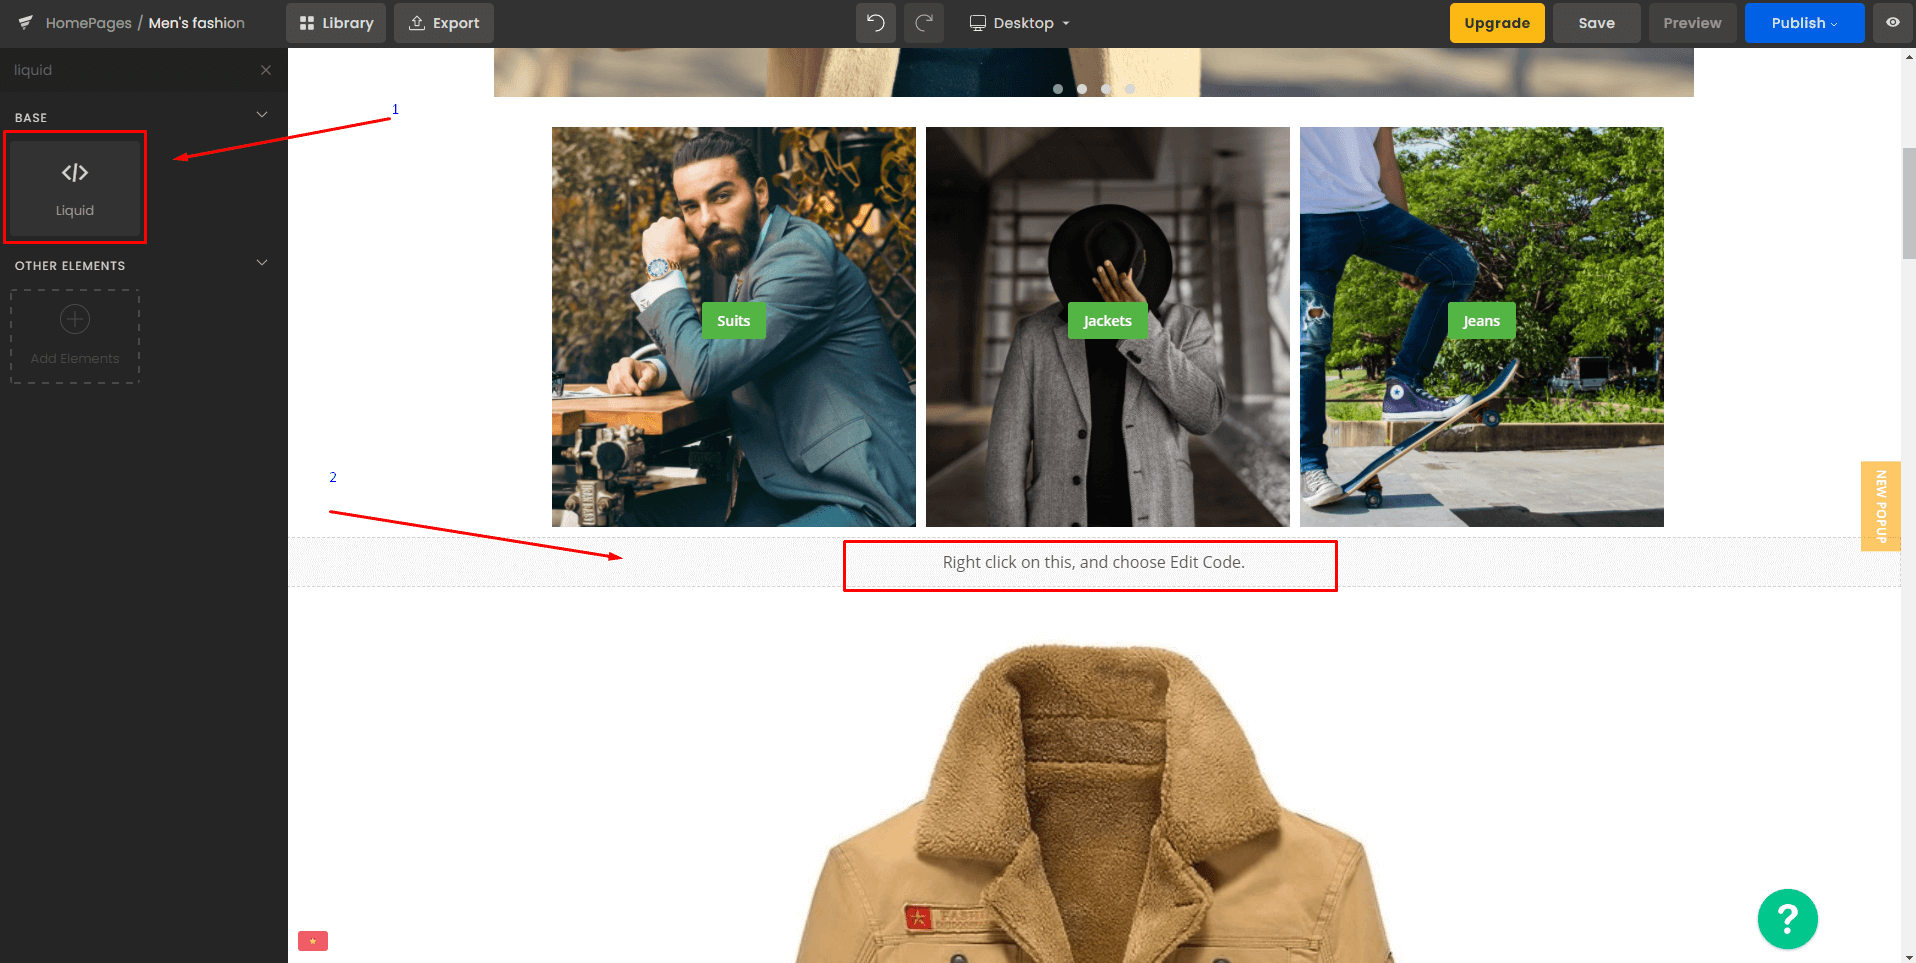
Step 2: Right-click on the element, then select “Edit” to open the code panel.

Step 3: Add the custom code to the corresponding code panel and click on “Save” when finished.

Step 4: Finally, hit “Publish” to start rendering the code.

Settings tab
With the Settings tab, you can set the name for that specific Liquid element for differentiation. You can also choose how the element is positioned with 3 options: left-aligned, centered, and right-aligned.

Design tab
To style how the element looks, please navigate to the Design tab and follow the instructions in this article.
Troubleshooting “Liquid error” in GemPages V6
- Invalid or unsupported Liquid syntax: Double-check your code matches Shopify’s Liquid documentation.
- Missing variables or objects: Make sure the product, collection, or section you’re calling actually exists in Shopify.
- Conflicts with third-party scripts: Remove or test your code in smaller parts to identify the source of the conflict.
- Review and correct your Liquid code syntax.
- Test with a basic snippet first to confirm the element works.
- If the error persists, remove the snippet and re-add it step by step.
- Contact GemPages Support if the issue is related to app integration.
Frequently Asked Questions
1. What types of code can I add using the Liquid element?
You can add Liquid, HTML, CSS, and JavaScript inside the Liquid element. This makes it useful for custom logic, styling, app embeds, and interactive scripts on a single page.
2. Can I use the Liquid element to embed third-party apps?
Yes. Many apps provide HTML snippets or JS embed codes, which can be pasted directly into the Liquid element. If the app requires theme-level files, you may need to update your Shopify theme as well.
3. Can I import JS from theme.liquid into a GemPages page?
You don’t need to manually “import” the script. If your GemPages page uses a template that includes theme.liquid, any JavaScript added there will automatically load.
If you are using a layout without header/footer, add the JS inside the Liquid element or update the theme.gem-layout-none.liquid file so the script can run properly.
4. Should I put my JavaScript in theme.liquid or inside the Liquid element?
- Use
theme.liquidfor scripts that should run across all pages. - Use the Liquid element when the script is intended for a single specific page, such as a landing page or a funnel step created with GemPages.
5. Can I add multiple Liquid elements to one page?
Yes. You can place as many Liquid elements as needed. Each one is treated independently and can hold different logic or scripts.
6. Can the Liquid element slow down my page?
It can if you add heavy or blocking JavaScript. Always test and avoid loading large libraries or duplicate scripts in multiple Liquid elements.


Thank you for your comments