


About the Mailchimp Email Marketing
Mailchimp is one of the most popular all-in-one marketing platforms for SMEs, which allows you to collect email leads, manage audiences, and send automated campaigns without needing advanced technical skills.
With Mailchimp, you can design professional email templates, set up automated workflows, and track performance with detailed analytics.
Key Features of Mailchimp:
- Email Campaigns: Create and send professional newsletters, promotions, and product announcements.
- Automation: Set up abandoned cart emails, welcome series, or product recommendations automatically.
- Audience Management: Collect, segment, and manage your subscribers to deliver more personalized messages.
- Customizable Forms: Build and style signup forms that fit your brand, then embed them directly in your store.
- Analytics & Reporting: Track open rates, clicks, and conversions to measure campaign performance.
- E-commerce Integration: Sync data from your Shopify store to personalize emails and boost sales.
How to Add MailChimp to GemPages?
By integrating Mailchimp with GemPages (both v6 and v7), you can easily connect signup forms to your Shopify store, helping you grow your subscriber list and run targeted campaigns that convert.
First, you need to access the MailChimp Dashboard. Follow these steps below:
Step 1: Access your MailChimp account.
- If you don’t have an account, click on Create an account.
- If you have one, log in to your account with your Username and Password.

Step 2: Click on Audience > Select Signup Forms.
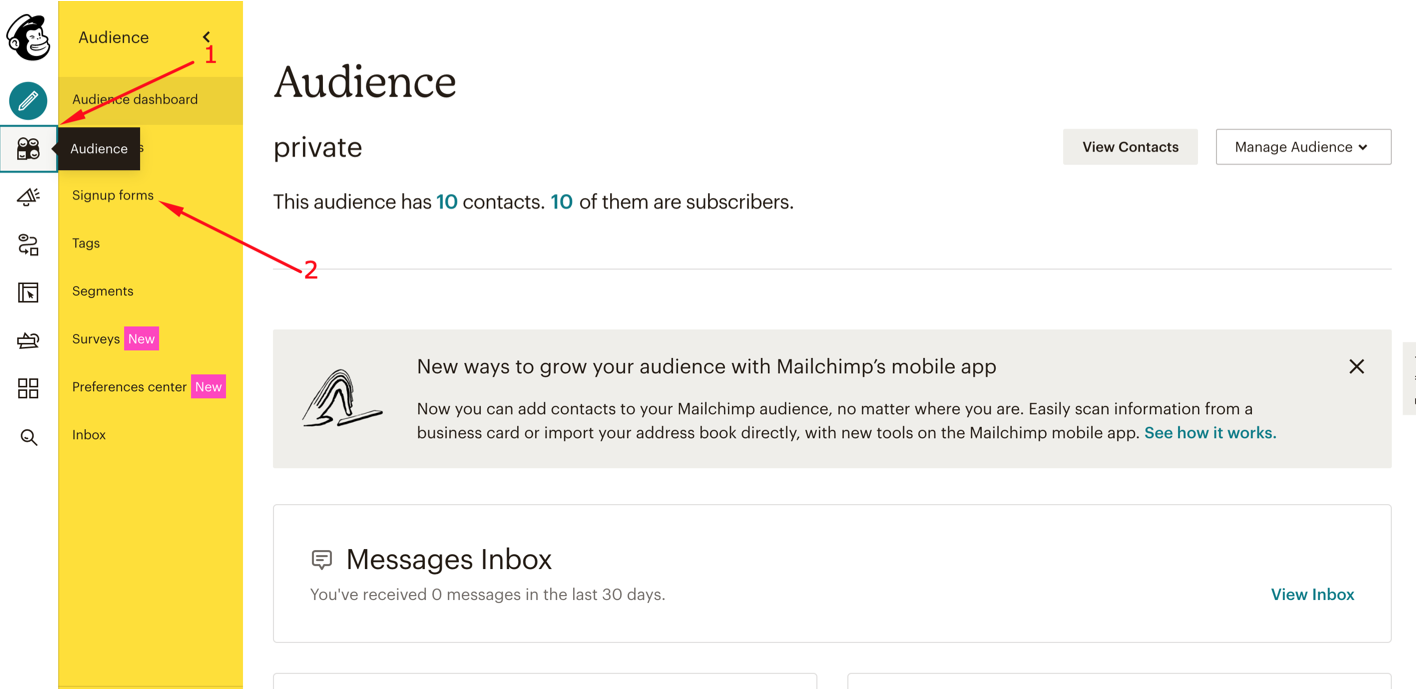
Step 3: Select Embedded forms.

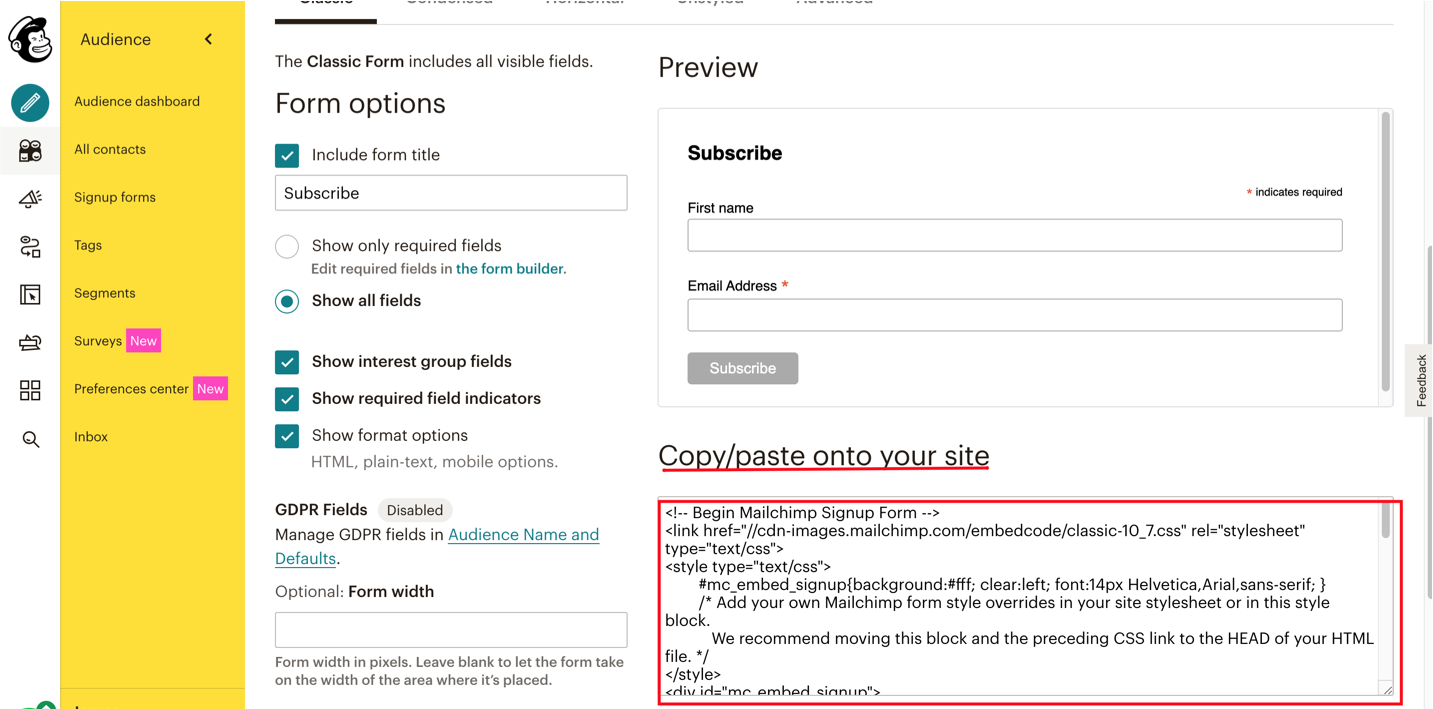
Step 4: Choose a form type and customize the Form options
For further details, please refer to Mailchimp’s article: How to add a form to your website?
Step 5: Once the HTML snippet from MailChimp is generated, copy it.
In GemPages version 6
If you’re using GemPages v6, follow the instructions below to create a Mailchimp form for your store:
- From the GemPages Dashboard, select your preferred template to edit.
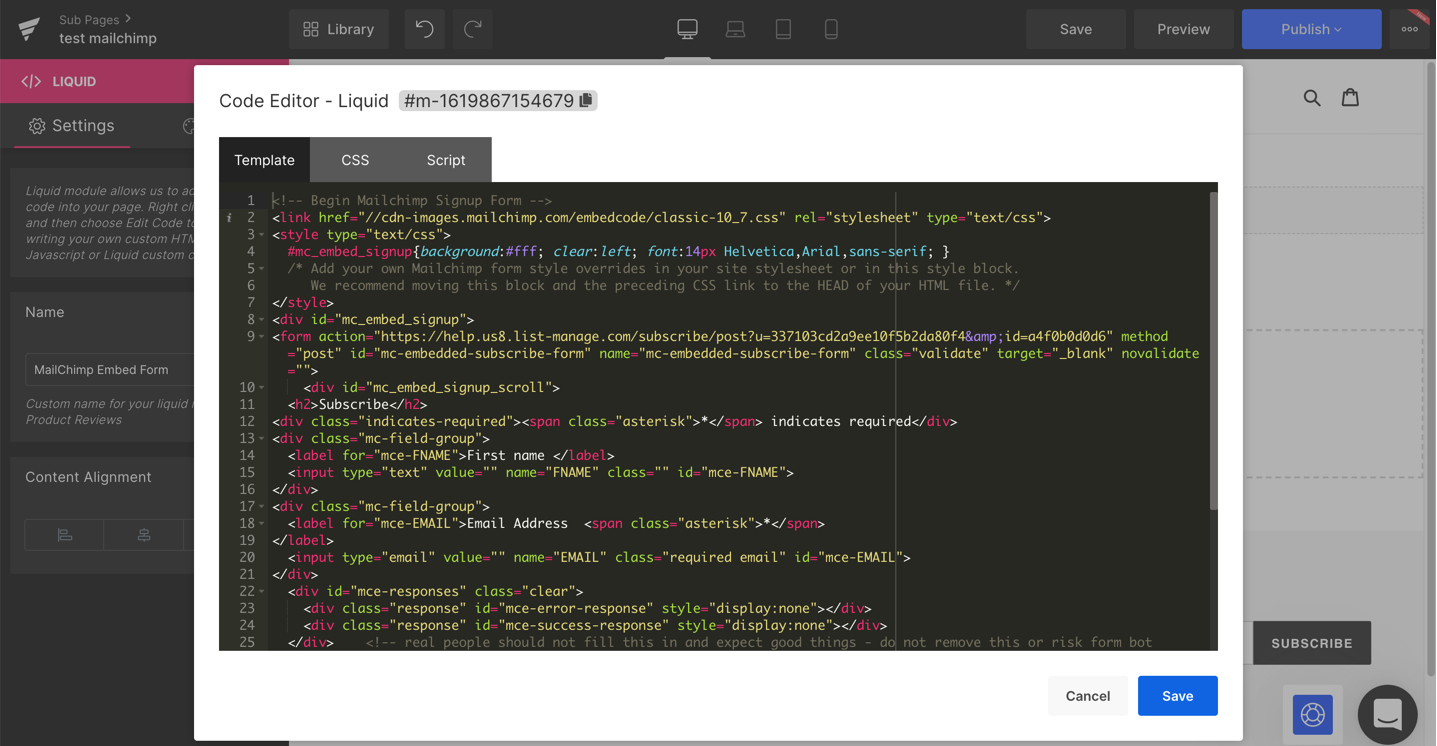
- Drag and drop the Liquid Element into your desired position.
- Paste the HTML snippet into the Template tab.
- After everything is in place, hit “Save” and “Publish” to bring the update into your live store.
In GemPages version 7
Within GemPages v7, you can use the Custom Code Element to integrate MailChimp into your page. Follow these steps:
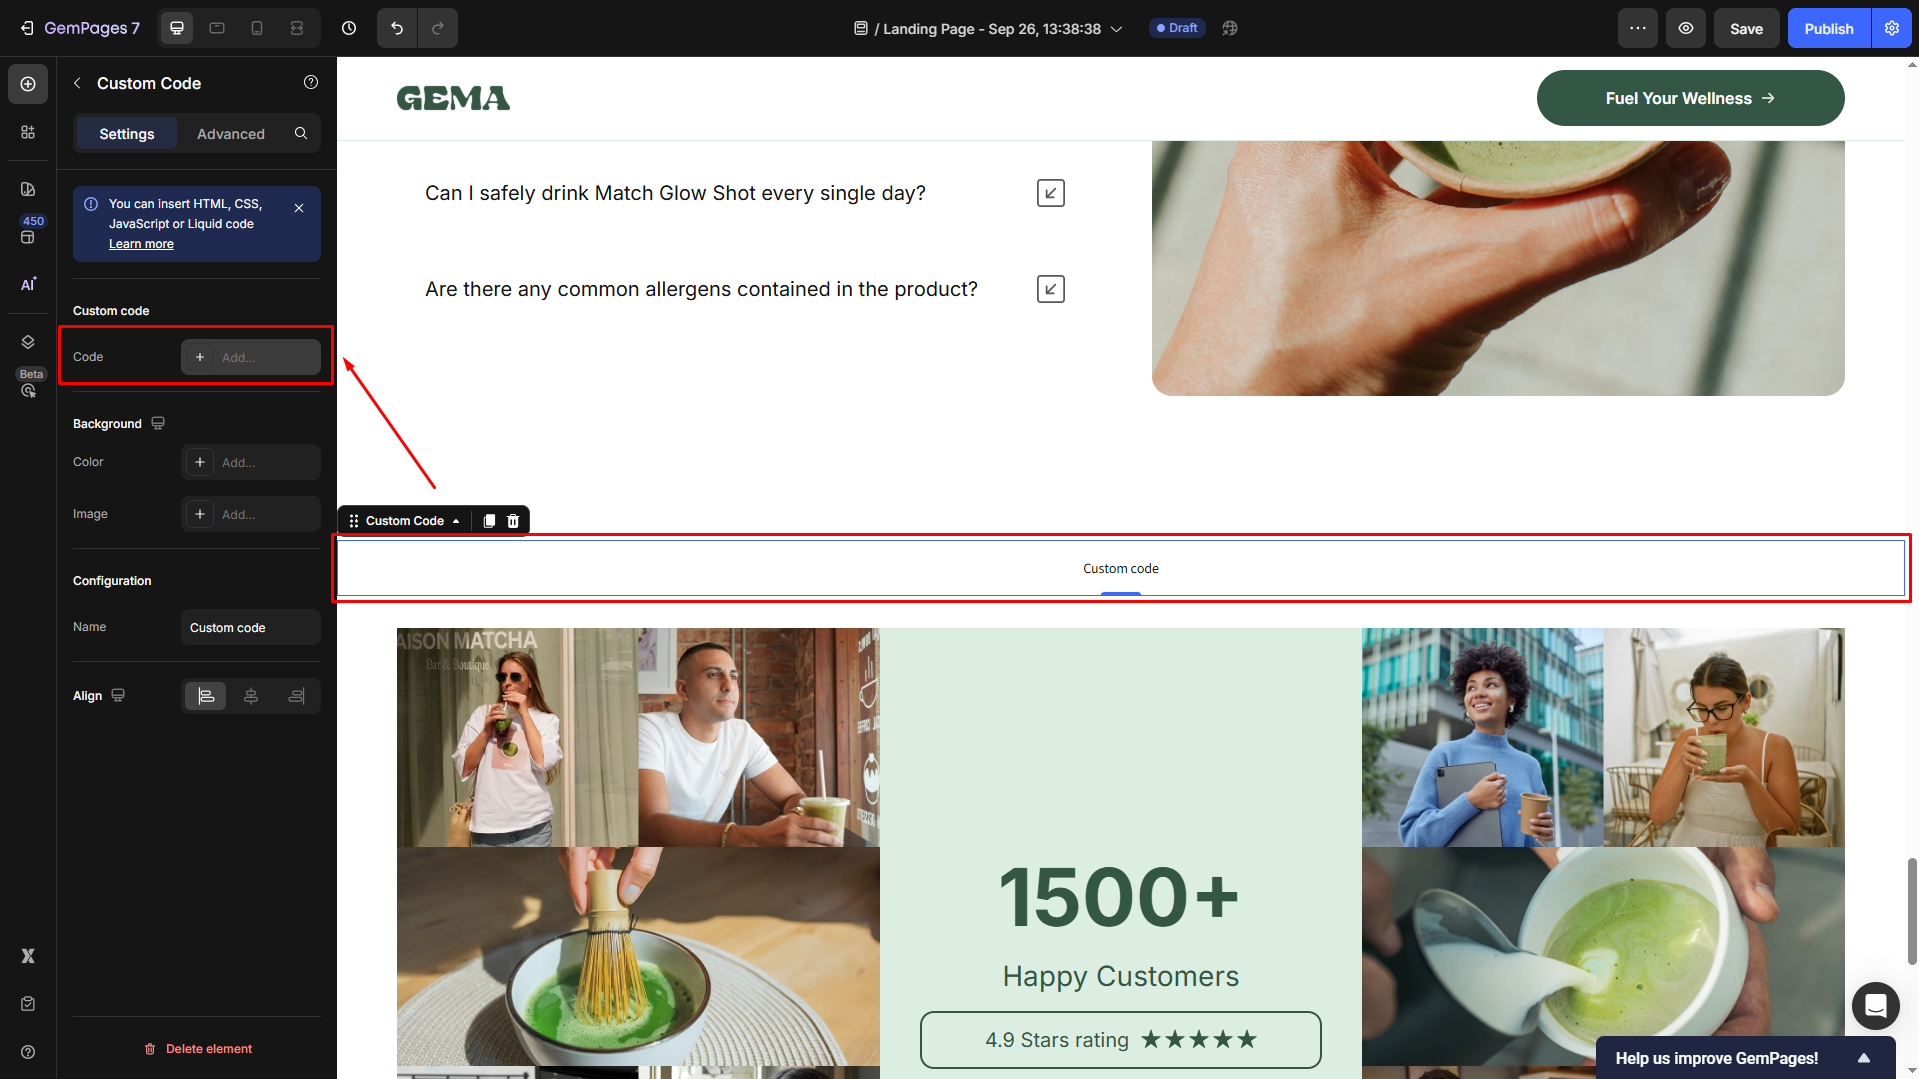
- In the editor, use the search bar to quickly find the Custom Code element.
- Drag and drop the element into the design area.
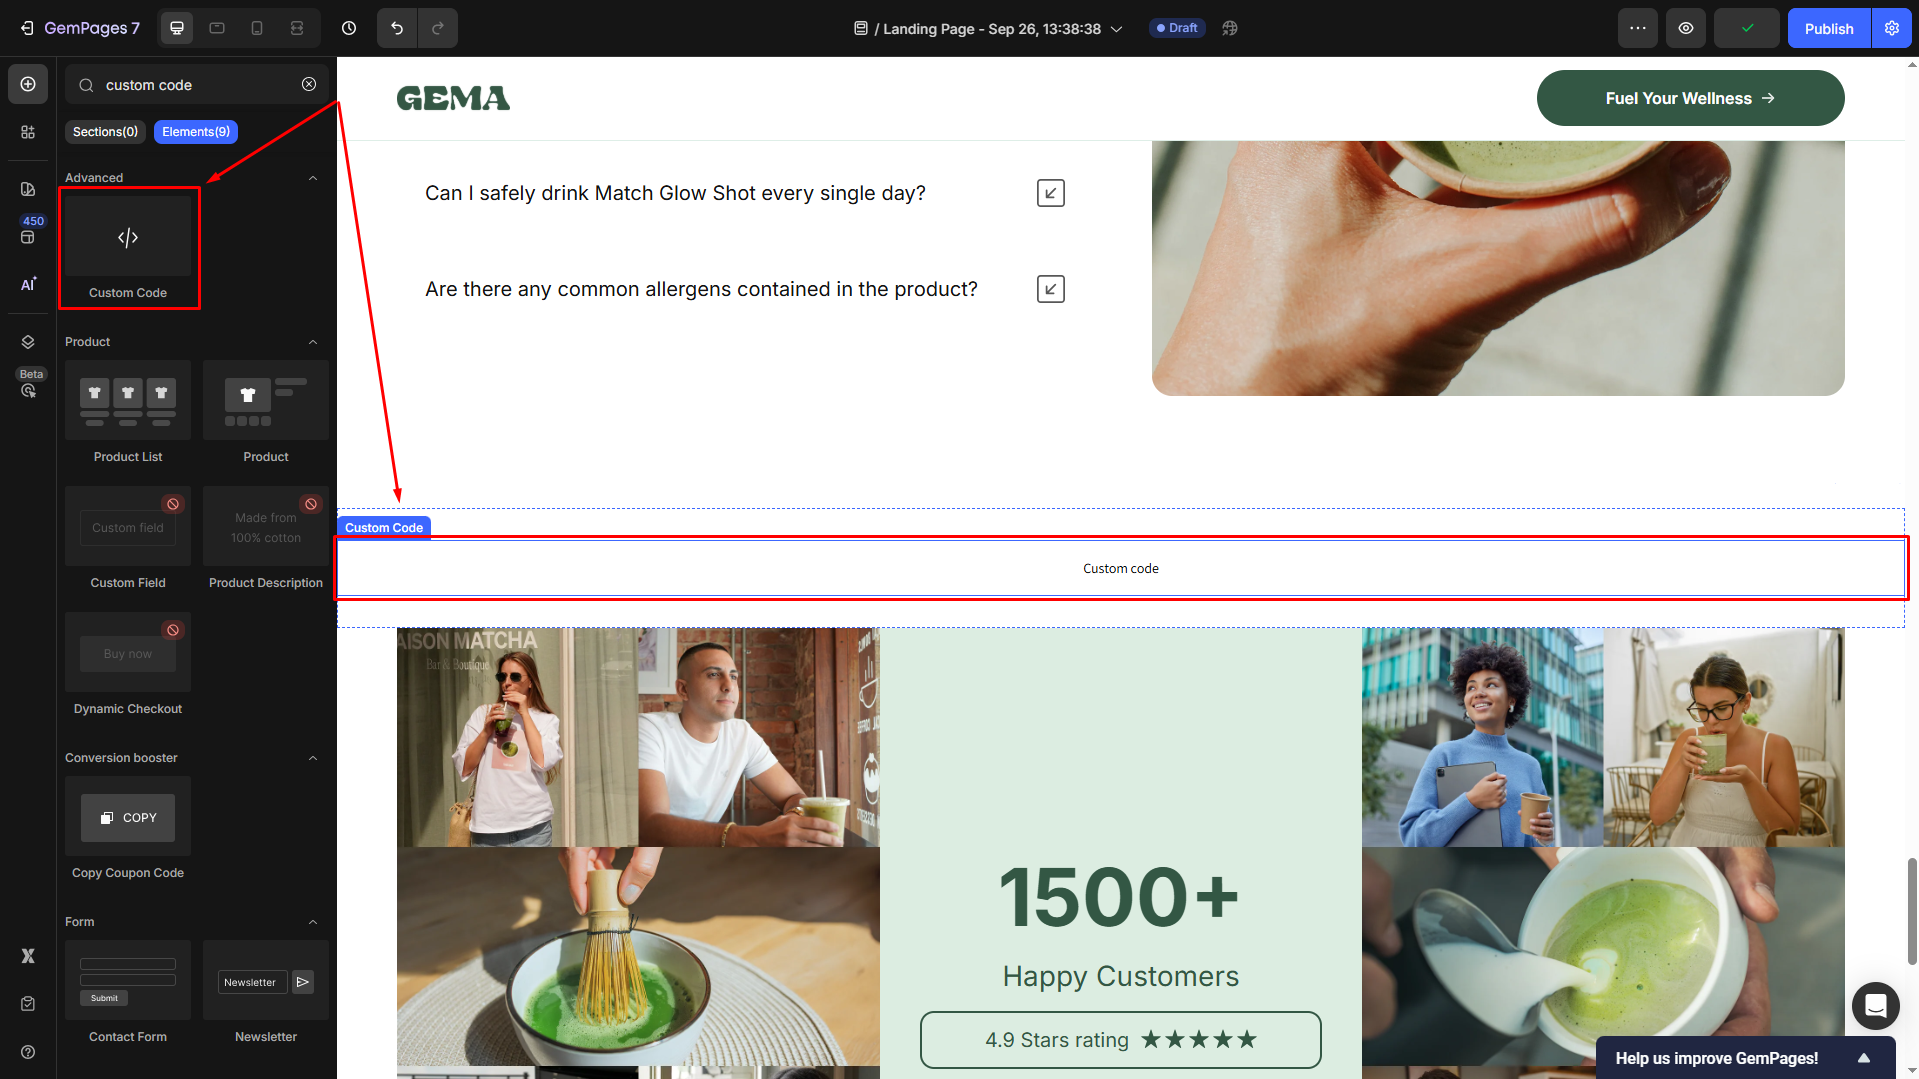
- Click on the element to open its settings tab. Then, go to the Custom code section and click “+ Add…”.
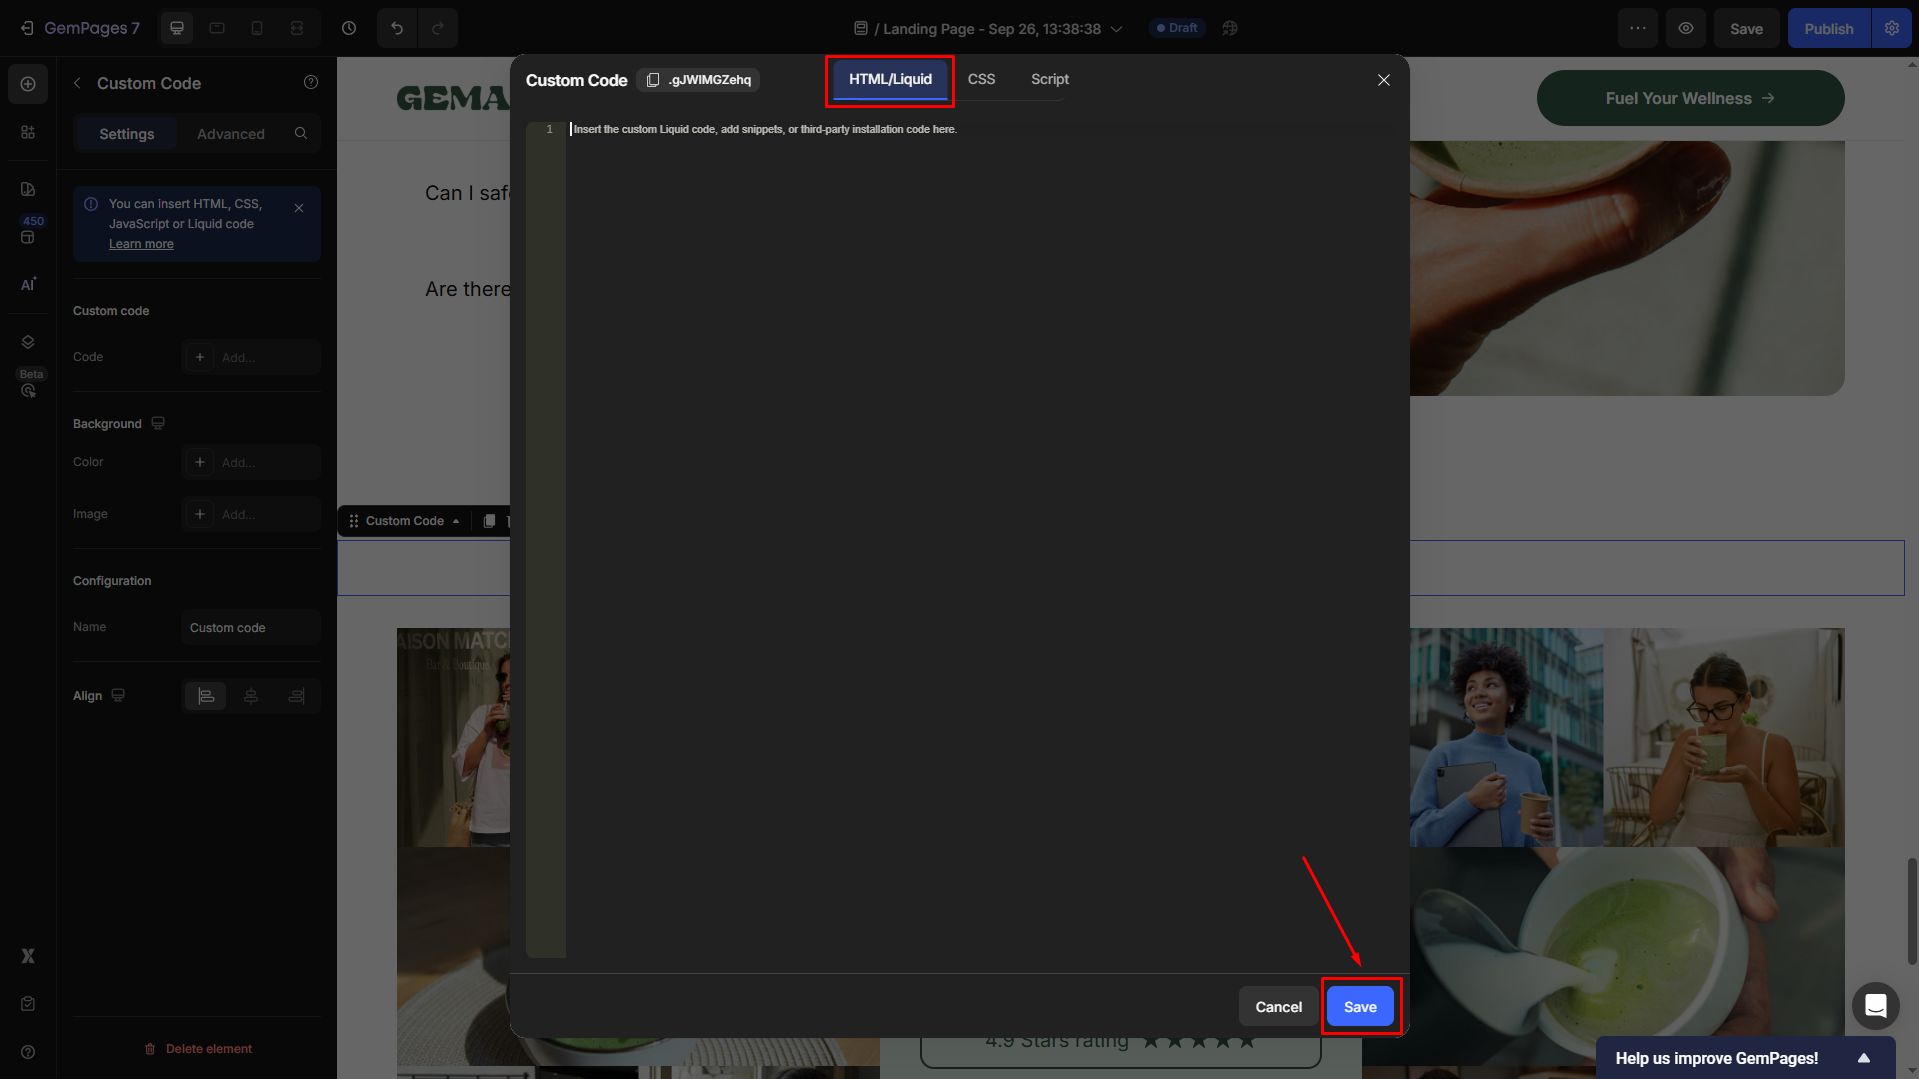
- In the pop-up code panel, paste the HTML snippet of MailChimp under the HTML/Liquid tab. Once done, click Save.


Thank you for your comments