About the Google Maps element
Using a Google Maps widget on your site can help consumers locate your business and improve the overall user experience. Most websites will add Google Maps on their contact page to identify their actual locations. By doing so, you will save clients the process of opening maps in another window and pasting over the address. They can simply click on your map-pinned address and get directions.
From the GemPages Dashboard, open your preferred template to edit. You can quickly find the Google Maps element on the left sidebar of the editor page, under the Module section.

When clicking on the element, you will find its configuration options in the left sidebar, including the Settings and Design tabs.
Configure the Settings Tab
Location
There’re two options for you to add your location in this section:
- Address: Input your address/location into the field.

- Coordinate: Enter the latitude and longitude GPS coordinates into the corresponding box. To get the coordinates of your location, check out this article from Google Maps.

Dimension
Height: Input the number into the field to determine the height in pixels.
Zoom: Use the slider or enter the number into the box to adjust the map’s zoom level. You may reduce the zoom level to focus your map directly on your business location. Otherwise, choose a higher level to show the surrounding area.

Views
This setting lets you choose between the map and satellite views of your map to show on your site.

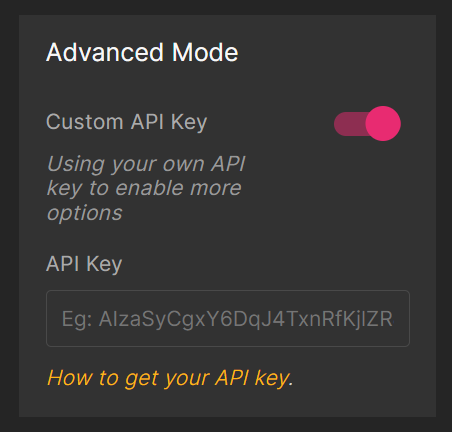
Advanced Mode
To enable more advanced options, toggle on the Advanced Mode switch and input your API key. Click here to get your API key.

Extra Class
If you wish to further customize the element with coding, please use this field to add a class name and refer to it in the CSS file.

Configure the Design tab
To style how the element looks, please navigate to the Design tab and follow the instructions in this article.


Thank you for your comments