


What are “Ajax” and “Ajax Cart”?
Ajax (or Asynchronous JavaScript) is a high-end web development technique that allows websites to send and receive data from a server asynchronously without altering the appearance and behavior of the existing page.
In GemPages, the Ajax Cart feature follows the same principle and provides you multiple options to further customize your (P) Cart Button element, aiming to enhance shoppers’ experience and ultimately win you more sales.
Enable Ajax Cart
Step 1: In the GemPages Dashboard, select and open a page you are working on to enter the Editor.
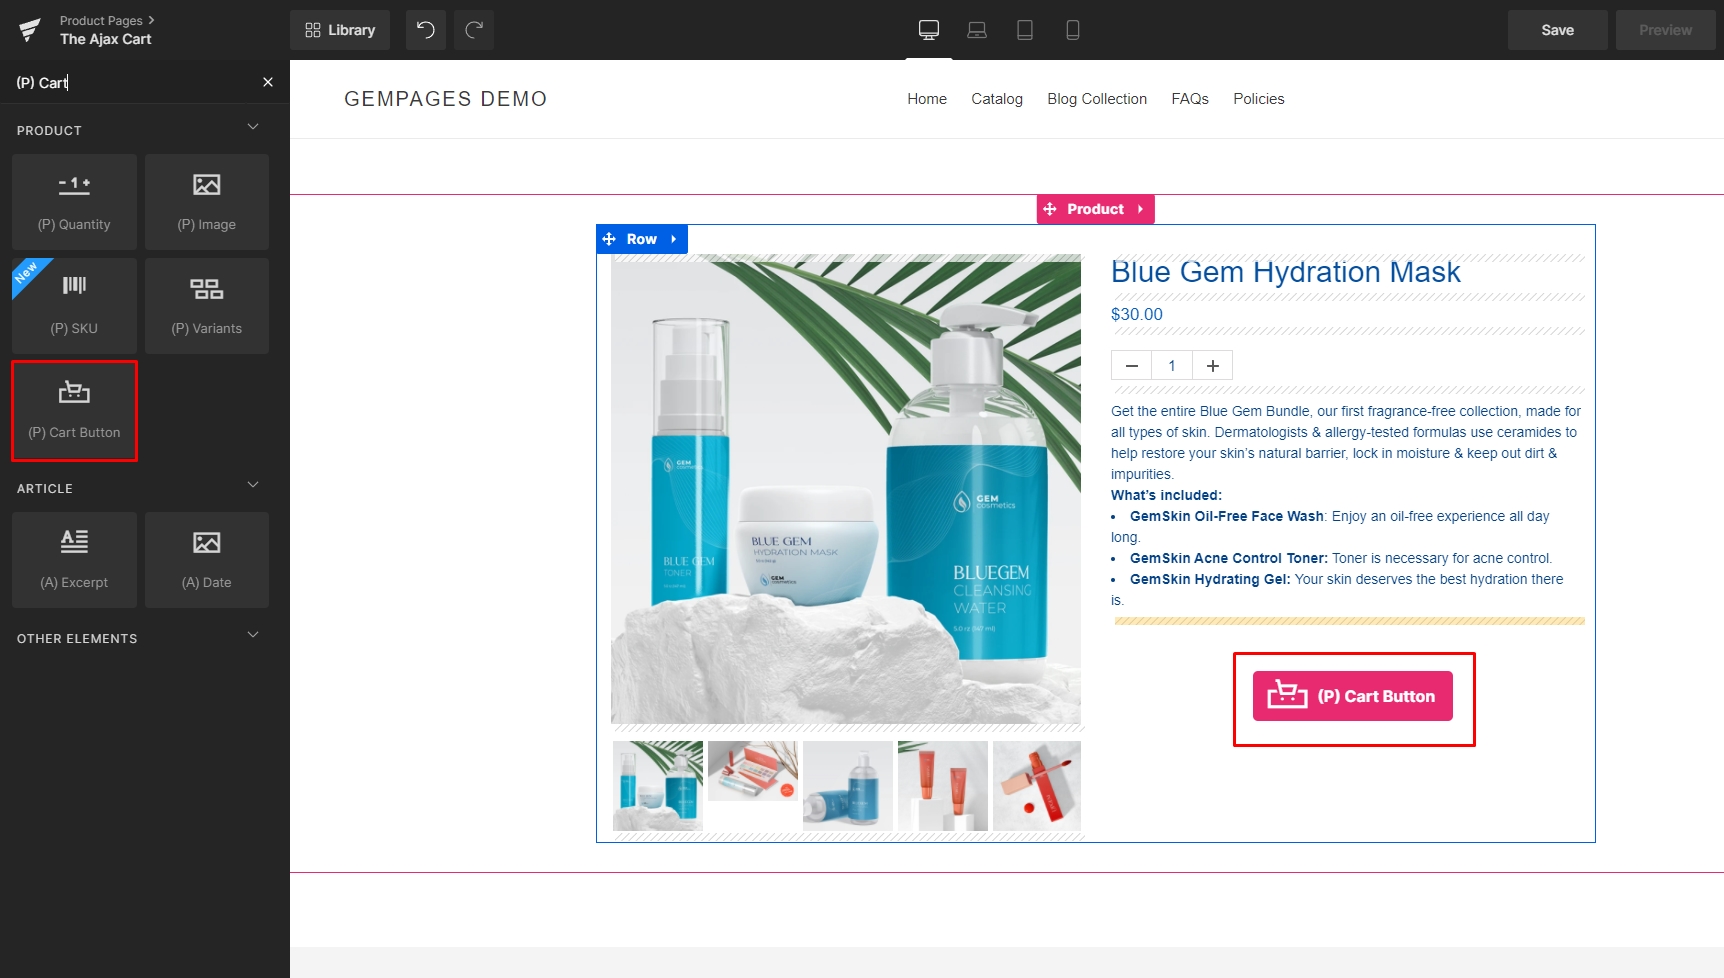
Step 2: Drag and drop the (P) Cart Button element inside a Product module. If you already have them, skip this step.
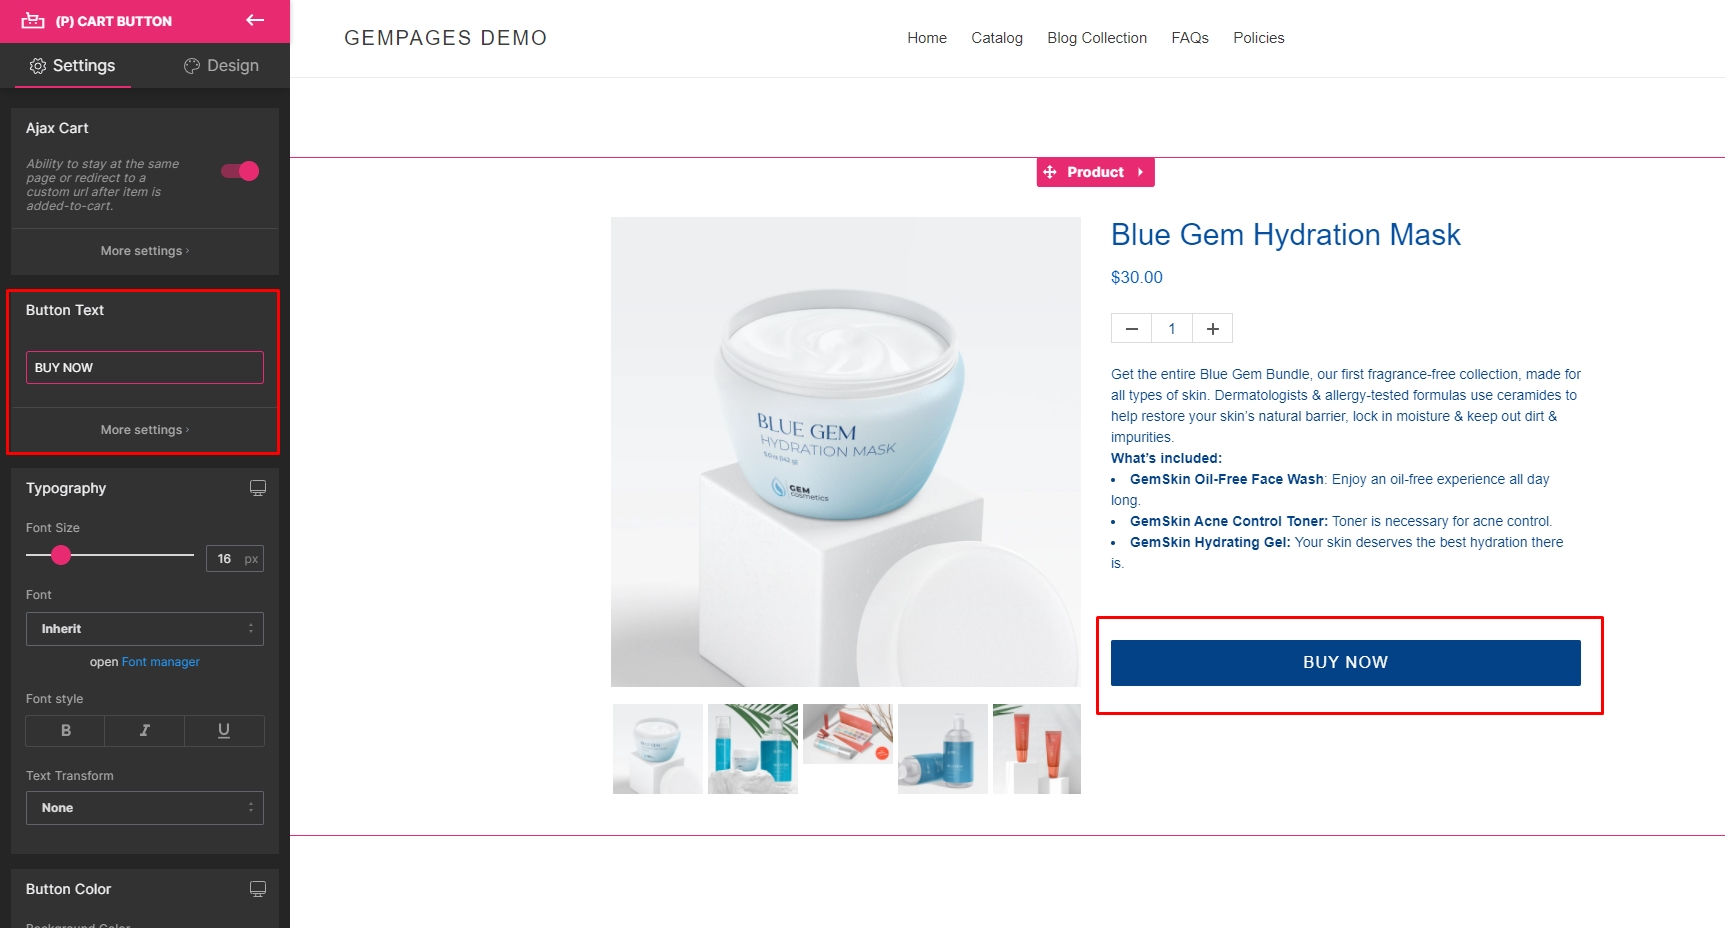
Step 3: Under the (P) Cart Button element’s Settings tab: Toggle the Ajax Cart switch to enable the feature.

Ajax Cart Settings
After enabling the Ajax Cart switch, the “More settings” button will light up and become active. Click on it to expand the Ajax Cart settings.

You will be presented with 03 functional tabs: Custom, Checkout, and Cart – all share the following custom fields:
- Sending Text: The button text appears after customers click “Add to cart”.
- Thank-you Text: The button text appears after the product has been added to the cart successfully.
- Success Message: A small line under the button that appears at the same time as the Thank-you Text.
- Continue Link: After adding an item to the cart, customers can view their cart or continue shopping. This field allows you to customize the link for the “Continue Shopping” option. If left blank, the default link will be the All Products page.

Below is a visual example of all the fields. Next, let’s discover the distinct functions of the 03 tabs.

The Custom tab
The Custom tab comes with an extra field called “Custom URL“. This field allows you to redirect customers to another link or stay on-page after they added an item to the cart.

To redirect customers, paste your desired URL to the field or use the “Pick Link” button.
To let them stay on-page, leave the field blank.
The Checkout tab
Use the Checkout tab if you want to redirect customers immediately to the Checkout page after hitting Add To Cart.
The result should look like this:

The Cart tab
The Cart tab lets you customize the 03 confirmation messages to give users a better sense of the progress before redirecting them to the Cart page.
That is all for the Ajax Cart!


Thank you for your comments