


A password page is a page that appears when your online store is password‑protected. It allows only visitors with a password to access your site. When your password page is active, search engines only display this page, and the rest of your site stays hidden.
Refer to this article for more information about the Shopify Password Page.
Add or Remove a password
Add a password
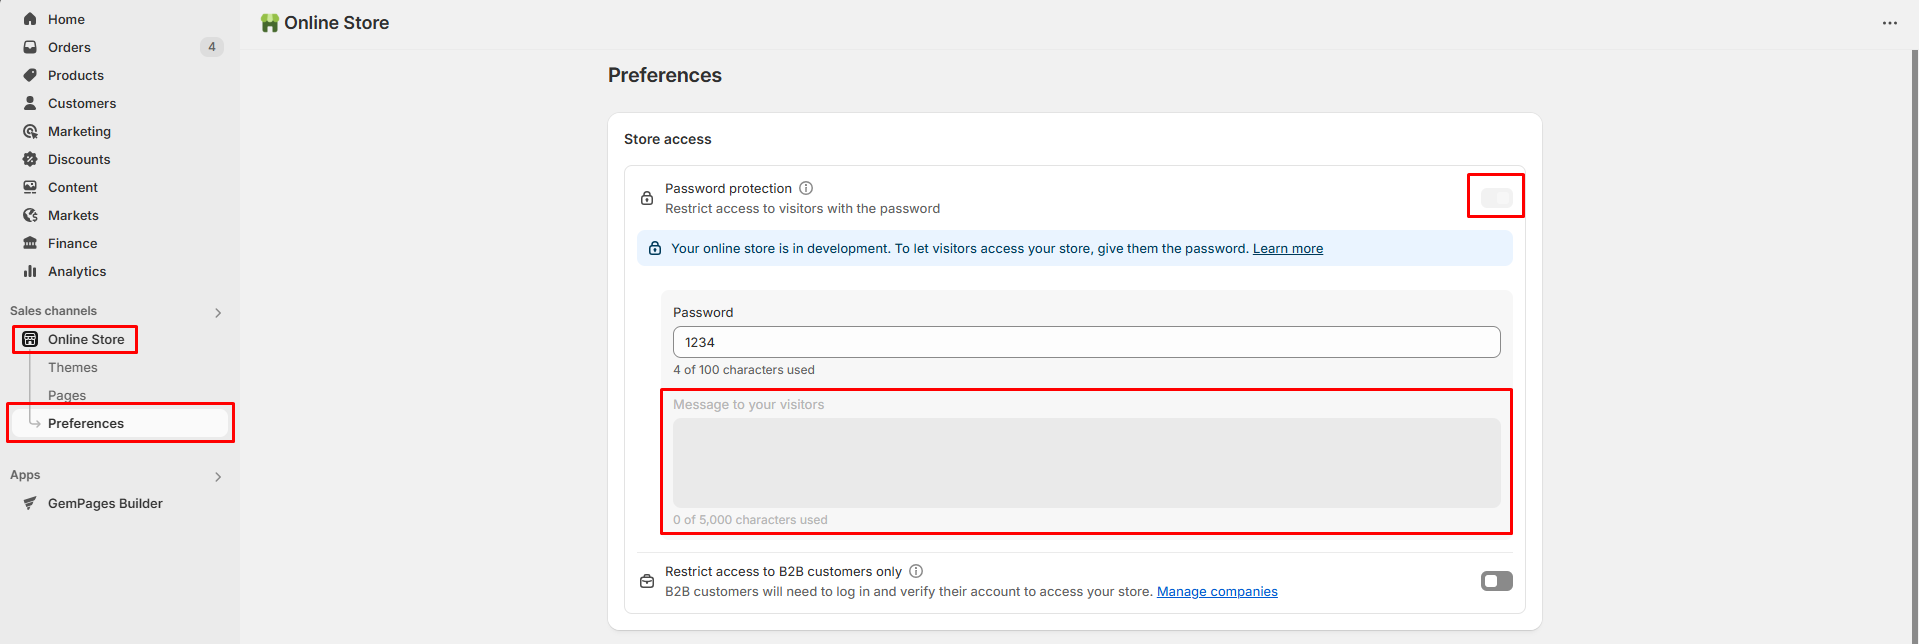
- From your Shopify Admin, go to Online Store > Preferences.
- In the Password protection section, check Restrict access to visitors with the password.
- Enter the password you want to use.
- (Optional) Add a message for visitors in the Message to your visitors field.
- Click Save.
Remove the password
- From your Shopify Admin, go to Online Store > Preferences.
- In the Password protection section, uncheck Restrict access to visitors with the password.
- Click Save.
Customize your Shopify password page
Edit your password page
- From your Shopify Admin, go to Online Store > Themes.
- Click Customize next to the theme you want to edit.
- In the Home page drop‑down menu, select Password.
- Click any section (Header, Email Sign‑Up, Footer) to edit its settings.
- (Optional) Add new sections or blocks if needed.
- Click Save.
Edit password page Settings (Theme Settings)
If you want to adjust fonts, colors, or other settings for your password page:
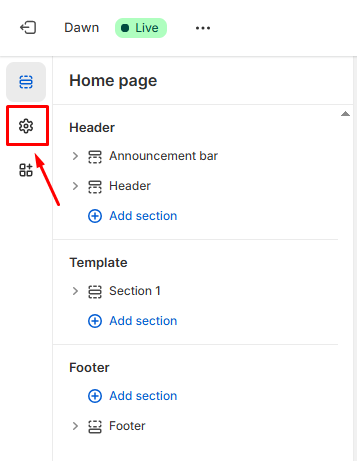
Step 1: Access the theme editor > Theme settings icon (gear icon) on the left sidebar.
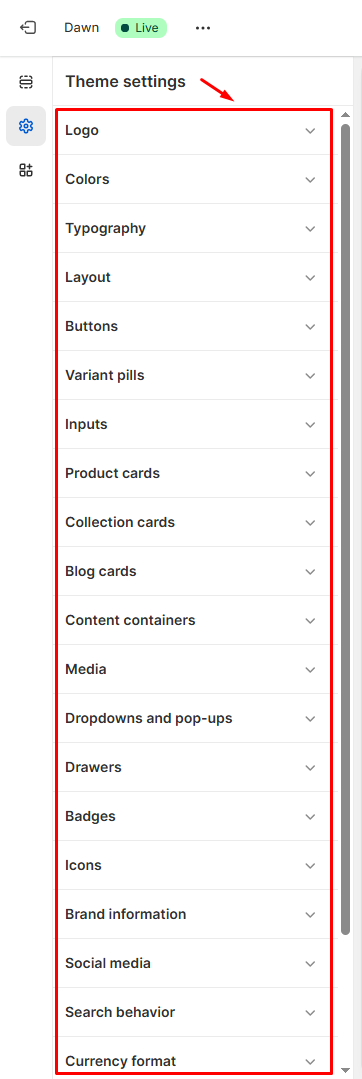
Step 2: Choose the category you want to customize (Typography, Colors, Social links, Favicon, etc.).
Step 3: Make your changes and click Save.
Hide the footer
Follow these steps if you don’t want the footer to show:
Step 1: From your Shopify Admin, go to Online Store > Preferences.
Step 2: In the Password protection section, paste this code in the Message to your visitors field:
<style>footer { display: none; }</style>
Step 3: Click Save to save your changes.
FAQs about Shopify Password Page
1. What does the notification “Your page is password protected…” mean?
This message appears when your Shopify store is password-protected. It means only visitors who have the password can access your online store.
If your store is in development mode, the password page is always required, and visitors must enter the password to view the store, and you can’t turn off password protection or add a message to visitors.
2. How can I add a password to my Shopify store?
- Go to Shopify Admin > Online Store > Preferences.
- In the Password protection section, check Restrict access to visitors with the password.
- Enter your password and (optionally) add a message for visitors.
- Click Save.
3. How can I remove the password from my Shopify store?
- From your Shopify Admin, go to Online Store > Preferences.
- In the Password protection section, uncheck Restrict access to visitors with the password.
- Click Save.
Please note that if your store is in development mode, you can not remove the password.


Thank you for your comments