The Topbar
Page information
On the upper left corner sit the type and name of the page currently opened in Editor.

The Library
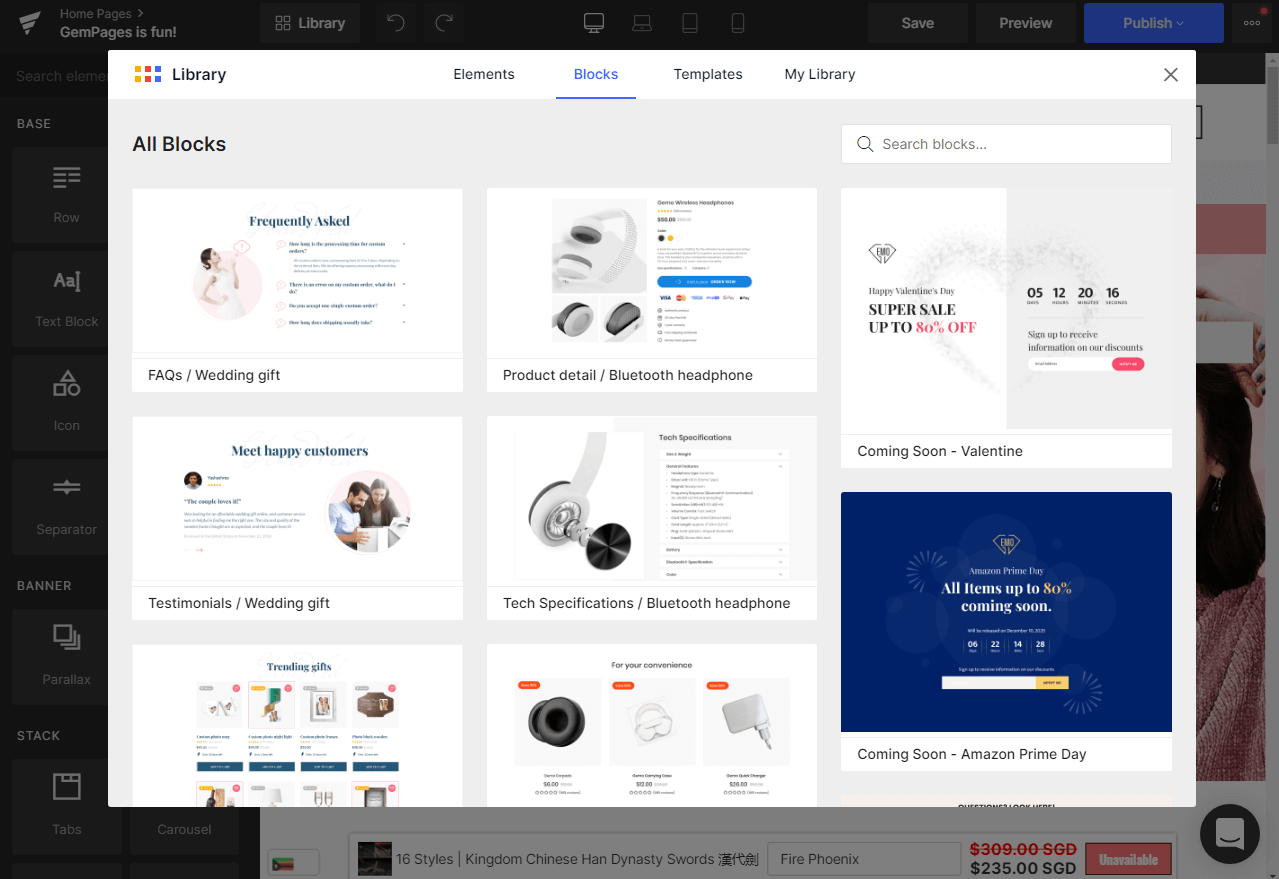
You can find the Library next to the page information. Click the “Library” button to discover the 4 tabs below:
Elements
As the name suggests, the Elements tab contains all GemPages elements from original to third-party integrations.
You can browse through all elements, discover different categories, or search for a specific element using our filter and search bar located in the upper right corner.

Blocks and Templates
These two tabs offer beautiful pre-built resources that you can utilize to accelerate your design process.
A “block” is a section of a page that can contain multiple elements while a “template” means the full content of a page.

You can preview or insert a block or template onto your current page by hovering the mouse over the item until the action buttons appear.


My Library
The My Library tab is where all your own templates and blocks are stored for later use.

To learn how to save a block or a template and transfer between your GemPages-installed stores, visit this article.
Undo and Redo buttons
Undo is used to revert to your last adjustment
Redo is used to revert to your last Undo.

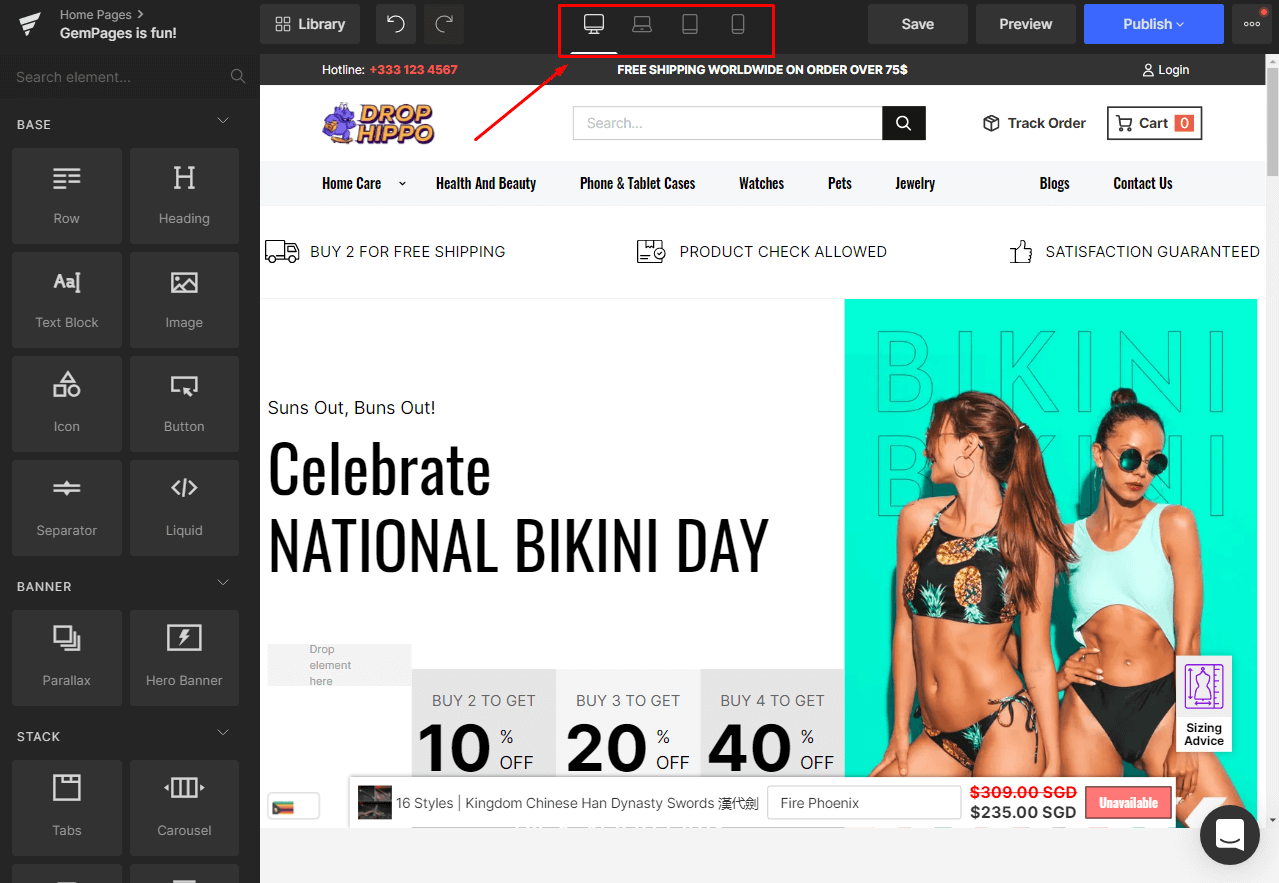
Responsive Web Design
You can quickly switch between and check your site’s appearance on all 4 common screen sizes: Desktop, Laptop, Tablet, and Mobile.
GemPages is built with Responsive design in mind and the Editor will automatically adjust elements’ size and settings to match the respective screen sizes.

Page Actions
Save: Clicking Save regularly during your editing session is a good practice to ensure you don’t lose your progress.
Preview: For you to quickly check how the pages look before publishing.
Publish: The “Publish” button syncs your edits with your Shopify Store and makes all the changes go live. Click on the “Publish” button and you see a few options:
For Product Pages, Collection Pages, and Homepages:
- Template Name field to edit the page name right inside the Editor.
- Lazy Loading (for Business and Advanced plans only) switch to turn on the Lazy Loading feature.
- “Publish” button as the final action when you’re done with all the above settings.

For Landing Pages and Blog Posts:
- Template Name: Edit the name of your template
- URL and Handle: Edit the page’s URL handle when published
- Meta Description: Edit the meta description
- Lazy Loading (only for Business and Advanced plans): Turn on/off the Lazy Loading feature.
- “Publish“: Publish your edits.

More actions: Clicking on the ellipses button shows you more settings you can choose:

- View Live Page: See your live page with the assigned template. Check out this link to learn how to assign products to different templates.
- View with Current Template: Use this feature when you’re working on a new template for your products or collections. After clicking “Publish” to make the template go live, you can see how the products and/or collections of the current page look with this new template, without having to assign products/collections to the template first.
- Save Template to Library: Visit this article to learn how to save your template and transfer it to another store
- Schedule Publish (for Advanced plan only): Set a date and time for your page to be published.
- Page Settings: All of your page settings are here! Check out this article to learn about the Page Settings panel.
- Shortcuts: Achieve your Keyboard Shortcut list here. You can also enable/disable the Keyboard Shortcut in this section.
The Sidebar
The left sidebar is where you can access and fine-tune all your elements.
Element list
Upon entering the Editor, you can view all installed elements that are listed in different categories.
Click the arrow to collapse or expand the categories or search for an element using the Search bar on top. Elements that you install from the Library will also be displayed here.

To use an element, simply drag and drop it from the list to the page visual editor.
Element Configurations
Settings Tab: The functional parameters of the selected element are displayed in this tab.

Design tab: The styling parameters shared by all elements are displayed in this tab. Check out this article to learn more about all the parameters of the Design tab.

Live Chat Support
The Editor also provides you direct access to your GemPages Support Team at the bottom-right corner. Click on the Chat icon to get in touch with a GemPages agent and get your problem fixed right away!


While requiring a small learning curve at first, you will get used to the GemPages’ Editor in no time and by then, designing your store by dragging and dropping elements will be second nature!


Thank you for your comments