


If you’re using GemPages v7, please refer to this article.
About Klaviyo: Email Marketing & SMS
Klaviyo is a platform designed for e-commerce businesses to manage their email marketing & SMS campaigns.
It’s known for its user-friendly interface and powerful automation features that help companies create targeted email and SMS campaigns based on customer behavior and preferences.
How to Install Klaviyo?
Before we start, make sure you have the app installed on your Shopify Store following the below instructions.
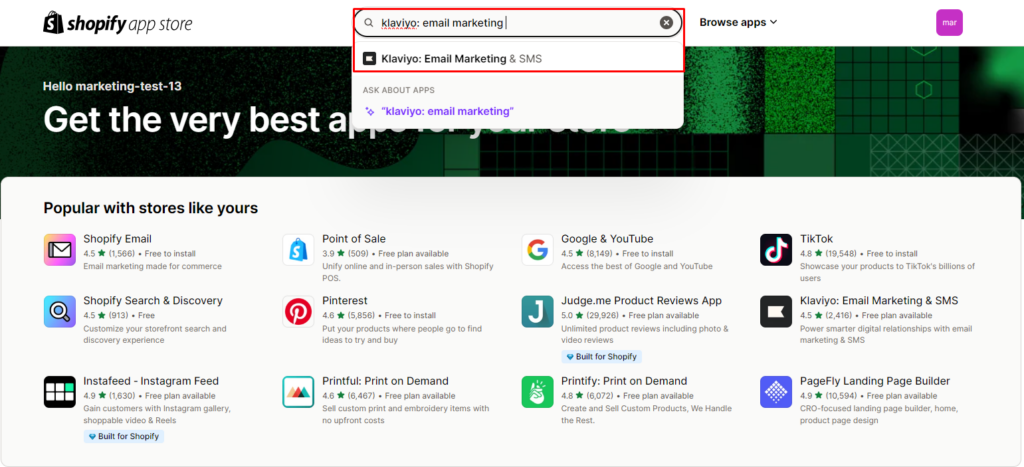
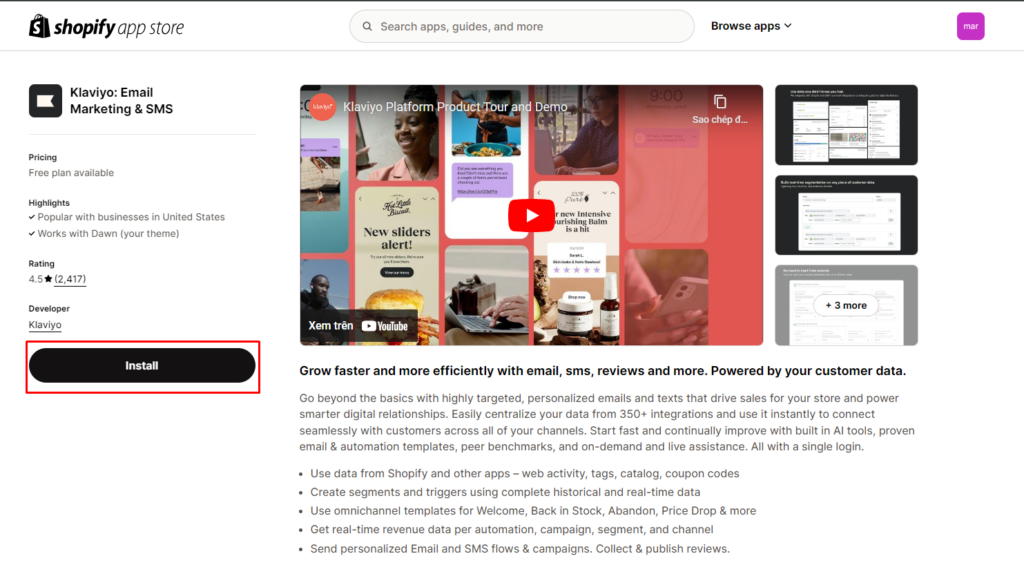
Step 1: Install the Klaviyo: Email Marketing & SMS app on the Shopify App Store.
Step 2: In Shopify Admin > Apps, click on the app and finish the setup process.
How to Add a Klaviyo Element in GemPages v6?
Step 1: In the GemPages Dashboard, go to your page and enter the Editor.
Step 2: Go into Library > Elements. Search for “Klaviyo” in the search bar. Toggle on the corresponding switch then.
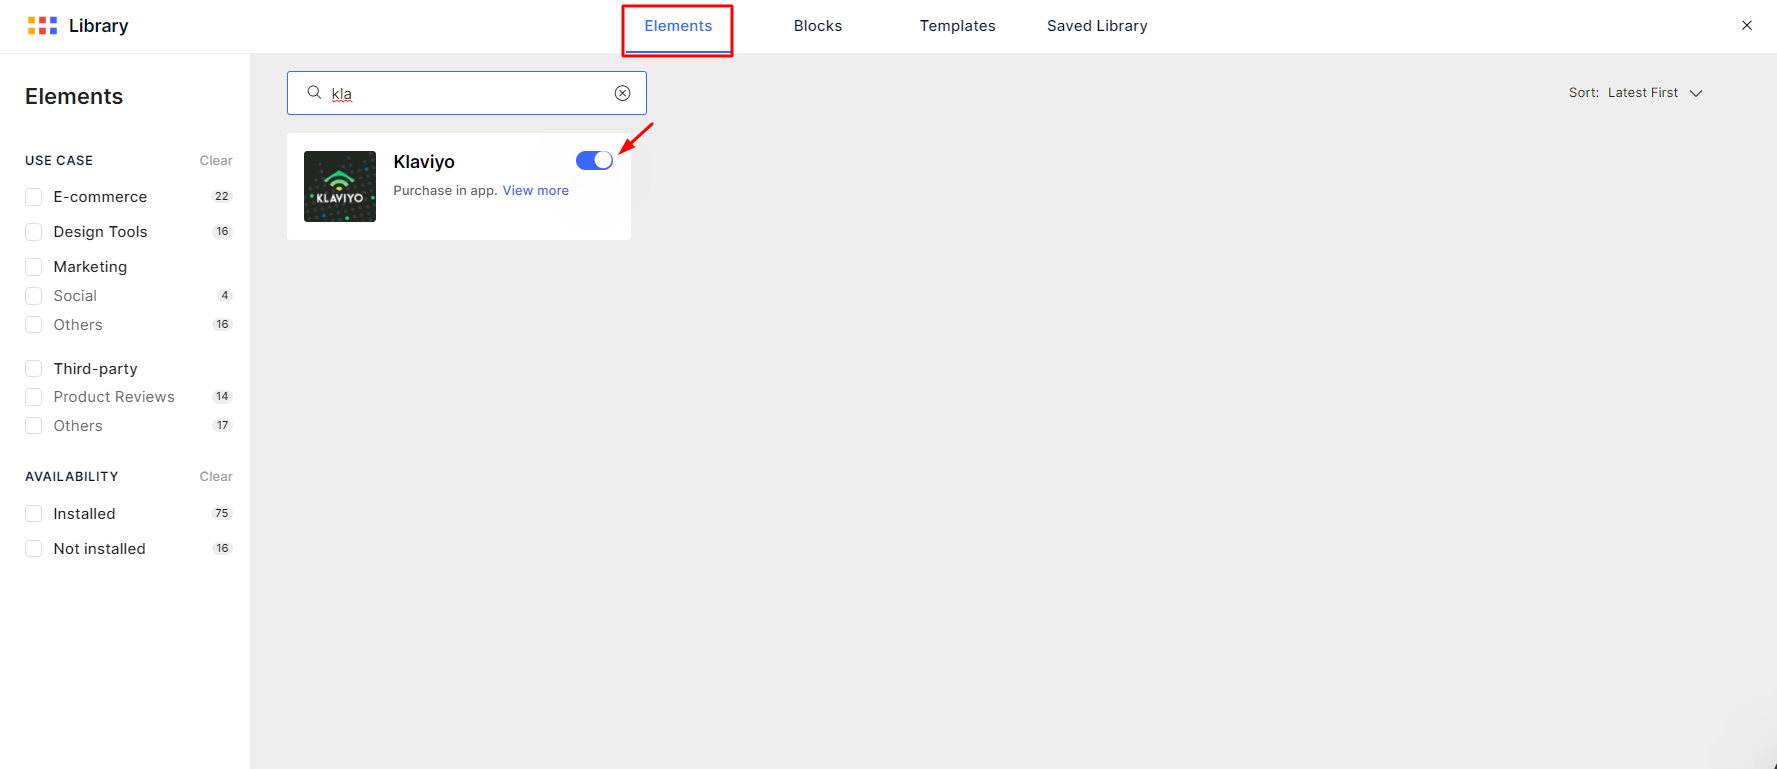
Once finished, the element will be presented to you in the left sidebar under the Third-party section.
Display the Klaviyo Form on Your Page
Embed form type
Step 1: Create a signup form following this guidance and set your form type to Embed. Skip this step if you have already created the form you need.

Note: Please note that by default, all Klaviyo lists are set to double opt-in, meaning that subscribers of the form will have to confirm their registration one more time via either email, SMS, or both. See this article from Klaviyo to learn more.
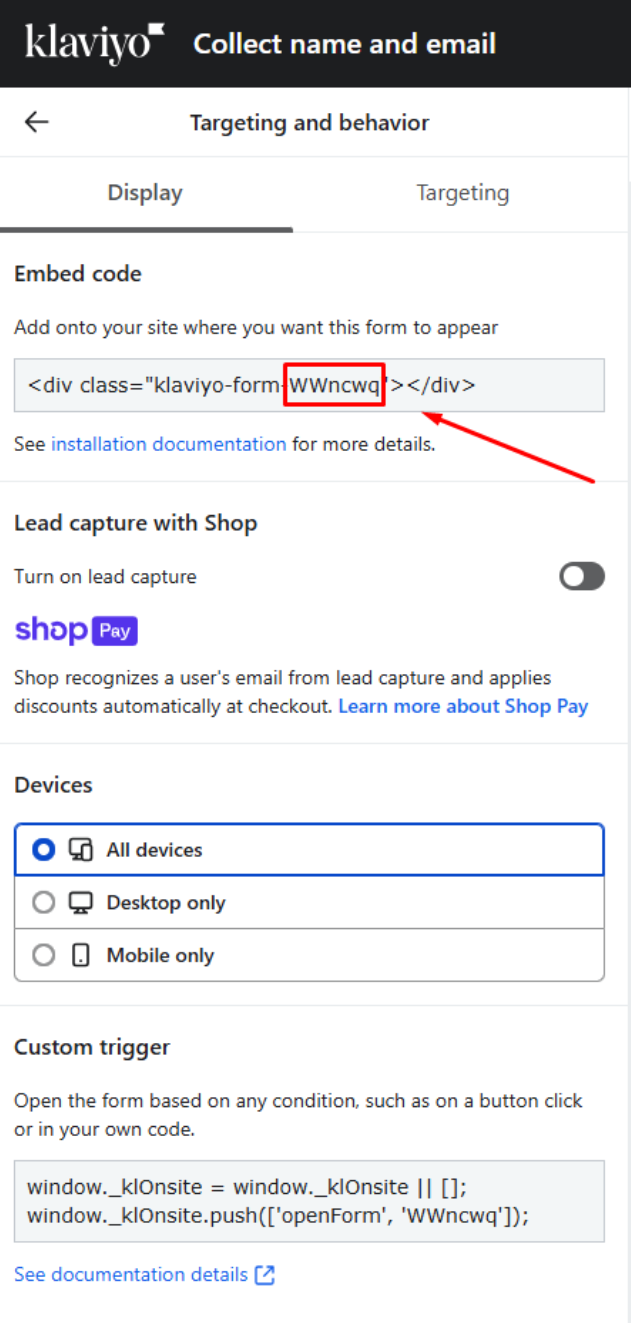
Step 2: Copy the Klaviyo form ID. There are two ways to find your form code ID on the editor page:
- Under the Targeting & Behaviour tab on the left sidebar.

- In the confirmation popup when you Publish your form for the first time.

Step 3: Go to the GemPages Dashboard and select a page to enter the Editor.
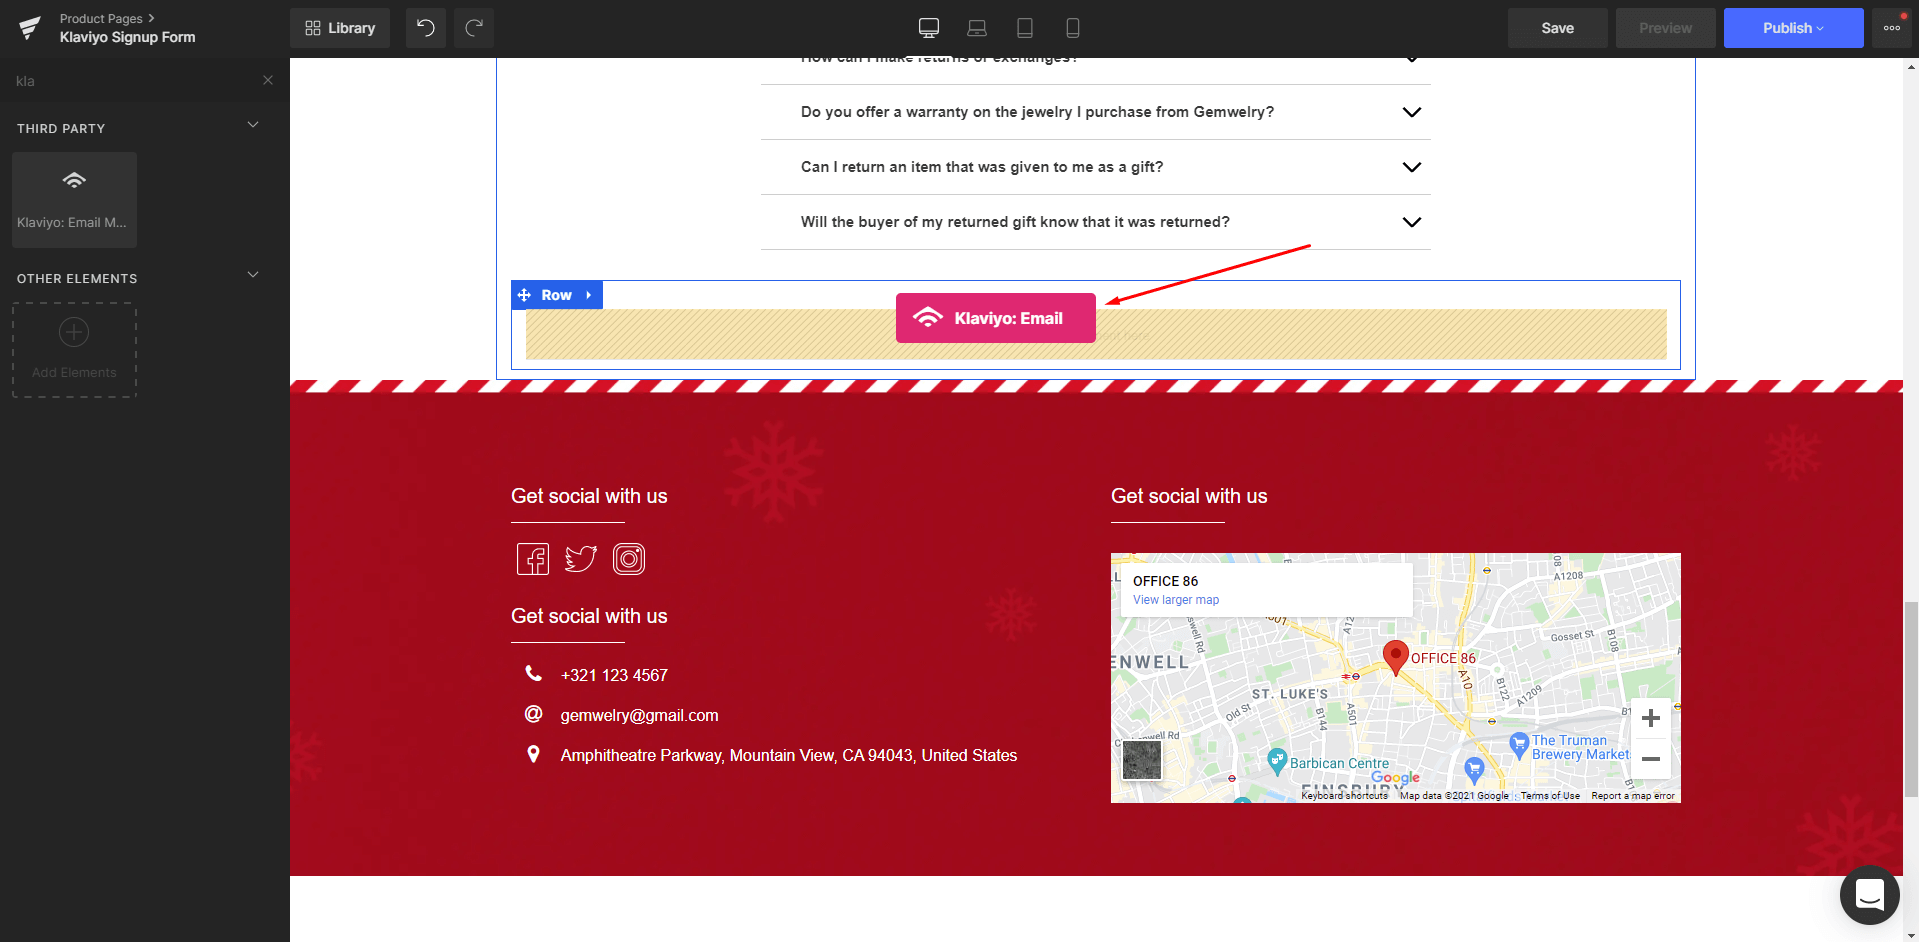
Step 4: In the Editor, drag and drop a Klaviyo: Email Marketing & SMS element onto your page.
Step 5: Under the Settings tab, locate the Form Code field and paste the form code you’ve copied earlier into the field.

You can use the Alignment options on the left sidebar to position the form better. Don’t forget to further customize your form’s appearance using the Design tab.
Step 6: Hit Save and Publish to bring your form to the live page and check for the result!
Popup and Flyout form type
Step 1: Create a signup form in Klaviyo and set your form type to Popup or Flyout. Skip this step if you have already created the Klaviyo form you need.
Step 2: Select the Targeting & Behavior tab on the left sidebar. Under the Display and Timing section:
- If you select the options “Show immediately on page load” or “Loading delay”, the sign-up forms will be shown on your pages after being published without any problem.
- If you select “Only show on custom trigger”, you will need to add the code snippet to your page using our Liquid element. Please follow the instructions from Klaviyo here or contact our support team for further assistance.

You can also check out our video tutorial on how to add a Klaviyo Form to your page step by step.
Troubleshooting: Why is my Klaviyo form not showing on the live page?
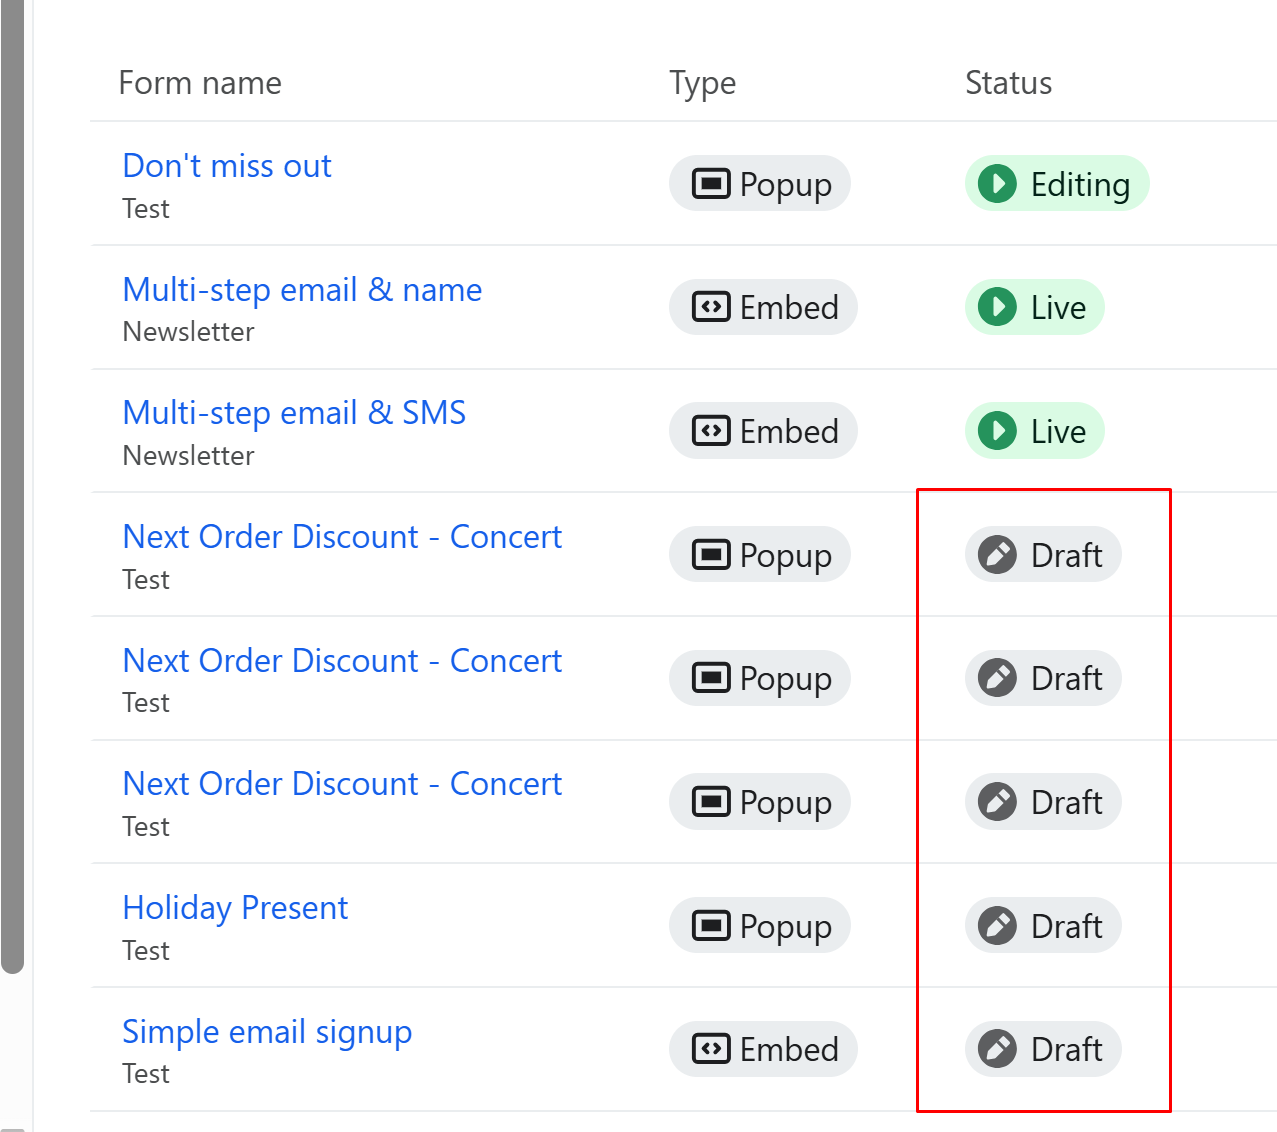
- Form not published: Make sure your Klaviyo form has been published in your Klaviyo dashboard.
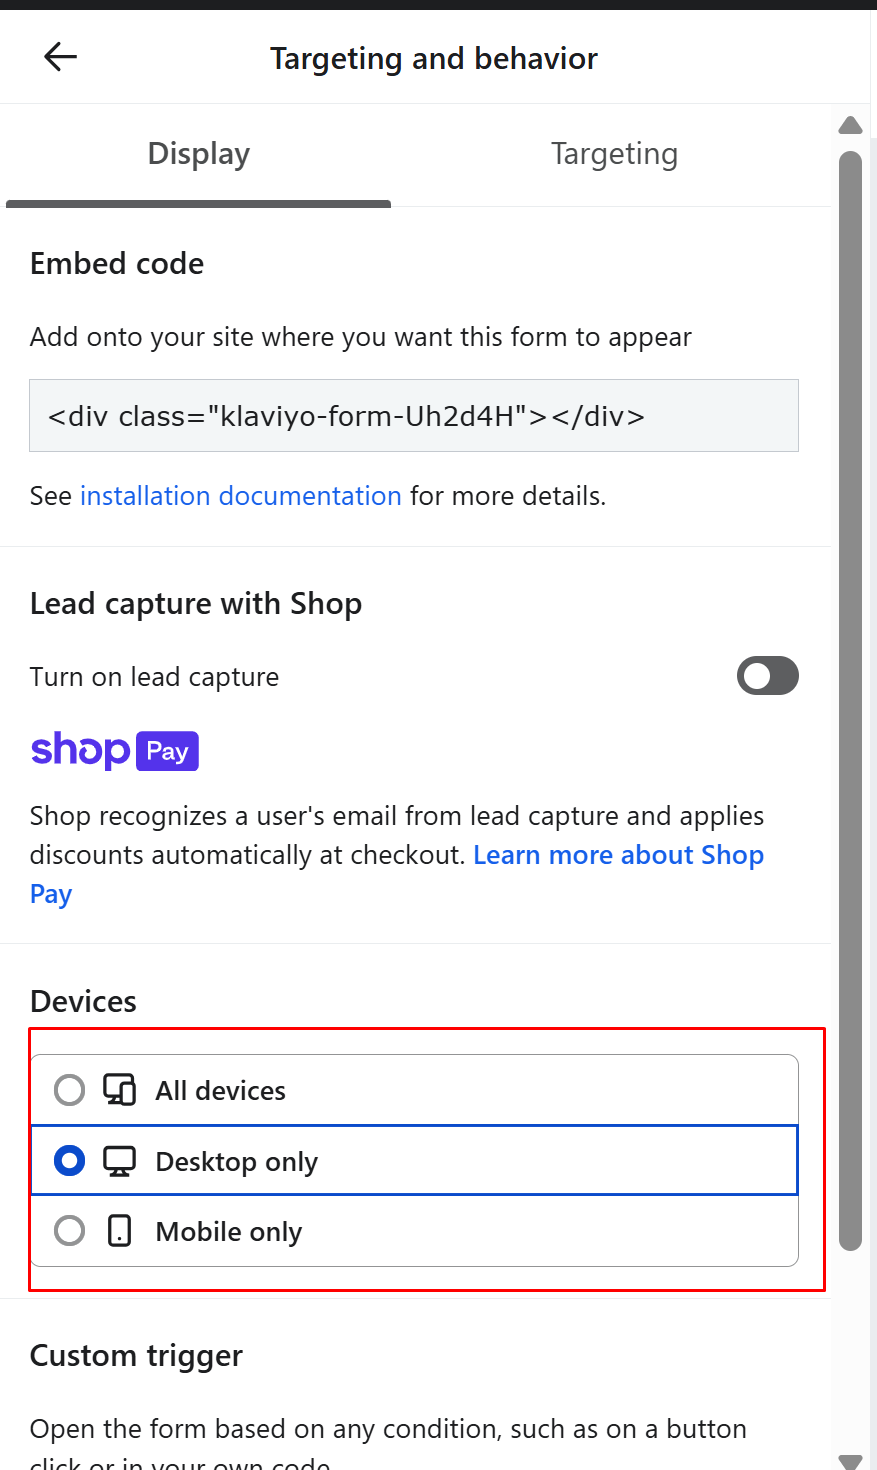
- Display settings: Ensure the form is set to show on all devices (desktop, tablet, and mobile).
- App not enabled: Verify that the Klaviyo app is enabled in your Shopify Theme Editor.
- Missing integration code: If you’re displaying the form on a non-header/footer page, the Klaviyo integration code may be missing from the
theme.gem-layout-none.liquidfile. Please contact our technical support team for assistance in this case. - Incorrect Form ID: Double-check that the form ID you pasted into the GemPages settings is correct. It should only include the 6-character Klaviyo form ID, not the entire embed code.


Thank you for your comments