What is a blog post?
For an online store, a blog post is a standalone publication or journal that includes short posts or articles about the store’s products, services, or any related subjects. Blog posts are organized by their publish date and you’ll often find them having a separate comment section for reader-author interactions.
It’s no secret that blog posts are a centerpiece of an e-Commerce marketing strategy: They help you establish brand identity, connect with your audience, boost SEO (Search Engine Optimization) so your store ranks higher in search results and generates more organic traffic, ultimately wins you more sales.
Shopify already provides the ability to create and publish blog posts. With GemPages, you can now perfect the design and take it to the next level.

Create a blog post
Step 1: Go to Dashboard > Blog Posts, you will see all your blog posts. The ones that are not originally created in GemPages will be labeled “From Shopify”.
Step 2: Click the “Create New Page” button to start a new blog post.

Step 3: You can choose to either create a blank blog post with the “Create New Page” button or select a prebuilt template from the list. The library is packed with beautiful pre-built templates to match all of your niches.

Step 4: A new window will appear prompting you to name your blog post and choose to show/hide Header & Footer.
Once you are done, please click the blue “Create” button to create your new blog post.

Design your blog post
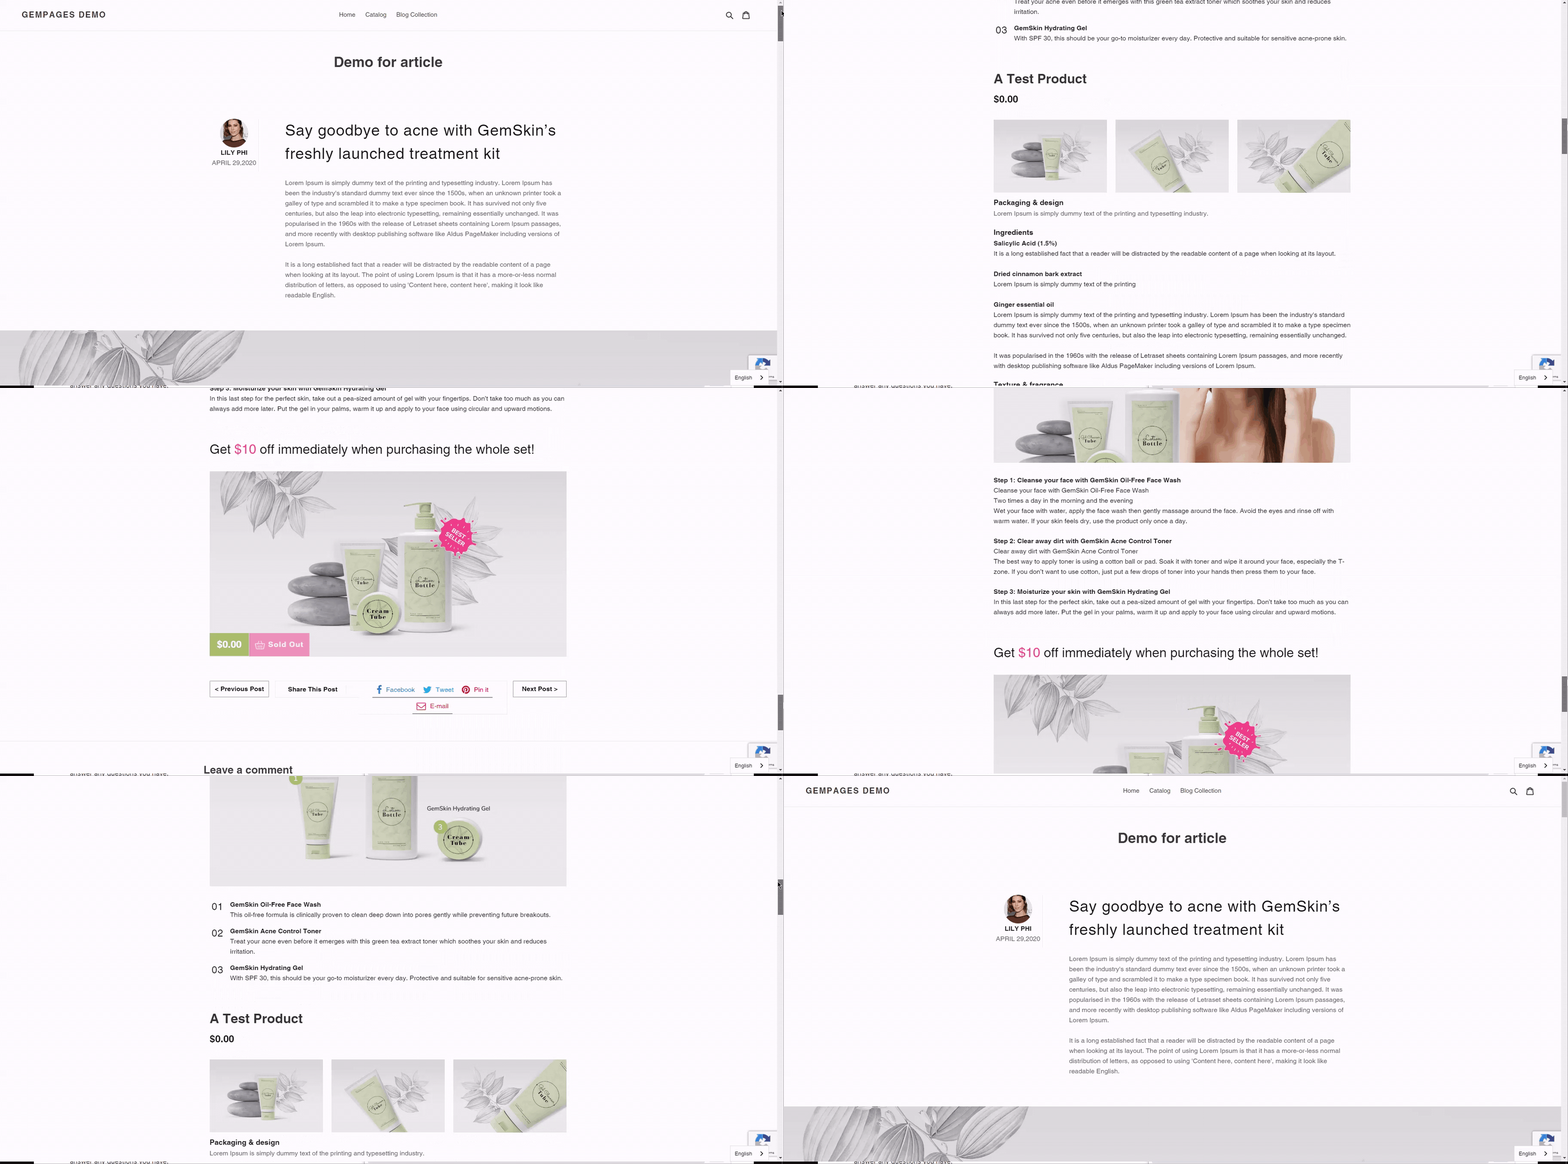
Designing a blog post is just as simple as any other page with GemPages.
- Drag & drop elements to create content blocks.
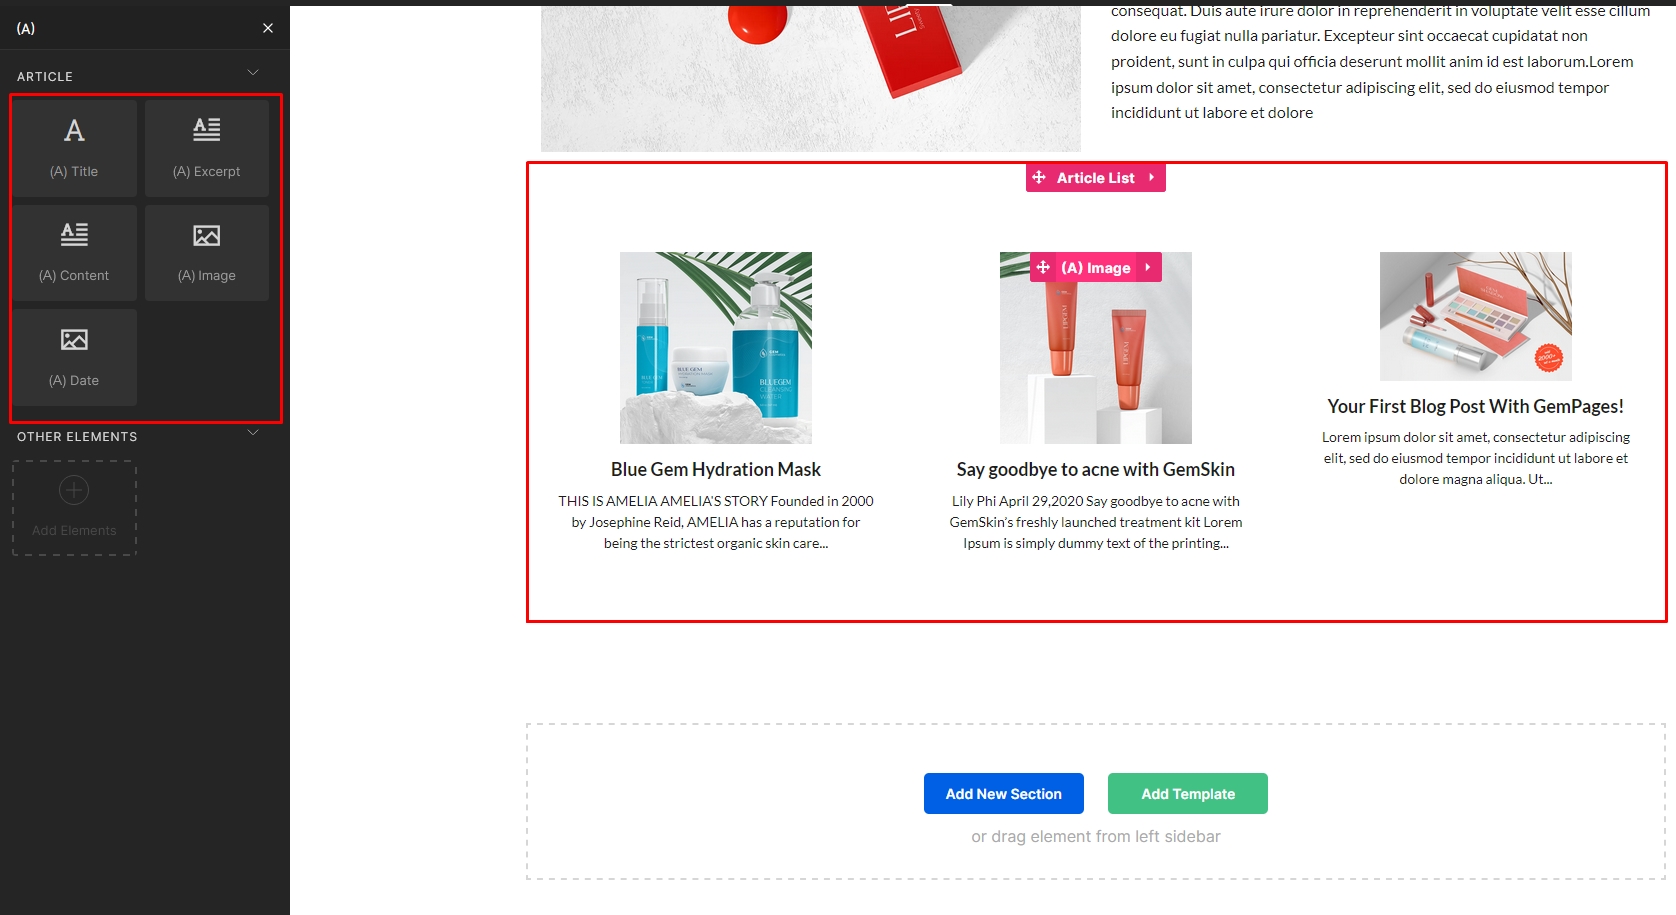
- Finally, to display a list of other blog posts at the bottom, use the Article List module. The Article List module comes with a few child elements:
- (A) Title: Displays the title that the article comes in
- (A) Excerpt: Add an excerpt of content as a preview to your blog post.
- (A) Content: Add content as a description preview for your blog post.
- (A) Image: Adds an image as an article banner. Fully customizable.
- (A) Date: Inserts the date the article was published.

The sample blog post below uses only 4 elements: Text Block, Article List, Image, and Row.

Publish your blog post
After you have finished designing your blog post, click “Save” to save the blog post, or click “Publish” if you would like to bring the page to your live store right away.

Add thumbnail image and tags
Thumbnail Image
Every blog post has to have a thumbnail image (also known as a featured image). This image represents the blog posts in a blog list, and when shared on any platform.
Follow these steps to update your blog posts thumbnail image:
Method #1: From your Shopify Admin
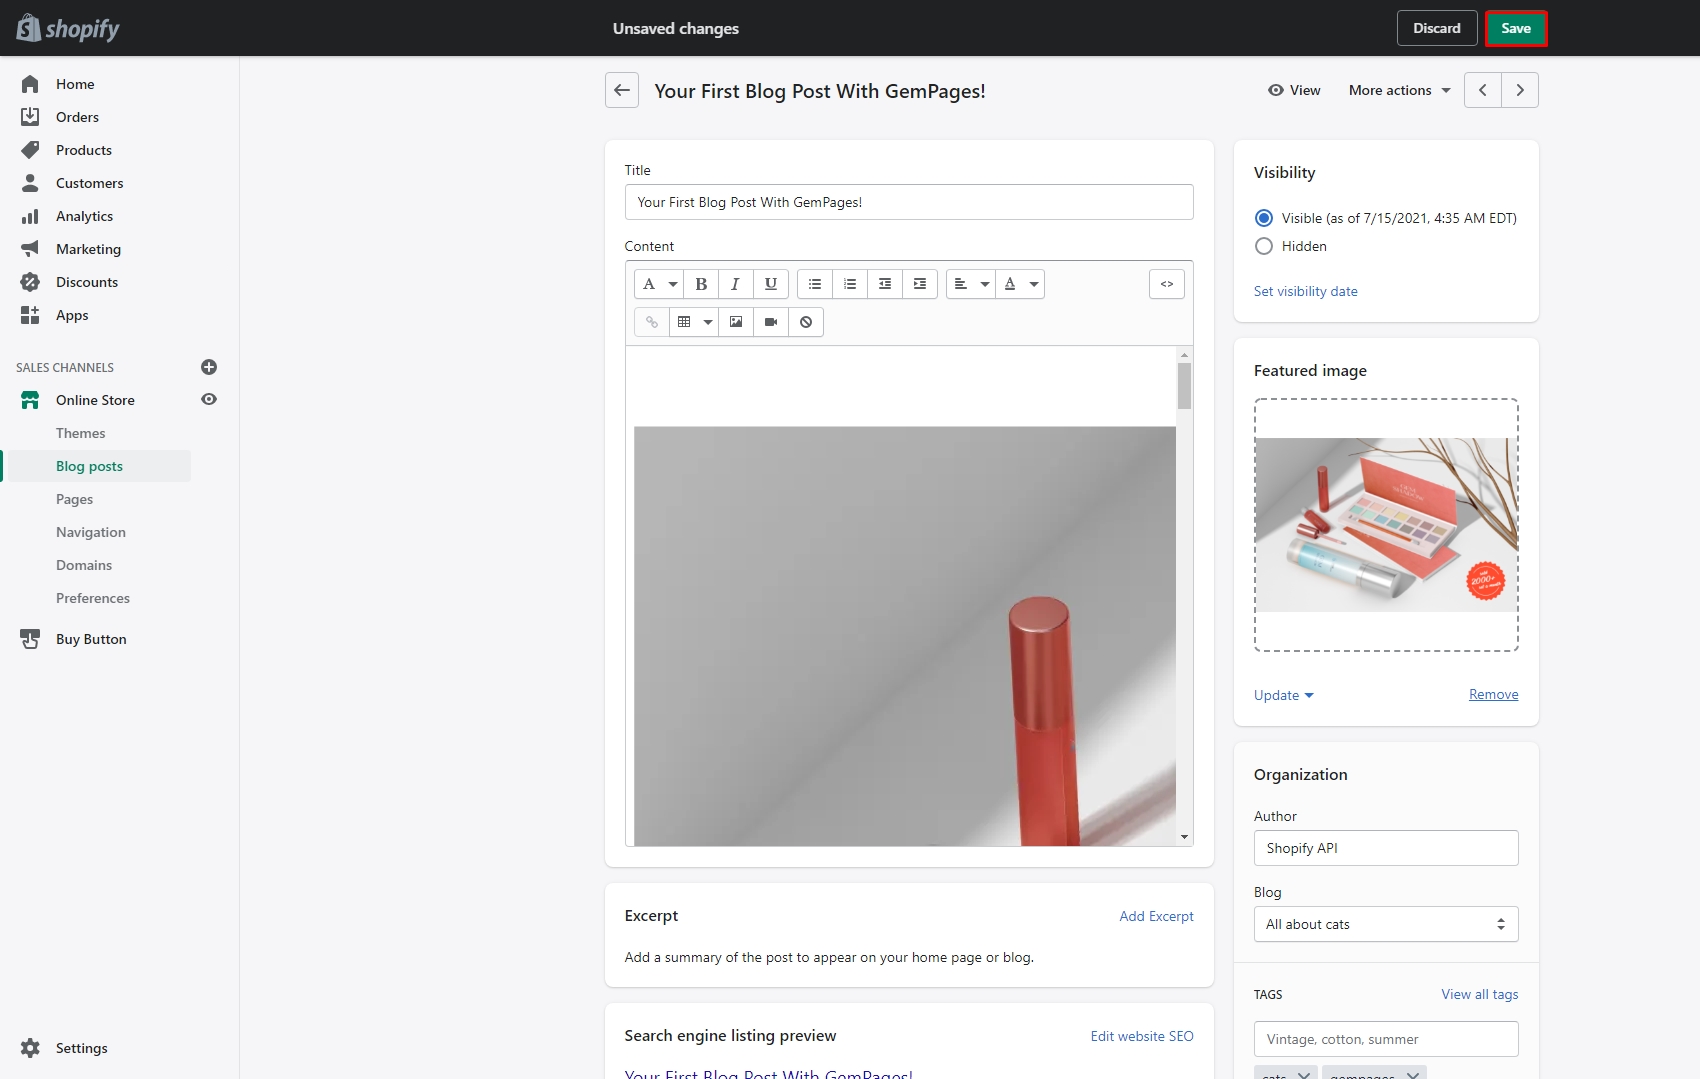
Step 1: Go to Shopify Admin > Online Store > Blog posts and select your blog post.

Step 2: On the editor page, click on the Featured image section on the right-side toolbar and upload your image.

Step 3: Hit “Save”.

Method#2: From GemPages page settings
Step 1: From the GemPages’ Dashboard, select your blog post to access the Editor.
Step 2: Click on the 3-dot button at the top right of your Editor page and select “Page Settings”.

Step 3: Under the General tab, scroll down until you see the Social sharing> Featured image section. Click on the “Upload Image” button and select the image from your device storage.

Tags
On the same editor page, you can see the Tags section underneath the Featured image section, on the right-side toolbar.
Add tags to your blog posts to organize them by category or subject. Customers can click tags to find other blog posts in the same category. When a customer searches for a tag in your online store, matching blog posts will appear in the search results. Enter tags, separated by commas, in the Tags field. Tags can have up to 255 characters.
Tags help you organize your blog posts by category or subject. Customers can click on a tag to find all other blog posts in the same category. This also helps when customers search for a tag in your store, matching blog posts shall appear in the search results
Fill in your tags in the Tags section and separate them by commas.

Link your Blog post to your store
To link your blog post with a Shopify Menu item, follow the instructions in this article.
There you have it! Albeit not being one of the direct sales channels, there’s no denying that blog posts play a big role in driving up your conversion rate, and with GemPages, you have all the tools you need at your fingertip to design a beautiful blog post that will surely capture your audience’s attention at the first sight.
Blog posts Comment section
Enable or Disable blog posts comment section
In Shopify, blog posts belong to a blog, you can enable or disable the comment section for a blog and the option will apply to all of its blog posts. The steps are as follow:
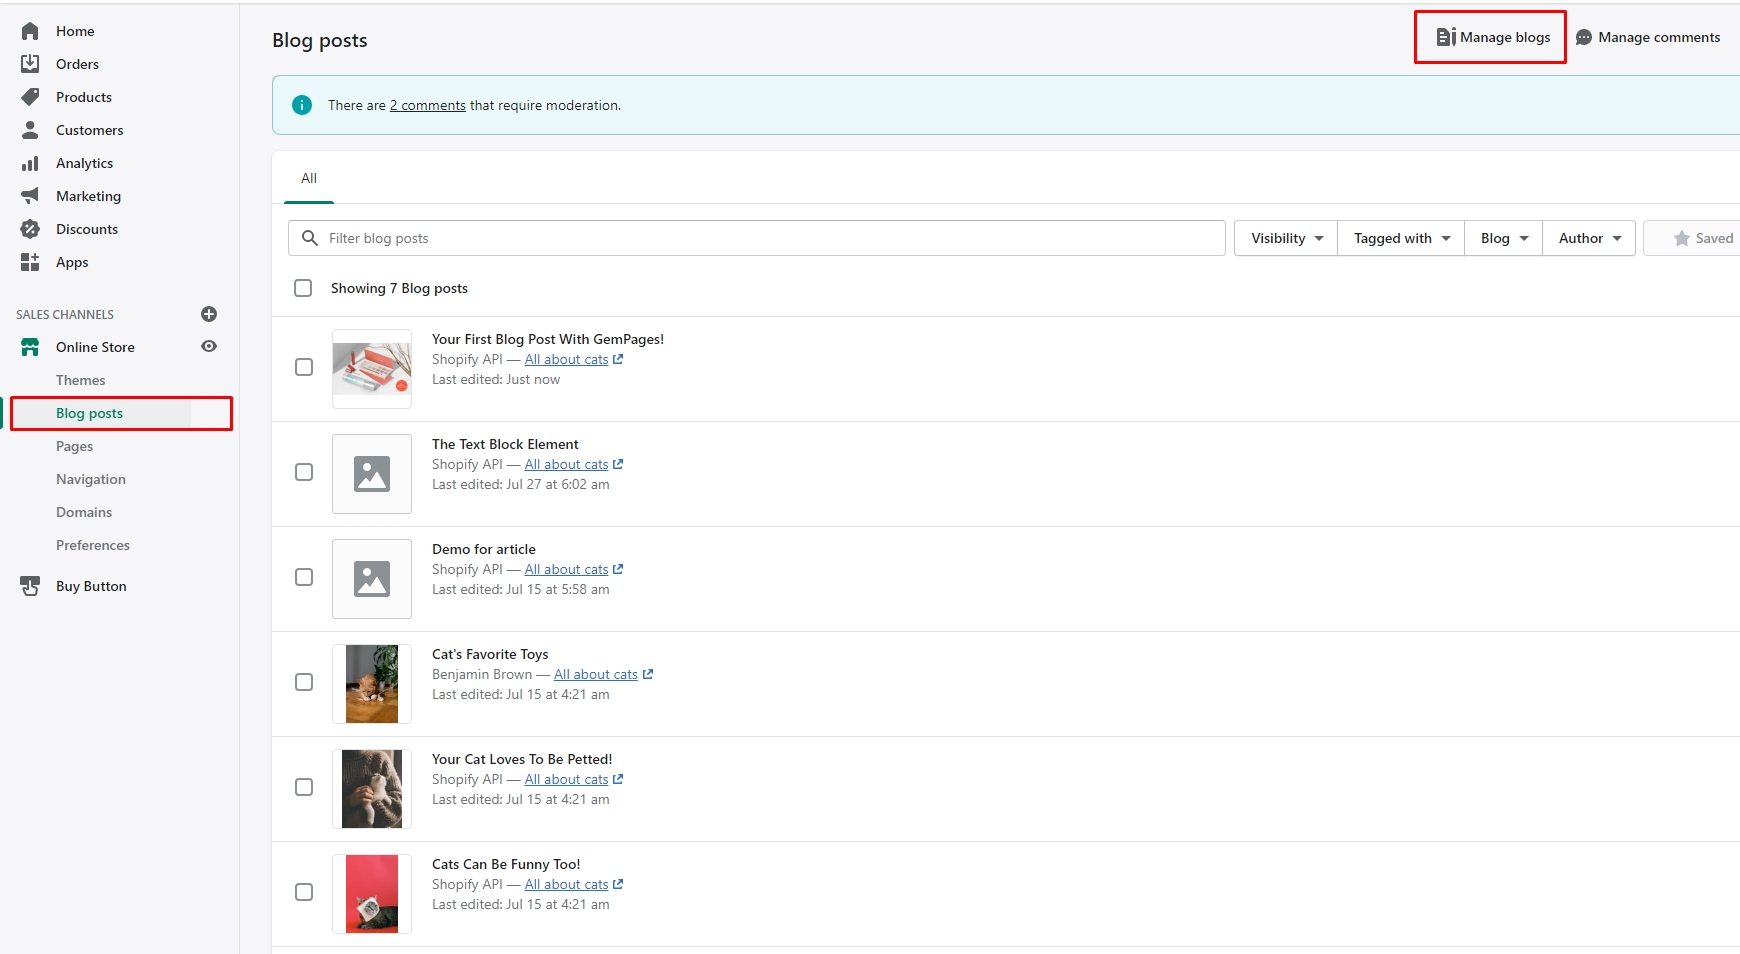
Step 1: Go to Shopify Admin > Blog posts and select “Manage Blog” on the right-hand side.

Step 2: Select a blog to start editing it.

Step 3: In the Comments section on the right side, select one out of 3 available options:
- Comments are disabled: Disable the comment section
- Comments are allowed, pending moderation: The comment section is enabled, but all comments will have to be approved by you first.
- Comments are allowed and are automatically published: The comment section is enabled and all comments will be published as soon as they are submitted by viewers.

Hit “Save” before you exit.
Manage comments
To manage your blog posts’ comments, go to Shopify Admin > Blog posts, select a blog.

From here, you can see all of your comments, Approve, Mark/Unmark as spam, or Delete them.


Thank you for your comments