Recommended Formats for Image element
GemPages supports .jpeg, .jpg, .png, .svg, .avif, and .gif formats, which are compatible with all browsers. GemPages serves images in WebP format as well, but only within supported browsers. For more information, kindly check out this article.
JPEG format can minimize image size without losing too much quality. Therefore, it is recommended for product images, banners, or blog posts. PNG format supports transparency, making it ideal for logos, icons, borders, and trims. You can use GIF format for images that contain animations.
How can I upload an image that is greater than 3 MB in size?
In order to maintain the snappy rendering speed of GemPages Editor, uploaded images are limited to a 3 MB file size. However, you can still add heavy images by embedding them onto your page.
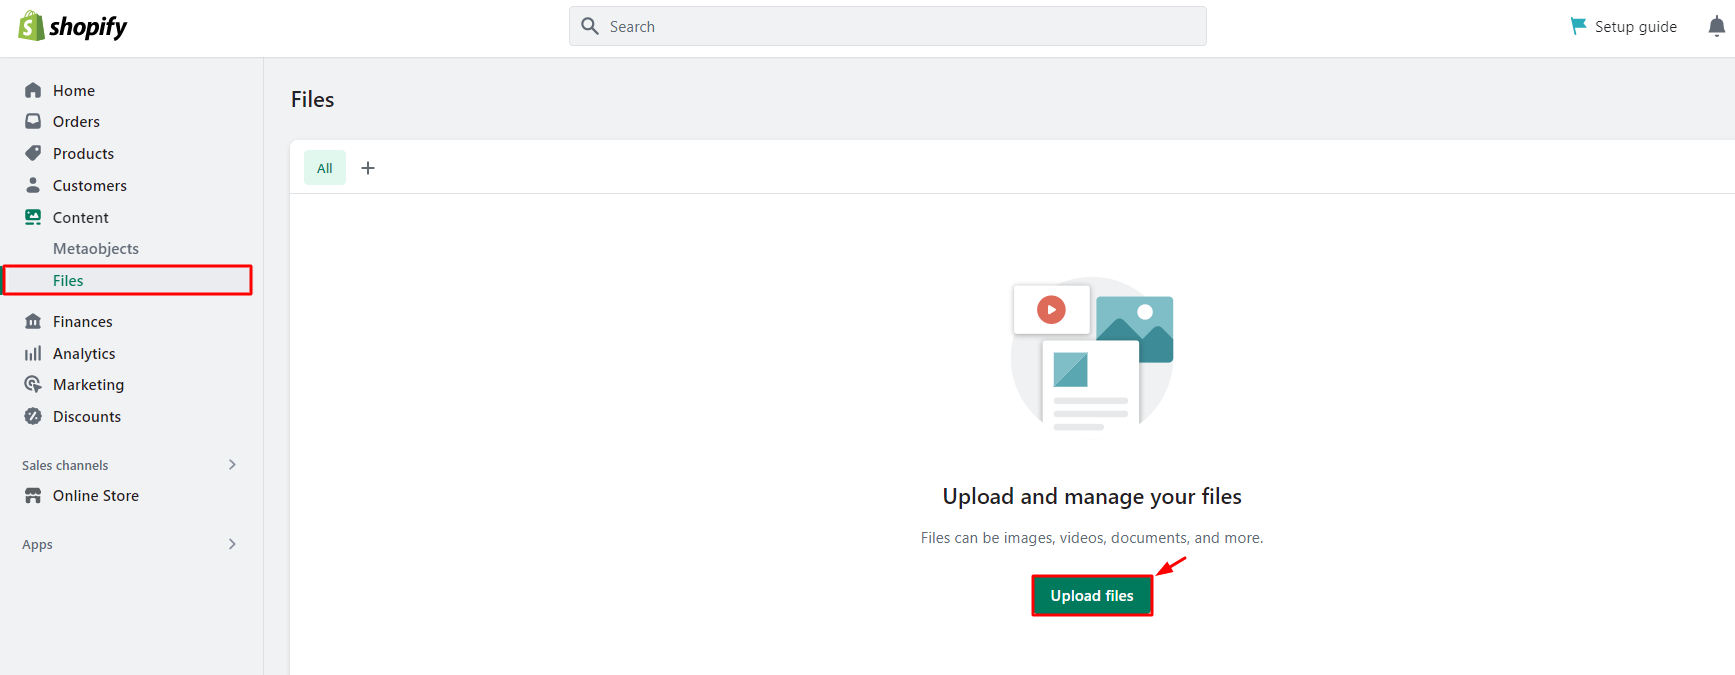
Step 1: Go to Shopify Admin > Content > Files
Step 2: Click on the “Upload Files” button at the top right corner and upload your image. If you have not uploaded any files before, the button will also appear in the middle of the screen.
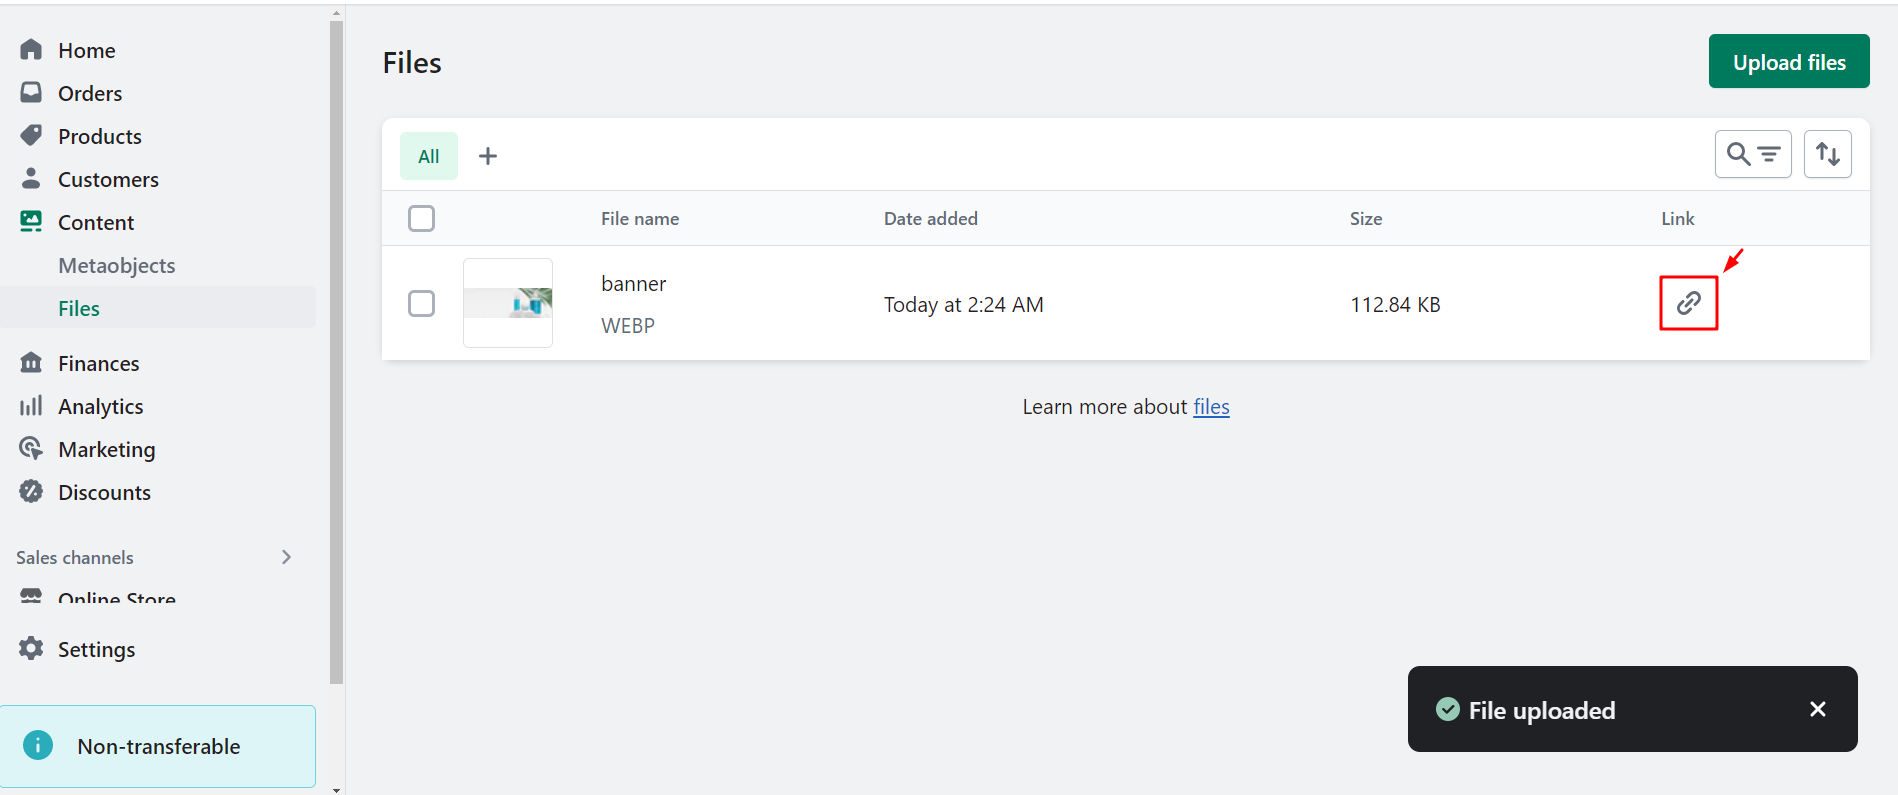
 Step 3: Next, locate the Link section and click on the chain icon to copy the source link of your image.
 Step 4: Go to the GemPages Dashboard and select the page that needs editing.
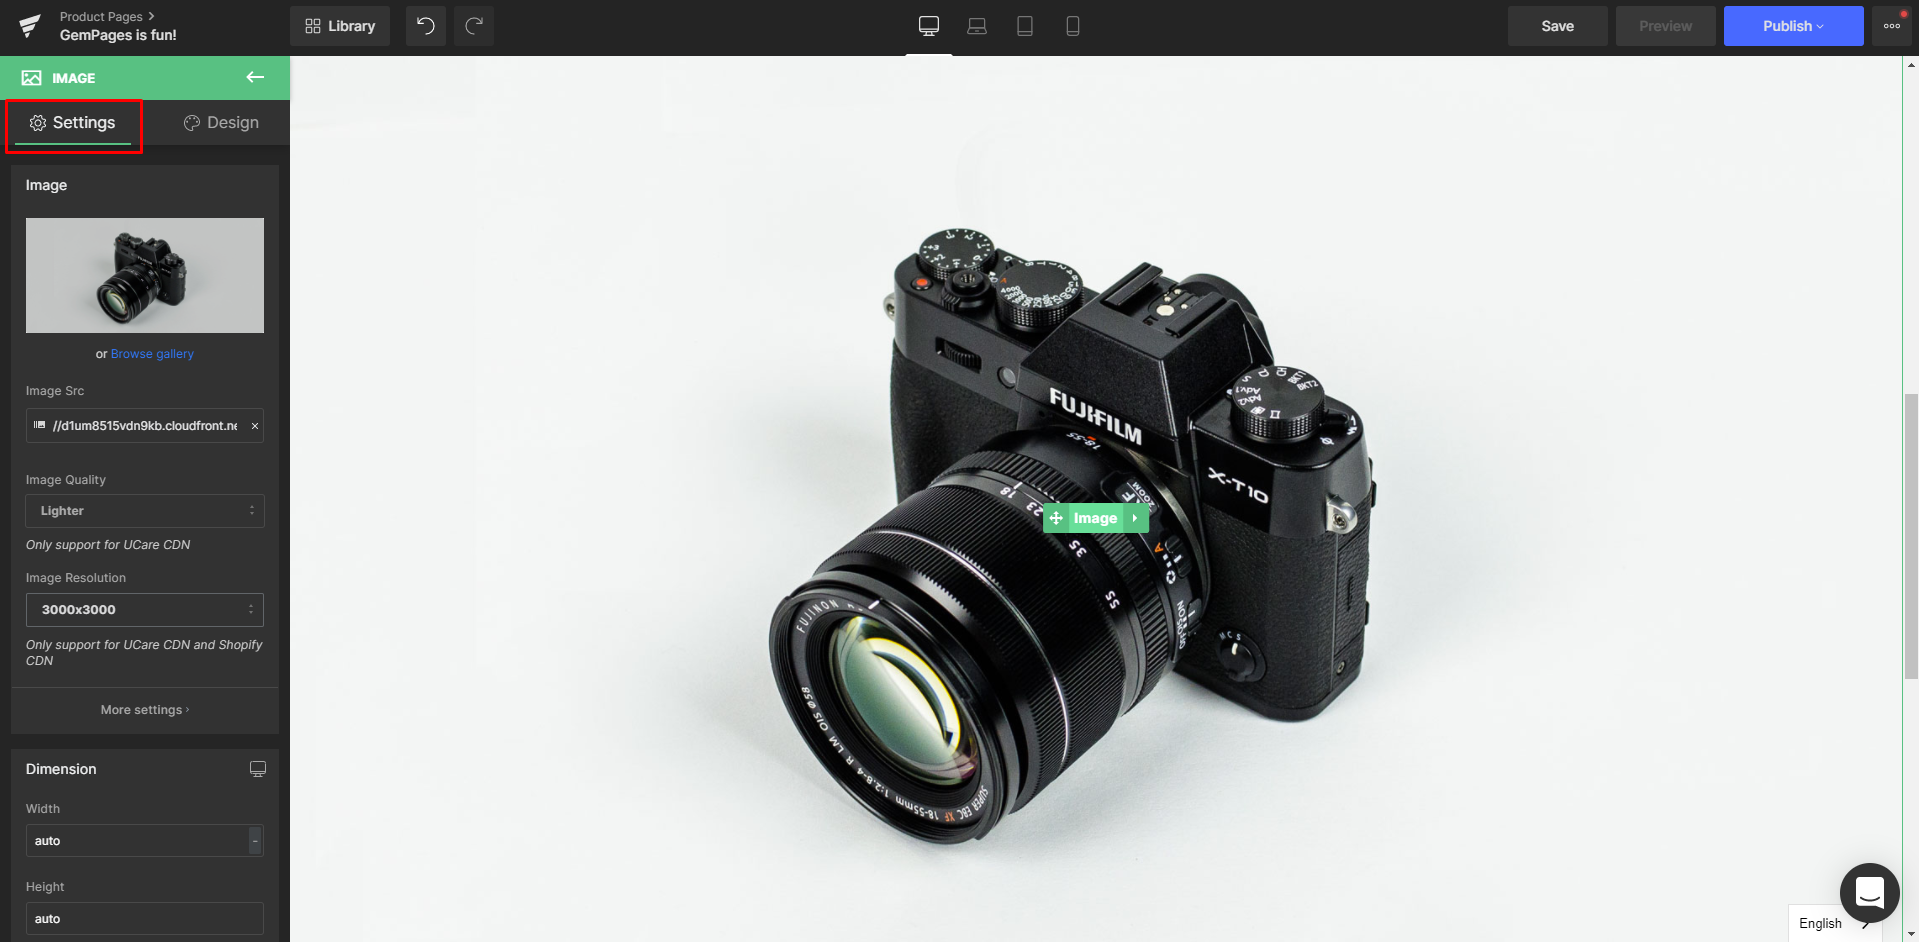
Step 5: In the Editor, drag the Image element onto your page and enter its Settings tab.

Step 6: Paste the copied link into the Image Src field and wait for the Editor to load.

How can I resize images?
First of all, you can always resize your image using the Image element’s parameters under the Settings tab.

That said, you can also reduce the size of your large image by dropping it inside a Row element.
Step 1: Drag out and place a Row element right underneath or above the Image element.
Step 2: Drag the Image element and drop it inside the Row.

Result:
You can see in the picture below that the image has been shrunk to nicely fit inside the row.
For further adjustments, use the Row’s Dimensions (Width) section, which can be edited by pixels (px) or percentage (%).


Thank you for your comments