The (P) Swatches element provides another way to display your products’ variations, alongside the (P) Variants element. Before we start, make sure your products have different variants to show. Check out this Shopify article to learn how to add variants to your product.
Add (P) Swatches elements to your page
Step 1: In the GemPages Dashboard, enter the Editor by clicking “Edit” on one of your pages.
Step 2: If you don’t have a Product module, drag and drop one onto your page.
Step 3: Drag and drop a (P) Swatches element inside a Product module.

After that, the element’s configurations will be shown to you on the left sidebar, which will be explained in the next section.
Configure the Settings tab
Swatch Rules
The Swatch Rules section allows you to set the swatch background using an image or a color.
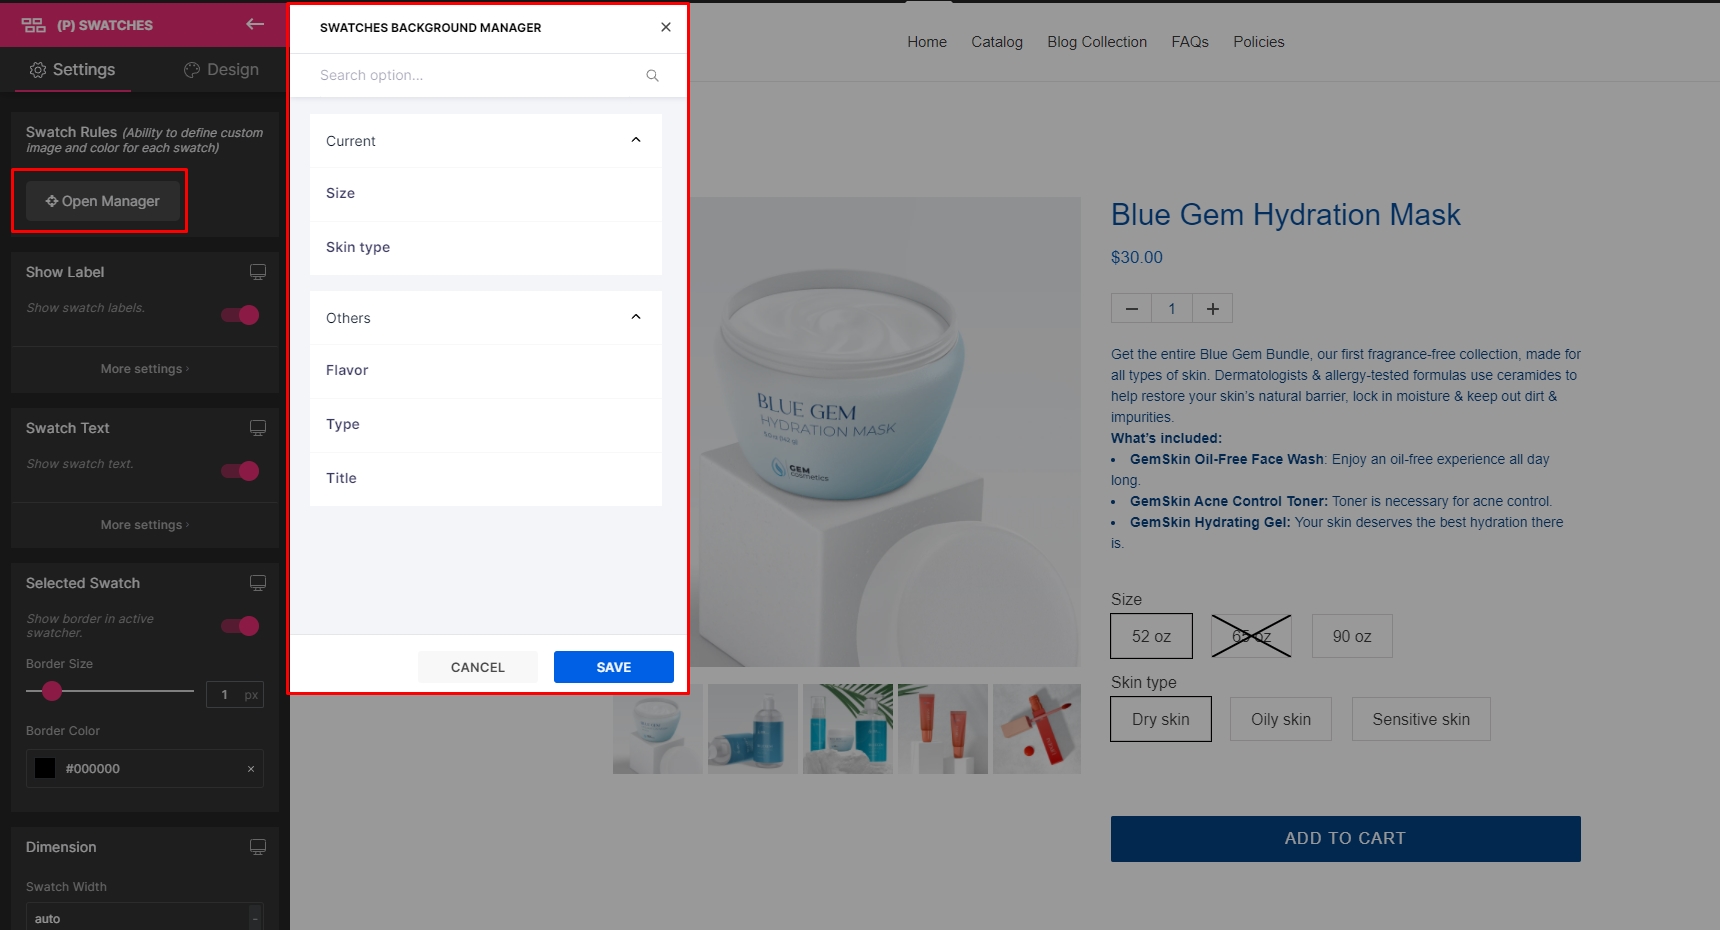
Click the “Open Manager” button to view the Swatches Background Manager panel.
The Current section shows your available variants for the current product selected in the Product module, while the Others section displays all variants available in your store.

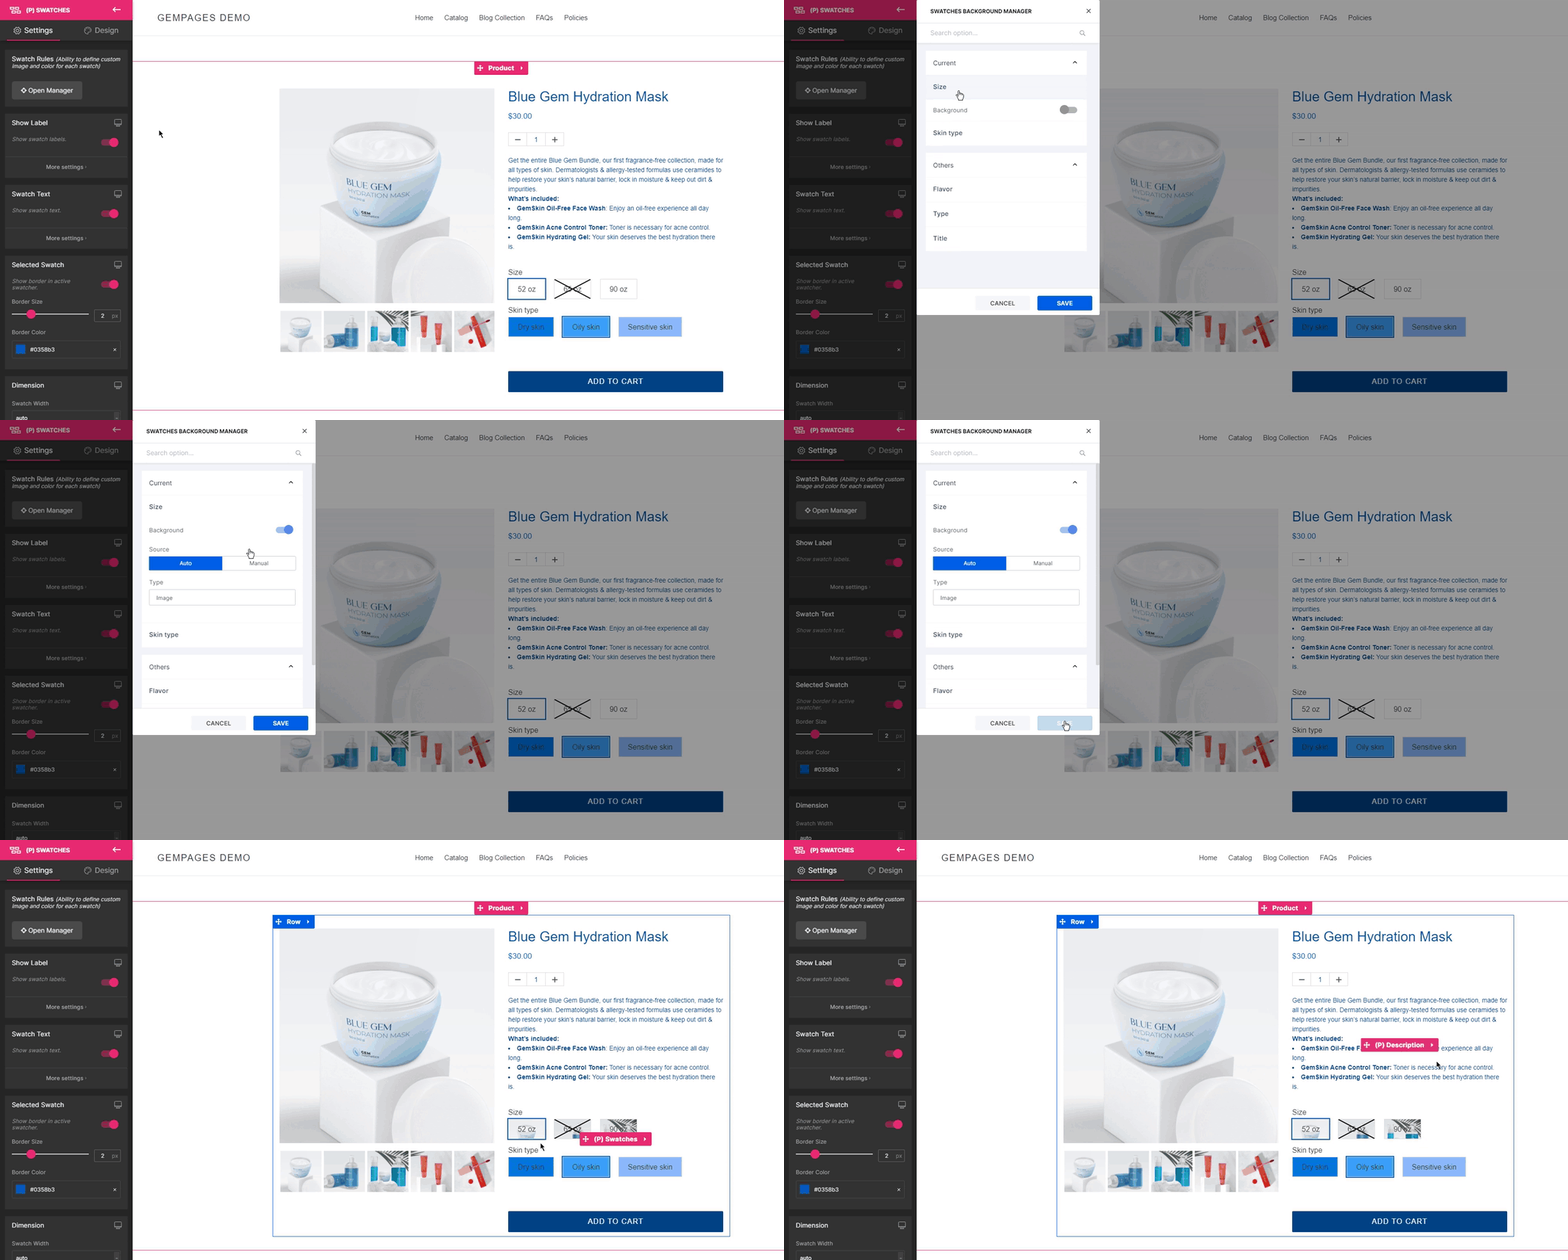
Click on a variant and toggle on background settings. From here, you can set its background manually. See the example below.

If you want to automatically have your variant’s thumbnail image as swatches background. Select the Auto tab.

Check out the video below for further instructions on how to customize the shape and color of your swatches.
Show Label
The Show label switch is used to show/hide swatches’ labels. Toggle the switch on to show swatch labels and toggling it off does the opposite.
When toggled on, you’ll see the “More settings” button available. Click to expand the Show Label panel, where you’ll get access to more granular controls over the Bottom margin, Font, Font size, Line height, and Color for labels.


Swatch Text
The Swatch Text switch allows you to show/hide texts inside the swatches.
When the switch is off, you will be able to choose specifically which swatch you would like to remove text from.

When toggled on, you will have a “More settings” button to access the Swatch Text panel. In here, you can adjust the Font, Font Weight, Font size, and Color.

Selected Swatch
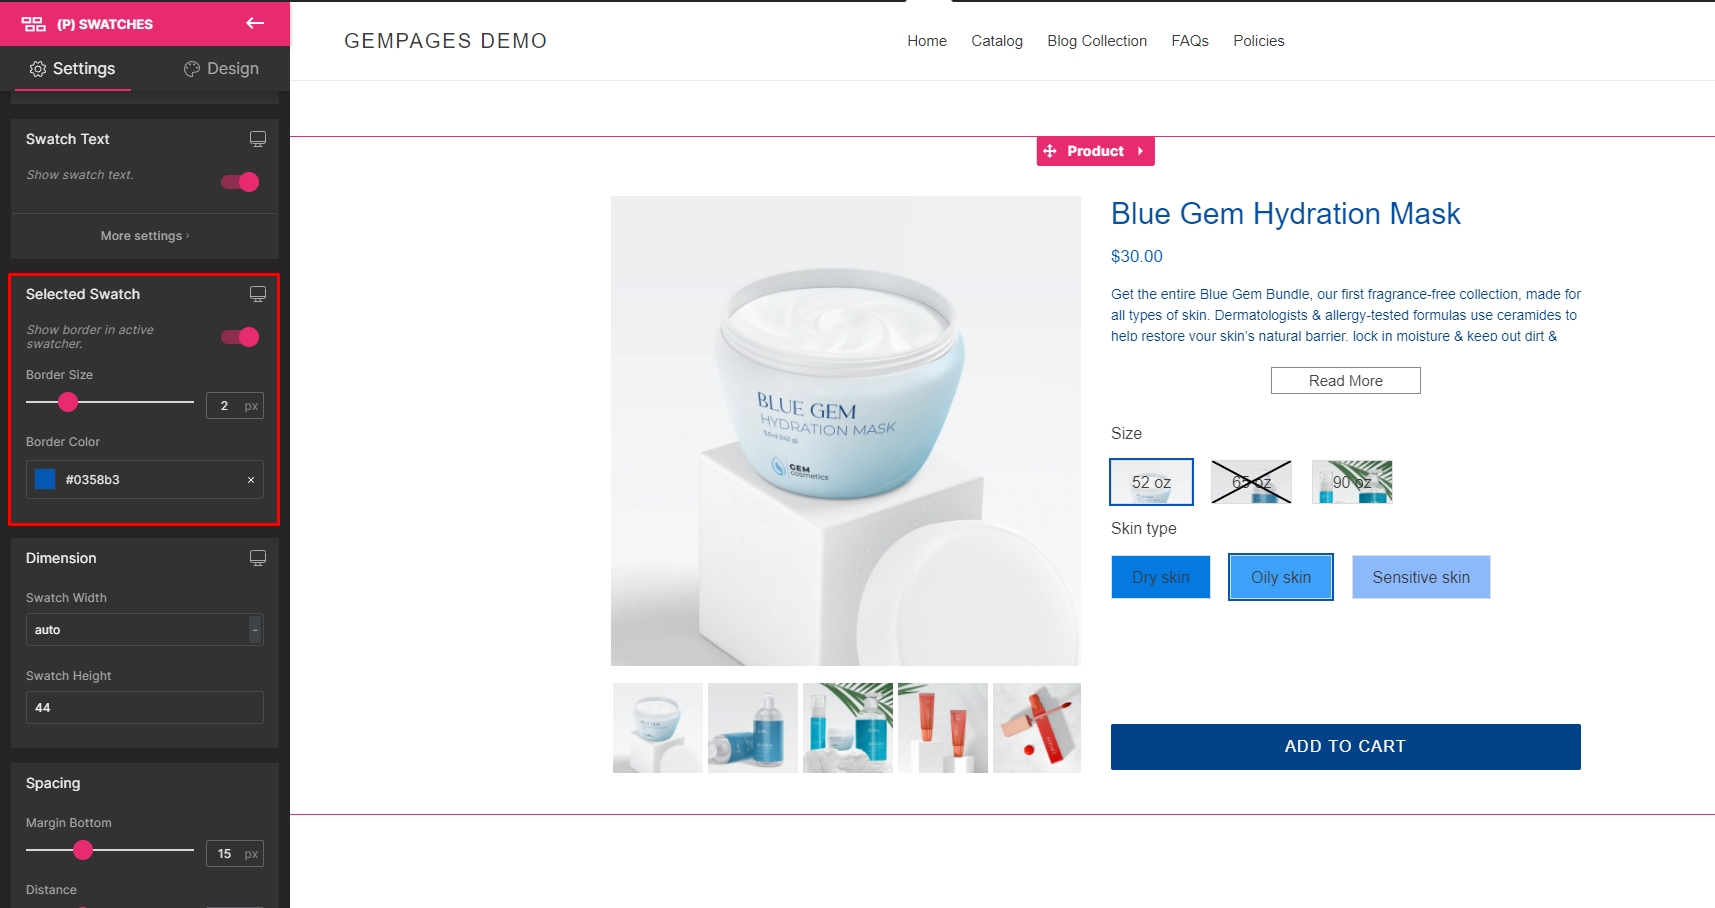
This section allows you to show/hide the border for a swatch when customers click on it. You can choose to have it on or off by toggling the switch.
If toggled on, you will see more settings to adjust the Border size and Border color.

Dimension
Adjust the width and height of variant attributes. The Swatch Width value could be adjusted in pixels (px) or percentages (%), by default it will be set to auto.

Spacing
Adjust the spacing between variants.

Sold Out Mark
When toggled on, you’ll be able to display the Sold Out mark in the (P) Cart Button element for out-of-stock items. The available parameters for adjustments are:
Style Sold Out: Select Default or Opacity from the drop-down menu for the style of the Sold out mark.
Mark Color: Select a color from the color palette or use a hex color code for the color of the mark.

Logic: Choose either one of the two mechanisms – Logic 1 or Logic 2 – from the drop-down menu to determine how the Sold out message will display:
- Logic 1: A swatch is marked as Sold out only when all variants related to that swatch are completely out of stock. This process is determined one time only after the first page load.
- Logic 2: All swatches are cross-checked with each other. A swatch is only marked as Sold out when it is combined with other swatches and together form a variant that is out of stock. This process runs a check every time a swatch is selected.
Check out this article for a detailed explanation.
Show Options
If you wish to hide one of your product options, you can do so in this section. Shopify limited your product options to 3 options and by default, all 3 options are visible in the (P) Swatches element.

Alignment
Align the element in three positions: Left, Centered, or Right.

Extra Class
For the coders out there, you can further customize the (P) Swatches element’s content by adding a class name into this field and then pointing to it later in your CSS file.

Configure the Design tab
Don’t forget to further customize your (P) Swatches appearance with the Design tab.
After editing, please hit “Save” and “Publish” to make your changes go live.

That is literally it! Displaying swatches with GemPages requires absolutely no coding, only if you want to.


Thank you for your comments