What is a Collection list page?
A Collection list is a page where all of your collections are listed, allowing viewers to quickly see how all of your products are categorized. Designing one with Shopify requires advanced coding with design limits. No worries – GemPages takes all the troubles away!
Follow the steps below to create a Collection list page and link it to your store.
Prepare your collections
Before creating the Collection list, make sure you have a few collections in hand.
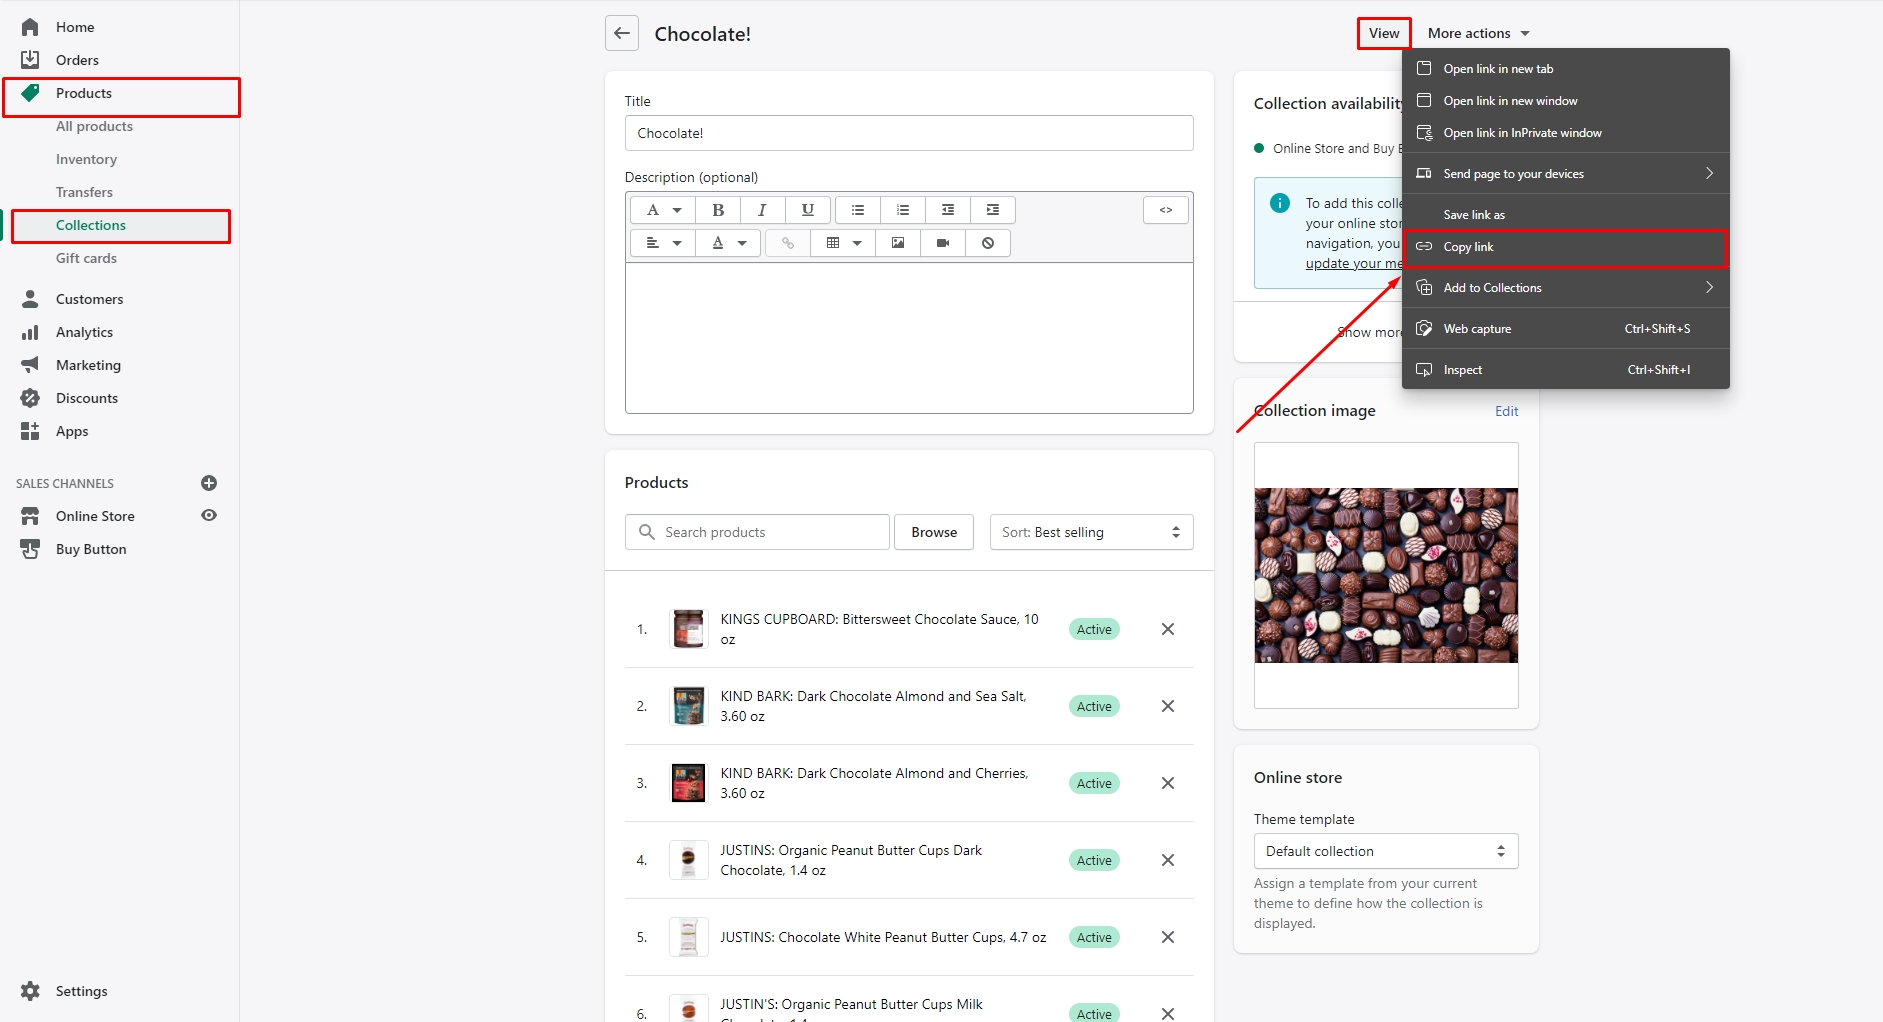
Go to Shopify Admin > Products > Collections to edit your existing collections or create new ones. Hit “Save” when you are finished.

Afterward, it’s time to start building the page in GemPages.
Create the Collection list page
To design the list in a grid format, we’ll use the Hero Banner and Row elements.
Step 1: Go to GemPages Dashboard > Landing Pages and create a new page. You can select a pre-designed template or start from scratch.

Step 2: In the GemPages Editor, drag & drop a Row element onto your page. The Row will act as a container for your collections.
Step 3: In the Settings tab on the left sidebar, choose a suitable layout.
This will be the layout of your collections. The number of columns is the number of collections the Row will display. In this example, we will choose the layout of 4 even columns.

Step 4: Drag & drop a Hero Banner element into one of the columns. Make size adjustments if needed.
Step 5: Duplicate the Hero Banner element and nest it inside the rest of the columns. These elements will then display your collections.

Step 6: Replace the Hero Banner’s image with your collections’ thumbnail images. Make sure you have the same height for your images, or else they will not align properly.

Step 7: Link each banner to its own collection by going into the Hero Banner’s Settings tab, then paste the collection’s URL into the Link section.


Step 8: Use the Heading element to name your collections.
Drag & drop a Heading element into a Hero Banner. Make adjustments as needed and then duplicate the Heading for the remaining banners.
Afterward, edit the Headings’ text to match your collections.

Hit “Save” and “Preview” to check how the page looks on the live page. When you are happy with the result, hit “Publish”.
*If you have a large number of collections, feel free to duplicate the Row and repeat the steps as many times as you need.
Link your Collection list to store menu
Now it’s time to link the page to your store menu. You can link the Collection page to either:
- The Shopify menu by visit this article.
- The Theme’s Header and Footer. Instructions are in this article.


Thank you for your comments