


Create a New Preset
Step 1: From the GemPages Dashboard, select your preferred template to access the Editor.
Step 2: Click on the Global Style tab at the top of the right sidebar. Next, hit the “Create New Preset” button.

You will have three options to create a new preset at this point:
- From Live theme: The available styles will be imported from the Homepage of your published theme to create a new preset.
- From a specific page: You will have the option to customize the page as you want. Next, the available styles will be imported from this page to create a new preset.
- Create a new custom preset: Create a new preset from predefined styles.
After that, you will see the newly created preset under the Global Style tab.
Edit Preset
Step 1: From the GemPages Dashboard, select your preferred template to access the Editor.
Step 2: Click on the Global Style tab at the top of the right sidebar.
Next, click on your preferred preset or hit the three-dot button and select “Edit” to start editing.

Step 3: Click on your preferred style from the list to reveal the configuration. For detailed instructions on how to configure the settings, check out this article.

Step 4: Don’t forget to hit the “Update” button after editing to make sure you don’t lose your progress.

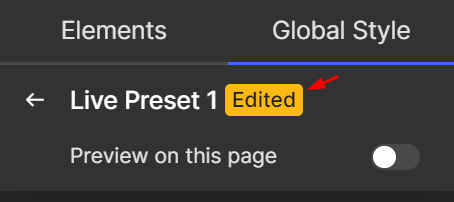
Preview Preset
To check how your page looks within a specific preset, click on the preset and toggle the “Preview on this page” switch.

Otherwise, hit the three-dot button and select “Enable Preview Mode”.

From the Preview mode, you also can quickly switch between and check your site’s appearance on all four common screen sizes: Desktop, Laptop, Tablet, and Mobile.

Hit the x icon at the top right corner to quit the preview mode. Please be noted that you won’t be able to edit the page or the preset when the preview mode is on.
Apply Preset
To have the preset start affect your page, you will need to apply the preset to the page. In the Preset Details dashboard, click on “Apply to current page” at the bottom.

The preset will be applied to the page you’re currently opening in the Editor then. Once the preset is applied successfully, you may notice a green tick icon next to the preset name.

Delete Preset
To delete a Global Style preset, hit the three-dot button and select “Delete”. Confirm one more time to delete the preset.


Thank you for your comments