


With the Row element in GemPages, you can build a fully customizable, multi-column comparison table in minutes, no coding required.
What Is a Comparison Table?
A comparison table is a layout that displays information in rows and columns, allowing users to compare multiple options side by side.
Each column typically represents a product or plan, while each row highlights a feature, benefit, or specification.
Common Comparison Table Use Cases
Merchants often use comparison tables to:
- Compare multiple products on a landing page
- Highlight differences between pricing plans
- Show feature availability across product tiers
- Help customers make faster purchase decisions
- Reduce confusion and increase conversion rates

How to Create a Comparison Table with the GemPages Row Element
The process is similar in GemPages v6 and v7. The main difference is the editor interface.
For GemPages v6 Users
Step 1: Go to the GemPages Dashboard, select a page, and enter the Editor via the “Edit” button.
Step 2: Search for the Row element on the left sidebar. Drag & drop this element onto your page.
This Row will act as an outer container for all the elements forming the table and for you to adjust the size easily.

Step 3: Drag out another Row element and nest it inside the first Row.
This inner Row element will represent your table’s first horizontal row.

Step 4: Determine how many vertical columns your table will have. Then, select the corresponding layout for the inner Row element under the Settings tab on the left sidebar.
In the example below, the adequate number of rows is 4.

Step 5: Determine how many rows your table will have, and duplicate the inner Row to achieve the number.
To do so, click on the inner Row and select the arrow to expand more options, then click on the “Copy” icon.

Once completed, the result should look like this:

Step 6: Once you’ve set up the table, it’s time to fill it up.
Freely drag & drop elements such as Heading, Text Block, Icon, and so on to showcase your content.

Step 7: After you have finished with the table content, use the Design tab to make small adjustments as you see fit and achieve the perfect look. To distinguish the rows, it’s best to set different background colors as shown in this example.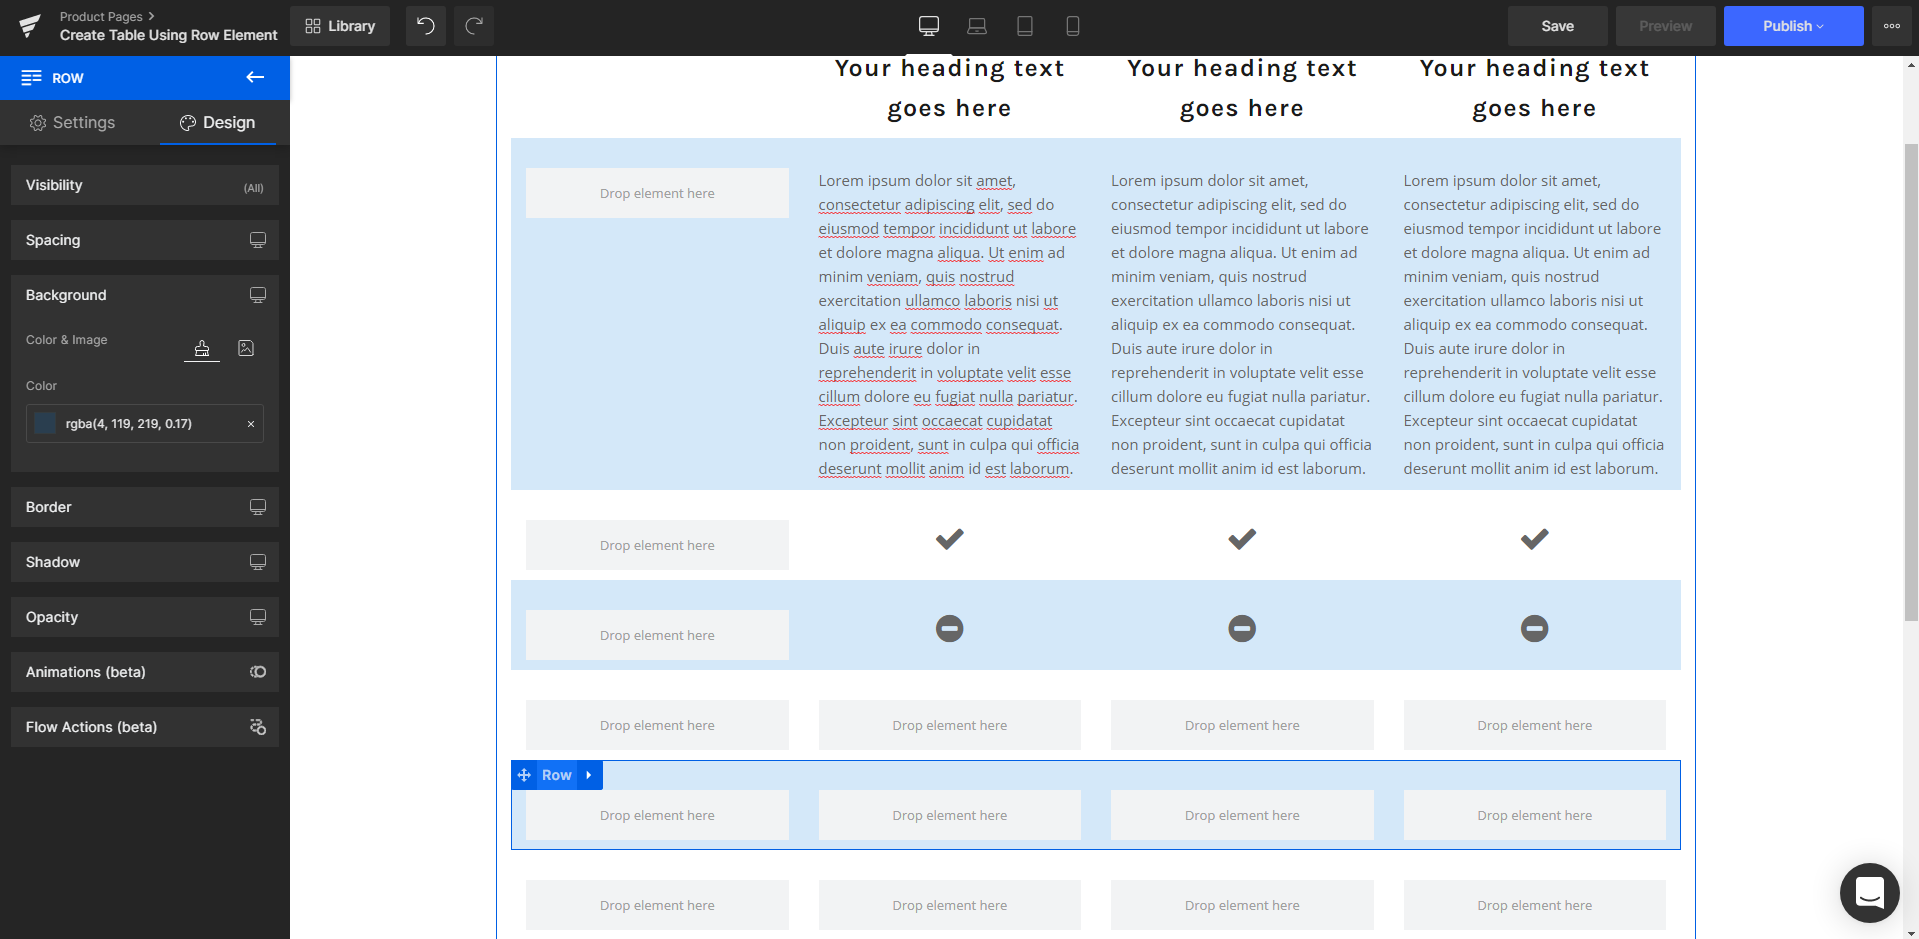
Step 8: When you are happy with the table, hit “Save” and “Publish” to make the changes go live on your front store.

For GemPages v7 Users
In GemPages v7, the workflow remains the same:
Step 1: From the GemPages Dashboard, select your page and click Edit to enter the v7 Editor.
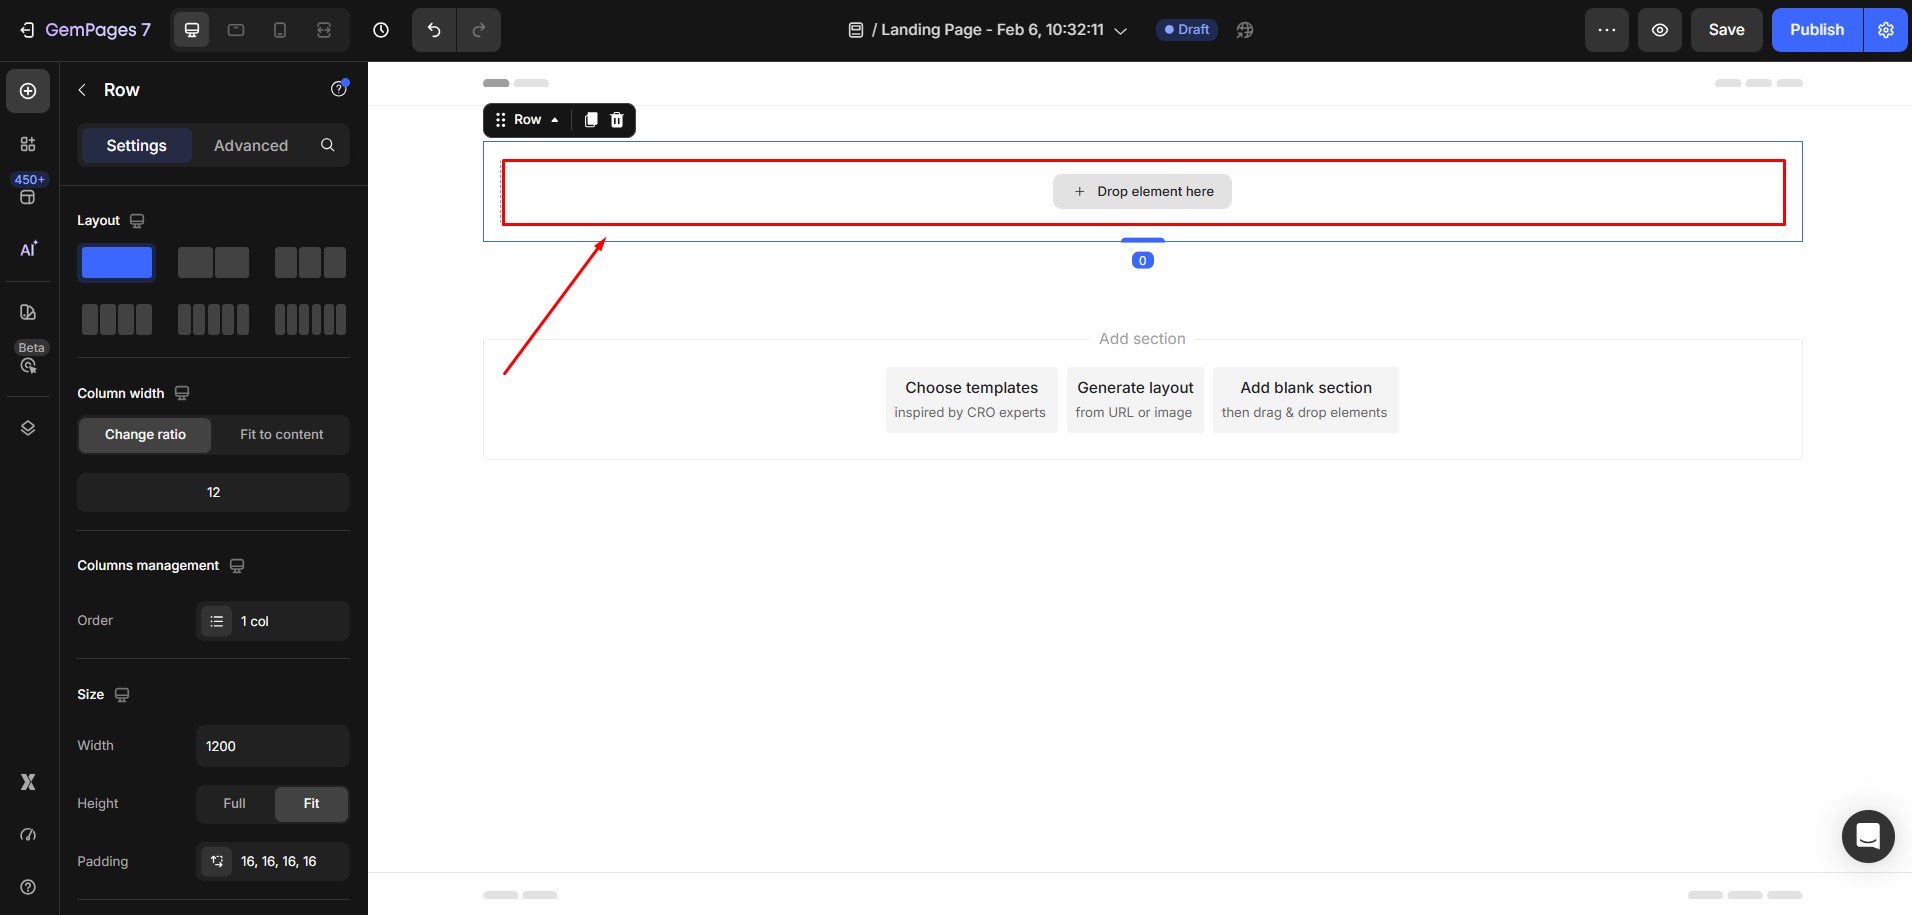
Step 2: From the element panel, drag a Row element onto your page. This Row will serve as the container for your entire comparison table.
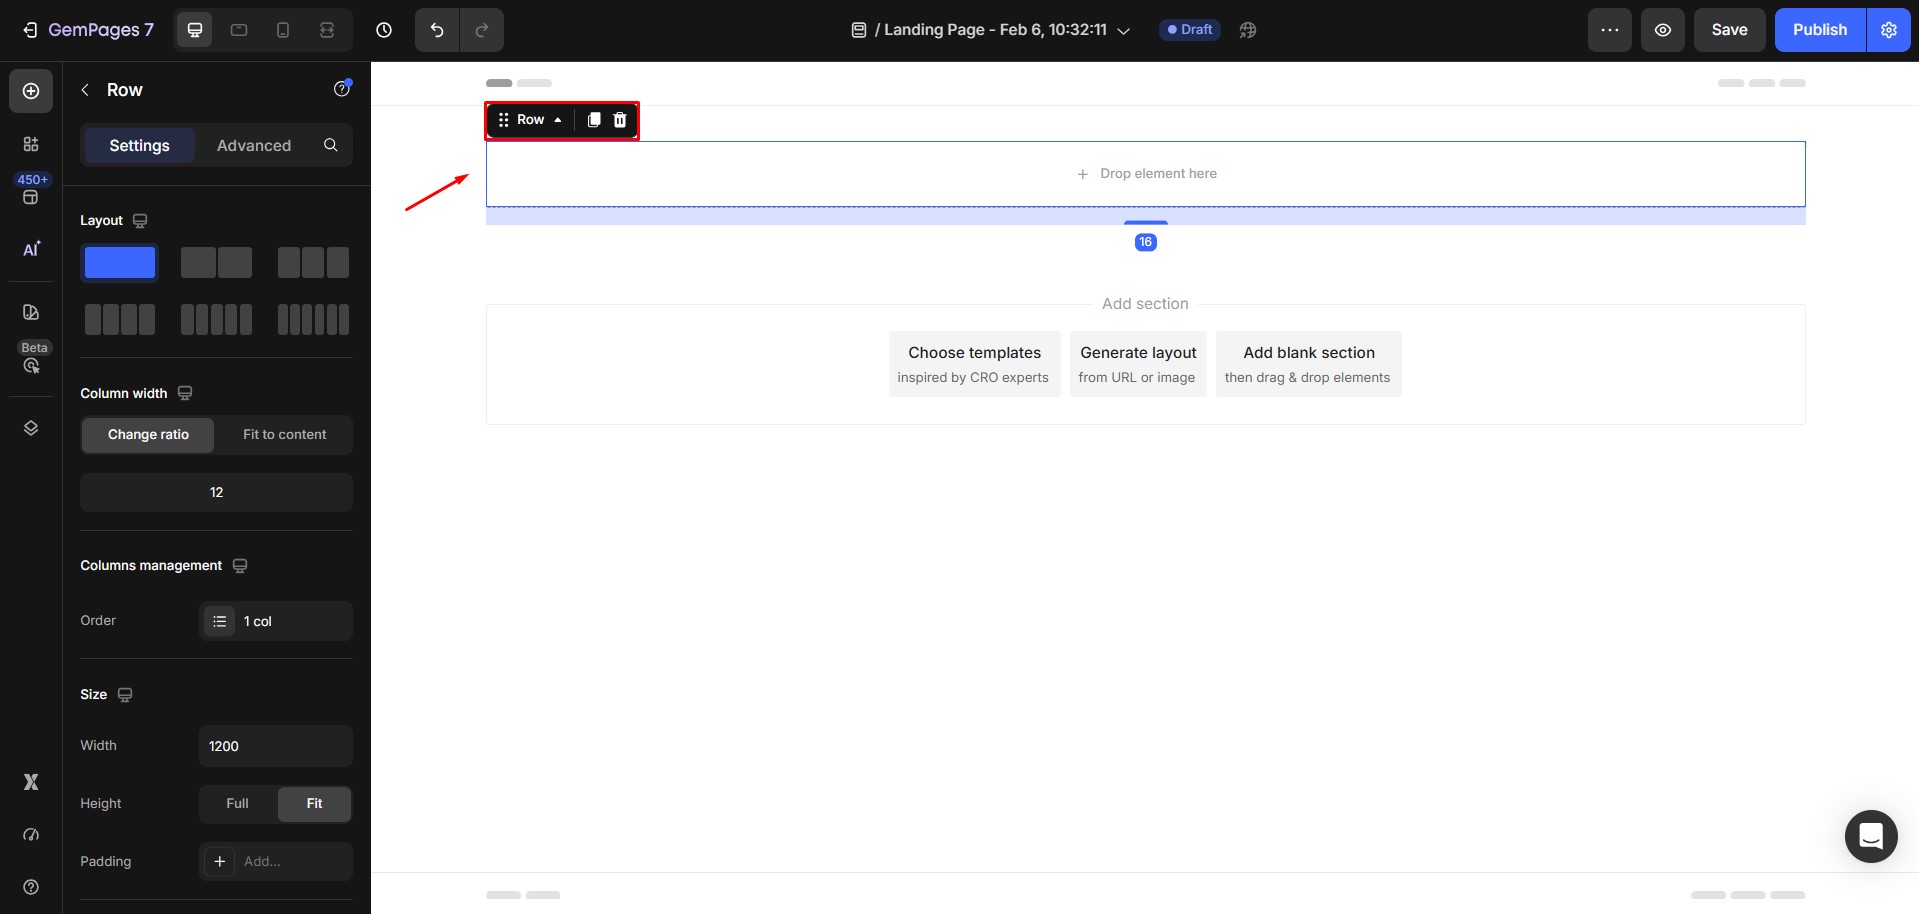
Step 3: Drag another Row element and place it inside the outer Row. This inner Row represents one horizontal row in your comparison table.
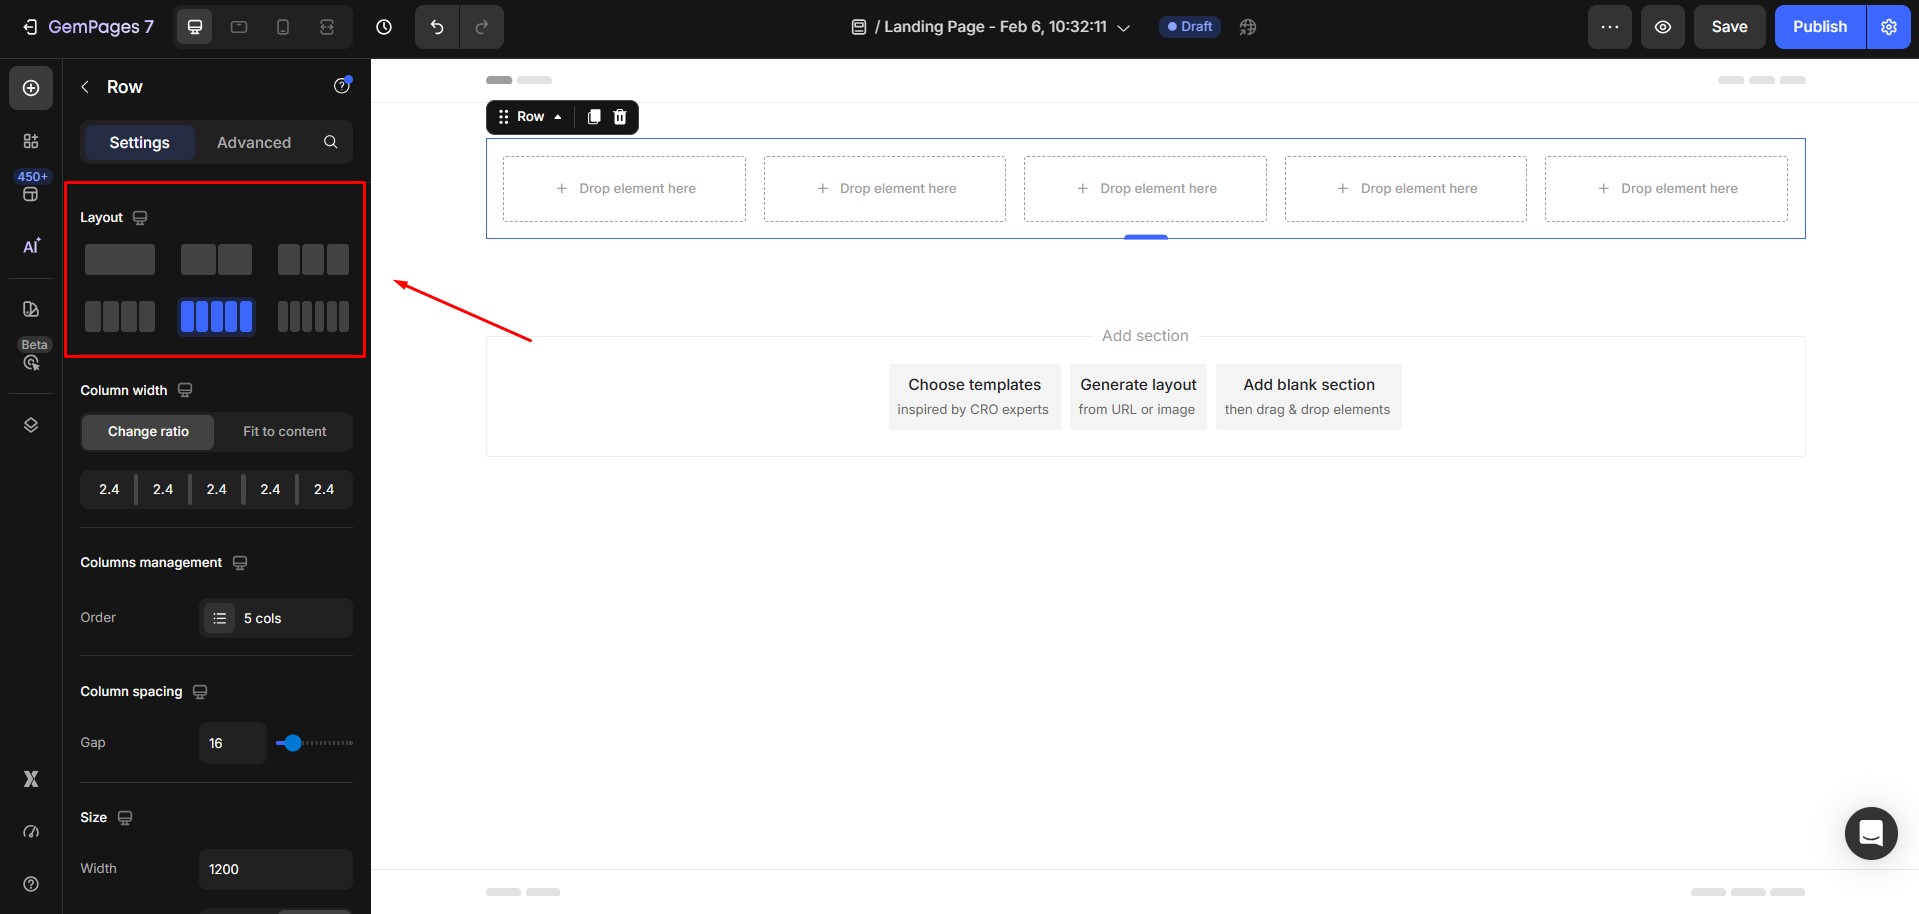
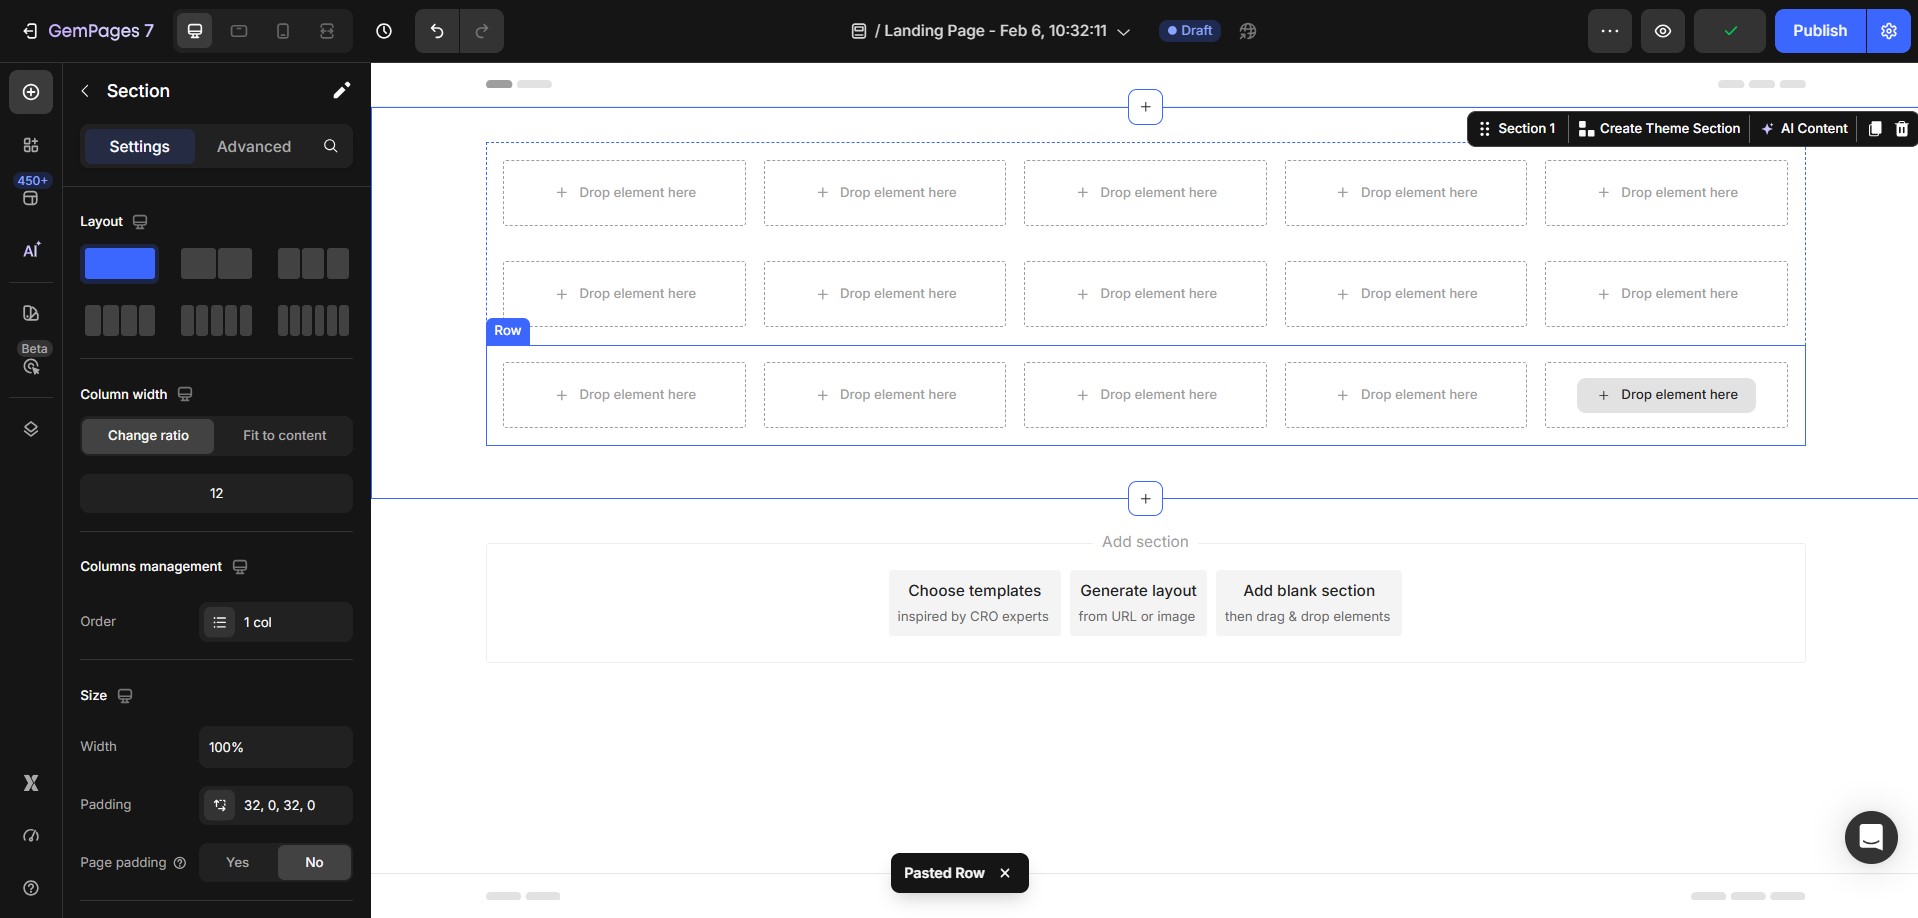
Step 4: Select the inner Row and open Element Settings. Under the Layout section, choose the number of columns based on how many products or plans you want to compare.
Step 5: Duplicate the inner Row to create additional rows for your comparison table.
You can complete one row first, then duplicate it to keep spacing and alignment consistent.
Step 6: Insert Content Elements
Add elements such as:
- Headings for product names
- Text blocks for feature descriptions
- Icons for visual comparison cues
Each element can be styled individually for different columns.
Step 7: Use the Design and Advanced settings to:
- Add background colors
- Adjust padding and margins
- Improve visual hierarchy
Alternating row colors work especially well for comparison tables.
Step 8: Click Save, then Publish to apply the changes to your live store.
If you encounter a problem, check out our article about Row elements.


Thank you for your comments