


If you’re using GemPages v6, please refer to this article.
What is a Social Sharing section?
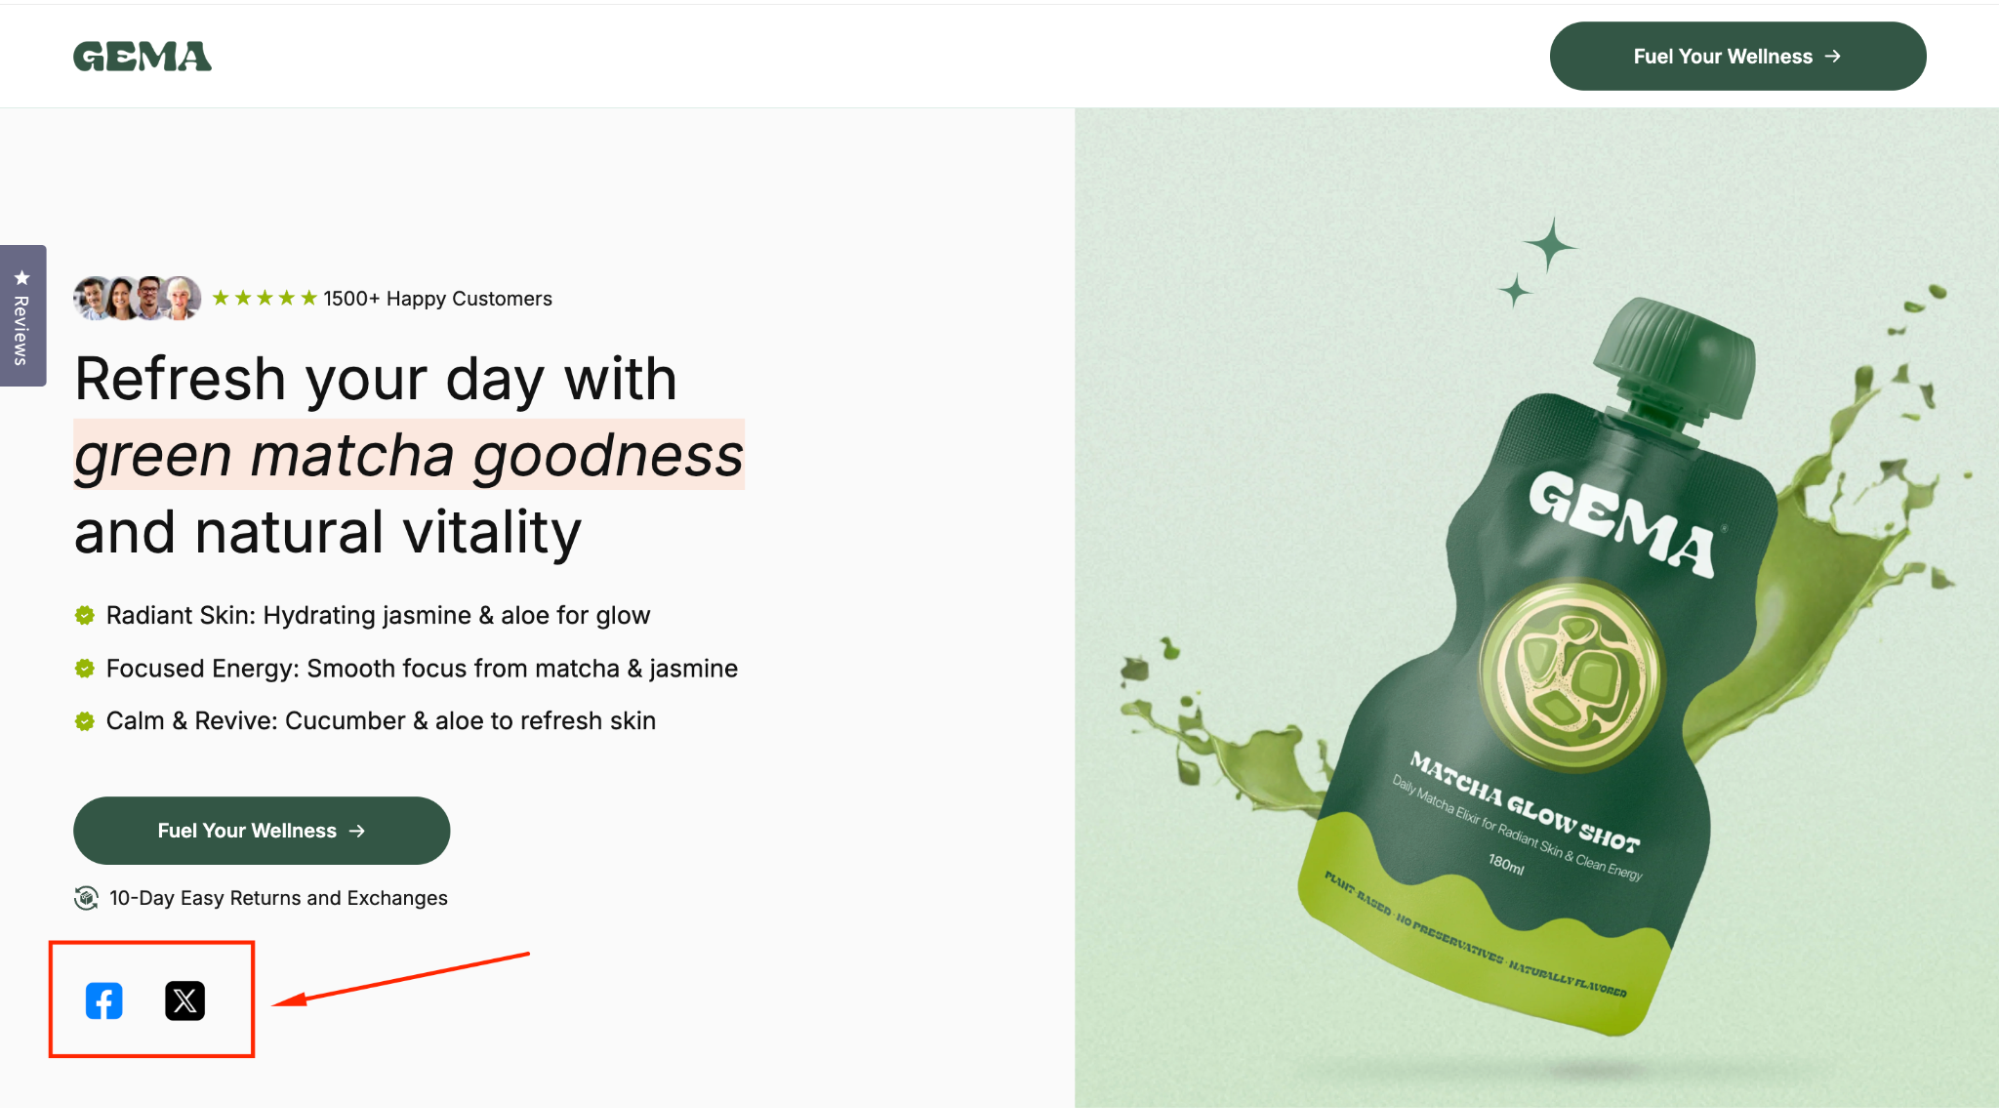
A social sharing section is a block on your page that displays clickable social media icons, usually placed near key content such as product pages, blog articles, or promotional campaigns.
When visitors click these icons, they can either:
- Share content directly to their social media accounts (e.g., share a product link to Facebook).
- Visit your social profiles to follow or engage with your brand.
Adding a social sharing section helps you:
- Increase brand exposure across multiple platforms.
- Drive new traffic to your store from organic shares.
- Encourage customers to recommend products to friends and communities.
- Build trust by showing active, connected social channels.
Steps to Design a Social Sharing Section in GemPages
To design a Social Sharing section in GemPages v7, we recommend using the Row Element and Image Element.
Follow these steps:
Step 1: Access the GemPages Editor
- From your Shopify admin, navigate to the GemPages Builder app > Pages to locate all pages built with GemPages.
- Click on the target page to open the editor.
Step 2: Add a multi-column Row Element
- From the left sidebar, drag and drop a Row Element to your desired position on the page.
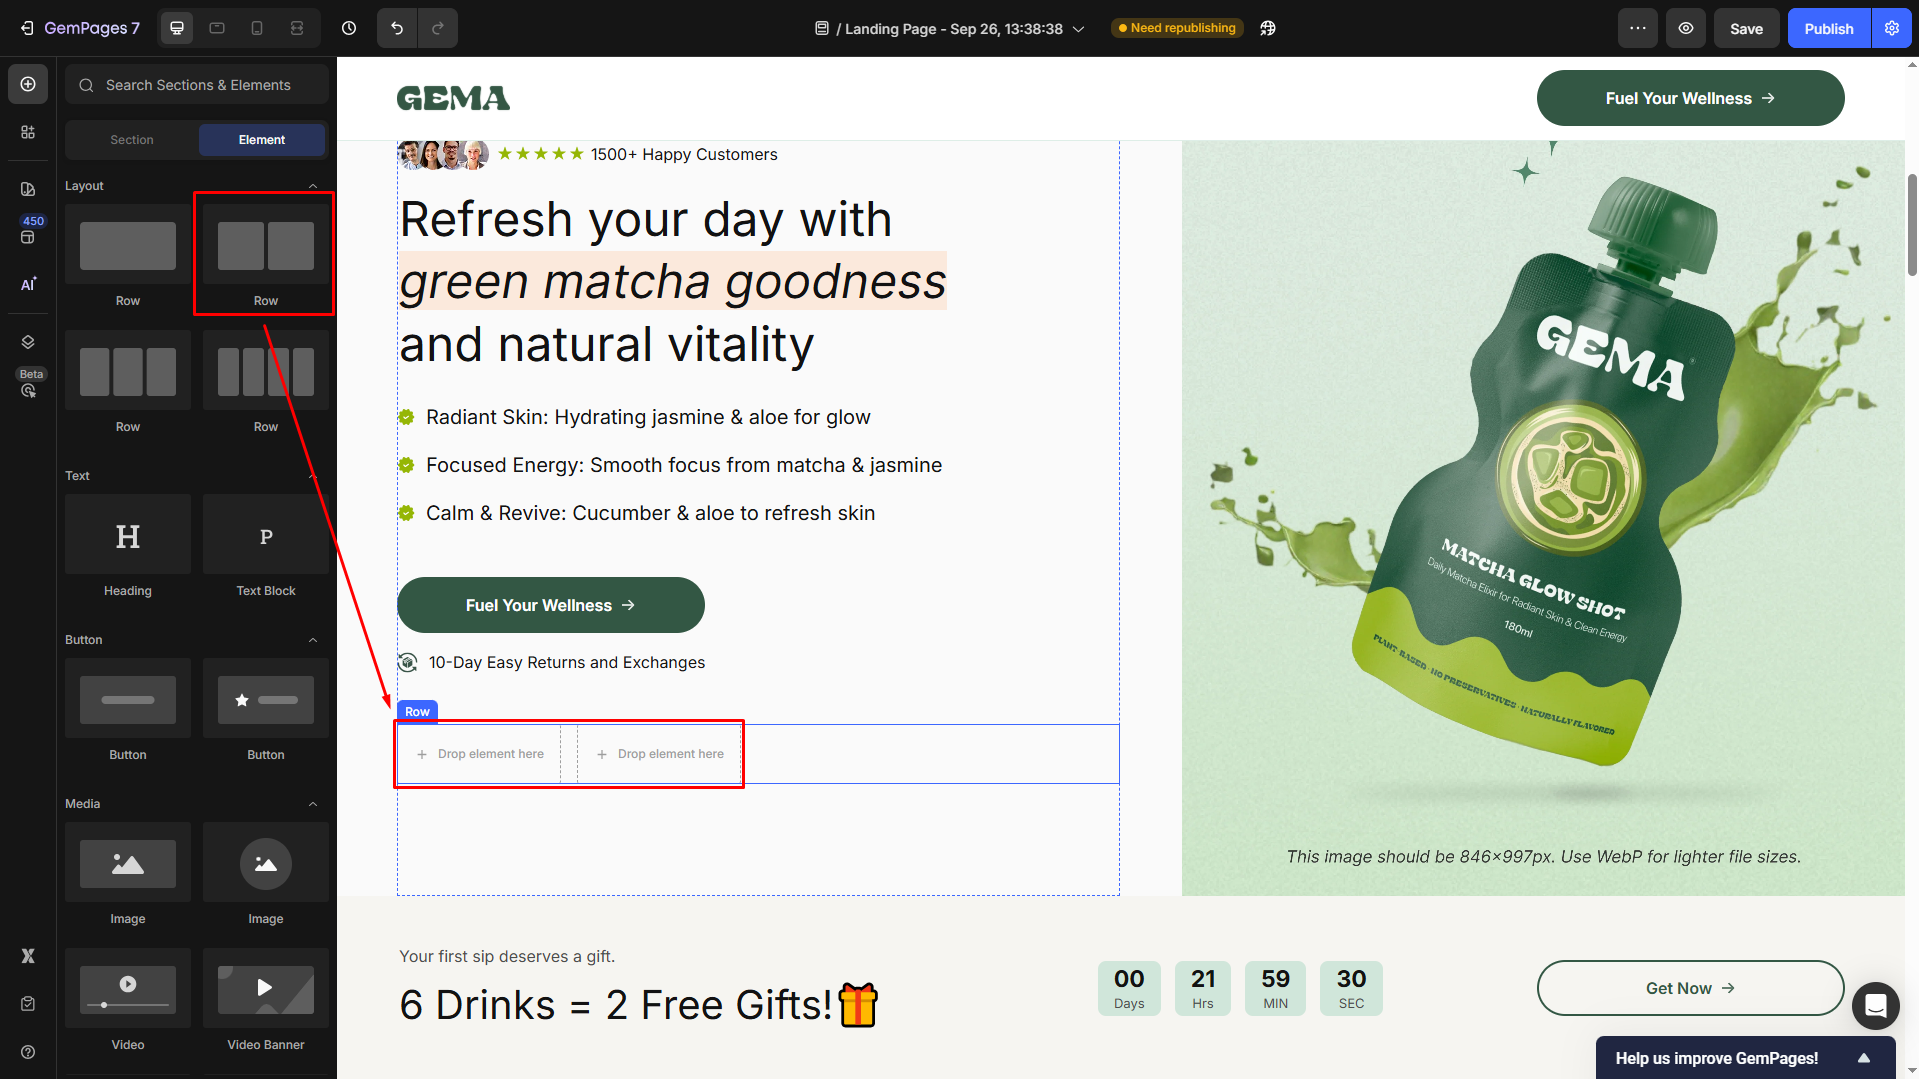
For example, we prefer to design a social sharing section linked to Facebook and X (formerly Twitter). Hence, we’ll use a row with a 2-column layout.
- If you want to link more social platforms in this section, you can change the quantity under the Layout section.
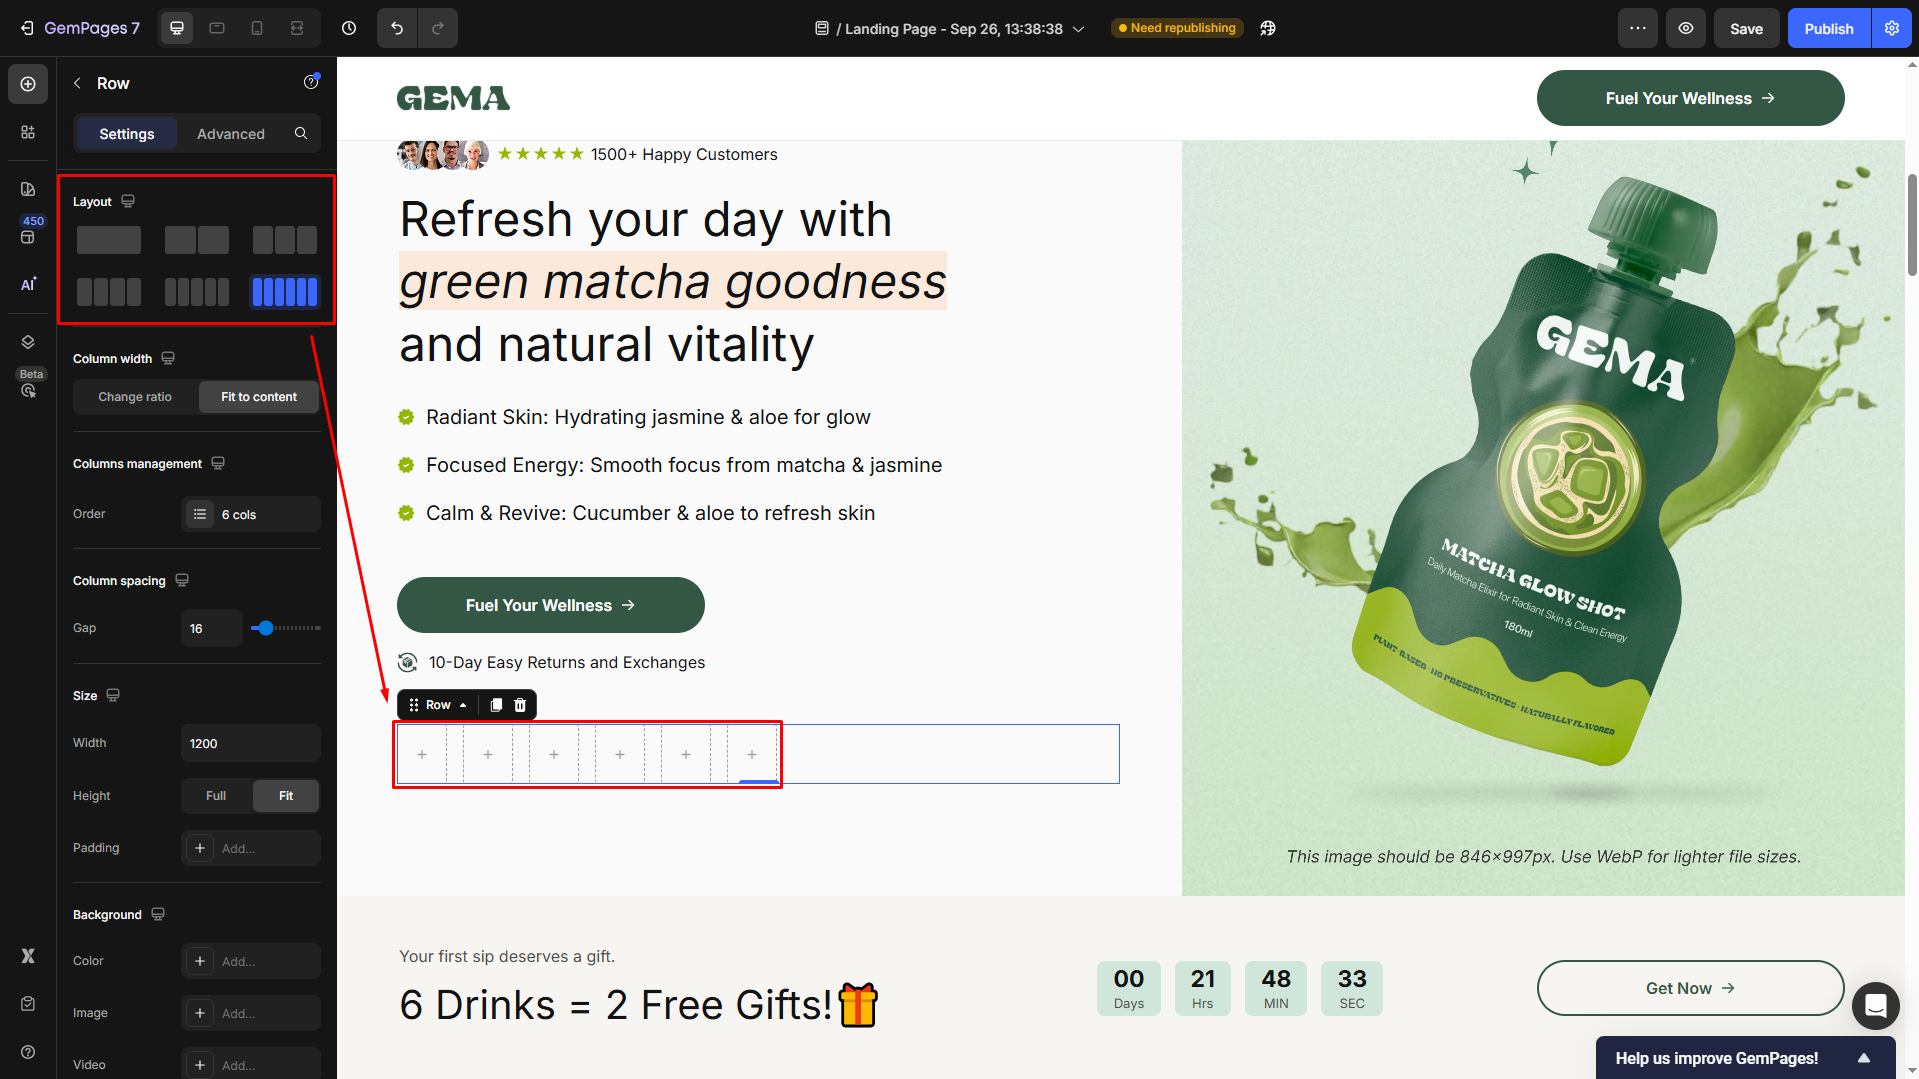
Please note that a row element can contain up to 6 columns.
Step 3: Add and Configure the Image Elements in each column
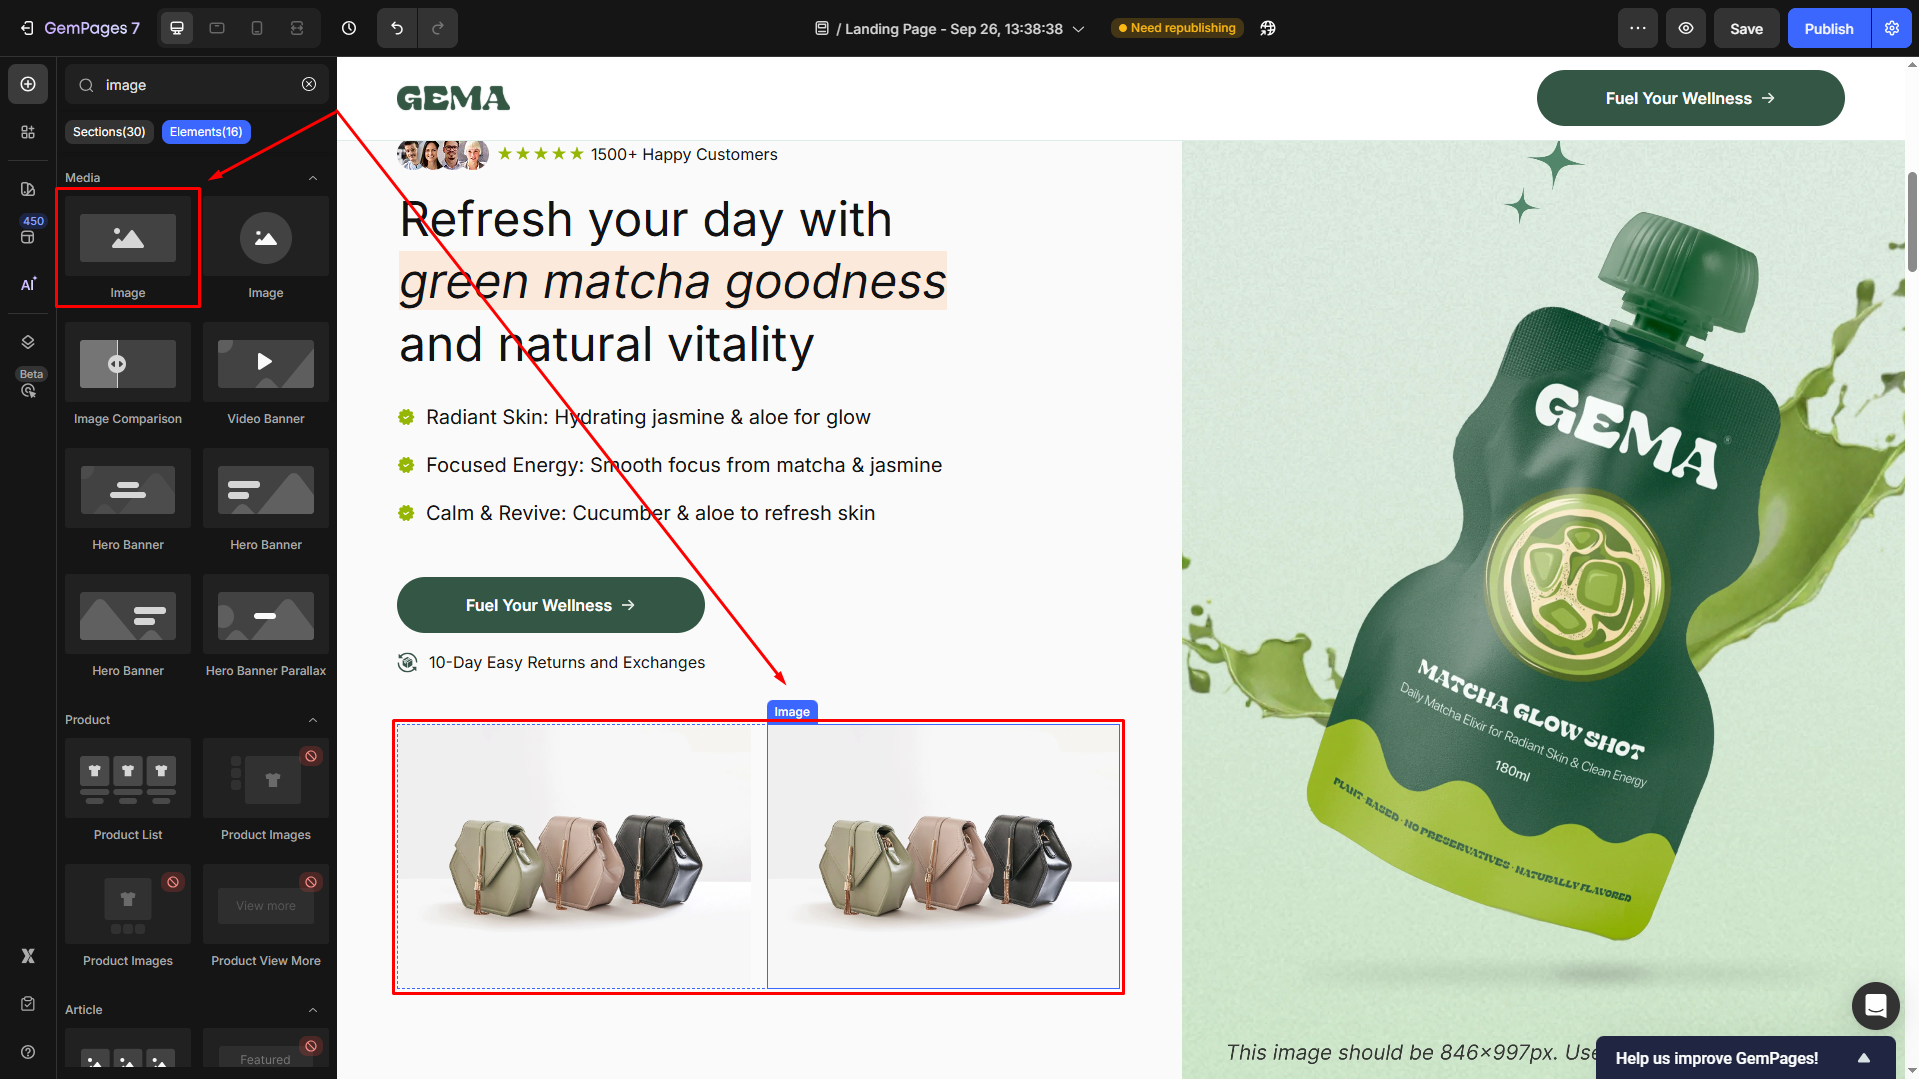
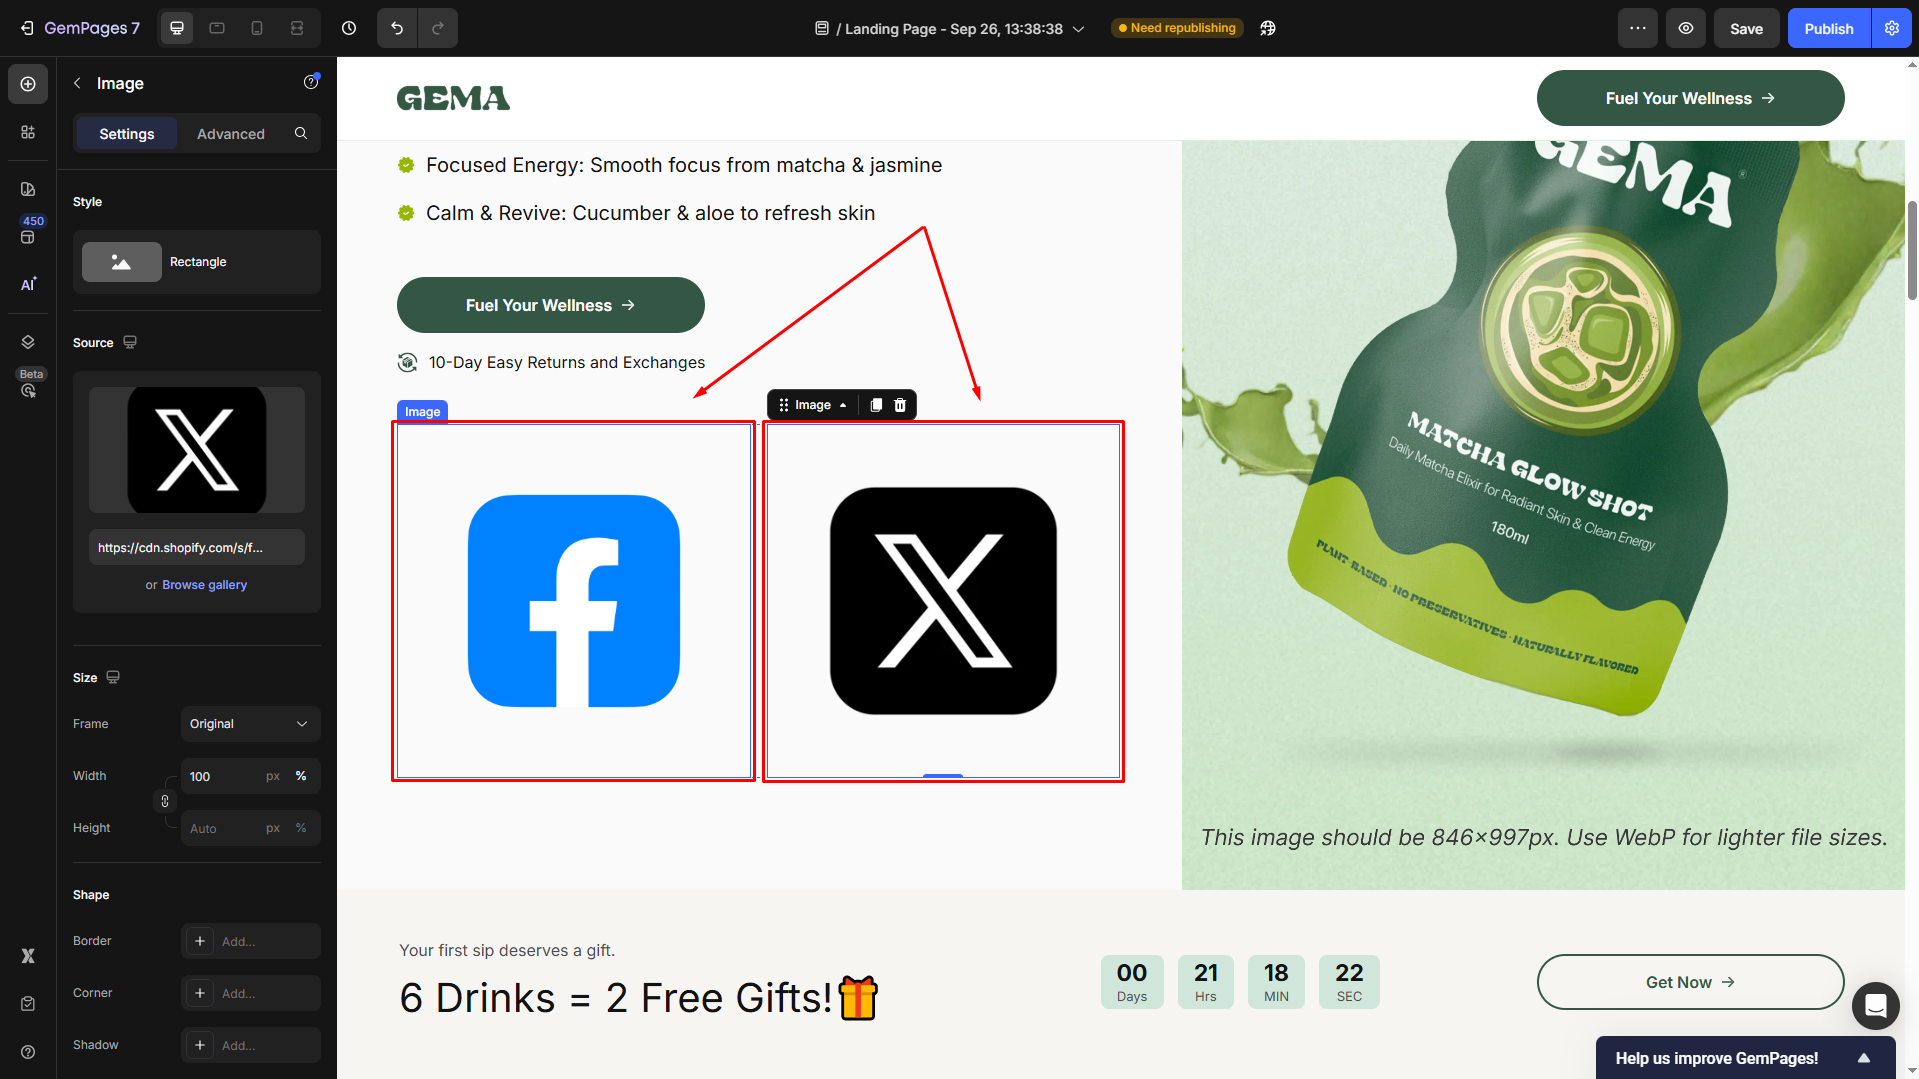
- Drag and drop an Image Element into each column.
- Then, click the image to open its settings panel and locate the Source section.
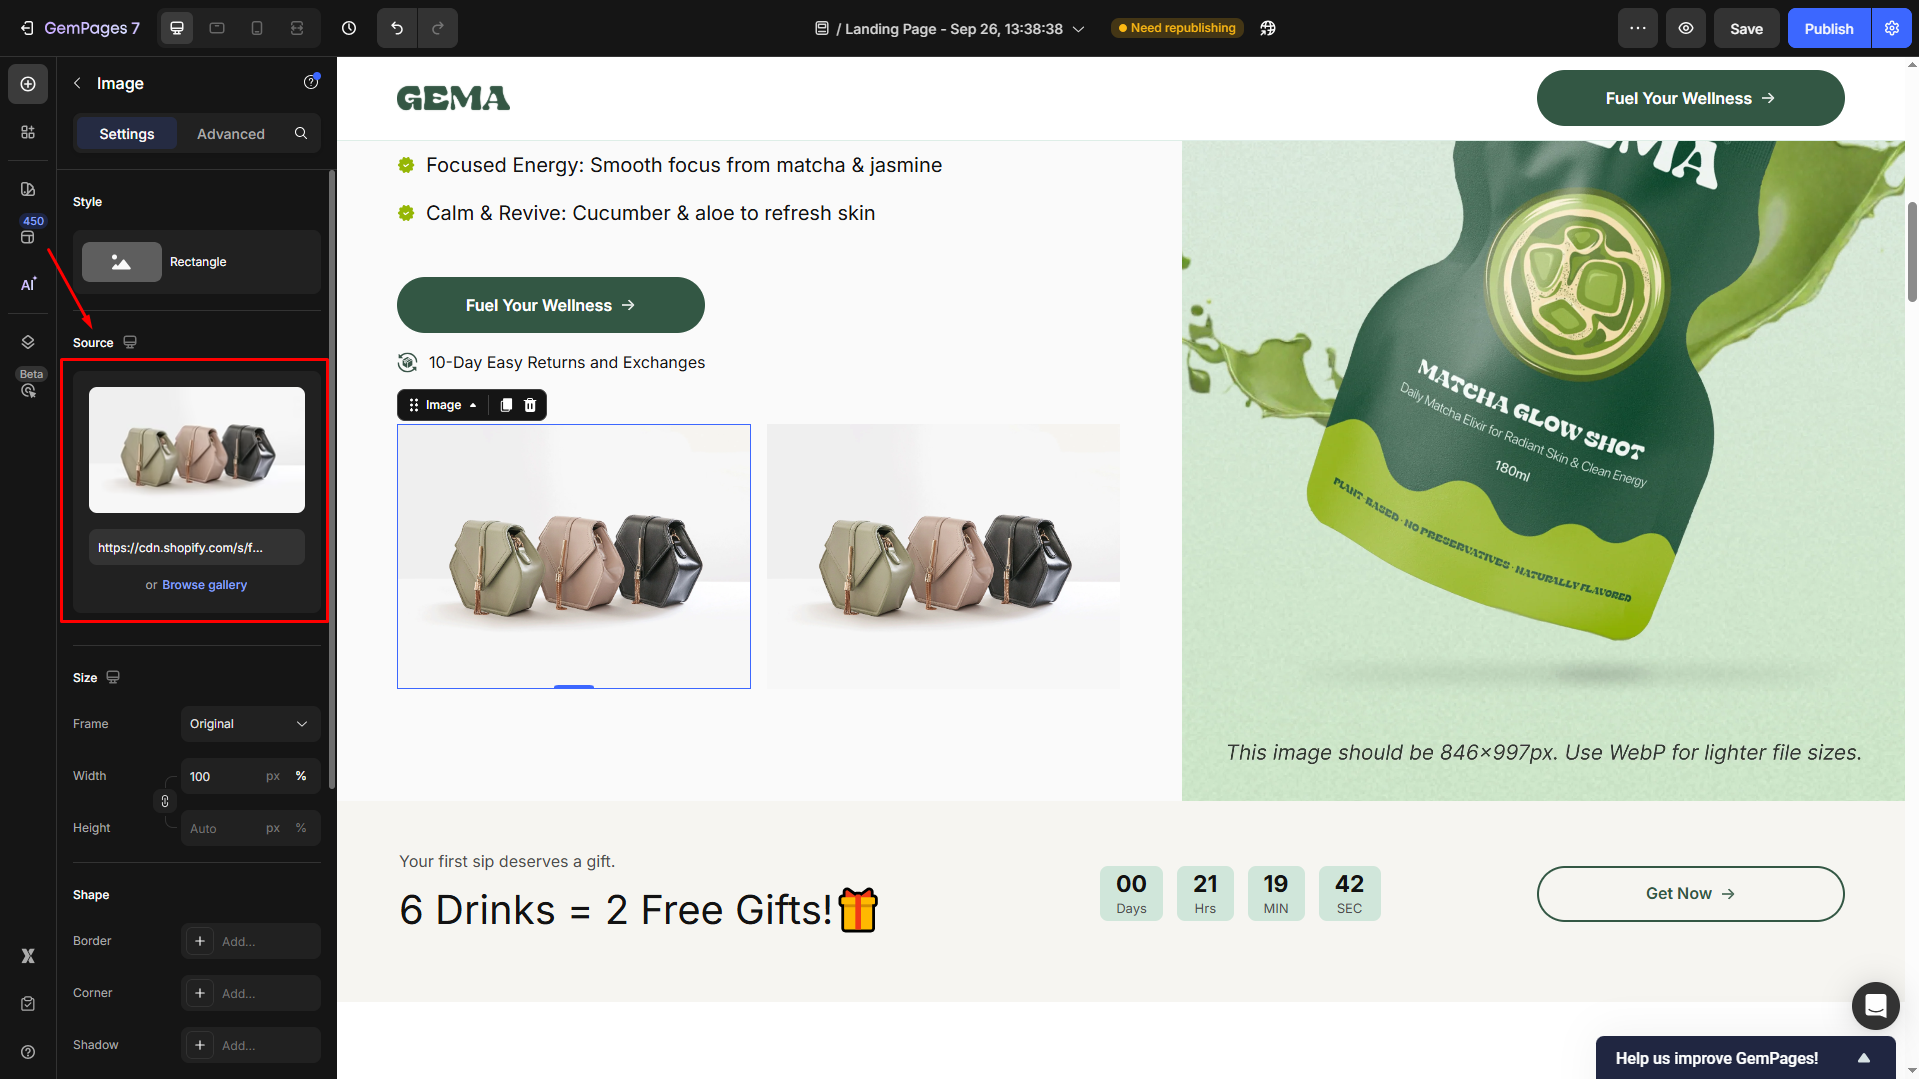
- Hover the current image and click Upload image to upload the social platform’s logo.

- Scroll down to the Link section and toggle ON to expand the settings. Then, select the After click = Open page.
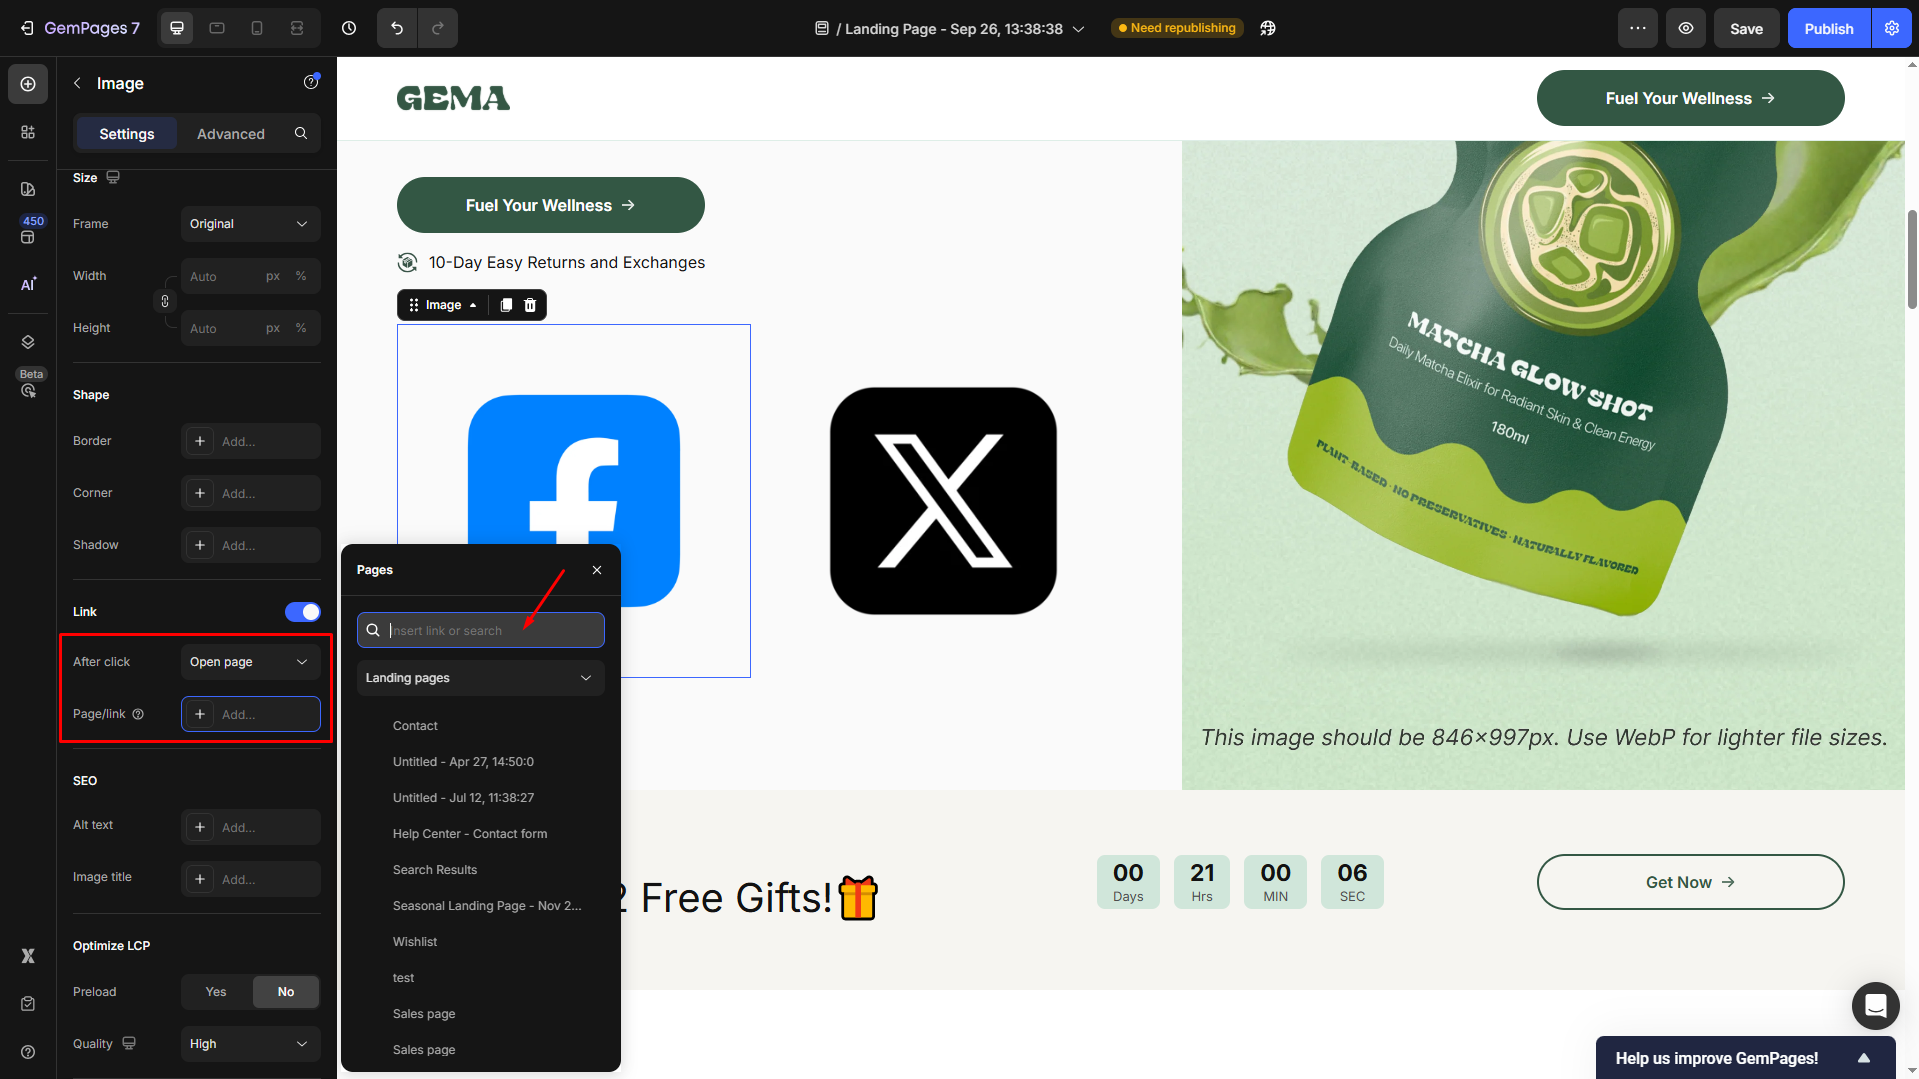
- From there, you can copy the following links to share your page on the target social platform:
| https://www.facebook.com/sharer/sharer.php?u=https://YOUR-SITE-HERE.com | |
| X | https://x.com/intent/tweet?url=https://gempages.net/ |
| https://www.linkedin.com/sharing/share-offsite/?url=https://YOUR-SITE-HERE.com | |
| https://pinterest.com/pin/create/button/?url=https://YOUR-SITE-HERE.com | |
| Gmail | https://mail.google.com/mail/?view=cm&to=&su=&body=https://YOUR-SITE-HERE.com |
| mailto:?subject=&body=https://YOUR-SITE-HERE.com |
- Replace the URL with your page’s URL.
For example, we want to share the GemPages homepage on X. The link could be: https://x.com/intent/tweet?url=https://gempages.net/
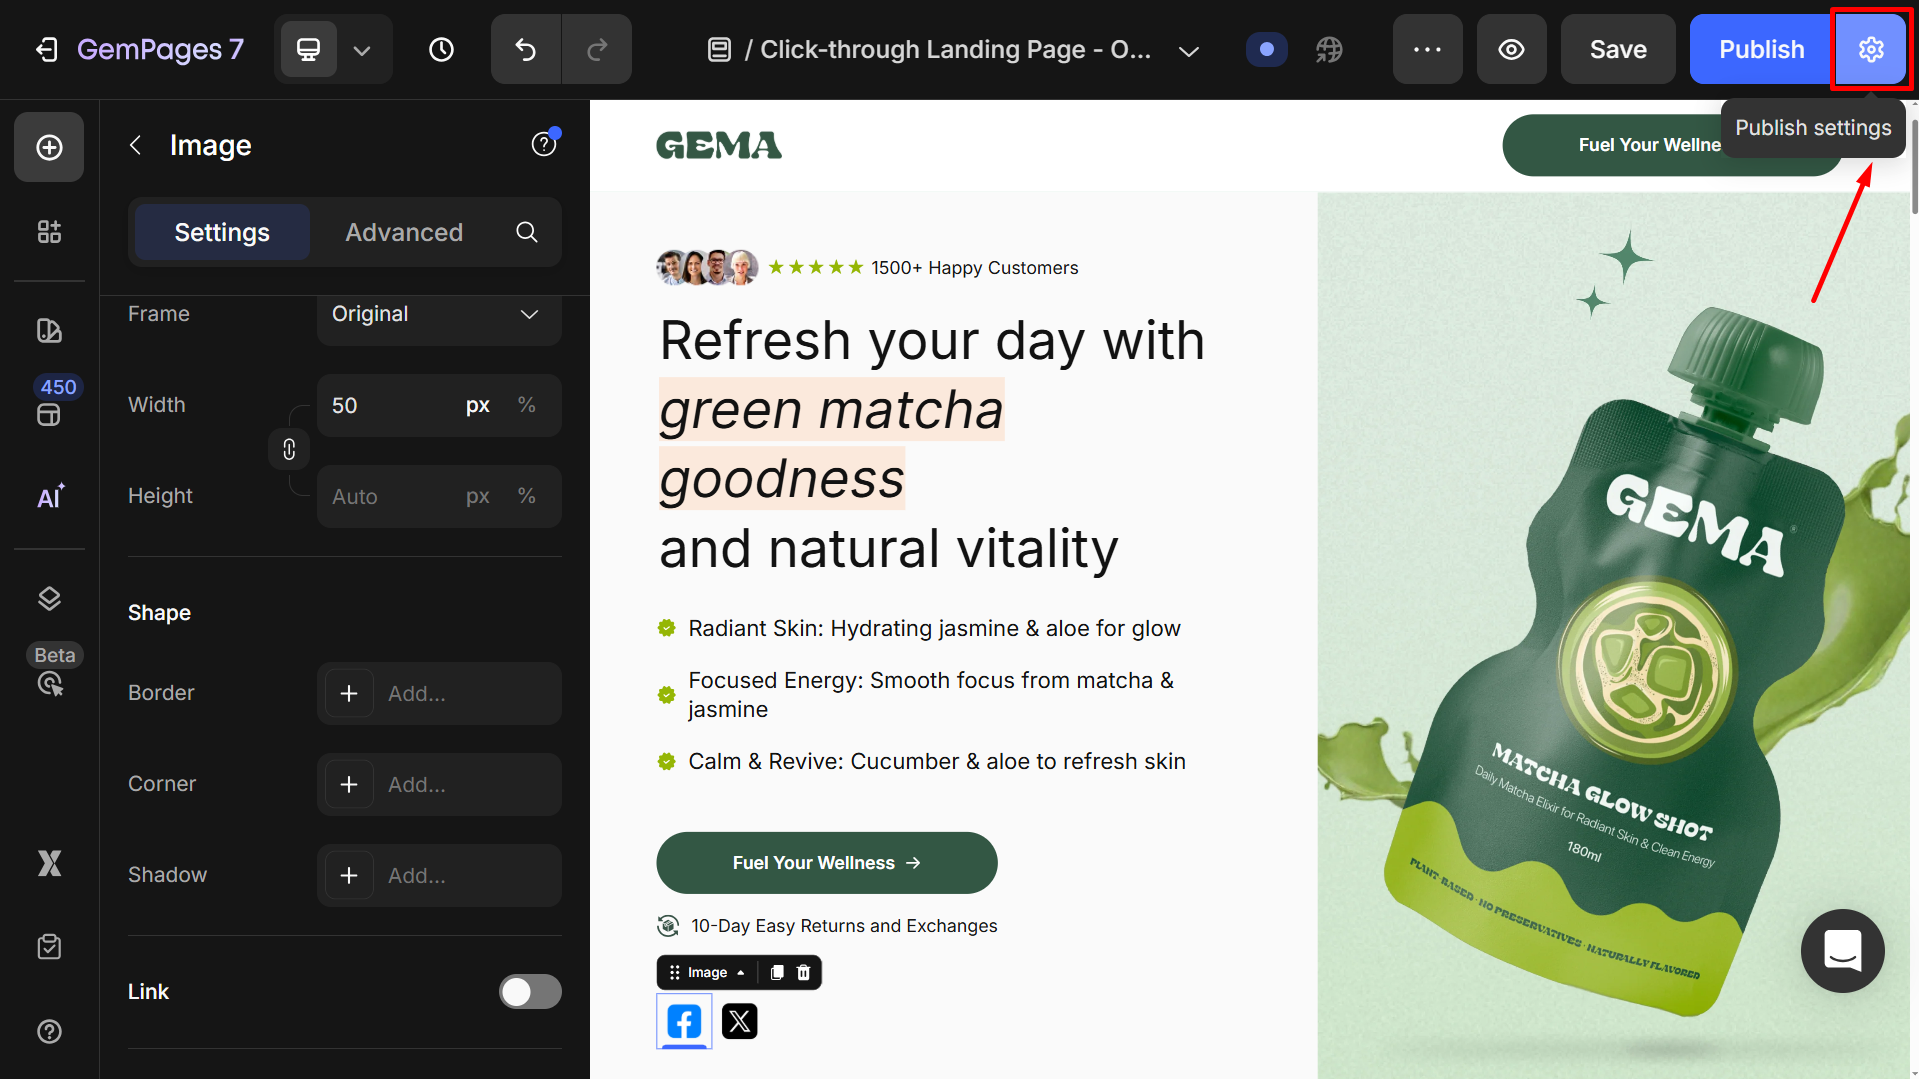
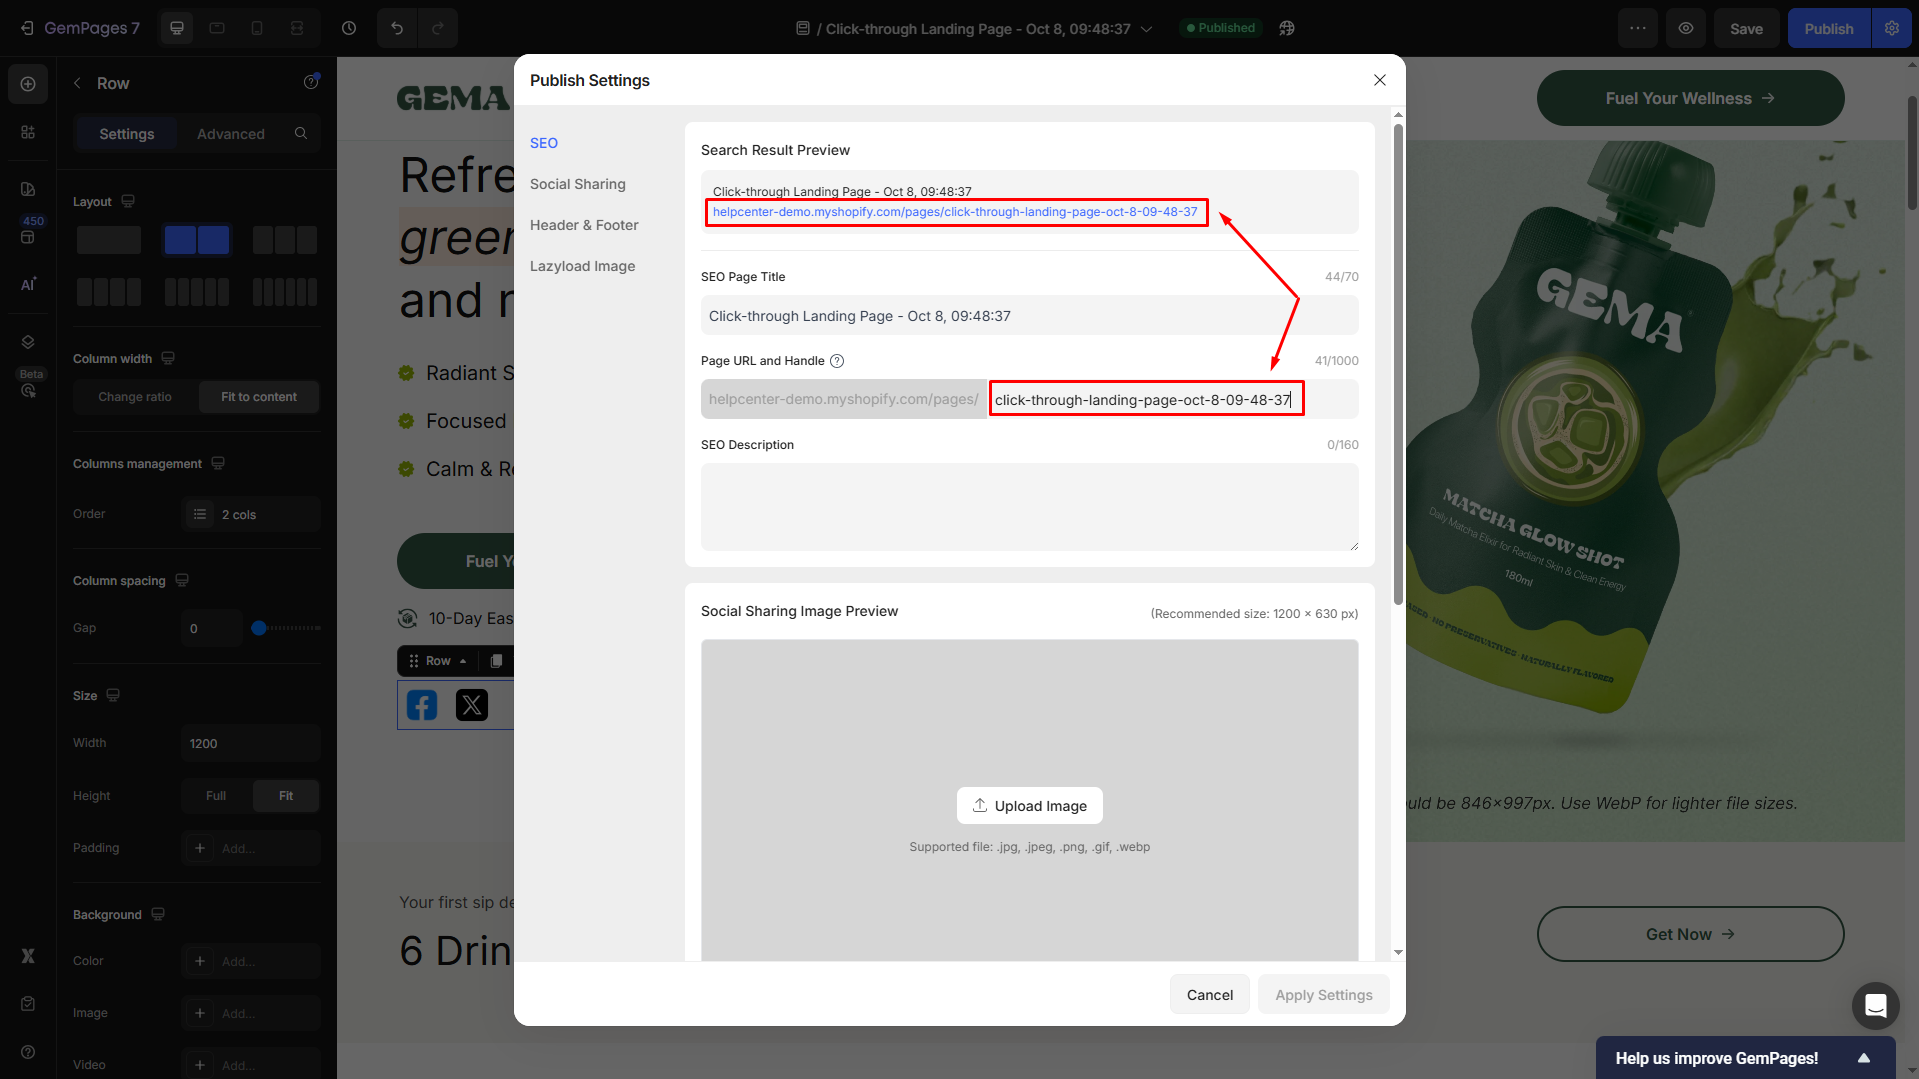
- If you prefer to share the current page that you’re editing, you can get its URL from the Publish Settings panel:
Copy the URL, or you can change the handle under the Page URL and Handle if needed before sharing.
Also, you can add a preview image under the Social Sharing Image Preview section for better visibility on social platforms:
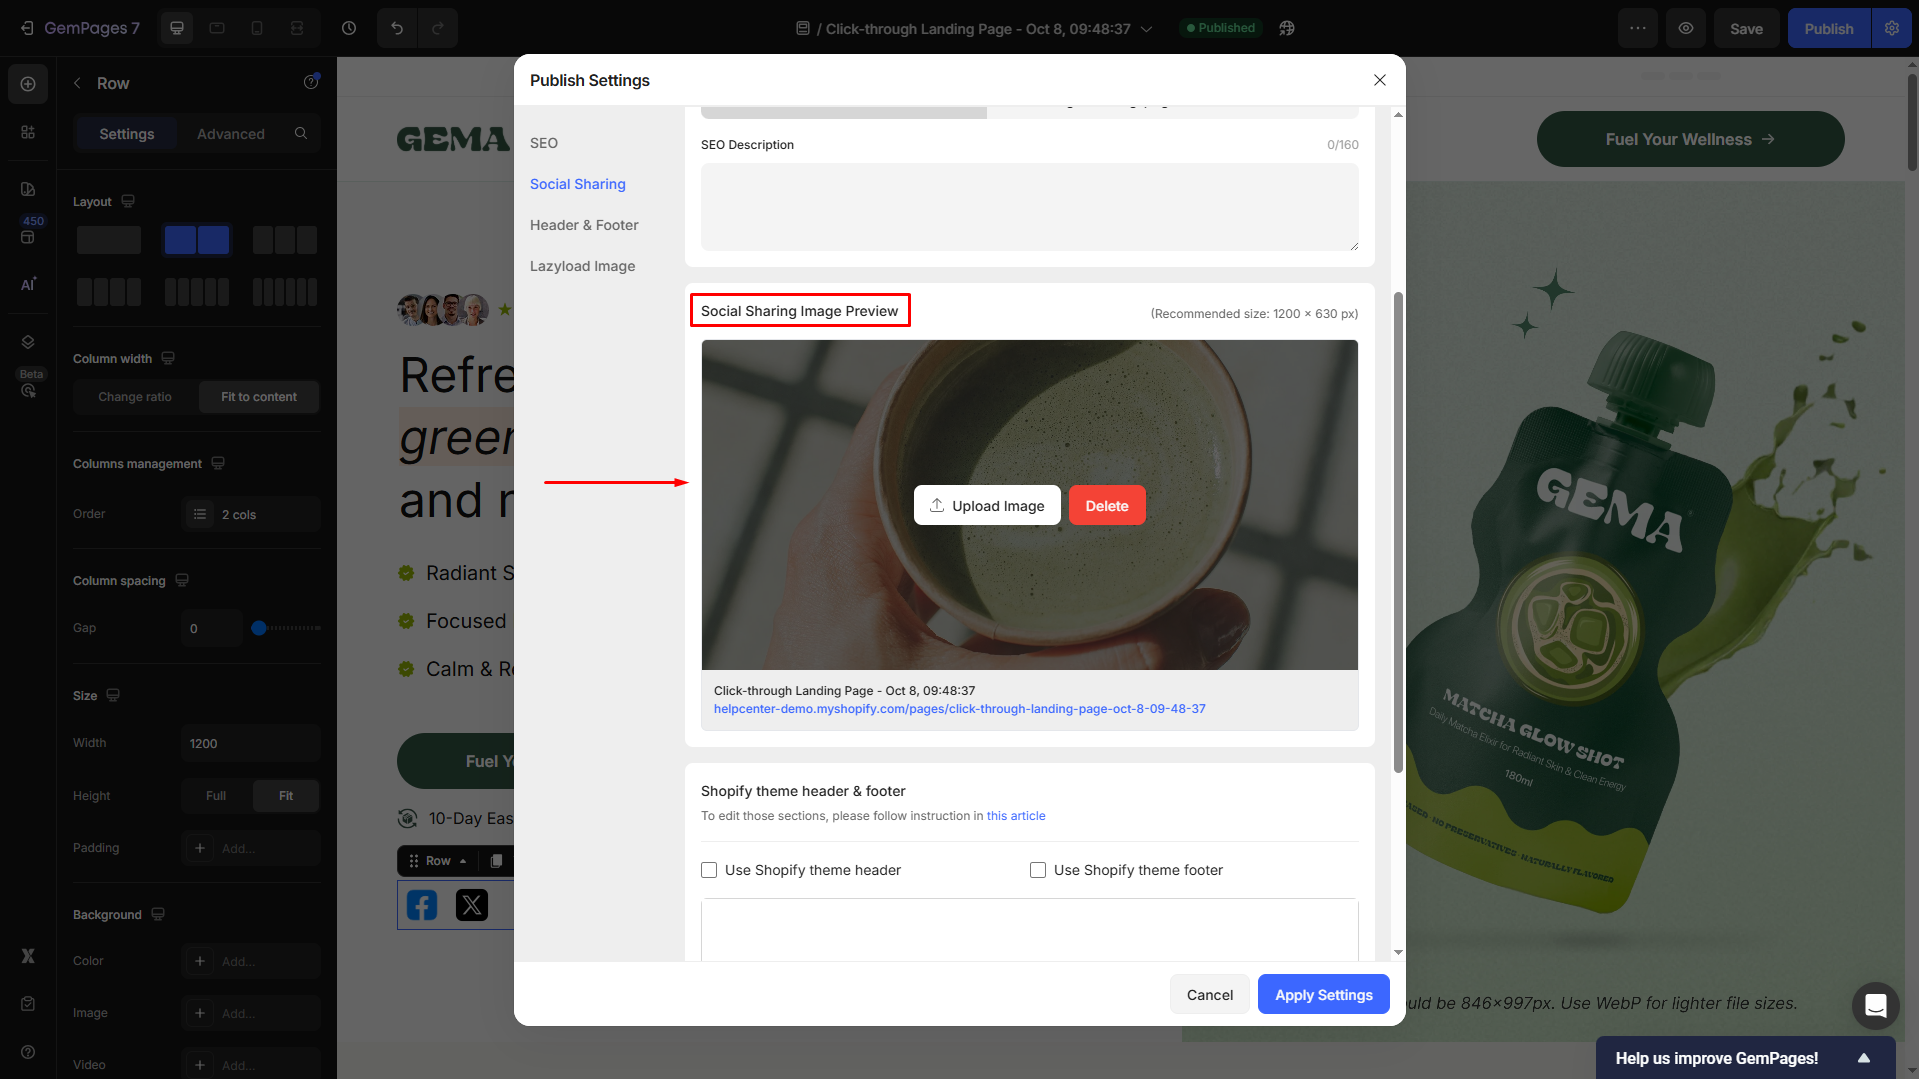
Once done, click Apply Settings.
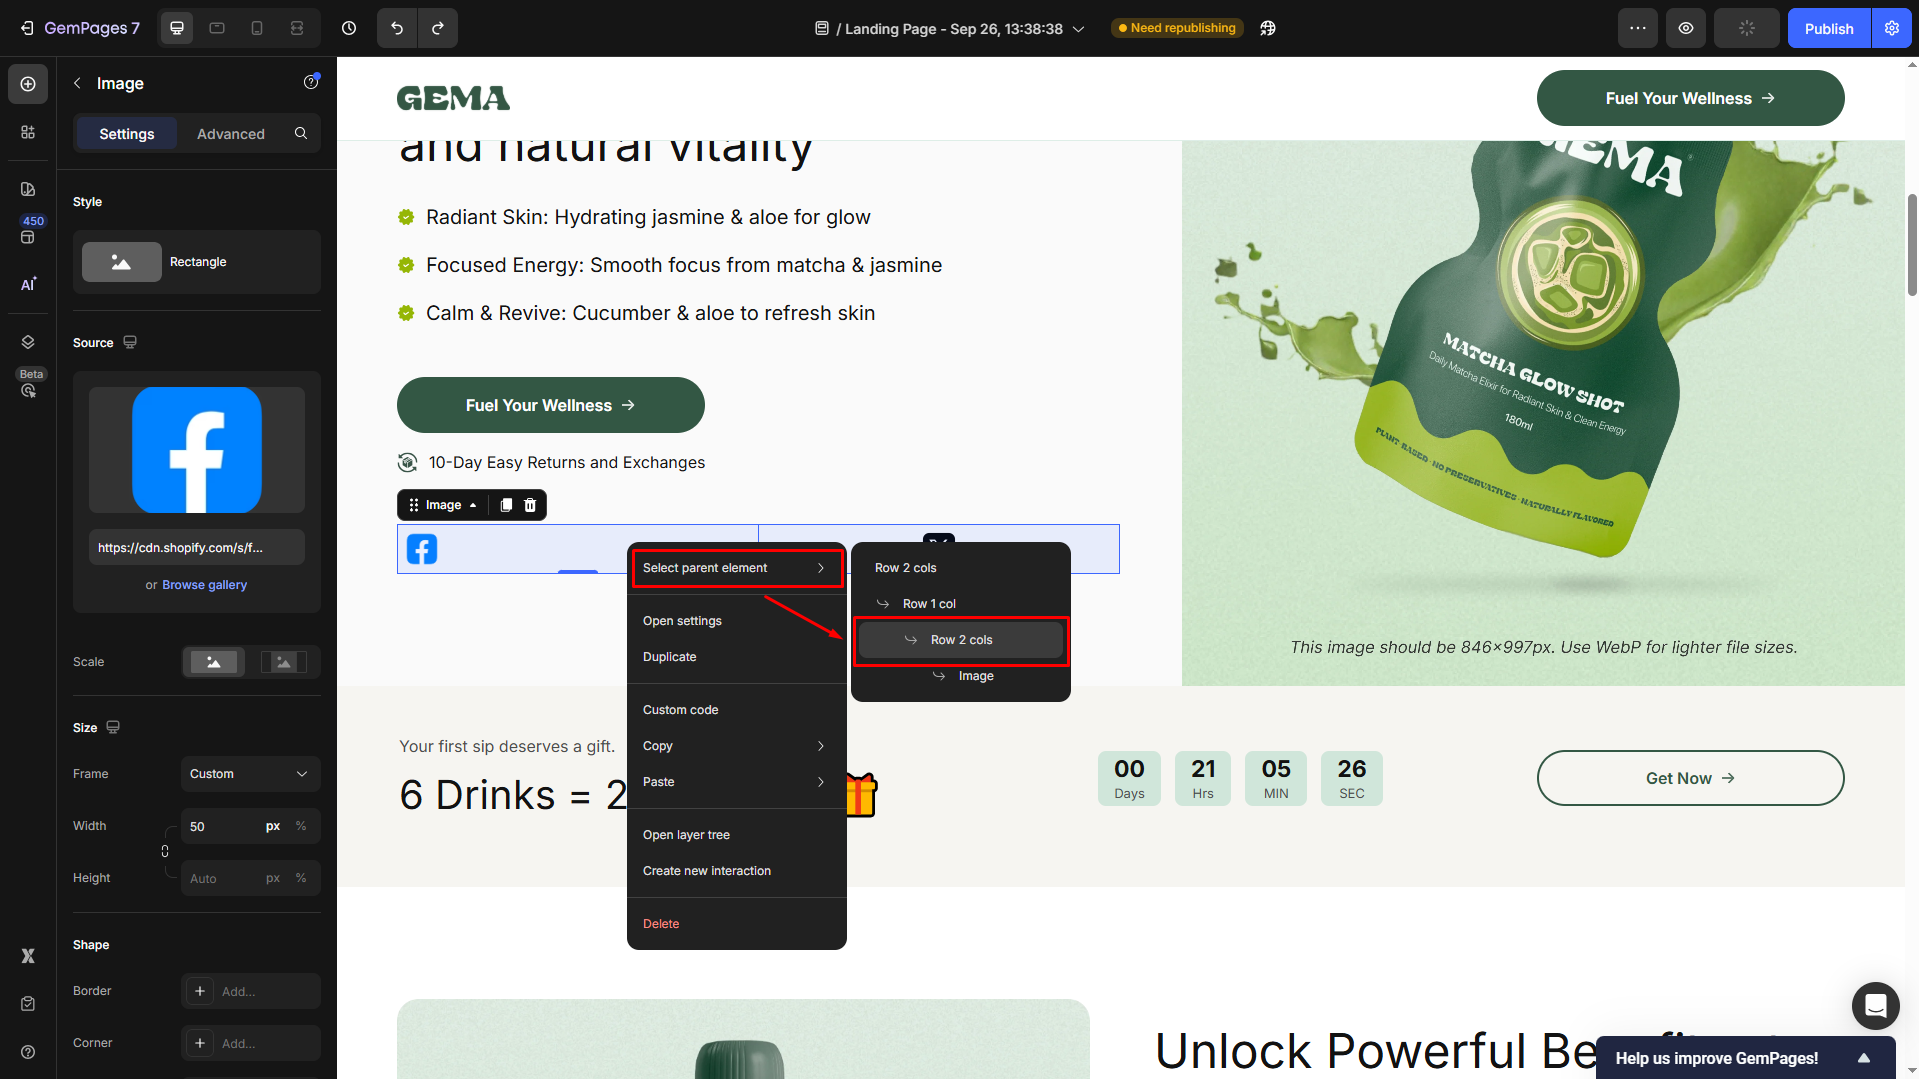
Step 4: Adjust the size and configure the spacing
- Click on the image and scroll down to the Size section in the left sidebar.
From here, you can select your preferred frame and adjust the width & height of the logo image.

For example, we set the Width = 50 px.
- Right-click and select the parent element to go back to the Row’s settings panel.
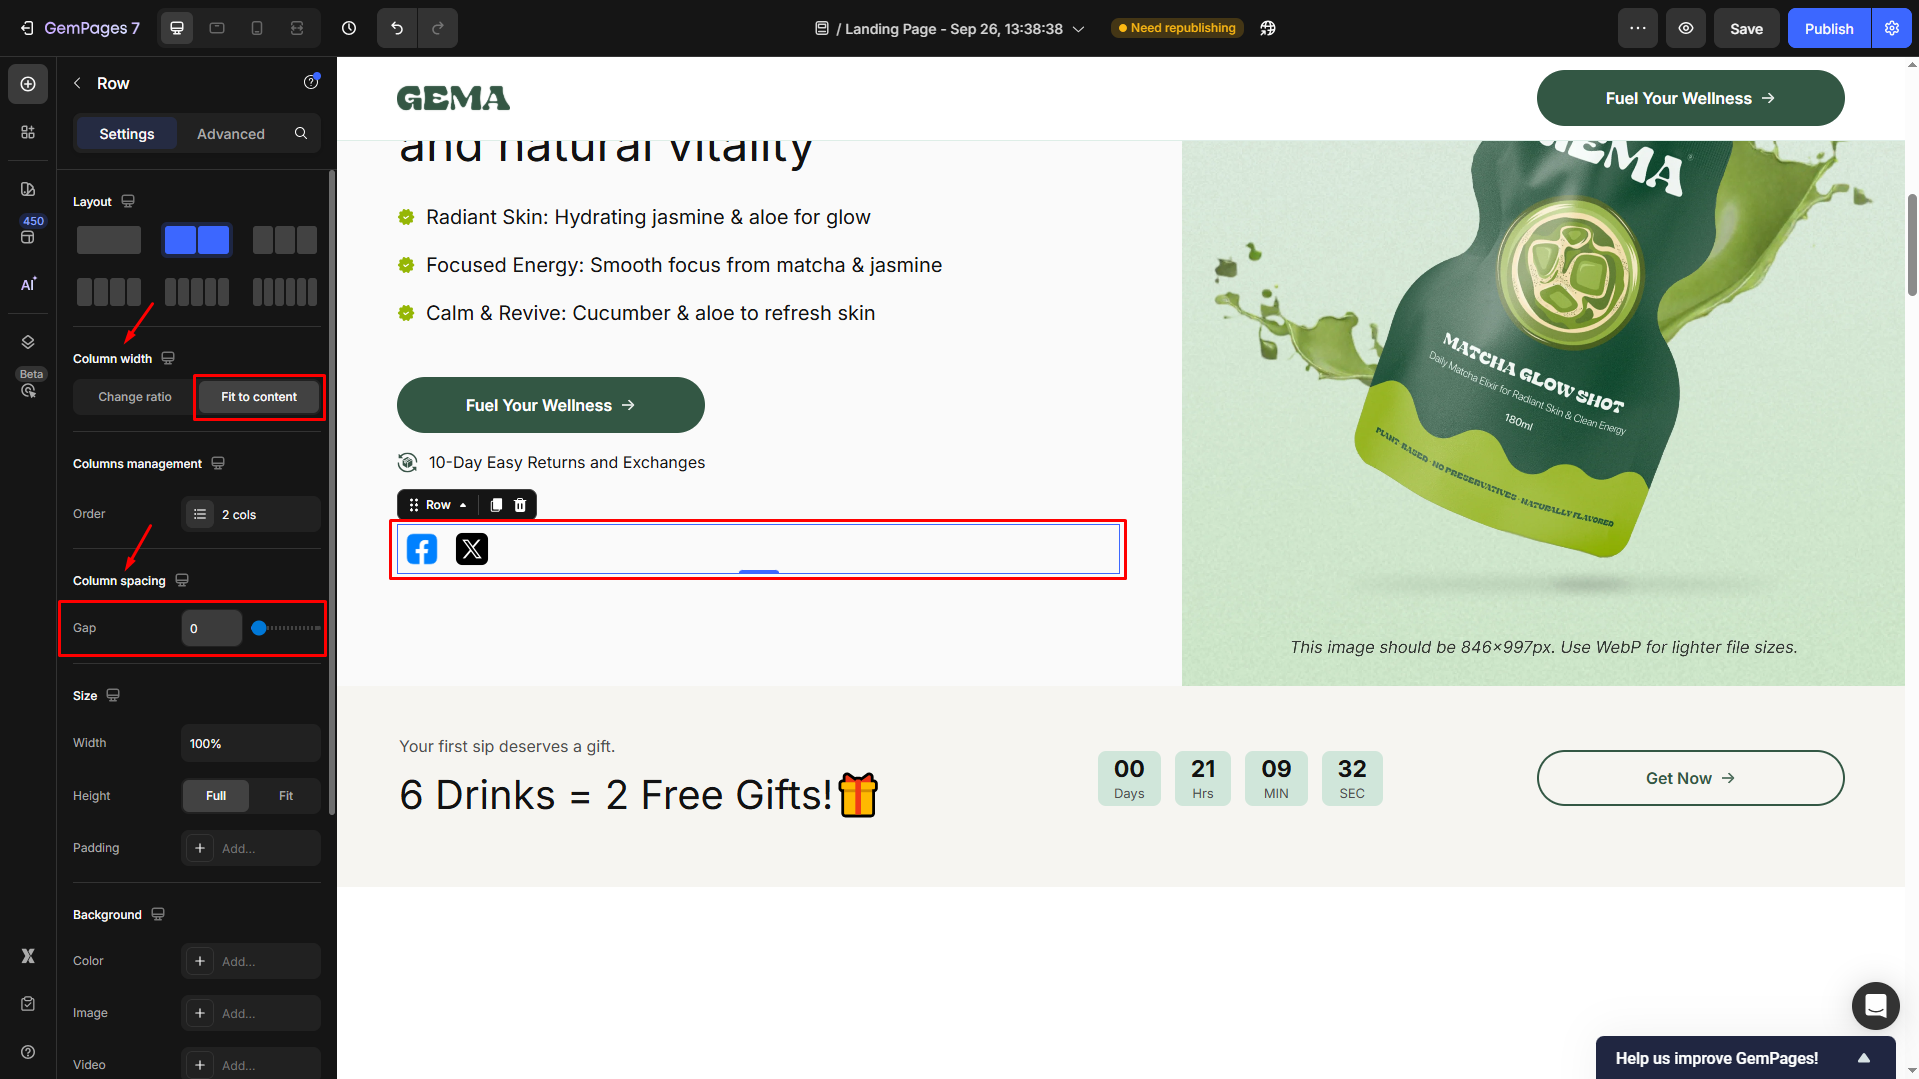
- Change the Column width = Fit to content, and adjust the Gap = 0 under the Column spacing section.
Step 5: Save and publish
Once done, save the changes and hit Publish to republish your page. Then, you can check the result in your live store.
Result:


Thank you for your comments