


What is Google Tag Manager?
Google Tag Manager (GTM) is a free tag management system that allows you to add and manage multiple tracking scripts on your Shopify store without editing your theme code every time. Using GTM, you can manage:
- Google Analytics 4 tracking
- Facebook Pixel
- Conversion events (purchase, form submission, add-to-cart)
- Custom tags for marketing and analytics tools
This guide covers two methods for installation: via Shopify’s Google & YouTube app (easier) or manual code injection (more control), plus how to test GTM with GemPages-built pages.
Before starting, ensure you have:
1. GTM Account & Container ID
Sign up at Google Tag Manager.
Create a container for your Shopify store and copy the Container ID (GTM-XXXXXXX).
2. Shopify Admin Access
Must have permission to edit themes or insert scripts.
3. Tracking Plan
Identify the events you want to track: page views, add-to-cart, checkout, purchases, form submissions.
How to Install Google Tag Manager on Shopify
Here is the step-by-step process to add GTM to Shopify:
Method 1: Install Google Tag Manager Using the Google & YouTube App (Easier)
This method is recommended if you want a quick setup with minimal configuration.
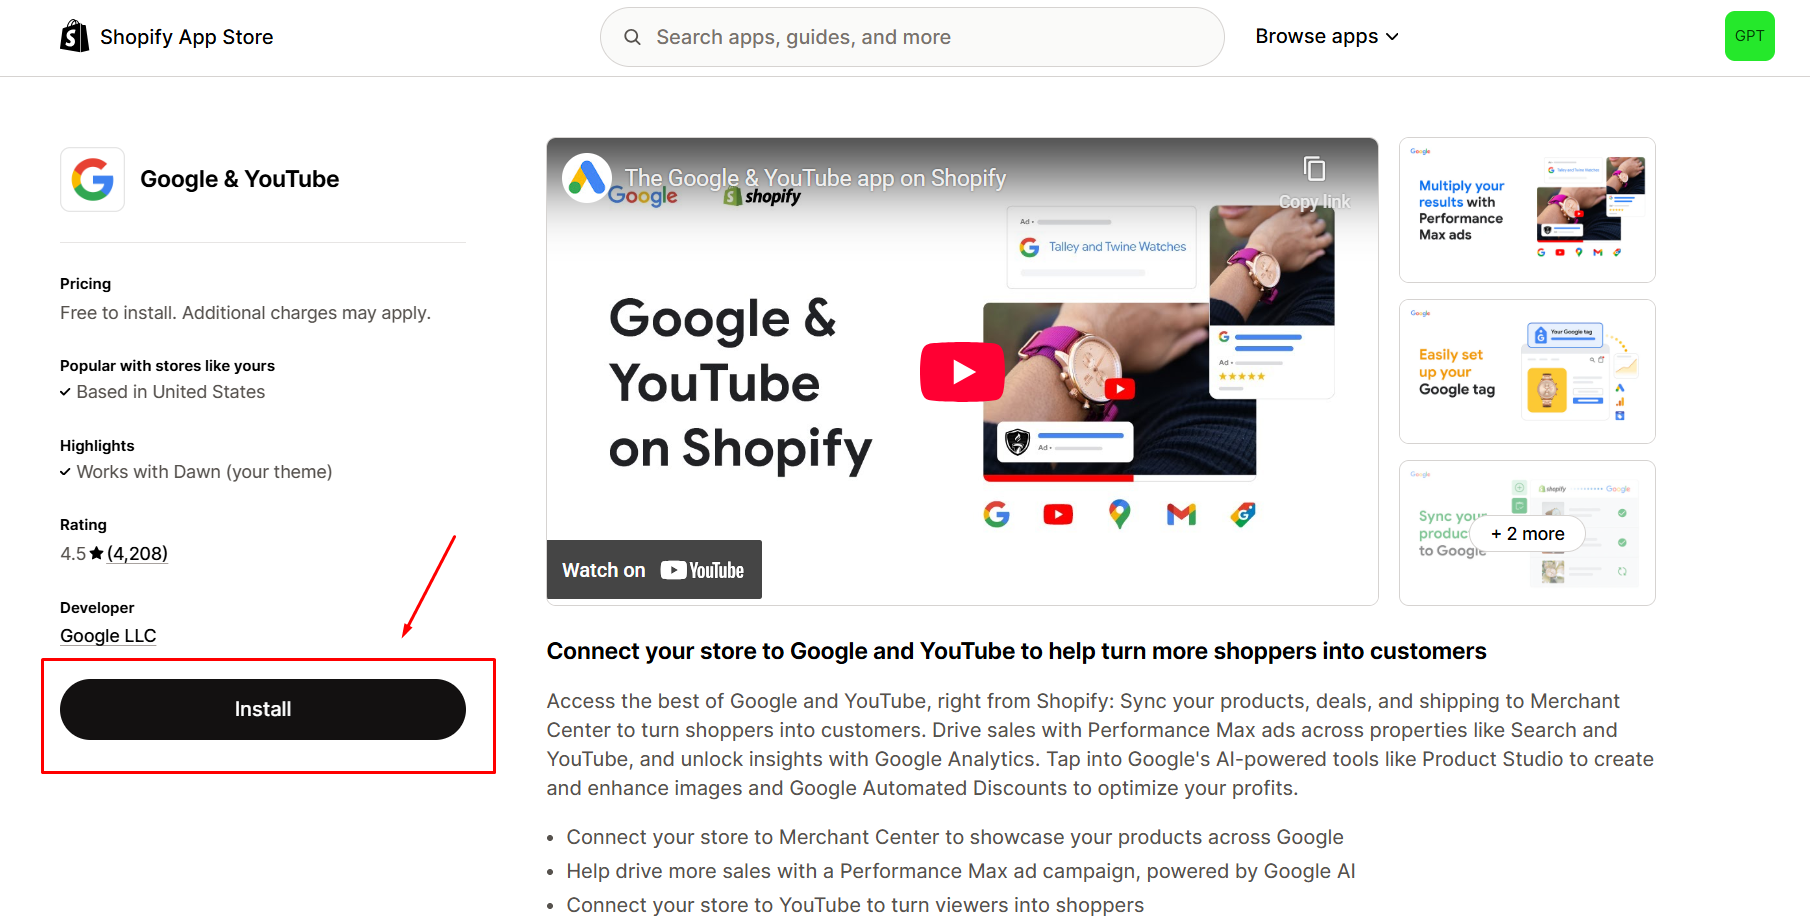
Step 1: Go to Shopify Apps Store → Google & YouTube. Click Install.
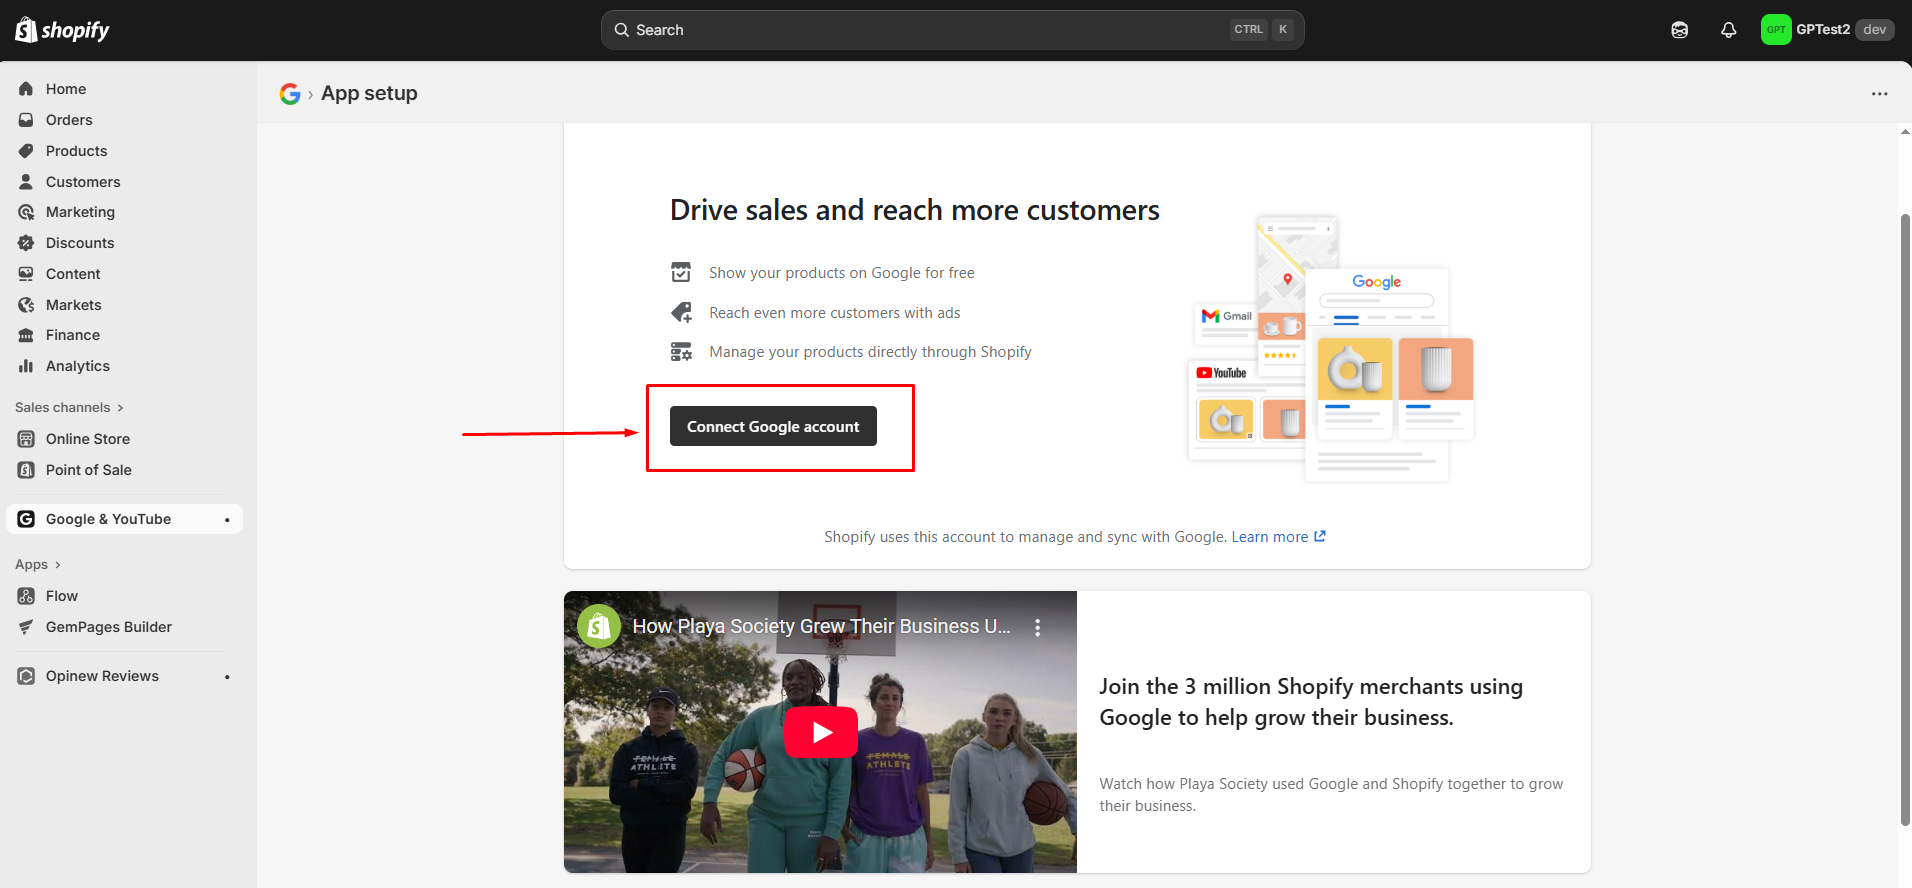
 Step 2: Once installed, Click Connect Google account to connect your Google Ads account and enable conversion tracking.
Step 3: Enter your GTM Container ID when prompted.
Step 4: Choose which tags to enable, such as Analytics 4, Ads, or conversion events.
Step 5: Complete the setup and verify tag firing using GTM Preview or Google Tag Assistant.
Limitations of this method
- Less control over advanced or custom events
- Not ideal if you plan to use GTM extensively with custom triggers
Method 2: Install Google Tag Manager Manually (Recommended for Advanced Tracking)
This method provides full control and is recommended if you:
- Use custom events
- Track interactions on GemPages pages
- Want full flexibility inside GTM
Step 1: Open your theme code
- In Shopify admin, go to Online Store → Themes
- Click ⋯ → Edit code
- Open the file layout/theme.liquid

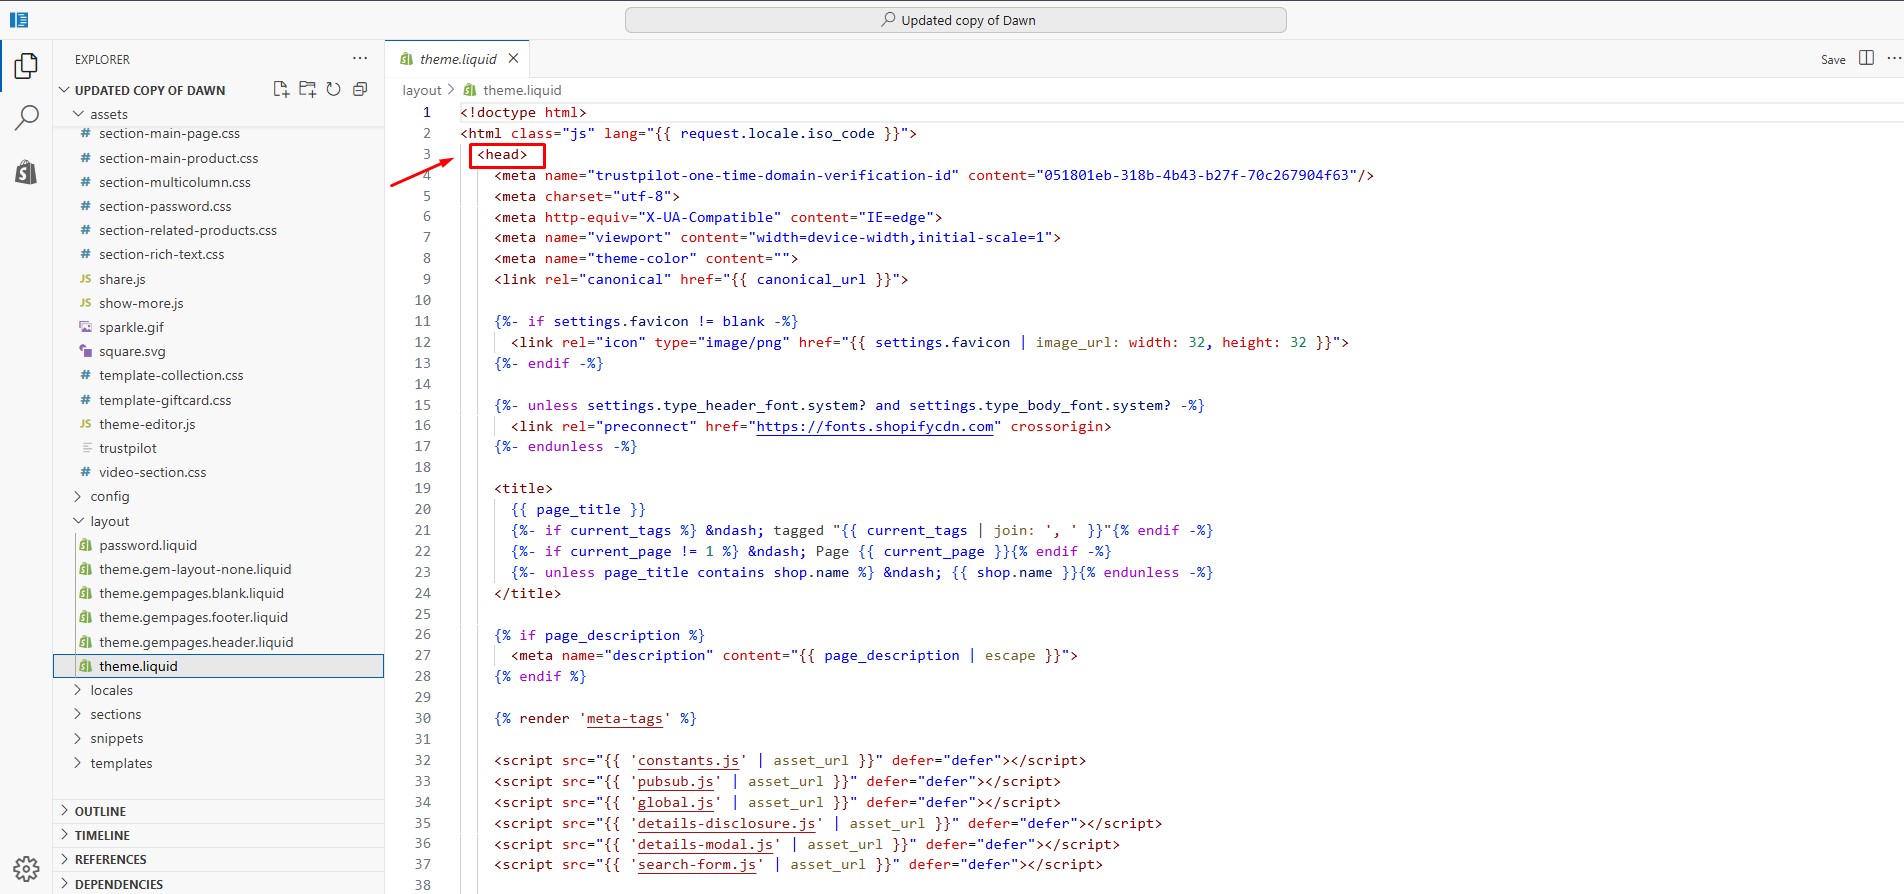
Step 2: Add the GTM script to the <head>
Paste the following code immediately after the opening <head> tag:
<!-- Google Tag Manager -->
<script>
(function(w,d,s,l,i){
  w[l]=w[l]||[];
  w[l].push({'gtm.start': new Date().getTime(), event:'gtm.js'});
  var f=d.getElementsByTagName(s)[0],
      j=d.createElement(s),
      dl=l!='dataLayer' ? '&l='+l : '';
  j.async=true;
  j.src='https://www.googletagmanager.com/gtm.js?id='+i+dl;
  f.parentNode.insertBefore(j,f);
})(window,document,'script','dataLayer','GTM-XXXXXXX');
</script>
<!-- End Google Tag Manager -->
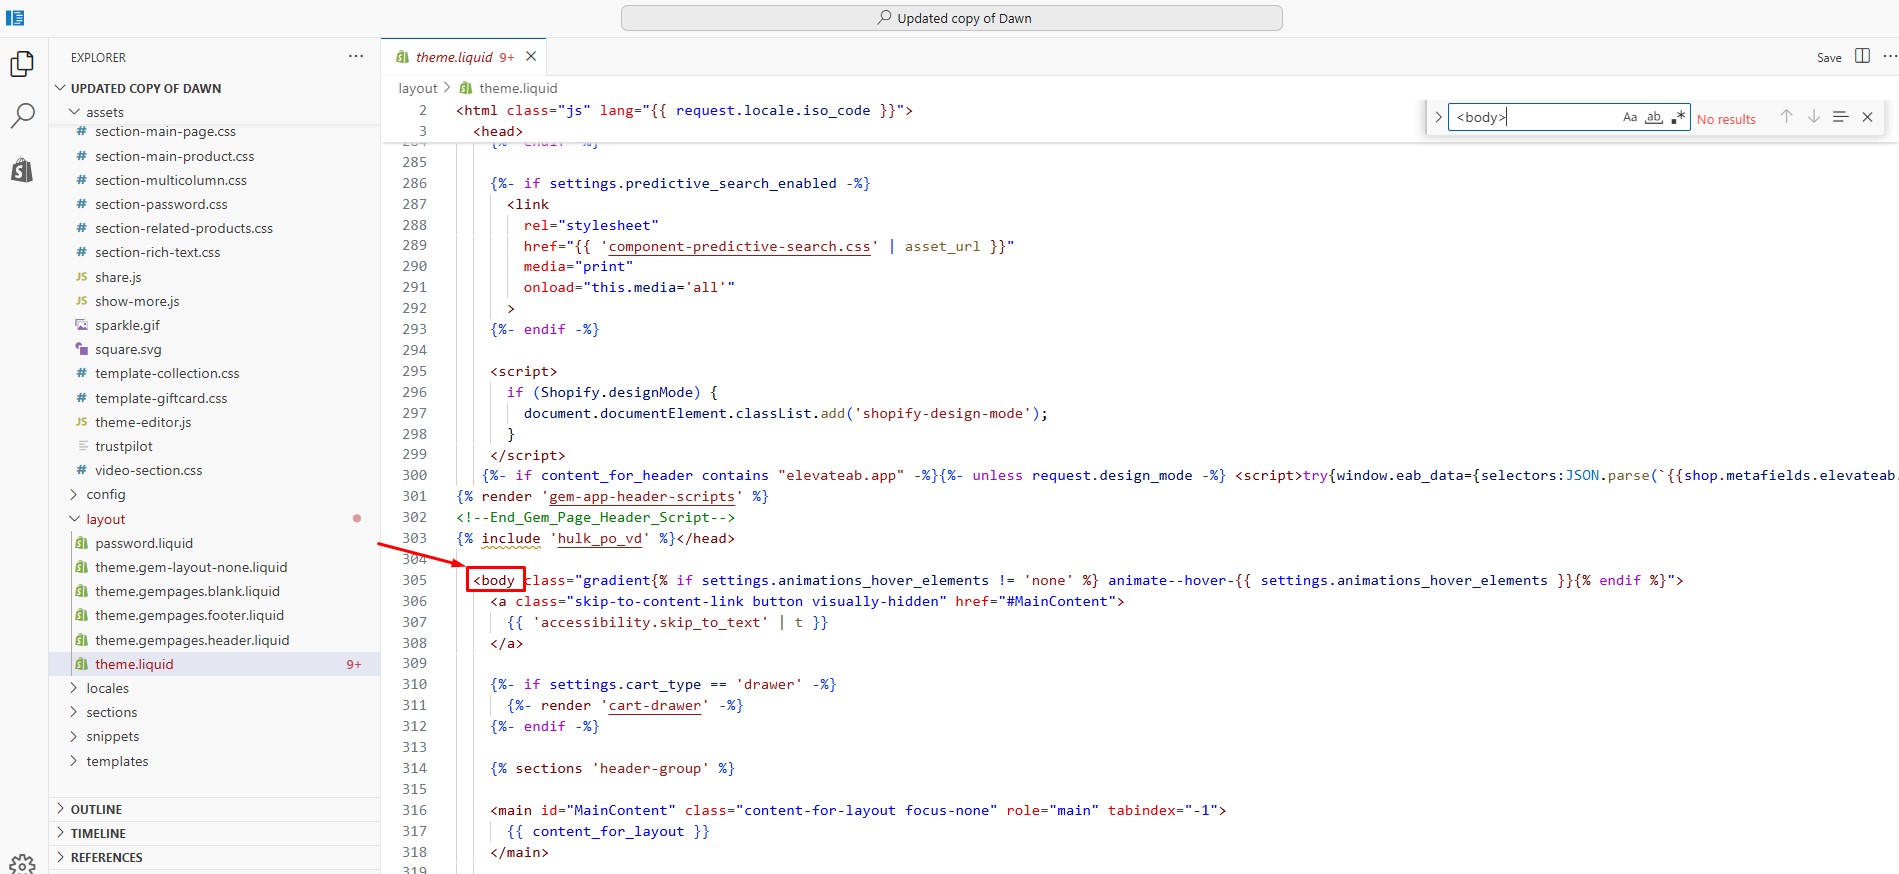
Step 3: Add the GTM noscript after <body>
In the same file, paste the following code immediately after the opening <body> tag:
<!-- Google Tag Manager (noscript) -->

<noscript>
  <iframe src="https://www.googletagmanager.com/ns.html?id=GTM-XXXXXXX"
    height="0" width="0" style="display:none;visibility:hidden"></iframe>
</noscript>

<!-- End Google Tag Manager (noscript) -->
Step 4: Save your changes
Click Save to publish the changes to your live storefront.
Limitations of this method:
Shopify restricts tracking inside checkout depending on your plan:
- Shopify Basic, Shopify, Advanced: GTM does not fully load on checkout pages. Purchase tracking is limited.
- Shopify Plus: GTM can be added to checkout using checkout.liquid or Checkout Extensibility, allowing full purchase tracking.
This limitation is controlled by Shopify, not by GemPages or GTM.
Using Google Tag Manager with GemPages Pages
If GTM is installed correctly, it works automatically on all pages built with GemPages, including:
- Landing pages
- Product pages
- Collection pages
You can use GTM to:
- Track button clicks using CSS selectors
- Track form submissions from GemPages Form elements
- Trigger events based on user interactions without editing page code
No additional setup is required inside GemPages.
How to Test Your GTM Installation
You can verify that GTM is working using either method:
Option 1: GTM Preview mode
- Open Google Tag Manager
- Click Preview
- Enter your store URL
- Confirm that Tag Assistant connects successfully
Option 2: Page source check
- Open your storefront
- Right-click → View page source
- Search for GTM-
Common Issues and Troubleshooting
- Do not install GTM twice: Avoid using both the Google & YouTube app and manual code injection at the same time.
- Avoid mixing direct GA4 scripts with GTM: Use GTM as the single source of tracking to prevent duplicate events.
- Always test before publishing tags: Use Preview mode to confirm events fire correctly.


Thank you for your comments