


GemPages V7 does not currently support automatically splitting the Product Description into Accordion items based on heading tags like in V6. However, you can achieve the same result by preparing your Shopify product description with heading tags and adding a custom code snippet to each Accordion item. This guide walks you through the full process so you can implement it yourself without needing help from the technical team.
Overview
This method works by dividing your Product Description into multiple sections using HTML heading tags. The Accordion element will then display each section based on its order using a custom code snippet. You can use any heading level (H1–H6). The snippet uses <h4> as an example, but you can replace it with whichever heading tag you use in your product description.
Step 1: Prepare the Product Description in Shopify
- Go to Shopify Admin → Products → open your product.
- In the Description field, divide your content into separate sections.
- Insert a heading tag before each section. You must use the same heading type consistently (H1–H6). The code will detect whichever heading tag you use.
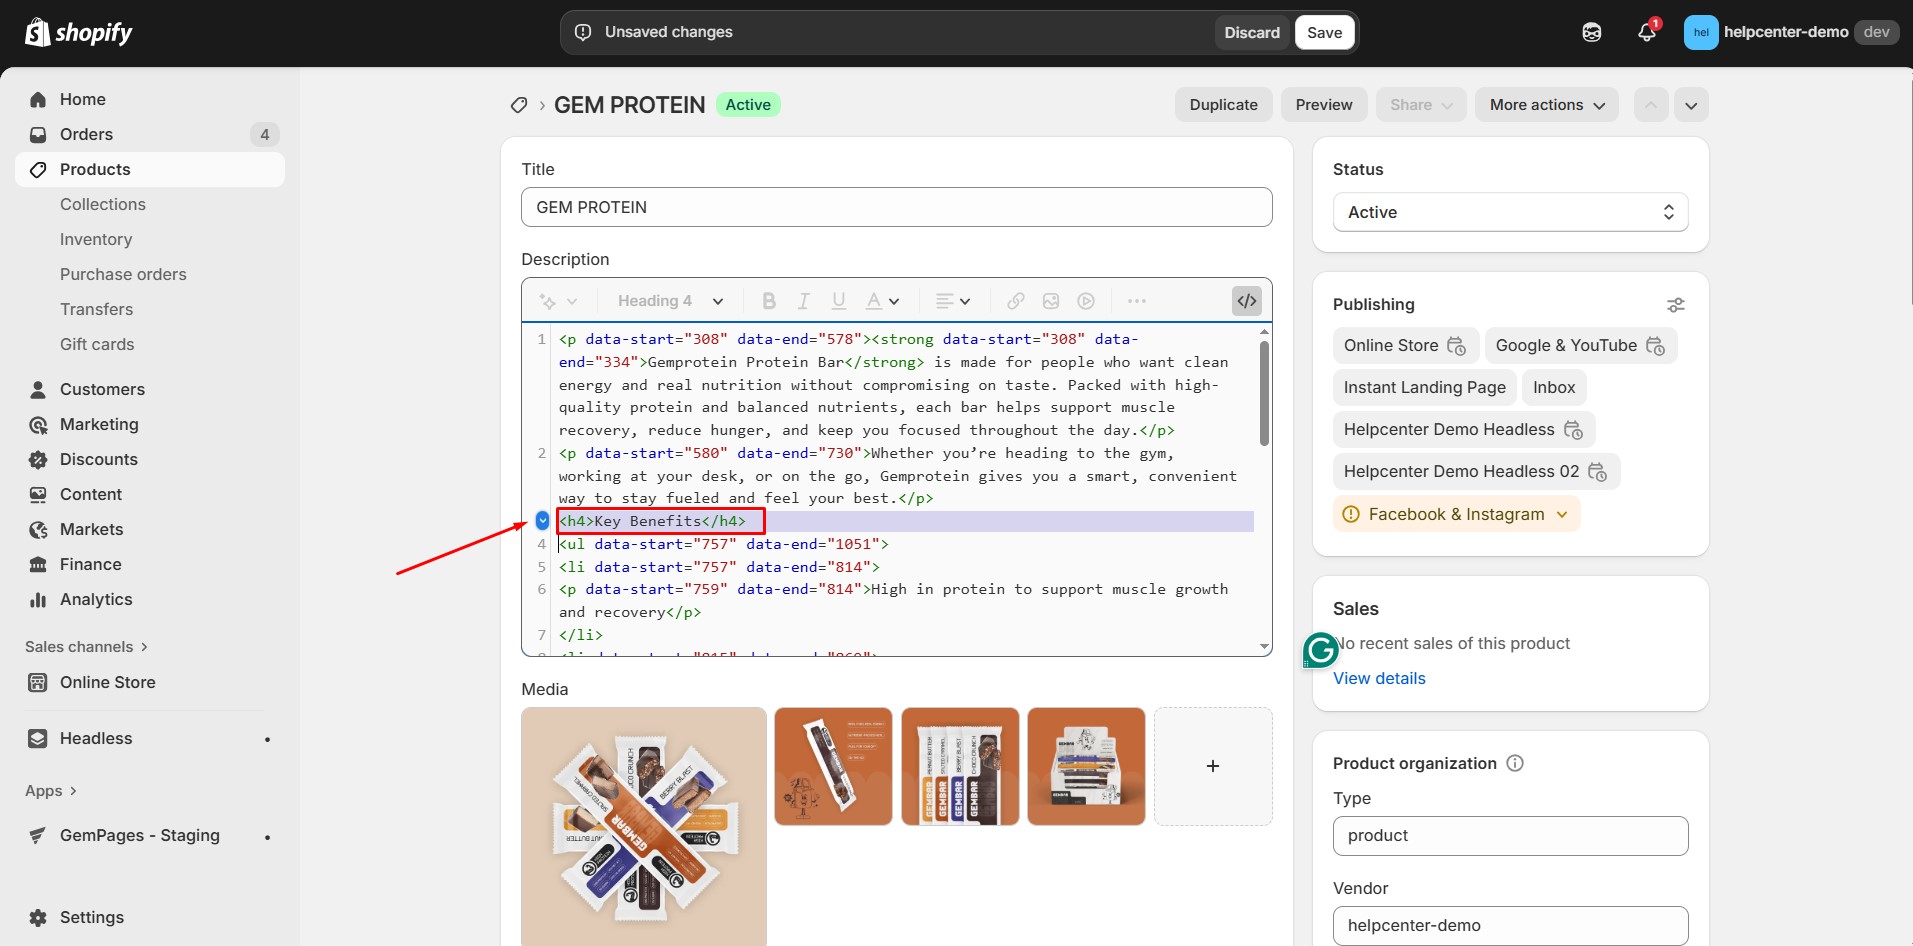
Example structure:
<h4>Material</h4>
Details about the material…
<h4>Size Guide</h4>
Sizing details…
<h4>Warranty</h4>
Warranty information…
If you prefer using H2, H3, H5, etc., simply replace <h4> with your preferred heading tag and adjust the code later.
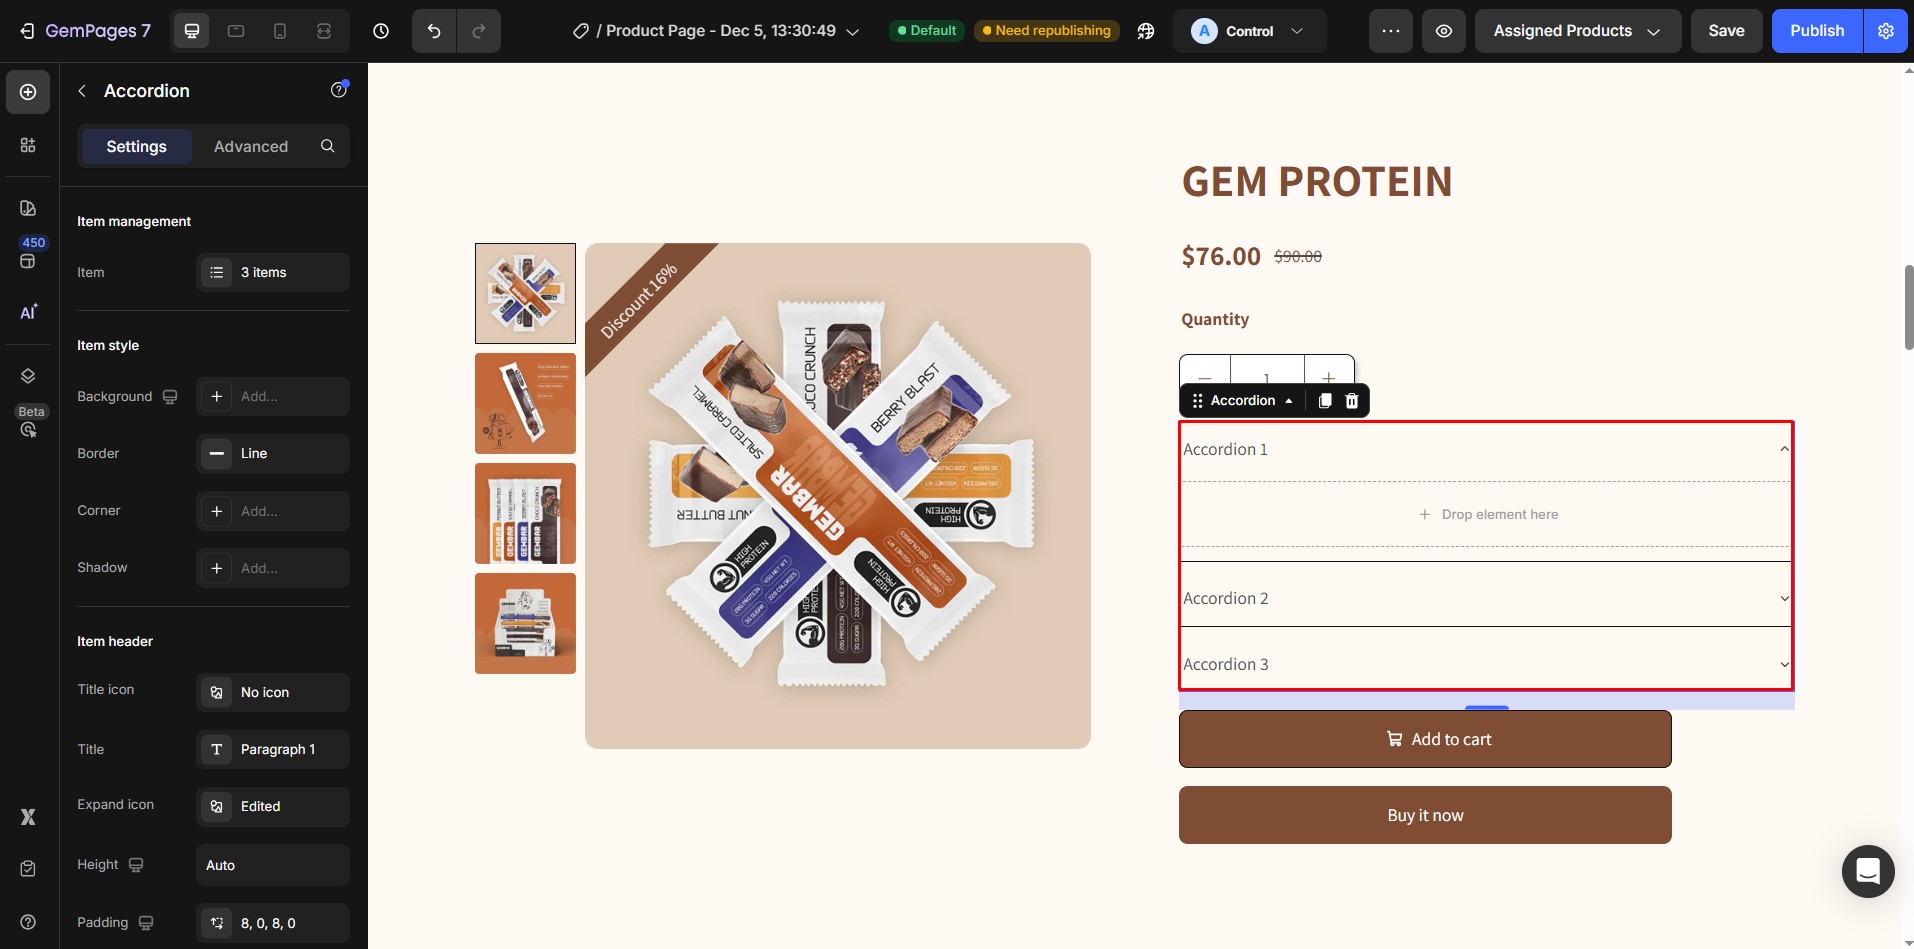
Step 2: Add an Accordion Element in GemPages
- Open GemPages Editor (V7).
- Drag and drop the Accordion element into your page.
- Create as many Accordion items as needed. Each item will display one section of your product description.
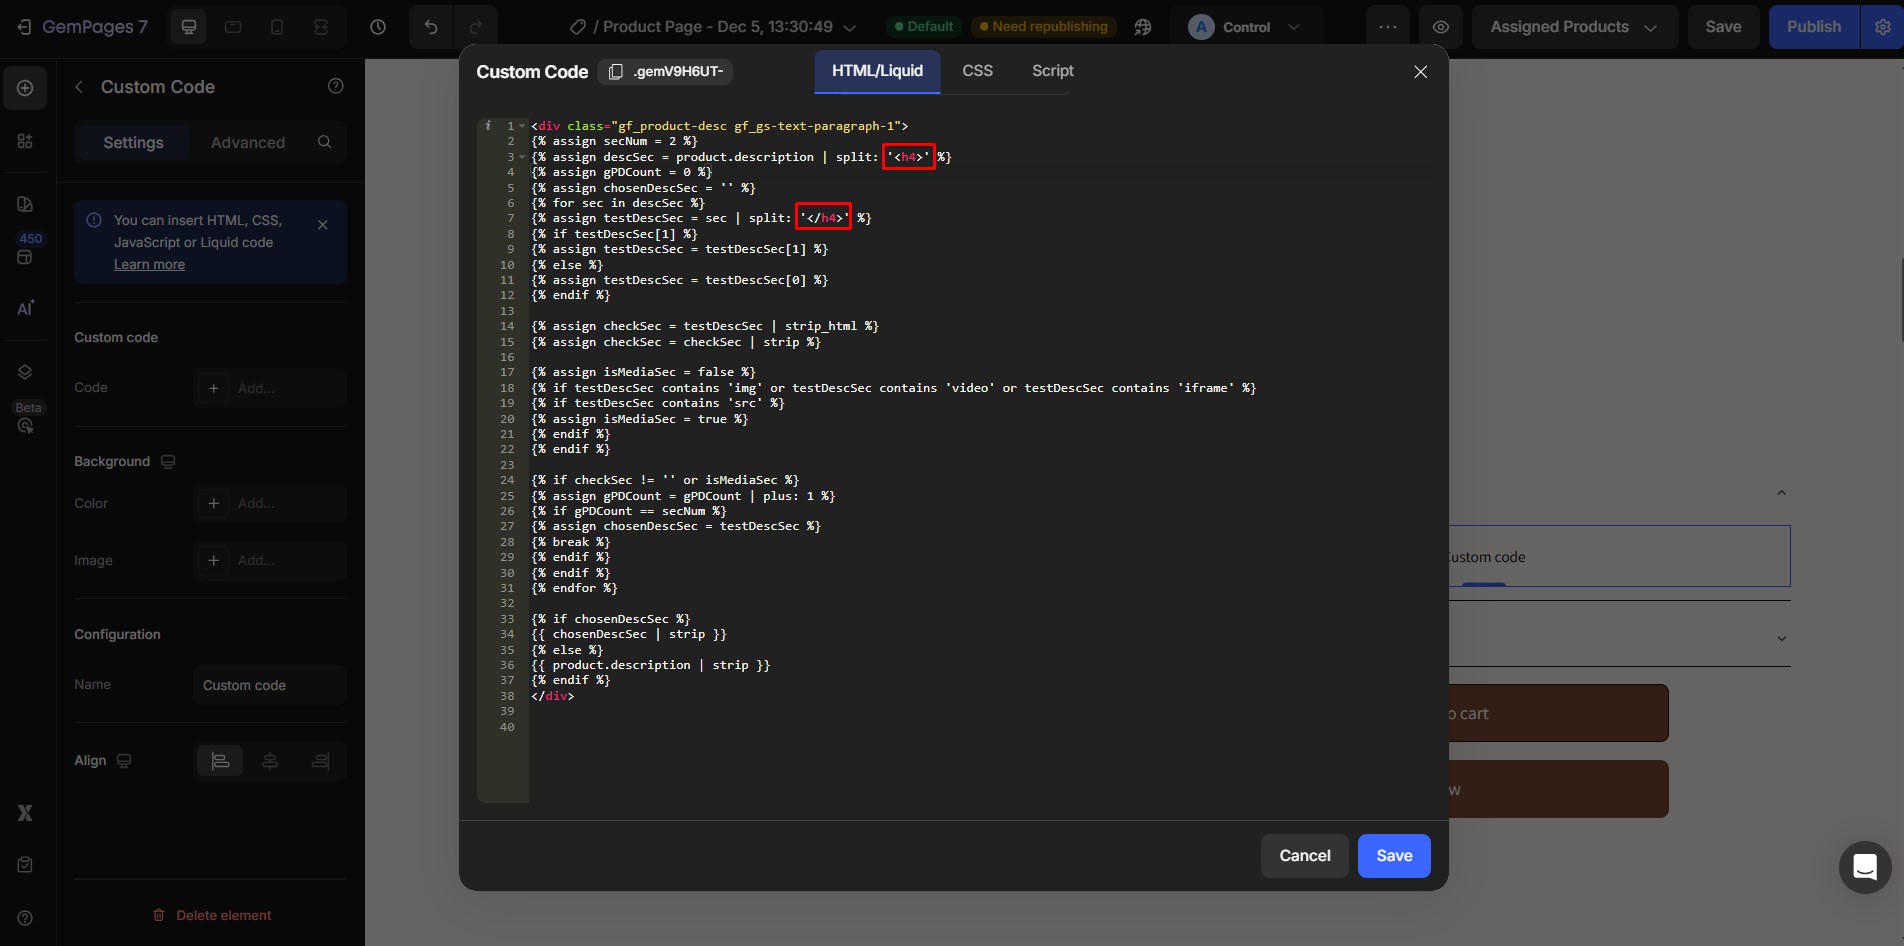
Step 3: Insert the Custom Code Snippet
You will insert the same code snippet into each Accordion item. Then, for each tab, you will only change the value of secNum depending on the section you want to display.
How to insert:
1. Select an Accordion item.
 2. In the left sidebar, open Content → Custom Code.
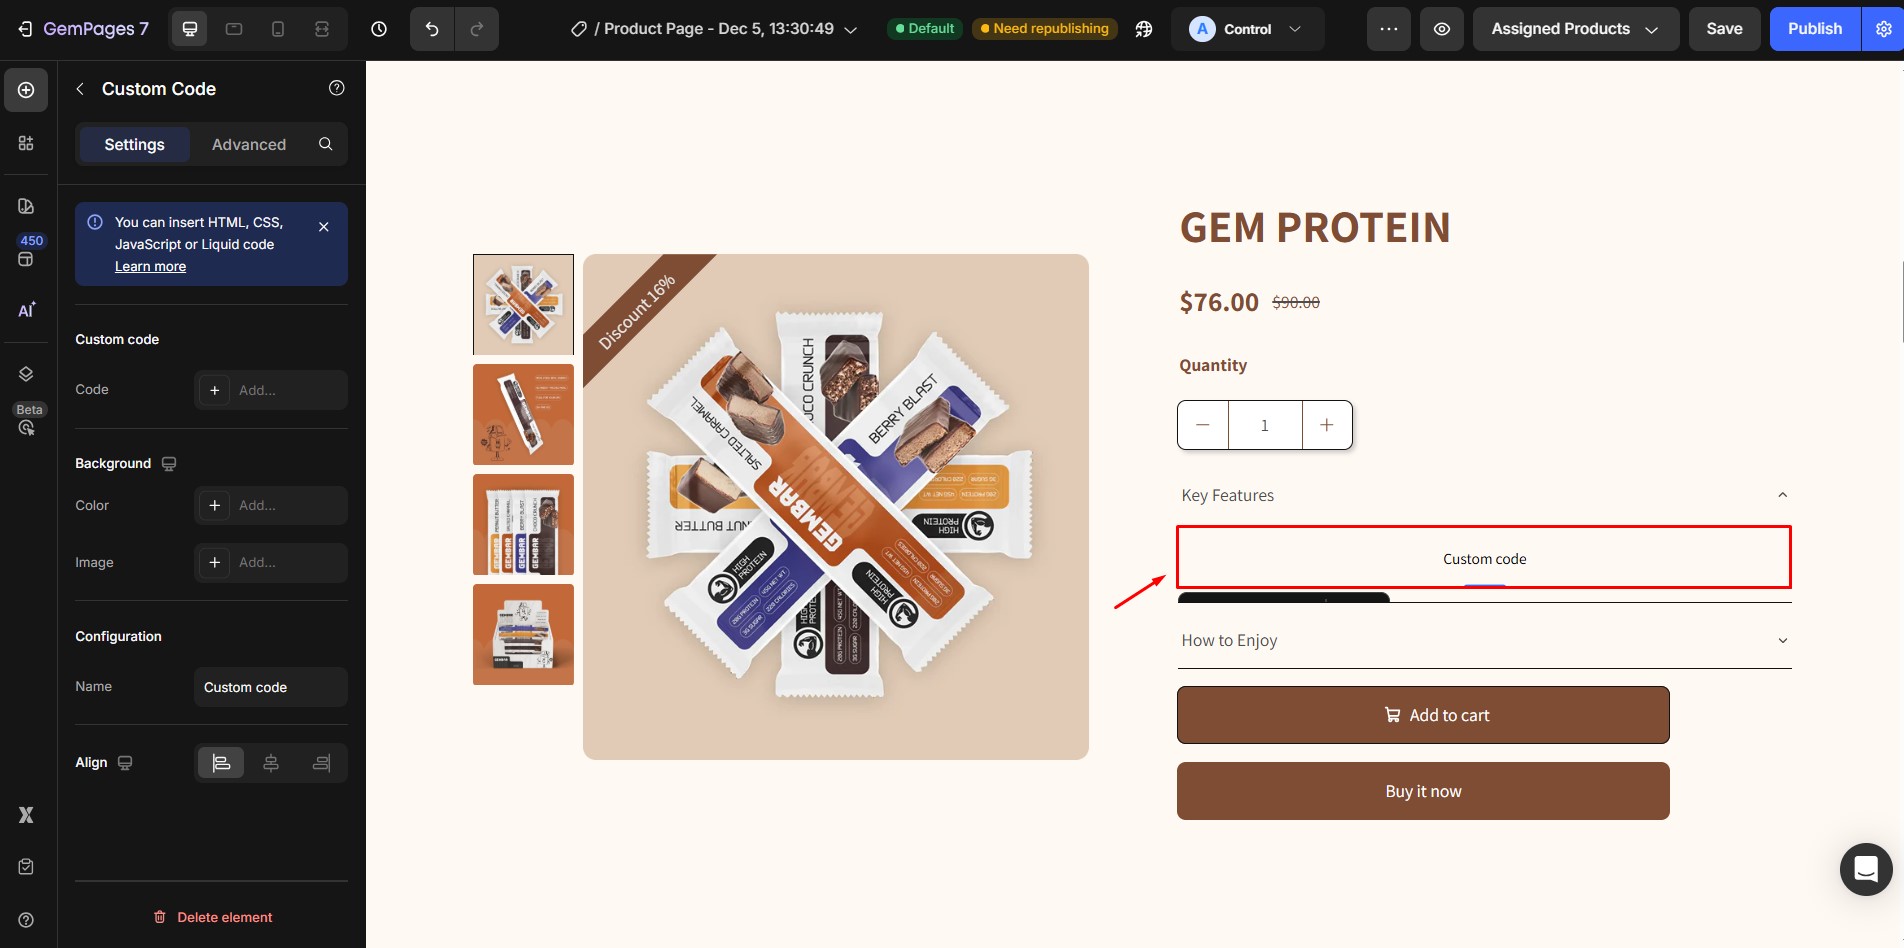 3. Paste the full code snippet.

| <div class=”gf_product-desc gf_gs-text-paragraph-1″>
{% assign secNum = 2 %} {% assign descSec = product.description | split: ‘<h4>’ %} {% assign gPDCount = 0 %} {% assign chosenDescSec = ” %} {% for sec in descSec %} {% assign testDescSec = sec | split: ‘</h4>’ %} {% if testDescSec[1] %} {% assign testDescSec = testDescSec[1] %} {% else %} {% assign testDescSec = testDescSec[0] %} {% endif %}
{% assign checkSec = testDescSec | strip_html %} {% assign checkSec = checkSec | strip %}
{% assign isMediaSec = false %} {% if testDescSec contains ‘img’ or testDescSec contains ‘video’ or testDescSec contains ‘iframe’ %} {% if testDescSec contains ‘src’ %} {% assign isMediaSec = true %} {% endif %} {% endif %}
{% if checkSec != ” or isMediaSec %} {% assign gPDCount = gPDCount | plus: 1 %} {% if gPDCount == secNum %} {% assign chosenDescSec = testDescSec %} {% break %} {% endif %} {% endif %} {% endfor %}
{% if chosenDescSec %} {{ chosenDescSec | strip }} {% else %} {{ product.description | strip }} {% endif %} </div> |
Step 4: Adjust the Heading Tag
The code uses <h4> as an example because it is the most common heading used in product descriptions.
 If your product description uses a different heading, replace <h4> with your heading tag inside this part:
{% assign descSec = product.description | split: ‘’ %}
Examples:
If your Shopify description uses <h2>, change to:
{% assign descSec = product.description | split: ‘’ %}
If your description uses <h5>, change to:
{% assign descSec = product.description | split: ‘’ %}
Step 5: Set the Section Number for Each Accordion Item
The variable secNum controls which section appears inside each Accordion item.
For example:
Accordion Tab 1 → secNum = 1
Accordion Tab 2 → secNum = 2
Accordion Tab 3 → secNum = 3
To edit this number, modify this part:
{% assign secNum = 1 %}
Change only the number for each tab.
Step 6: Save and Preview
- Click Save in the GemPages Editor.
- Preview your product page.
- Confirm that each Accordion item displays the correct section of your Product Description.


Thank you for your comments