


Built a beautiful page? Quickly show it to your team, clients, or community without publishing it first using GemPages’ Share Page feature. Preview, feedback, and duplication—all in one link.
This guide will walk you through everything you need to know.
What is the Share Page Feature?
The Share Page feature in GemPages makes collaboration and page reusability easier than ever. By generating a unique link, you can:
- Preview in a live-like environment: Share your designs without needing to publish them.
- Duplicate instantly: Allow teammates or clients to copy the shared page into their own store and start editing right away.
- Collaborate seamlessly: Pass editable versions of pages between team members or collaborators with ease.
How to Use the Share Page Feature
1. How to Share a Page Link
Follow these steps to generate and distribute a share link:
Step 1: Access the Page Listing
From your GemPages dashboard, open the Page Listing section.
Step 2: Choose a Page
Select the page you want to share.
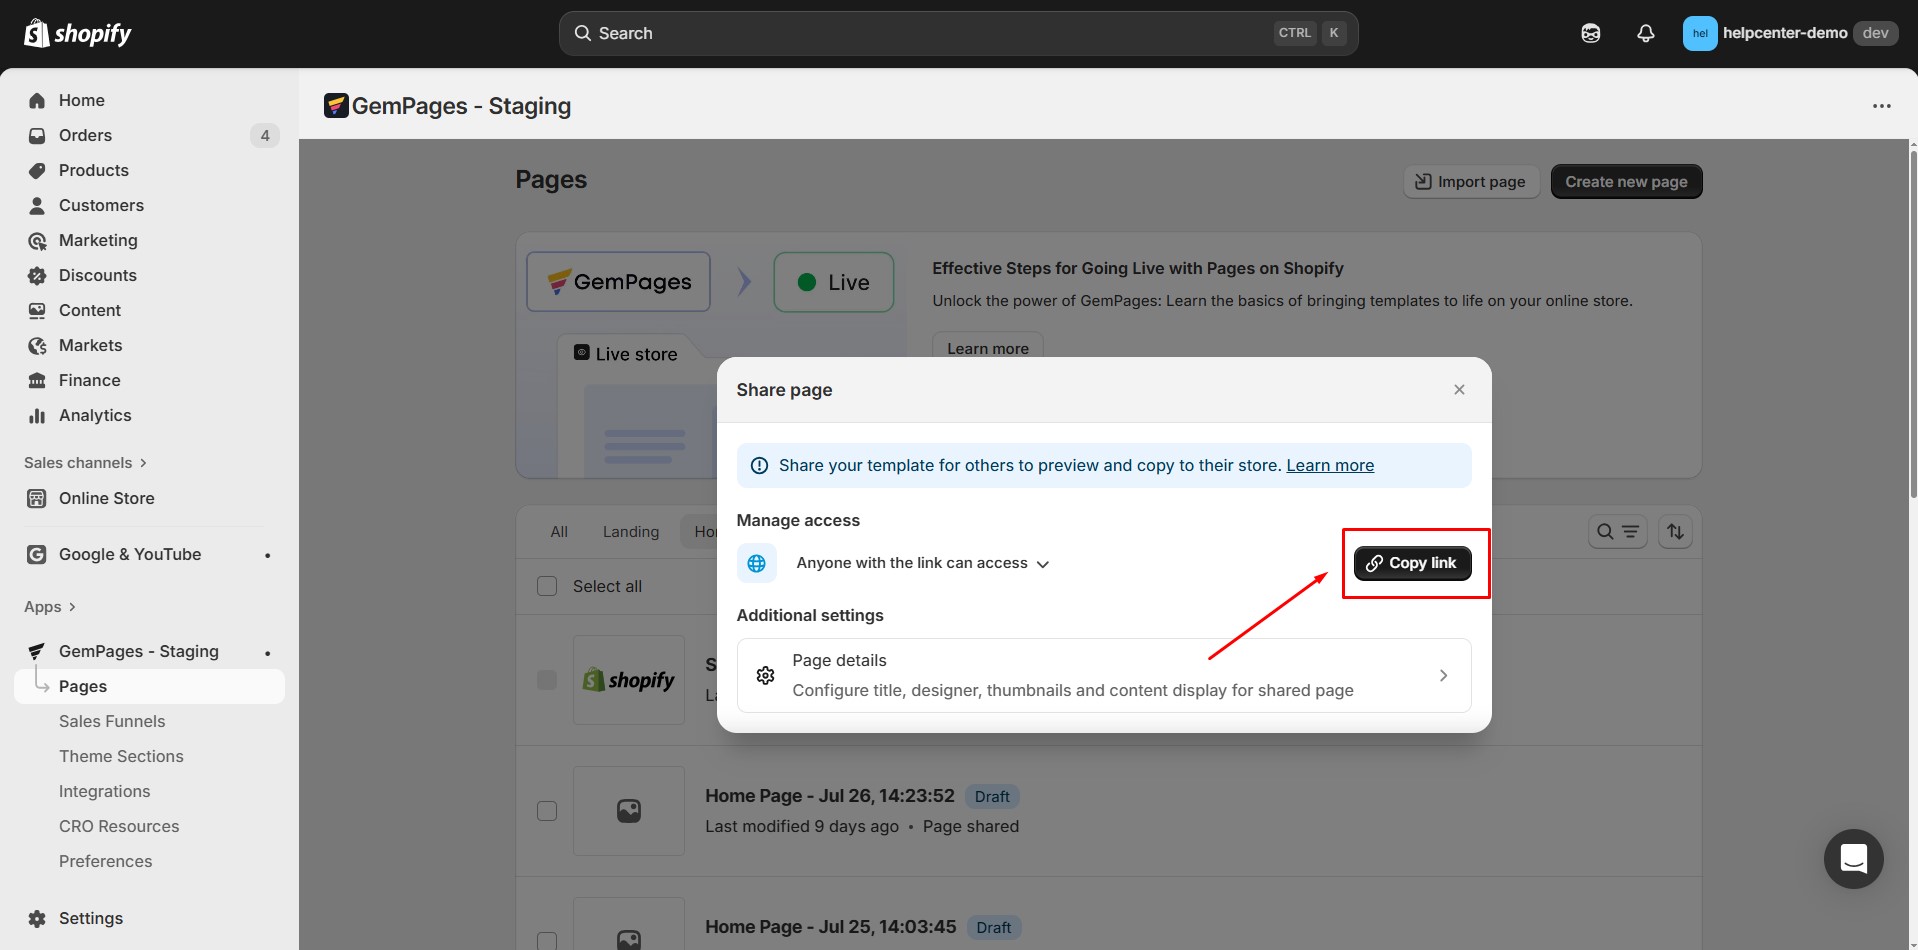
Step 3: Enable Sharing
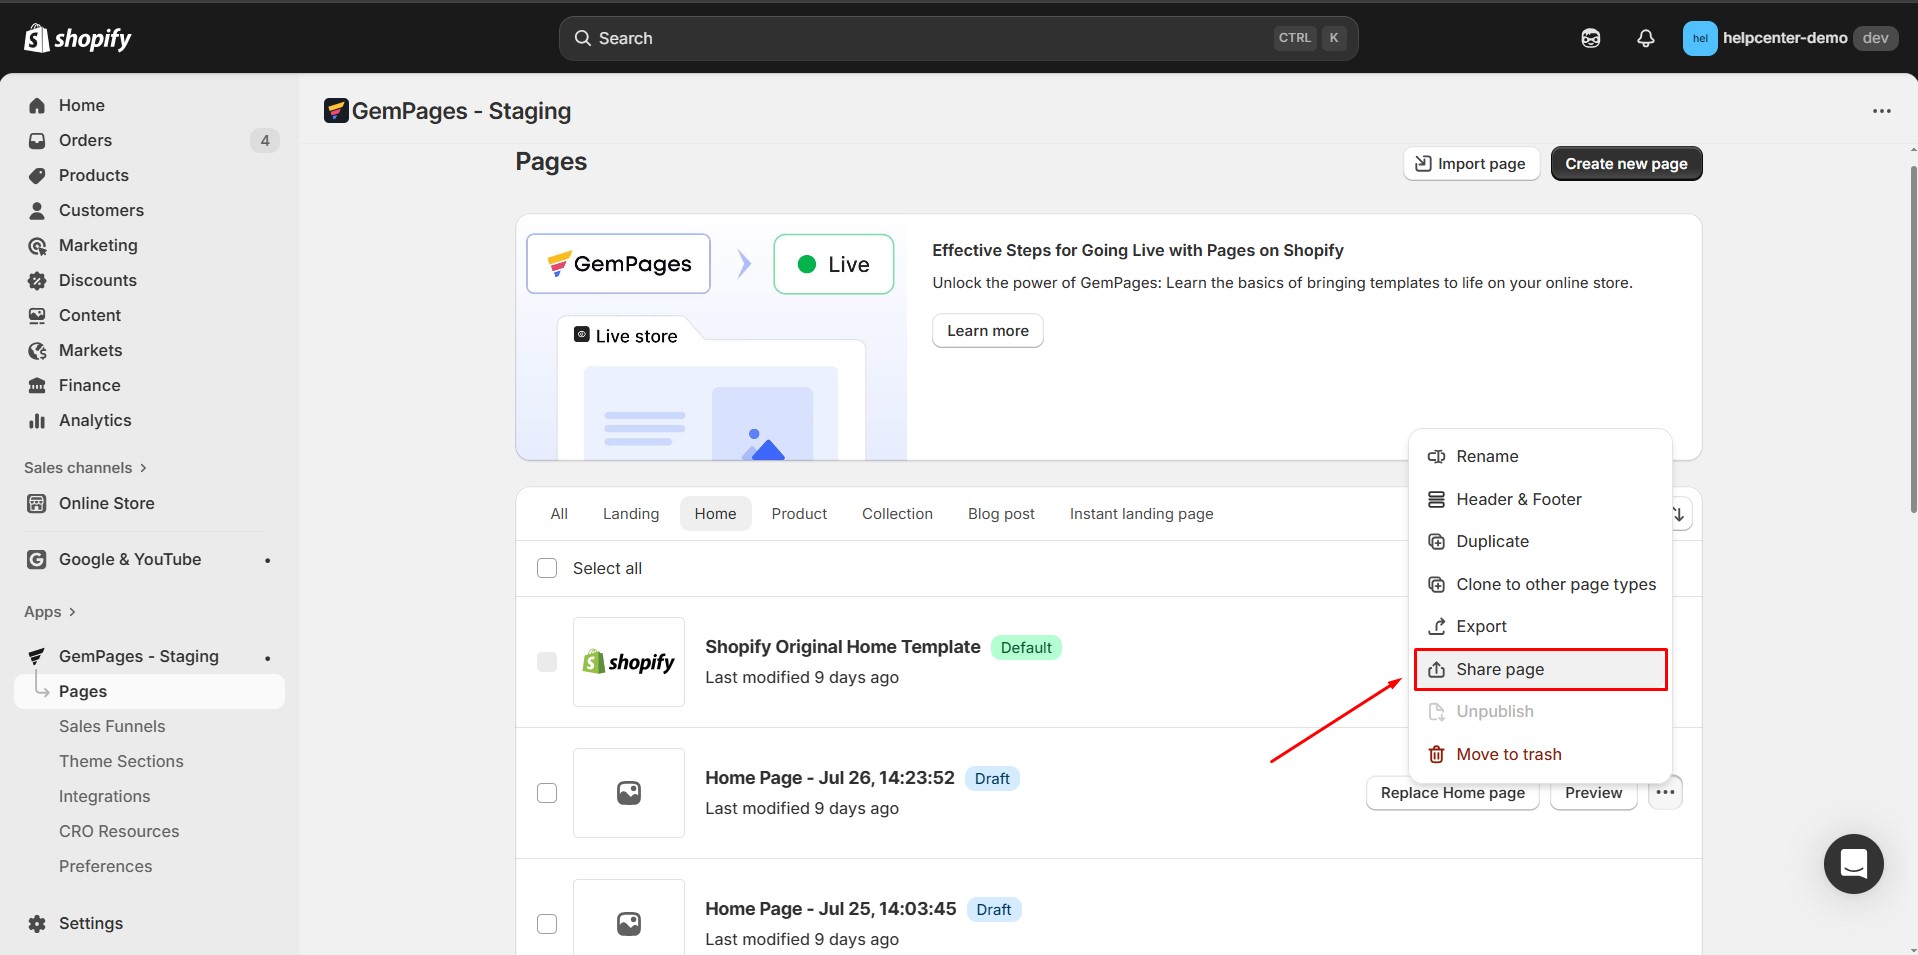
- Click on the Share Page option from the page menu.
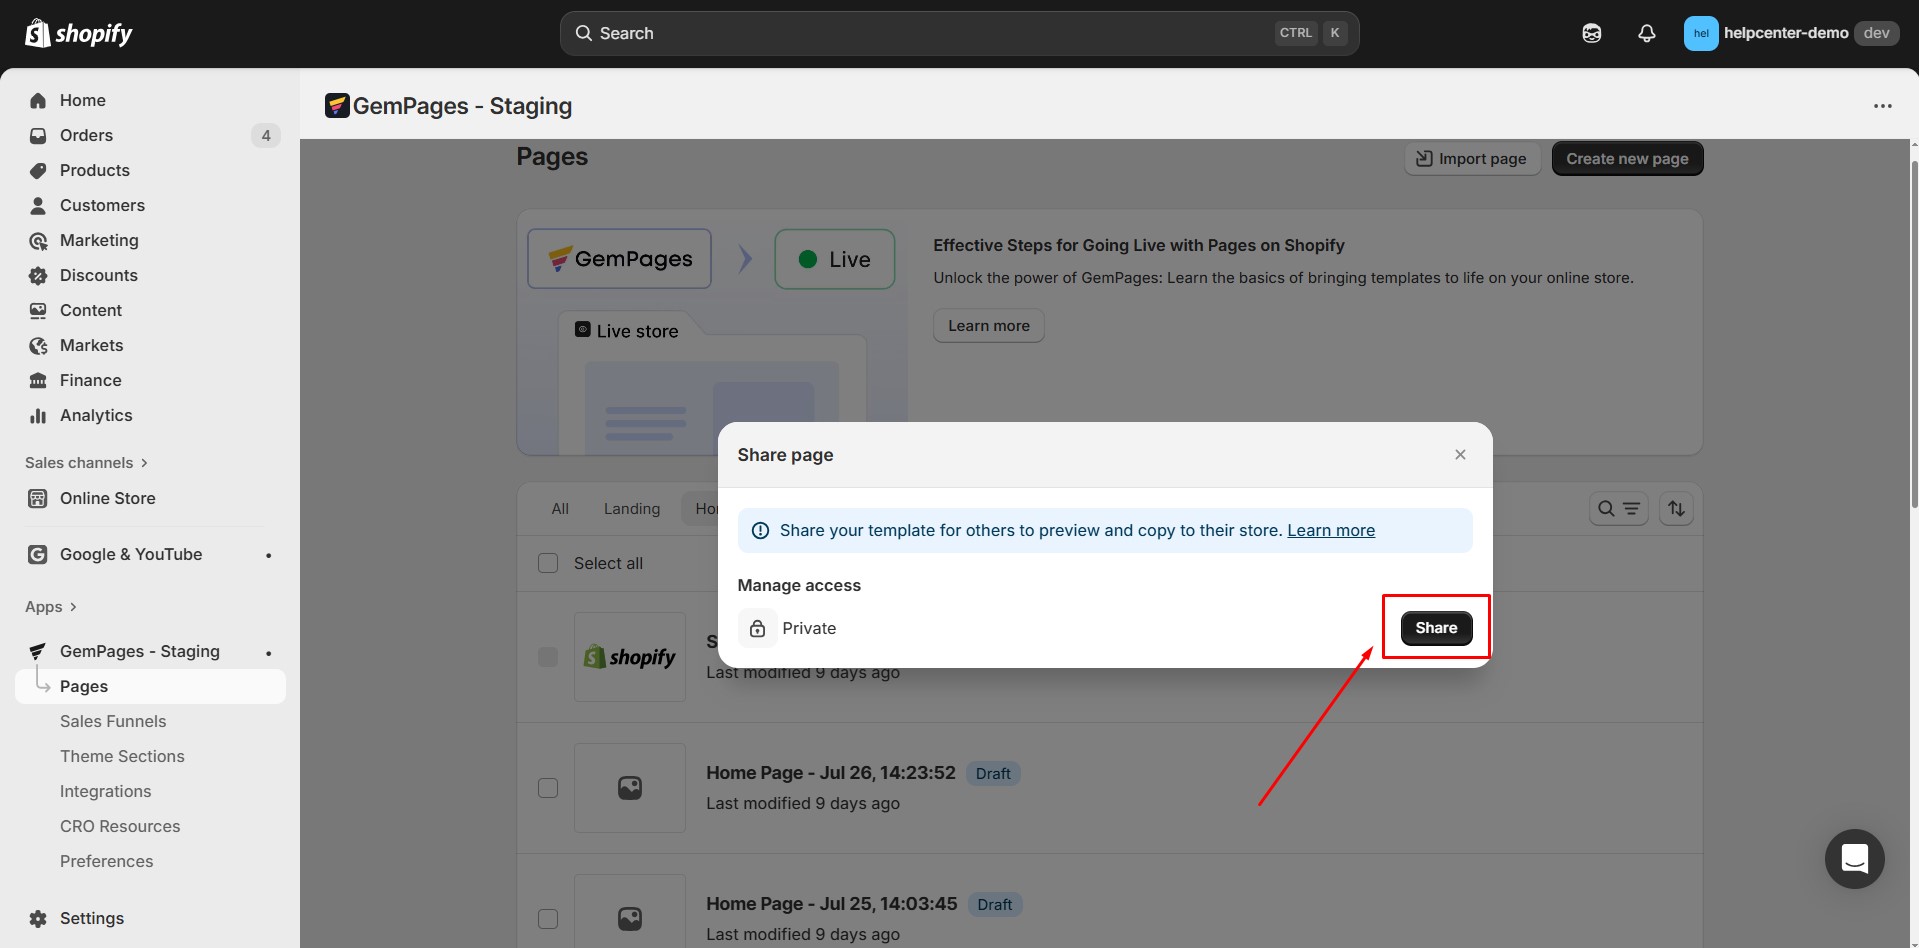
- Select Share > Anyone with the link can access (Public) to make the page accessible.

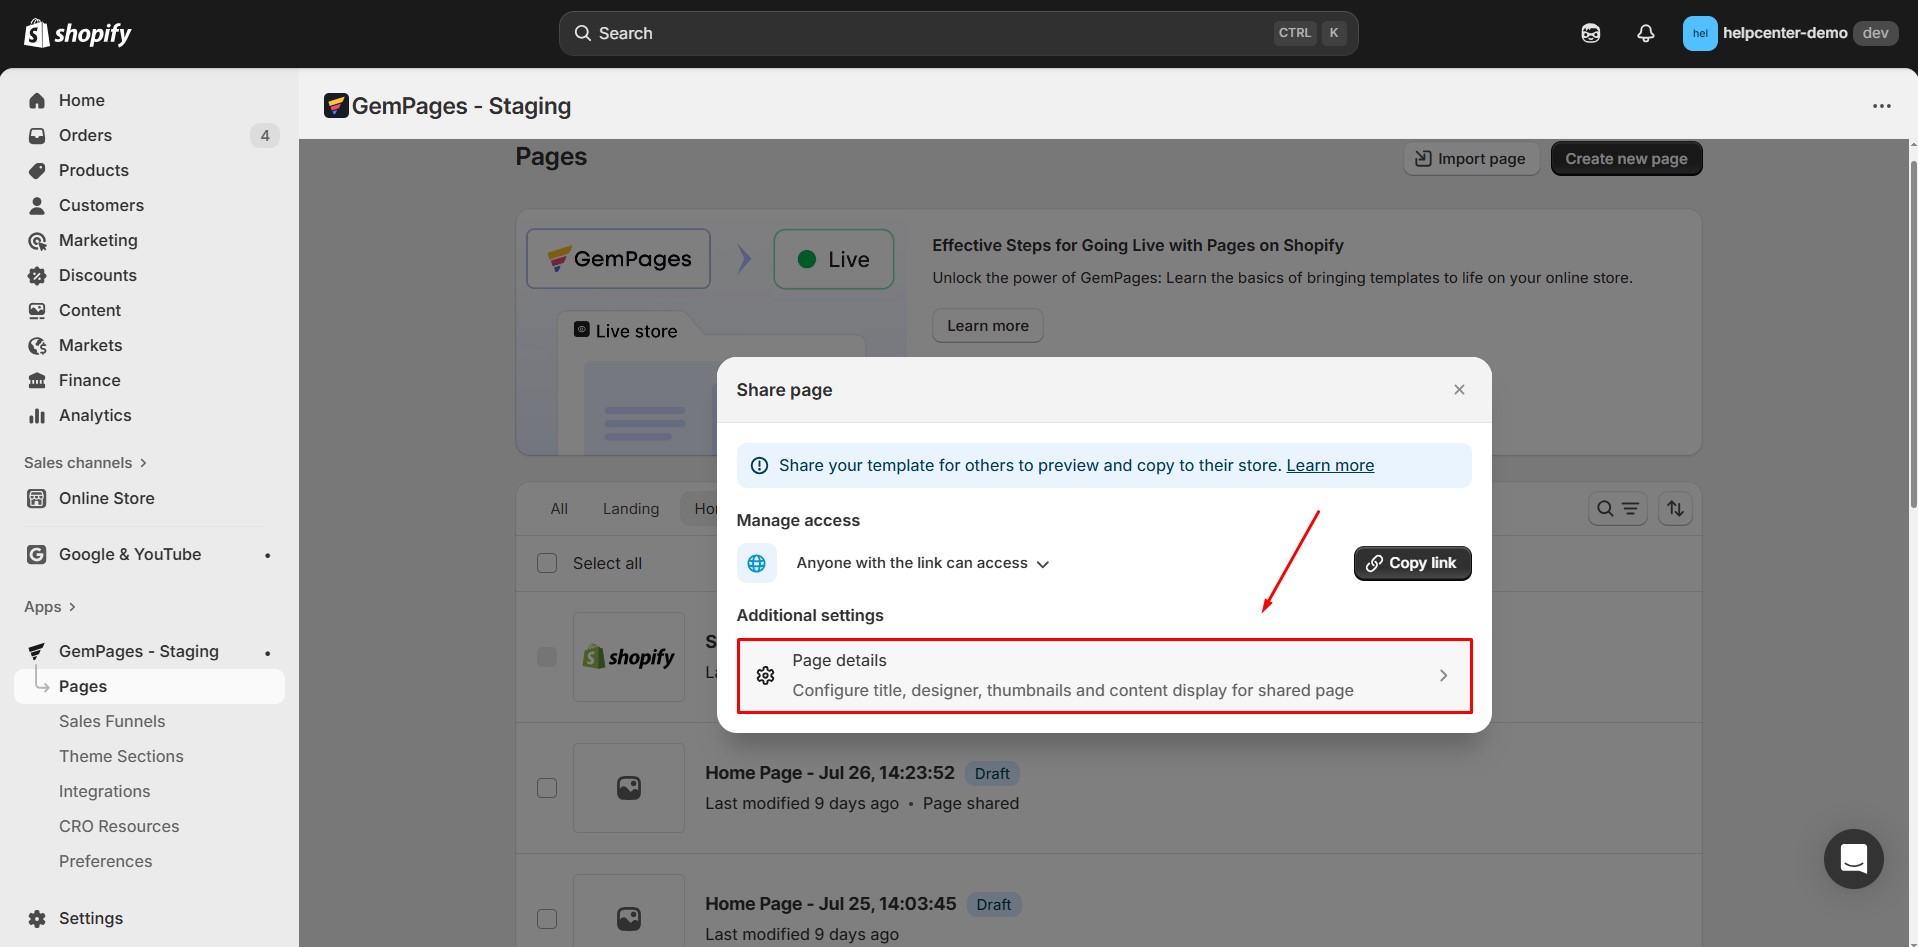
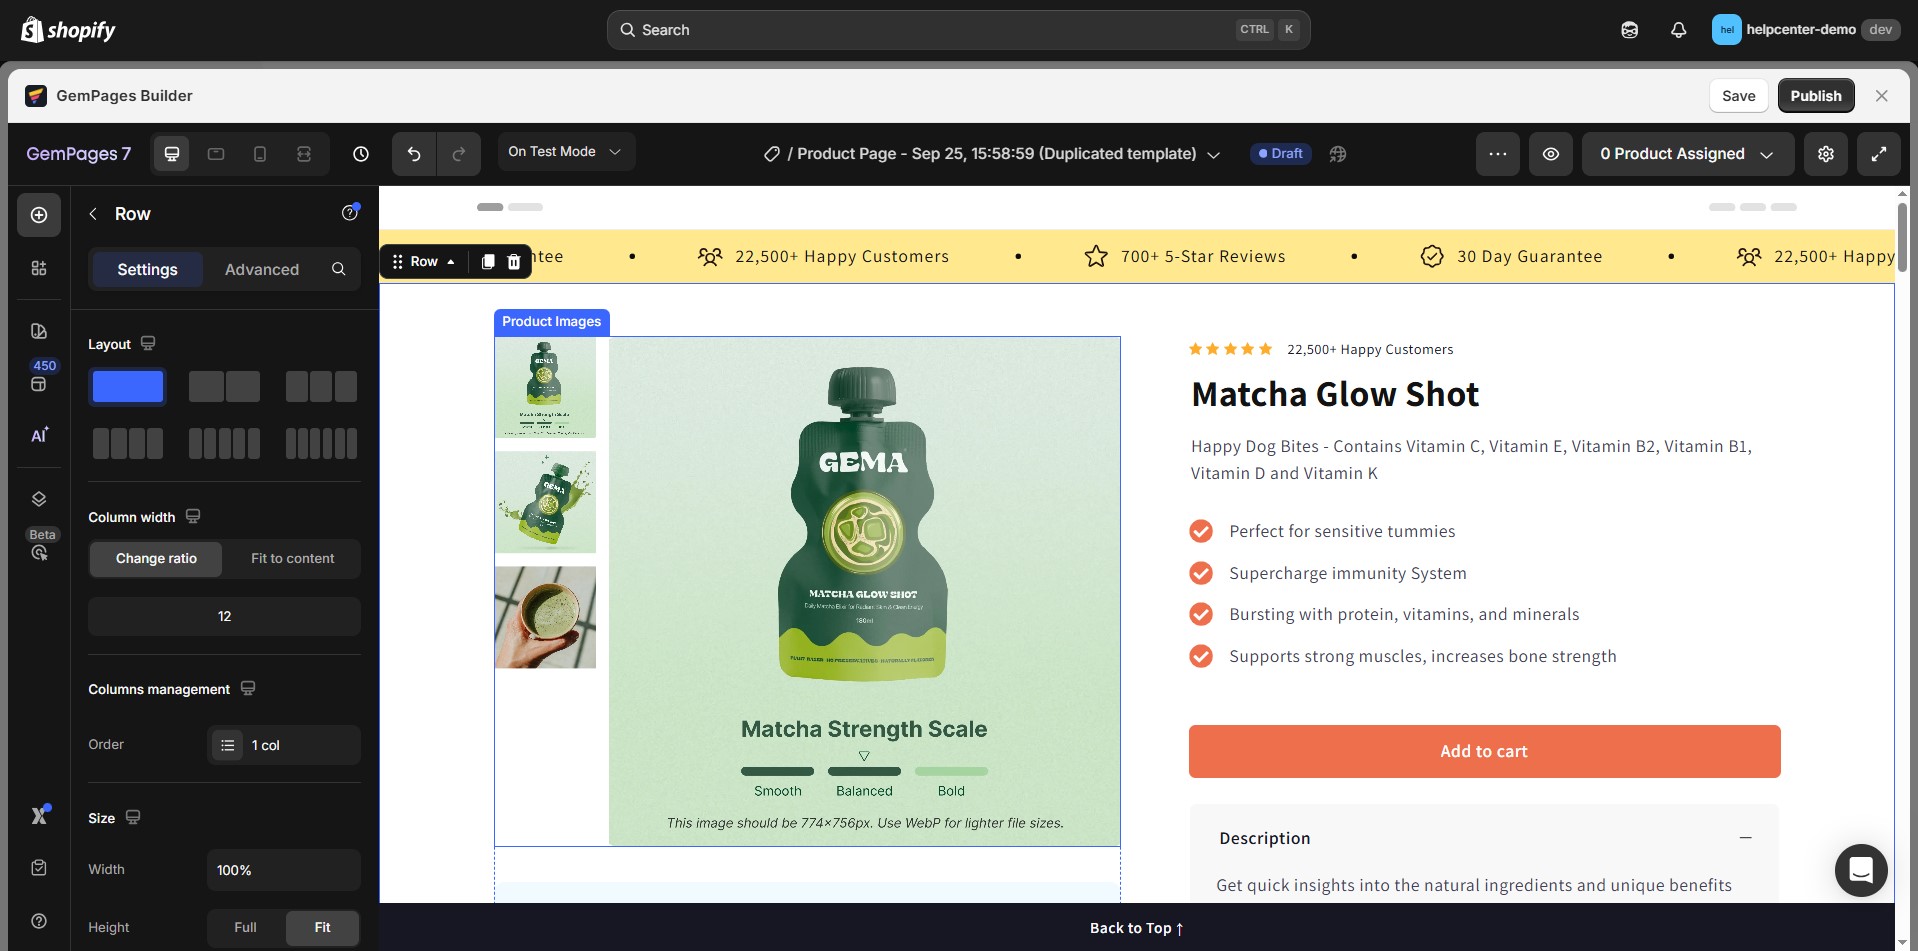
Step 4: Adjust Additional Settings (Optional)
Click Page details to customize information before distributing the link.
A new modal will appear with the following options:
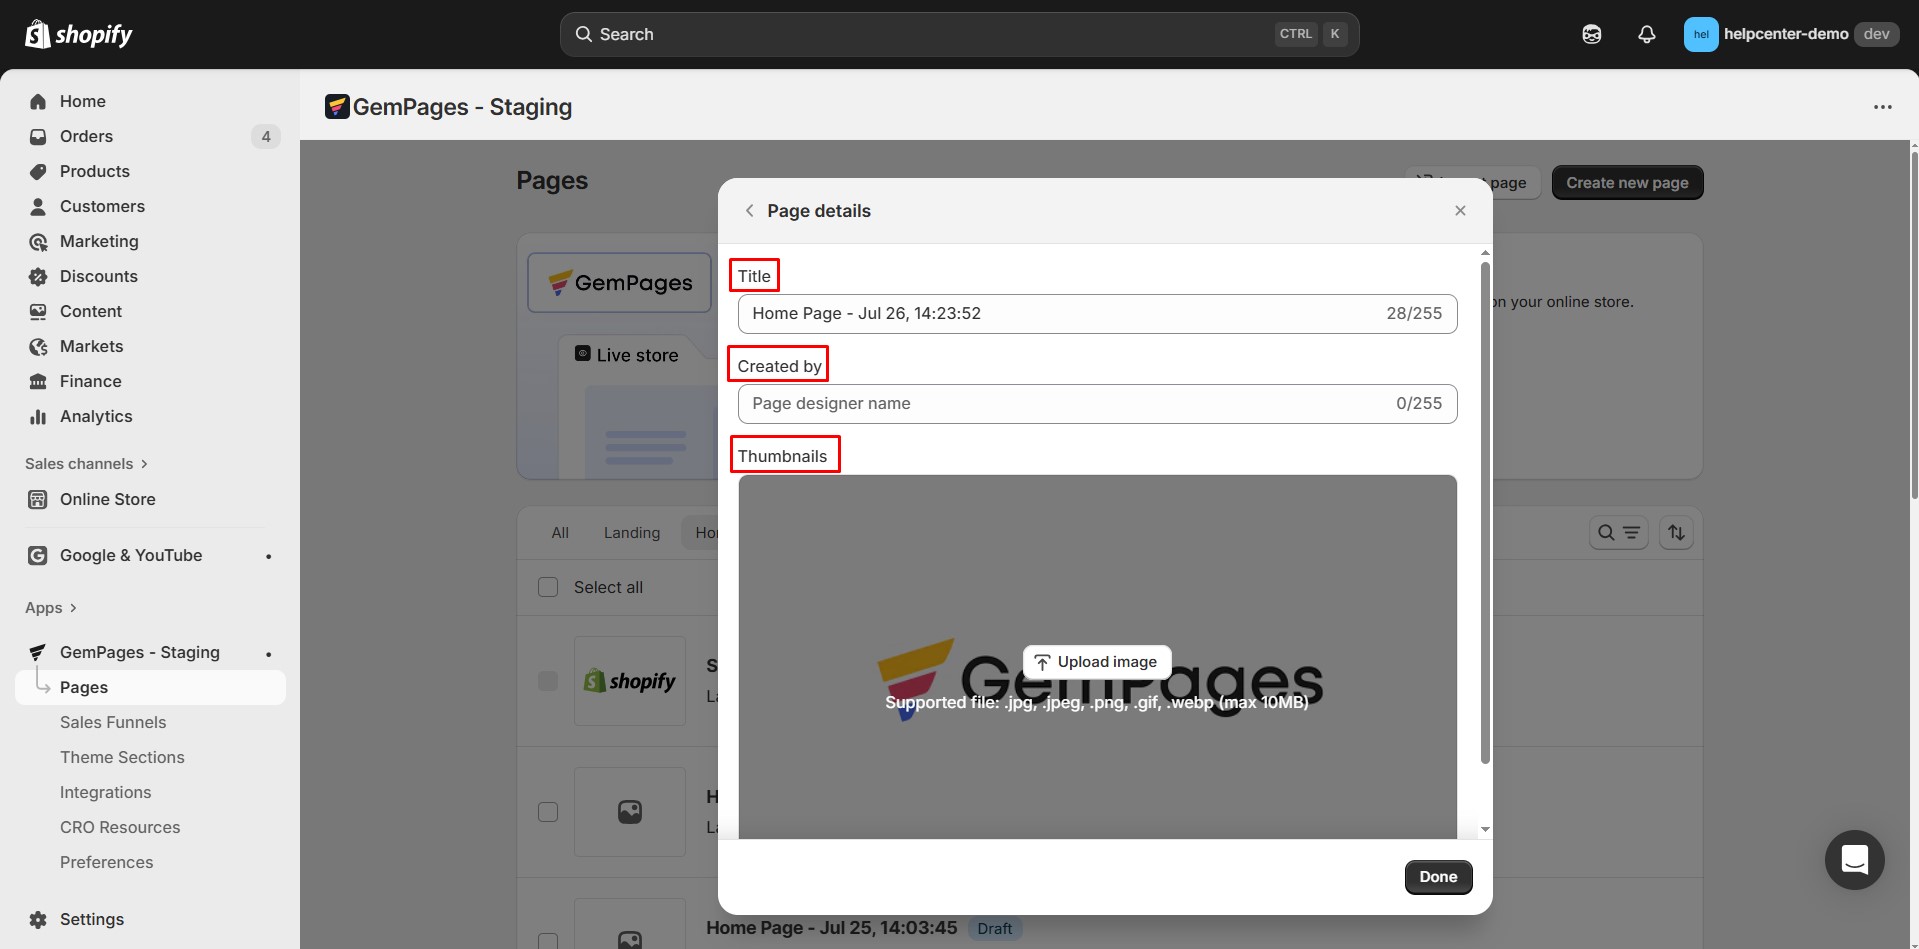
| Title | Default: matches the original page title when the share link is first enabled.
Note: If you later rename the original page, the shared Title will not update automatically. |
| Created by | Enter the creator’s name, brand, or team.
This field appears in the Preview screen as: Previewing {Template_name} by {Created_by}. If left empty, only the Template name is displayed. |
| Thumbnail | Upload an image to represent the page.
Supported formats: .jpg, .jpeg, .png, .gif, .webp (up to 10MB). If no thumbnail is provided, a default placeholder will be shown. |
Step 5: Generate and Copy the Link
- After adjusting settings, click Copy link.
- The share link is now ready to distribute. Recipients will see the customized details in the Preview screen.
2. How to Use a Shared Page
Step 1: Open the Shared Link
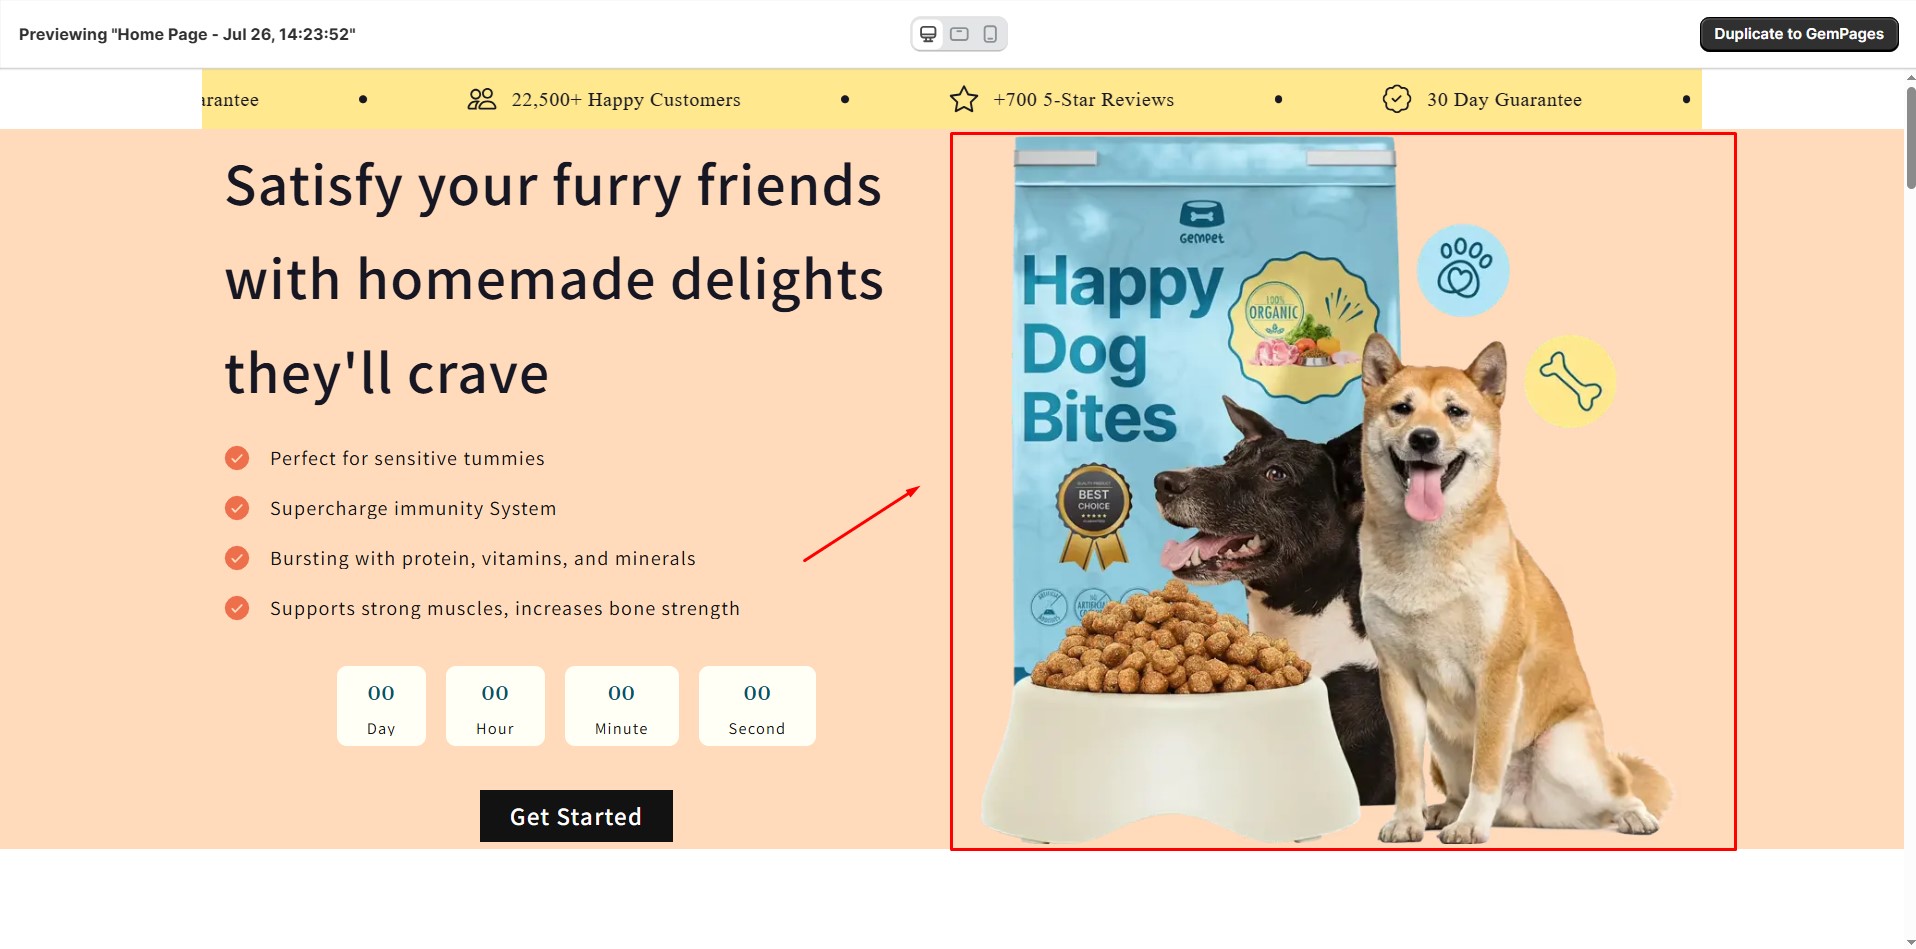
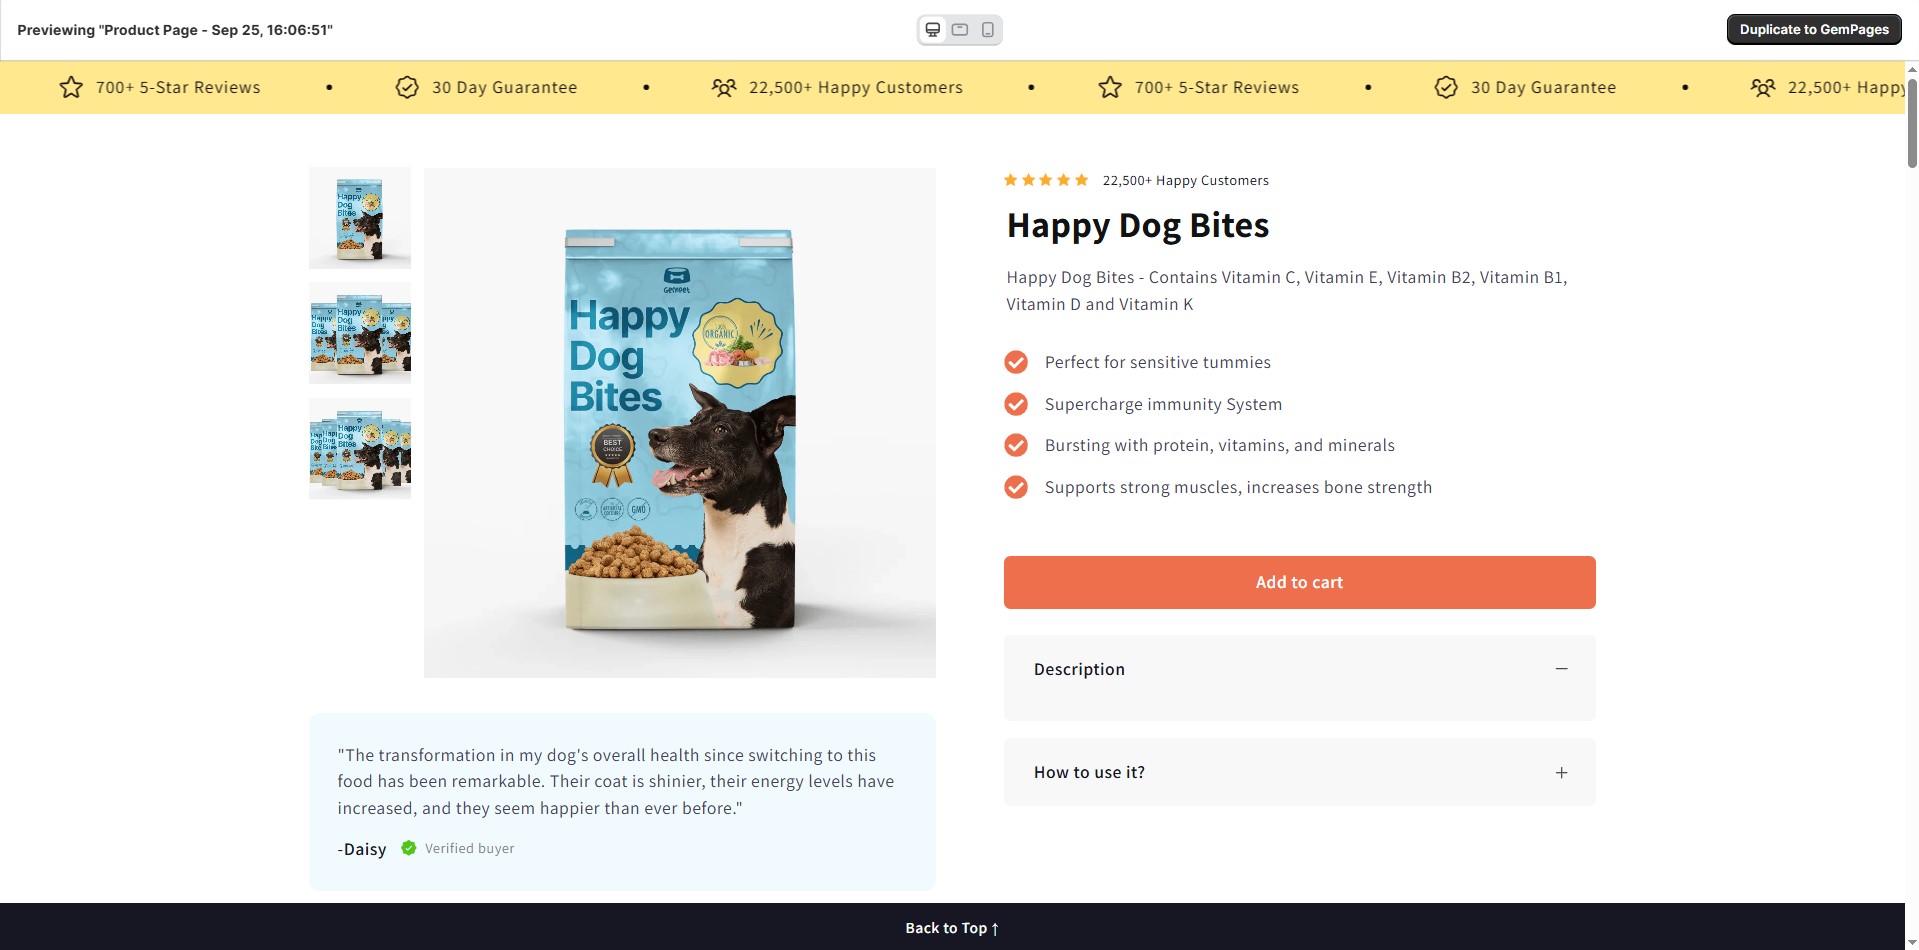
Clicking the link will load the Preview screen in your browser.
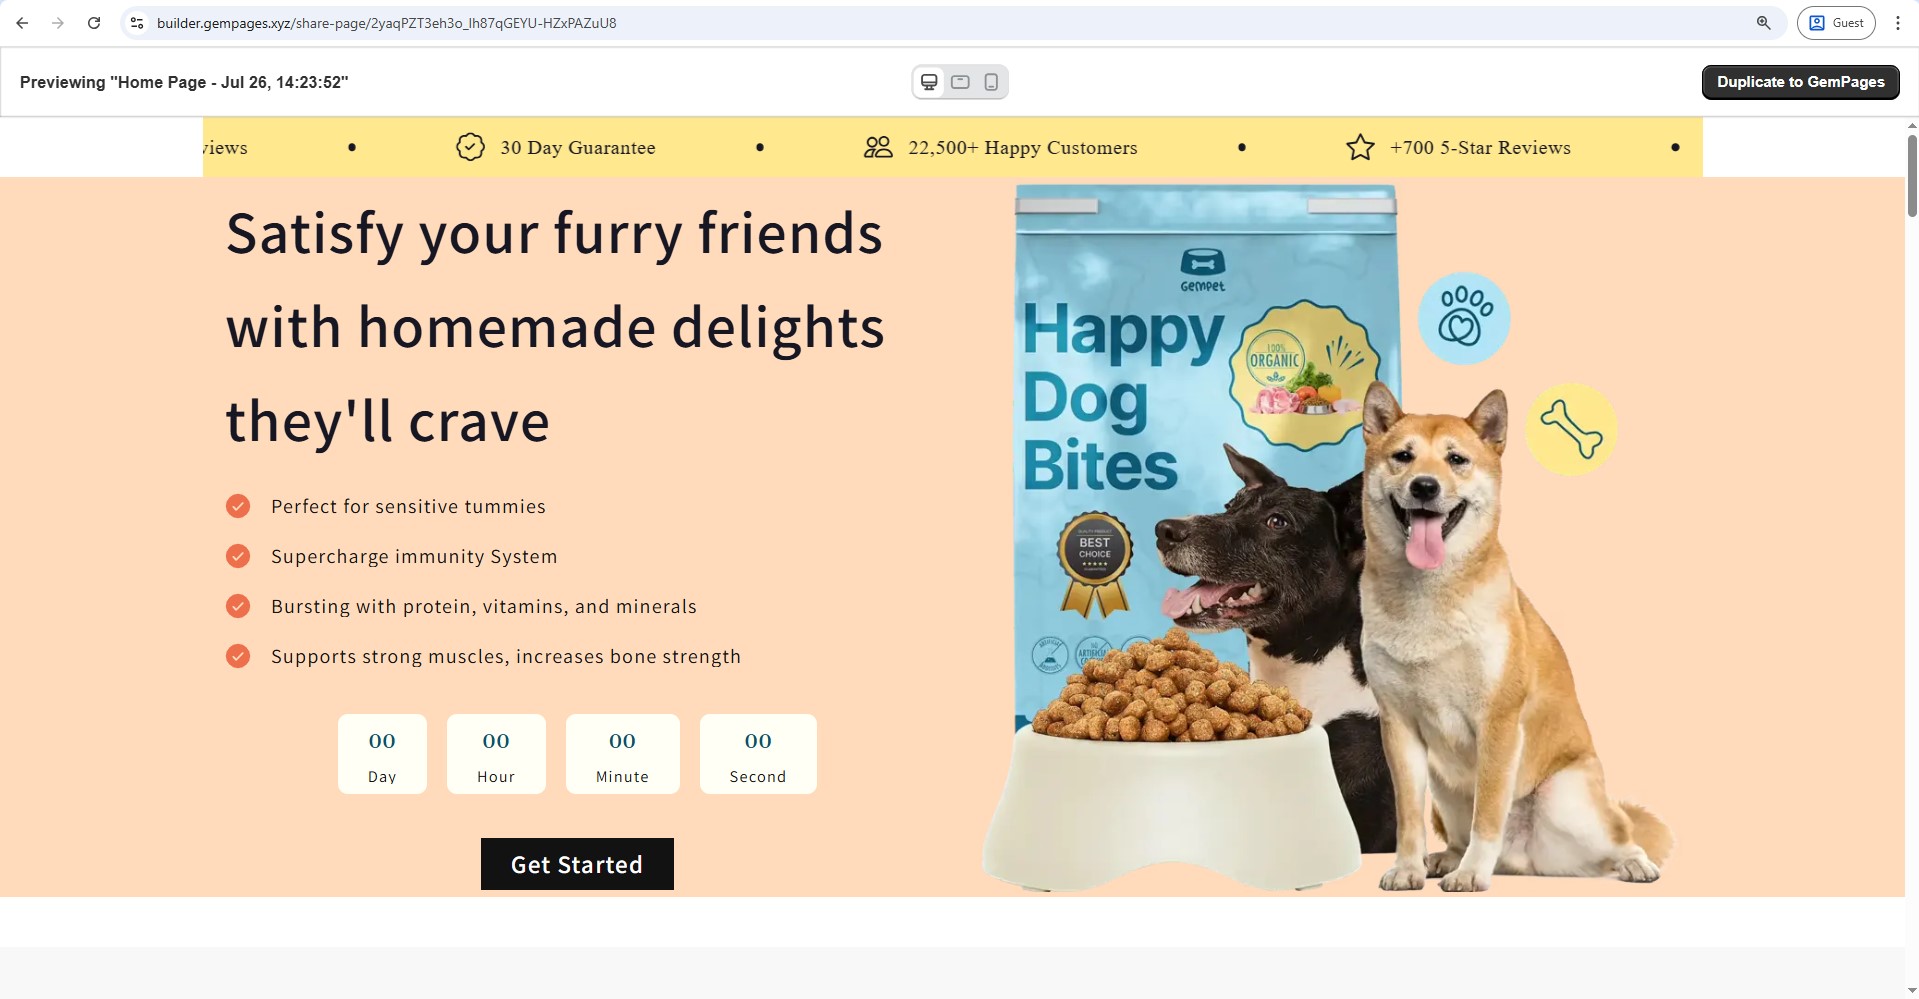
Step 2: Understand the Preview Layout
In the preview screen, you will see:
Top bar (sticky):
- Left: Displays Previewing {Template_name} by {Created_by}.
- Center: Device view switcher (Desktop / Tablet / Mobile icons).
- Right: Duplicate to GemPages button.
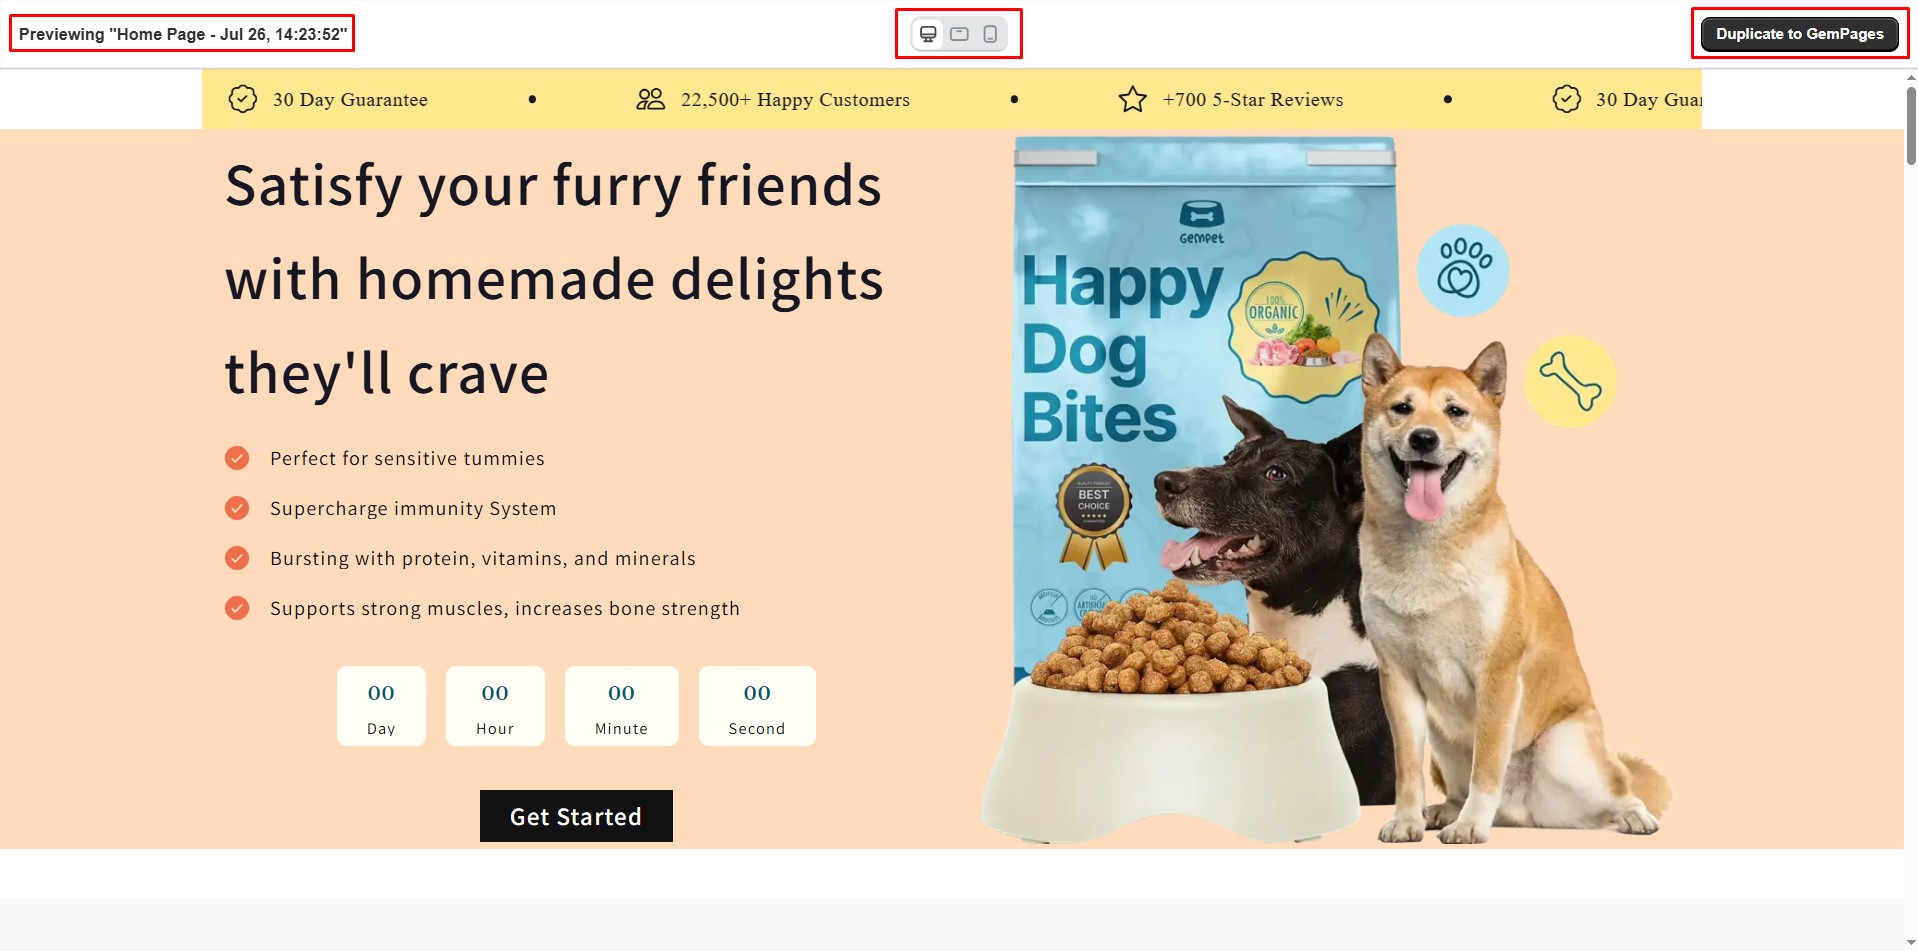
Main content area:
- Shows the page content.
- You can switch between responsive views. Layout adjusts according to the page’s responsive design settings.
Notes:
- Third-party app integrations or custom code from the original page may not appear in Preview.
- If the page owner switches the link to Private, the link will no longer work and will return a 404 – Page not found.
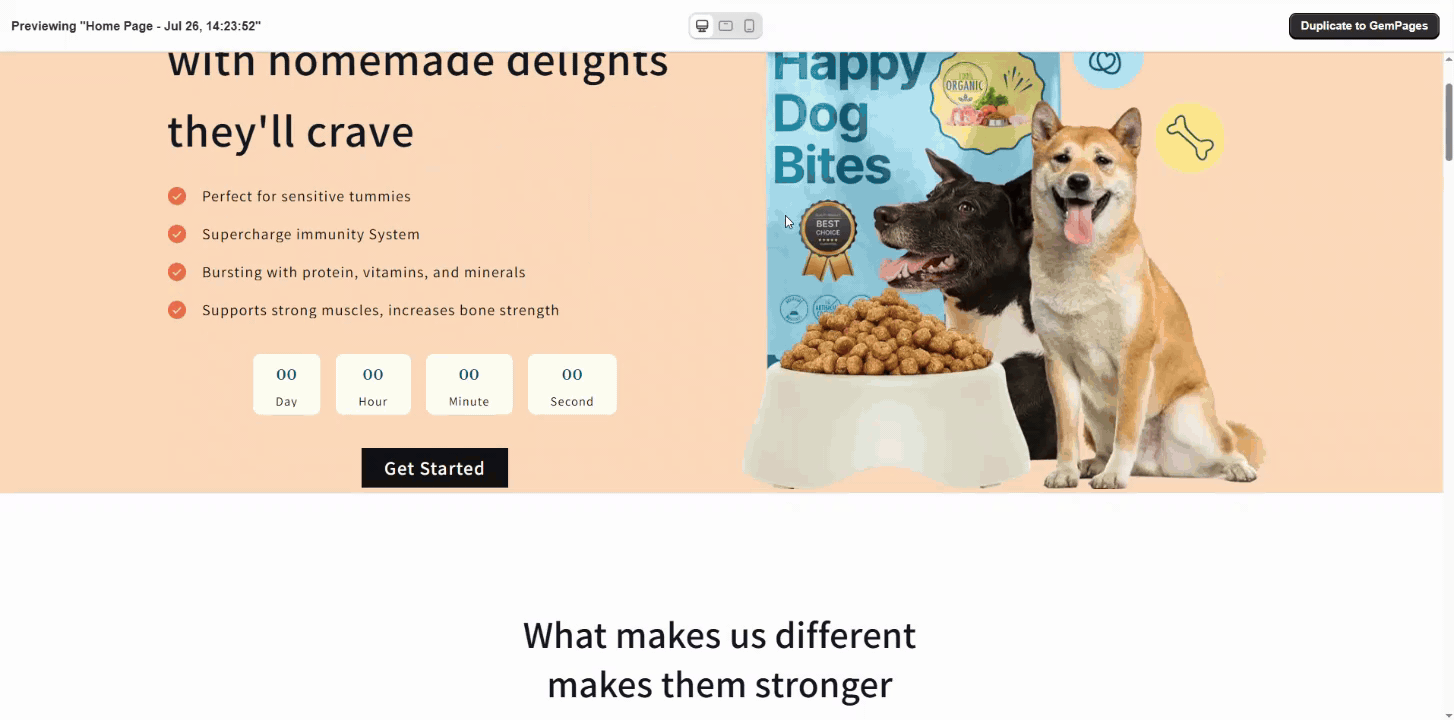
Step 3: Duplicate the Page
Click the Duplicate to GemPages button on the top bar.

A modal will appear, summarizing what is included and not included in the duplicated page. Click Confirm to proceed.
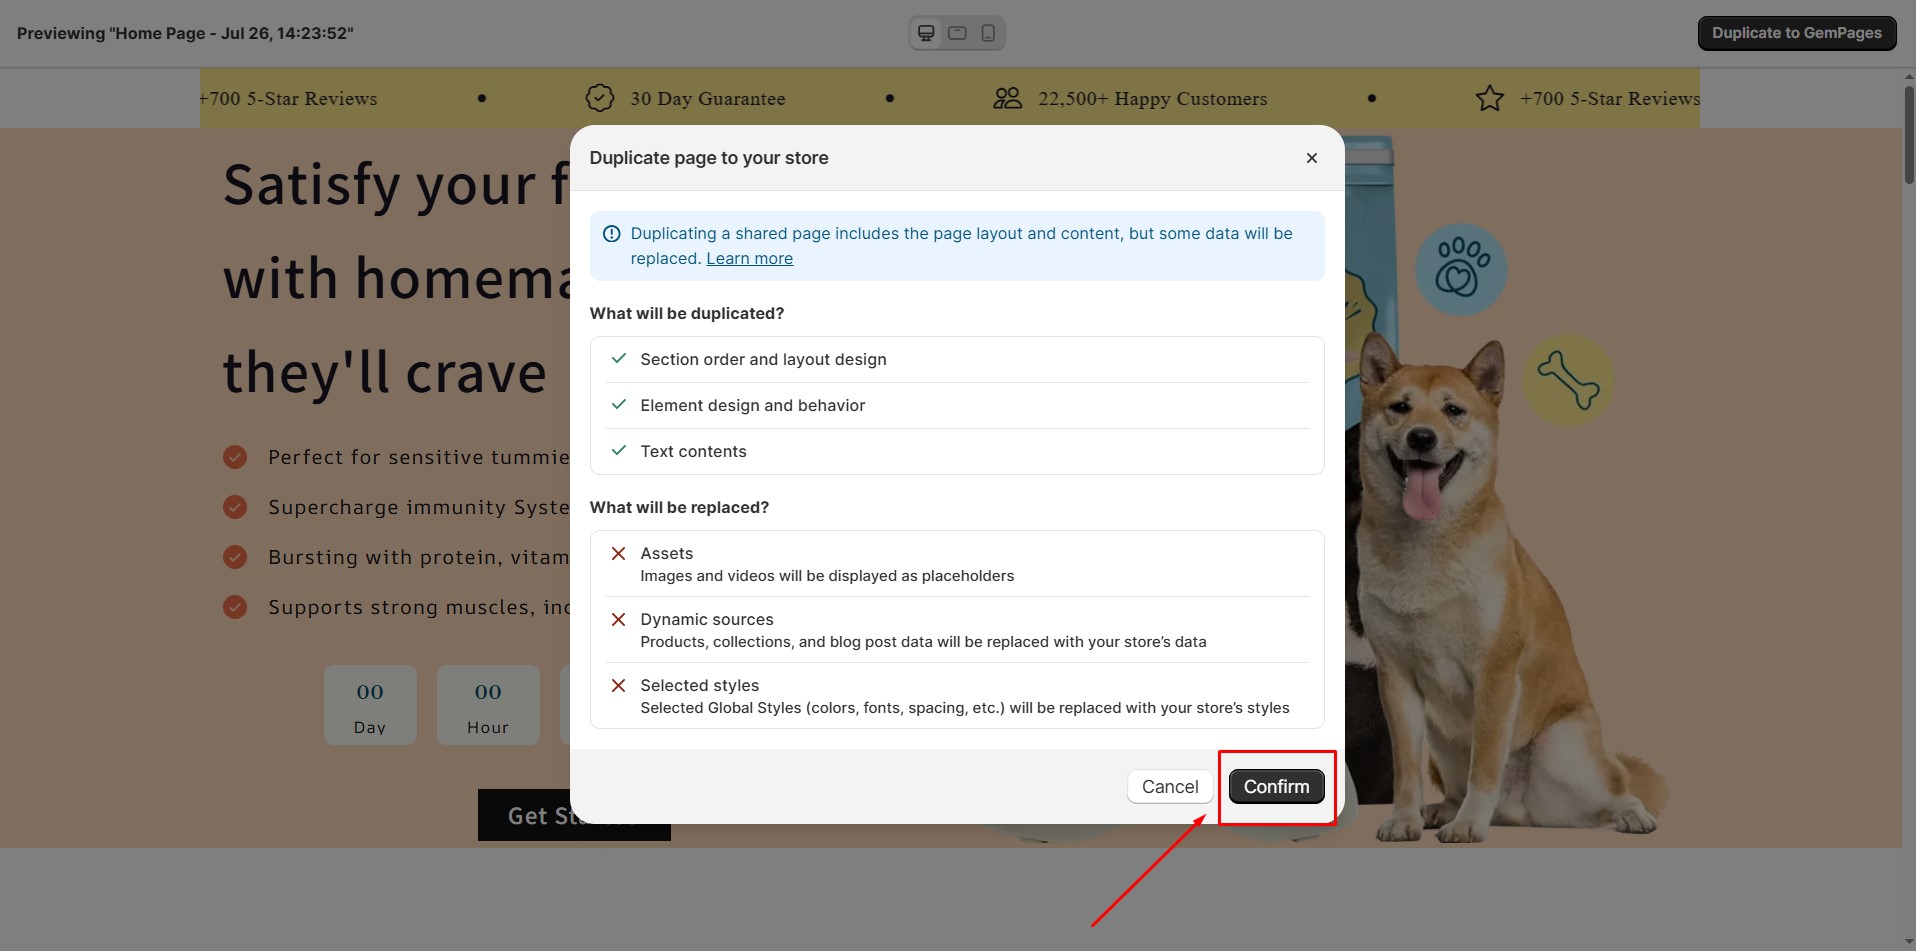
Two possible cases:
- Case 1: GemPages app already installed
You will be redirected to the GemPages Editor where the duplicated page can be customized.
- Case 2: GemPages app not installed
You will be prompted to install GemPages from the Shopify App Store. Once installed, return to the shared link and click Duplicate to GemPages again to duplicate the page.
What Is Included and Not Included in Duplicated Pages?
1. What Is Included?
The following elements will be duplicated and remain the same across stores:
- Section order and layout design: The overall page structure is preserved.
- Element design and behavior: All elements keep their configured settings.
- Text contents: Written content (headings, paragraphs, labels, etc.) will be copied as-is.
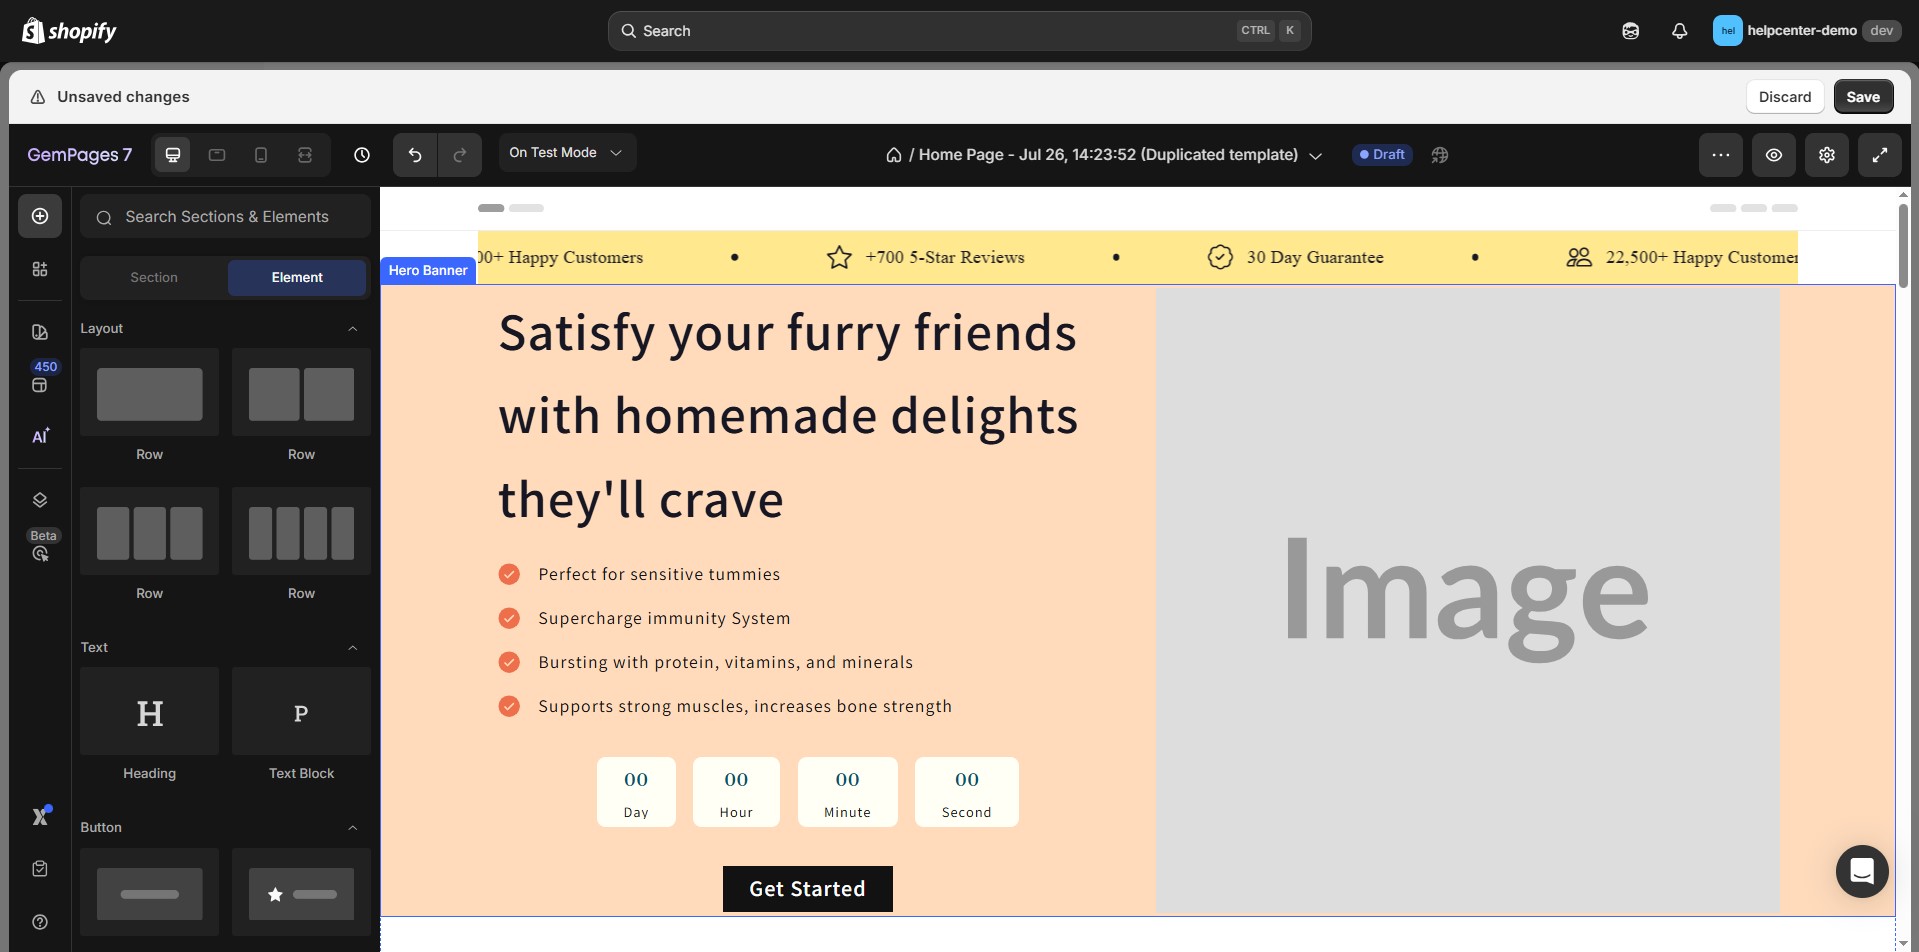
2. What Is Not Included?
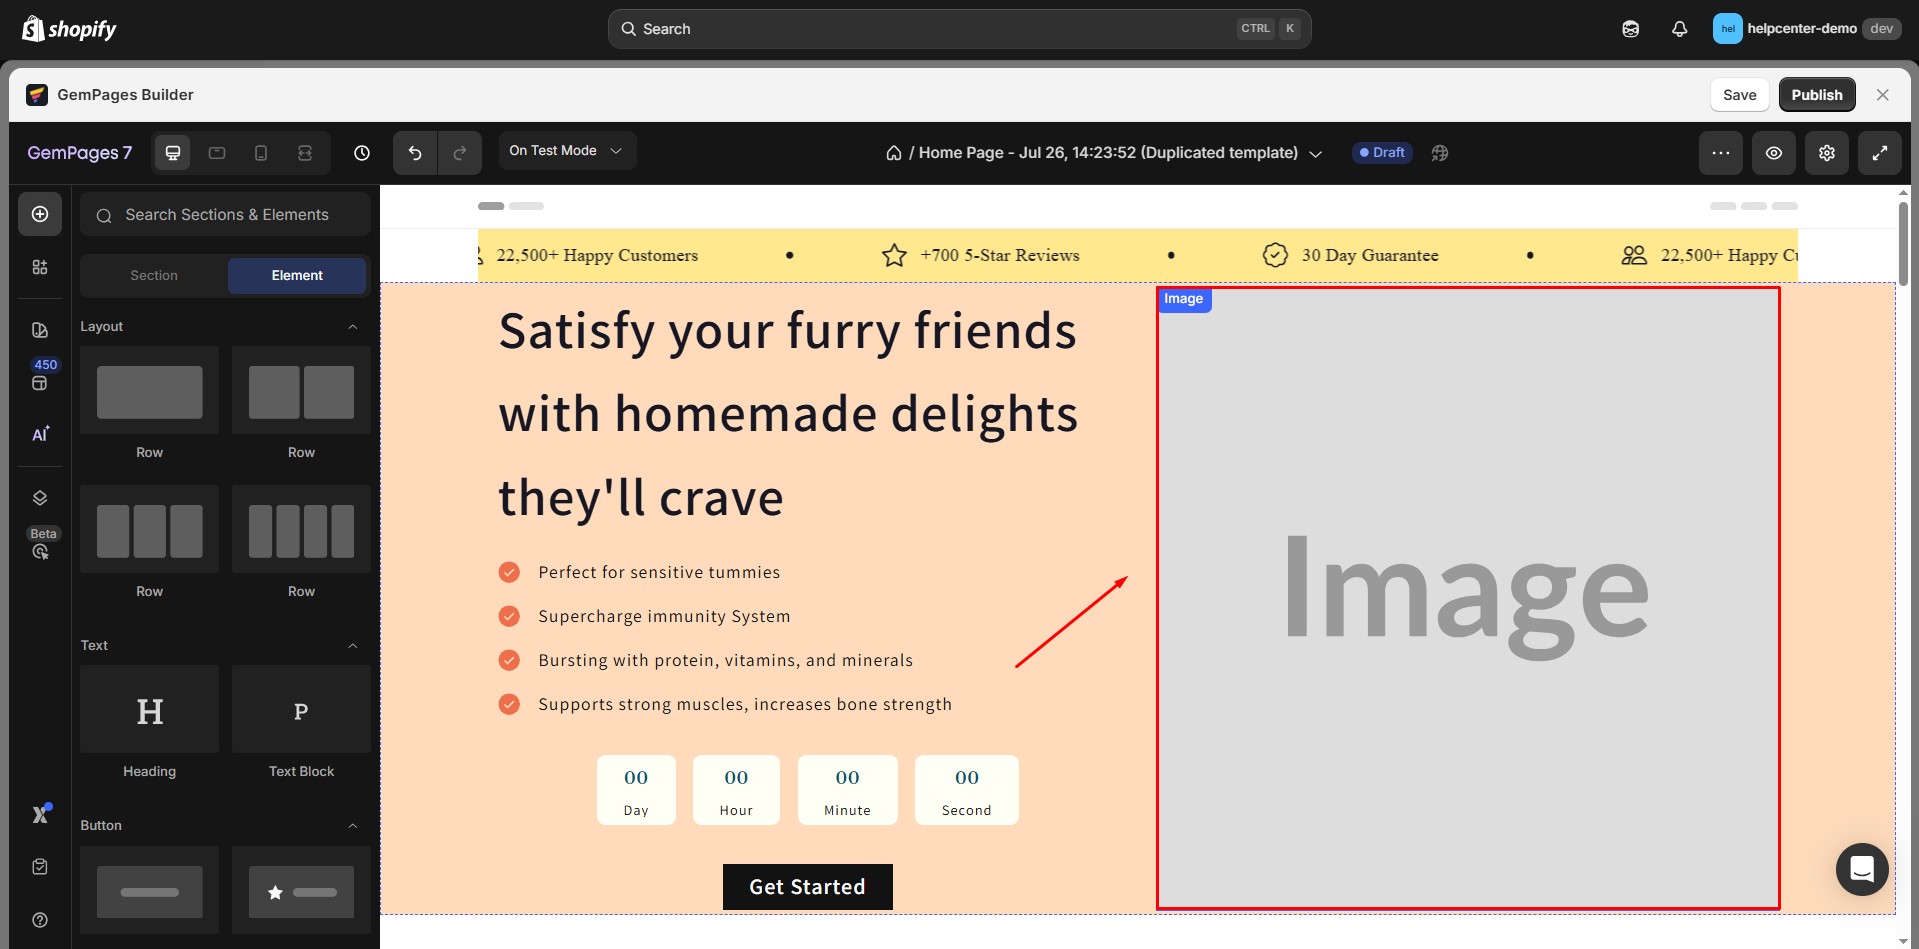
Assets
Images and videos from the original store are not transferred in order to protect the store owner’s intellectual property. Placeholders will be displayed instead so you can easily replace them with your own assets.
|
Before Duplication |
After Duplication |
 |
 |
Dynamic sources
If the shared page contains products, product lists, collections, articles, or blogs, the duplicated page will display these layouts differently since the content is pulled from the recipient’s store.
|
Before Duplication |
After Duplication |
 |
 |
Global styles
Colors, font styles (such as font family and typography settings), and spacing defined in the sharer’s global styles are not transferred to duplicated pages. They will be automatically replaced with the recipient store’s global styles.
| Before Duplication | After Duplication |
 |
 |
FAQs about Sharing a Page
1. Why should I use the Share Page feature?
Share Page is designed to solve real-world problems for different roles in your store. Here’s how it helps:
- For designers: Quickly hand off pages to developers or marketers without exporting files or recreating layouts. Designers can ensure their vision stays intact while others continue work.
- For store owners/managers: Duplicate proven templates across multiple stores or brands instantly, saving hours of setup and avoiding mistakes from manual copying.
- For agencies or collaborators: Easily share pages with clients who can preview and duplicate them into their store, streamlining onboarding and reducing back-and-forth approvals.
2. Who can share a page?
All Shopify store roles can share pages with the Share Page feature.
3. Why doesn’t my duplicated page open automatically in the GemPages Editor?
If your duplicated page doesn’t open automatically in the Editor after duplication, it’s usually because your browser is blocking pop-ups and redirects by default. When this happens, the page is successfully duplicated to your store, but the Editor won’t open automatically.
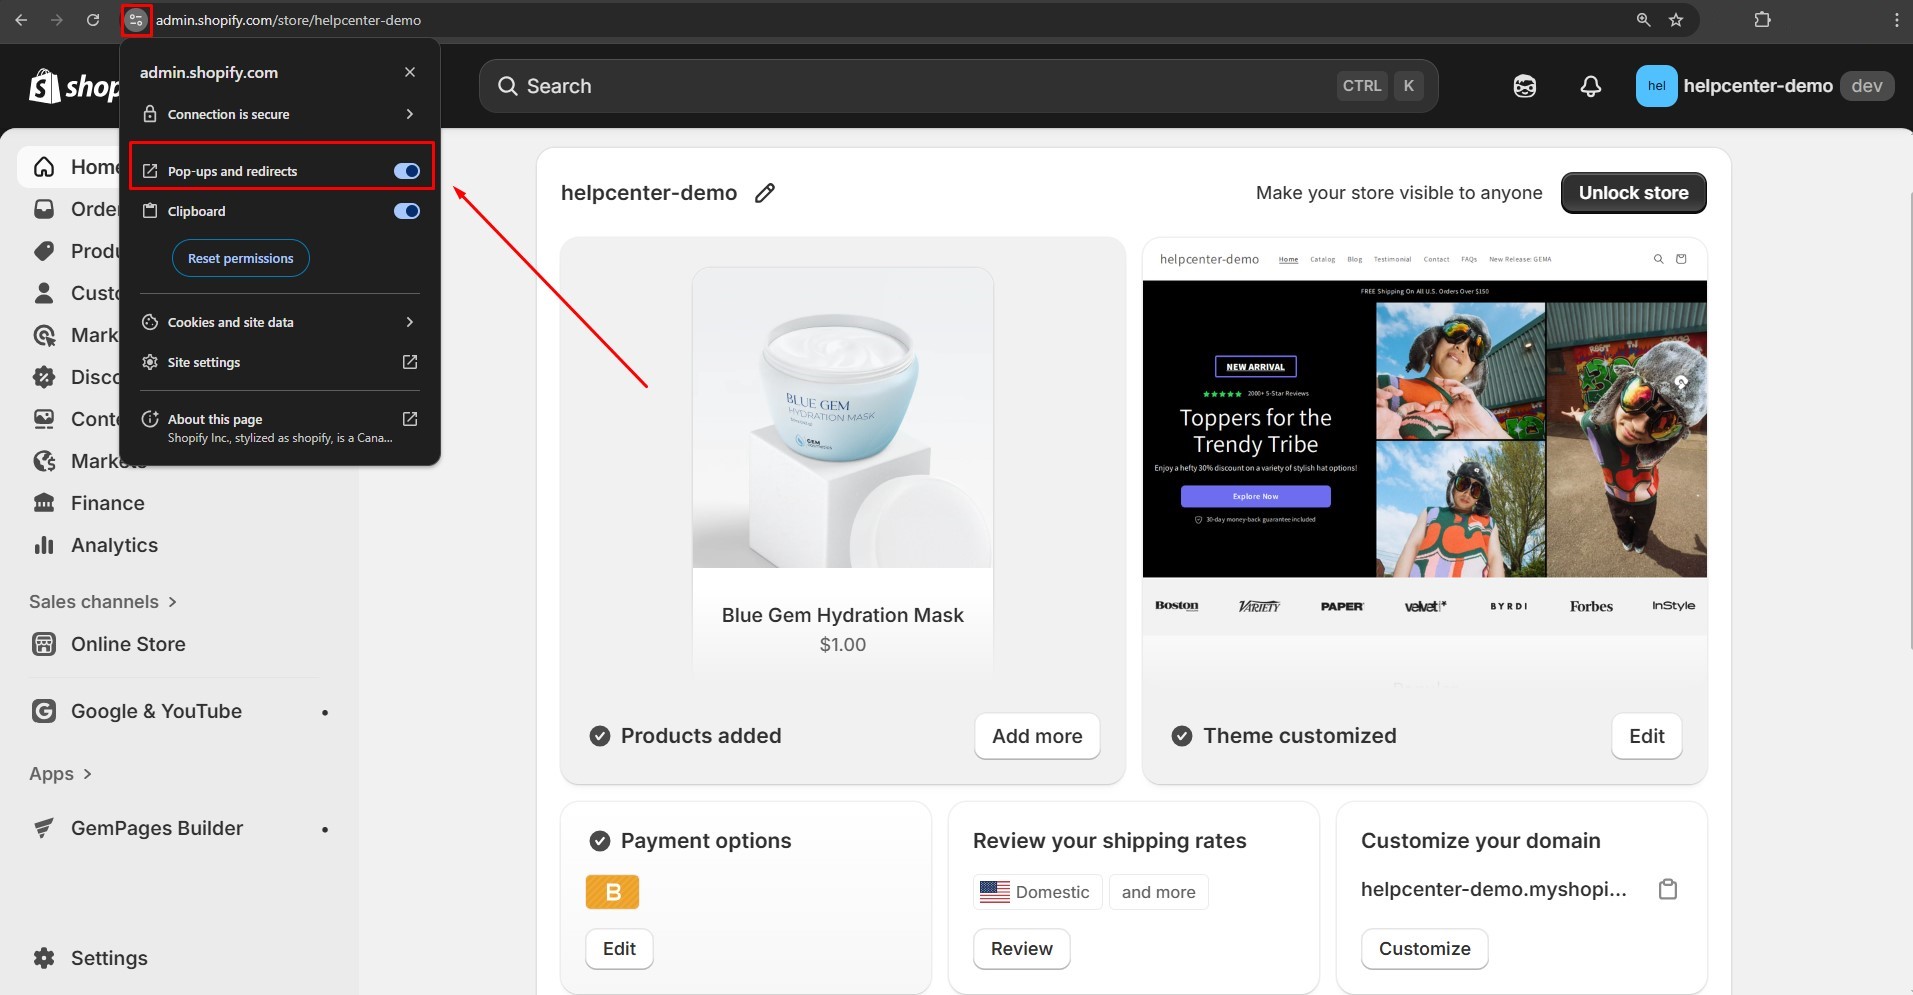
To fix this, you’ll need to allow pop-ups and redirects for your Shopify Admin site (admin.shopify.com).
Option 1: From the site address bar
Step 1: Open your Shopify Admin.
Step 2: Select Site settings. Find Pop-ups and redirects and switch it to Allow.
Option 2: From browser settings
Step 1: Open your browser Settings. Go to Privacy and security → Site settings.
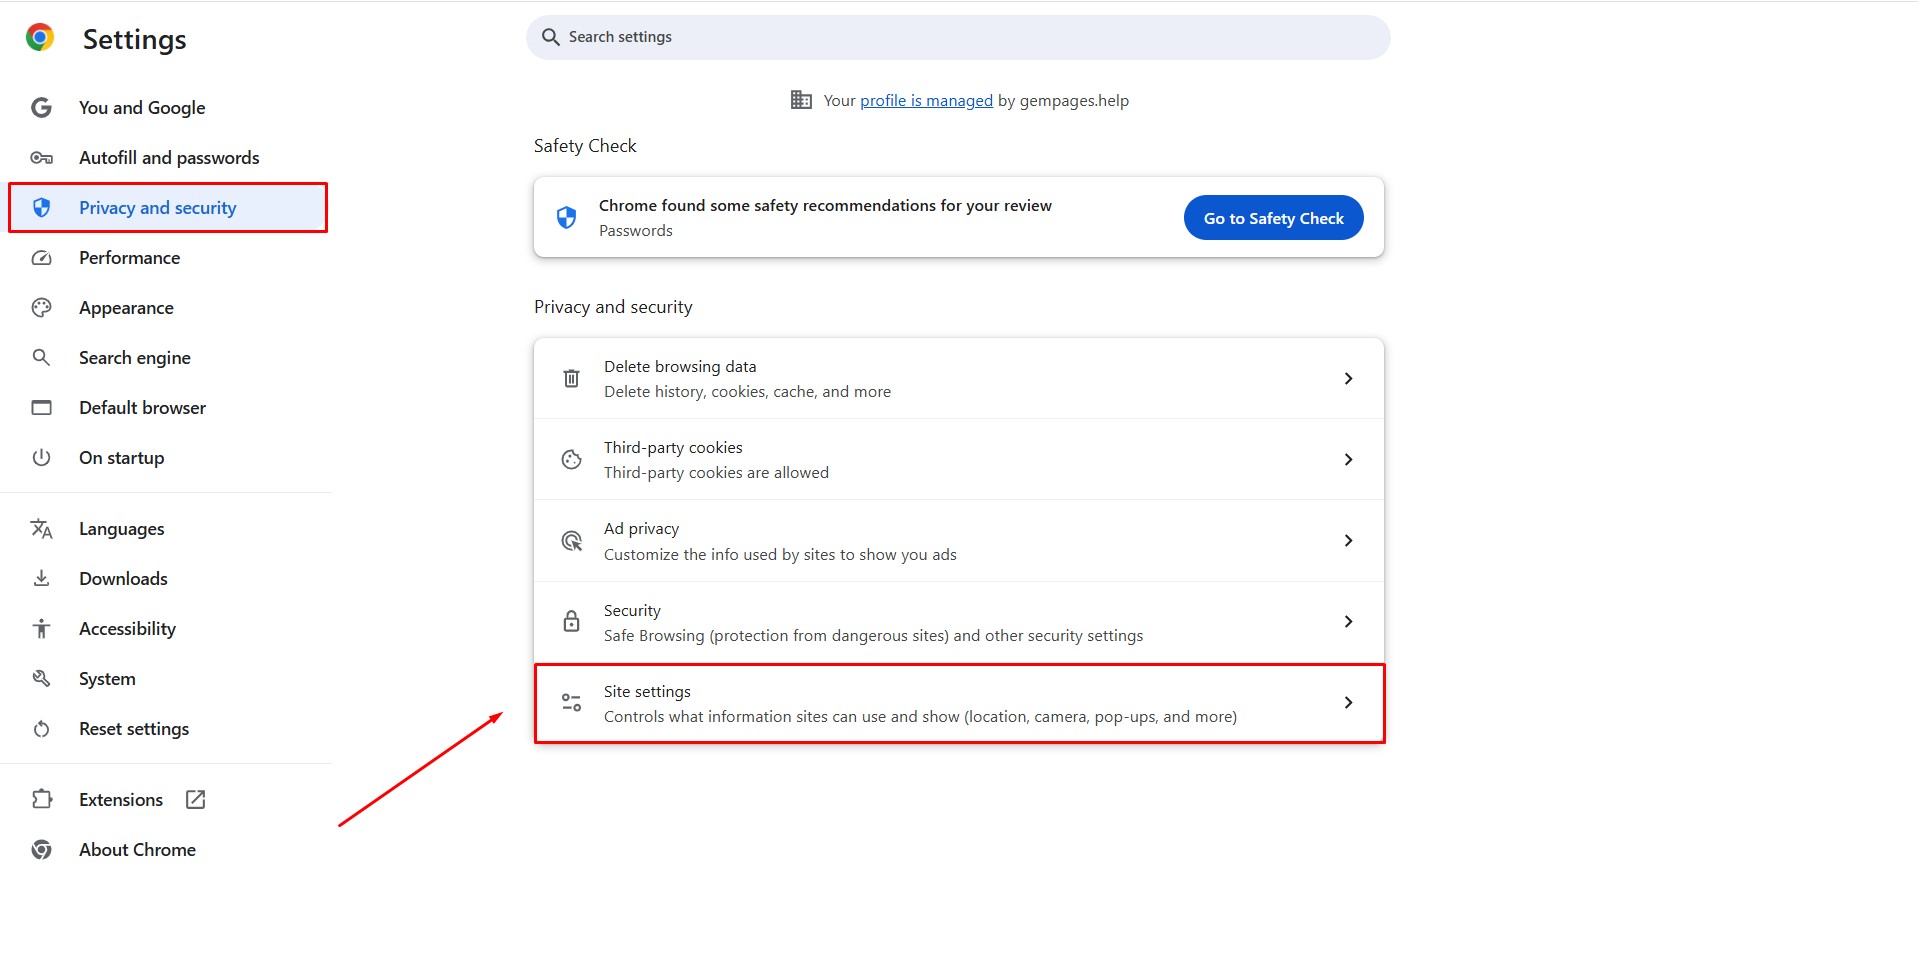 Step 2: Scroll down and choose admin.shopify.com.
Step 3: Under Pop-ups and redirects, select Allow.
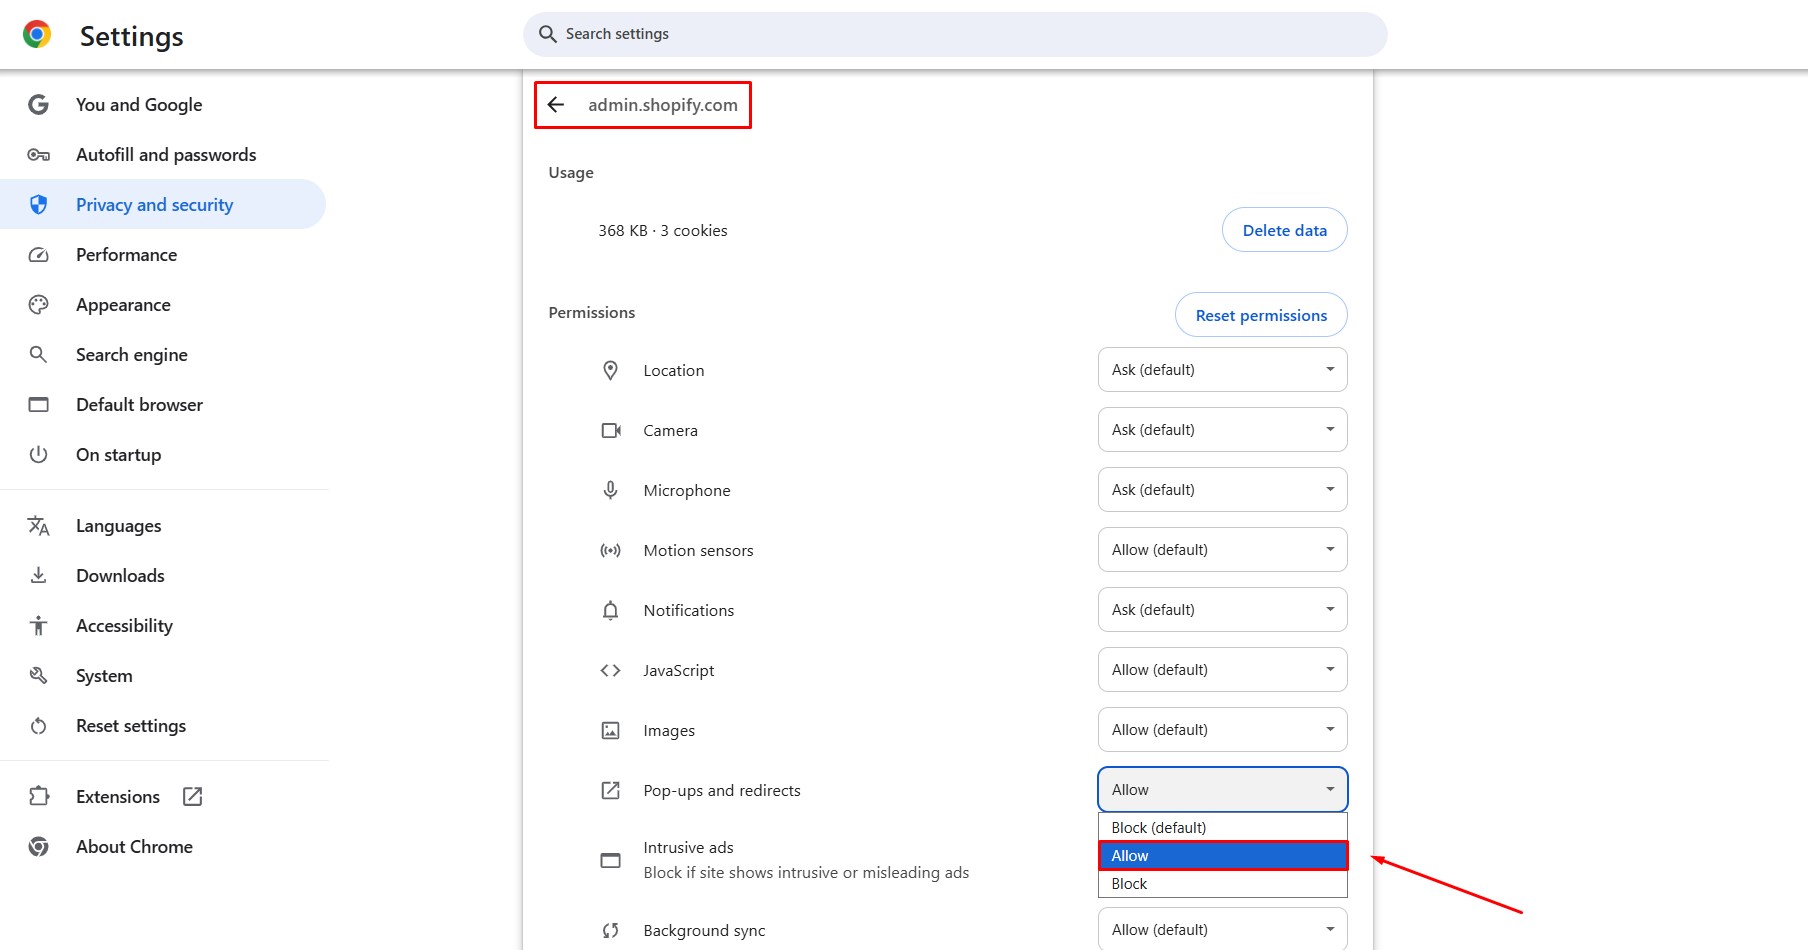 Once this setting is enabled, your duplicated pages will always open automatically in the GemPages Editor.
4. Can I share an Instant Landing Page (ILP)?
Case 1: The destination store’s plan includes ILP (Optimize / Enterprise) → The page will be duplicated as an ILP page.
Case 2: The destination store’s plan does not include ILP (Free, Build, Development) → Duplication will be blocked, and no page will be created.
5. What happens to the shared preview if the original page changes?
Any updates to the original page (sections, content, or configurations) after the share link is generated will be automatically reflected in the preview screen.
6. Can I allow other people to preview and copy my page?
Yes. When generating a Share Page link, you can decide whether to allow others to preview and copy your page. If this option is enabled, anyone with the link can view the page preview and duplicate it into their own Shopify store. If it’s disabled, the page will not be accessible through the share link.
FAQs about Duplicating a Page
1. Will images and videos be duplicated along with the shared page?
No. Images and videos from the original store are not transferred to protect the store owner’s intellectual property. Placeholders will appear instead, and you can easily upload your own images or videos after duplication.
2. Can a Version 6 store duplicate a page shared from a Version 7 or Mixed store?
To duplicate a shared page from a Version 7 or Mixed store, a Version 6 store needs to switch its store version to Mixed.
Learn more about switching to Mixed version here.


Thank you for your comments