


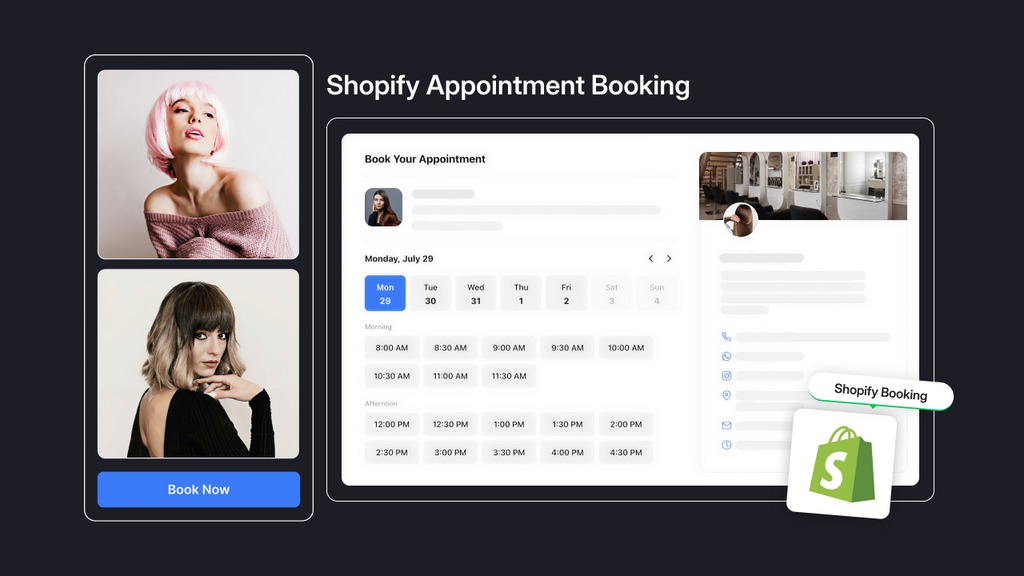
What is a Shopify Appointment Booking Page?
A Shopify appointment booking page is a dedicated page that allows customers to schedule services, consultations, or meetings directly from your online store.
This feature is especially valuable for service-based businesses such as:
- Salons and spas
- Healthcare clinics
- Coaching and consulting services
- Fitness studios
- Repair or installation services
Benefits of an appointment booking page:
- Streamlines customer scheduling.
- Reduces manual work for store owners.
- Improves customer experience and trust.
How to Build an Appointment Booking Page for Your Store?
In this guide, we’ll create an appointment booking page using a Contact Us pre-built template in GemPages and integrate it with the Cowlendar Appointment Booking app.
Step 1: Access GemPages Editor
- Log in to your Shopify admin, navigate to the GemPages Builder app, and click Create new page.

- Select Contact Us under the use case section to view all pre-designed templates. Hover over the template image or click the eye icon to preview before selecting.
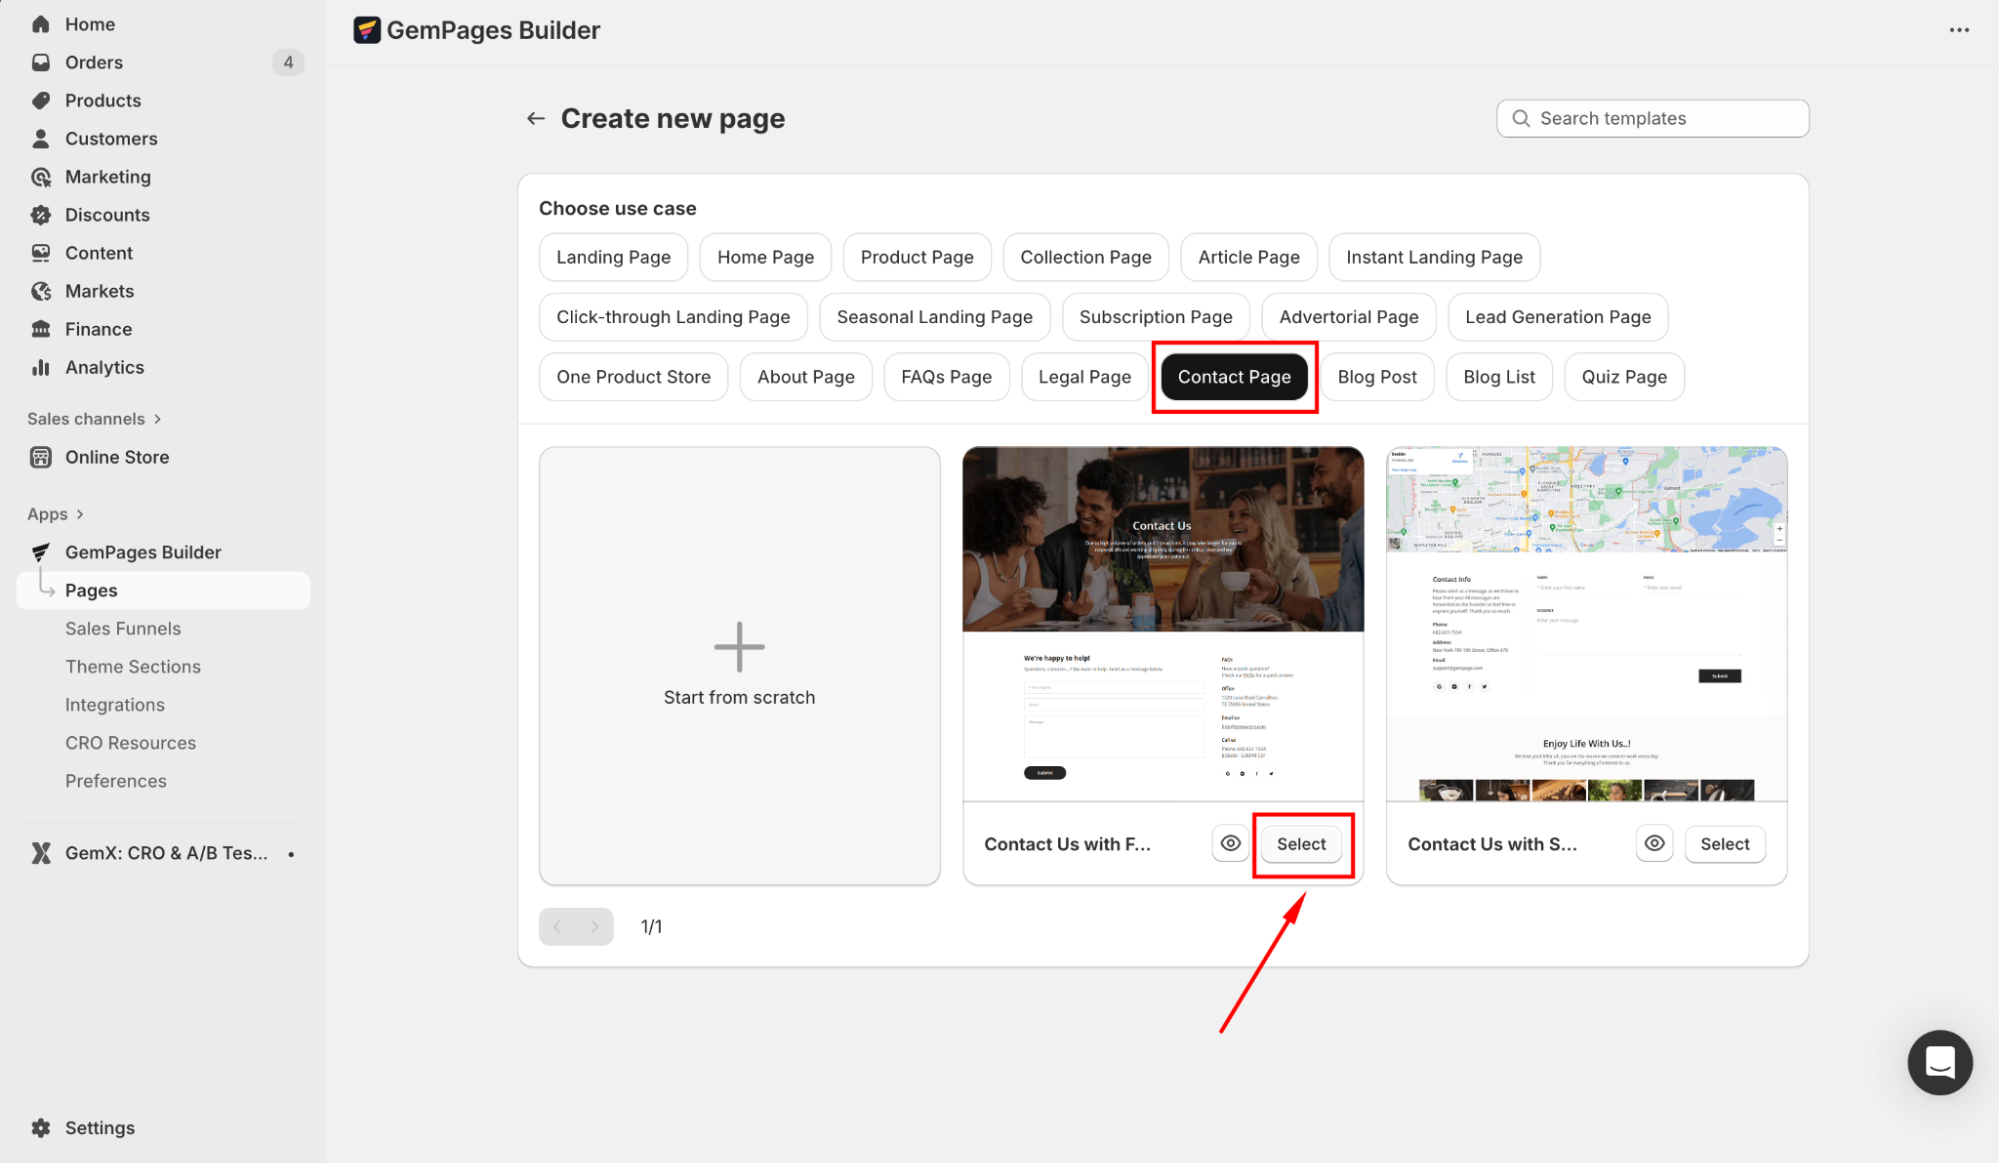
- Pick your preferred template to open it in the editor.
Step 2: Customize the page your way
Once inside the editor, click on any existing element (Heading, Text block, Button, Image, etc.) to open its settings and adjust it to fit your branding.
You can also use the Section settings to change background colors, adjust spacing, or make the layout responsive.
From the left sidebar, drag and drop additional elements to enrich your booking page, such as testimonials, trust badges, or an FAQ section.
Step 3: Add the Cowlendar app element
- From the left sidebar, click Shopify App, and enter “cowlendar” in the search bar.
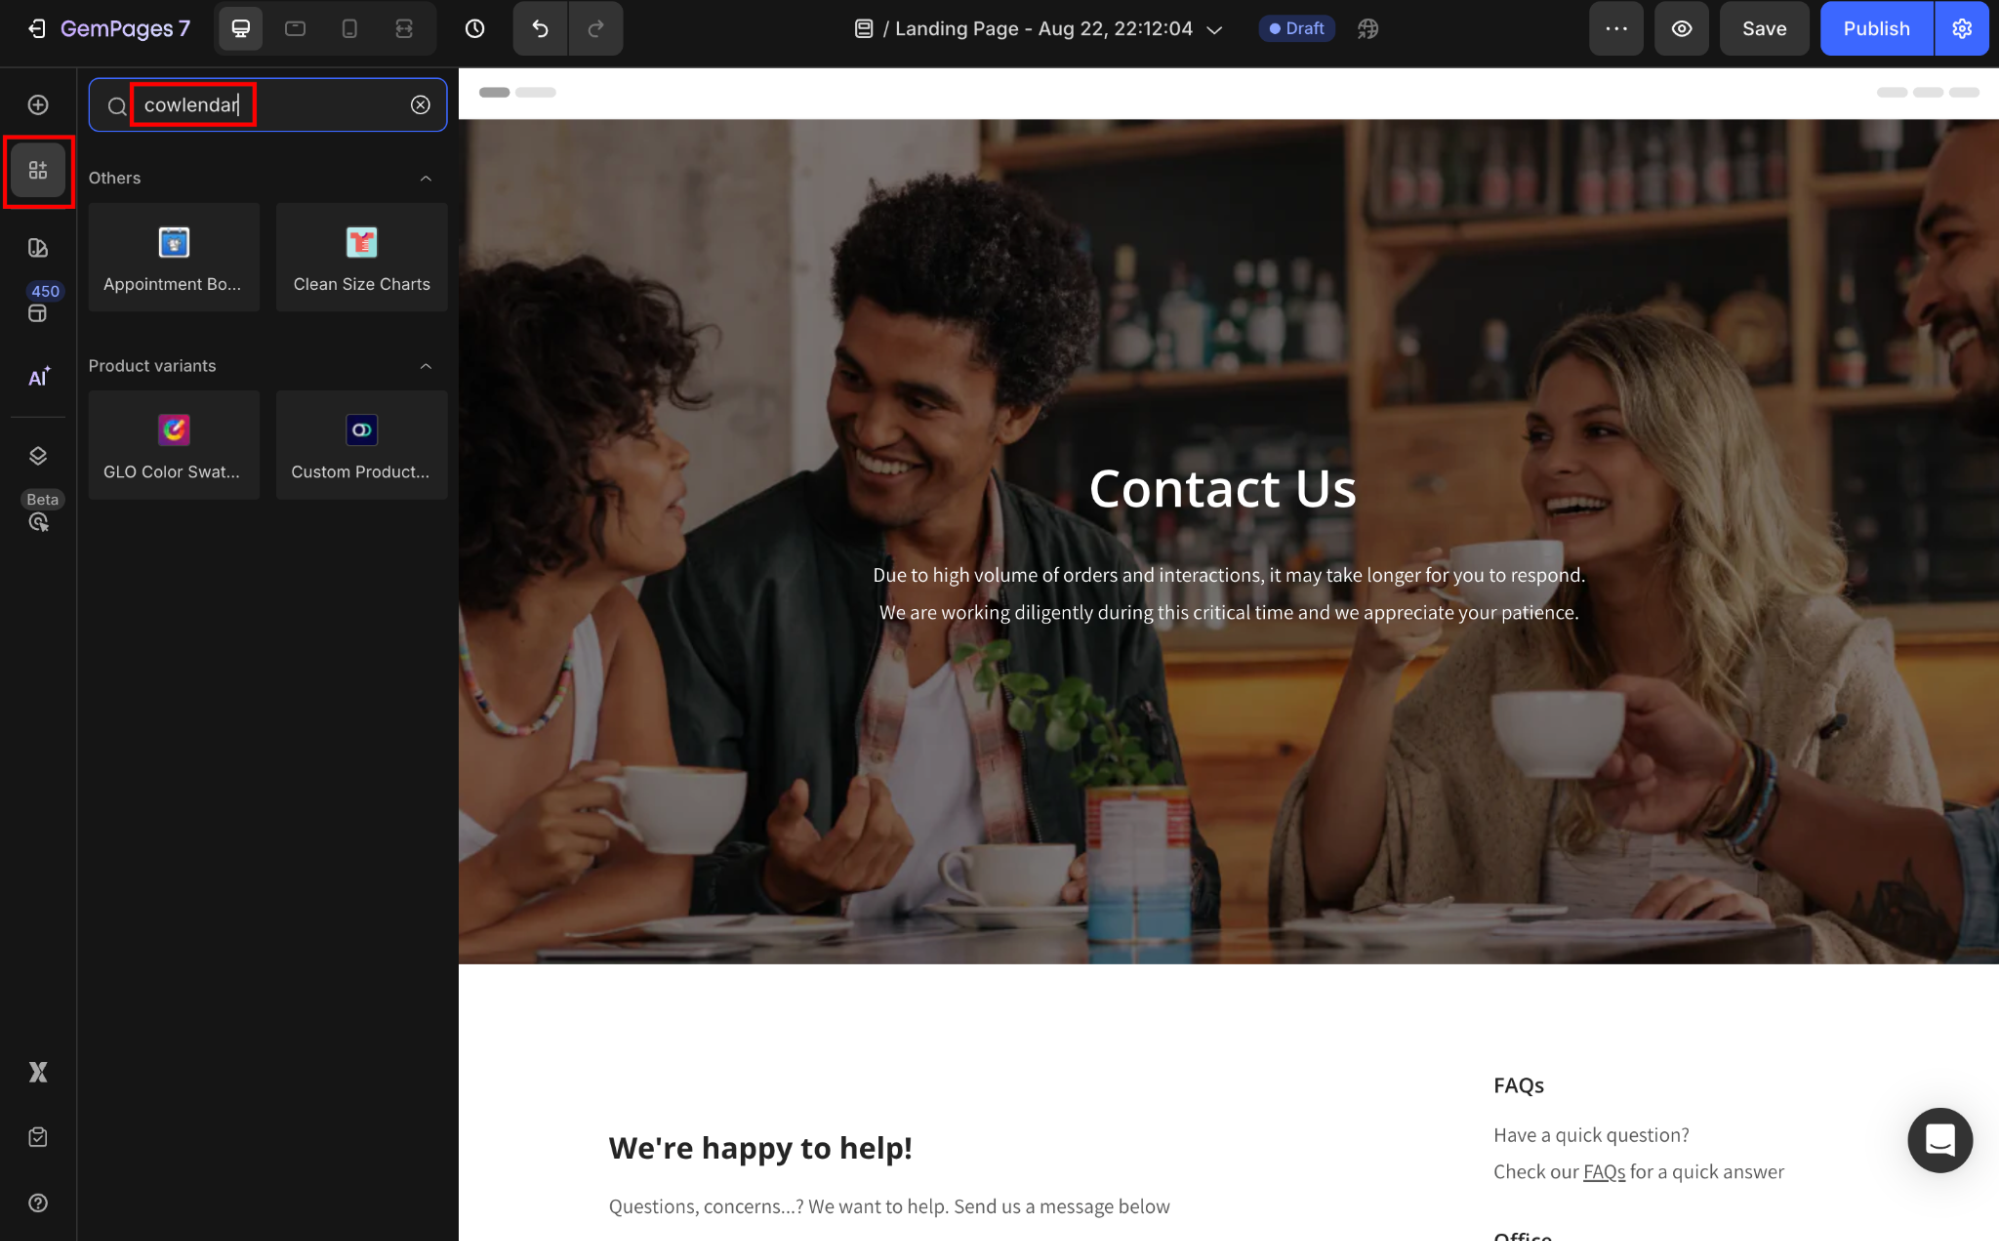
- Drag and drop the Cowlendar app element into the desired position on your page.

- In the settings panel, hit Open app. You’ll be navigated to the Cowlendar Shopify in-app.
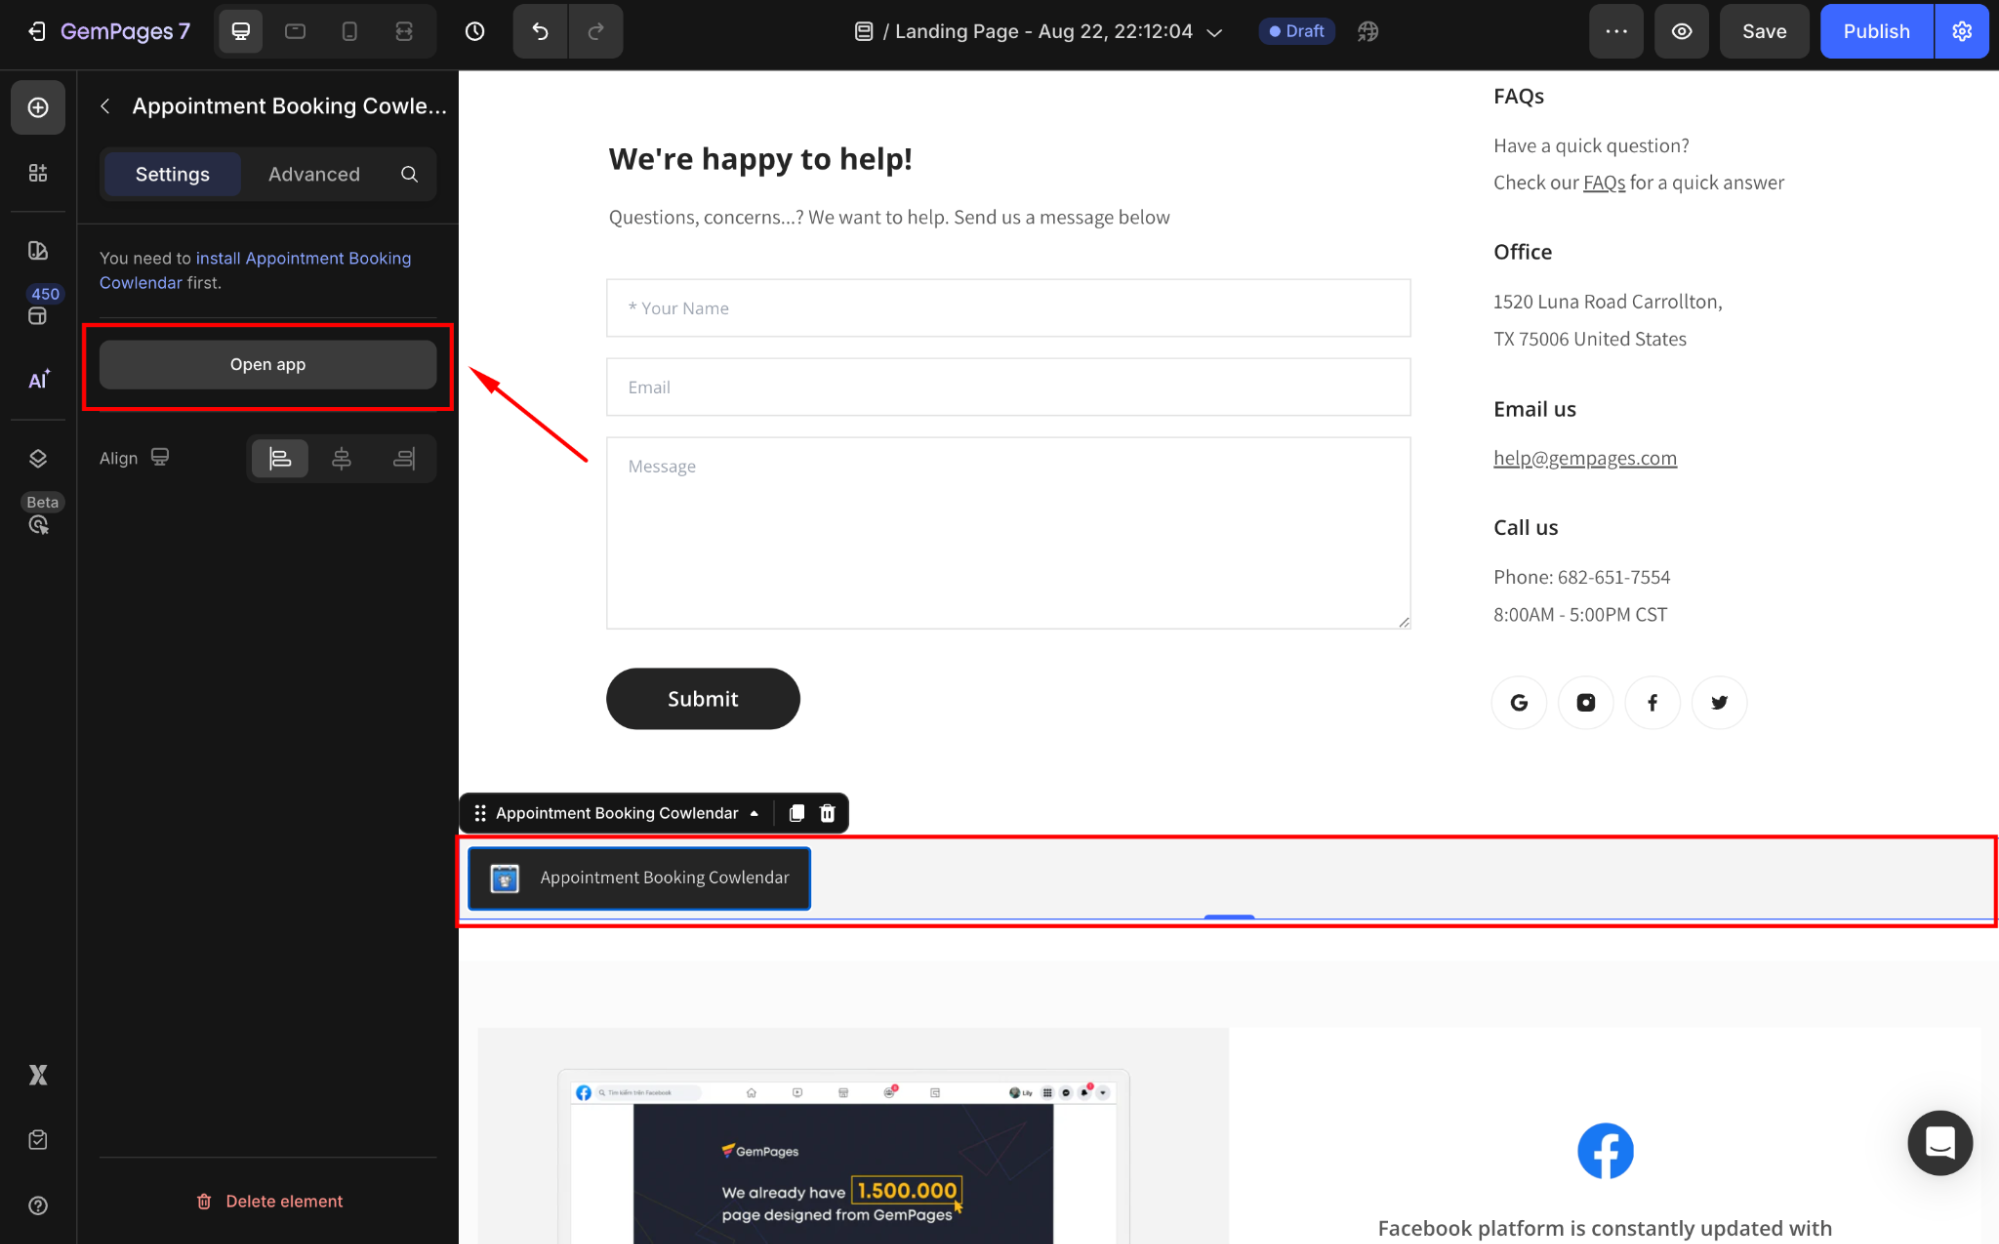
- Configure booking settings inside Cowlendar, such as working hours, available services, staff members, or calendar sync with Google Calendar.
Refer to this article for details instructions on using the Cowlendar app with GemPages.
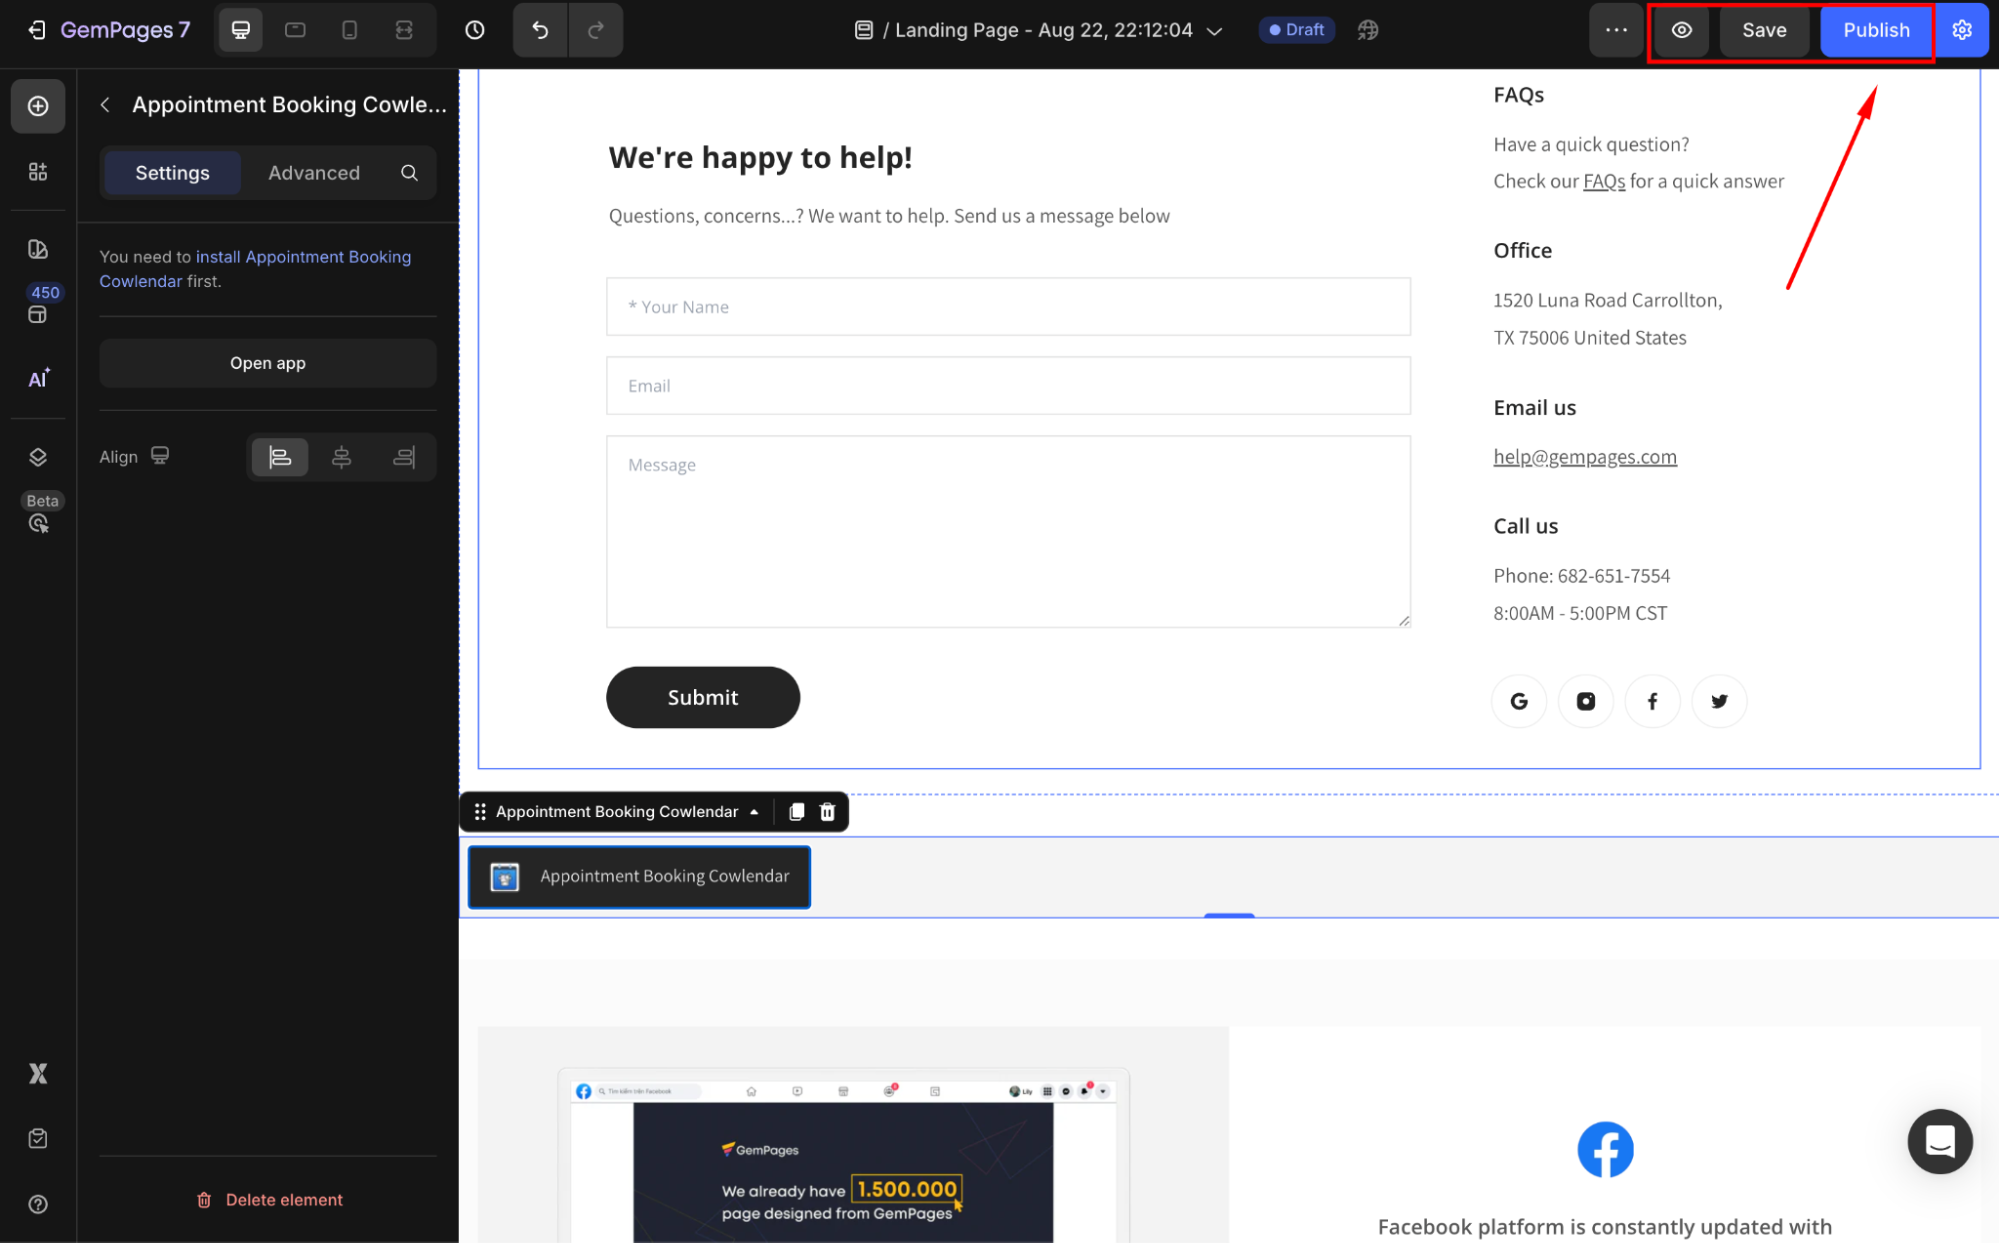
Step 4: Save and Publish your page
- Once your page is ready, click Save in the editor toolbar.
- Use the eye icon to preview your booking flow on desktop and mobile.
- Click Publish to make the appointment booking page live on your storefront.
Best Practices for Appointment Booking Pages
- Keep your booking form simple. Only ask for essential details (name, email, date/time).
- Add trust signals (reviews, testimonials, or guarantees) to reassure new customers.
- Clearly display cancellation or reschedule policies.
- Test the booking flow on both desktop and mobile. Many customers will book on mobile devices.
- Use strong CTAs to guide customers (e.g., “Book Now” instead of a generic “Submit”).
- Combine with other CTAs (e.g., “Contact Us” or “Learn More”) to retain users who are not ready to book immediately.
FAQs
1. Can I use a different booking app instead of Cowlendar?
Yes. To integrate your Appointment Booking page built with GemPages with other booking apps, you can use the Shopify App element.
2. Do I need coding to create a booking page?
No. With GemPages v7 and Cowlendar, everything can be set up within our drag-and-drop editor, no coding required
3. Is the booking page responsive on mobile?
Yes. GemPages automatically ensures a responsive design. Still, always preview your booking page in Mobile mode for the best experience.
4. Can I charge for bookings directly?
Yes. Some booking apps (including Cowlendar premium plans) allow payment collection at the time of booking. Contact the app’s support team for further assistance.


Thank you for your comments