


Why Use a Button to Trigger the Checkout Page?
In GemPages v7, you can use the Dynamic Checkout Button Element to allow your customers to bypass the cart step and make direct purchases.
However, this button’s text updates dynamically based on your third-party accelerated checkout method, and you cannot change the text shown on this button as you prefer.
Learn more: Accelerated checkout buttons – Shopify Help Center
In such cases, if you want to display a button with editable text and still trigger the checkout page, using an Add to Cart Button Element is the best choice.
Steps to Use the Add to Cart Button Element to Trigger the Checkout Page
Follow these steps:
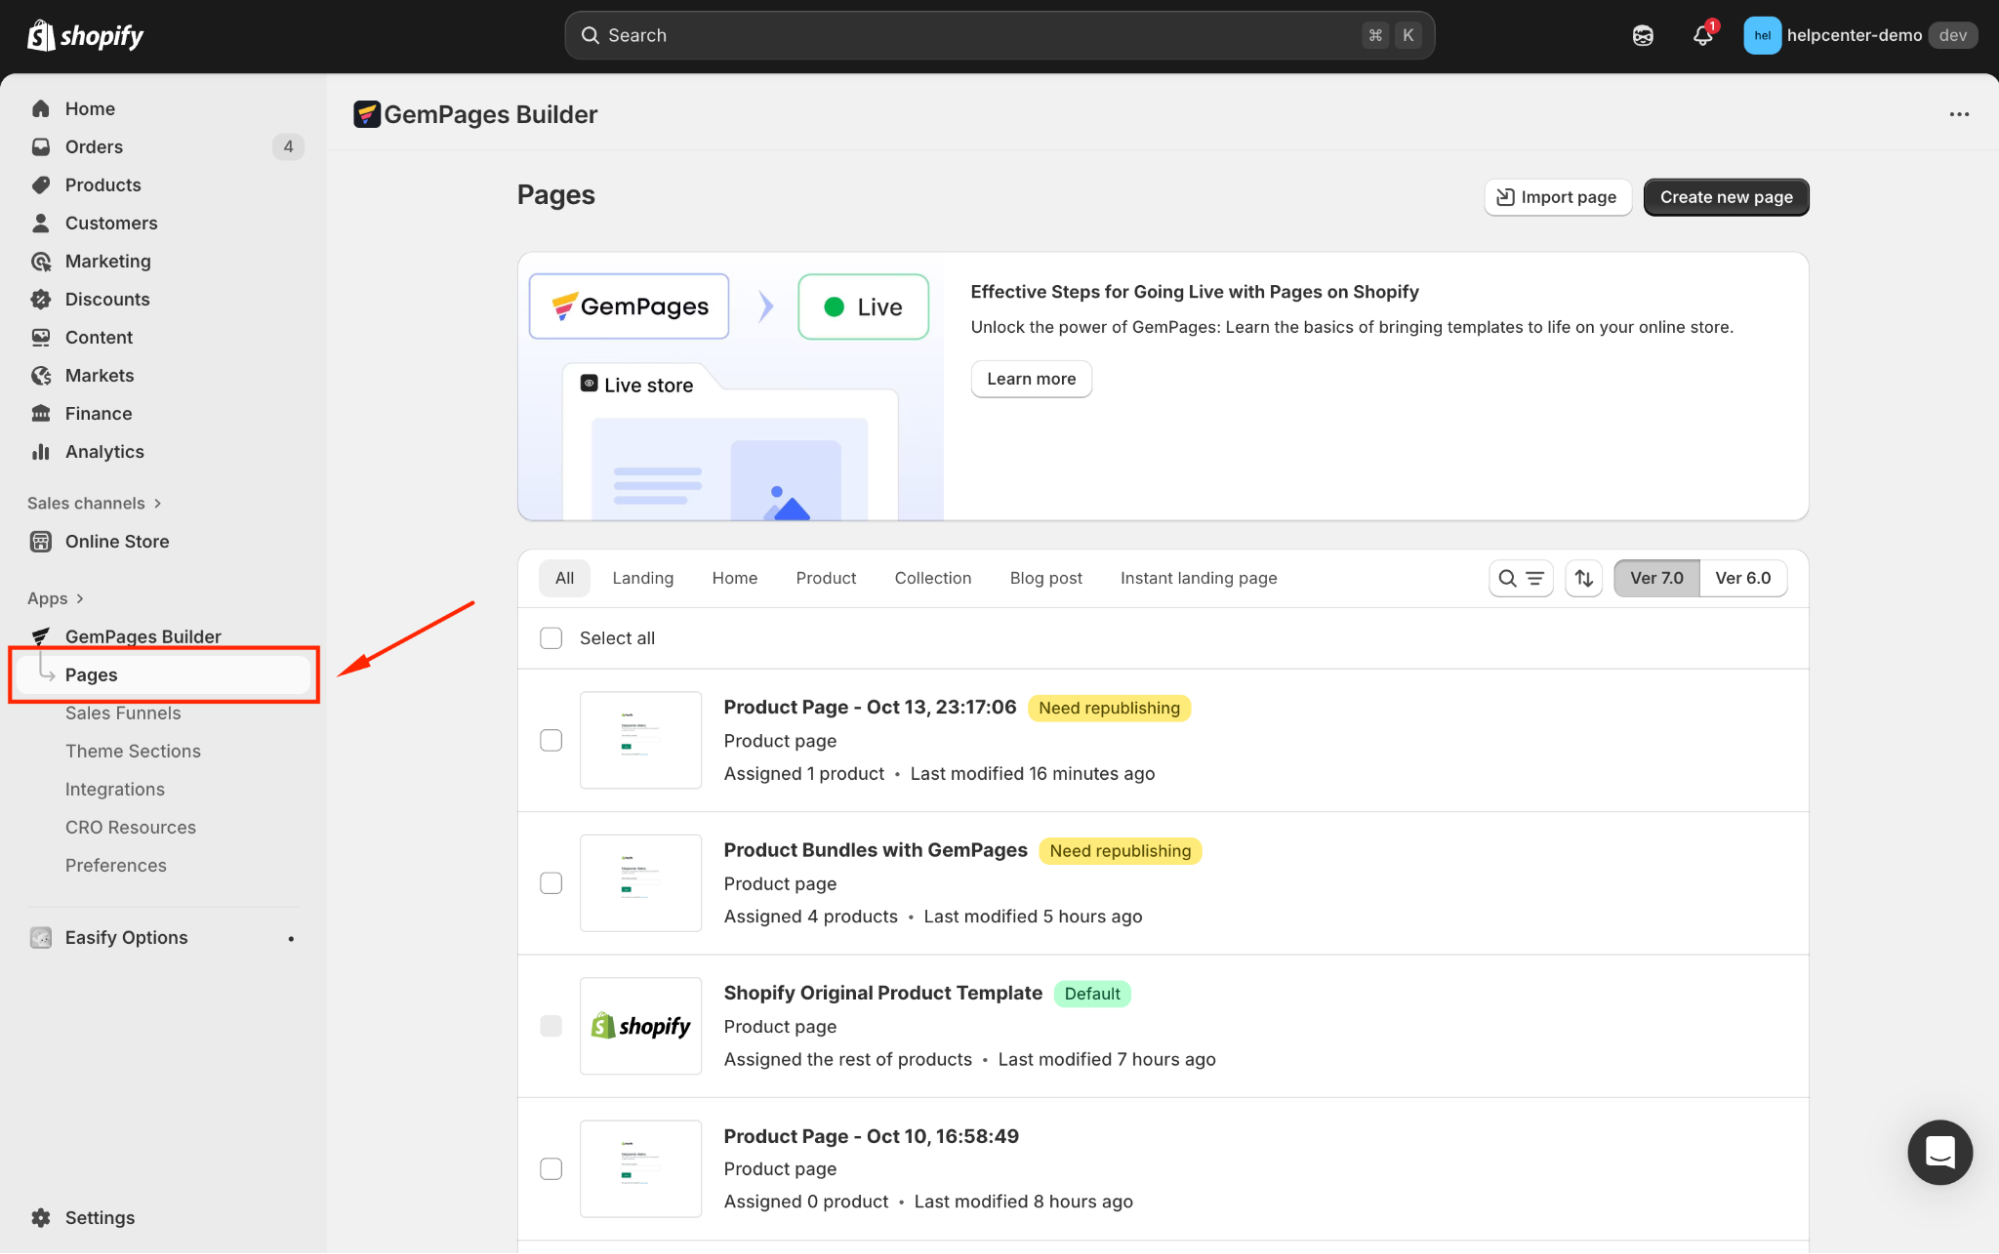
Step 1: Access the GemPages Editor
From the GemPages Dashboard, go to Pages and click on the target page to open it in the editor.
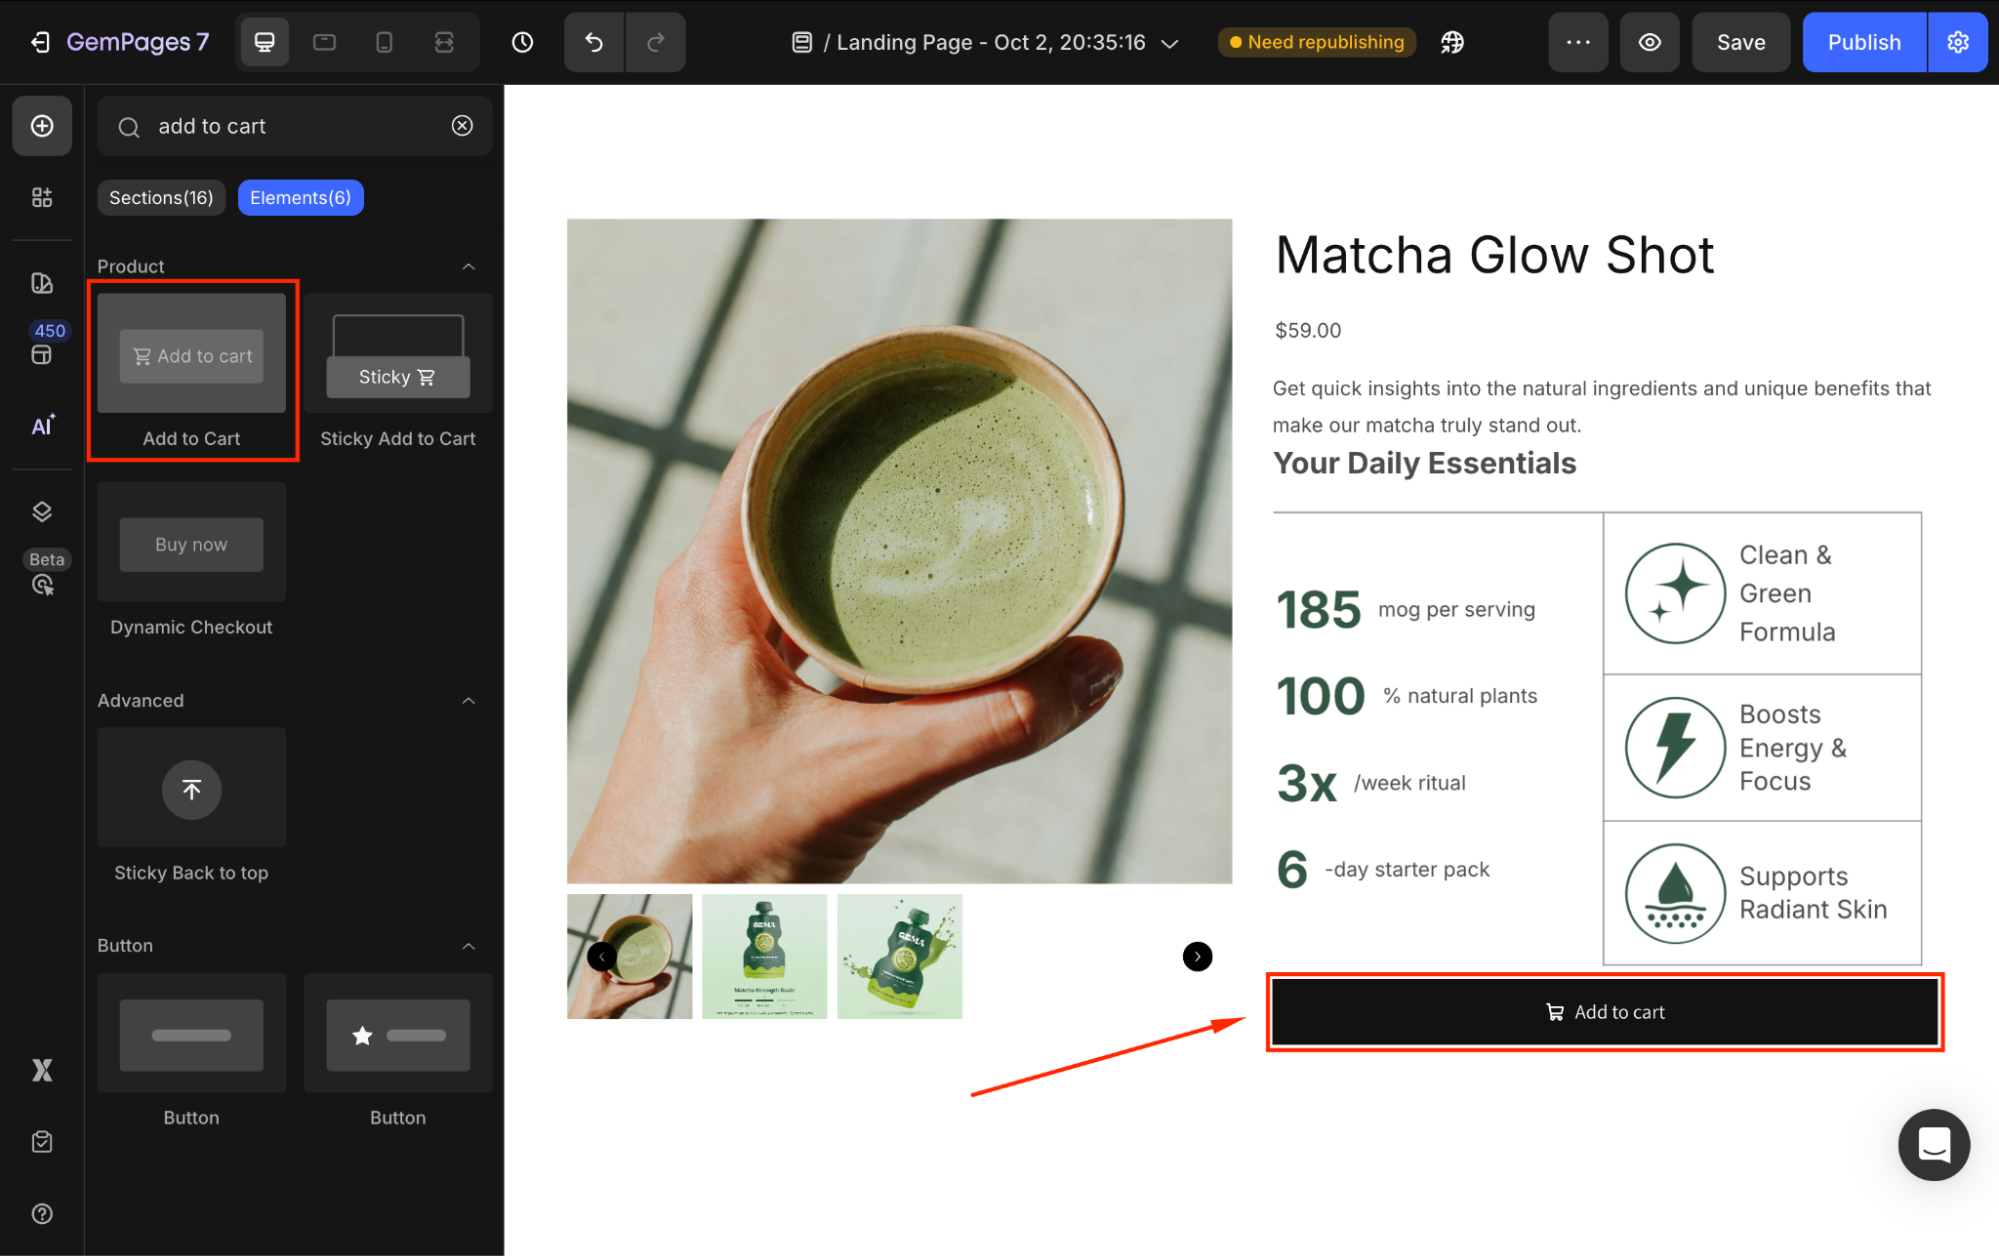
Step 2: Add an Add to Cart Button Element to Your Page
From the left sidebar, use the search bar to locate the Add to Cart Button Element. Then, drag and drop this element inside a Product Element.
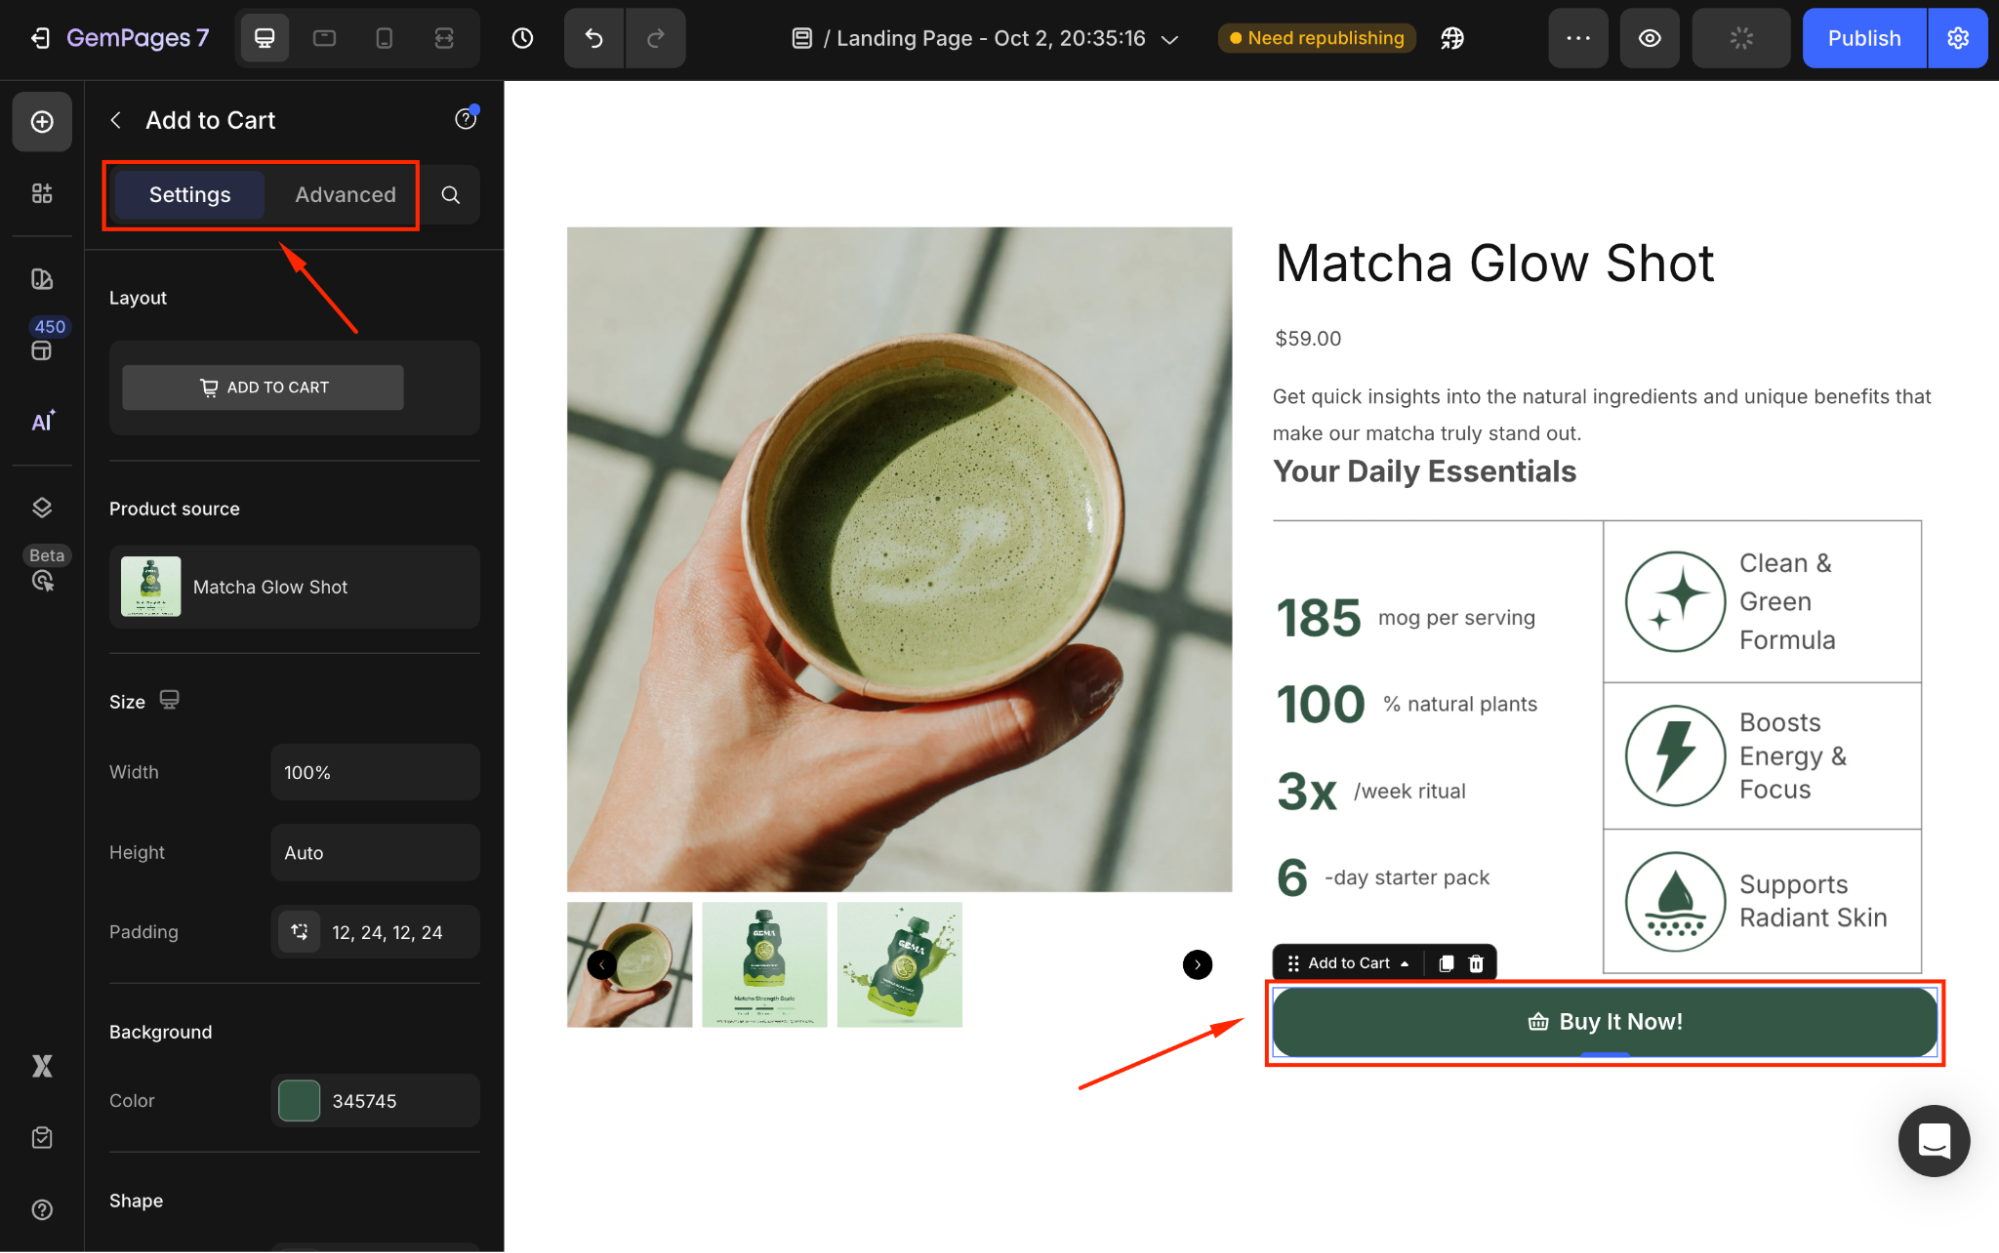
Double-click on the default button’s text and replace it with your preferred one. For example, we’ll change it to “Buy It Now!”.
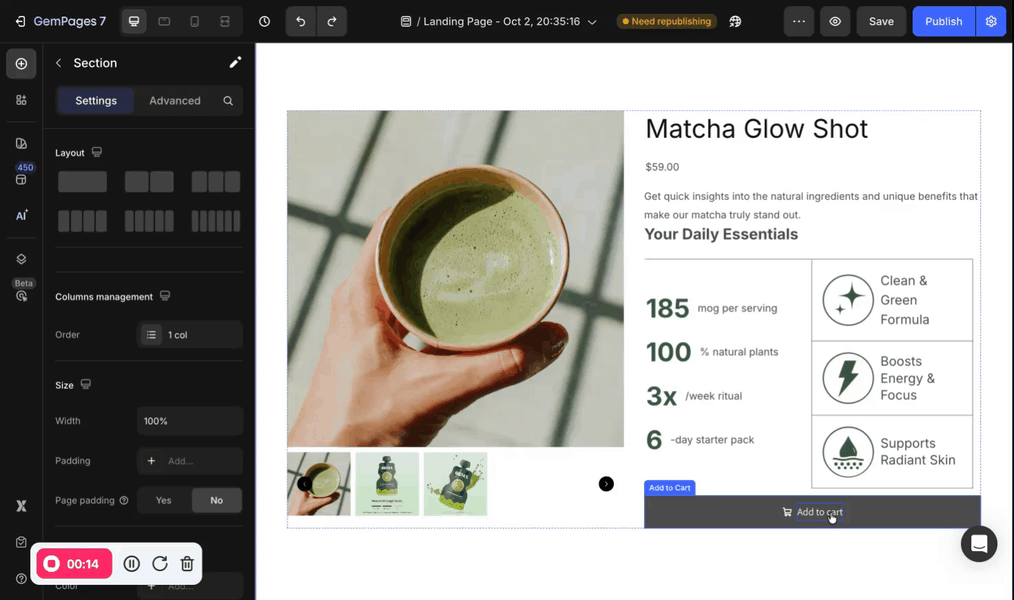
Use the Settings and Advanced tabs to customize the button as you prefer, such as changing the size, adjusting the corner radius, or adding a shadow effect.
Refer to this article for further details on customizing the Button Element.
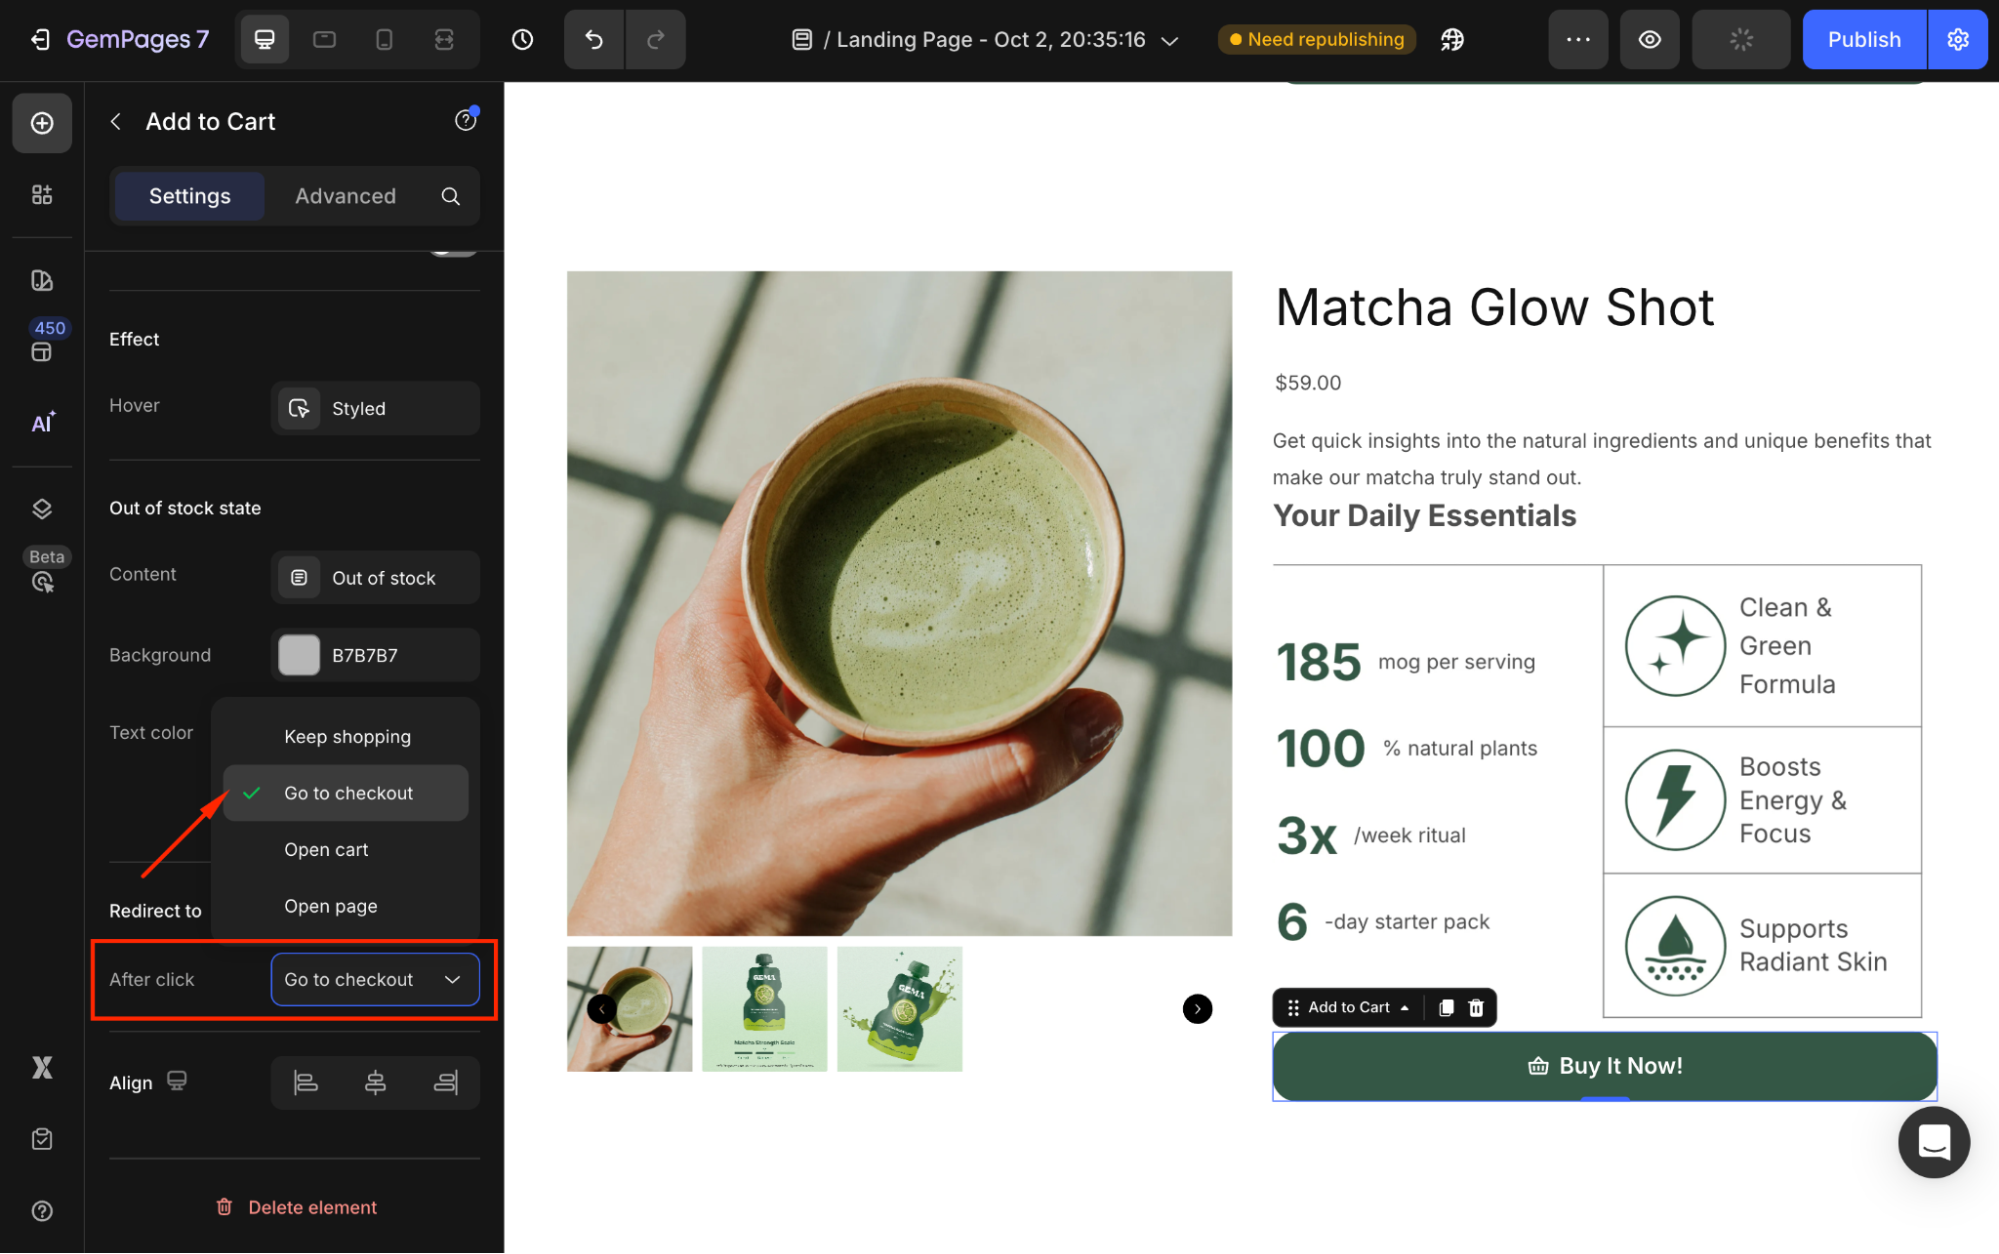
Step 3: Link the Button to Your Checkout Page
Under the Settings tab, scroll down to the Redirect to section.
From there, set the After click = Go to checkout from the dropdown.
Step 4: Save and publish
Save your changes and check the result in the preview mode.
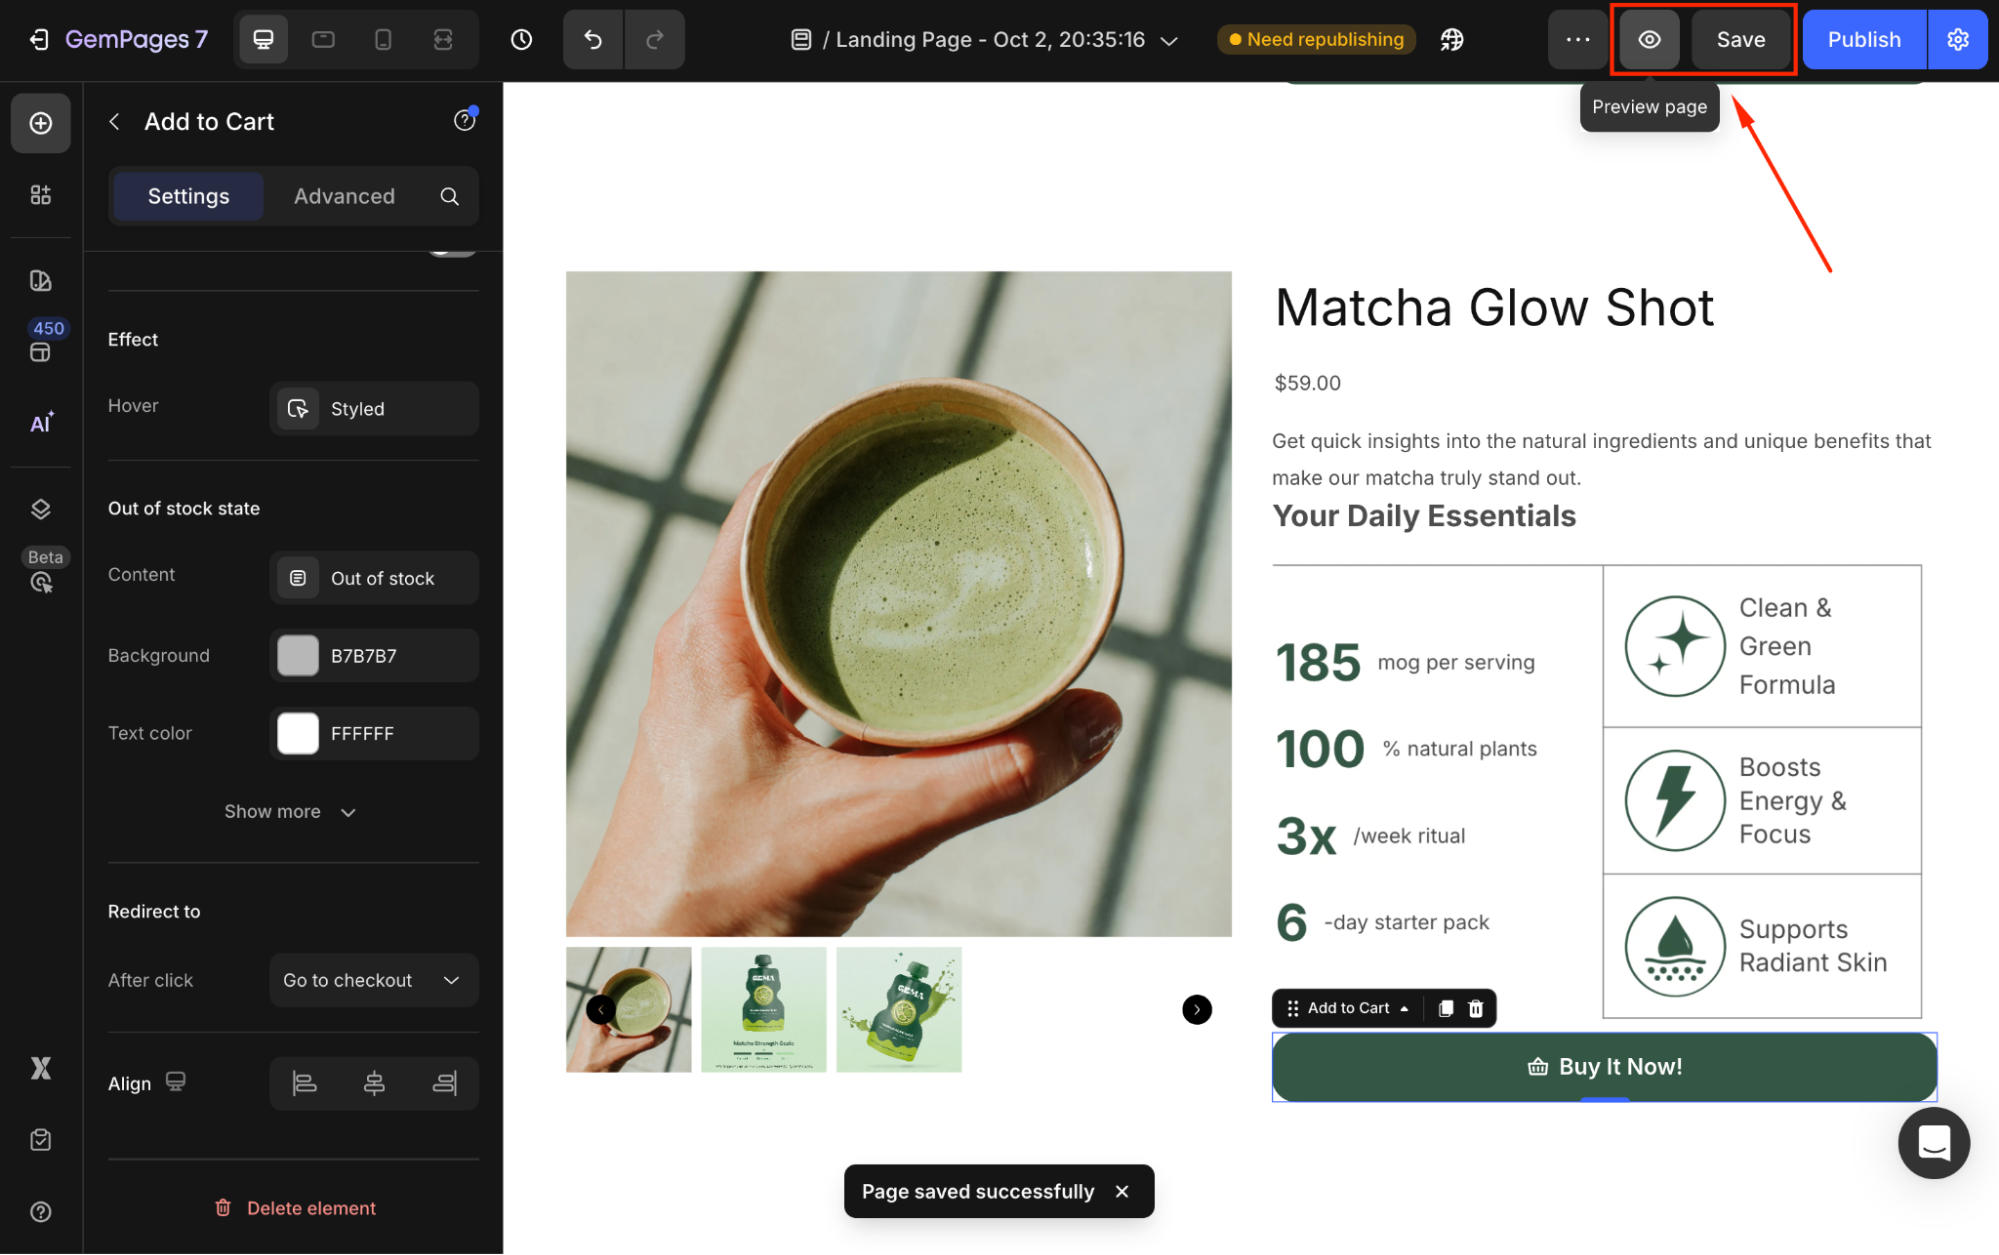
Once you’re satisfied, hit Publish to republish your page.
The result
Now, when your customer clicks on this button, the product will be added to their cart. They’ll bypass the cart step and go to the checkout page directly.


Thank you for your comments