


Many store owners wonder if it’s possible to customize a Shopify checkout page using GemPages. This guide clarifies what is allowed, the best ways to personalize your checkout, and which tools you can use to enhance your customer’s checkout experience.
What is the Shopify Checkout Page?
The checkout page is the final step in the online shopping journey. It’s where customers review their carts, enter payment information, and complete their purchases.
Shopify has strict privacy and security policies that prevent store owners from directly customizing their checkout pages using third-party page builders like GemPages. However, there are still ways to adjust the look and functionality of your checkout through Shopify’s built-in tools or third-party apps.
How to Customize Your Shopify Checkout Page?
There are multiple ways to customize your Shopify checkout page. However, please note that these options depend on your Shopify plan, and several are limited to Shopify Plus merchants only.
Method 1: Use Your Theme Settings
We recommend using Shopify’s Theme Editor to make the basic and visual changes to your checkout page.
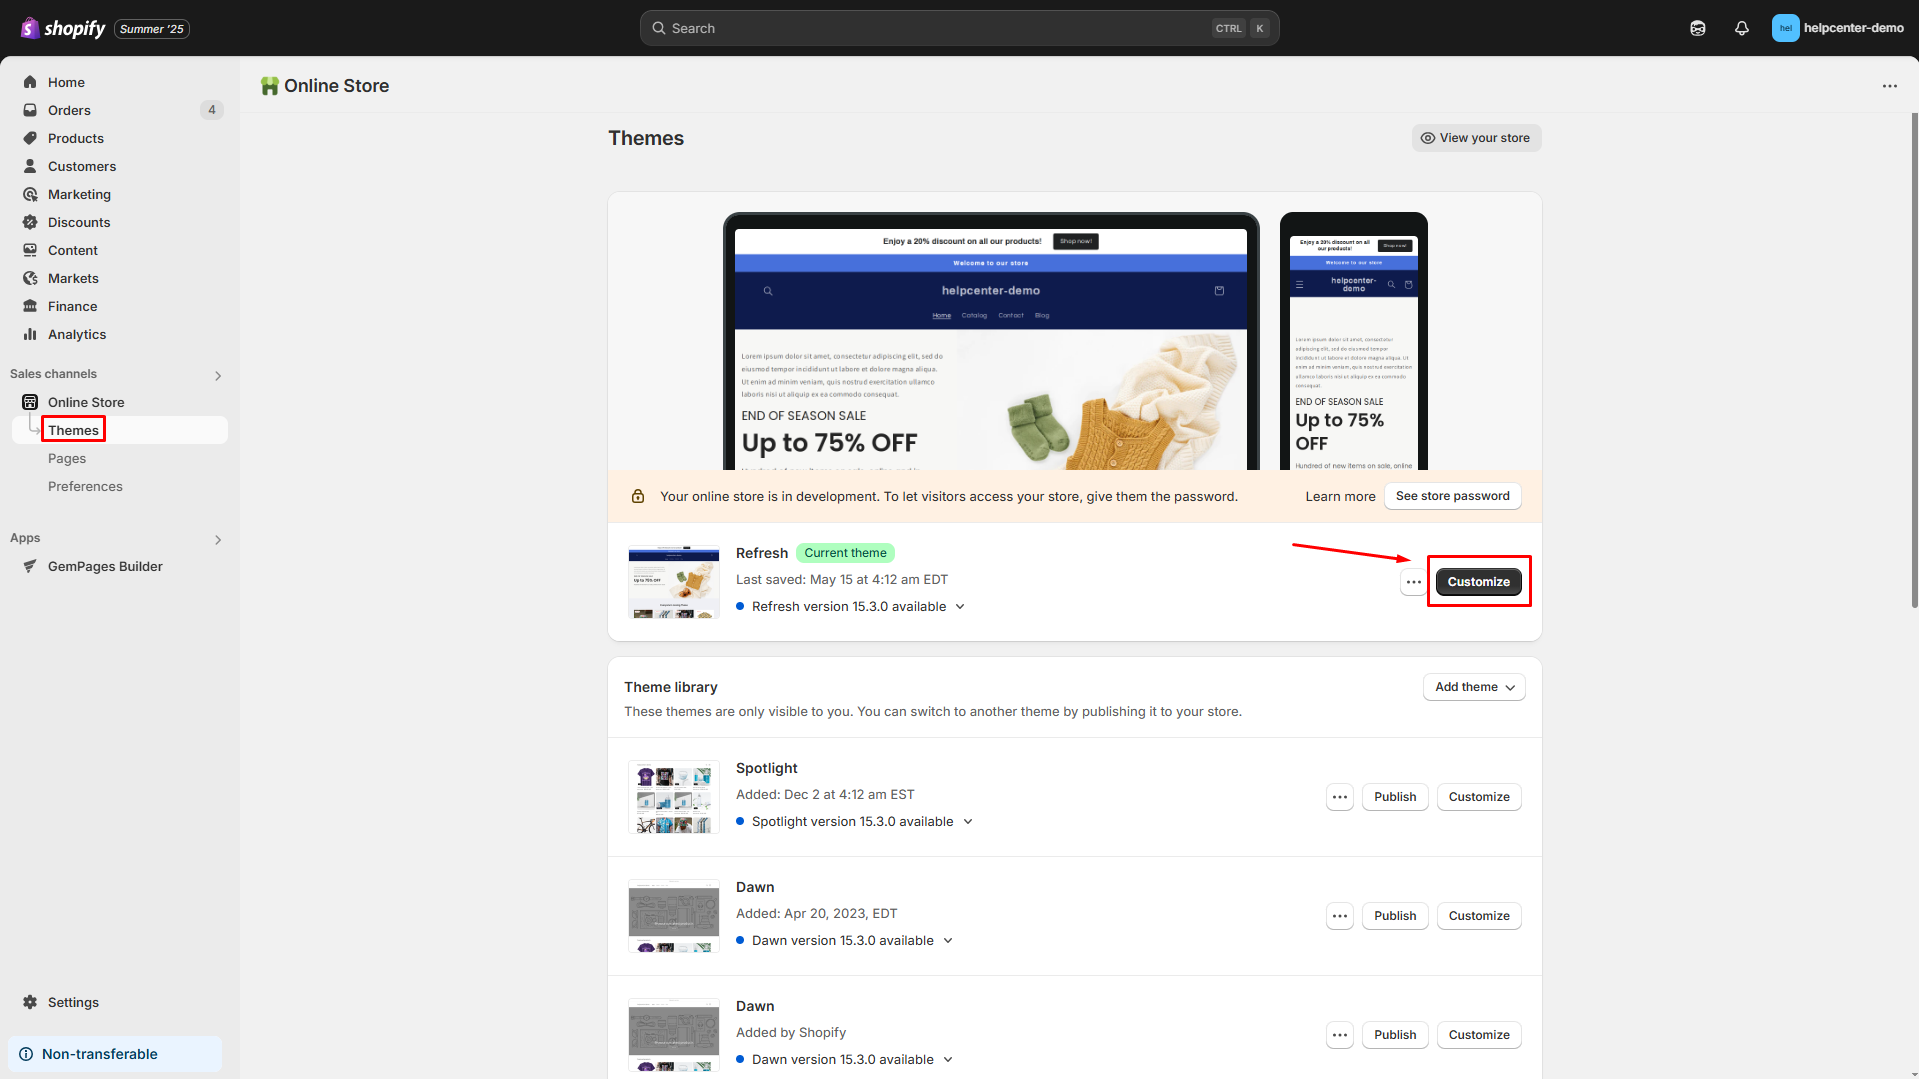
Step 1: Go to your Shopify admin > Online Store > Theme. Hit the Customize button on your current theme to open the Theme Editor.
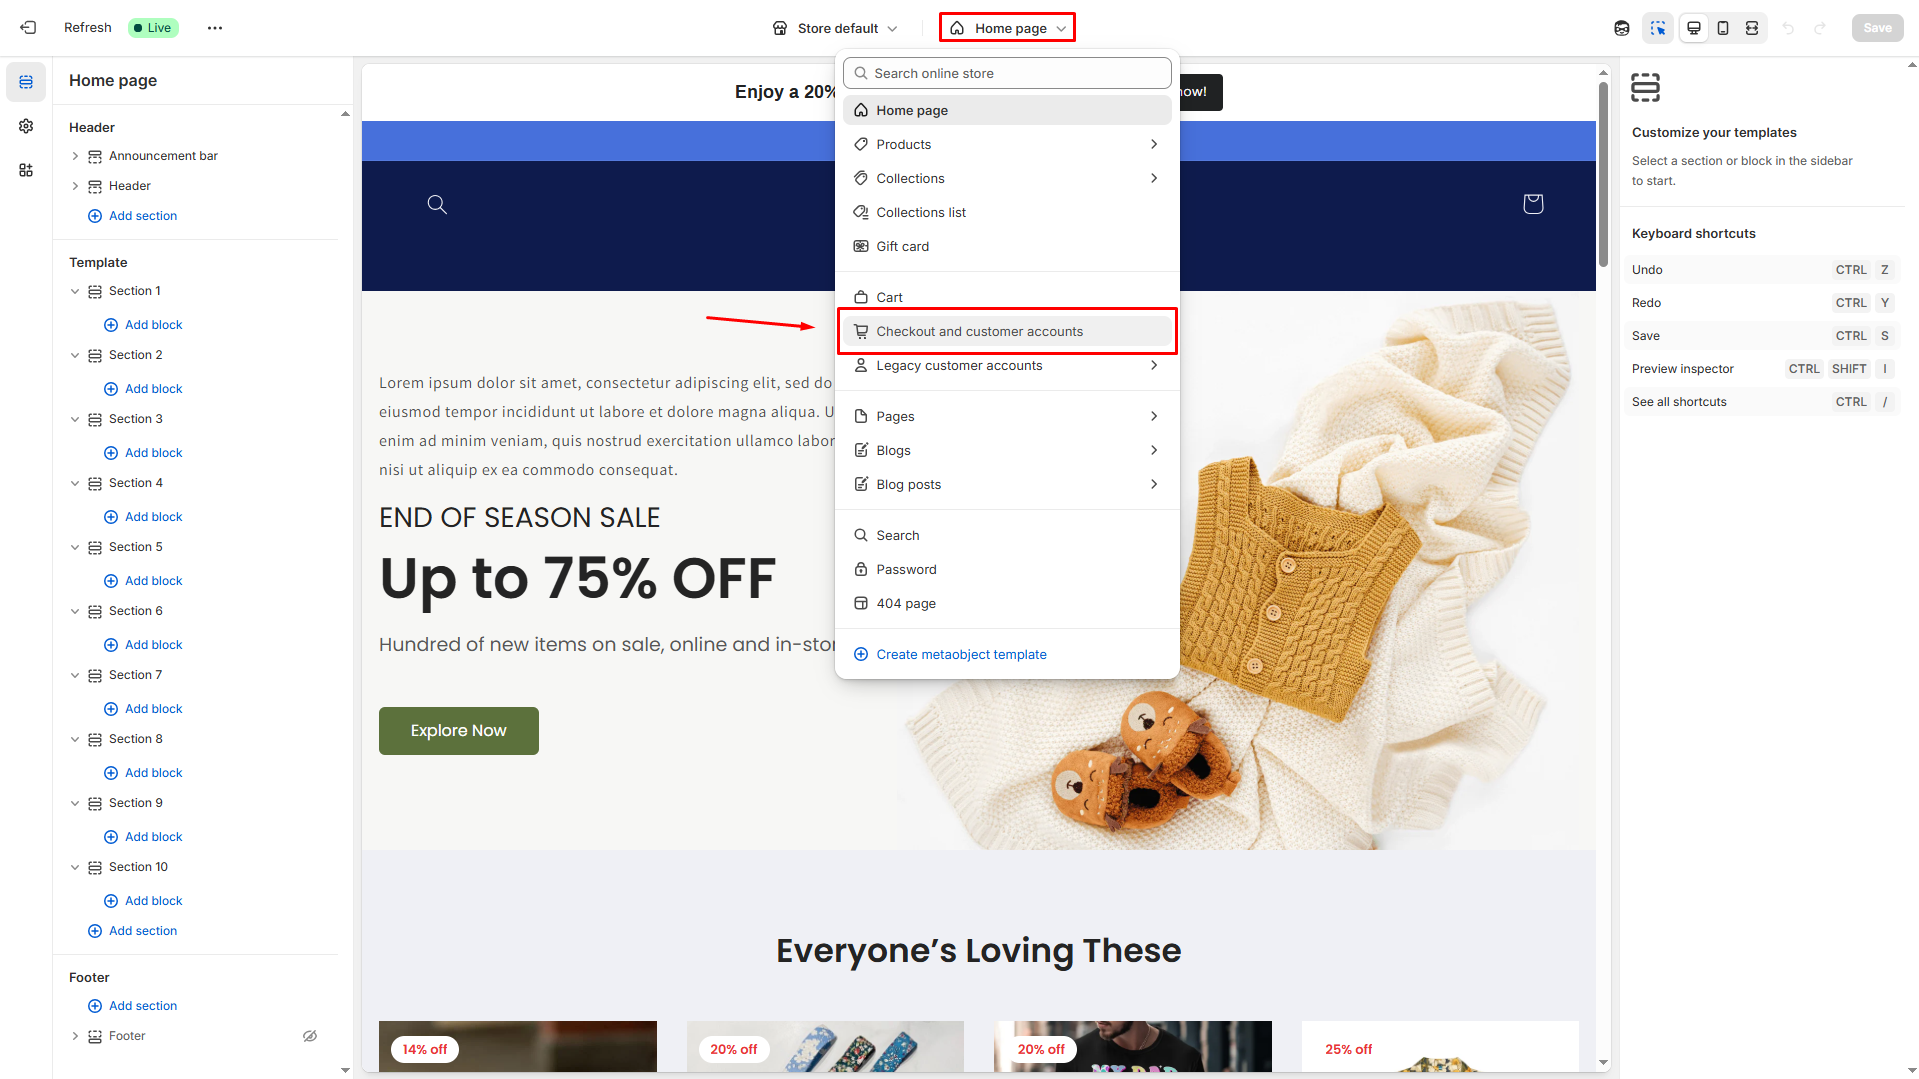
Step 2: Drop down the Home page button > select Checkout and customer accounts.
Step 3: On the left-side bar, you’ll see all the settings options, including:
- Header
- Background
- Color
- Typography
- Checkout layout
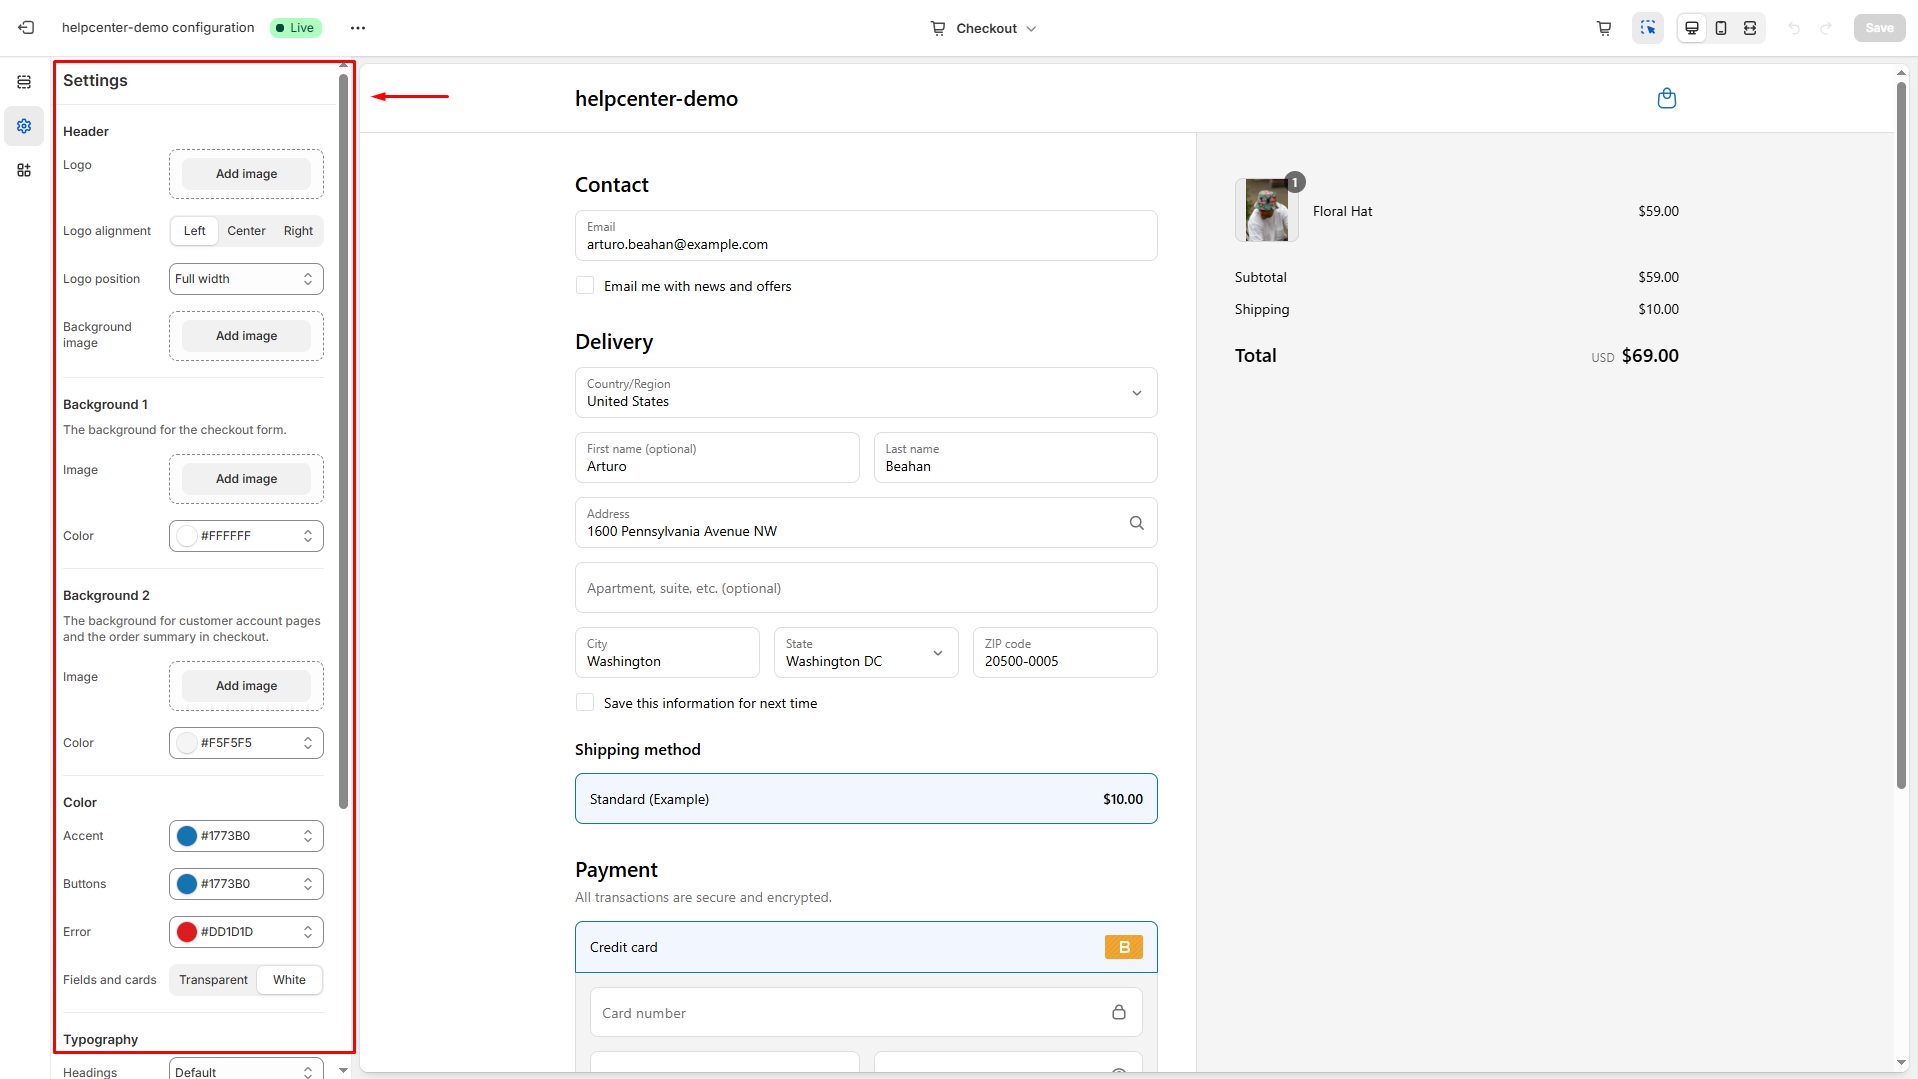
Now, you can configure all the sections as needed.
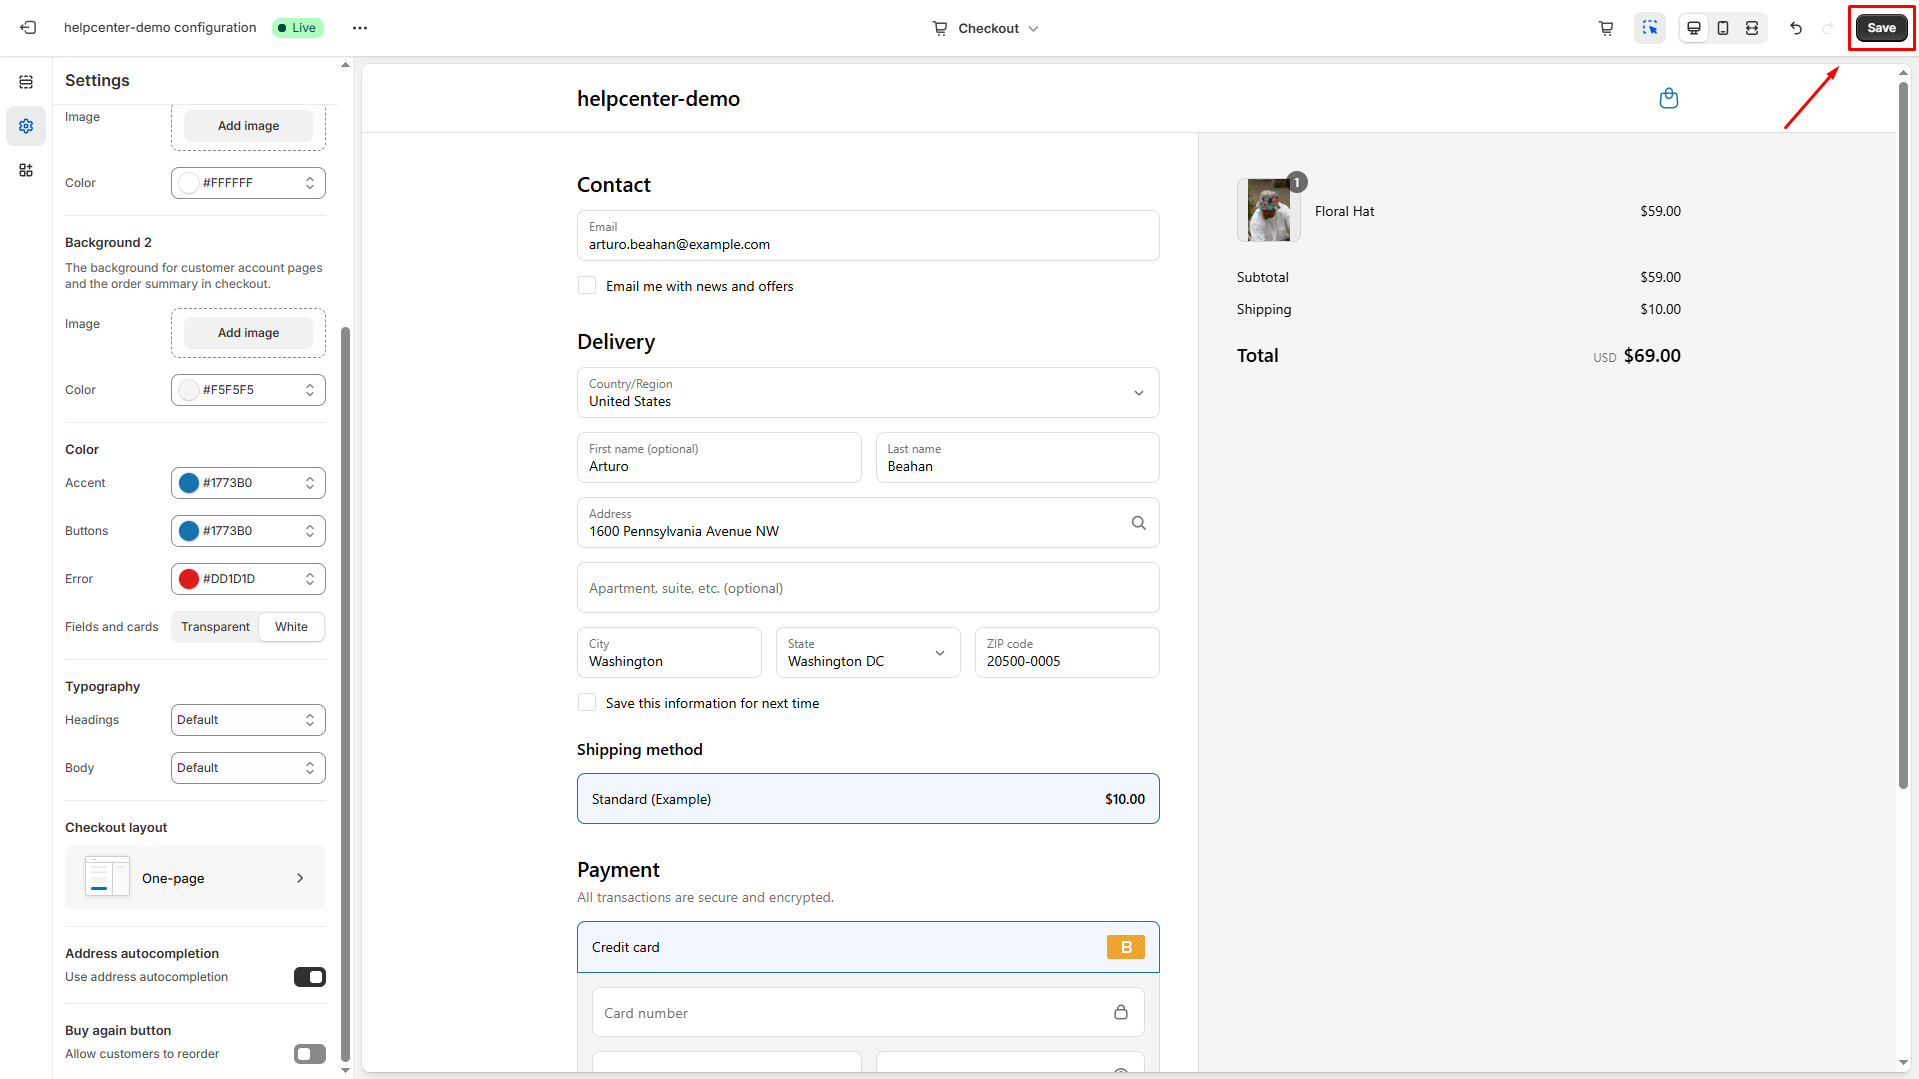
Step 4: Click the Save button in the upper-right corner to save your changes.
Method 2: Use a Third-party App for Extended Checkout Functionality
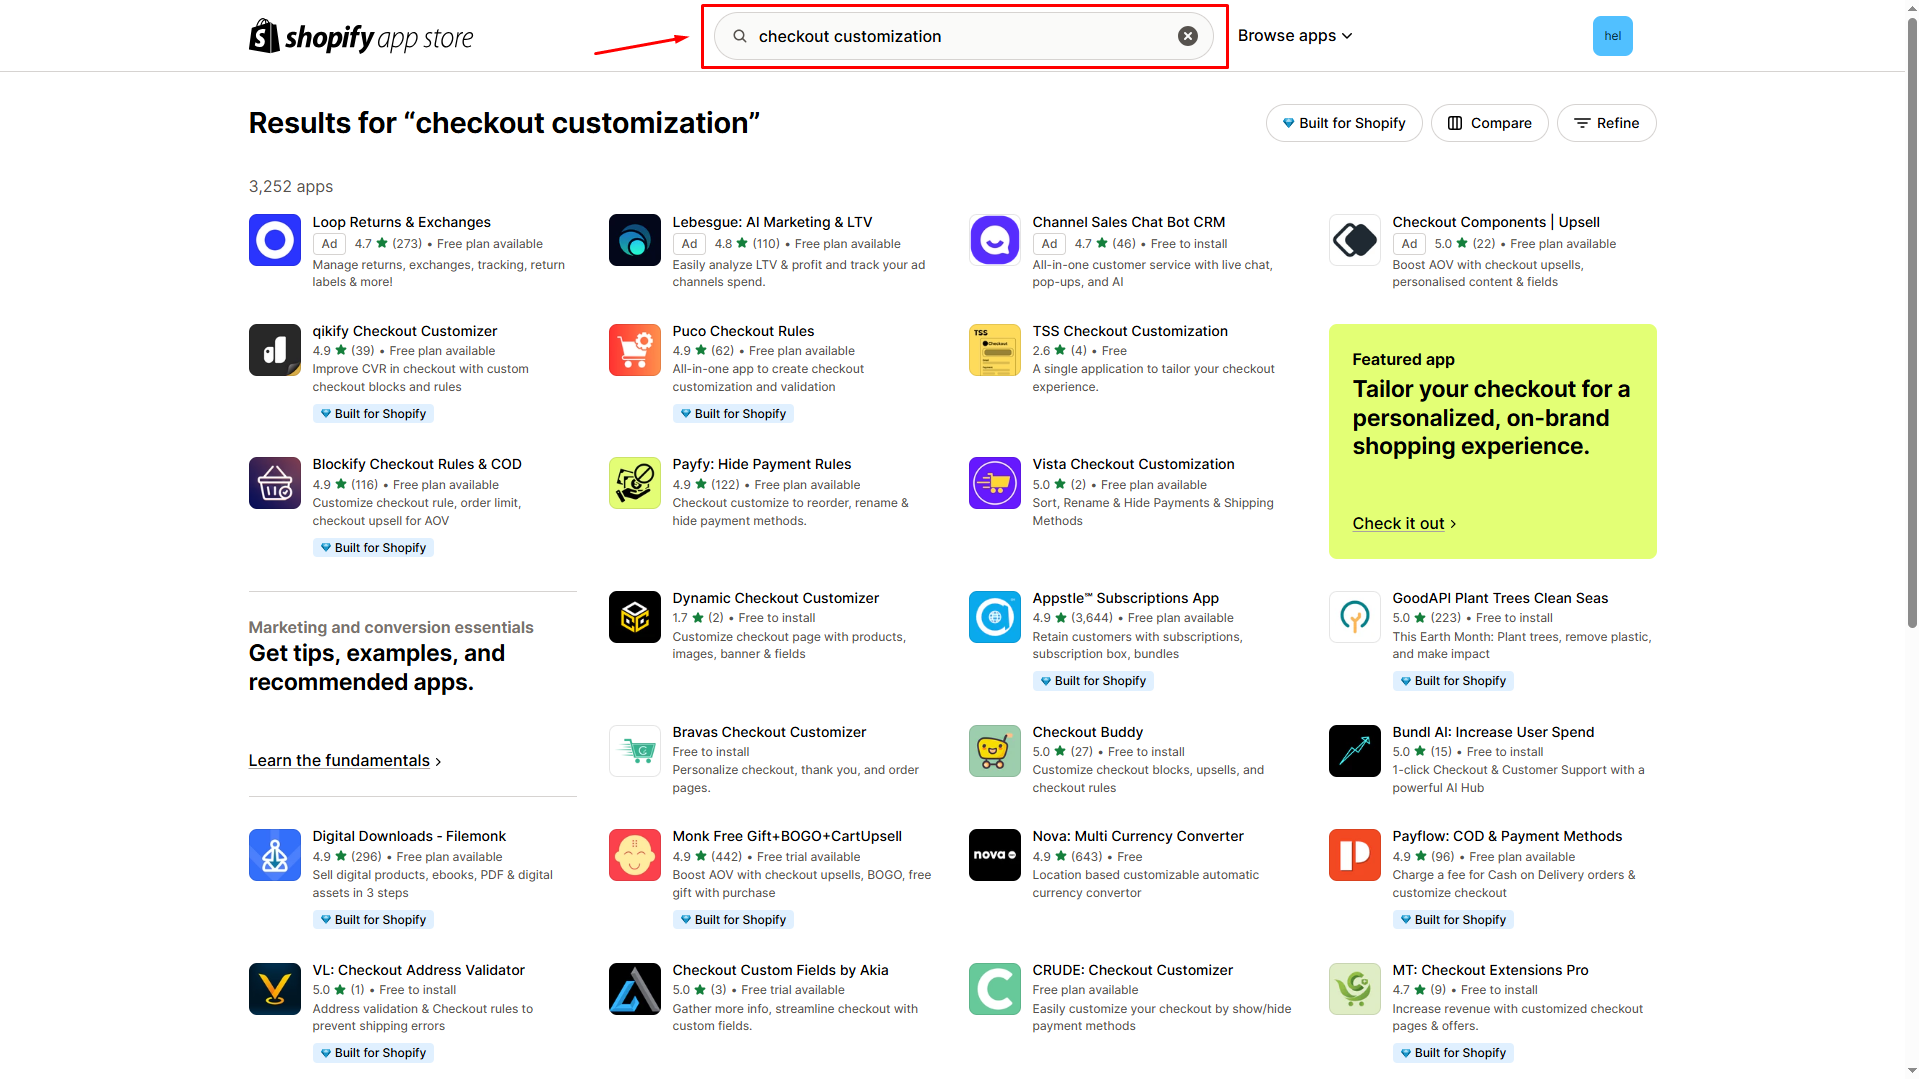
Shopify allows you to fully customize your checkout page within a checkout app from the Shopify App Store.
To view all of the options, search for the Checkout Customization and install the one that best fits your store.
Method 3: (Advanced) Use Shopify Plus features
If you’re on Shopify Plus, you get access to advanced tools such as:
- Checkout Branding API: For design customizations
- Checkout UI extensions: For adding functionality
Refer to this article for further information.
You can also develop a custom Checkout App, which requires coding knowledge. If you’re not a developer, consider working with a Shopify Partner or app developer.
Add Parameters to Checkout Page
Many store owners want to pass additional information or track campaigns on their checkout pages. While Shopify limits direct editing of checkout pages for security reasons, there are still ways to add parameters or custom data depending on your Shopify plan.
Using URL Query Parameters (All Shopify Plans)
You can append query parameters to your checkout URL to capture information such as discount codes or customer notes:
discount→ automatically applies a discount code.customer_note→ appears in the note section of the order.
Note: Only certain built-in Shopify fields support URL parameters. This method does not allow full custom fields or advanced tracking.
Using Additional Scripts (Shopify Standard & Plus)
Shopify allows you to insert custom scripts in the Additional Scripts field on the checkout page (found under Settings → Checkout). This is commonly used to push data into Google Tag Manager, Google Analytics, or other marketing tools.
Example: Pushing checkout parameters to GTM:
{{ checkout.order_number }}→ Shopify Liquid variable for the order number.{{ checkout.total_price }}→ total order value without currency symbol.
This method is ideal for tracking checkout events and sending custom parameters to third-party analytics tools.
Advanced Option for Shopify Plus
Shopify Plus merchants have full control over the checkout.liquid template:
- Add hidden input fields to capture custom parameters:
<input type="hidden" name="attributes[affiliate_code]" value="{{ request.params.affiliate_code }}">
- This will save the affiliate code in the
order.attributesobject. - You can also use Shopify Plus Checkout UI Extensions or the Checkout Branding API to capture, display, or manipulate custom parameters programmatically.
Official Shopify Documentation
For more details, refer to Shopify’s official guides:
Always test your parameters and scripts in a sandbox or staging environment before going live to ensure they work correctly without affecting checkout functionality.
FAQs about Shopify Checkout Page
1. Can I customize my Shopify checkout page using GemPages?
No. According to Shopify’s privacy and security policies, store owners cannot customize their checkout page directly with third-party page builders like GemPages.
2. How can I customize my checkout page on Shopify?
You can customize the checkout page using Shopify’s Theme Editor, checkout customization apps, or Shopify Plus features, depending on your plan.
3. What can I change using Shopify’s Theme Editor?
You can modify visual and layout elements such as header, background, colors, typography, and checkout layout through the Theme Editor.
4. Are there apps that help customize the checkout page?
Yes. You can install third-party checkout customization apps from the Shopify App Store to add elements like trust badges, security seals, or review snippets to your checkout page.
5. What additional checkout customization options are available for Shopify Plus users?
Shopify Plus merchants can use advanced tools such as the Checkout Branding API, Checkout UI extensions, and even develop custom checkout apps for deeper design and functionality changes.


Thank you for your comments