About 17TRACK Order Tracking
17TRACK Order Tracking is a Shopify app that automates order tracking and provides customers with real-time shipping updates once an order is fulfilled, helping reduce “Where Is My Order” (WISMO) inquiries.
It offers a fully customizable, branded tracking page with multilingual support to maintain a consistent shopping experience.
The app also includes tools to streamline returns, manage PayPal transactions, and optimize post-purchase engagement.
Key features:
- Branded Tracking Page: Display real-time order status and estimated delivery dates directly on your store.
- Automated Notifications: Send shipping and delivery updates to reduce customer support requests.
- Return Management: Simplify and automate return processes to retain revenue.
- PayPal Integration: Sync shipping details to reduce chargebacks and speed up fund releases.
- Dropshipping Support: Option to hide supplier origin details.
How to Install & Set Up 17TRACK Order Tracking?
Step 1: Install 17TRACK Order Tracking in the Shopify App Store.

Step 2: Provide the app with access to the required data.

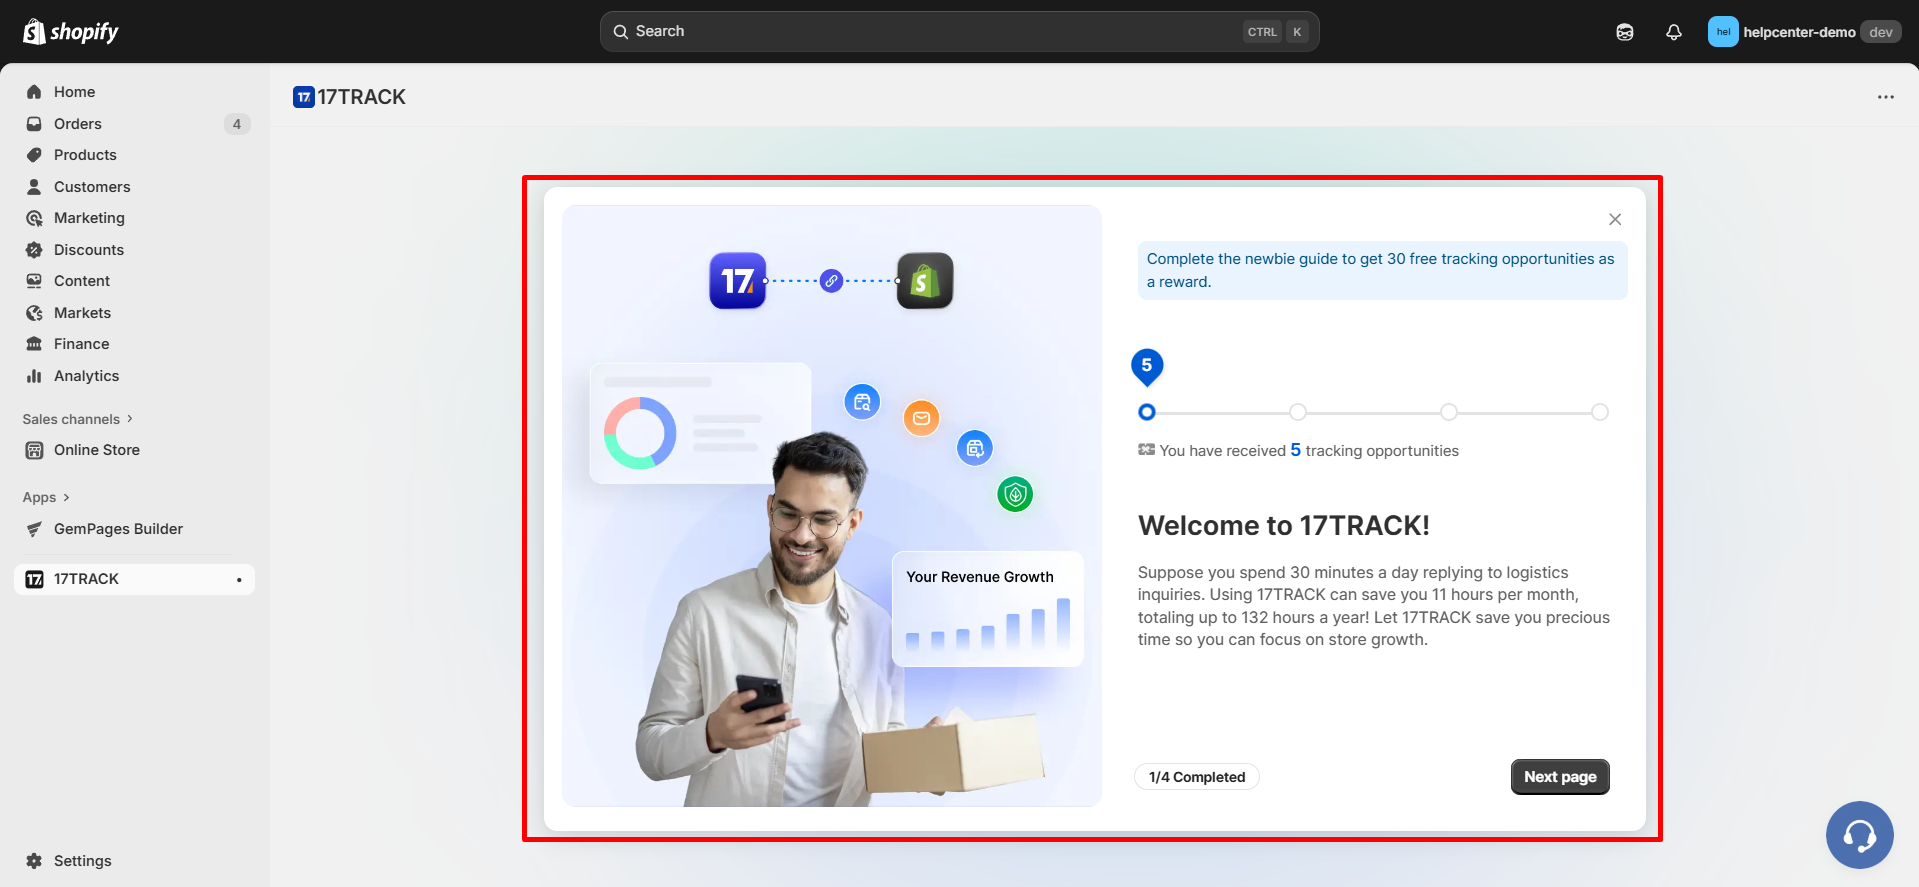
Step 3: Follow the app’s onboarding steps.

Step 4: After finishing the setup and being redirected to the dashboard, go to the Tracking Page tab and choose “Add page” to create and customize a tracking page.

Step 5: Customize the tracking page. After customizing the page, click “Save” to finalize your changes.

How to Add 17TRACK Order Tracking to Your Store’s Navigation?
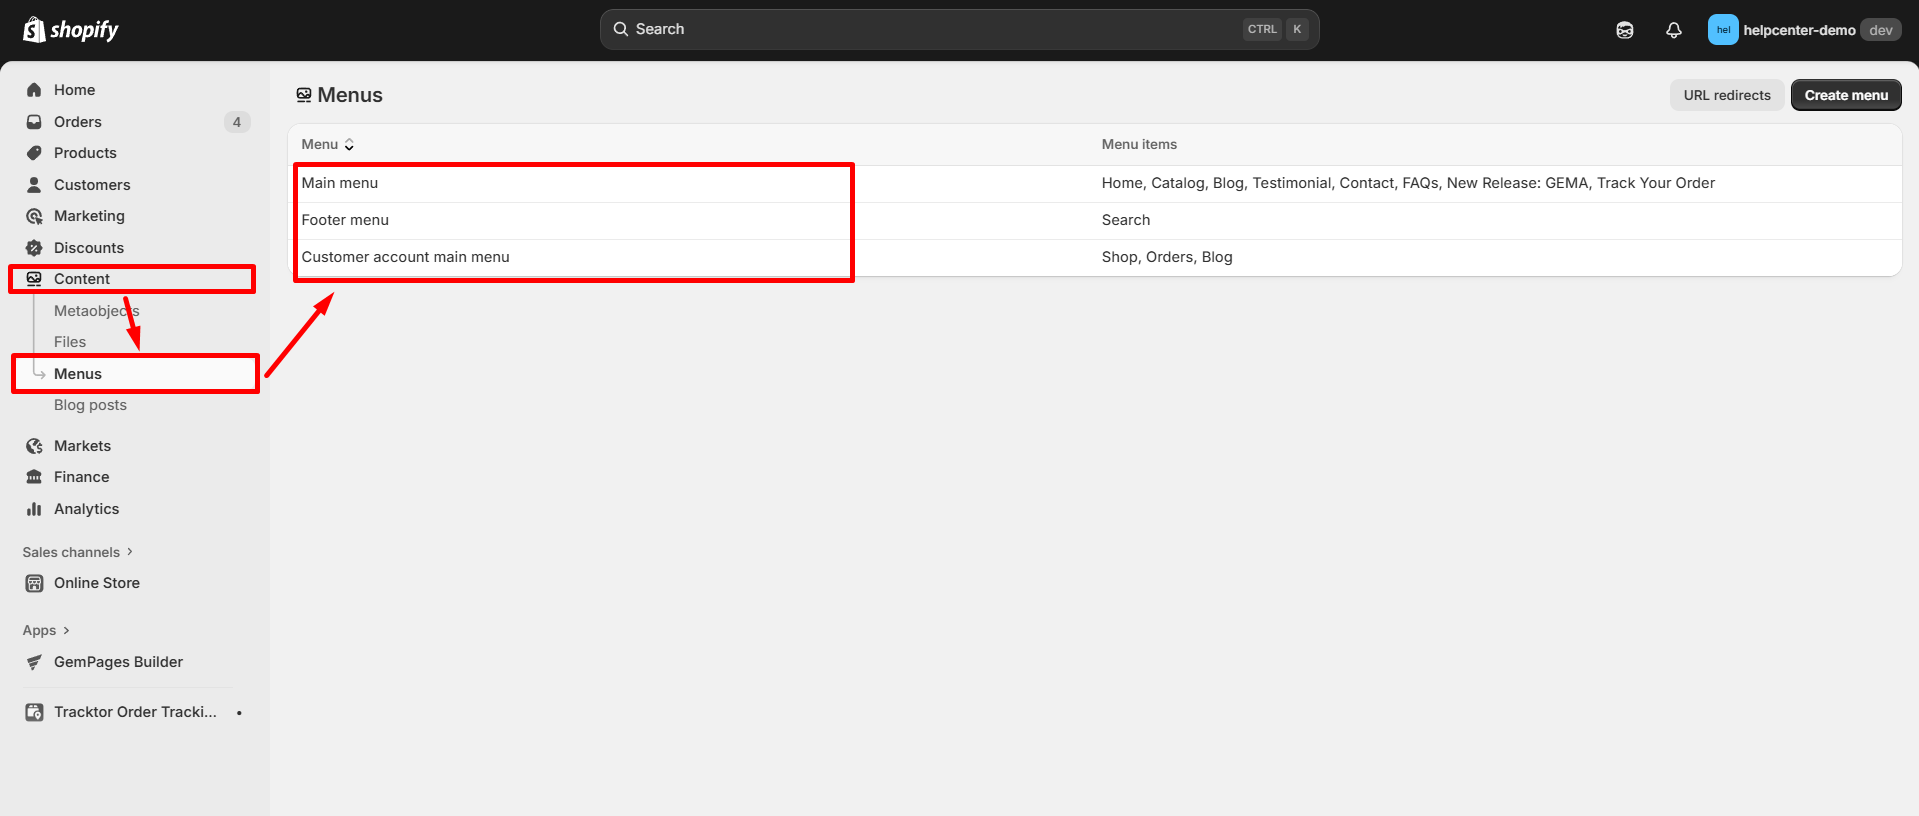
Step 1: Go to Shopify Dashboard > Content > Menus, then choose the menu where you want to add the tracking link.

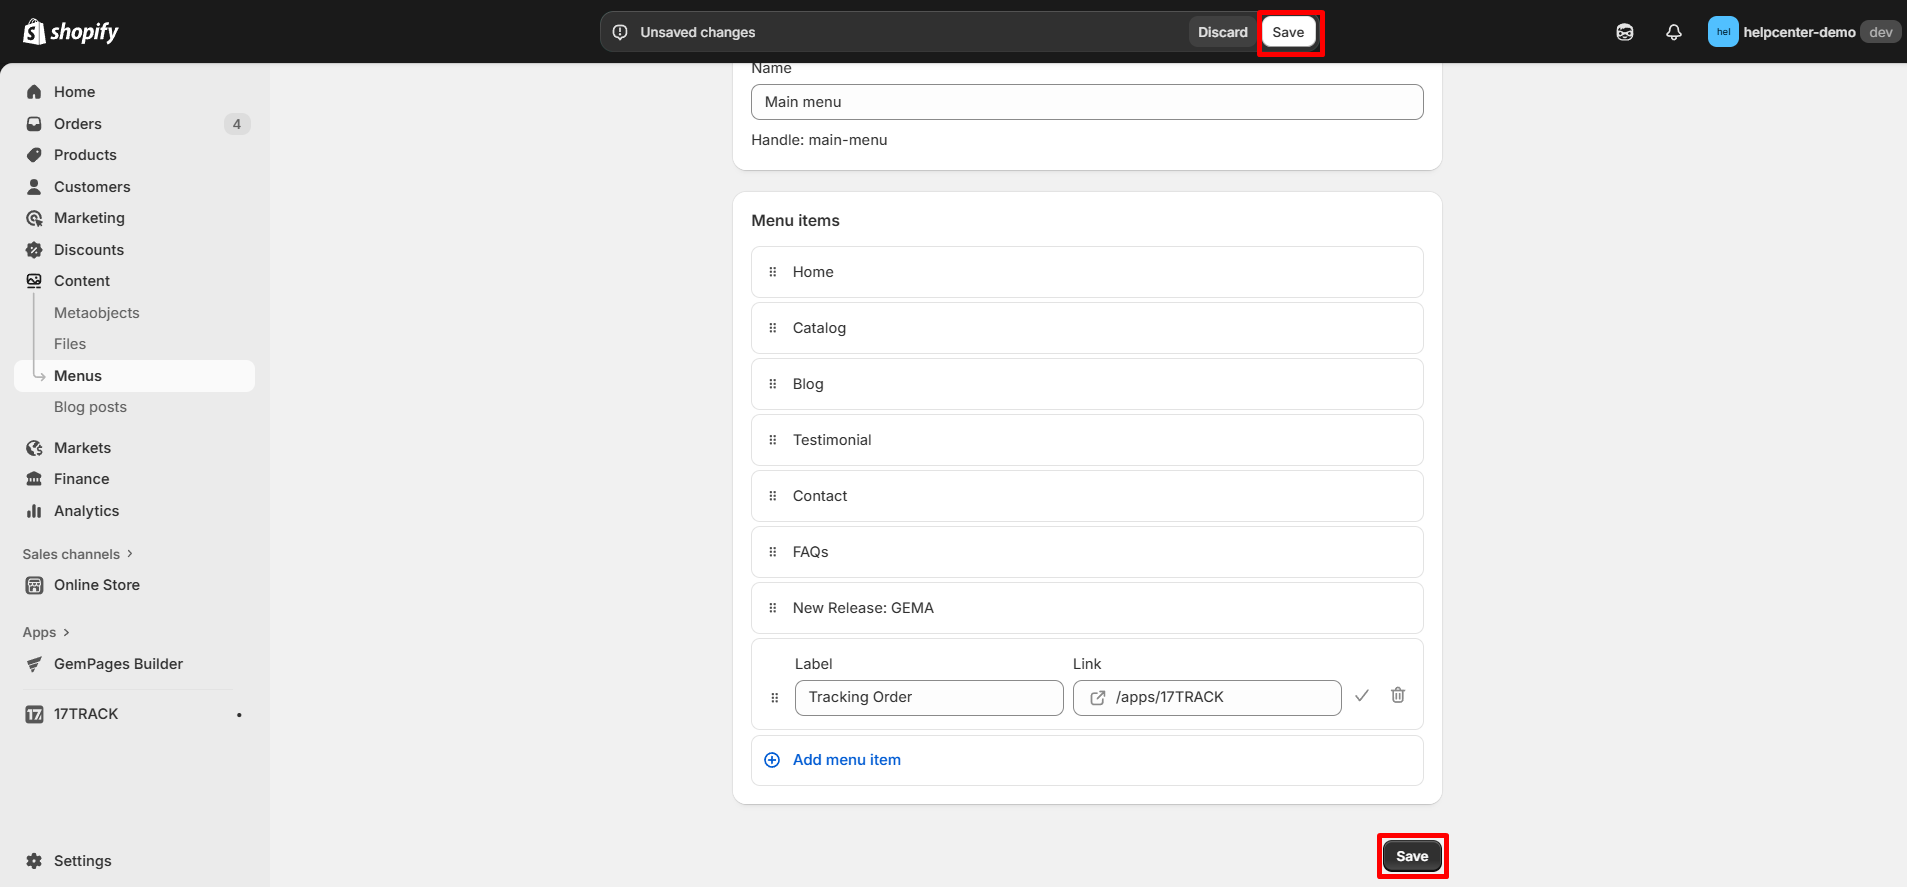
Step 2: Click Add Menu Item and fill in the following details:
- Label: Enter the name of the tracking page (e.g., “Tracking Order”).
- Link: Enter this code: /apps/17TRACK.

Step 3: Click “Save” to update the navigation menu.

Result:


Thank you for your comments