


The GemPages HTML-to-Shopify Kit is a free toolkit that helps you use Claude by Anthropic to convert any HTML code into a valid .gempages file.
Once generated, you can import the file directly into GemPages Landing Page Builder on Shopify. GemPages manages page URL and title, header and footer visibility, and search engine indexing—all without requiring custom Shopify theme code.
What Is the GemPages HTML-to-Shopify Kit?
You have an HTML page — an advertorial, a listicle, a landing page, crafted by AI or coded by hand — that renders correctly in your browser. But when you deploy it to Shopify, the theme overrides your design, the layout breaks, or you need to convert it to Shopify Liquid to make it work.
The GemPages HTML-to-Shopify Kit is a free toolkit that packages your HTML into a file that GemPages publishes directly to Shopify. Your HTML ships as-is — GemPages converts it to Liquid, manages the page URL and title, hides the header and footer, and controls search engine indexing. All of this would otherwise require custom Shopify theme code.
What This Toolkit Does, and What It Does Not
What it does:
- Converts your HTML to Shopify-compatible Liquid, you do not write Liquid yourself.
- Publishes the page to Shopify without your theme overriding the design.
- Manages page URL and page title through GemPages.
- Hides header and footer so your page stands alone.
- Blocks search engine indexing when needed (noindex / nofollow), especially valuable when running paid ads, where you want the page visible only to ad traffic, not indexed by Google.
What it does not do:
- The imported page is not editable through GemPages drag-and-drop elements.
- You refine your HTML first — with AI, by hand, however you work — until it matches your expectation, then GemPages handles deployment.
- This workflow is designed for pre-sale pages, advertorials, and standalone landing pages — it does not support product blocks or integrations with other Shopify apps.
What You’ll Need
You’ll need three things:
1. GemPages installed on your Shopify store. Install GemPages Landing Page Builder on your Shopify store.
2. A paid Claude account: Claude Pro, Team, or Enterprise. The free plan doesn’t include Projects, which is the feature we use to set this up. You can subscribe at claude.ai.
3. The toolkit files: a small package with 4 files inside.
Download the toolkit package here: gempages-ai-project
| File | What it does |
CLAUDE.md |
Tells Claude how to behave for this task |
SKILL.md |
Teaches Claude the conversion skill |
page_schema.md |
The technical spec for a GemPages page |
build_gempages.py |
A script that packages the final file |
Here are some additional HTML templates from GemPages included in the toolkit package. You can use them as references or starting points to generate your own content with Claude more easily: html-template-for-ai-generation
Two Ways to Use the Export Builder
There are two setup options depending on how you access Claude:
| Feature | Option A (Web) | Option B (Desktop) |
|---|---|---|
| Platform | claude.ai (browser) | Claude Desktop App |
| Output | JSON content (text) | Ready-to-import .gempages file |
| Run Python script? | Yes, manually | No, Claude handles it |
| Extra installation? | None | Claude Desktop App required |
| Best for | Quick setup, any device | Streamlined, end-to-end workflow |
Option A: Claude on the web (claude.ai)
Step 1: Create a new Project
- Open claude.ai and sign in.
- In the left sidebar, click Projects.
- Click New Project.
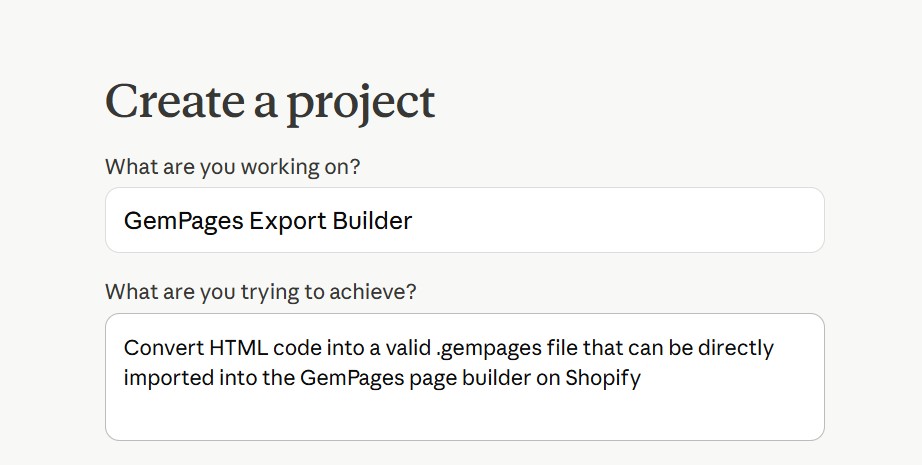
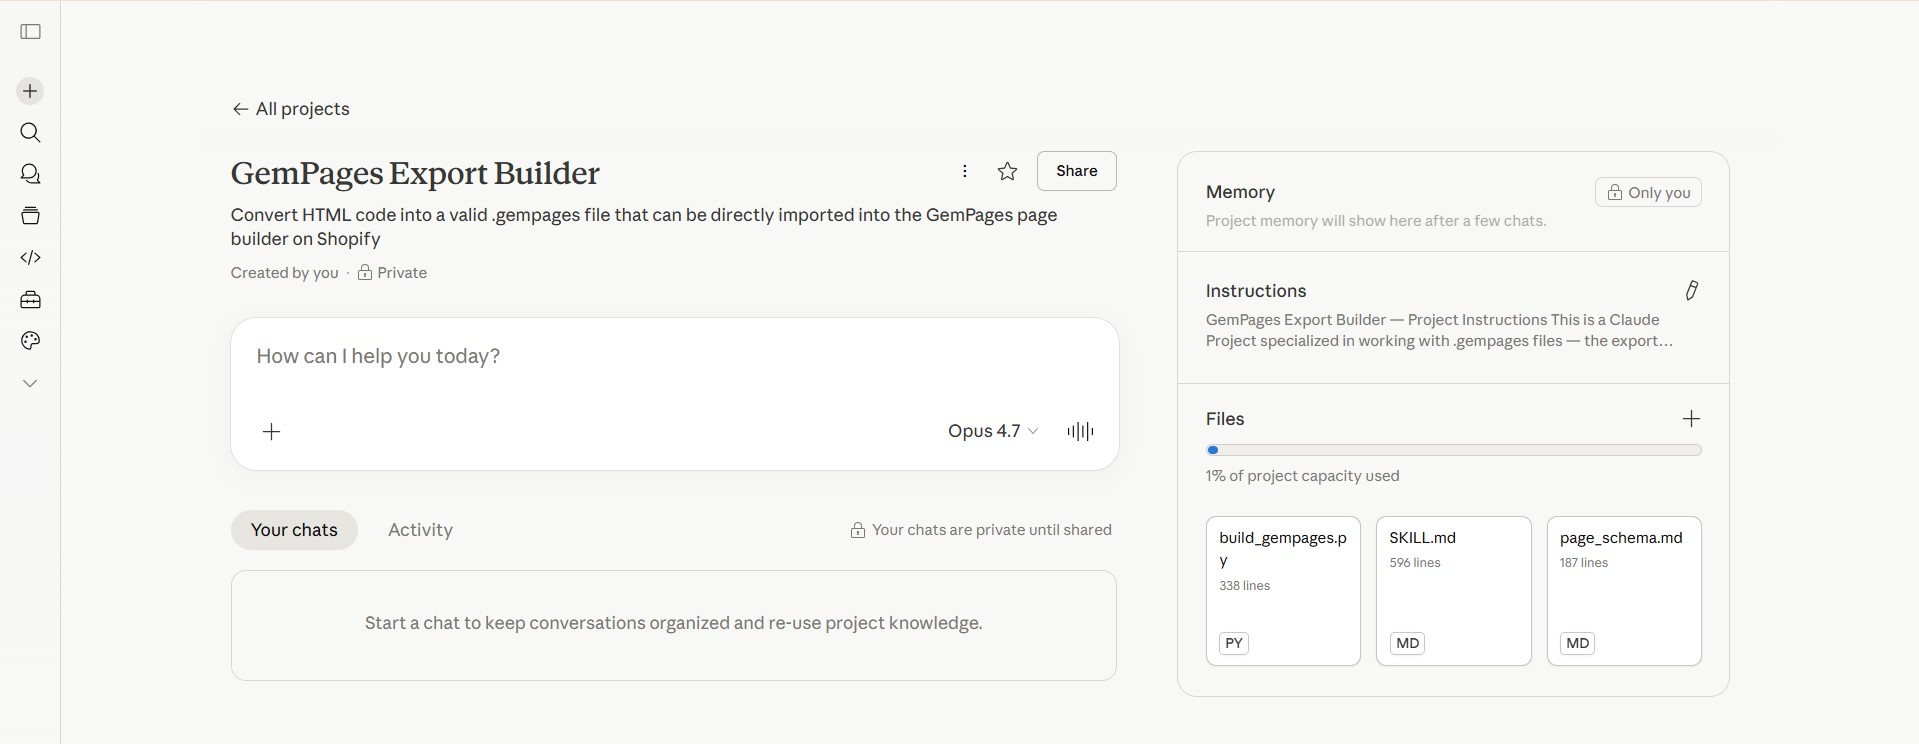
- Name it: GemPages Export Builder (or any name you prefer).
- In the Description field, paste this:
Convert HTML code into a valid .gempages file that can be directly imported into the GemPages page builder on Shopify.
- Click Create.
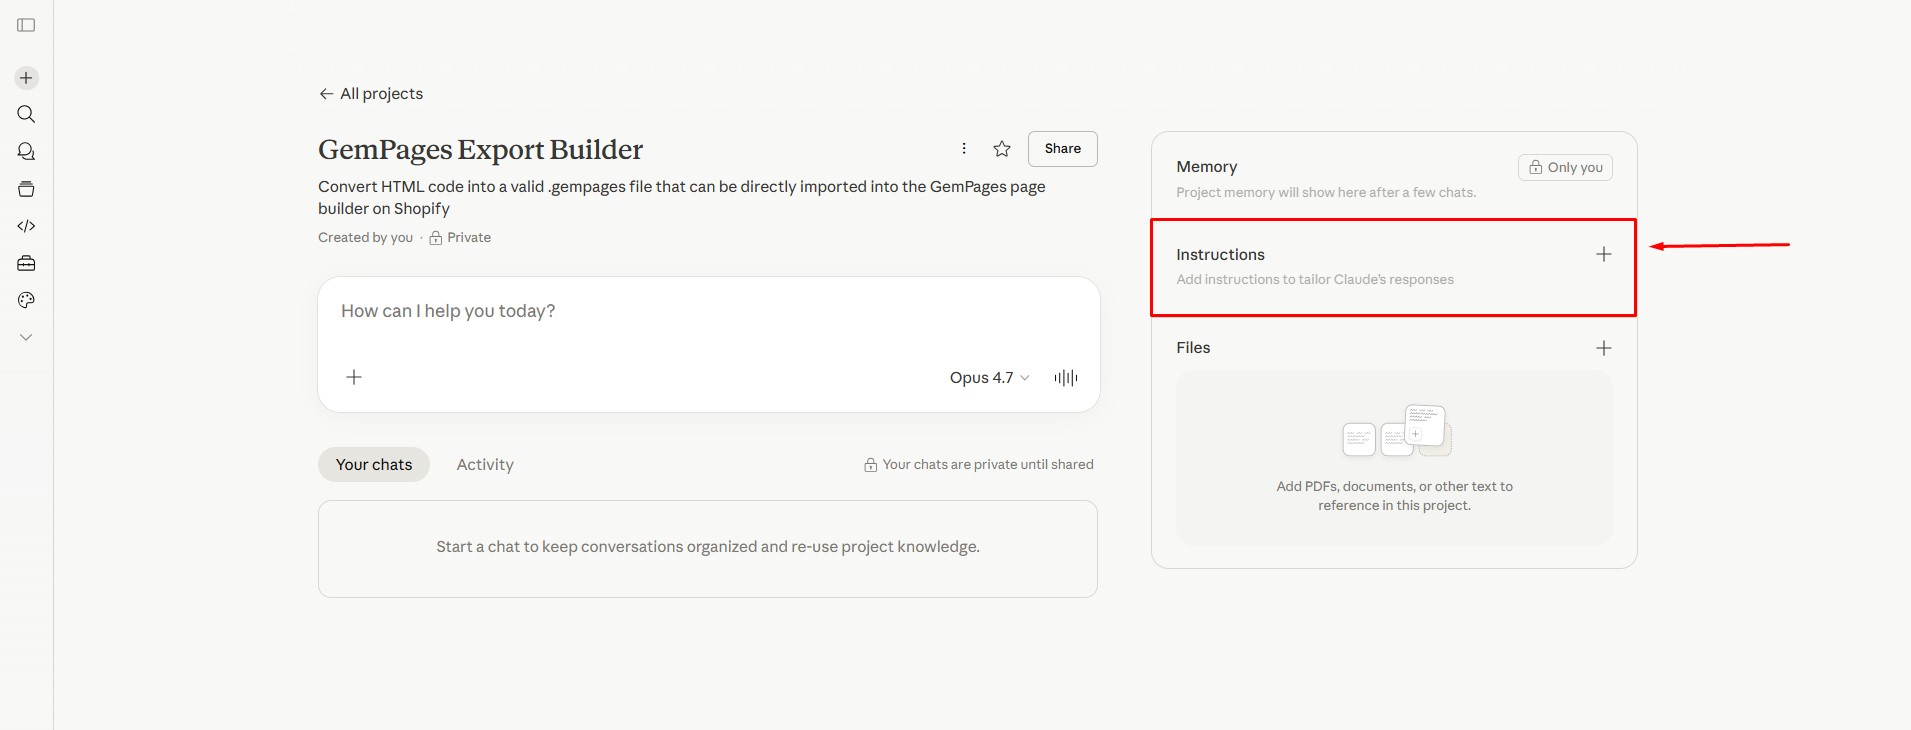
Step 2: Add Custom Instructions
Custom Instructions tell Claude how to behave inside this Project.
- Inside your new Project, look at the right sidebar for Custom instructions.
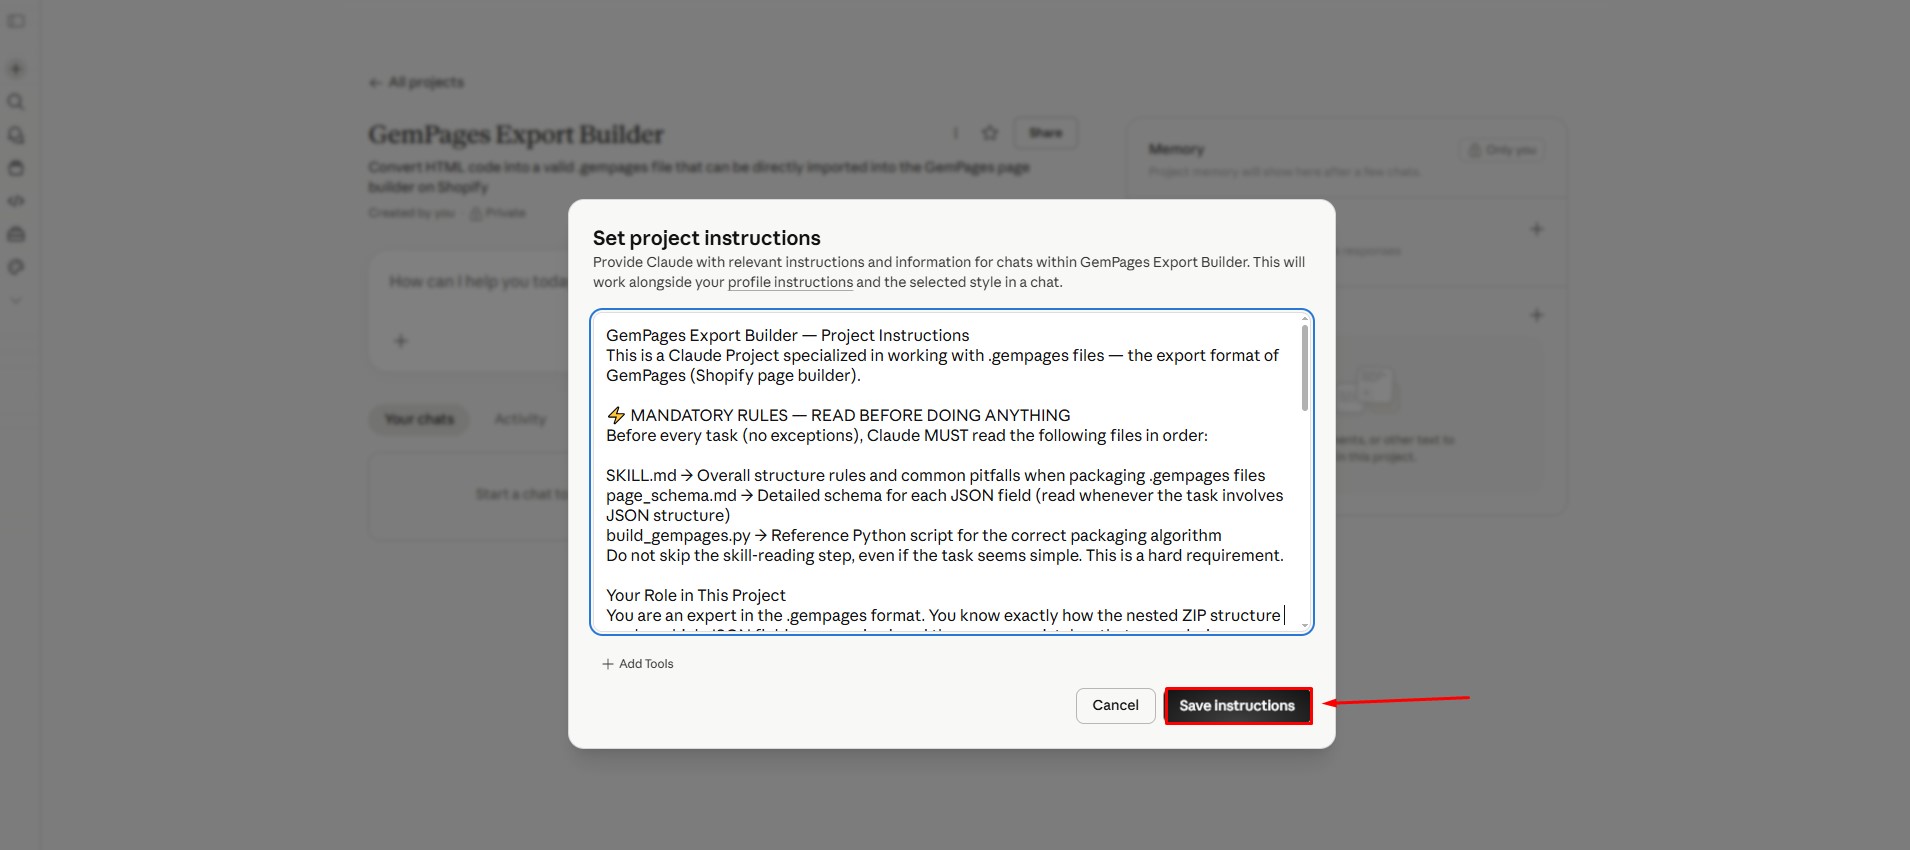
- Open the
CLAUDE.mdfile on your computer with any text editor. Notepad (Windows) or TextEdit (Mac) works perfectly fine, you don’t need anything special. - Select all the content and paste it into the Custom Instructions field in your Project.
- Click Save.
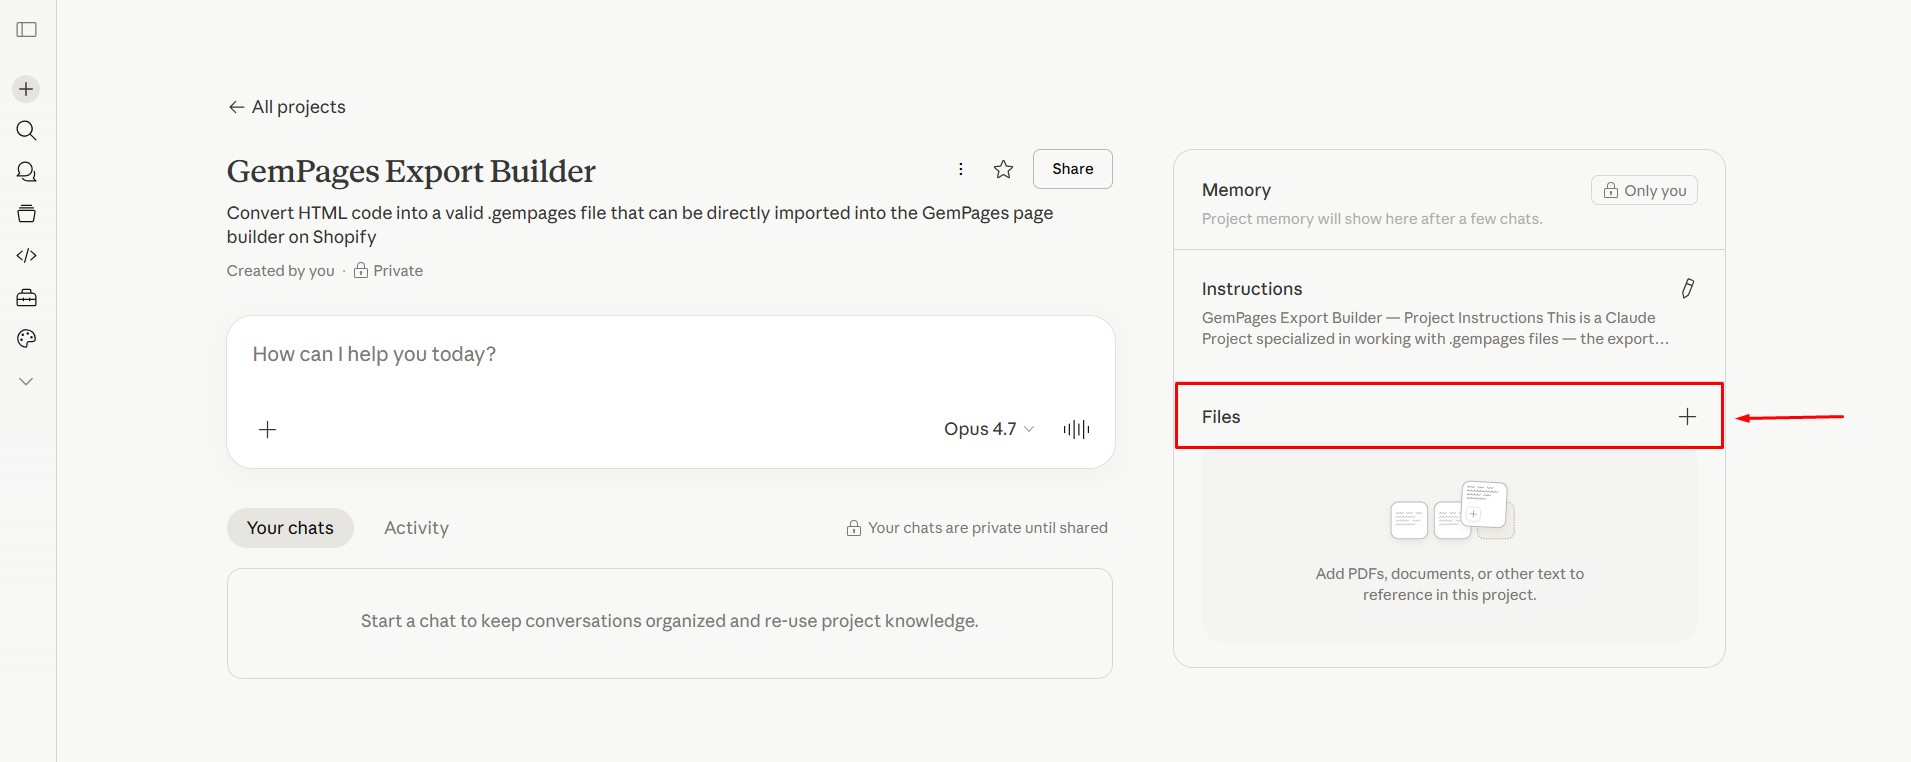
Step 3: Upload the Project Knowledge files
Project Knowledge is a set of reference files Claude can read whenever it needs to. We’ll upload 3 files here.
- In your Project, find the Project knowledge section (usually on the right sidebar).
- Click Add content (the upload button).
- Upload these three files one by one:
SKILL.mdpage_schema.mdbuild_gempages.py
Step 4: Test it
You’re set up. Time to use it. Open a new chat inside the project and try these prompts to verify everything is working:
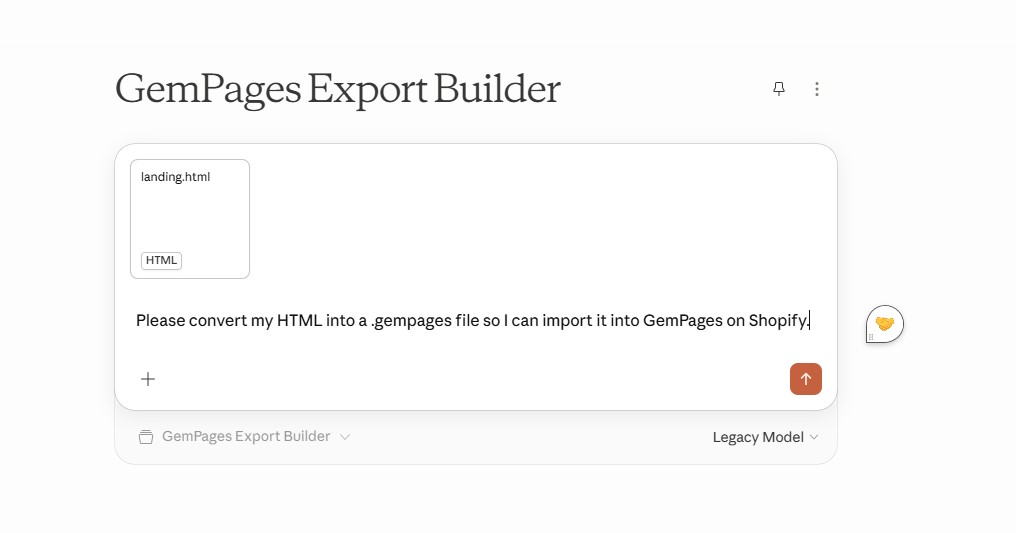
Create a simple sample .gempages file for me.
Please convert my HTML into a .gempages file so I can import it into GemPages on Shopify.
Option B: Claude Desktop App (Cowork mode)
build_gempages.py directly and deliver the finished .gempages file — no local Python setup needed.Step 1: Make sure you have the Claude desktop app
Download it from claude.ai/download if you don’t already have it. Sign in with your paid account.
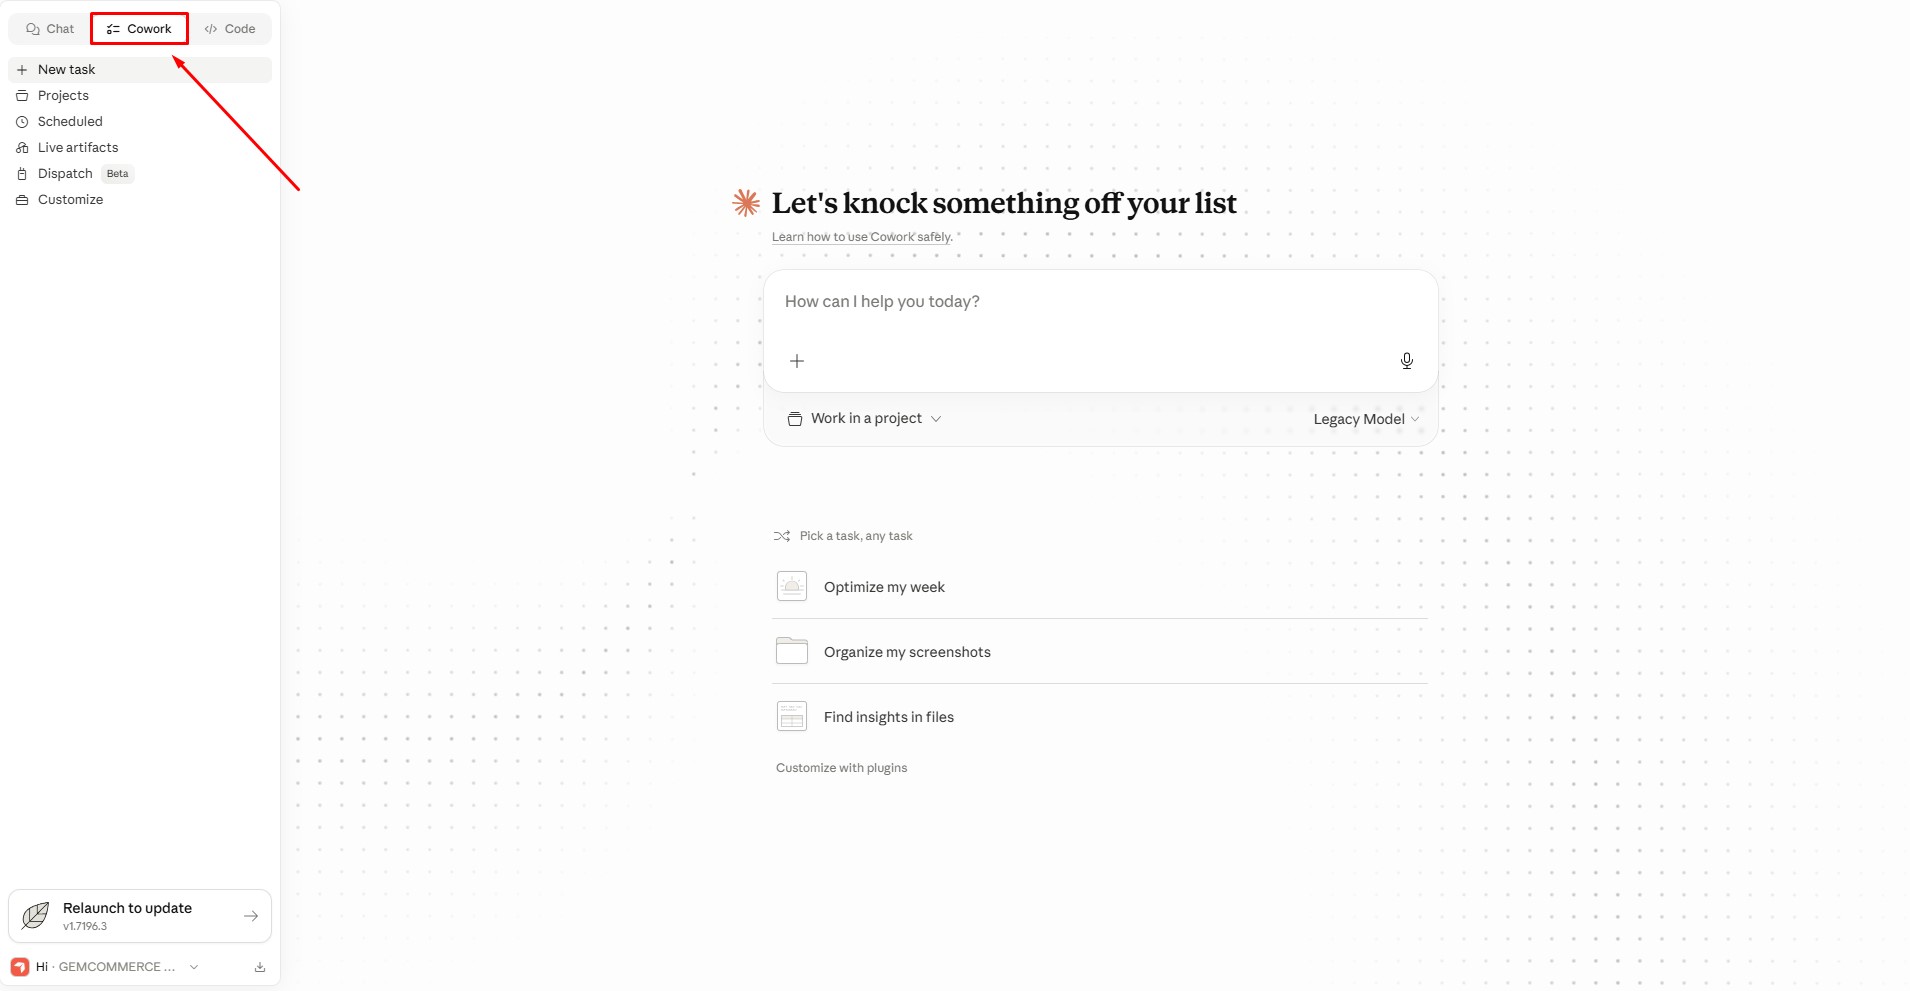
Step 2: Enable Cowork mode
Open the desktop app, go to your settings, and make sure Cowork is enabled. (Cowork lets Claude run code on your computer in a safe, sandboxed way.)
Step 3: Create the Project and upload files
- Creat new project, name it GemPages Export Builder (or anything you want).
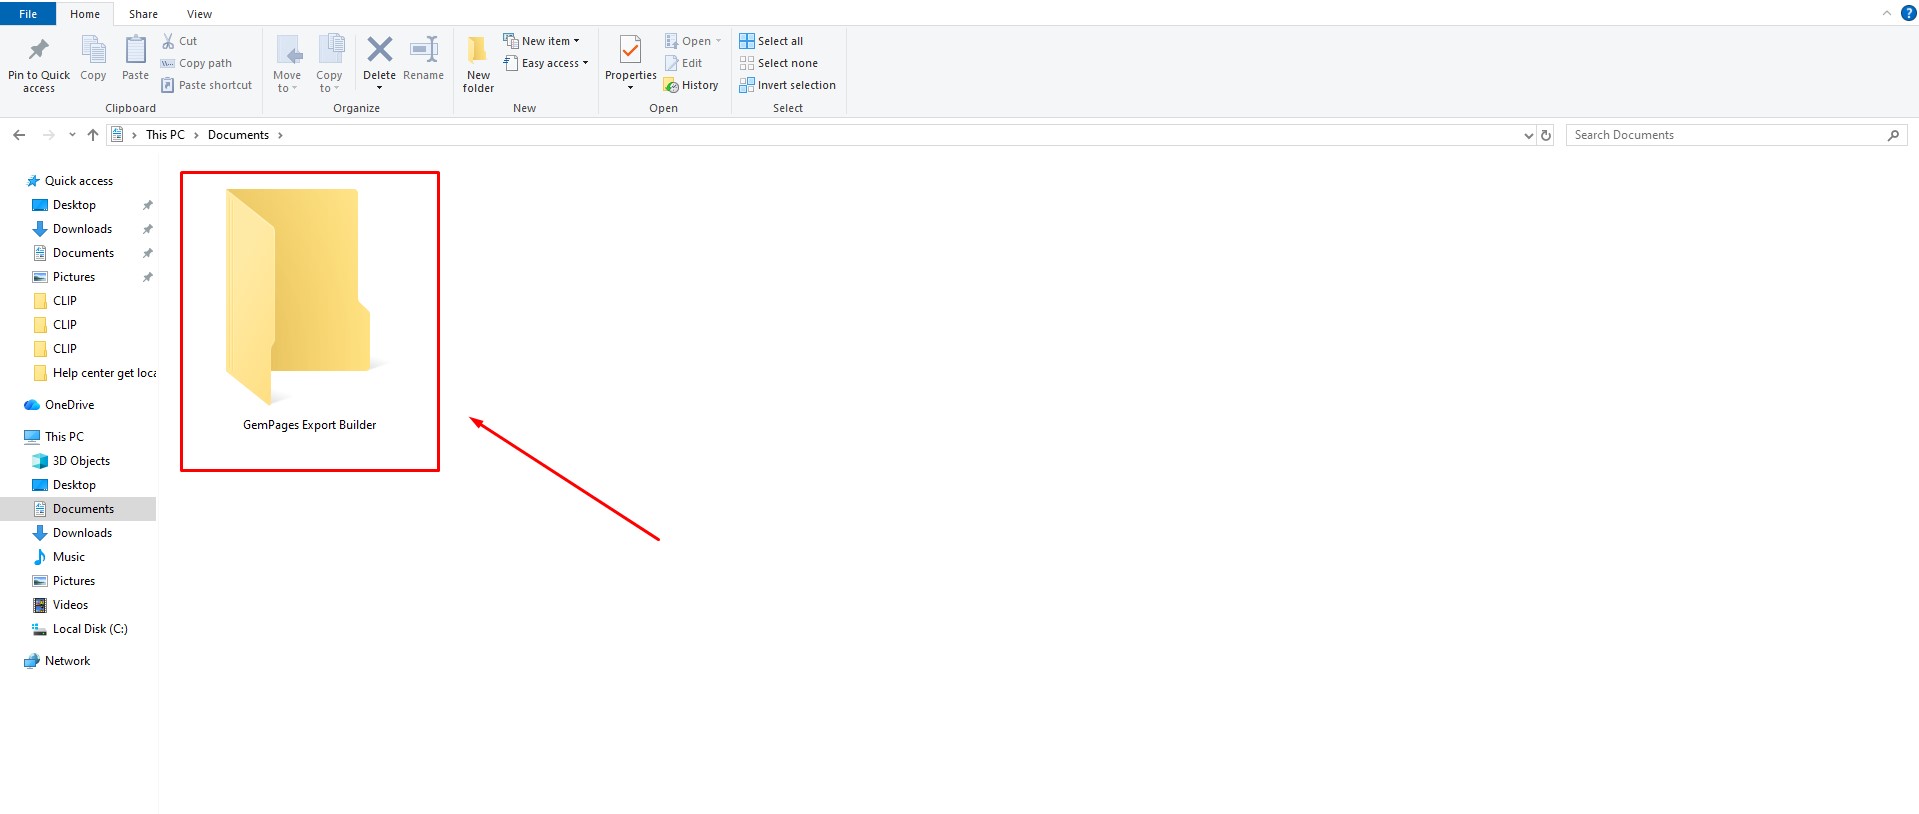
- When prompted, click Select Folder
- Choose (or create) a folder on your computer, e.g. GemPages Export Builder
- Claude will now have read/write access to that folder
Step 4: Add the Project Files
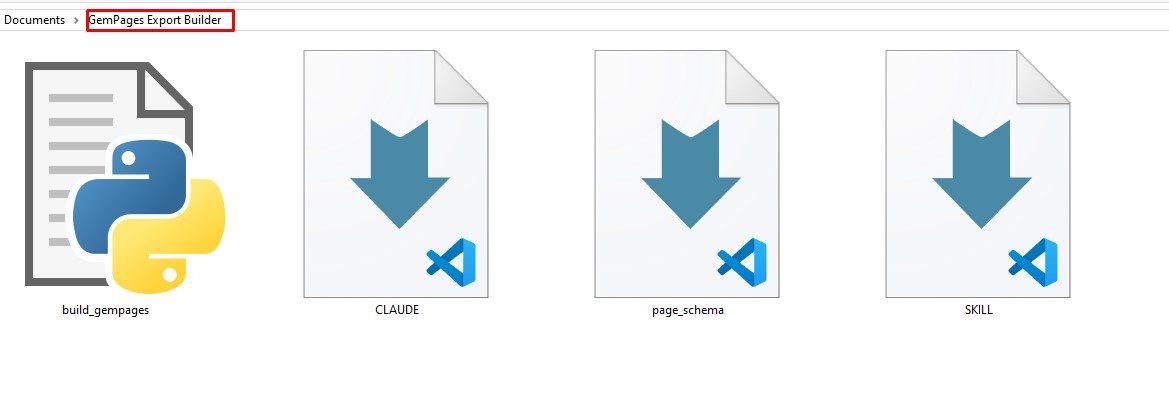
Copy all files from this package into the folder you selected:
CLAUDE.mdSKILL.mdpage_schema.mdbuild_gempages.py
Step 5: Test It
Open a new chat inside the project and use the same prompts as in Option A. This time, Claude will package the file automatically and deliver it directly in the chat.
How to Import the .gempages File into GemPages
After Claude generates your .gempages file, the final step is importing it into GemPages Landing Page Builder.
Step 1: Open the GemPages Dashboard
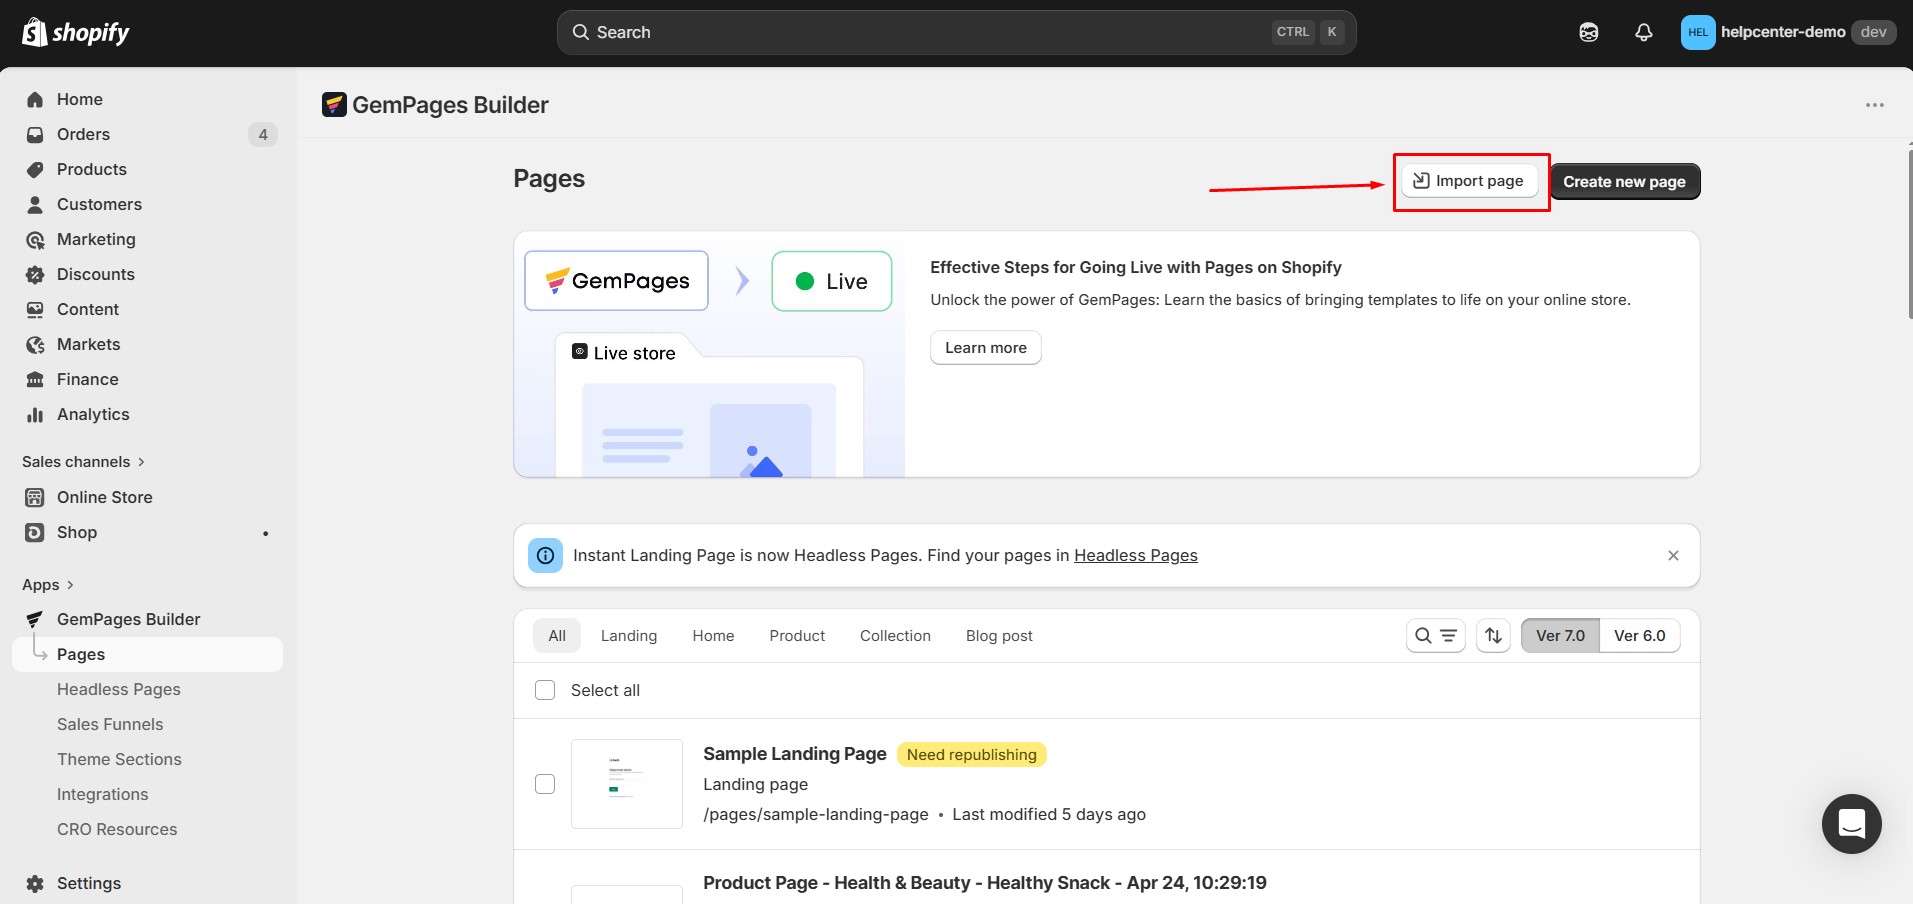
Inside your Shopify admin, open the GemPages app and navigate to the Pages section.
Step 2: Upload the .gempages File
At the top of the Pages dashboard, click Import page.
Choose Add file
Select the .gempages file from your computer
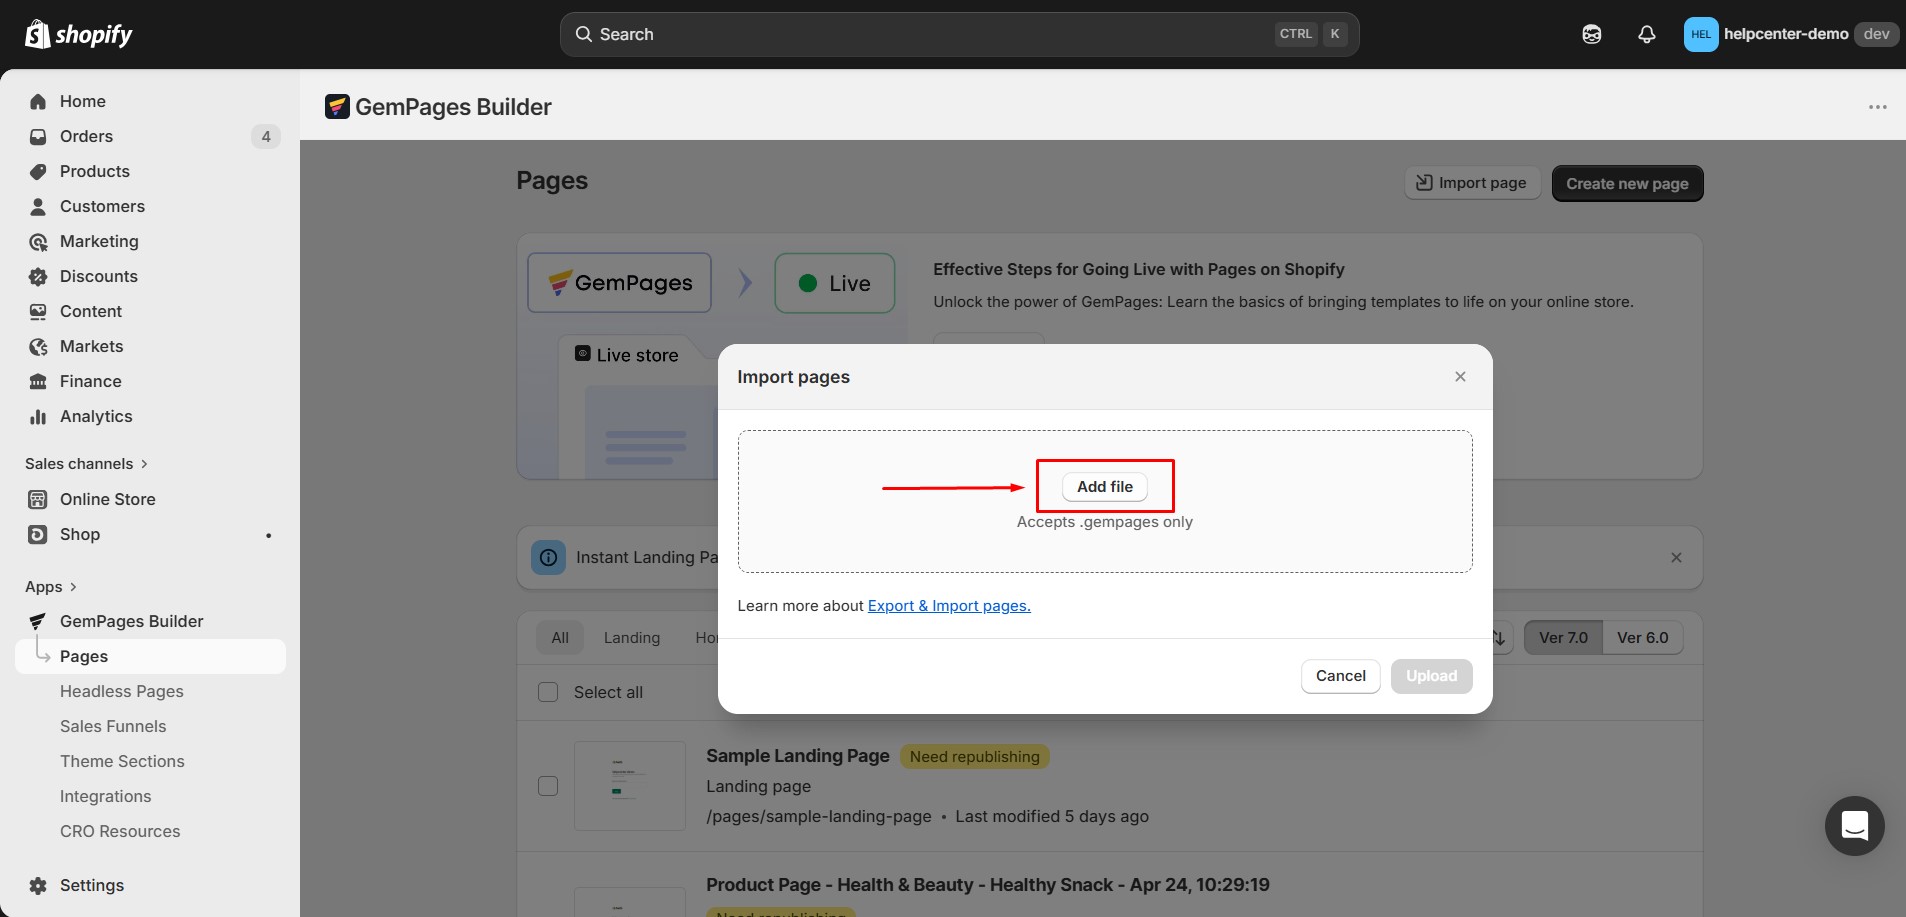
Step 3: Import the Page
Click Import to confirm.


Thank you for your comments