


You provide the design image and specify the destination page. The AI then examines the visual structure, identifies the elements and their styles, and maps the design to GemPages elements.
If you have not used GemPages MCP before, start with these guides:
Before You Start
Make sure that:
- GemCommerce MCP is connected to your AI tool.
- Your Shopify store is connected.
- You have a reference image of the section you want to recreate.
- You know the name or URL of the destination page in GemPages.
Use a clear image that shows the complete section. If you want to recreate several sections, you can provide multiple images or work on one section at a time.
How Image-Based Page Generation Works With GemPages MCP
GemPages MCP supports AI page generation from HTML, images, and URLs.
This guide focuses specifically on using an image as the source.
Image input is useful when the design already exists visually but has not been implemented as HTML.
The reference may come from:
- A screenshot
- A design mockup
- An exported frame
- A campaign visual
- An existing page section
GemPages MCP uses the image as a visual reference and recreates the design using editable GemPages elements.
How to Create a Design From an Image Step by Step
Step 1: Attach the Reference Image
Attach the design image to your conversation.
The reference may be:
- A screenshot of an existing section
- A design mockup
- An exported image from a design tool
- Another visual reference you want to rebuild in GemPages
Try to avoid images that are blurry, heavily cropped, or contain unrelated browser controls. The AI can only work with the visual information available in the reference.
For a long page, you can provide separate images for individual sections and recreate them one at a time.
Step 2: Enter the Prompt
After attaching the reference image, enter the following prompt:
Use GemCommerce MCP to describe the visual structure, identify the layer tree and element styles, then map them to GemPages elements and build the section into [page name or URL] in GemPages.
Replace [page name or URL] with the destination page.
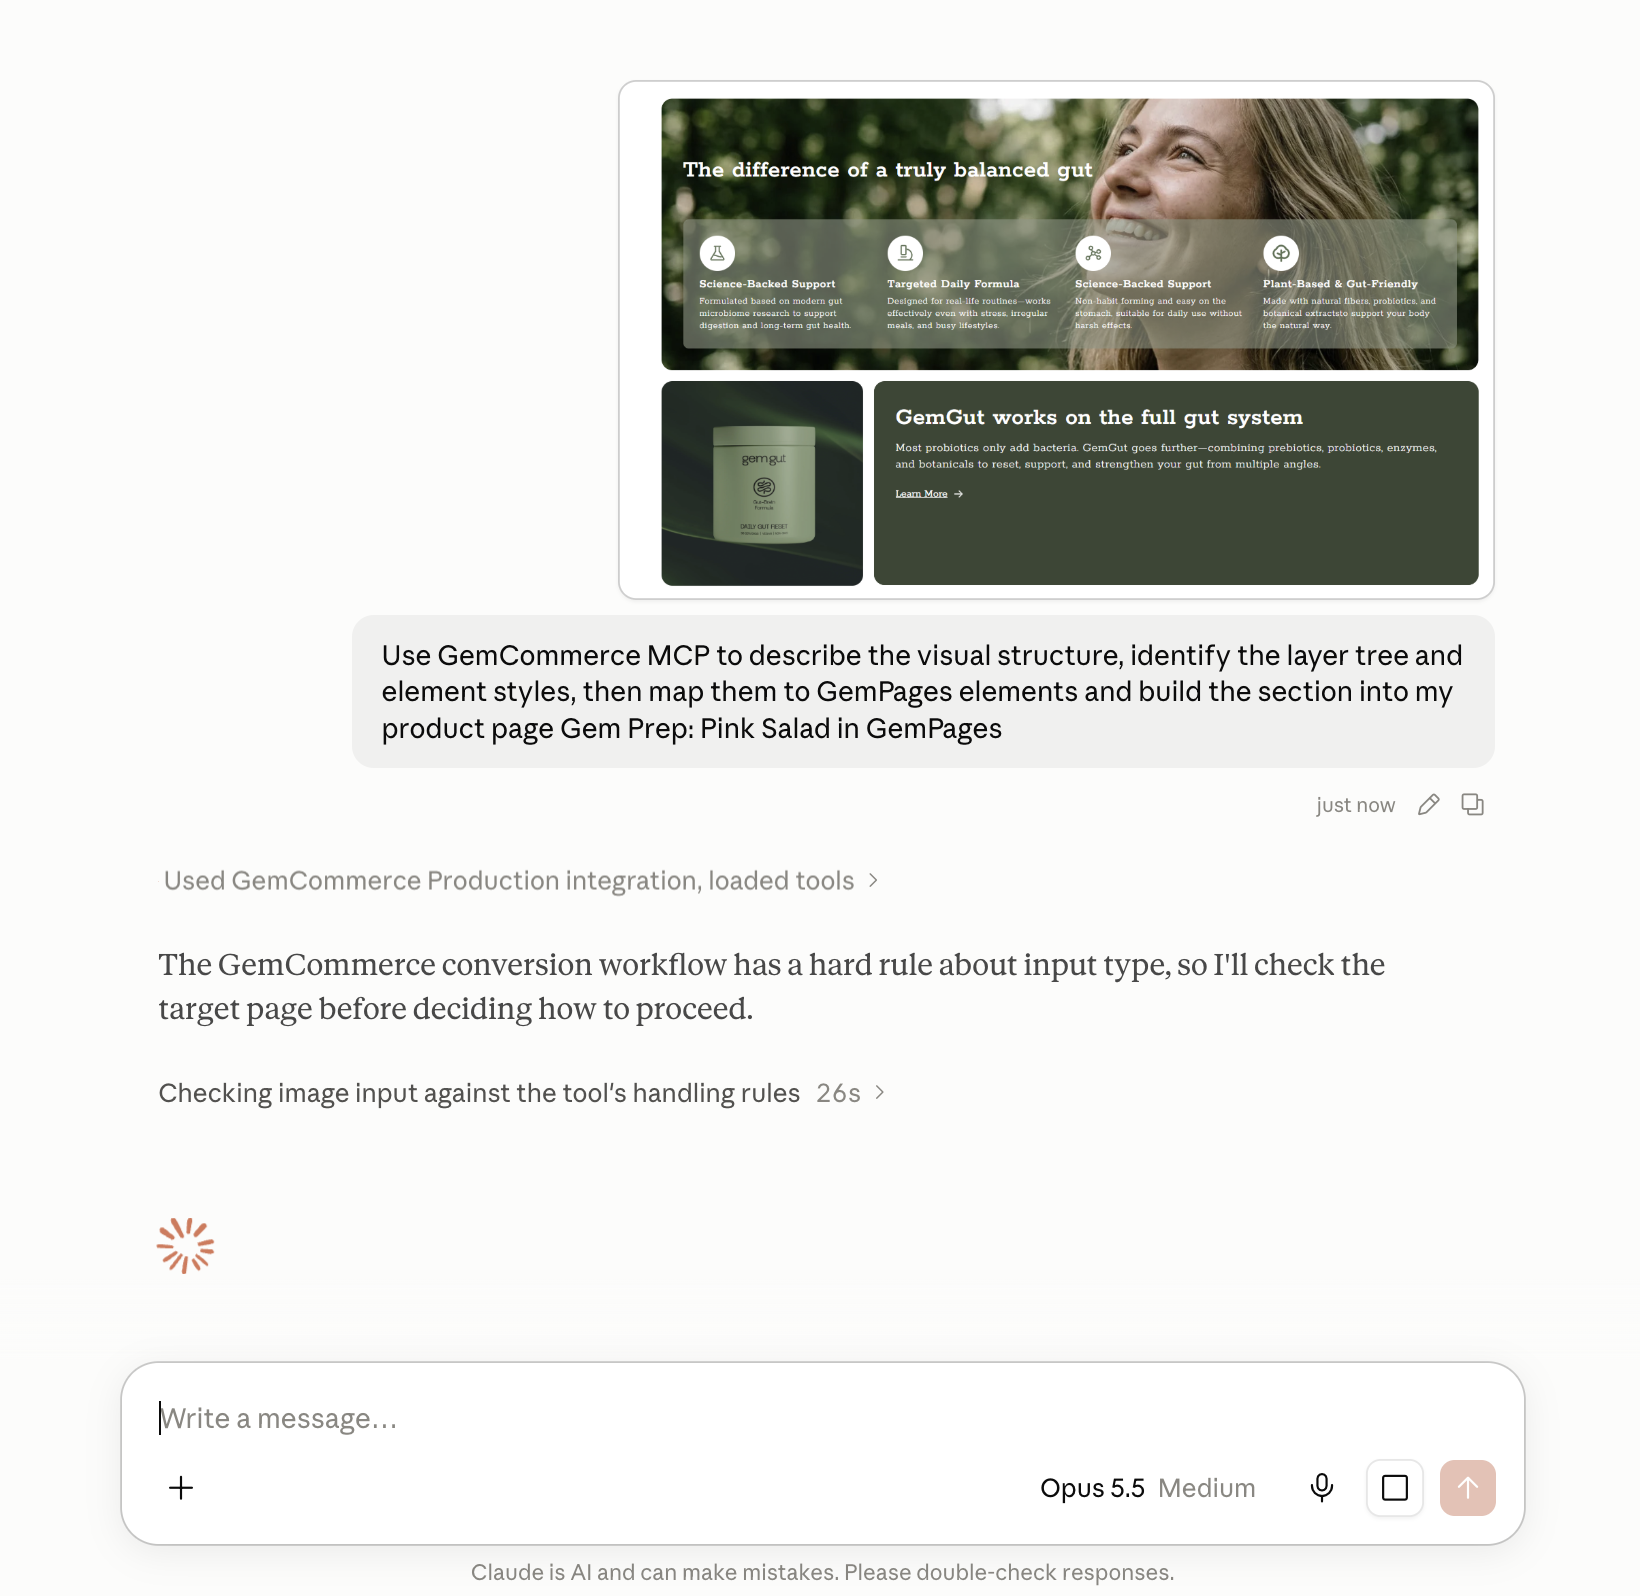
What the Prompt Asks the AI to Do
The prompt contains two main requests.
Analyze the reference image
The first part asks the AI to examine:
- The visual structure
- The hierarchy of the elements
- The visible styles used in the design
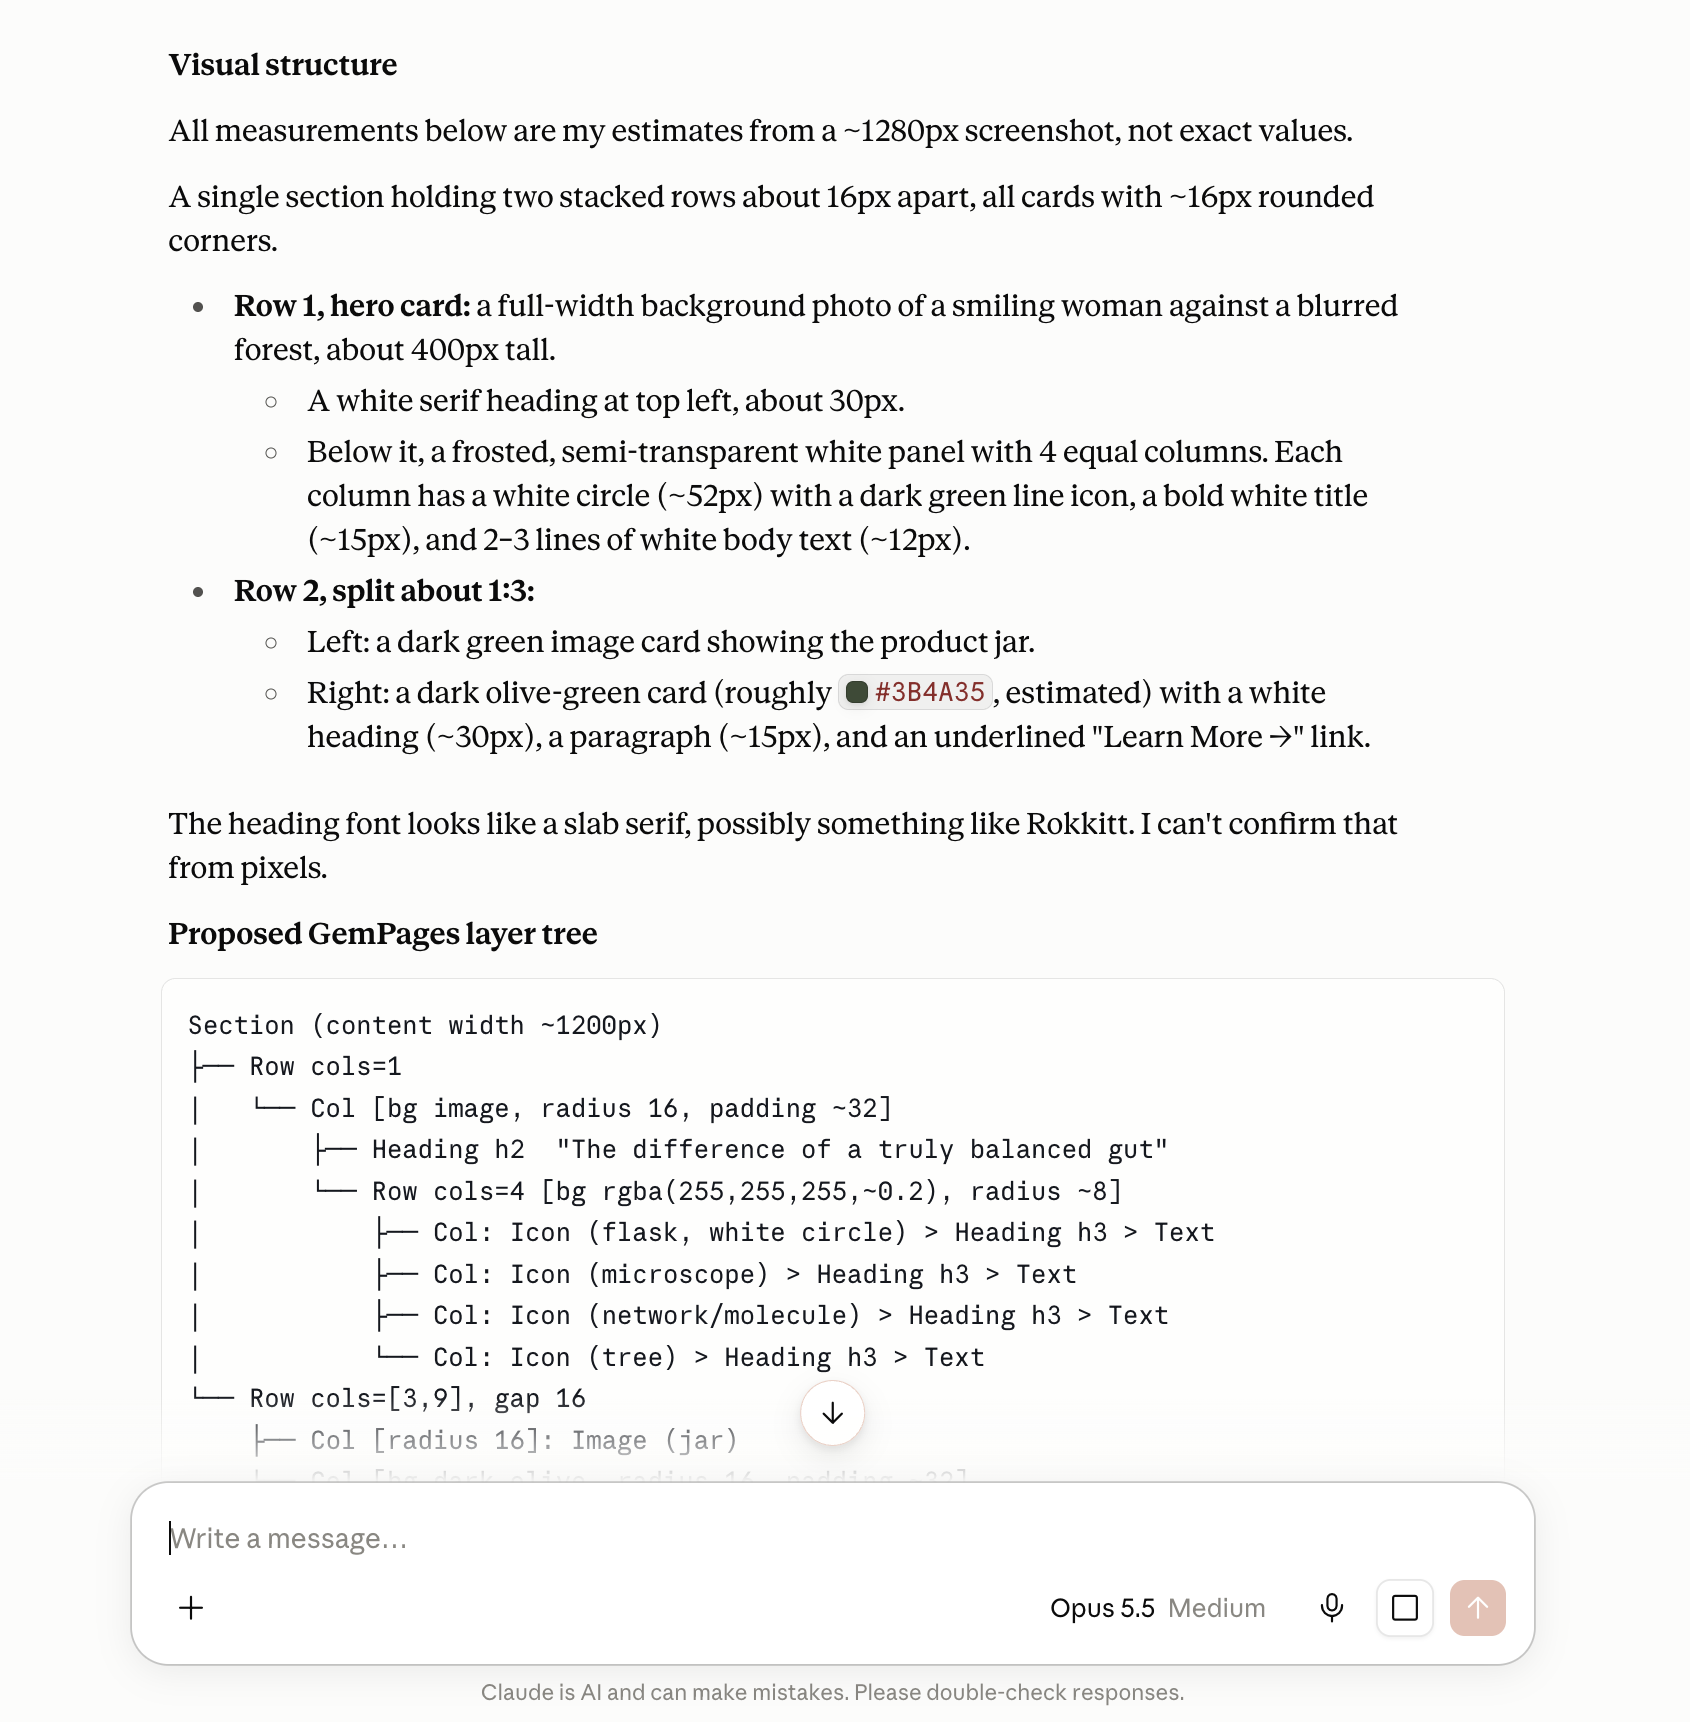
Depending on the AI tool and the result of the analysis, the response may include information such as:
- Visual structure
- Proposed GemPages layer tree
- Visible design details, such as typography, spacing, colors, or alignment
The exact format and level of detail may vary. These should not be considered fixed output stages that appear in every GemPages MCP task.
Build the section in GemPages
The second part asks the AI to:
- Map the identified parts of the design to GemPages elements
- Build the section on the page you specified
Including both requests in the same prompt gives the AI the reference image, the intended interpretation, and the destination for the result.
Step 3: Let GemPages MCP Build the Section
After you submit the prompt, allow the AI to analyze the image and work through the section.
Keep the conversation open while the process is running. If the AI asks you to approve a GemCommerce MCP tool call, review and approve it so the workflow can continue.
The AI may also ask for more information when the destination page or part of the design is unclear.
Step 4: Review the Result in GemPages
Once the section has been created, open the destination page in GemPages and compare it with the reference image.
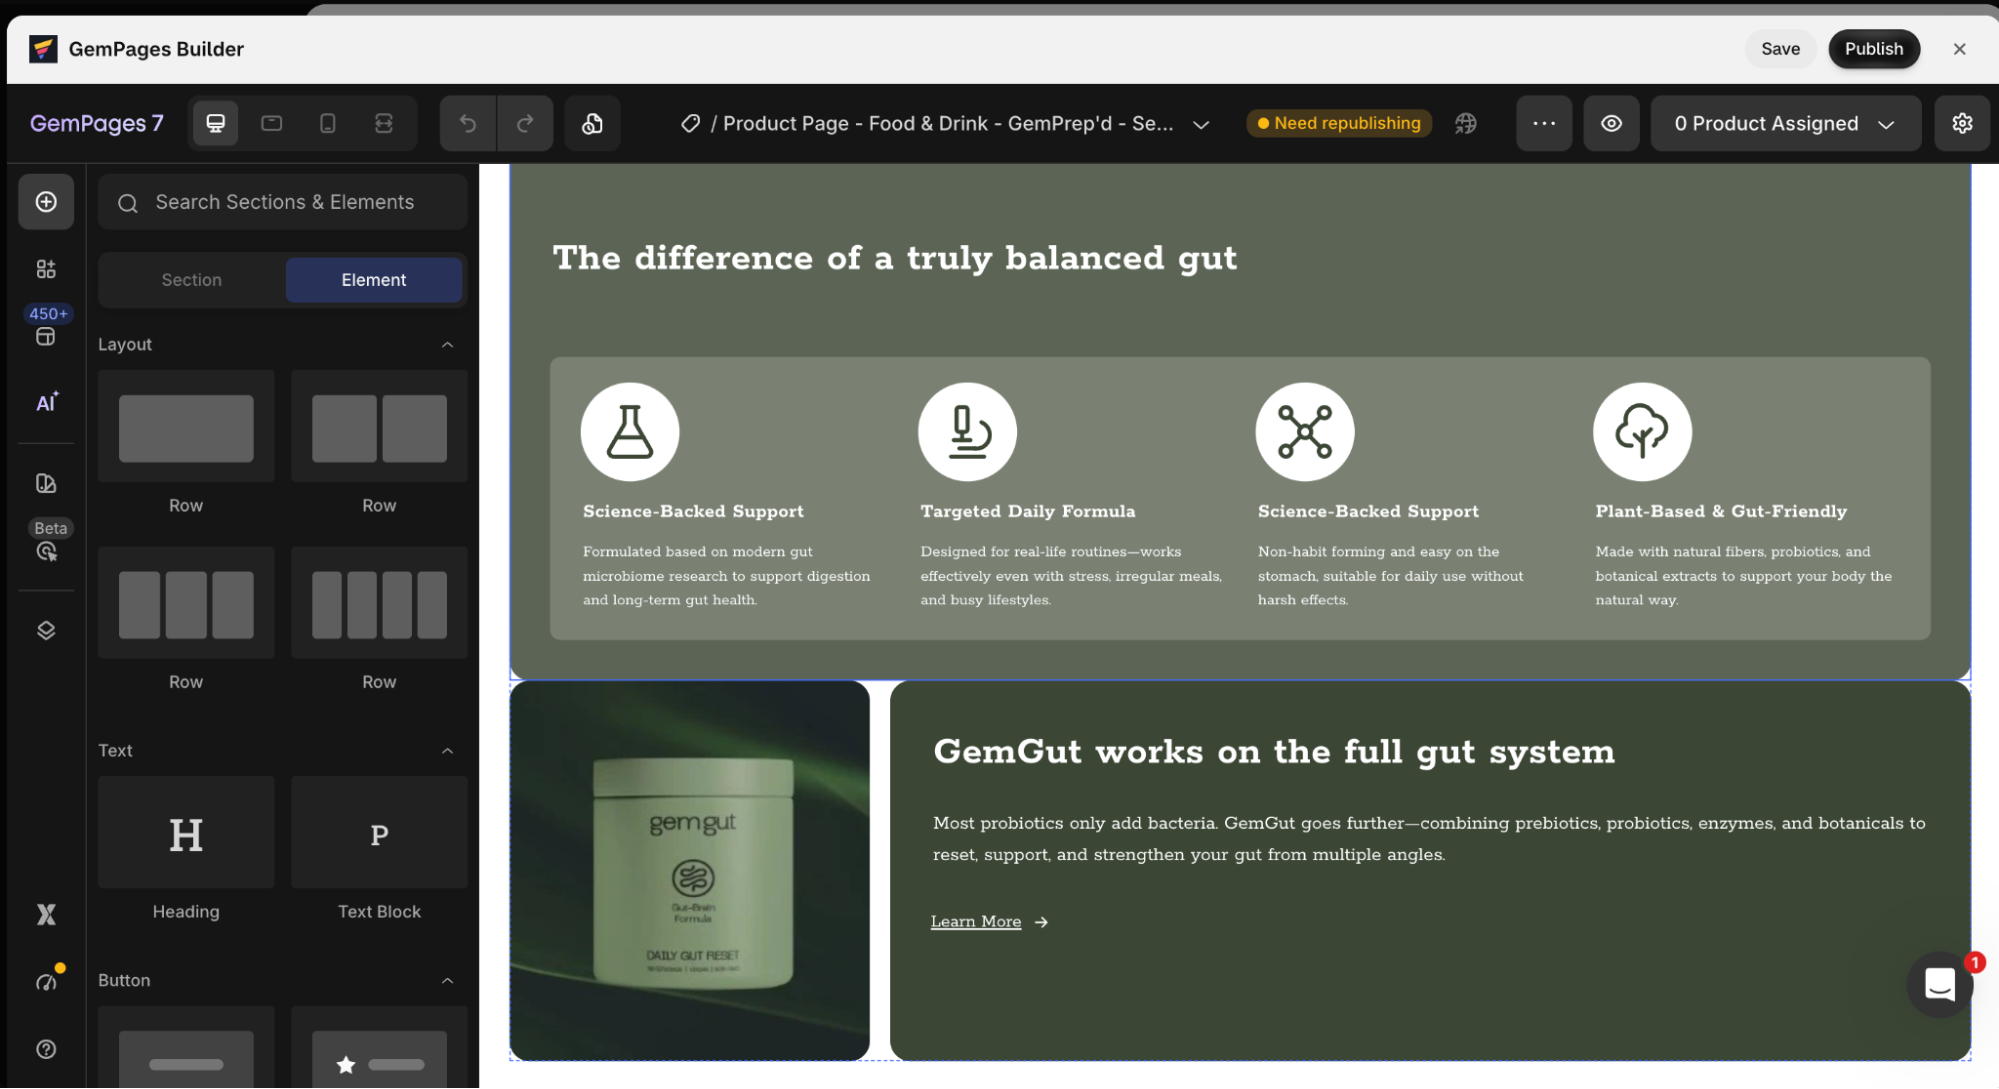
Check the:
- Layout and element order
- Text and image placement
- Colors and typography
- Spacing and alignment
- Appearance on desktop and mobile
A reference image may not contain every design detail, such as the original font name, exact dimensions, or responsive settings. You can make final adjustments directly in the GemPages Editor or send a follow-up instruction.
Step 5: Refine the Result
If part of the recreated section needs adjustment, continue in the same conversation and describe the required change.
For example:
Use GemCommerce MCP to update the section you just created. Reduce the space between the heading and paragraph, and make the image larger. Keep the rest of the page unchanged.
For a layout change:
Use GemCommerce MCP to update the recreated section. Place the text on the left and the image on the right on desktop.
For a mobile adjustment:
Use GemCommerce MCP to update the recreated section. On mobile, place the image below the text and center the button.
For a styling adjustment:
Use GemCommerce MCP to update the recreated section. Make the heading weight and button style closer to the reference image.
Avoid general instructions such as:
Make it look better.
Instead, identify the element and explain what should change. A specific follow-up makes the requested result easier to understand.
Tips for Better Results
- Use a high-quality reference image.
- Make sure the entire section is visible.
- Specify the exact destination page.
- State where the section should be inserted.
- Recreate one section at a time when working with a long page.
- Provide the original images or exact text separately when needed.
- Use follow-up prompts for small adjustments instead of rebuilding the entire section.
GemPages MCP gives you a faster starting point for recreating a design while keeping the result editable in GemPages. Always review the completed section and make any necessary adjustments before publishing.


Thank you for your comments