


By default, the Countdown element in GemPages displays each time unit (Days, Hours, Minutes, Seconds) separately without separators between them.
If you want your countdown timer to look cleaner and more professional, you can add colons (:) between each number using a small custom CSS snippet. This guide will show you how to do that in just a few steps.
Before You Start
Make sure you already have a Countdown element added to your page in GemPages.
This customization works with the Countdown element in GemPages and requires adding a custom CSS snippet.
Step 1: Open the Countdown Element Custom Code Area
- Open the page editor in GemPages.
- Click on your Countdown element.
- Right-click the element.
- Select Custom Code.
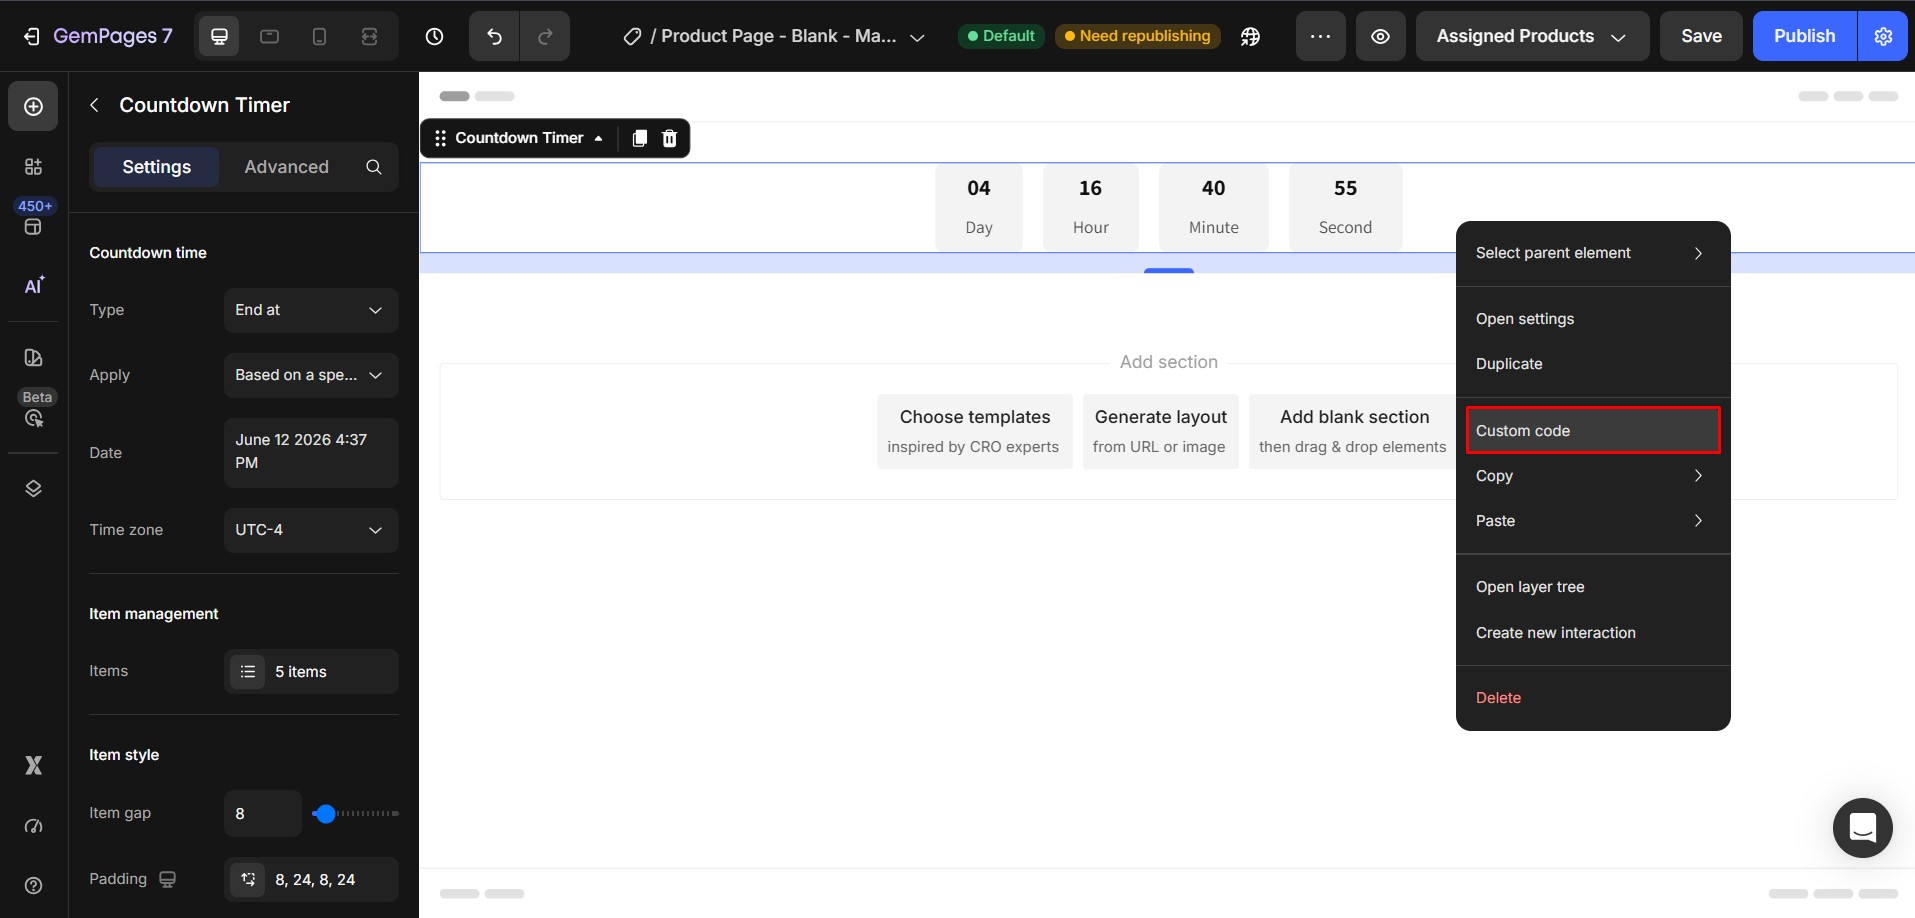 This will open the custom code panel where you can add your CSS.
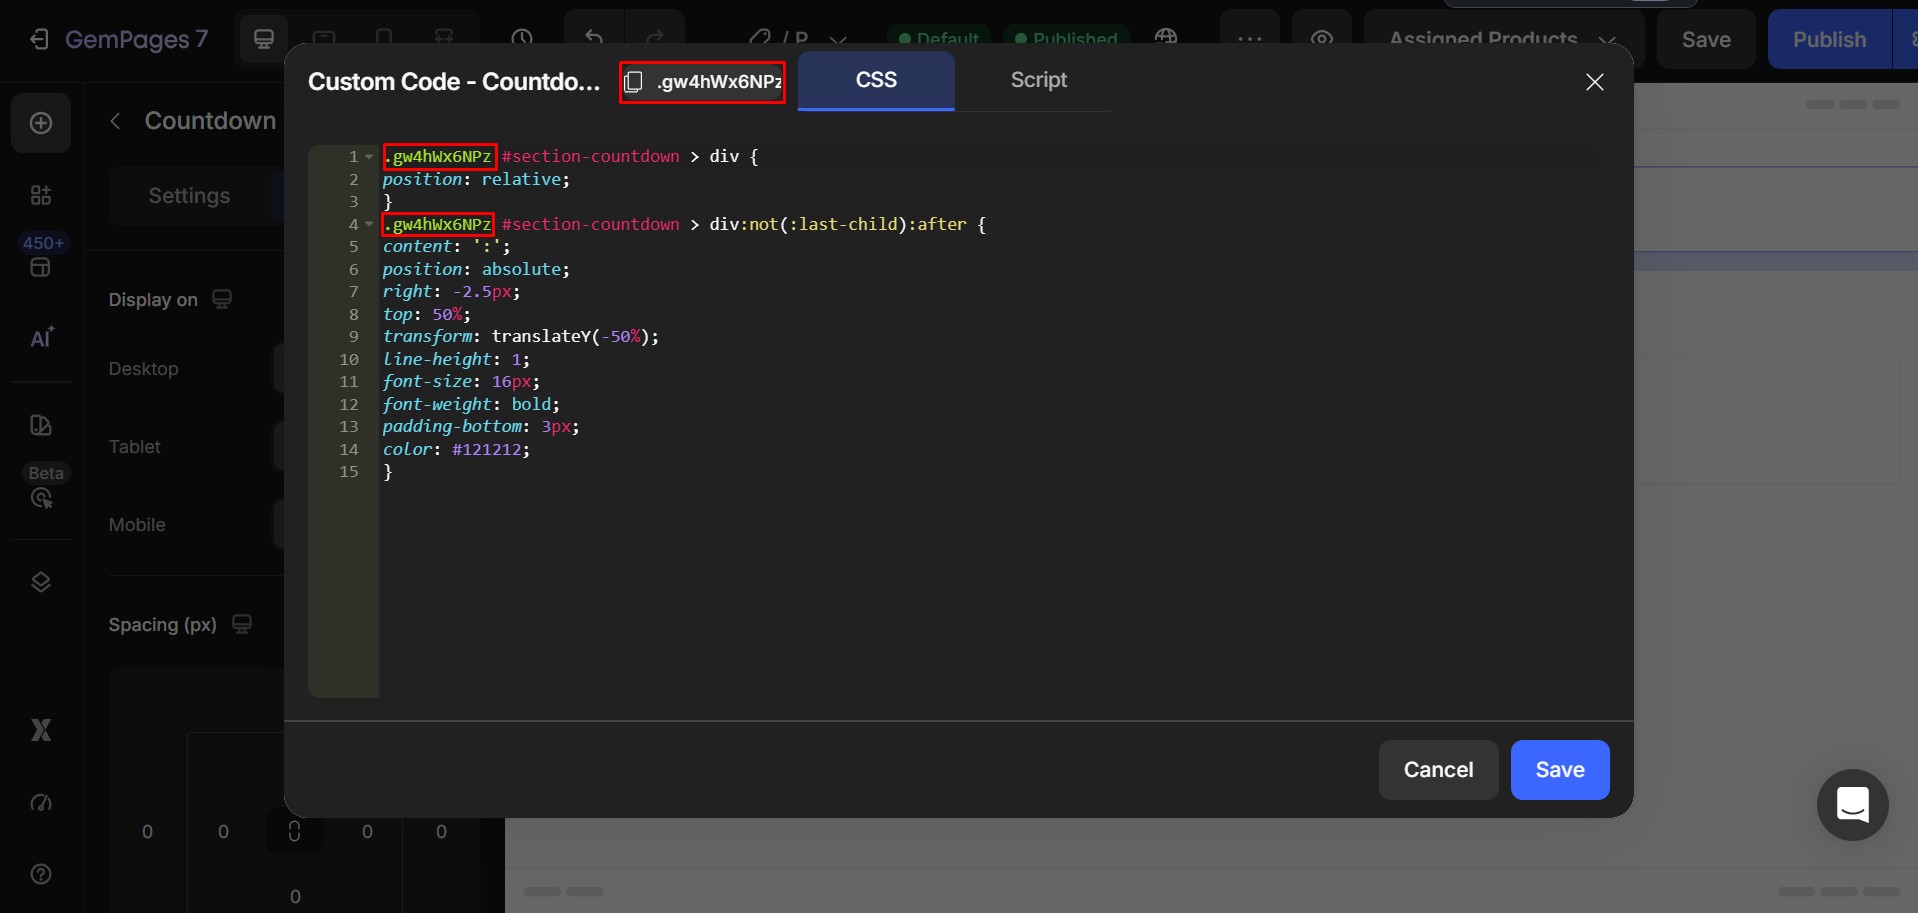
Step 2: Add the Custom CSS
Paste the following code into the Custom Code area:
.ElementClass #section-countdown > div {

position: relative;

}

.ElementClass #section-countdown > div:not(:last-child):after {

content: ':';

position: absolute;

right: -2.5px;

top: 50%;

transform: translateY(-50%);

line-height: 1;

font-size: 16px;

font-weight: bold;

padding-bottom: 3px;

color: #121212;

}
After pasting the code, replace .ElementClass with your actual element class.
Important Note About Spacing
Depending on your countdown layout, font size, spacing, or design setup, you may need to adjust the right value to perfectly position the colon.
For example:
right: -2.5px;
You can try values like:
right: -1px;
right: -4px;
right: -6px;
until the spacing looks correct on your design.
You can follow this video instruction for more details: Loom tutorial video
Step 3: Save and Publish
- Click Save.
- Publish or update your page.
- Preview the page to check the countdown styling.
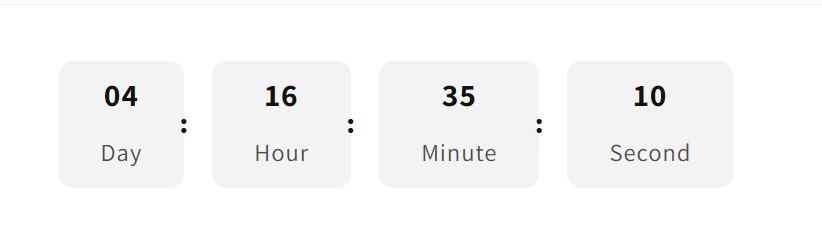
Your countdown timer should now display colons between each number section.


Thank you for your comments