


You built a page in GemPages, clicked Publish, and opened your store, but the old design is still showing.
In most cases, nothing is broken. The page may already be published, but Shopify is still using its original template.
The reason is simple: not all GemPages page types go live in the same way. Some replace an existing Shopify template, while others are standalone pages with their own URLs.
Before publishing, it is important to know which page type you are working with and what happens after you publish it.
Overview of GemPages Page Types
When you create a new page from GemPages Dashboard > Pages, you can choose from five page types. Each one is designed for a different part of your store.
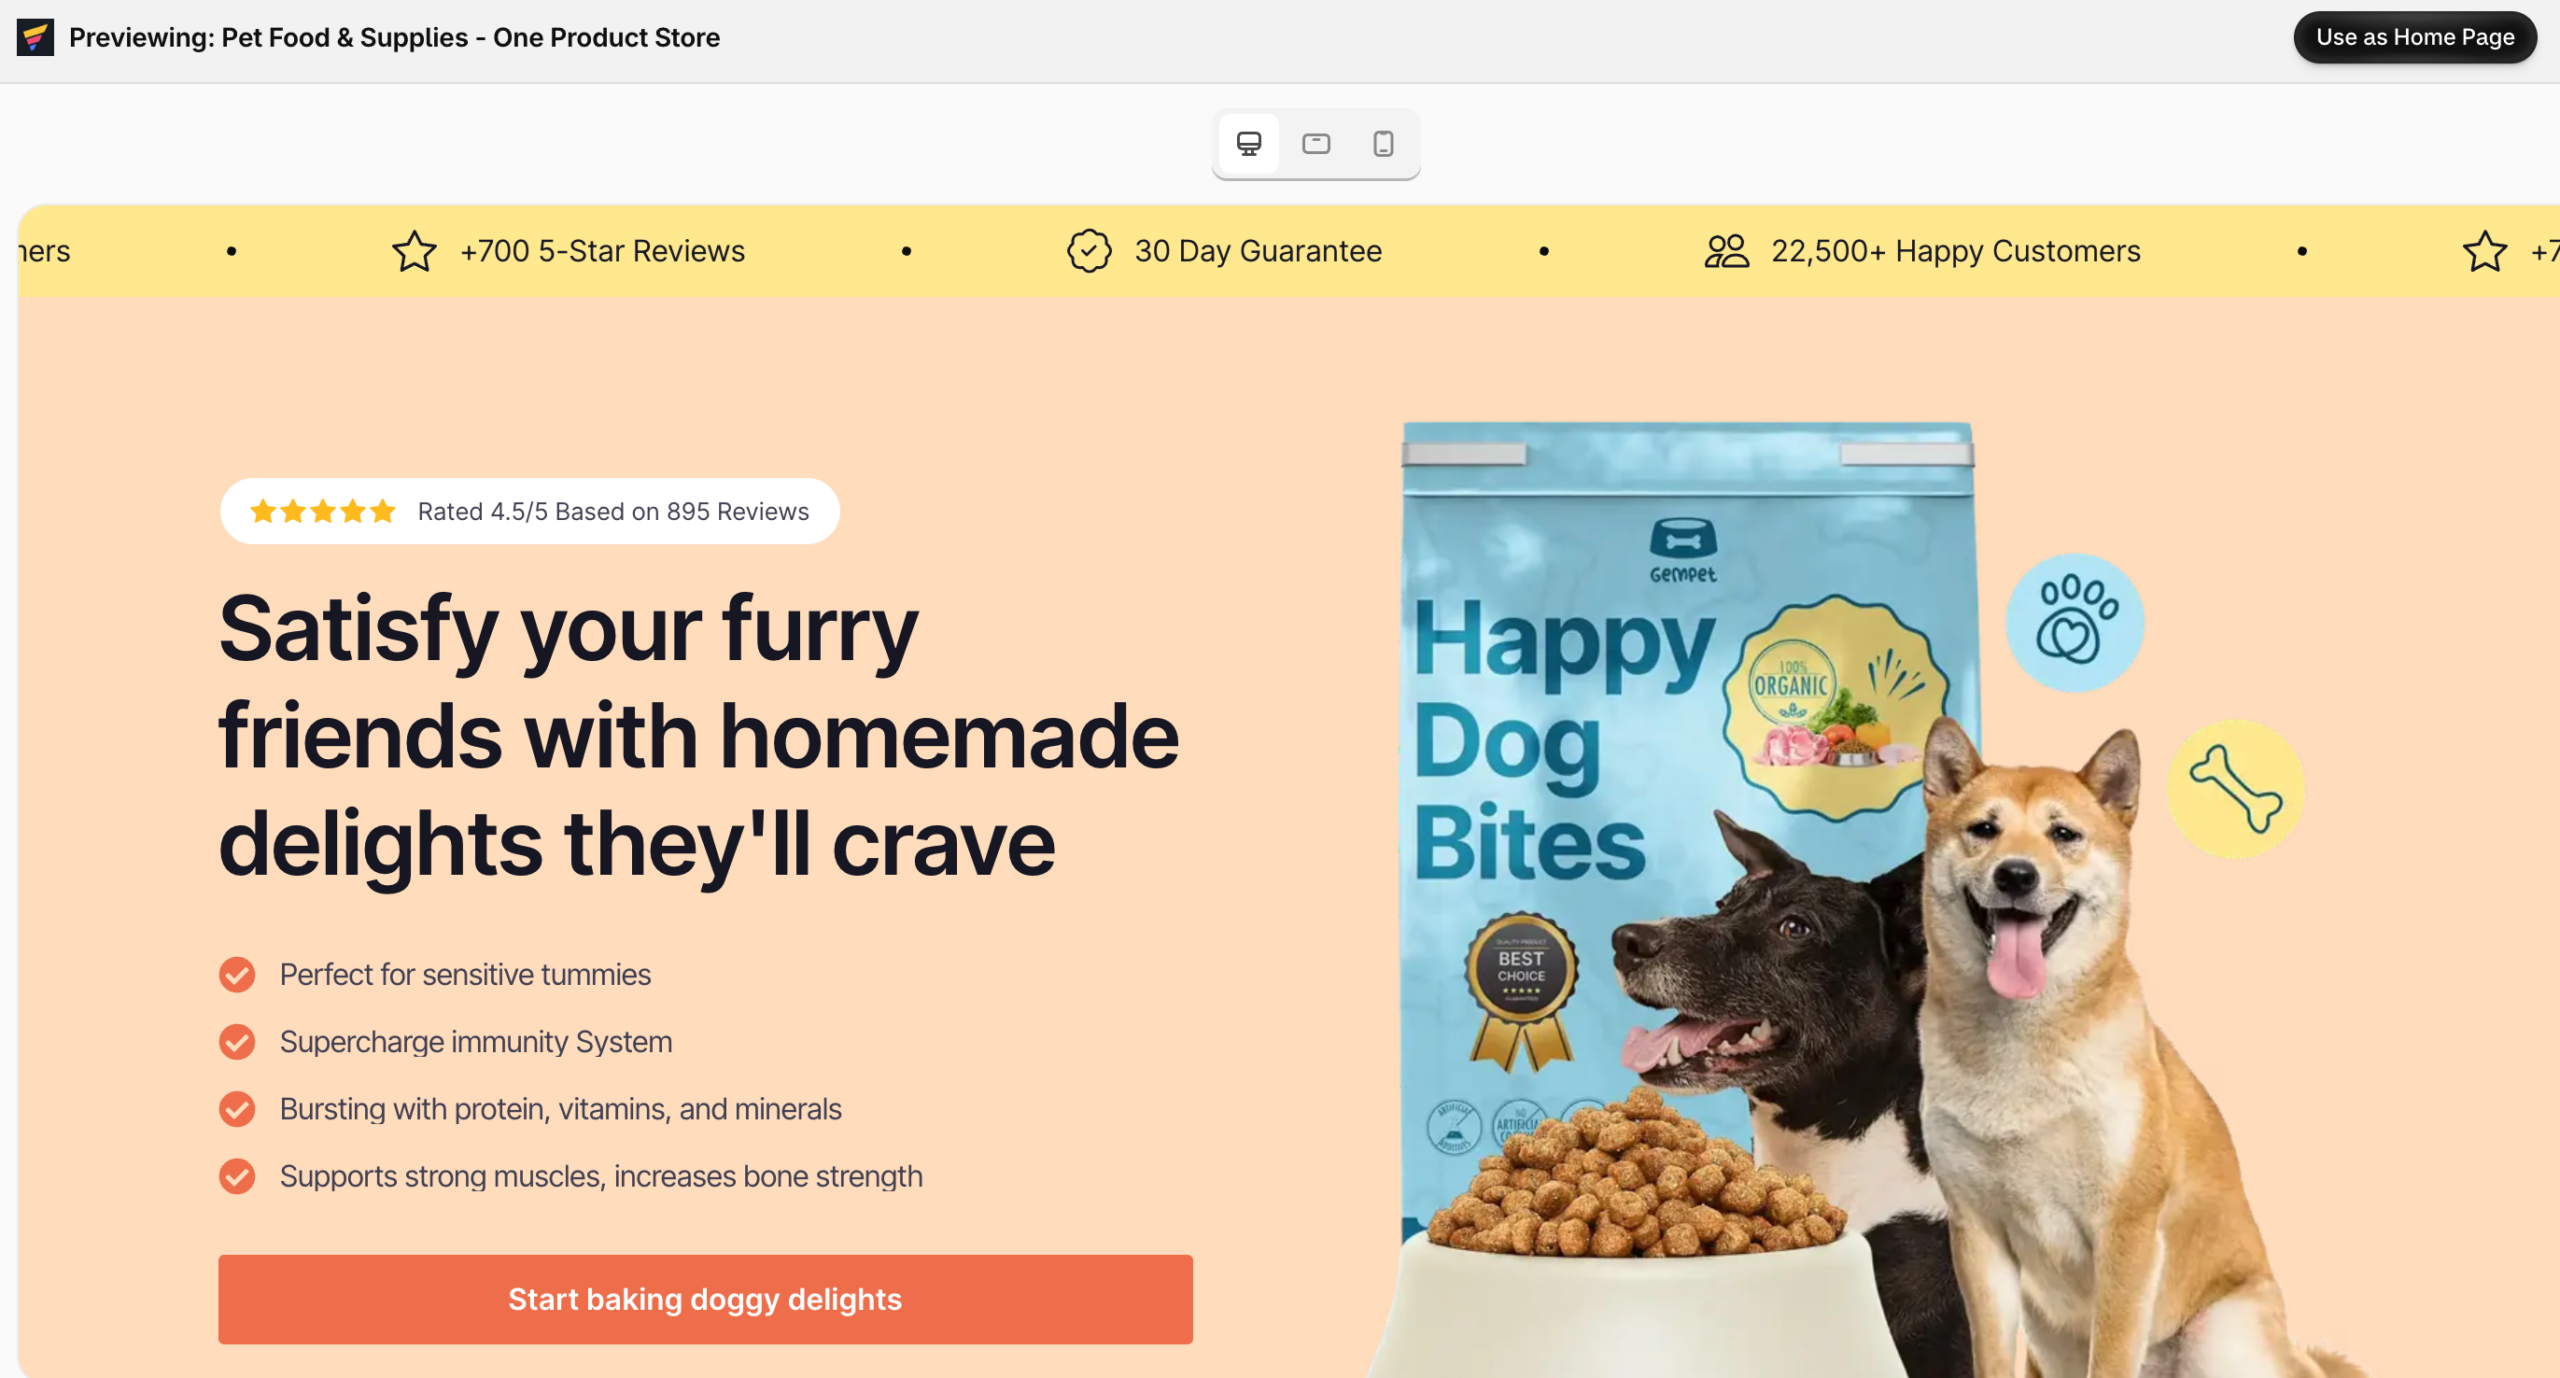
Home Page
The Home page is the main entry point of your storefront and is usually the first page new visitors see.
Use a Home page when you want to create a brand-focused storefront experience and control how shoppers are introduced to your store.
Common content includes:
- Hero banners
- Featured collections
- Best sellers
- Promotional sections
- Trust signals and social proof
A Home page is designed to replace your Shopify theme’s homepage, so it belongs to the group of pages that use a Shopify template.
When to use it: Use a Home page when you want to redesign the main homepage of your store.
Product Page
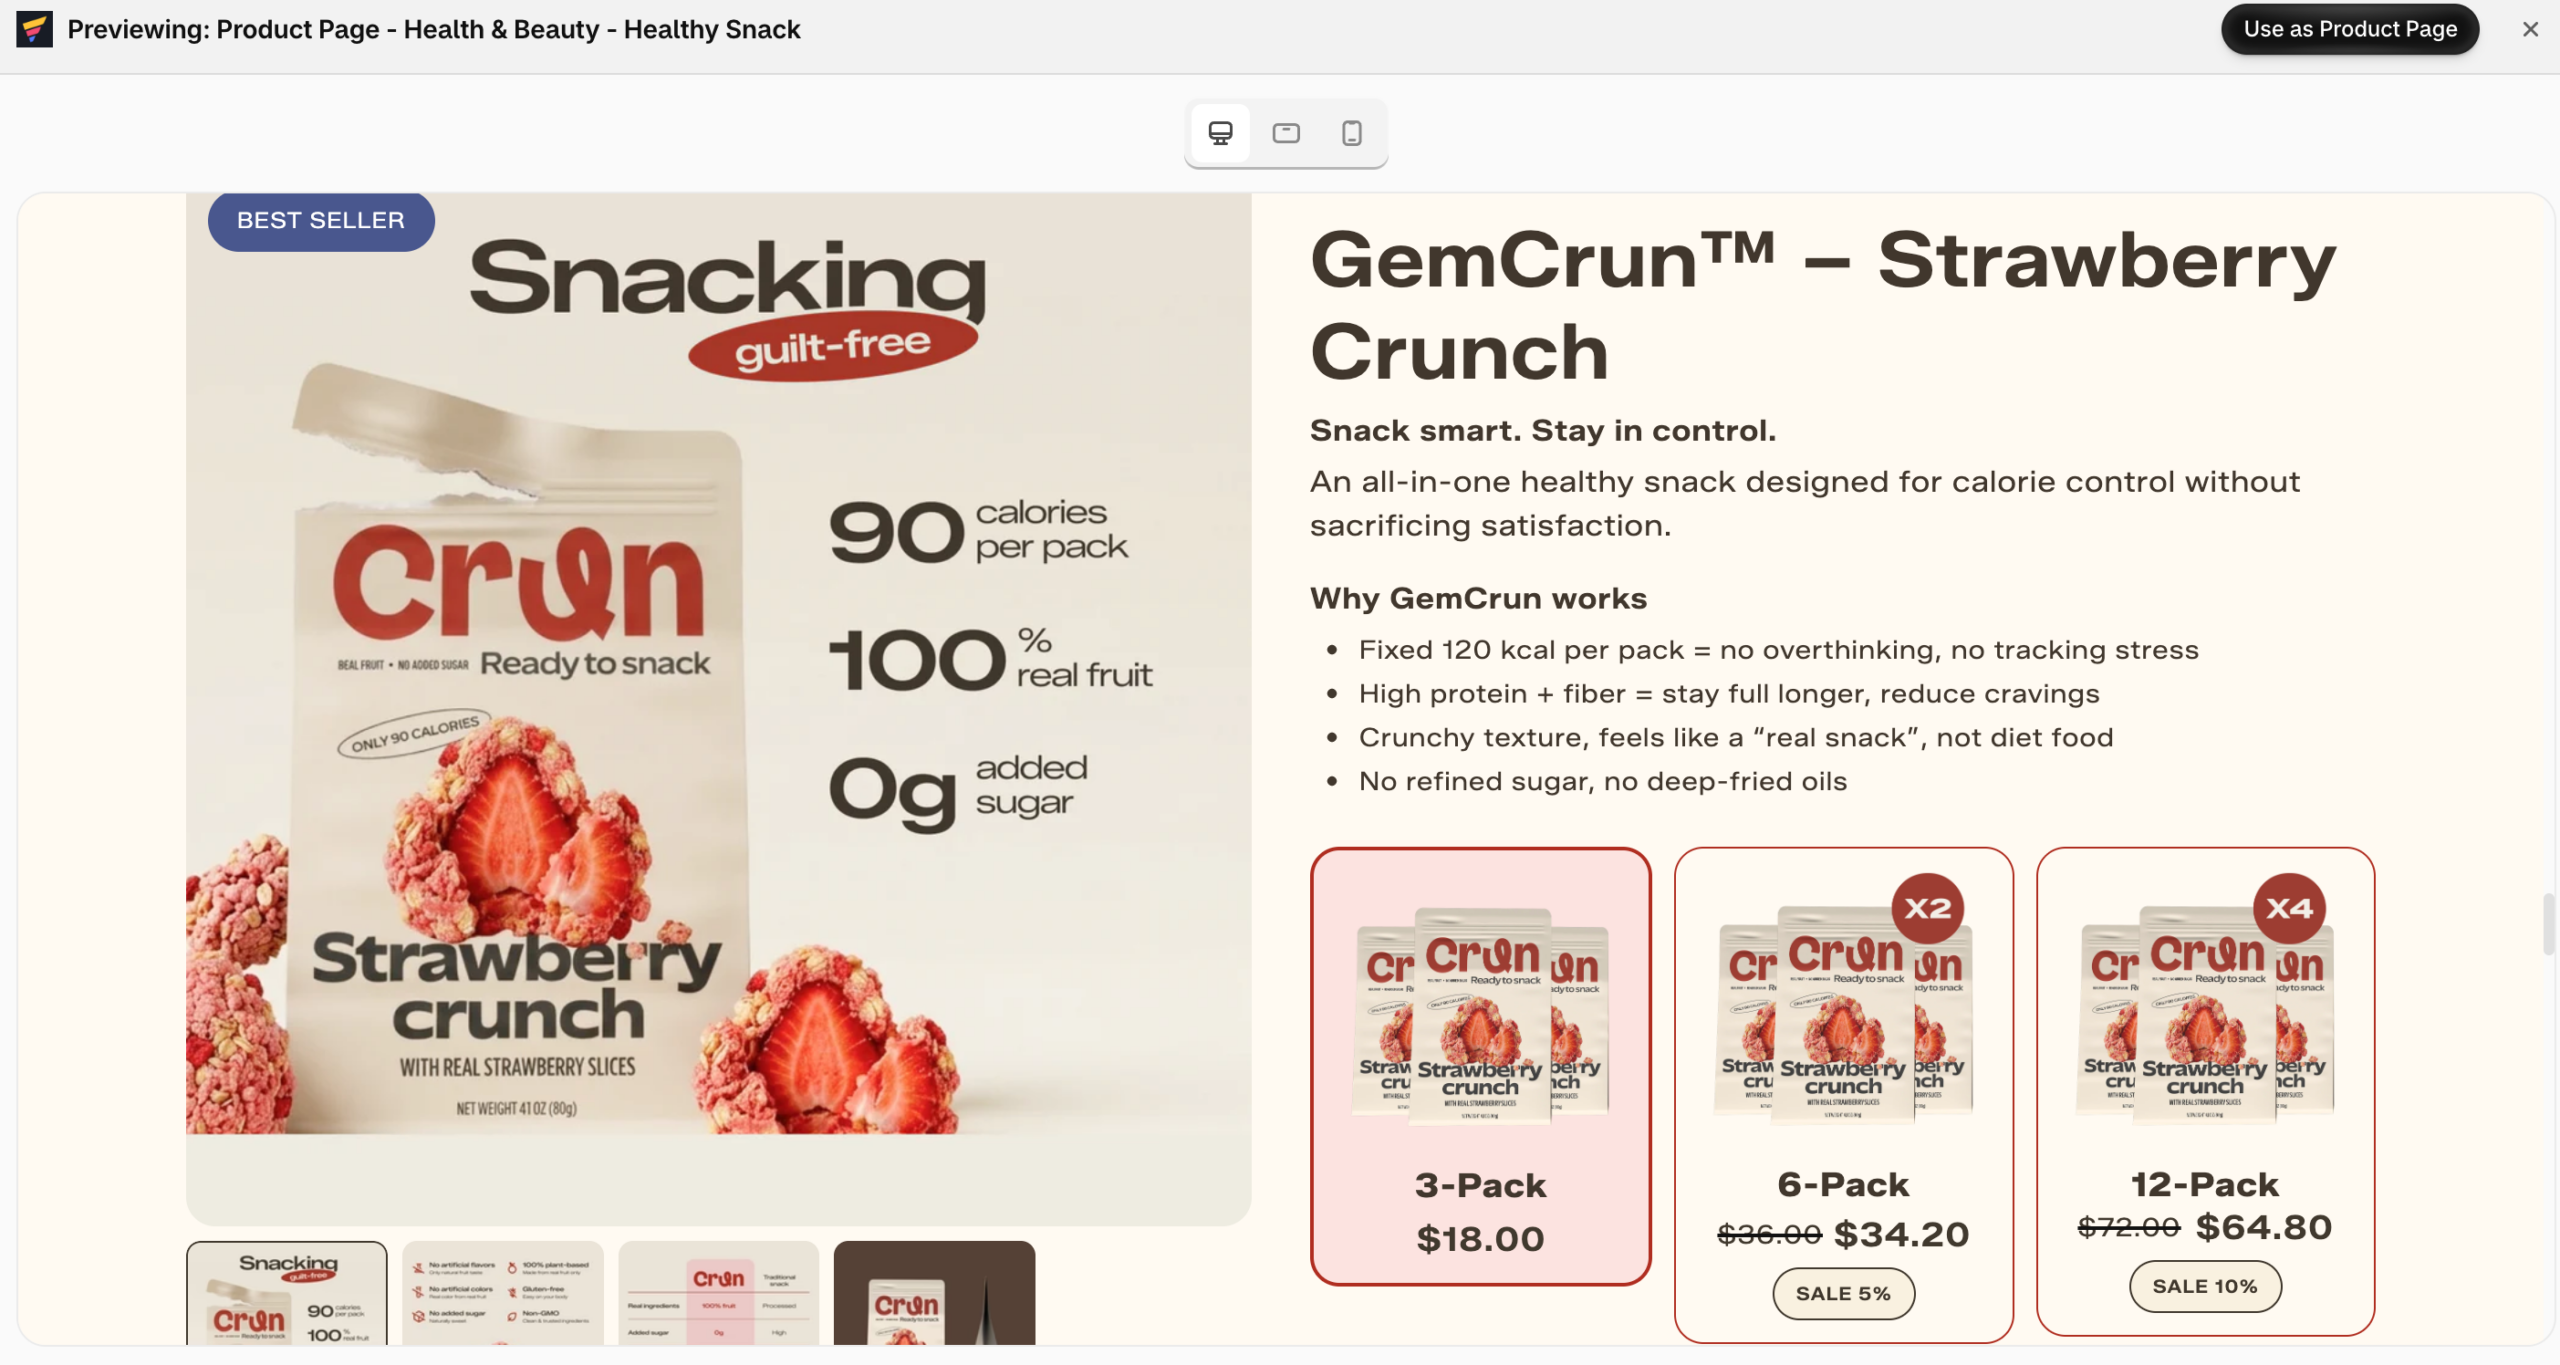
The Product page controls the layout of an individual product’s detail page.
It can include the key information shoppers need before purchasing, such as:
- Product images
- Product title and price
- Product variants
- Product description
- Add to Cart
- Trust and conversion elements
You can use one Product page design across your store, or create a design for specific products.
For example, you may use a general product template for most of your catalog while assigning a different template to a specific product or product group.
A Product page replaces the product template used by Shopify, so it belongs to the group of pages that use a Shopify template.
When to use it: Use a Product page when you want to customize how shoppers view and interact with your product details.
Collection Page
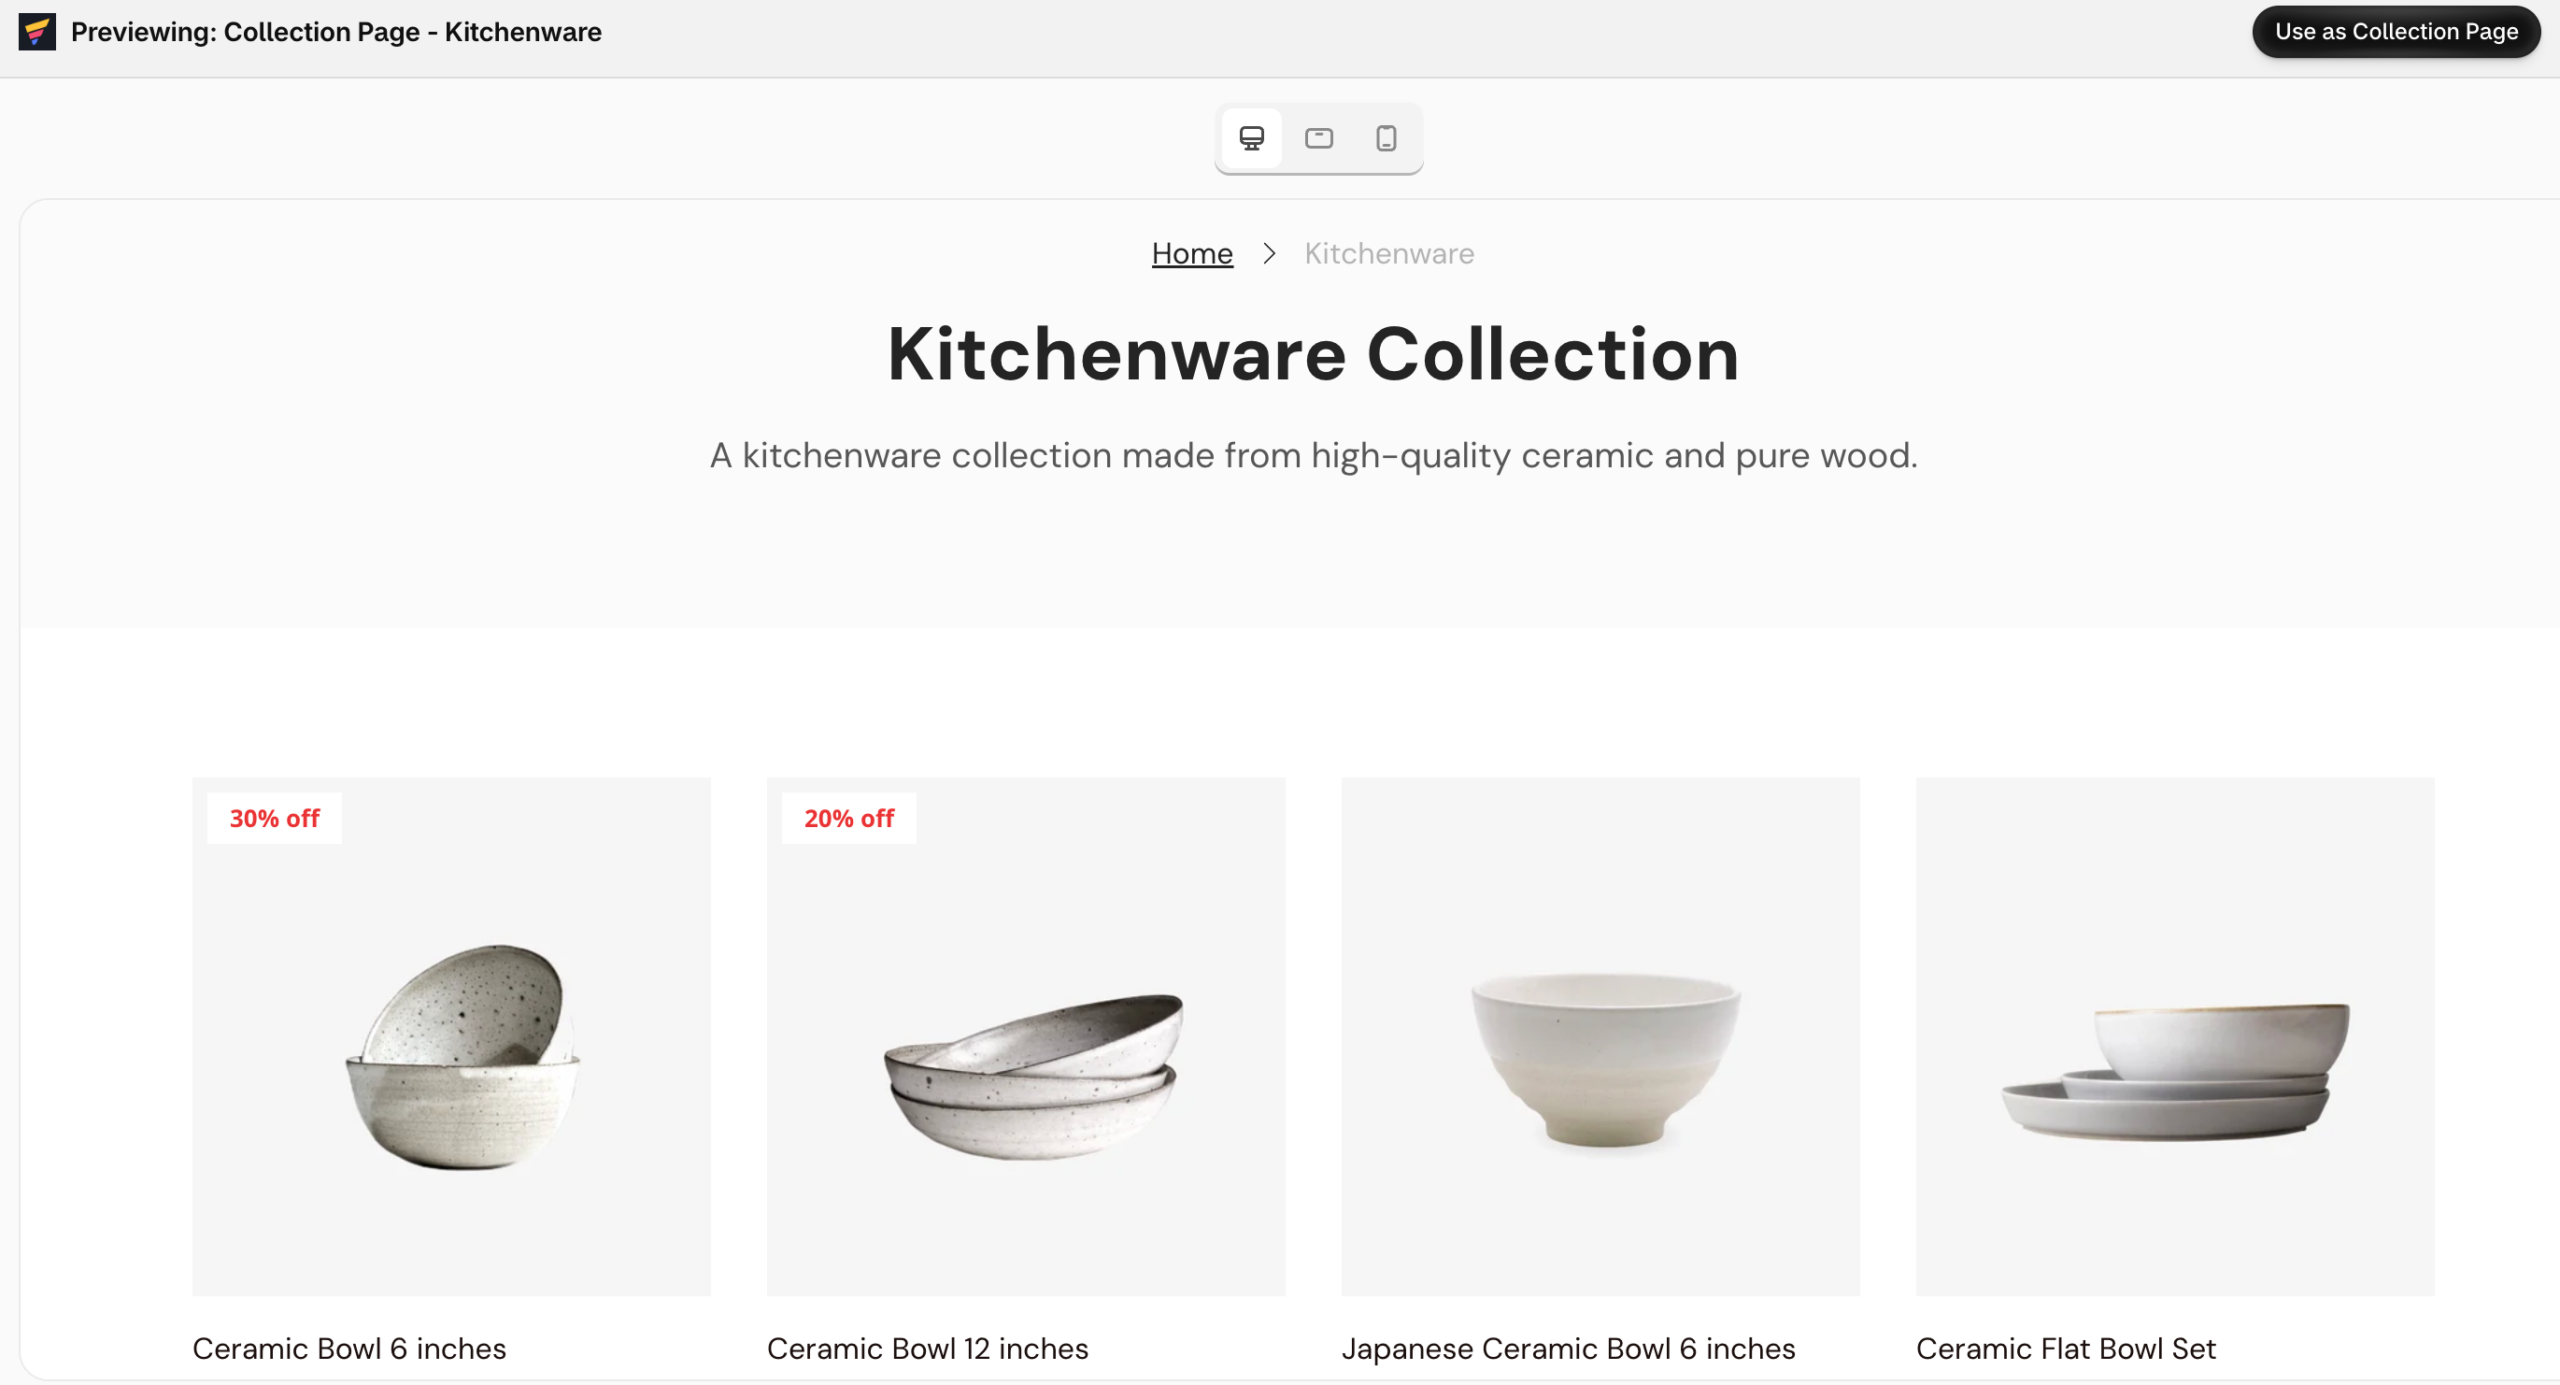
The Collection page controls how shoppers browse a group of products.
A collection page can combine your product grid with additional content that helps shoppers understand and navigate the collection.
Common content includes:
- Collection banners
- Product grids
- Collection information
- Promotional sections
- Navigation and filtering elements
A Collection page replaces the collection layout provided by your Shopify theme.
When to use it: Use a Collection page when you want more control over how a collection is presented and how shoppers browse its products.
Landing Page
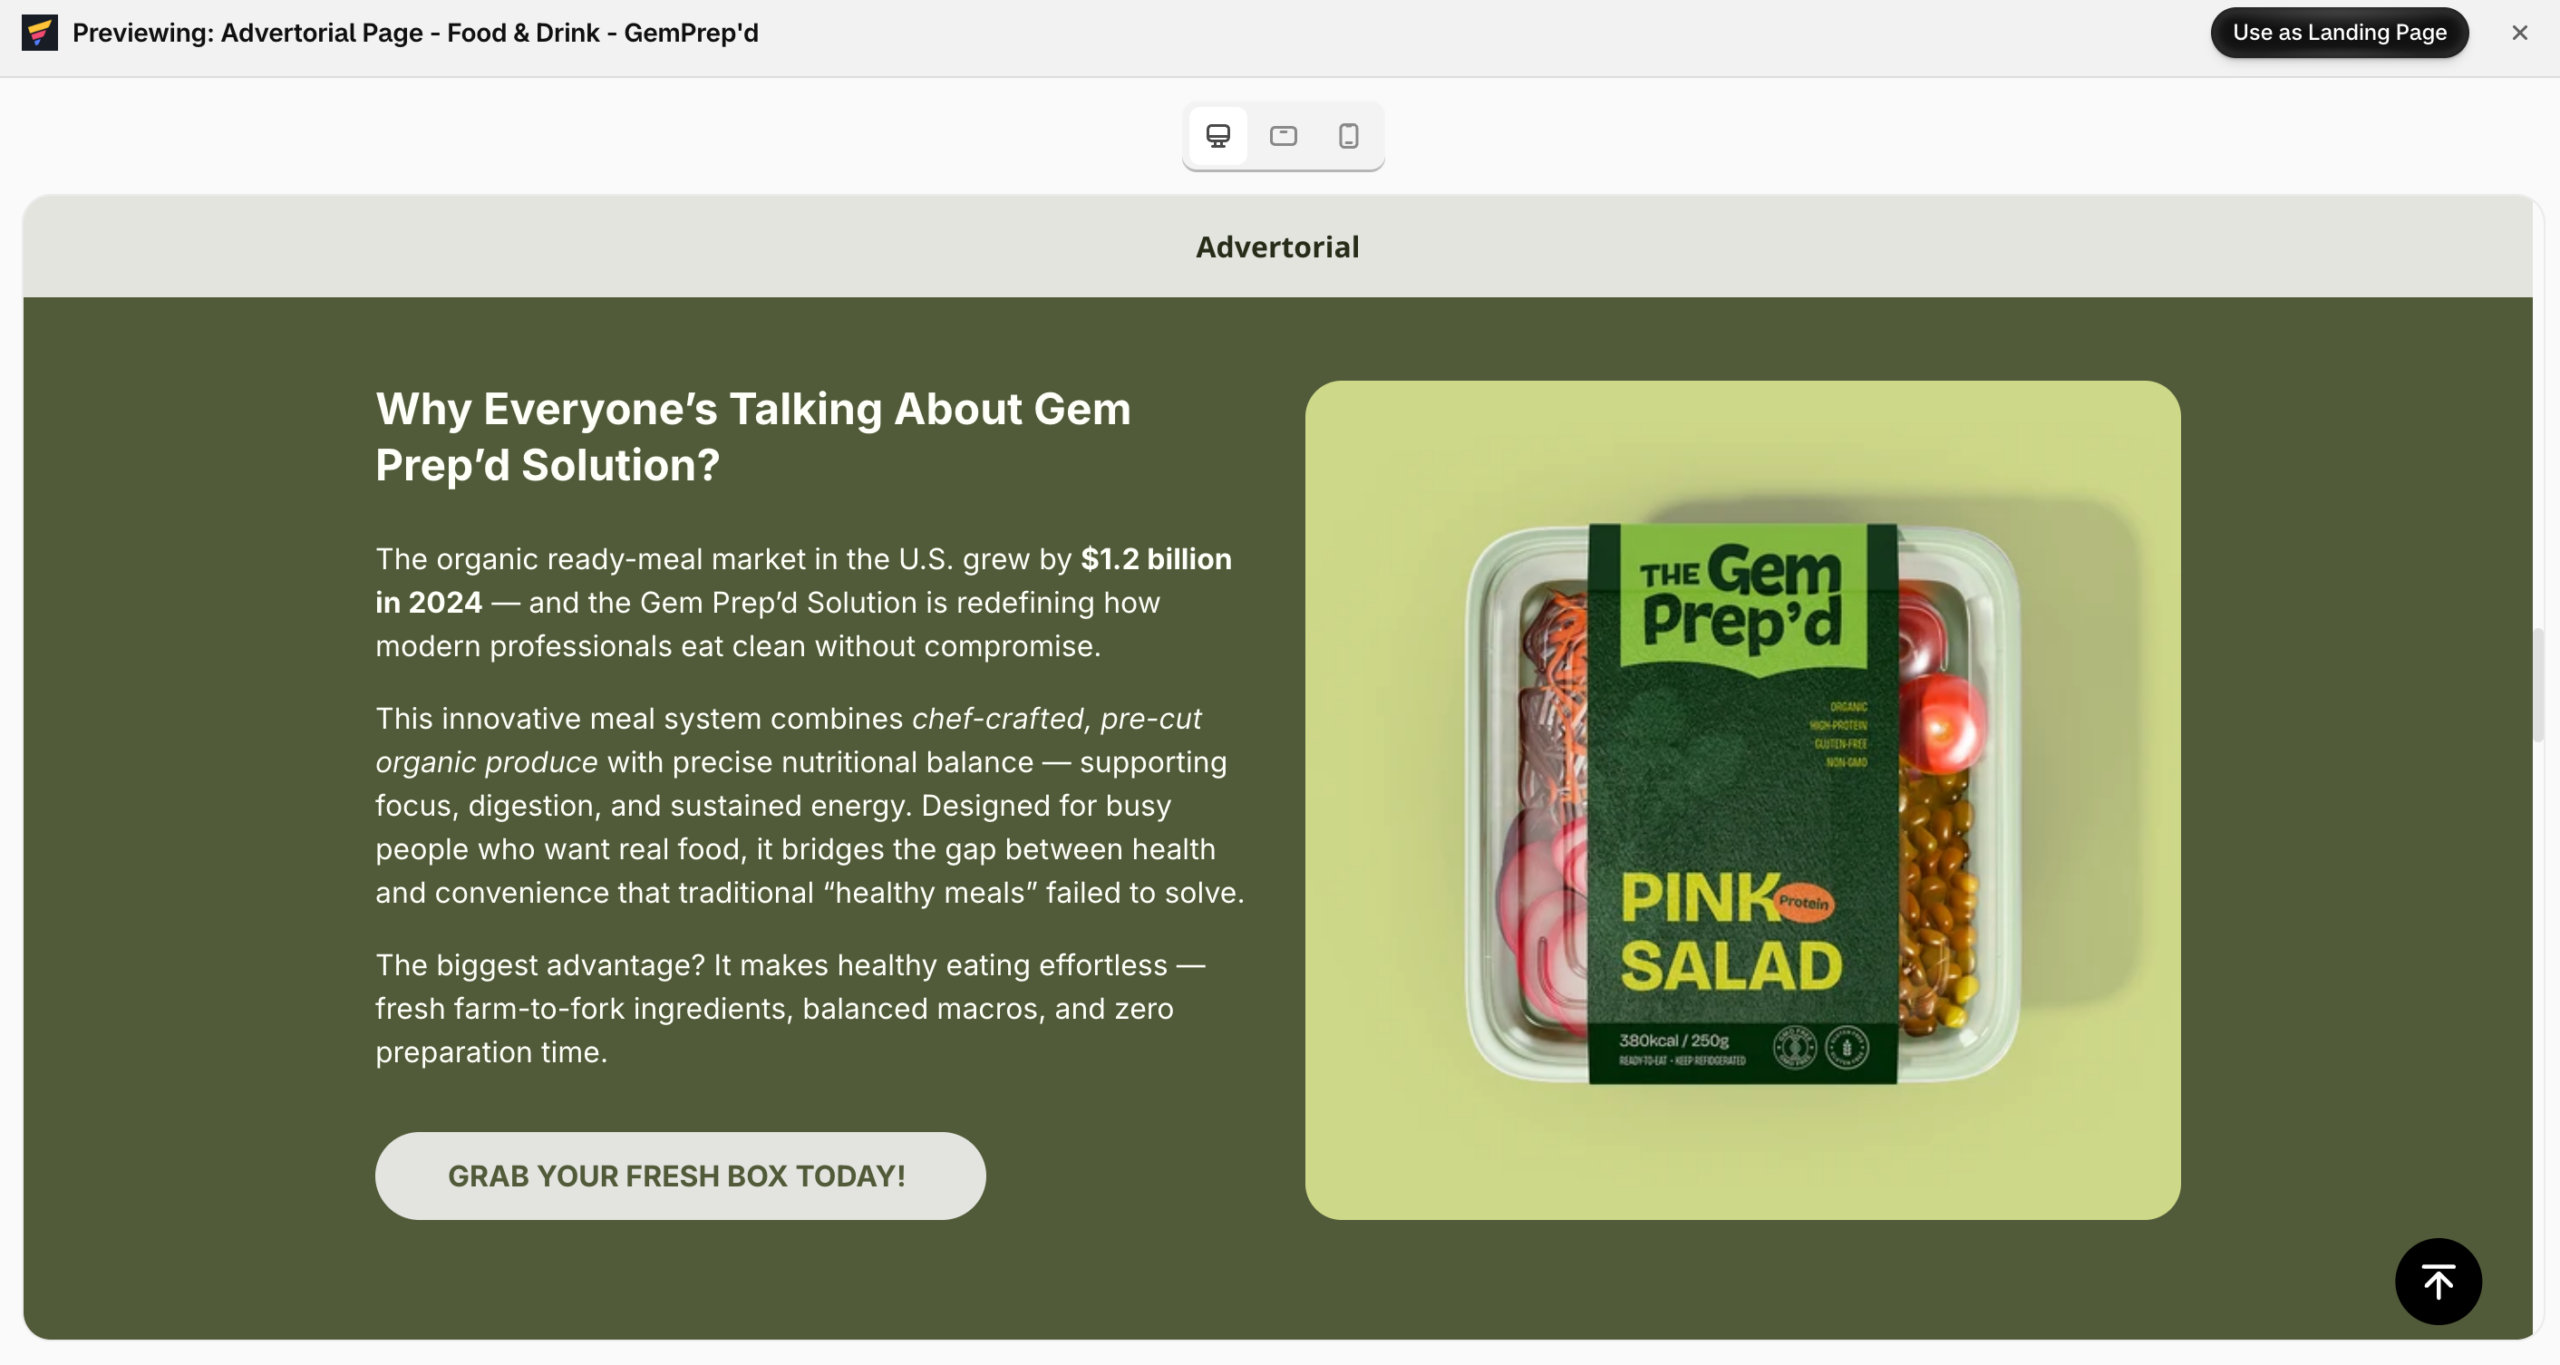
A Landing page is a standalone marketing page that is not tied to a specific product or collection.
Unlike Home, Product, and Collection pages, a Landing page does not replace an existing Shopify template. It is published at its own URL.
Landing pages are useful when you need a focused page for a specific campaign, audience, or marketing goal.
Common use cases include:
- Paid advertising campaigns
- Seasonal promotions
- Product launches
- Lead capture
- Advertorials
- Campaign-specific offers
Because the page is standalone, you can send shoppers directly to its URL from ads, emails, buttons, or other marketing channels.
When to use it: Use a Landing page when you need a dedicated marketing page that is separate from your store’s standard Home, Product, or Collection templates.
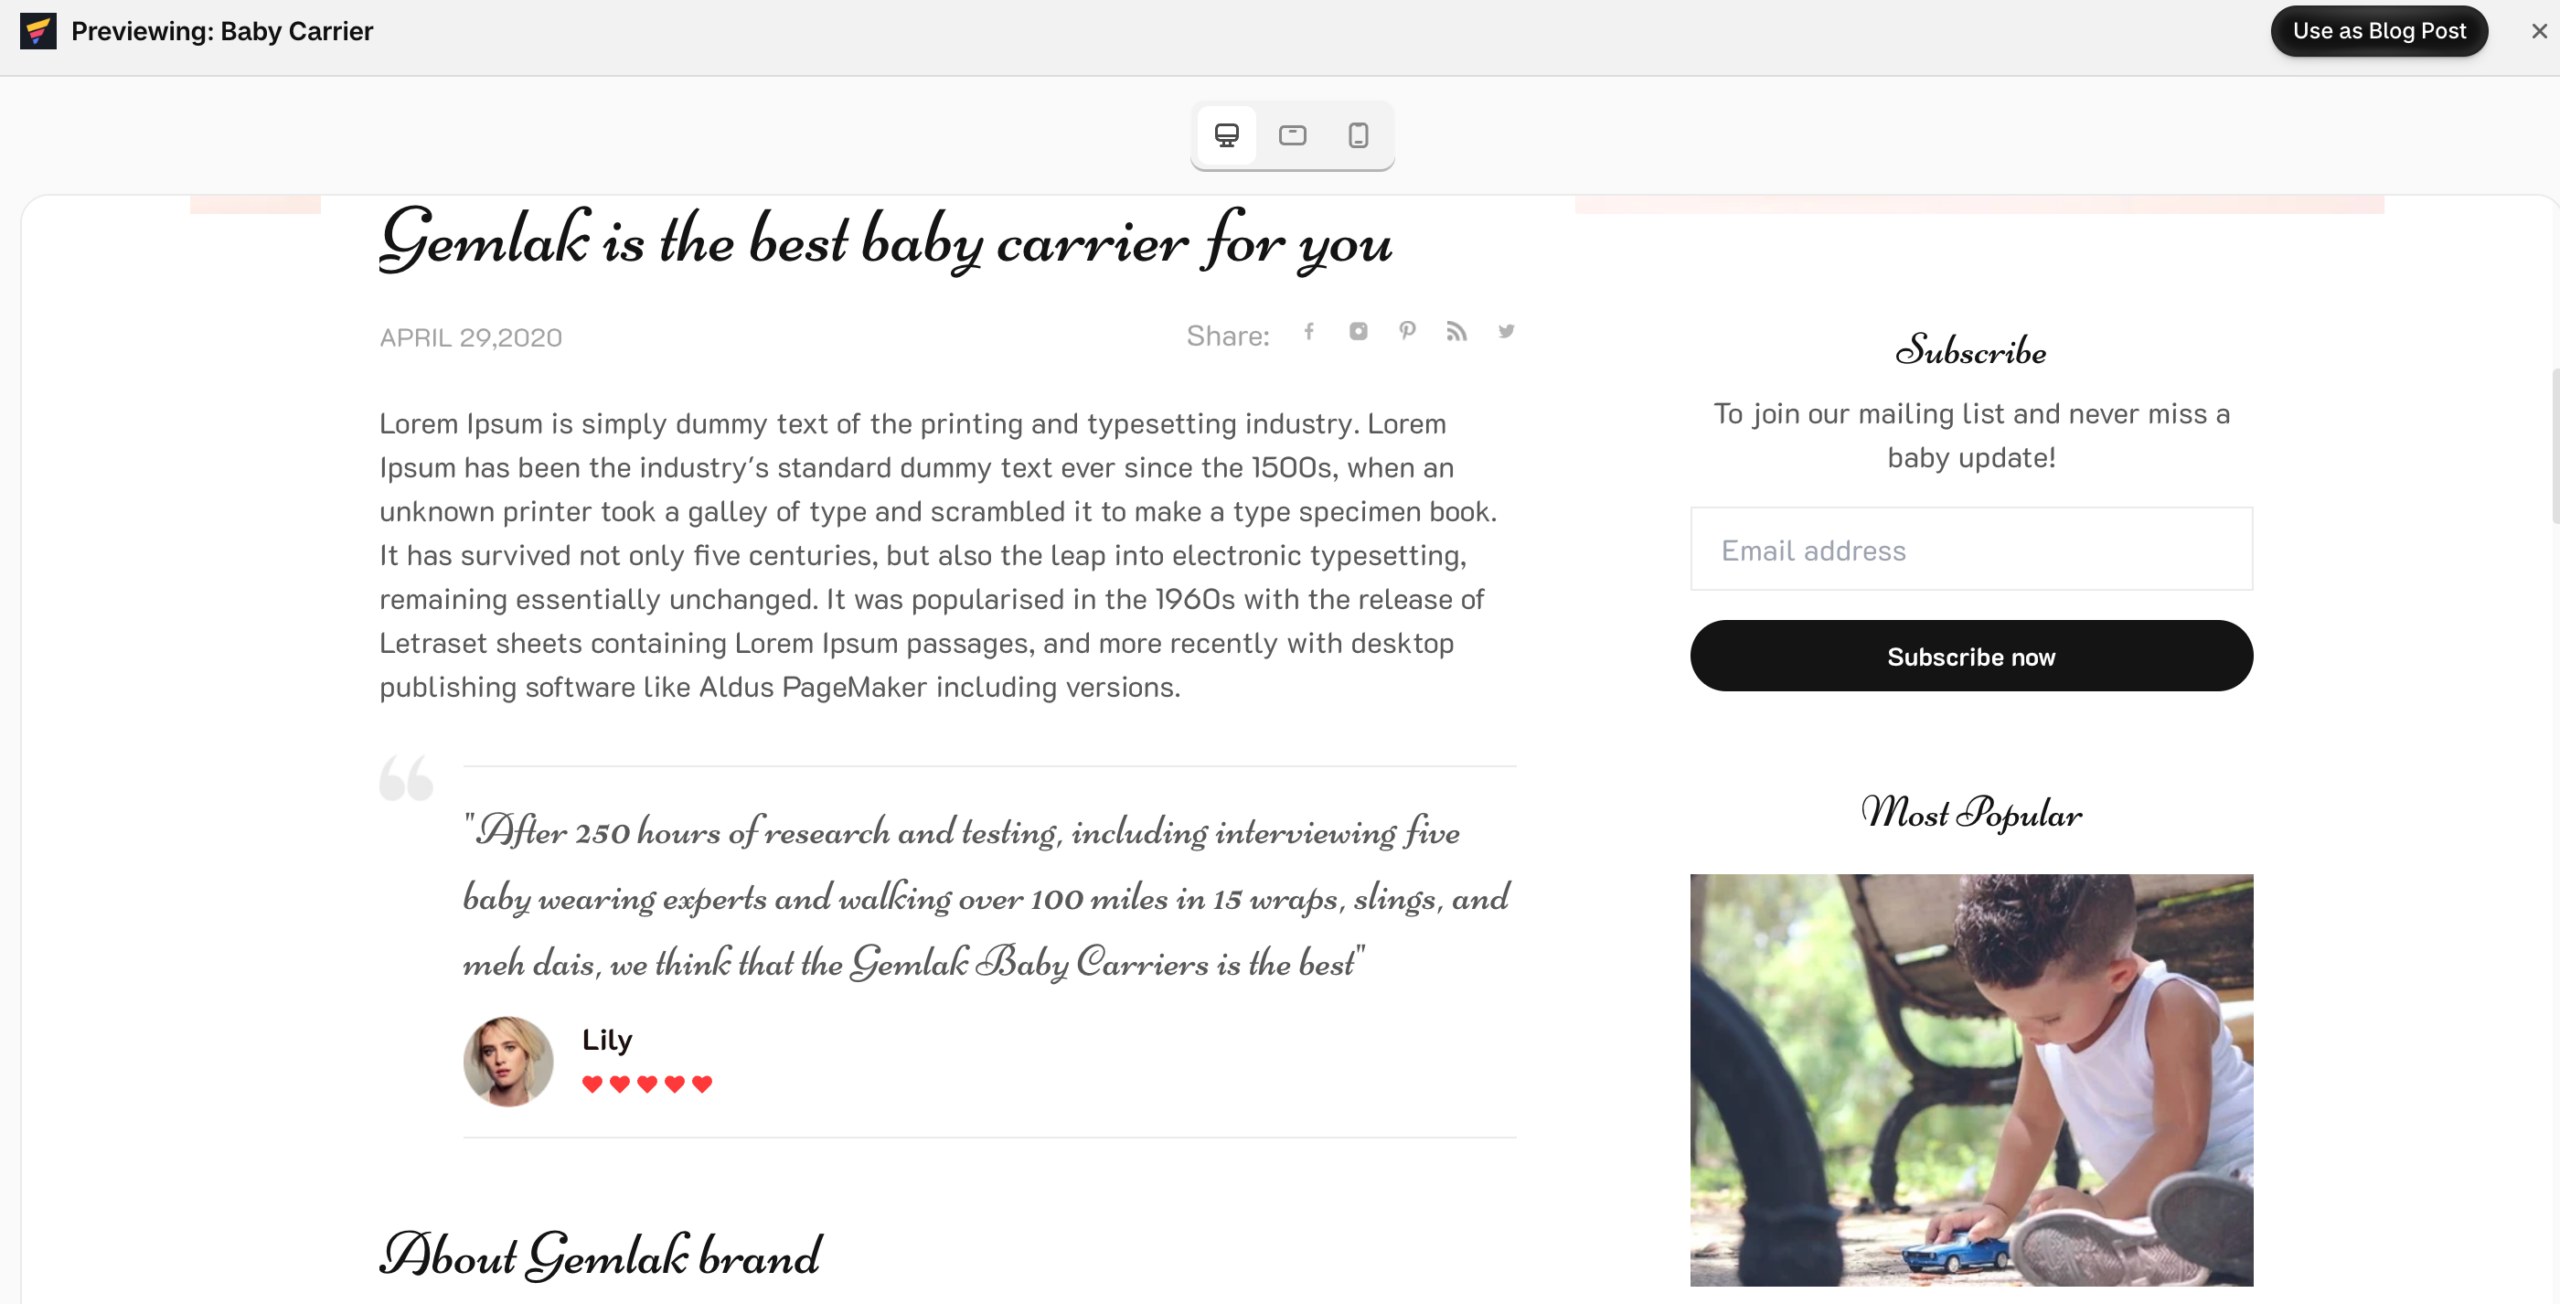
Blog Post Page
A Blog Post page controls the layout of an individual blog article.
Use it when you want to create a consistent or customized reading experience for your blog content.
Common use cases include:
- SEO articles
- How-to guides
- Educational content
- Brand stories
- Other long-form content
A Blog Post page is different from a Collection or Product page because it is tied to an individual article rather than a product catalog or collection.
It does not replace a Shopify template in the same way as a Home, Product, or Collection page. After publishing, the article is available through its blog URL.
When to use it: Use a Blog Post page when you want to customize the layout of individual Shopify blog articles.
Learn how to create a new blog post
Preview, Publish, and Set as Default
These three actions have different purposes:
| Action | What it does |
| Preview | Lets you check how the page looks before making it live |
| Publish | Makes the GemPages page live on Shopify |
| Set as Default | Tells Shopify to use the GemPages page instead of its existing Home, Product, or Collection template |
So, Publish does not always mean that the page is the one shoppers will see.
For Home, Product, and Collection pages, Shopify also needs to know that your GemPages page should replace the existing template.
For Landing and Blog Post pages, no default setting is required because they have their own URLs.
How GemPages Pages Go Live
GemPages pages go live in one of two ways.
1. Pages that replace a Shopify template
Shopify already provides standard templates for your homepage, product pages, and collection pages.
GemPages lets you replace these templates with your own designs. For these page types, publishing the page is only the first step. You also need to tell Shopify which GemPages page should be used instead of the original template.
This applies to:
- Home
- Product
- Collection
The publishing flow is:
Build → Publish → Set as Default or Assign → Check your store
2. Pages that have their own URL
Landing pages and blog posts work differently. They do not replace an existing Shopify template.
Instead, each page is published as its own page or article with its own URL.
This applies to:
- Landing
- Blog Post
The publishing flow is:
Build → Publish → Make sure shoppers can access the page
With this distinction in mind, you can choose the right page type and understand what needs to happen after publishing.
How to Make Your GemPages Page Live on Your Store?
Publishing your page is only the first step. To make sure shoppers can see the page you built with GemPages, you may need to take an additional step depending on the page type.
Follow the instructions below to see what you need to do for each page.
Homepage
After publishing, set the page as the default homepage.
This tells Shopify to use your GemPages design instead of the theme’s homepage.
Go to GemPages Dashboard > Pages, find your published Home page, and select Set as Default.
Learn how to make a default homepage
Product Page
After publishing, choose how you want to use the Product page:
- Set as Default: Apply it as the default product page.
- Assign to Products: Apply it only to selected products.
Products that are not assigned to the GemPages template will continue using their existing product template.
Learn how to replace the default product page
Learn how to assign products to a template
Collection Page
After publishing, set the page as the default collection page if you want it to replace your theme’s collection layout.
Learn how to replace your default collection page
For Home, Product, and Collection pages, you can manage the default setting from GemPages Dashboard > Pages.
Learn more about default pages
Landing Page
A Landing page does not need to be set as default.
Once published, it is available at its own URL. To help shoppers find it, add the page to your Shopify menu or use the URL in ads, emails, buttons, or other marketing materials.
Learn how to link a page to your Shopify menu
Blog Post
A Blog Post does not need to be set as default.
After publishing, go to Shopify Admin > Content > Blog posts and check:
- Blog: Under Organization > Blog, select the blog where the post should appear.
- Visibility: Make sure the post is set to Visible.
- URL handle: Confirm that the URL handle is correct.
A post that is not assigned to a blog may not appear on the blog listing page.
Before You Publish
Once you know what happens after publishing, check the page itself before making it live.
Preview on desktop and mobile
Use the device toggle in the GemPages editor to check your page at different screen sizes.
Pay particular attention to:
- Text wrapping
- Image sizes
- Spacing
- Button placement
- Product information
- Mobile layouts
You can also open the full preview to see how the page will appear to shoppers.
Learn how to preview your page on different devices
Check the URL handle
Set the URL handle before you share the page.
Changing a handle after publishing can make existing links to the old URL stop working, including links in ads, emails, menus, and bookmarks.
If you change the handle after publishing, update any links that use the old URL.
Learn how to change a URL handle
Check the section limits
Shopify allows up to 25 sections per page. A page that exceeds this limit cannot be published or set as default.
GemPages also has a 230 KB limit per section, so very large sections may fail to save.
Learn more about section limits
Quick Reference
| Page type | What it is | After publishing |
| Home | Your store’s main homepage | Set as Default |
| Product | The layout for product detail pages | Set as Default or Assign to Products |
| Collection | The layout for collection pages | Set as Default |
| Landing | A standalone marketing page | Share or link to its URL |
| Blog Post | The layout for an individual blog article | Check blog, visibility, and URL handle |
FAQs
1. I published my page, but the old design is still showing. Why?
Check which page type you published.
For Home, Product, and Collection pages, publishing alone is not enough. You also need to set the GemPages page as default or assign it to the relevant products.
For a Landing page, check that you are using the correct URL and that shoppers have a link to the page.
For a Blog Post, check the blog assignment, visibility, and URL handle in Shopify.
2. What’s the difference between Publish and Set as Default?
Publish makes your GemPages page live on Shopify.
Set as Default tells Shopify to use that page instead of its existing Home, Product, or Collection template.
That is why Home, Product, and Collection pages generally require both steps.
3. Do Landing pages need to be set as default?
No.
Landing pages are standalone pages with their own URLs. After publishing, make sure shoppers can access the URL through your menu, ads, emails, buttons, or other links.
4. Why does my product page still show the old design?
Your product may still be using the Shopify theme’s product template.
You can either set your GemPages Product page as the default for all products or assign it to the specific products you want to use it.
Learn how to assign products to a template
5. Why can’t I publish my page?
Check whether your page exceeds Shopify’s section limit. Shopify allows up to 25 sections per page, and GemPages has a 230 KB limit per section.
If your page is within these limits but still cannot be published, check whether any sections or elements are failing to save.


Thank you for your comments