


A gradient overlay can improve the visual appearance of your Hero Banner and make the content placed on top—such as a Heading, Text Block, or Button—easier to read.
About the Hero Banner element
The Hero Banner element in GemPages is commonly used to create a large, eye-catching section at the top of a page. It typically includes a background image or color with content displayed on top.
If your Hero Banner background needs more contrast or a more polished look, you can apply a gradient overlay using Custom Code.
How to add a gradient overlay using Custom Code
Step 1: Open the Custom Code panel
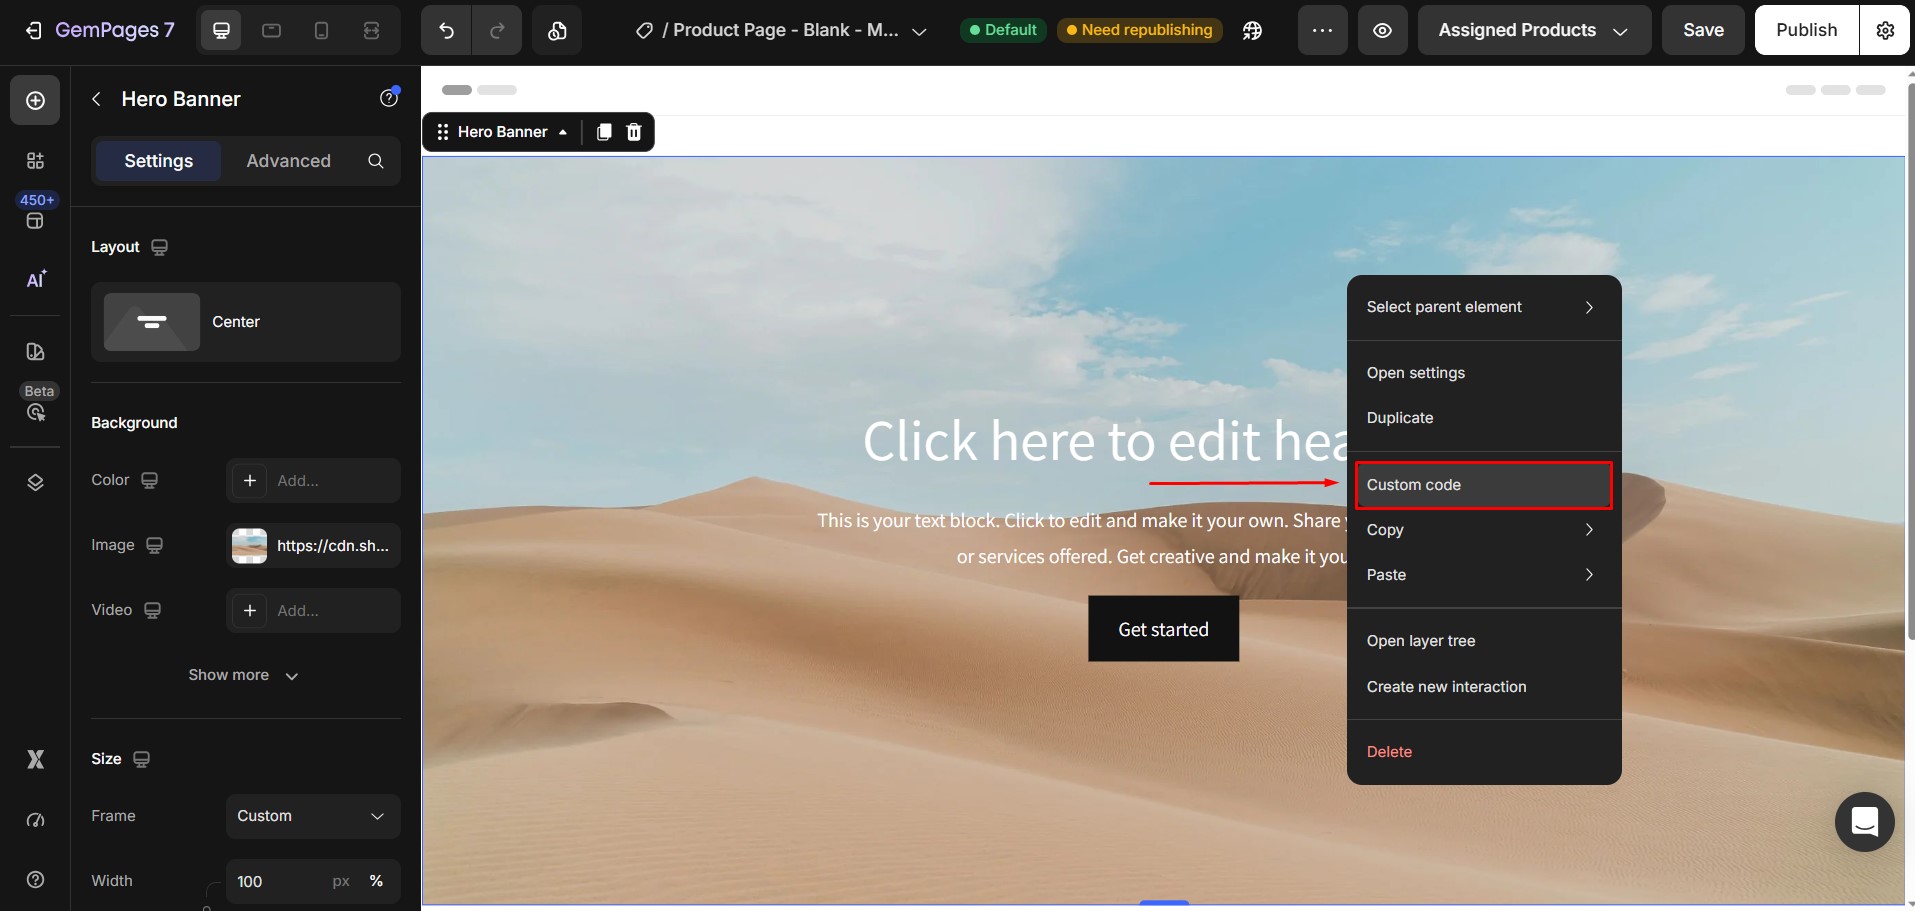
In the GemPages editor, locate the Hero Banner element that you want to customize.
Then, right-click the Hero Banner element and select Custom Code.
Step 2: Paste the CSS code
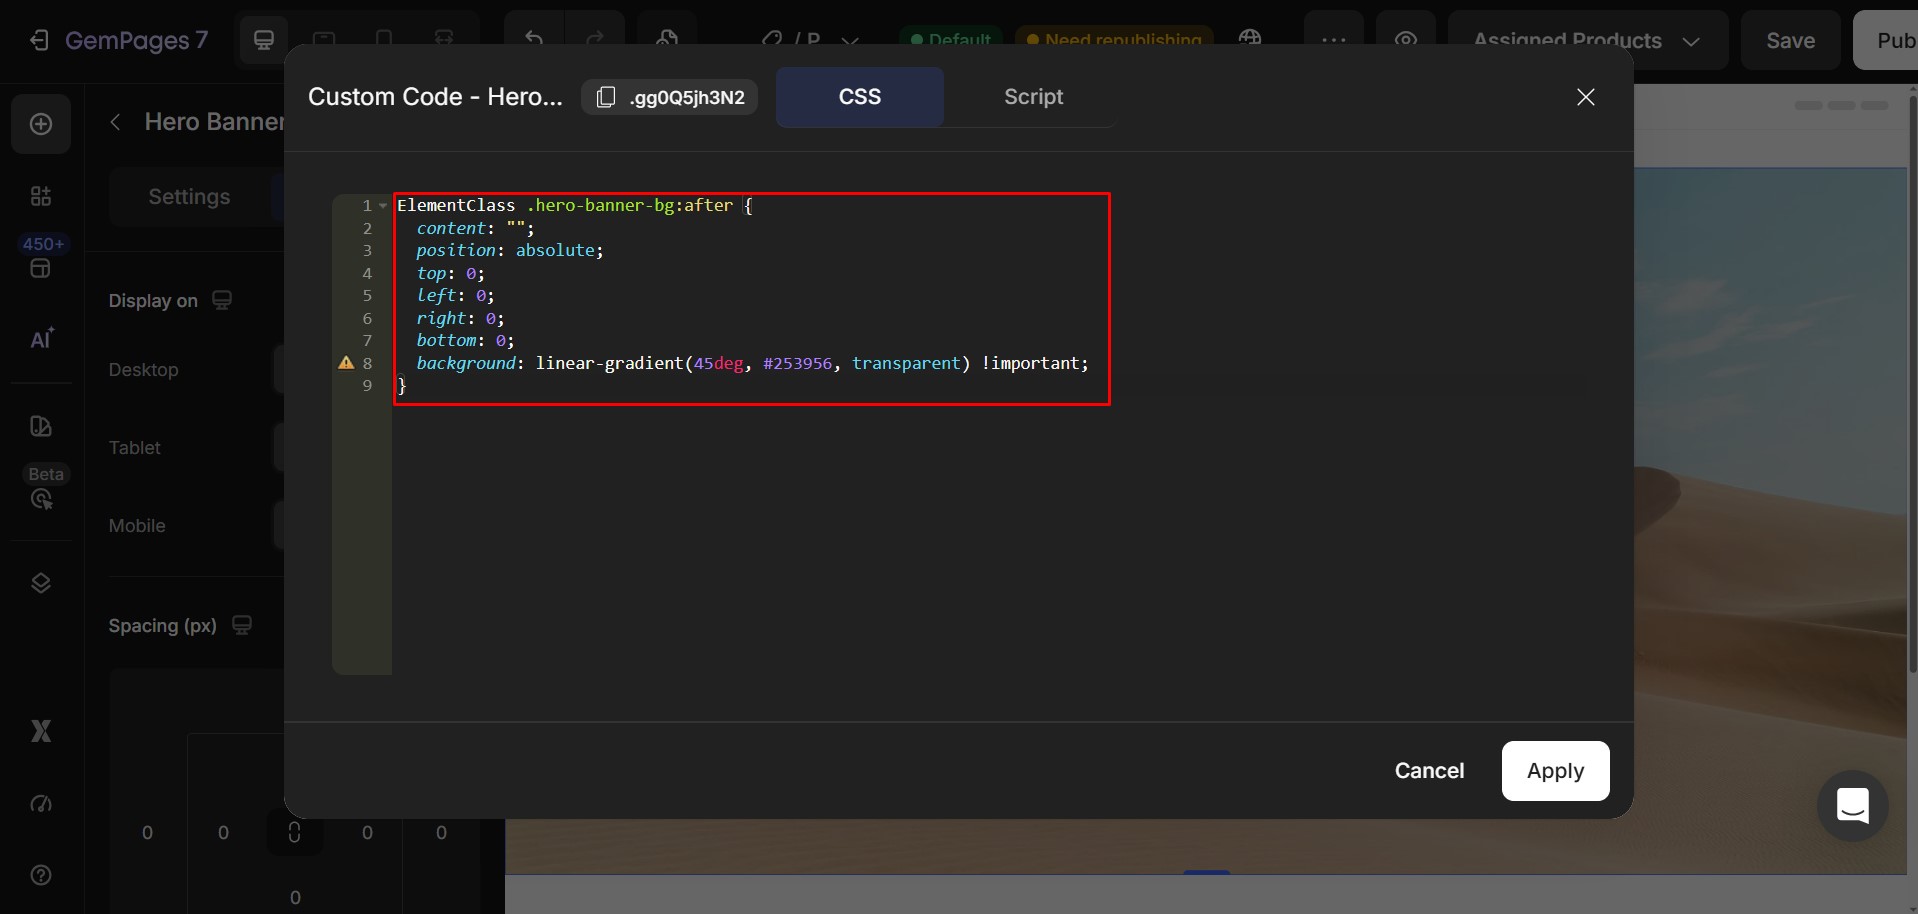
Paste the following code into the Custom Code box.
ElementClass .hero-banner-bg:after {

  content: "";

  position: absolute;

  top: 0;

  left: 0;

  right: 0;

  bottom: 0;

  background: linear-gradient(45deg, #253956, transparent) !important;

}
Step 3: Replace the placeholder values
Before saving the code, replace the placeholder values with your preferred settings.
- Replace ElementClass
ElementClass is a placeholder for the actual class of your Hero Banner element.
Replace it with your Hero Banner’s class.
- Customize the gradient
The following line controls the appearance of the gradient:
background: linear-gradient(45deg, #253956, transparent) !important;
You can customize the following values:
| Value | Description |
| 45deg | Controls the direction of the gradient. |
| #253956 | The starting color of the gradient. Replace it with any HEX color. |
| transparent | The ending color. You can keep it transparent or replace it with another color. |

Step 4: Save your changes
After updating the code with your preferred class name and gradient settings, save the Custom Code.
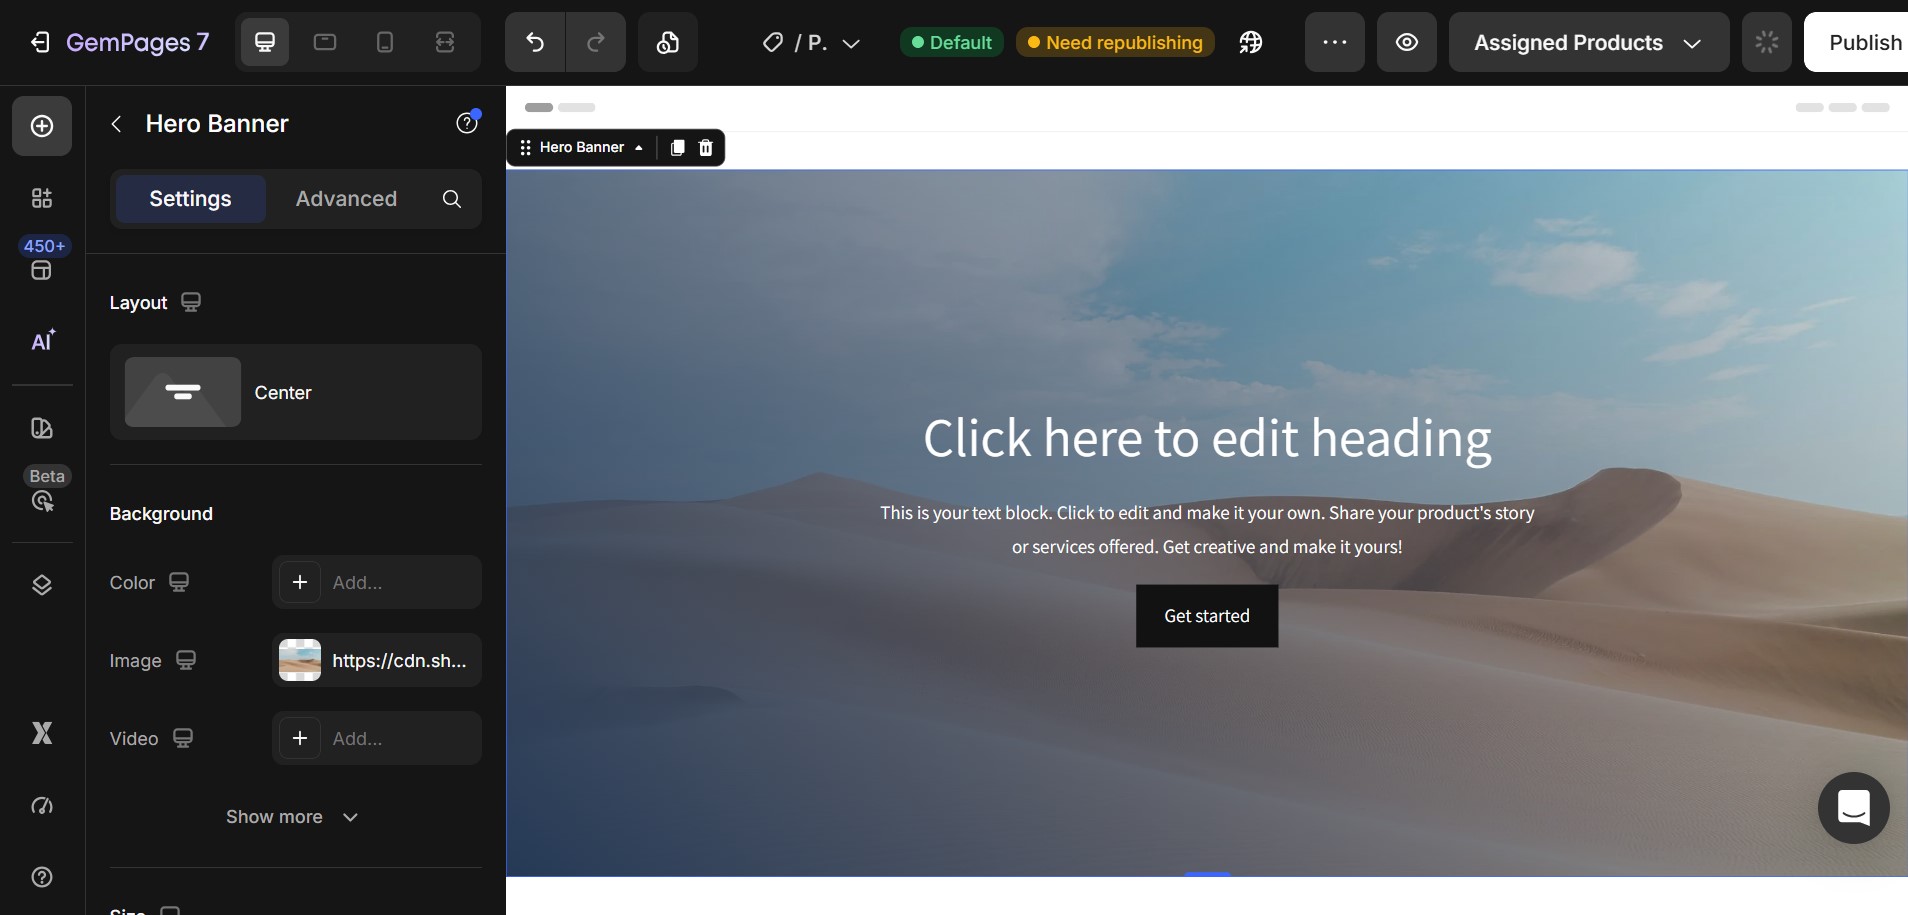
Preview your page to make sure the gradient overlay appears as expected.


Thank you for your comments